Zoho
Zoho applications cover various aspects of business operations, including customer relationship management (CRM), project management, email and collaboration, finance, human resources, and more.
You must have an account in Zoho.
1 Go to Dashboard > Marketplace > SSO Integrations.
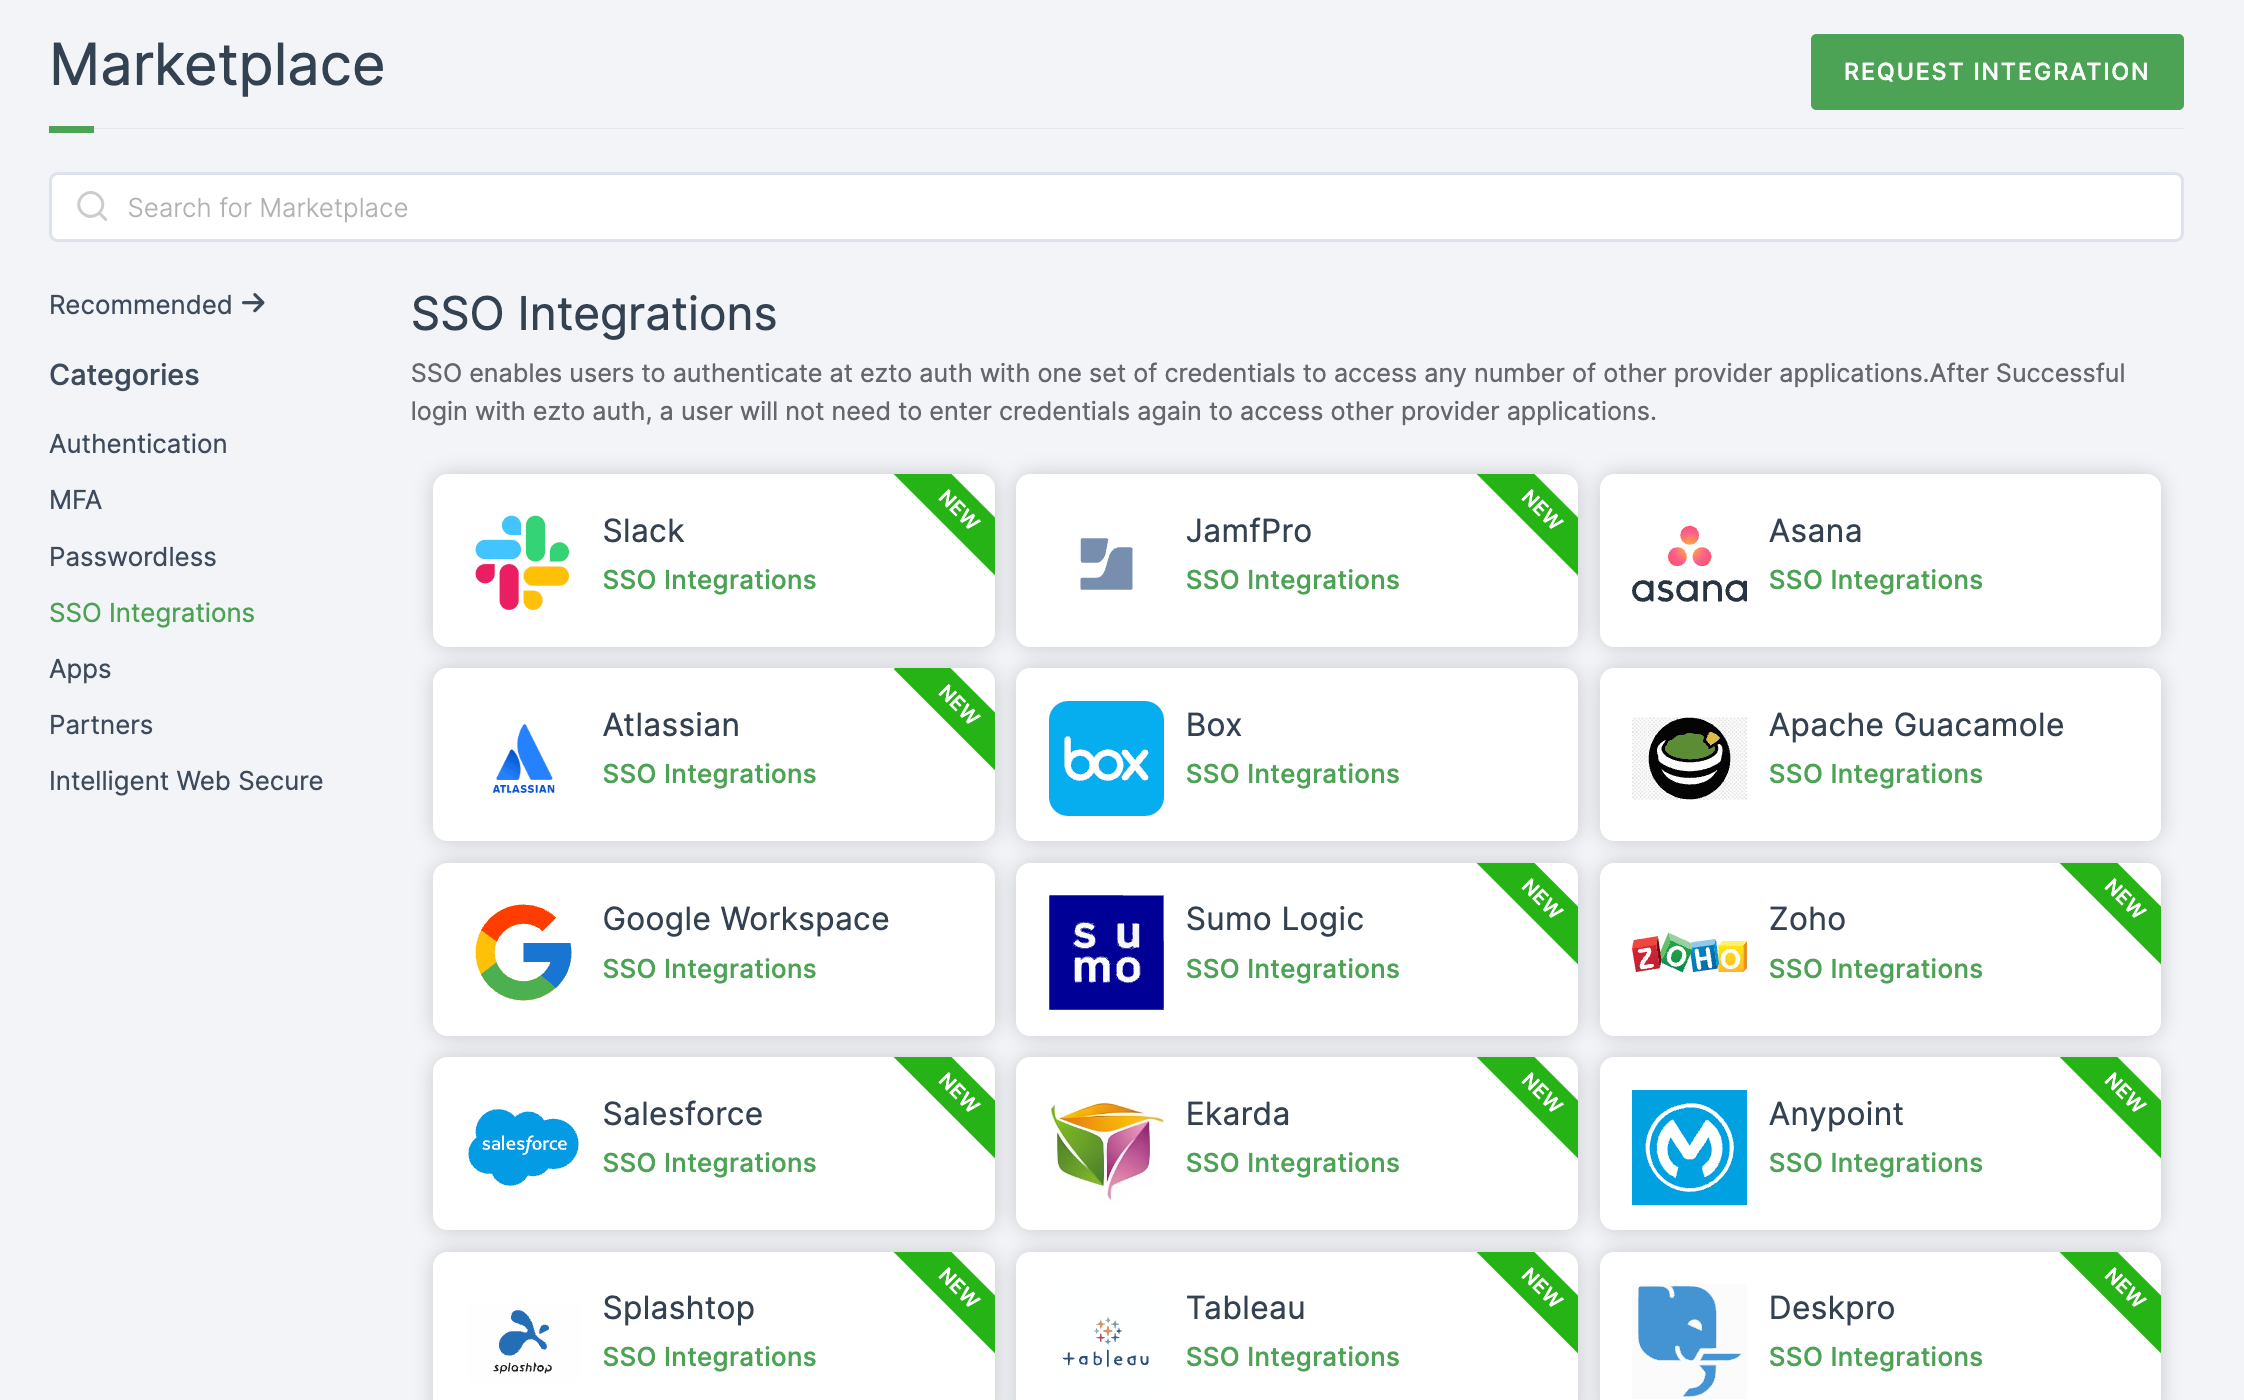
2 Select Zoho from the list.
3 You'll land on the overview page, with an additional tab: Installation (providing a step-by-step installation guide).
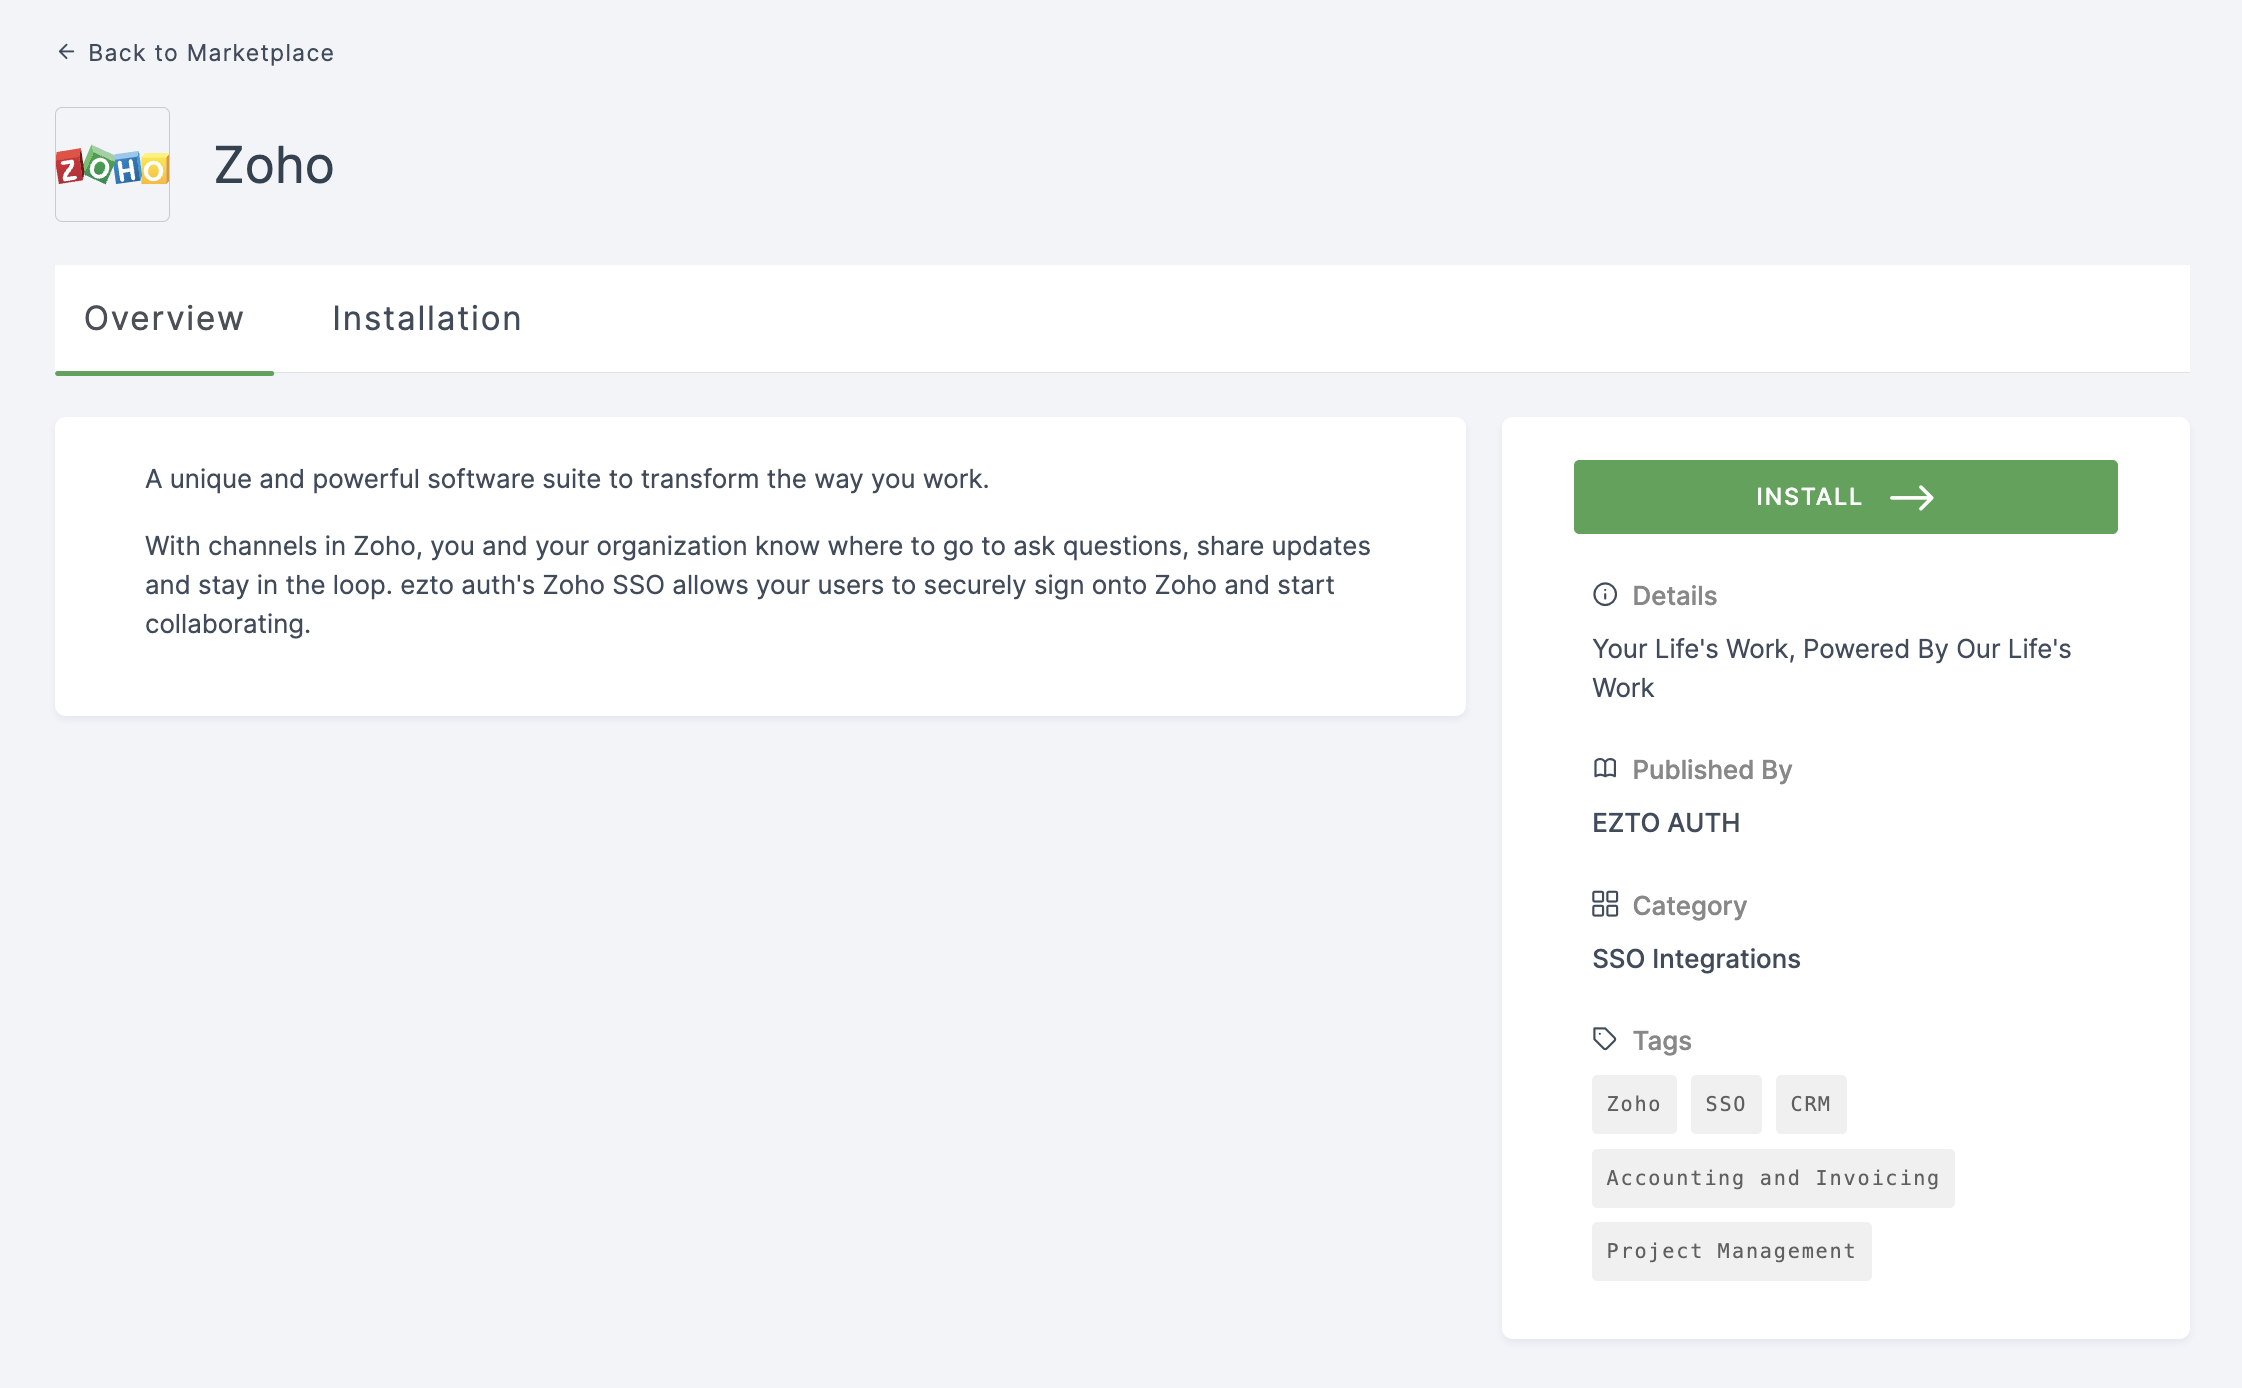
4 Click on INSTALL.
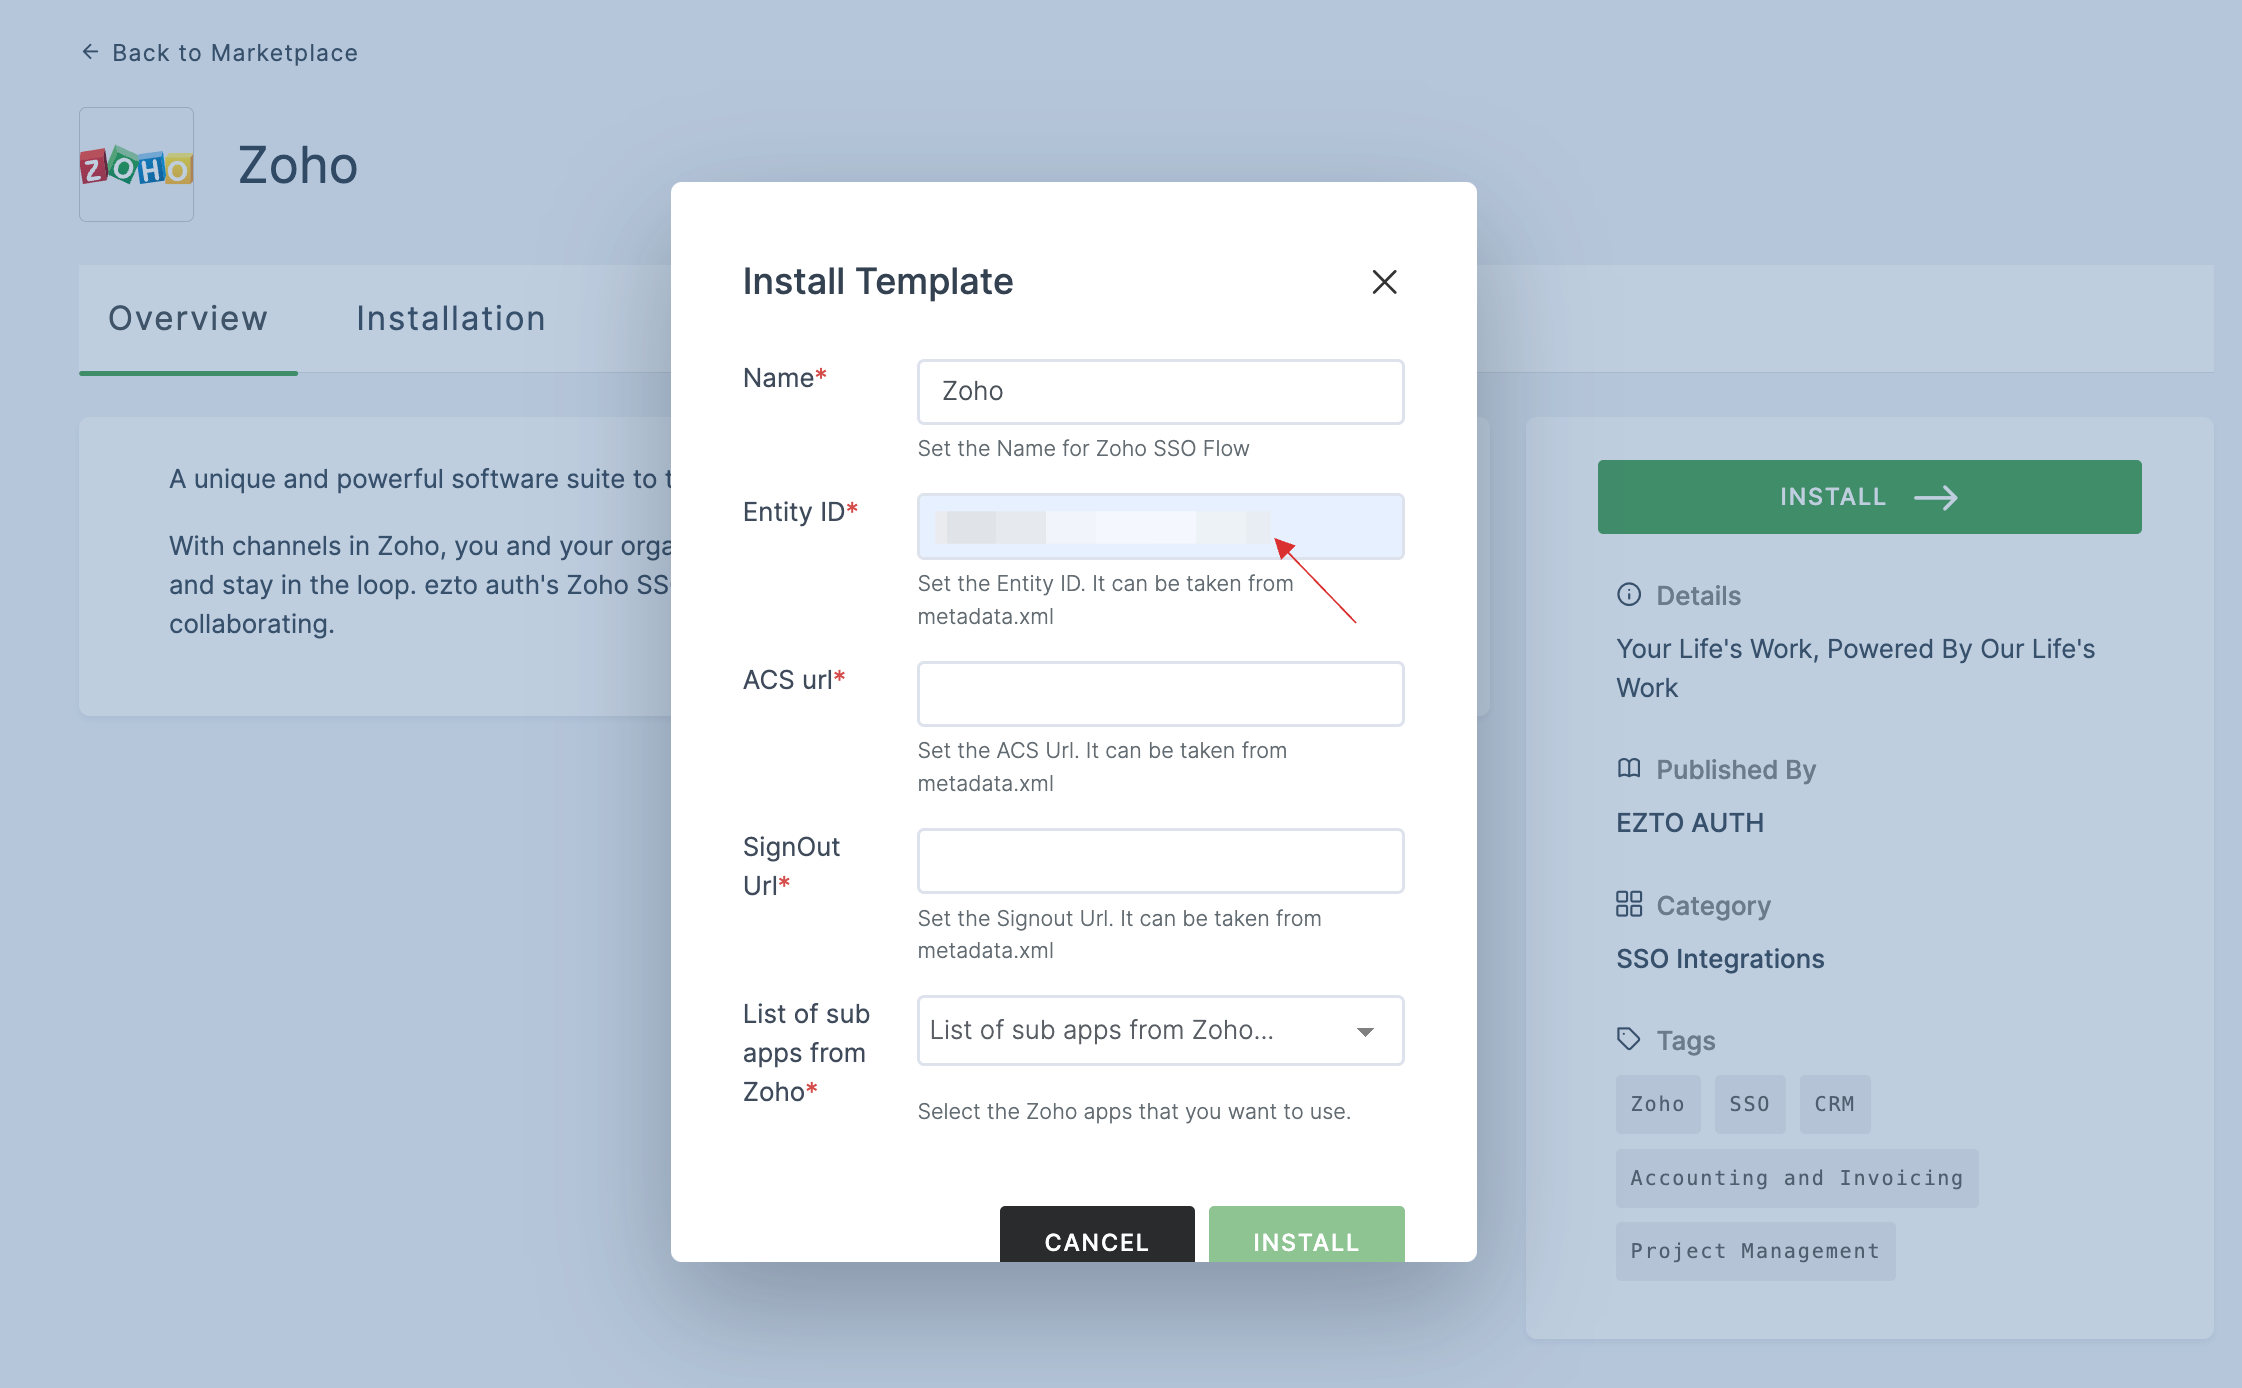
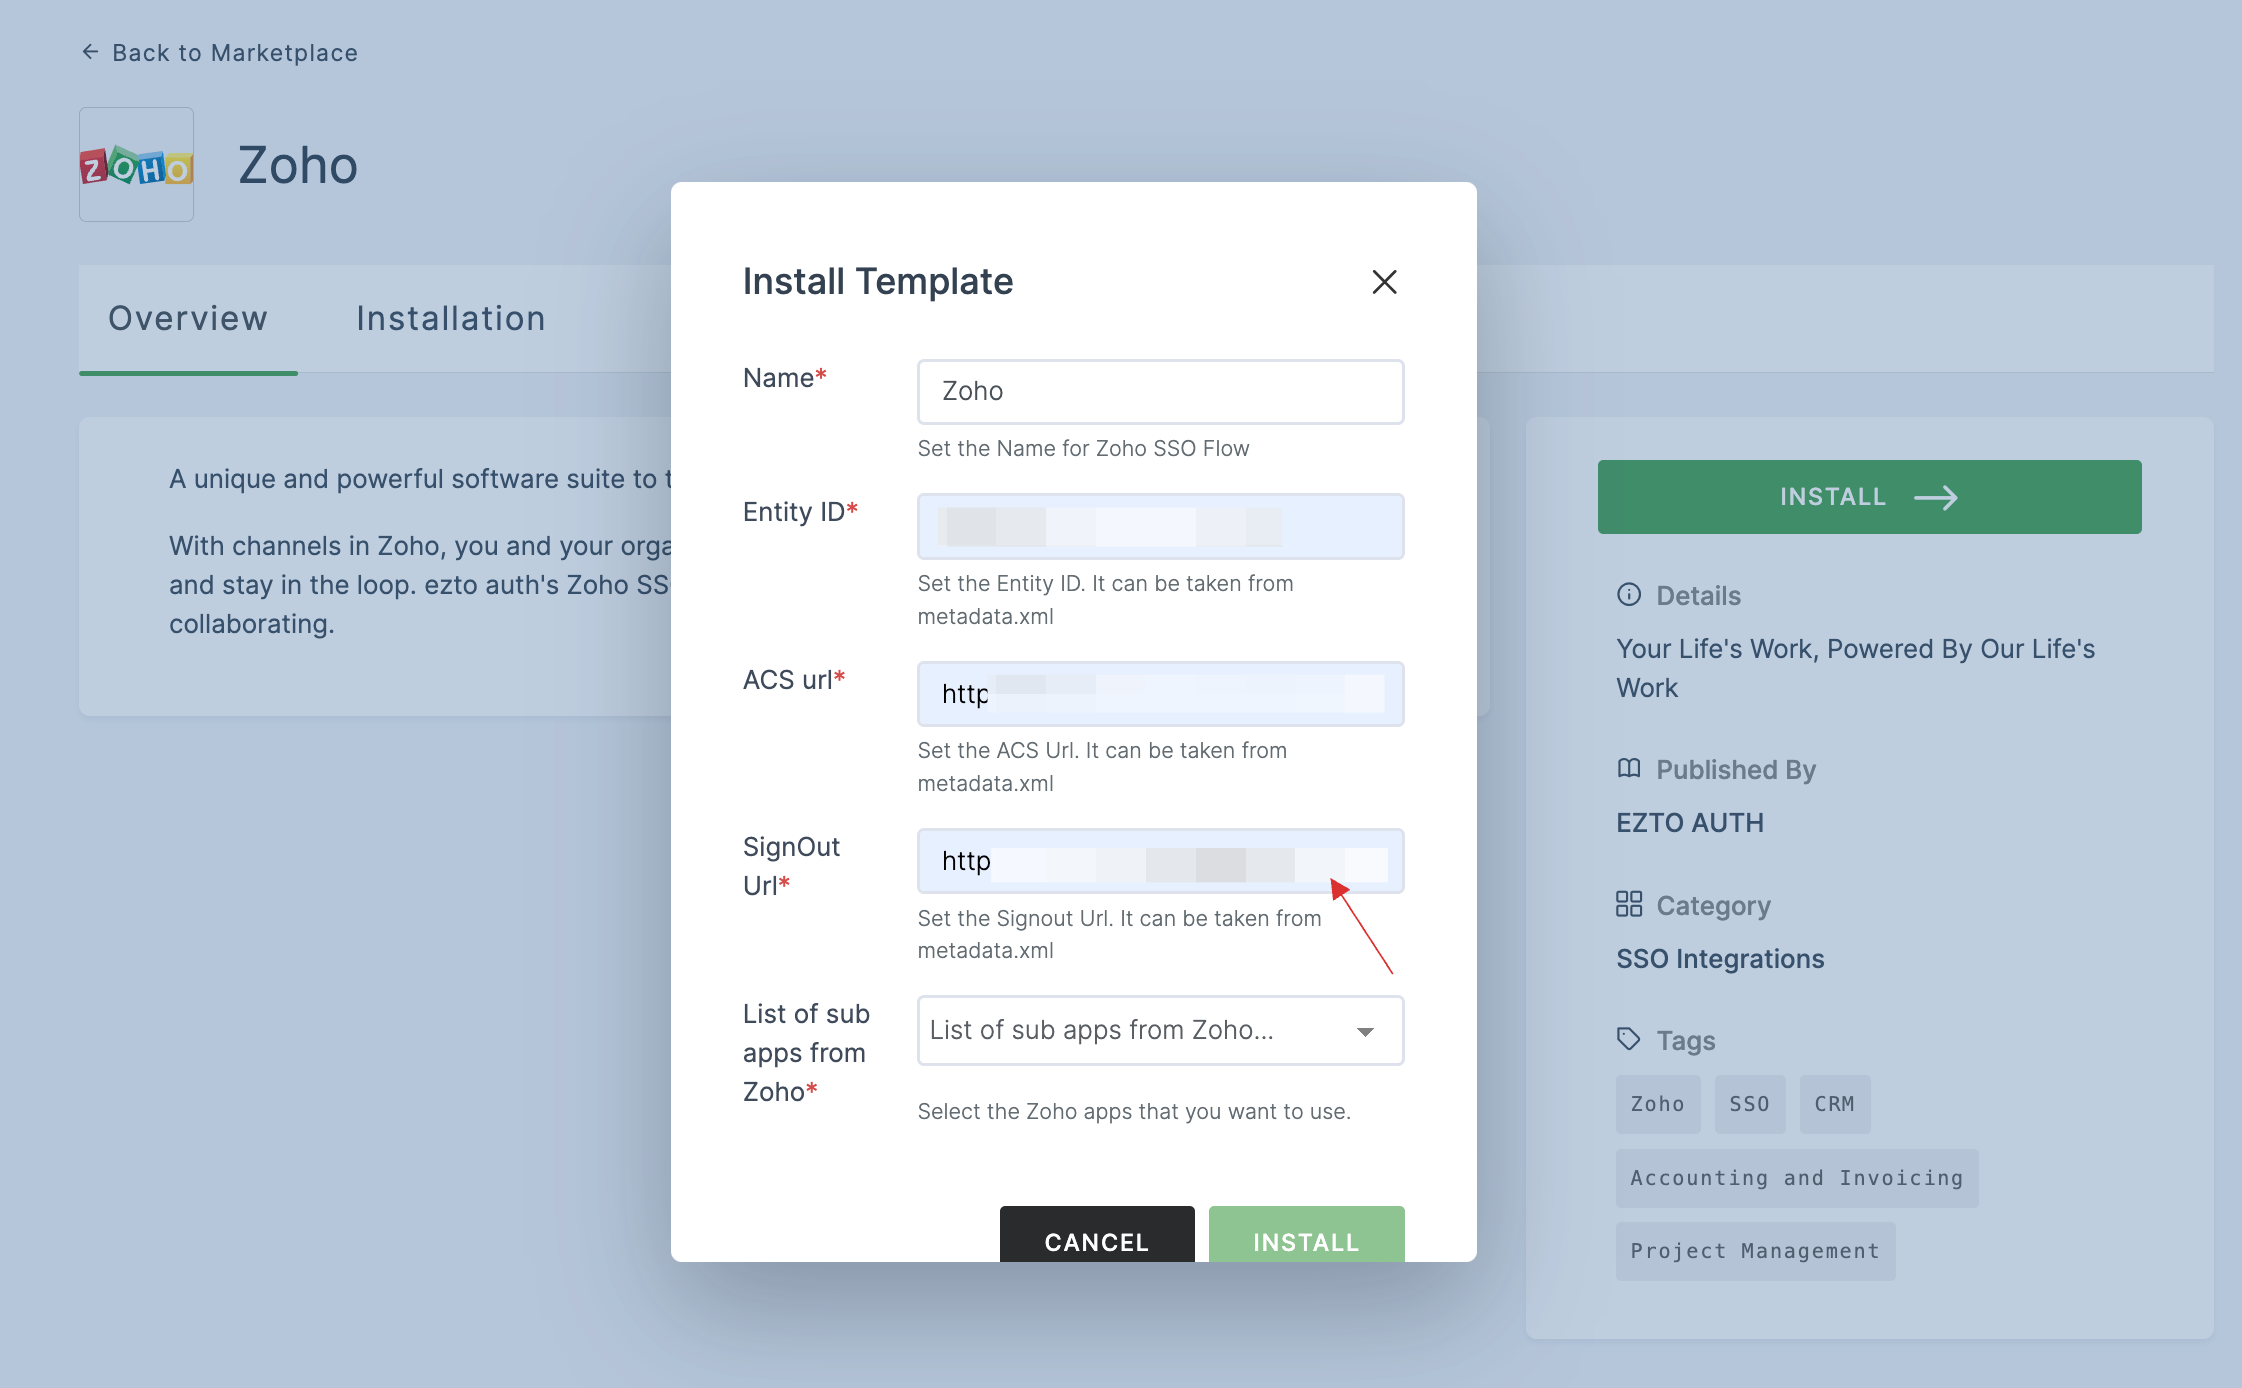
5 Provide a Name, and for the Entity ID, go to your Zoho account.
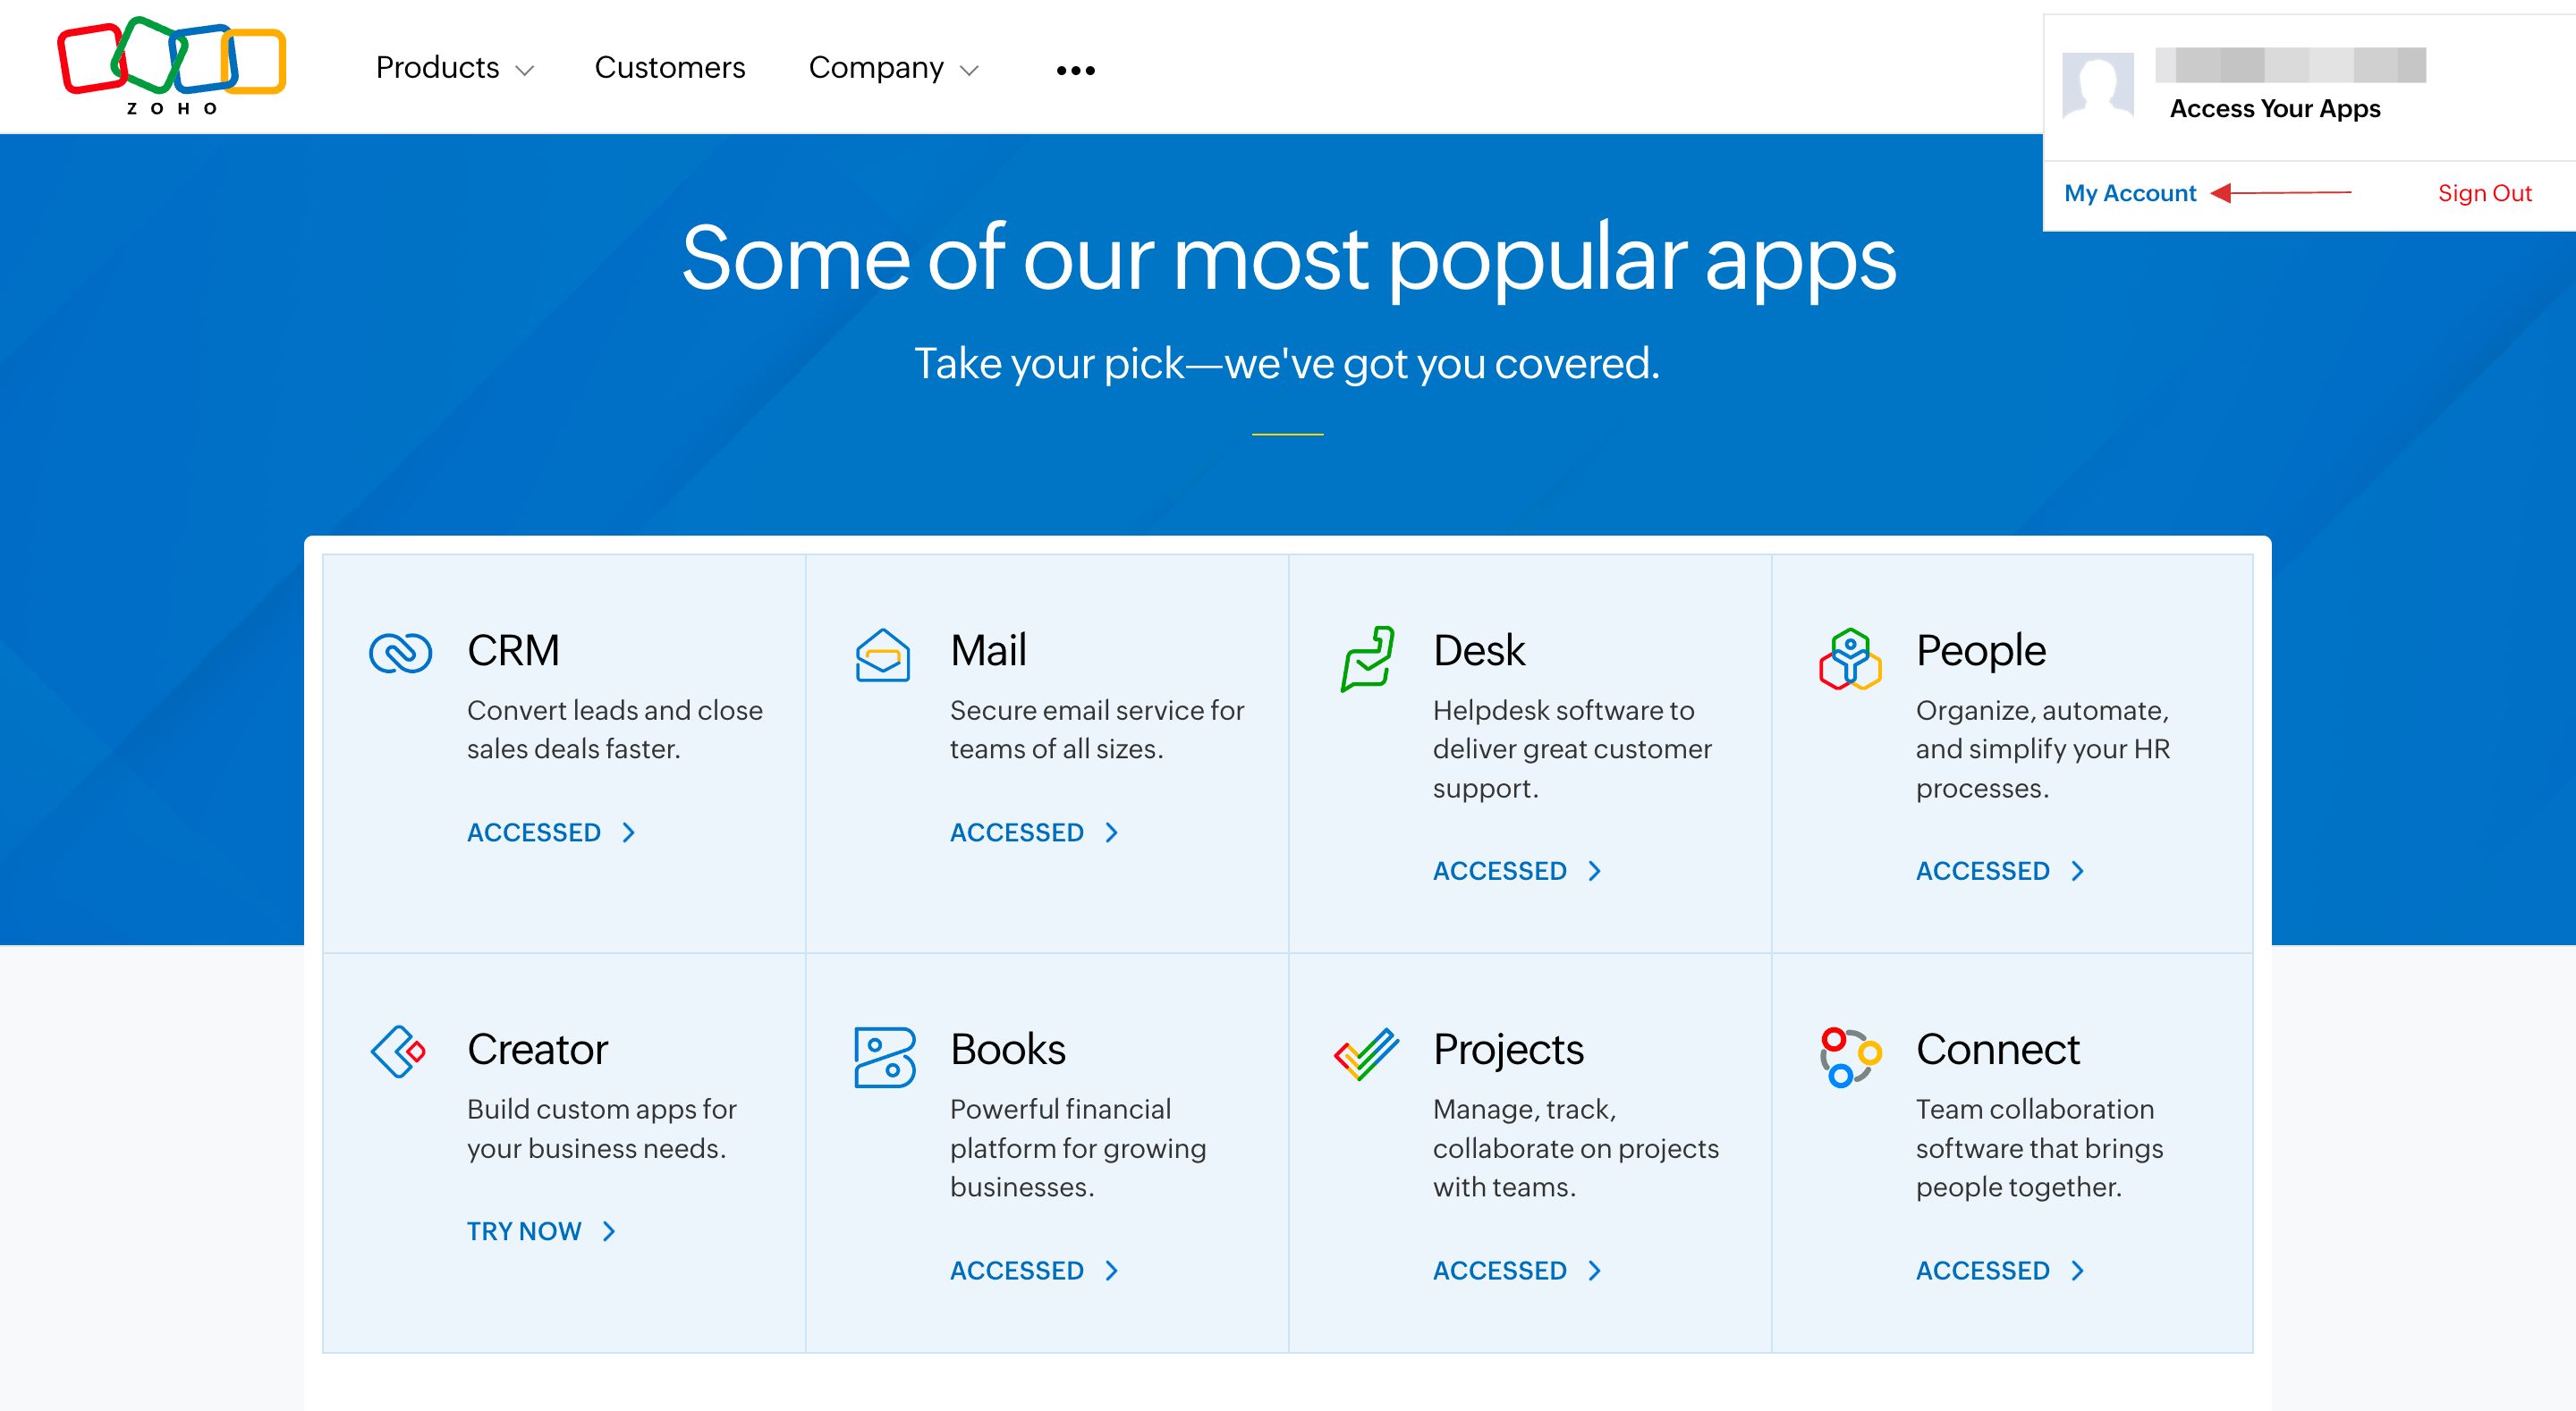
6 Navigate to the profile icon and select on My Account.
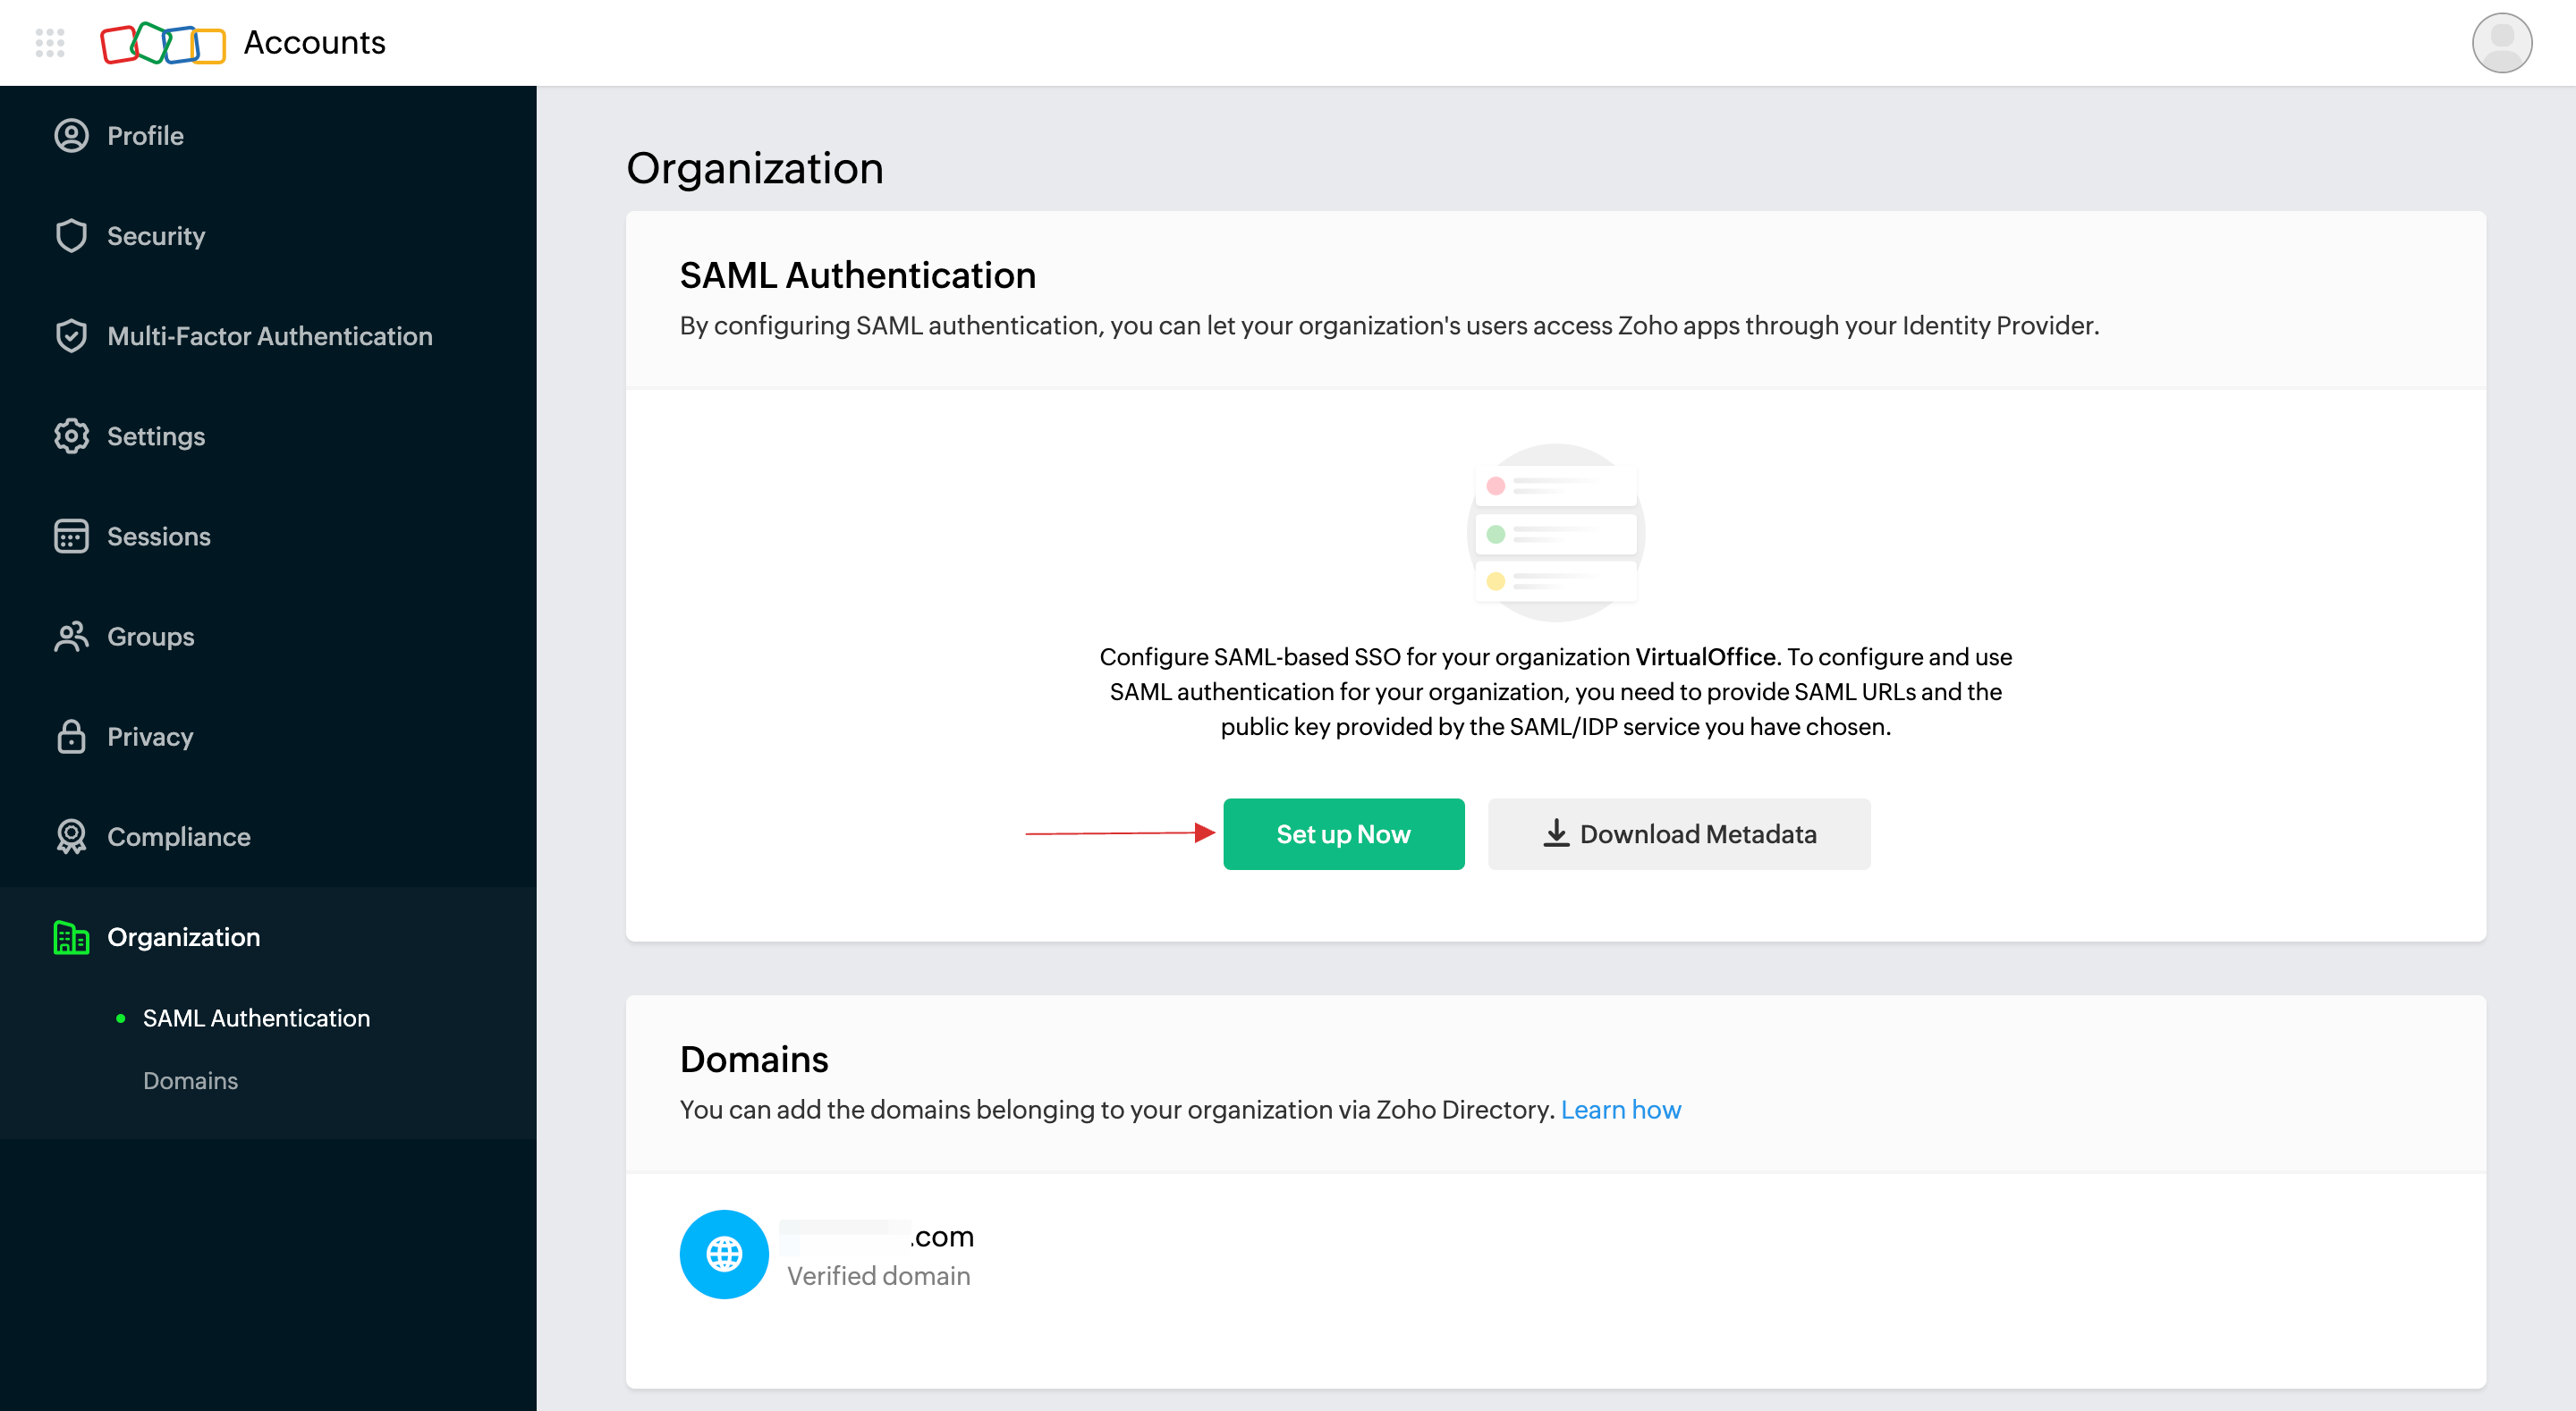
7 Click on Organization > SAML Authentication.

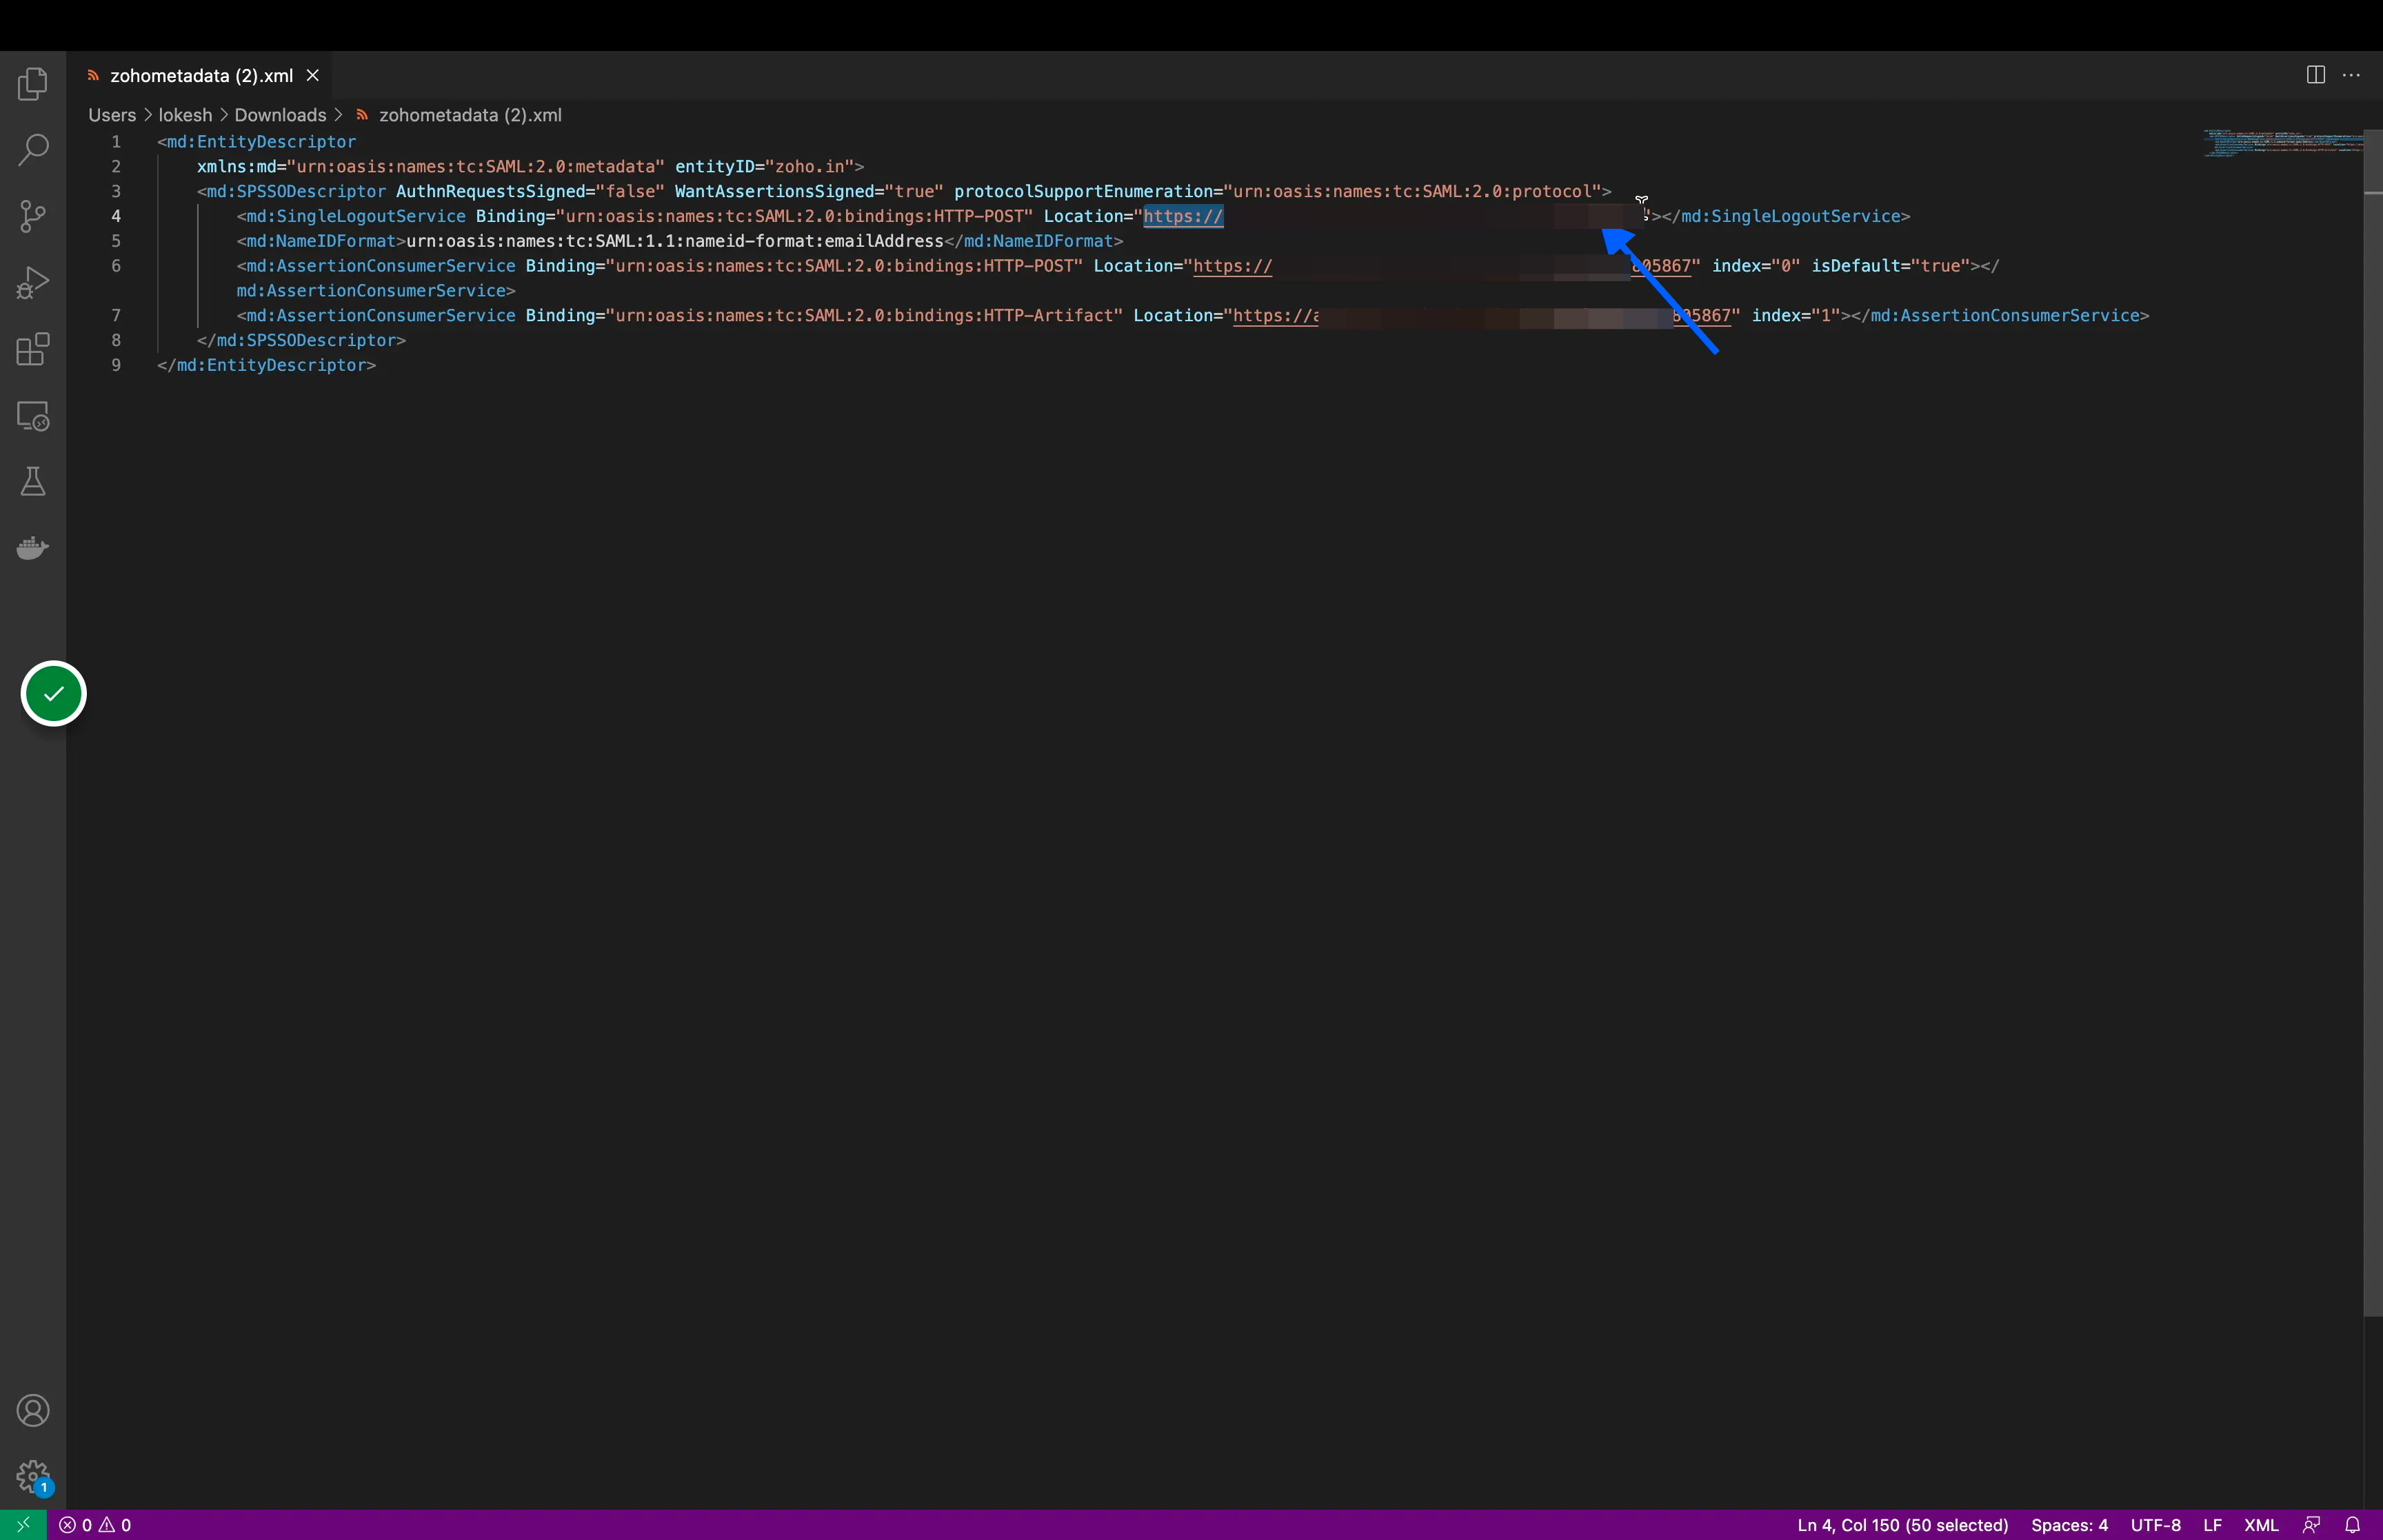
8 Click on Download Metadata.

9 Copy Entity ID from the downloaded Metadata.xml file.
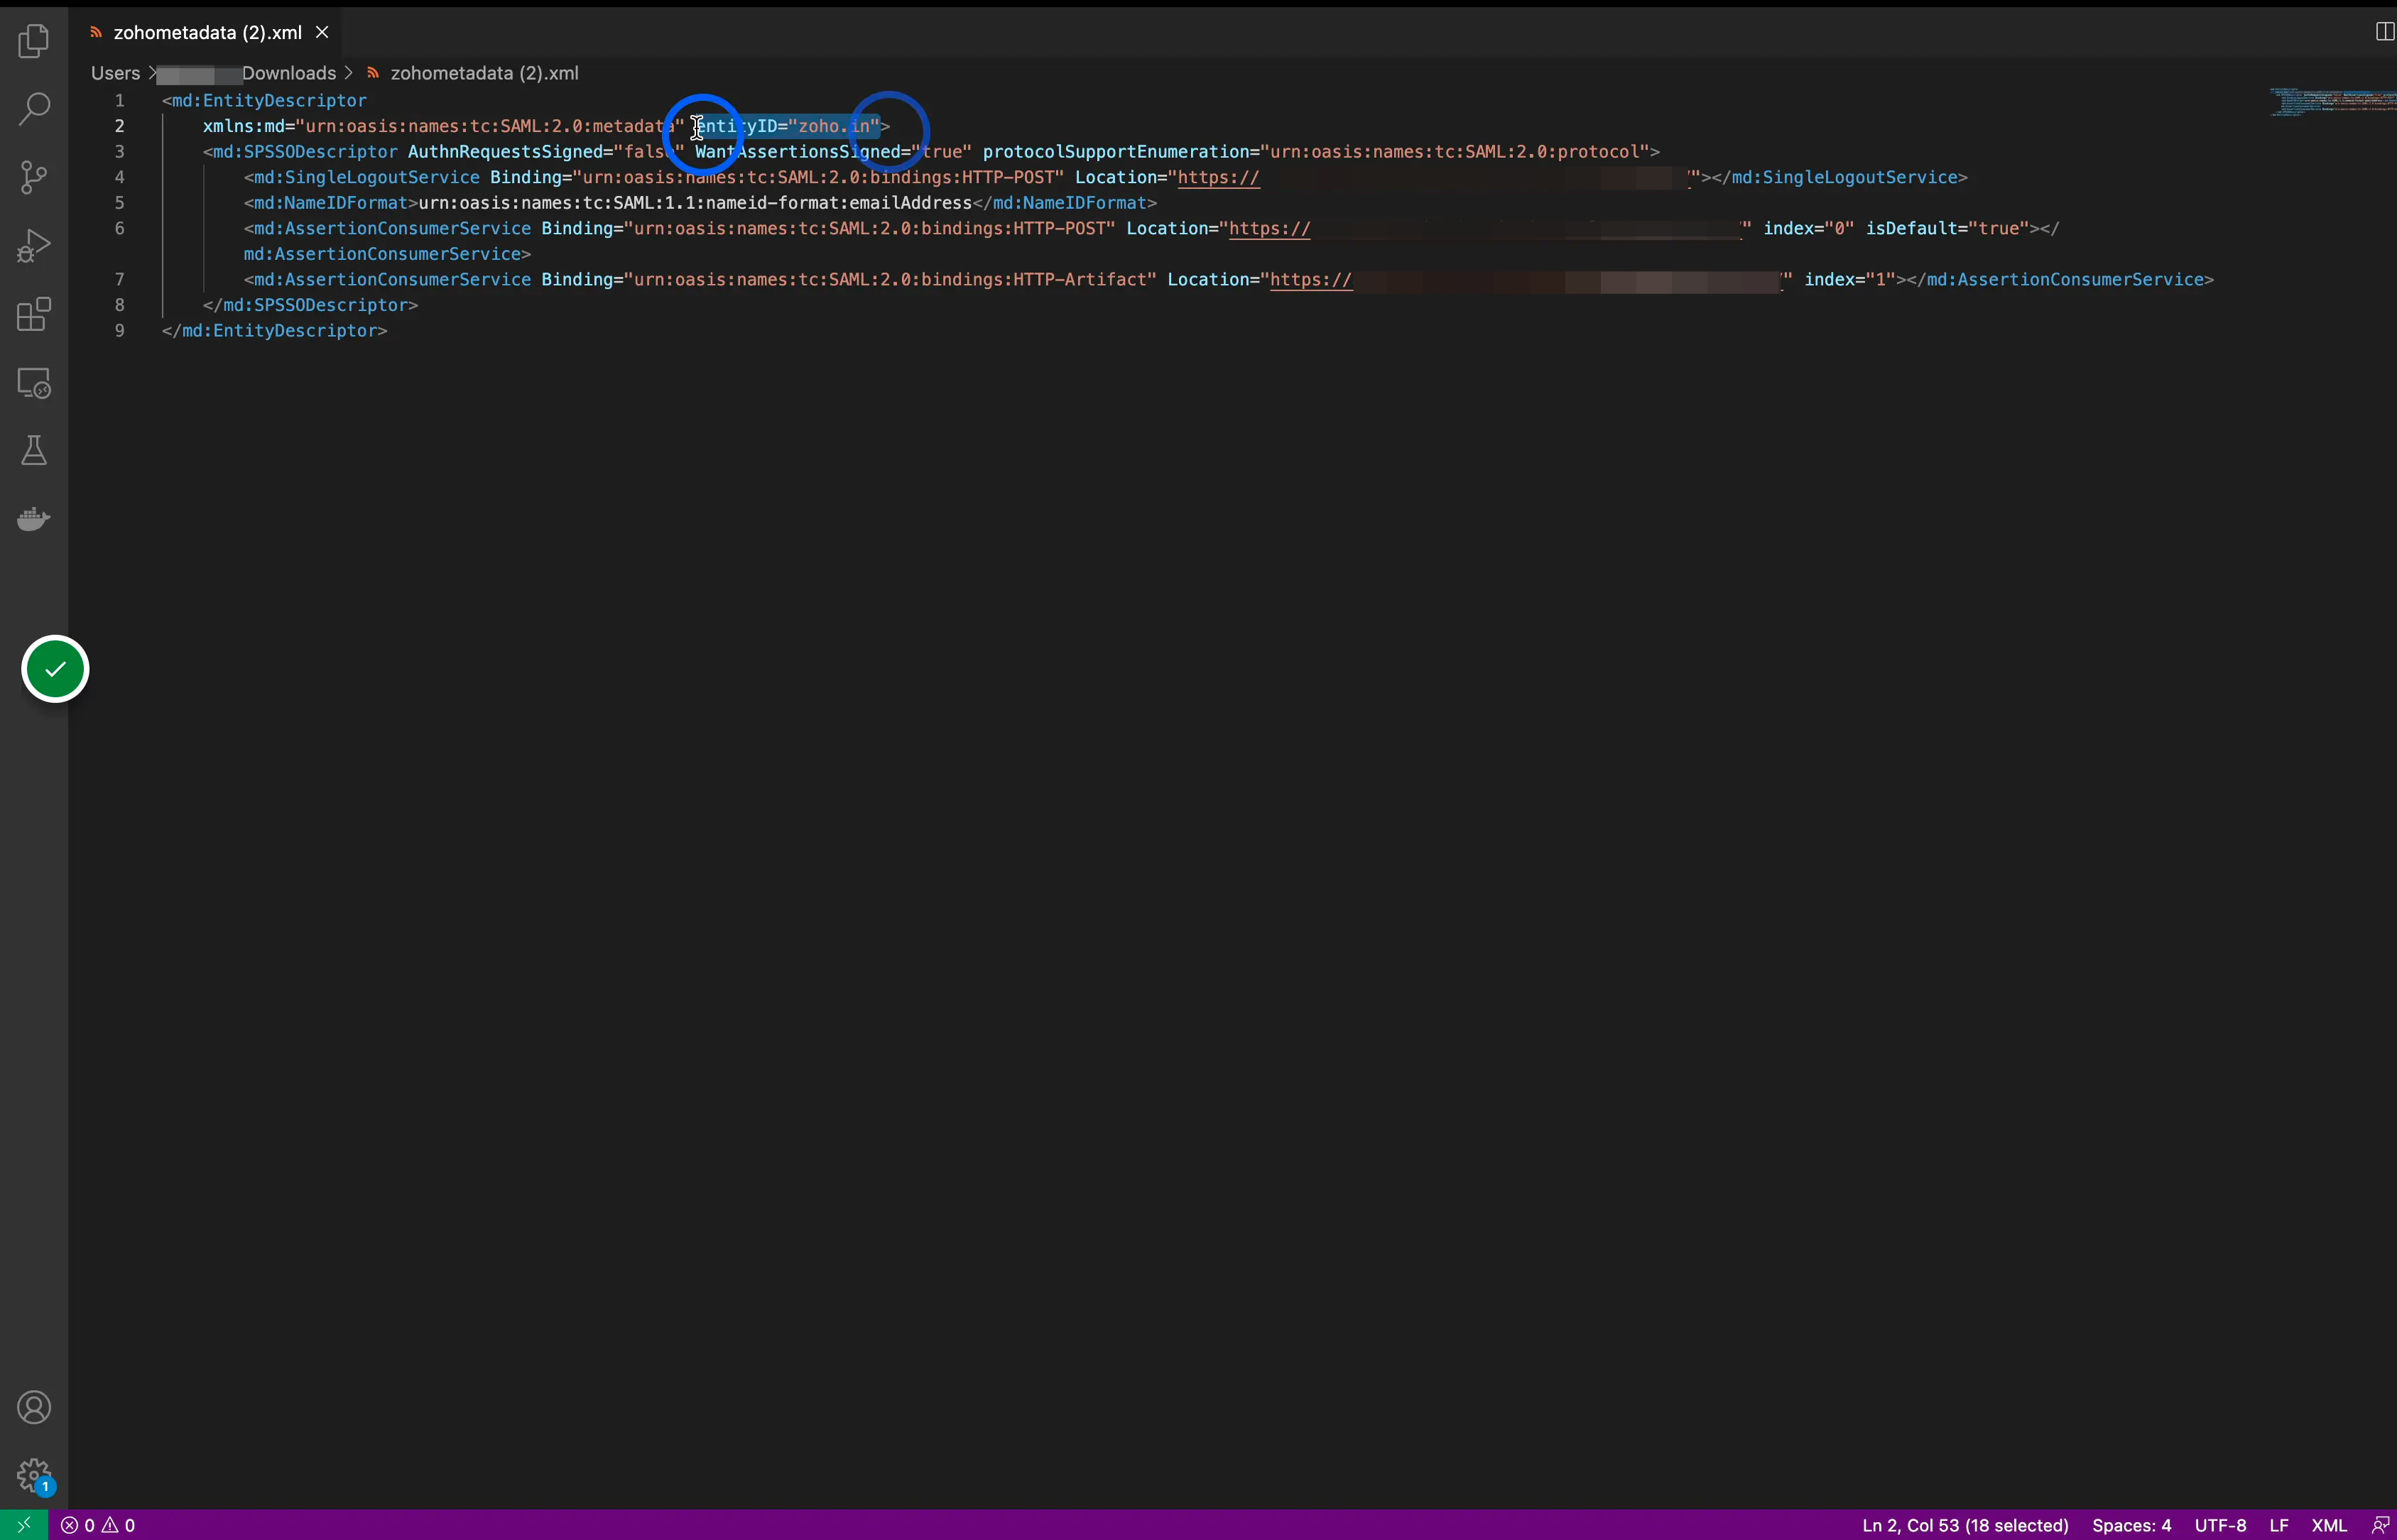
10 Return to your dashboard, paste the copied Entity ID.
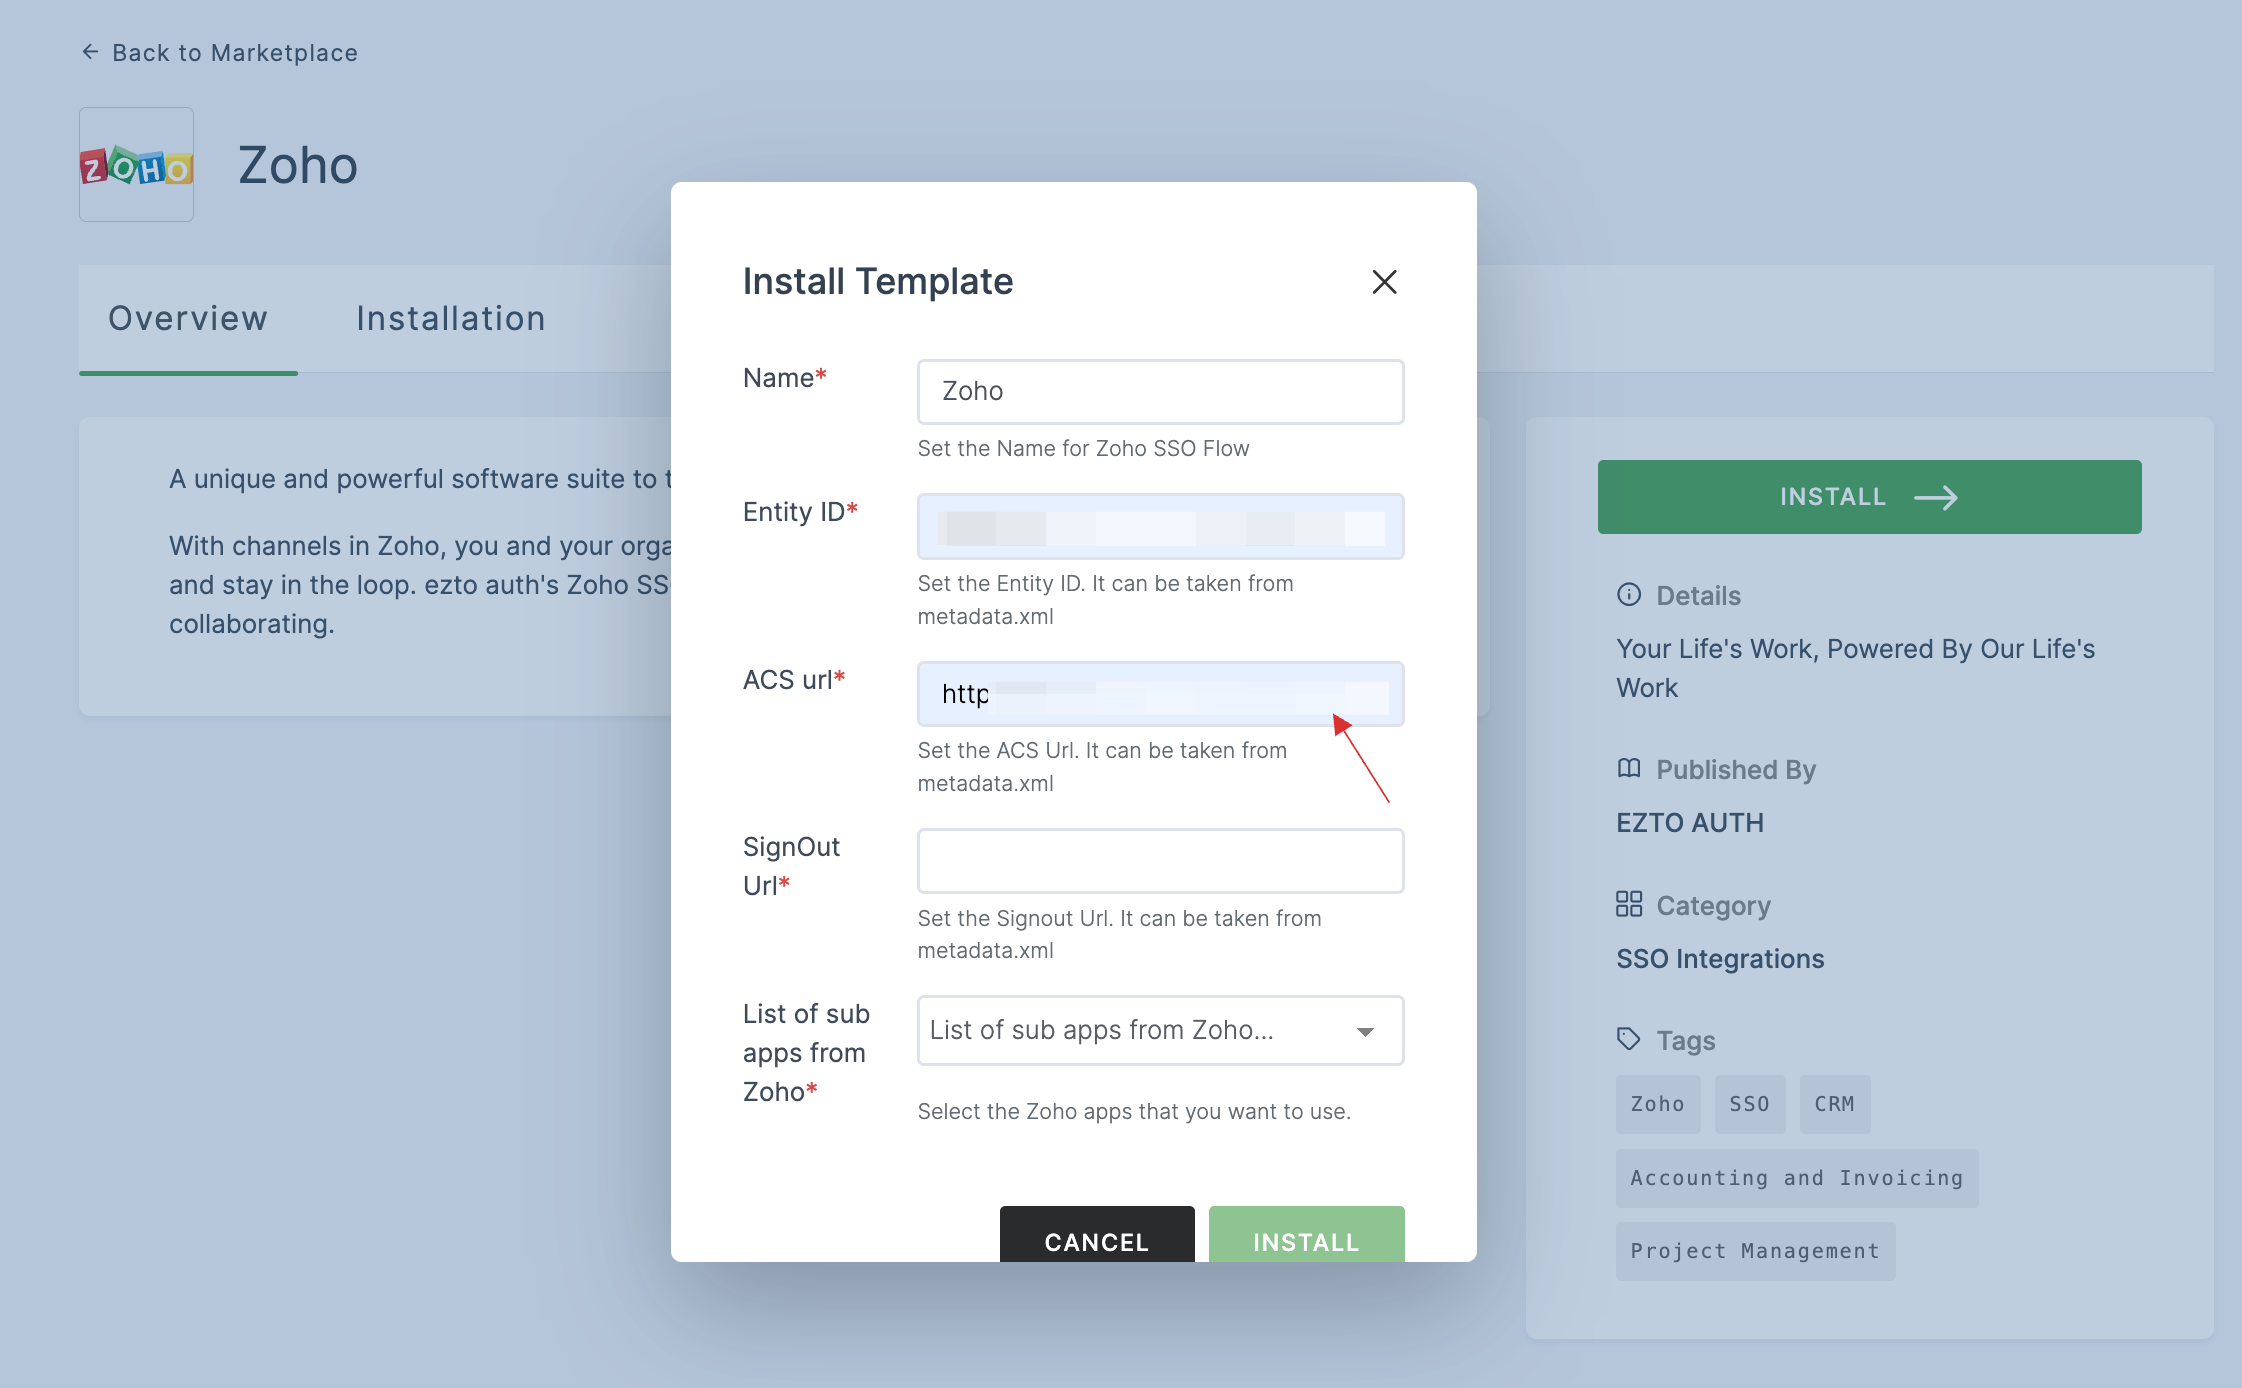
11 Copy ACS URL from the Metadata.xml file.
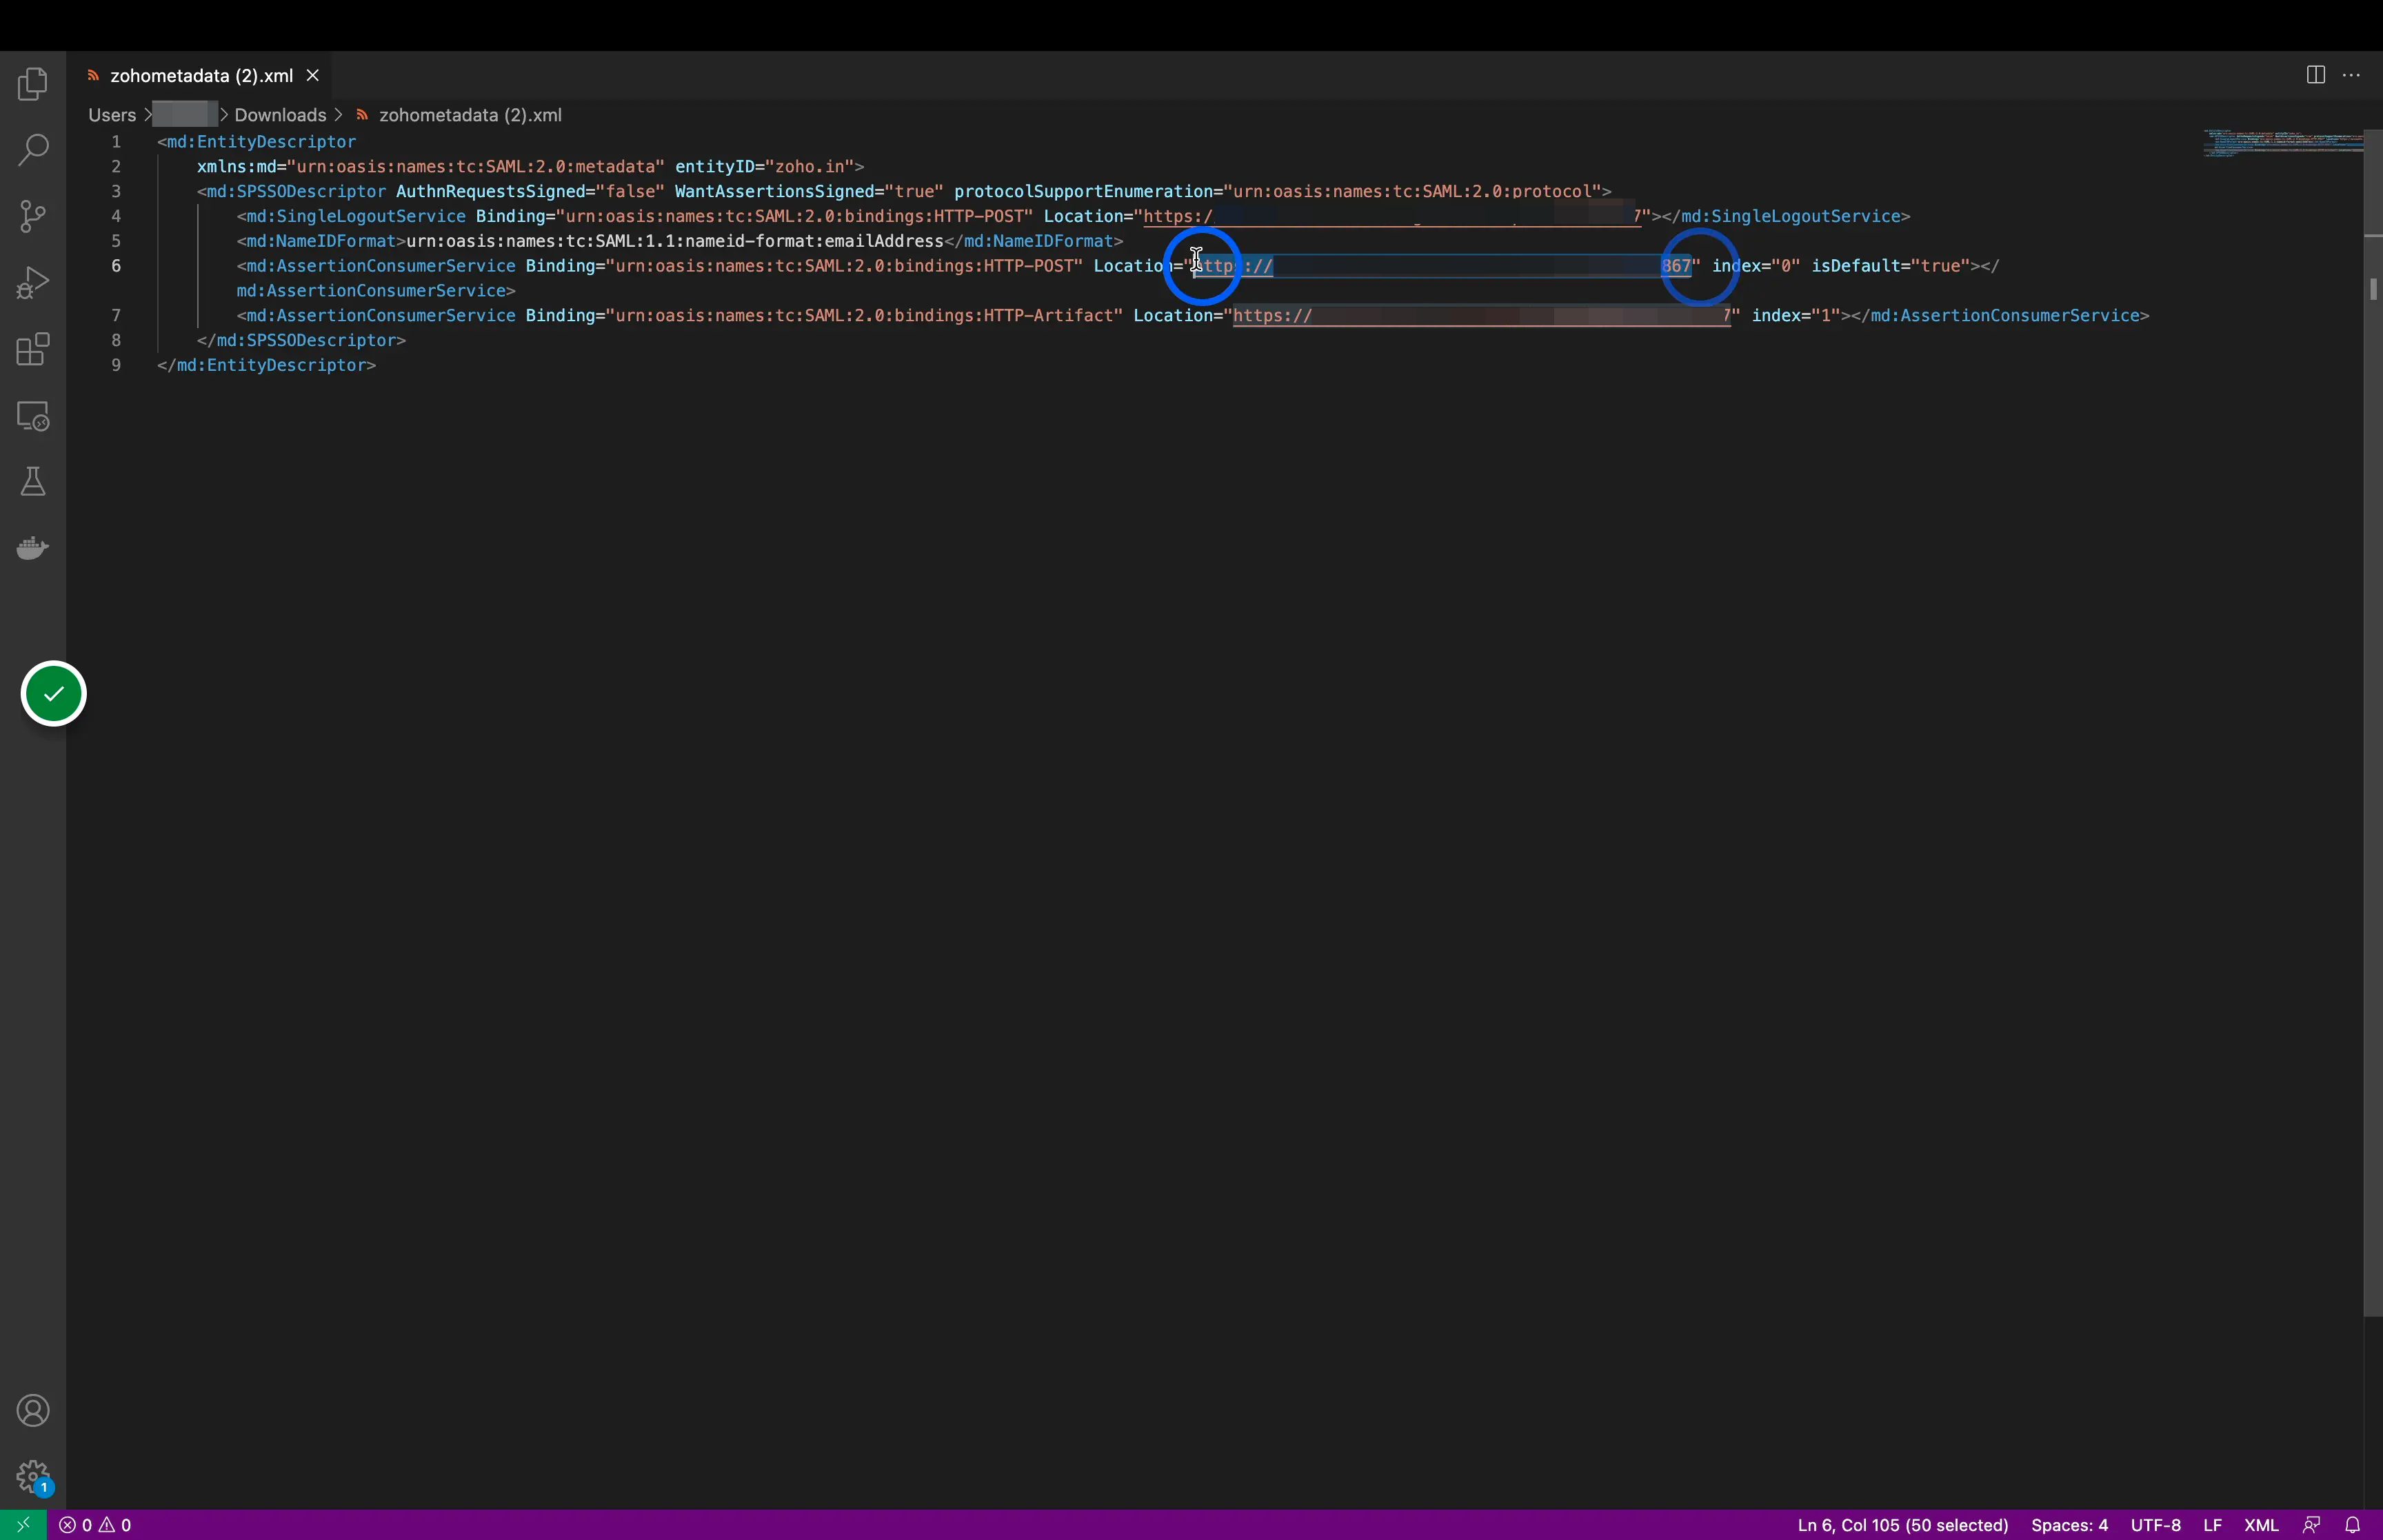
12 Return to your dashboard, paste the copied ACS URL.
13 Copy SignOut Url from the Metadata.xml file.
14 Return to your dashboard, paste the copied SignOut Url.
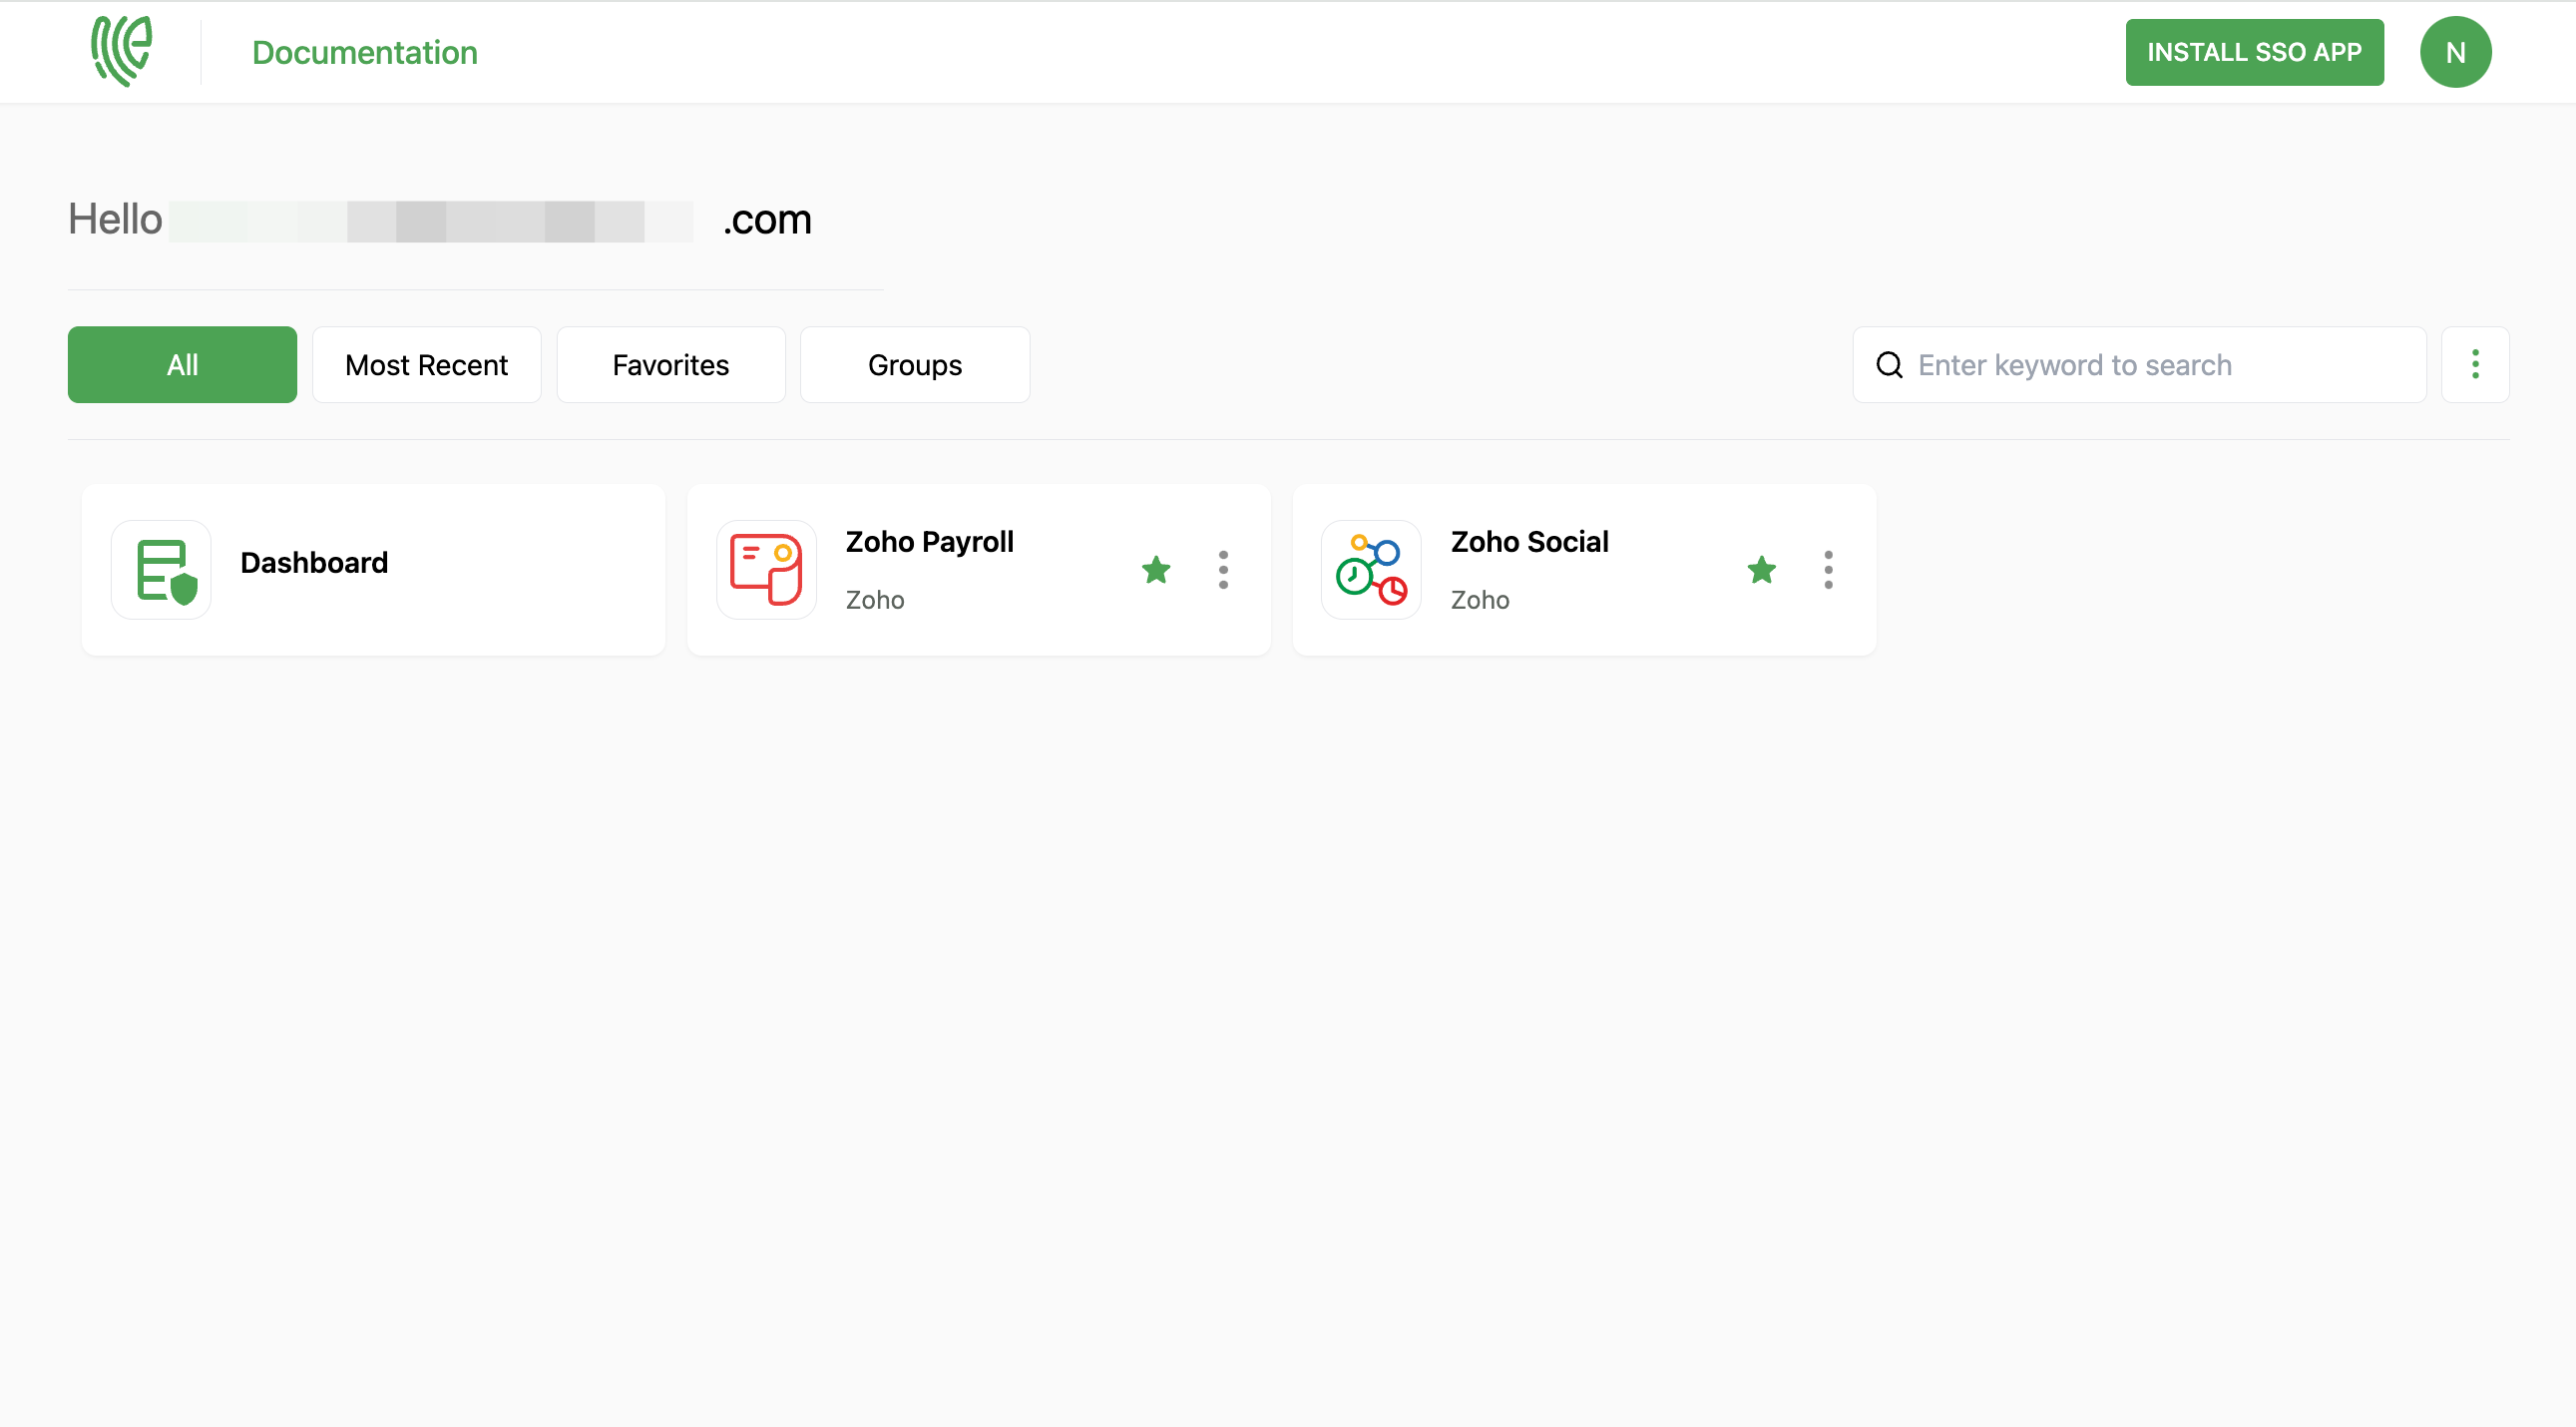
15 Select the sub-apps that meet your specific needs from the List of sub apps from Zoho. For instance, Zoho Payroll and Zoho Social is chosen here.
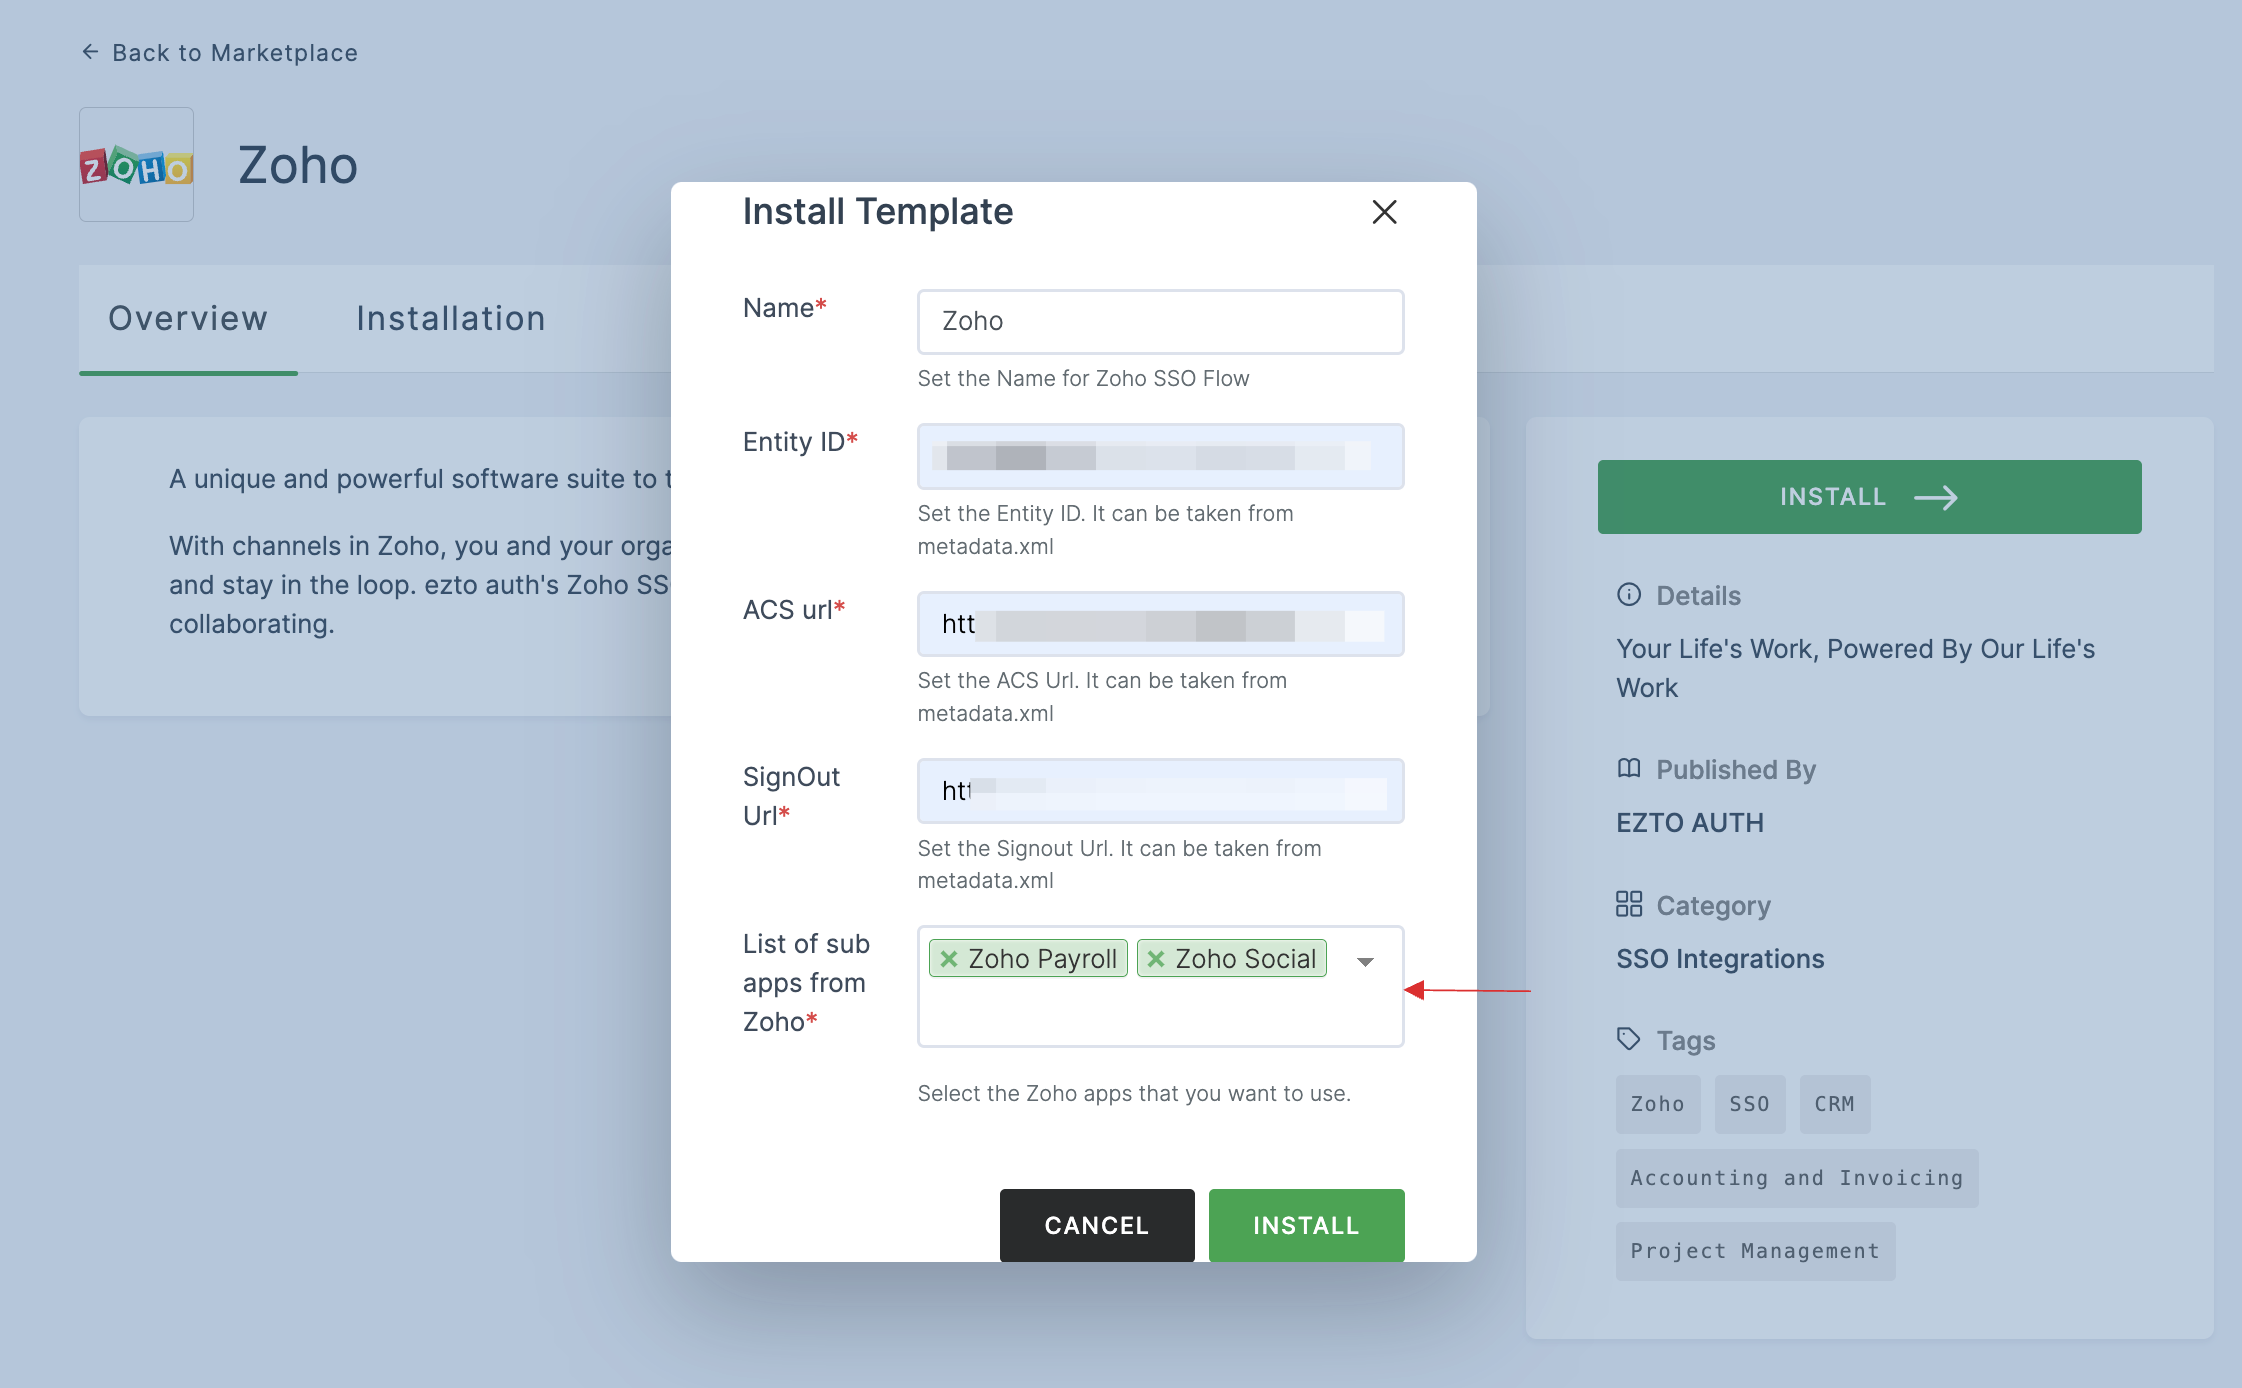
16 Once the configurations are provided, click on INSTALL.
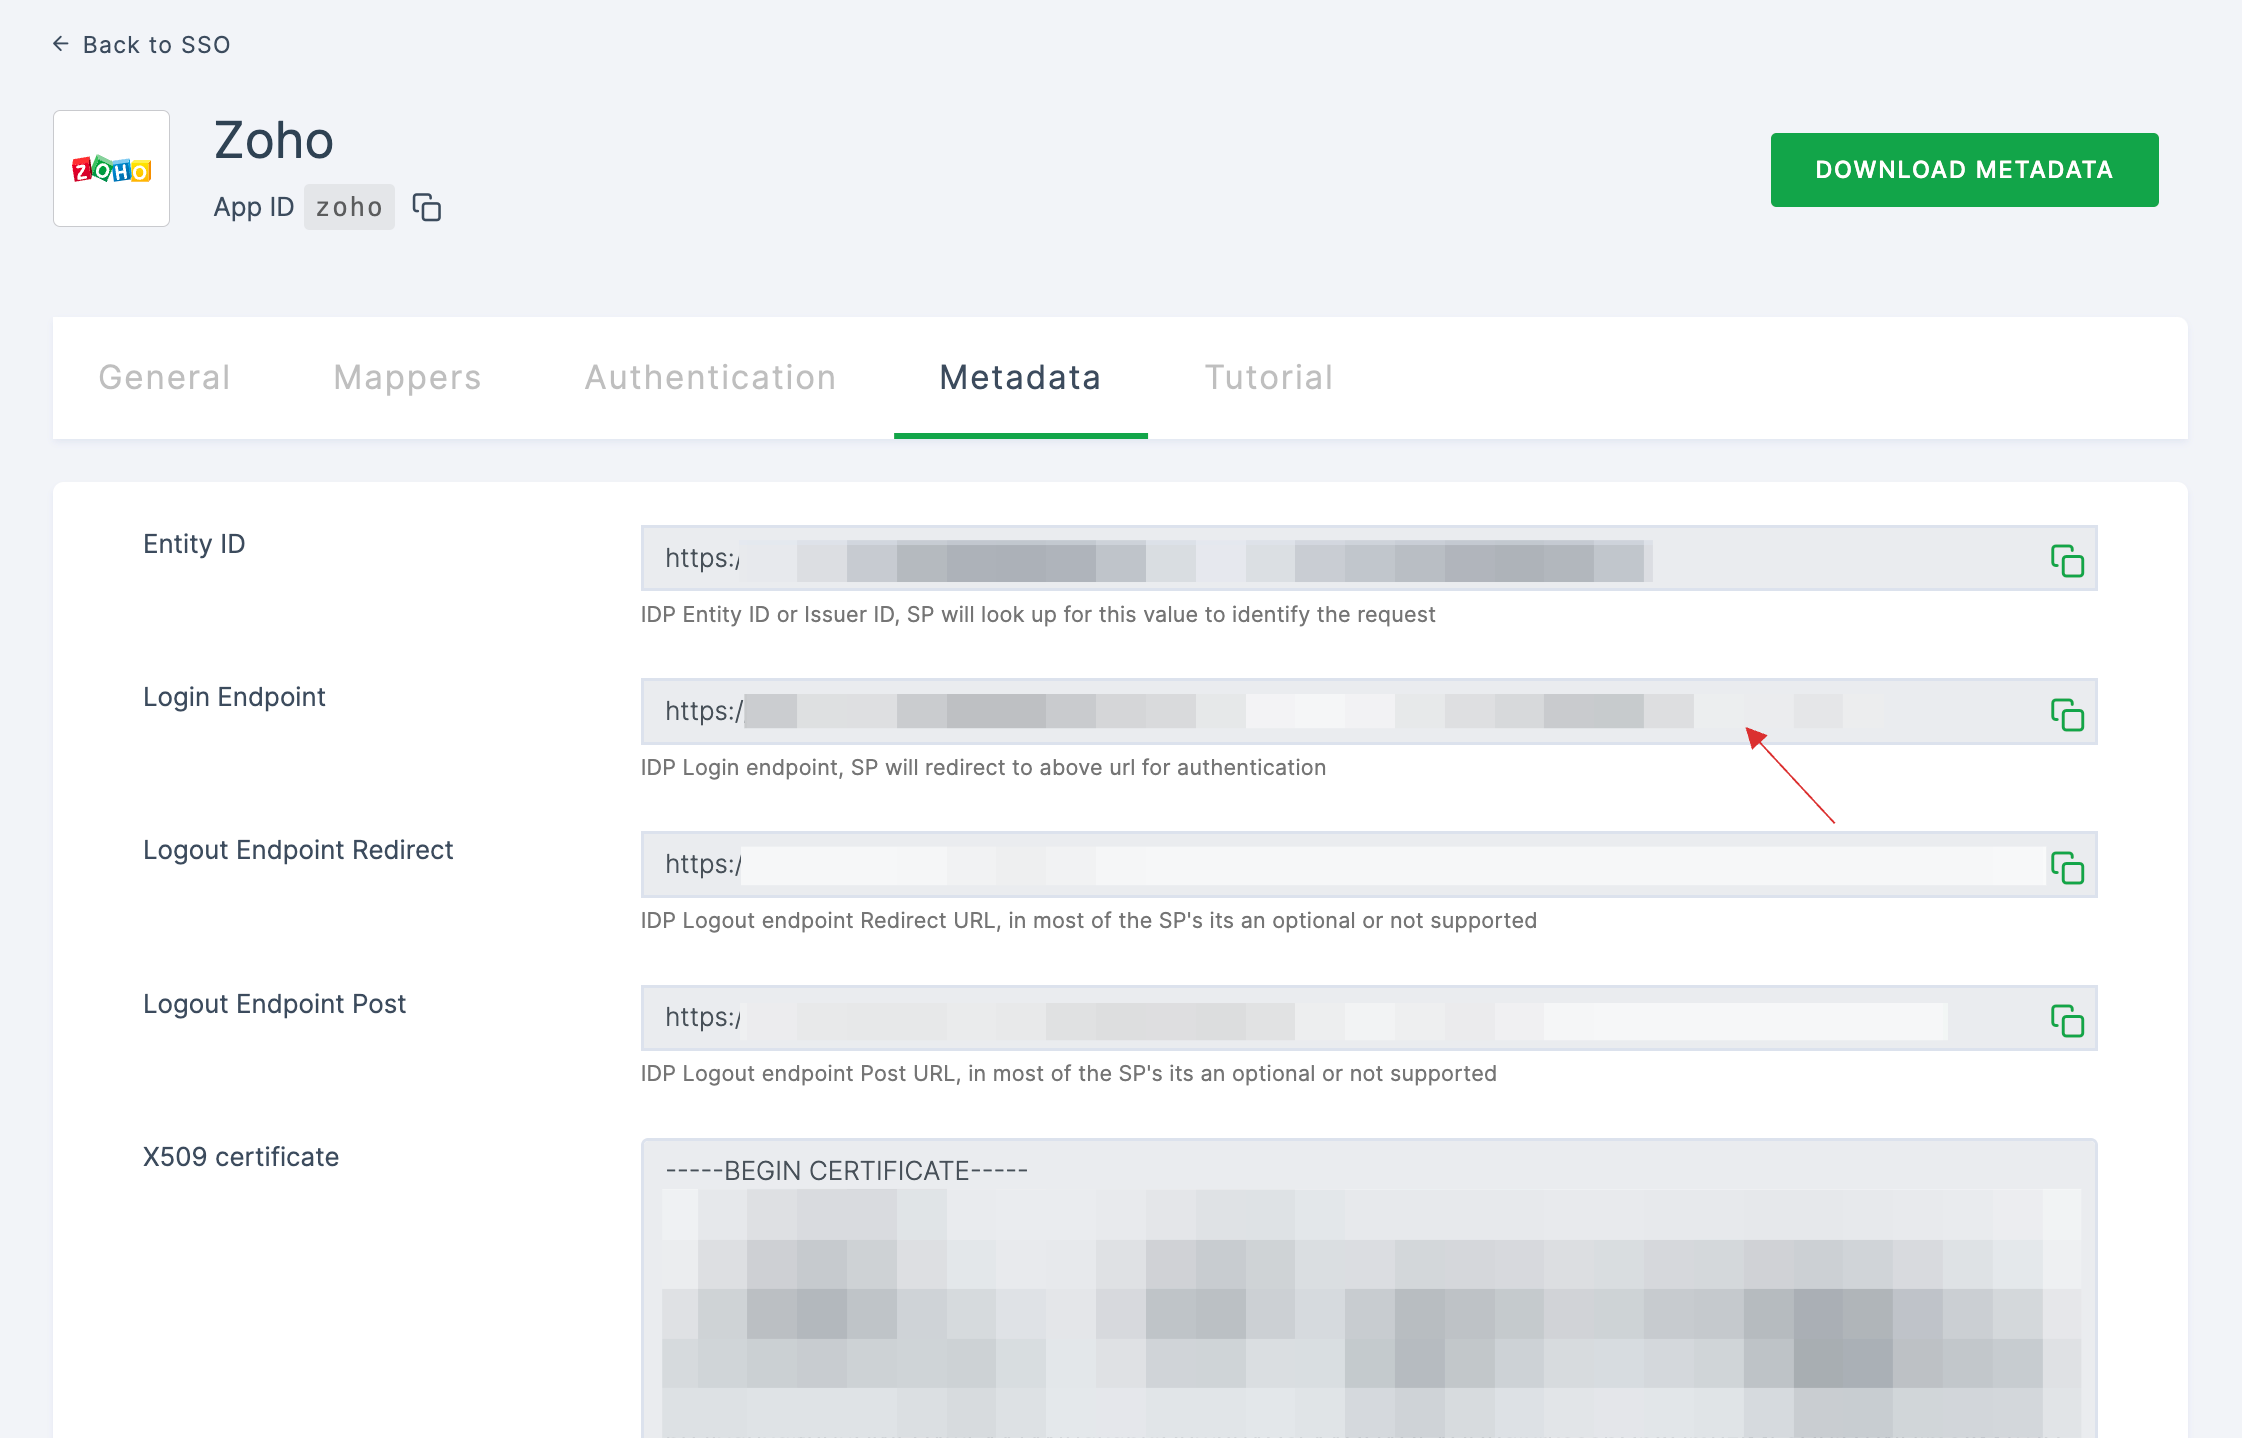
17 To enable Zoho SSO login, go to Applications > SSO, and click on the created Zoho SSO.

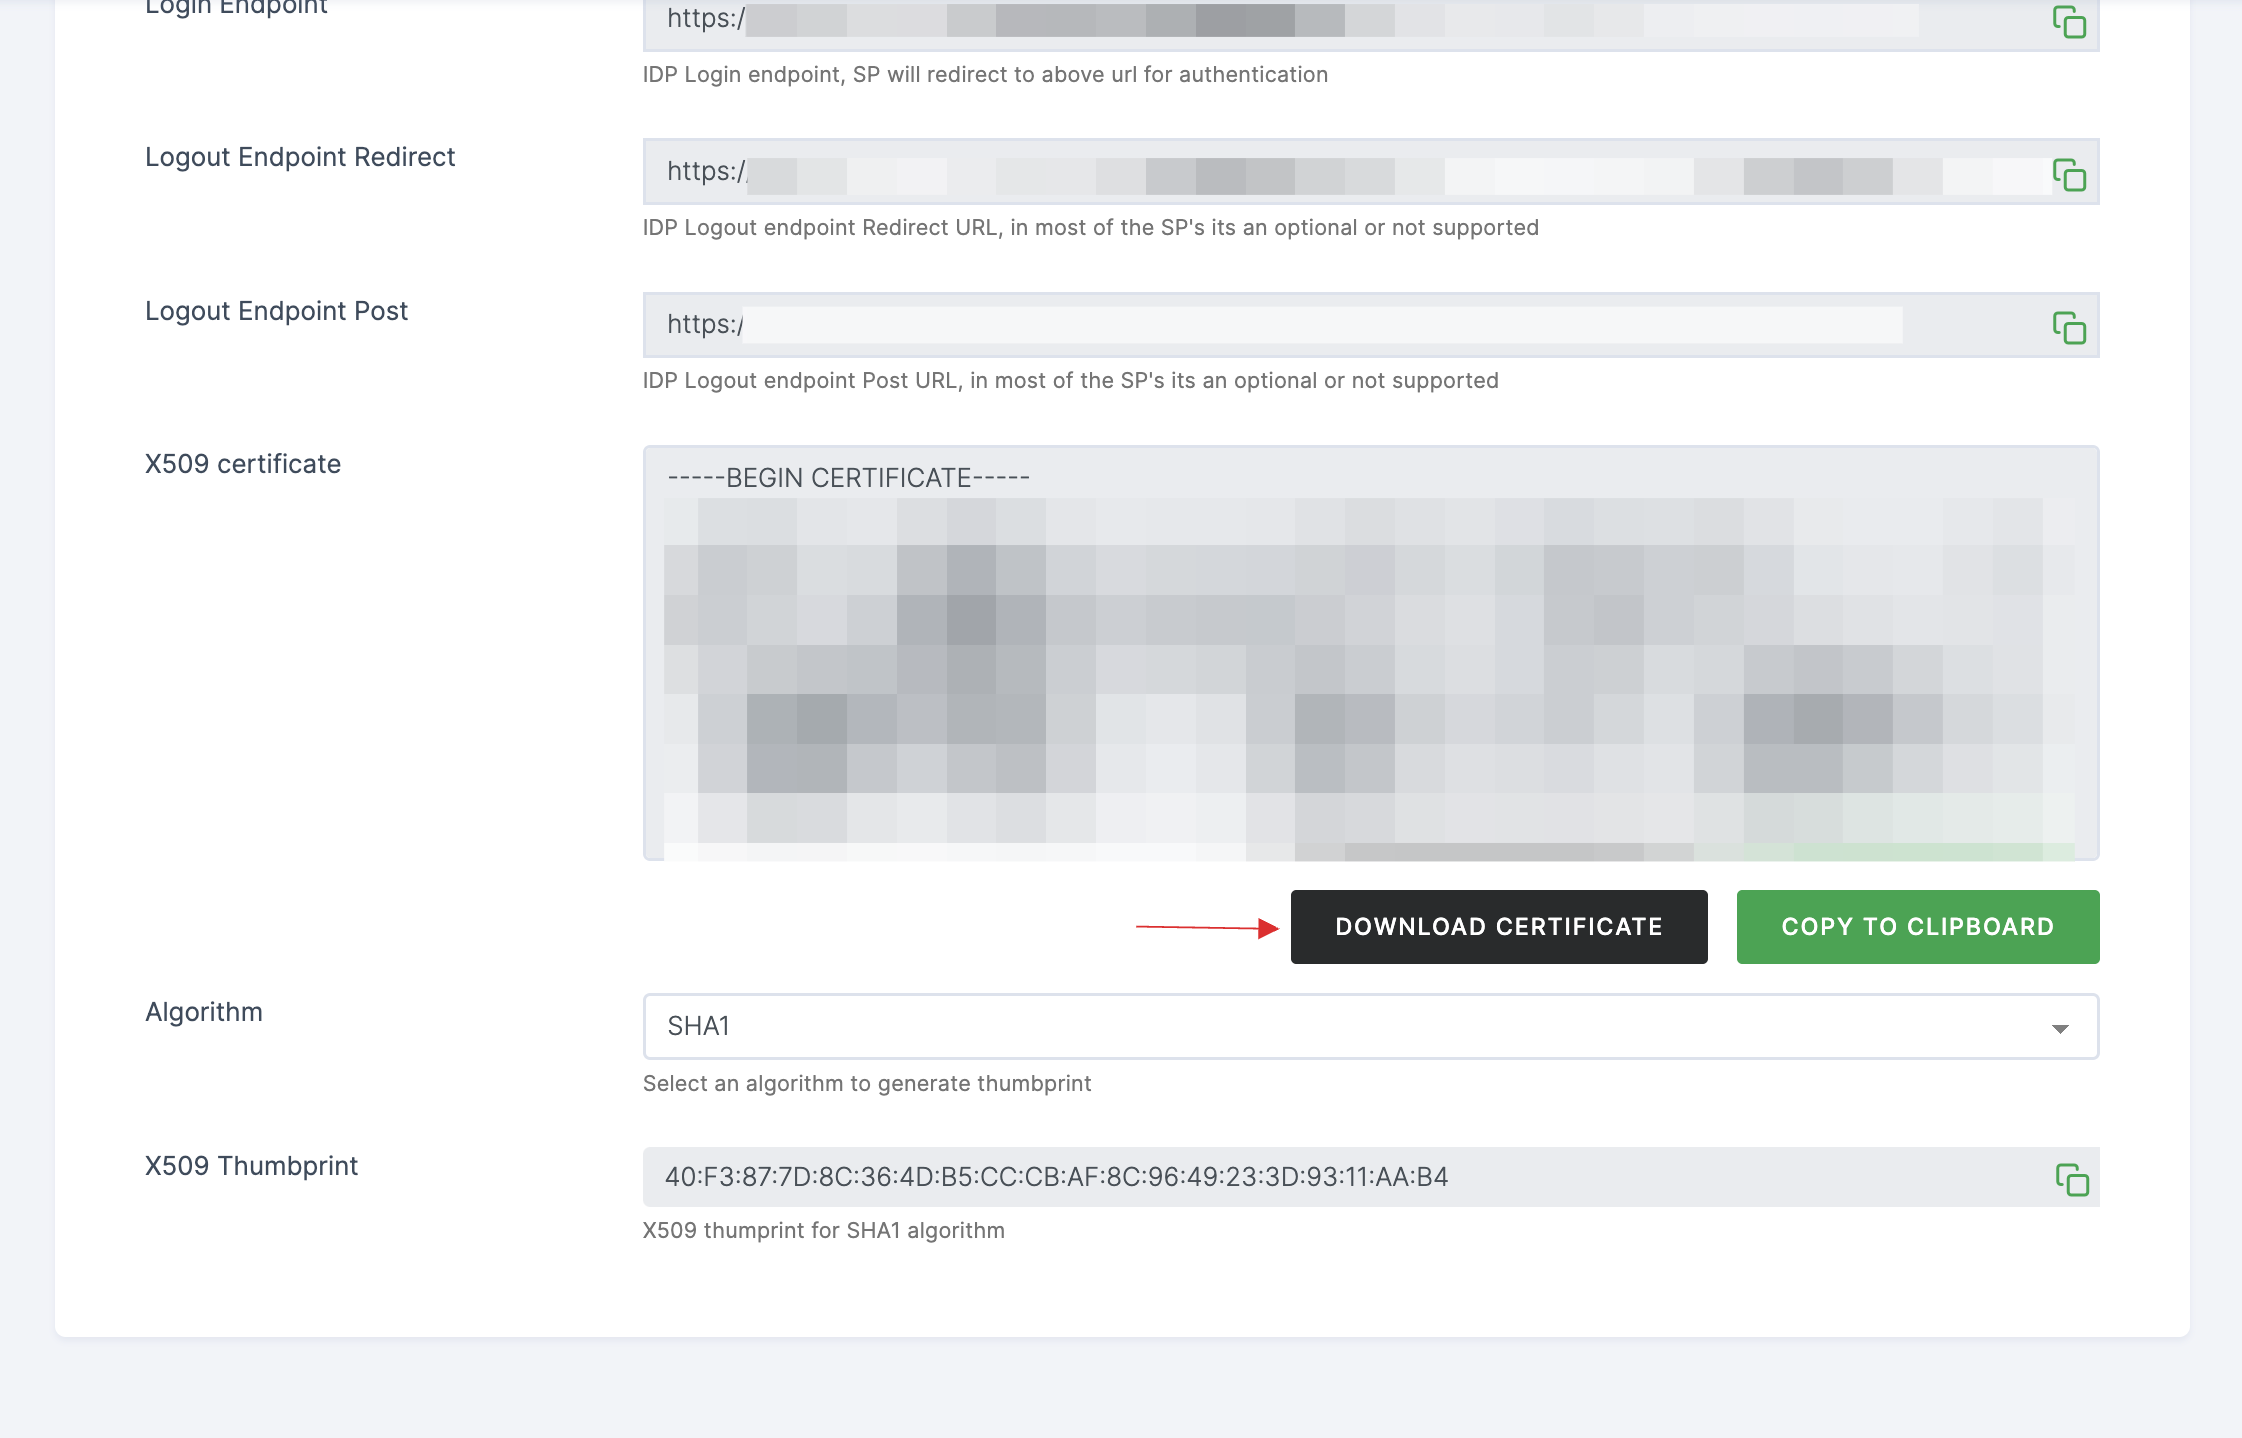
18 Click on Metadata, where the list of endpoints for the particular SSO will be available. Copy the Login Endpoint.
19 Switch to Zoho, click on Set up Now.
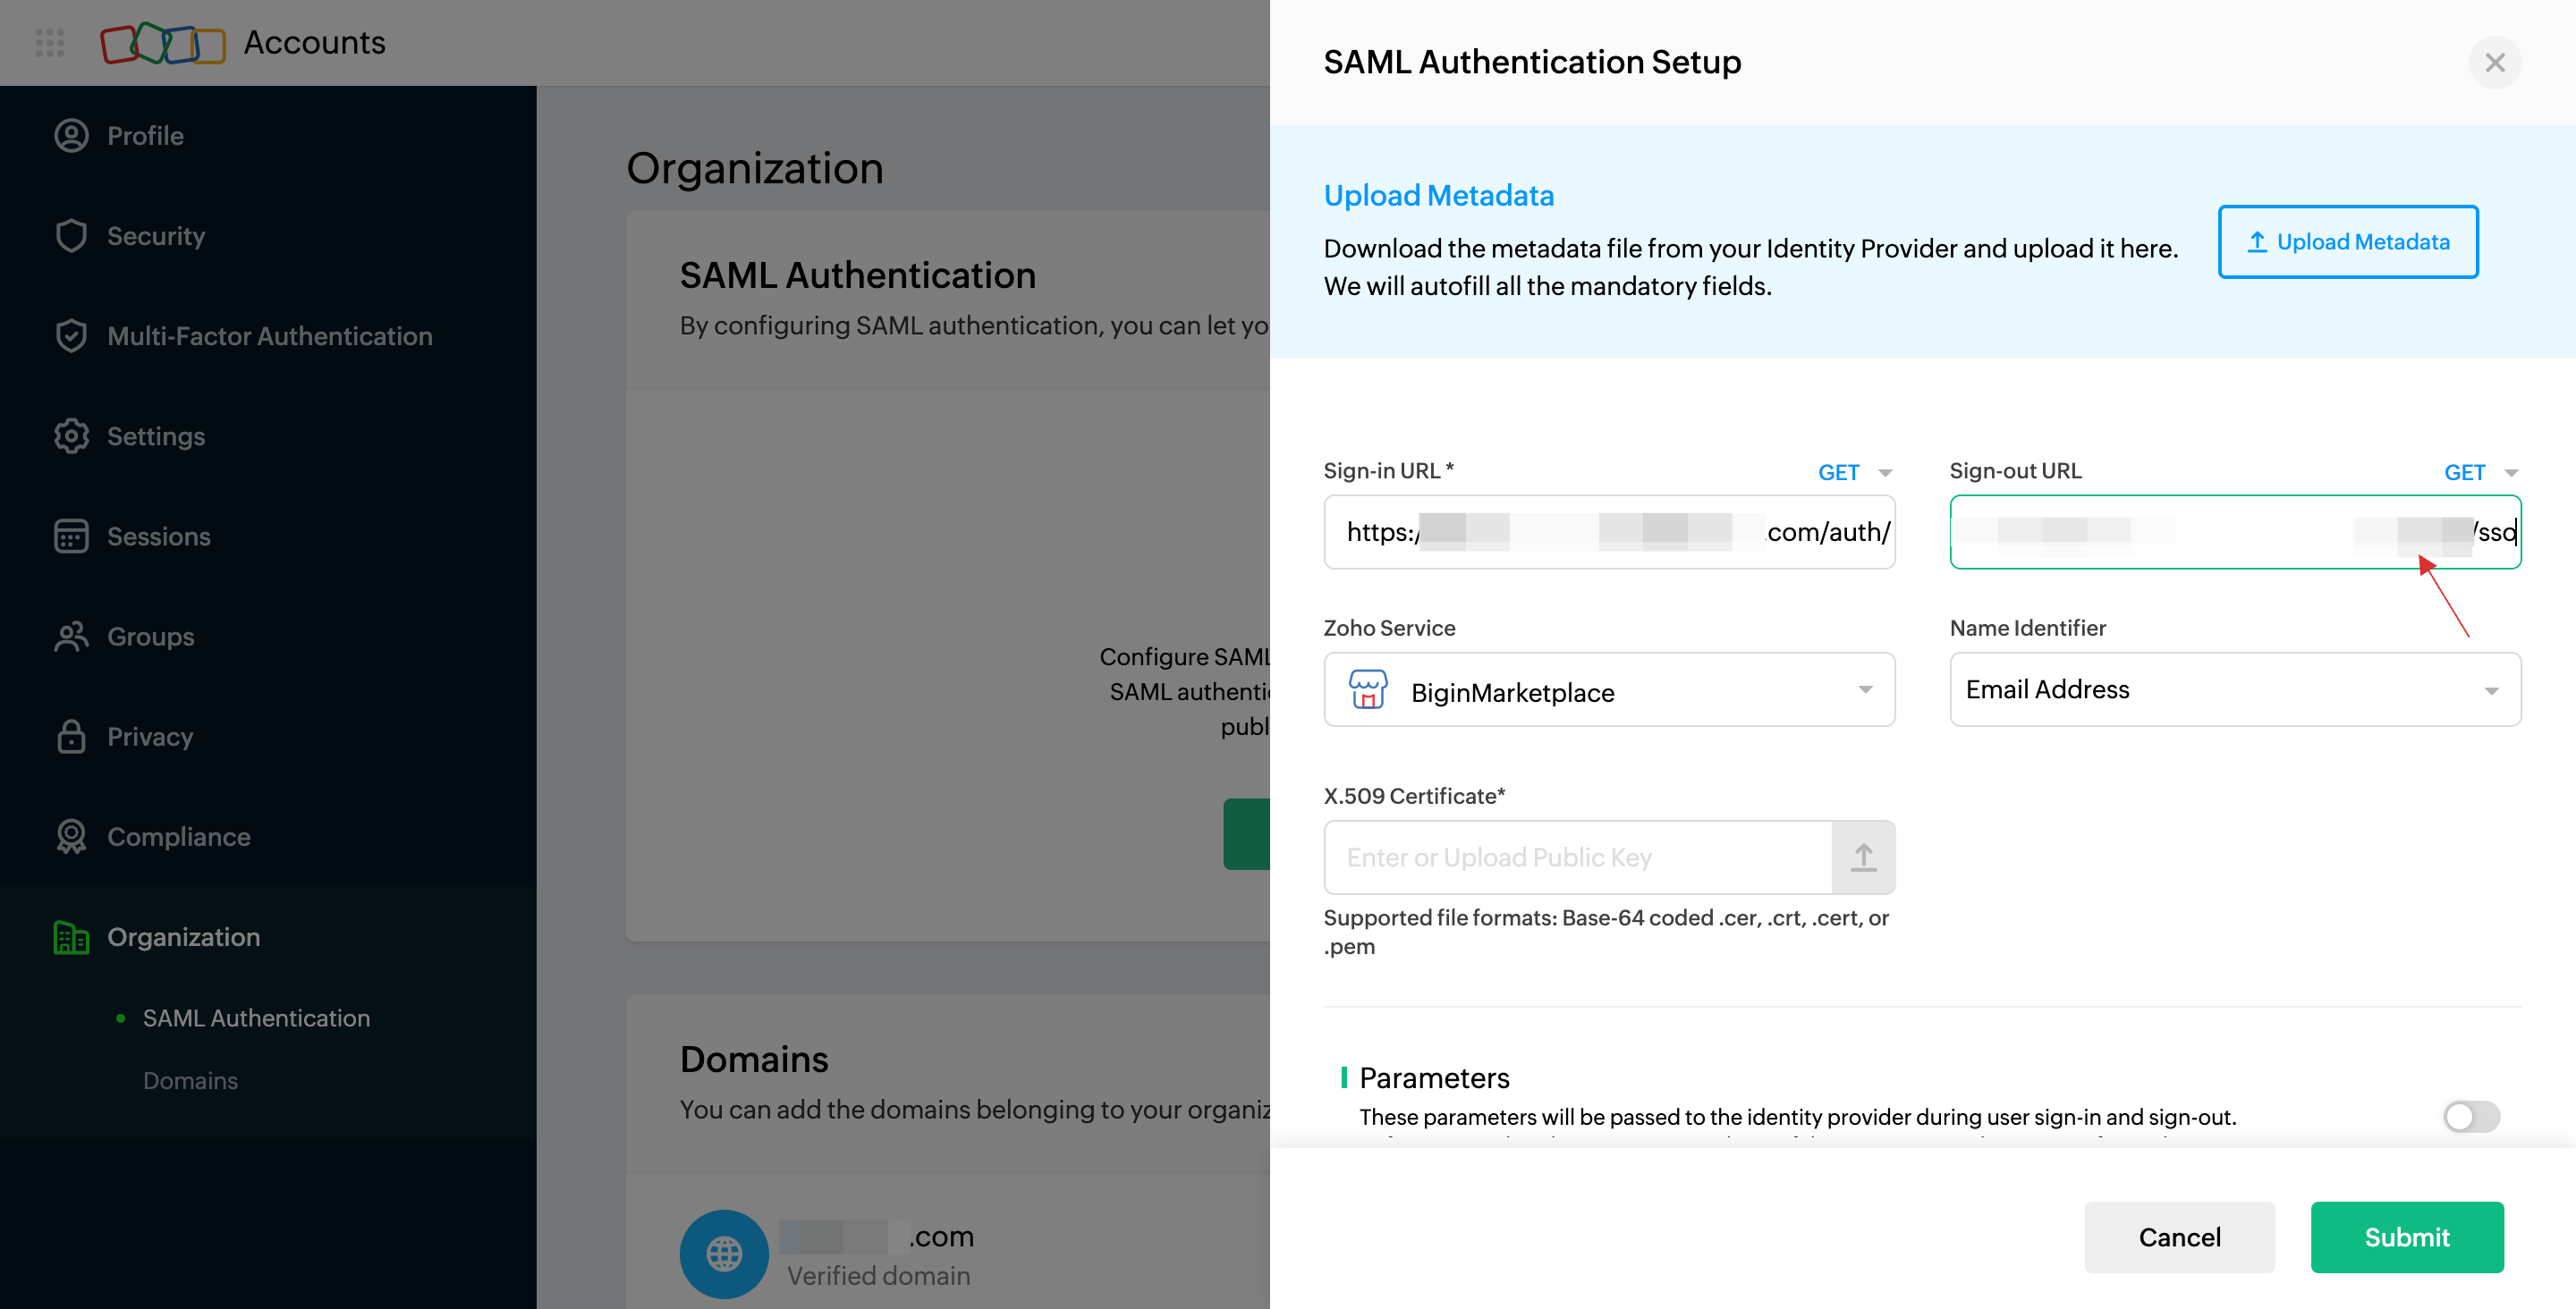
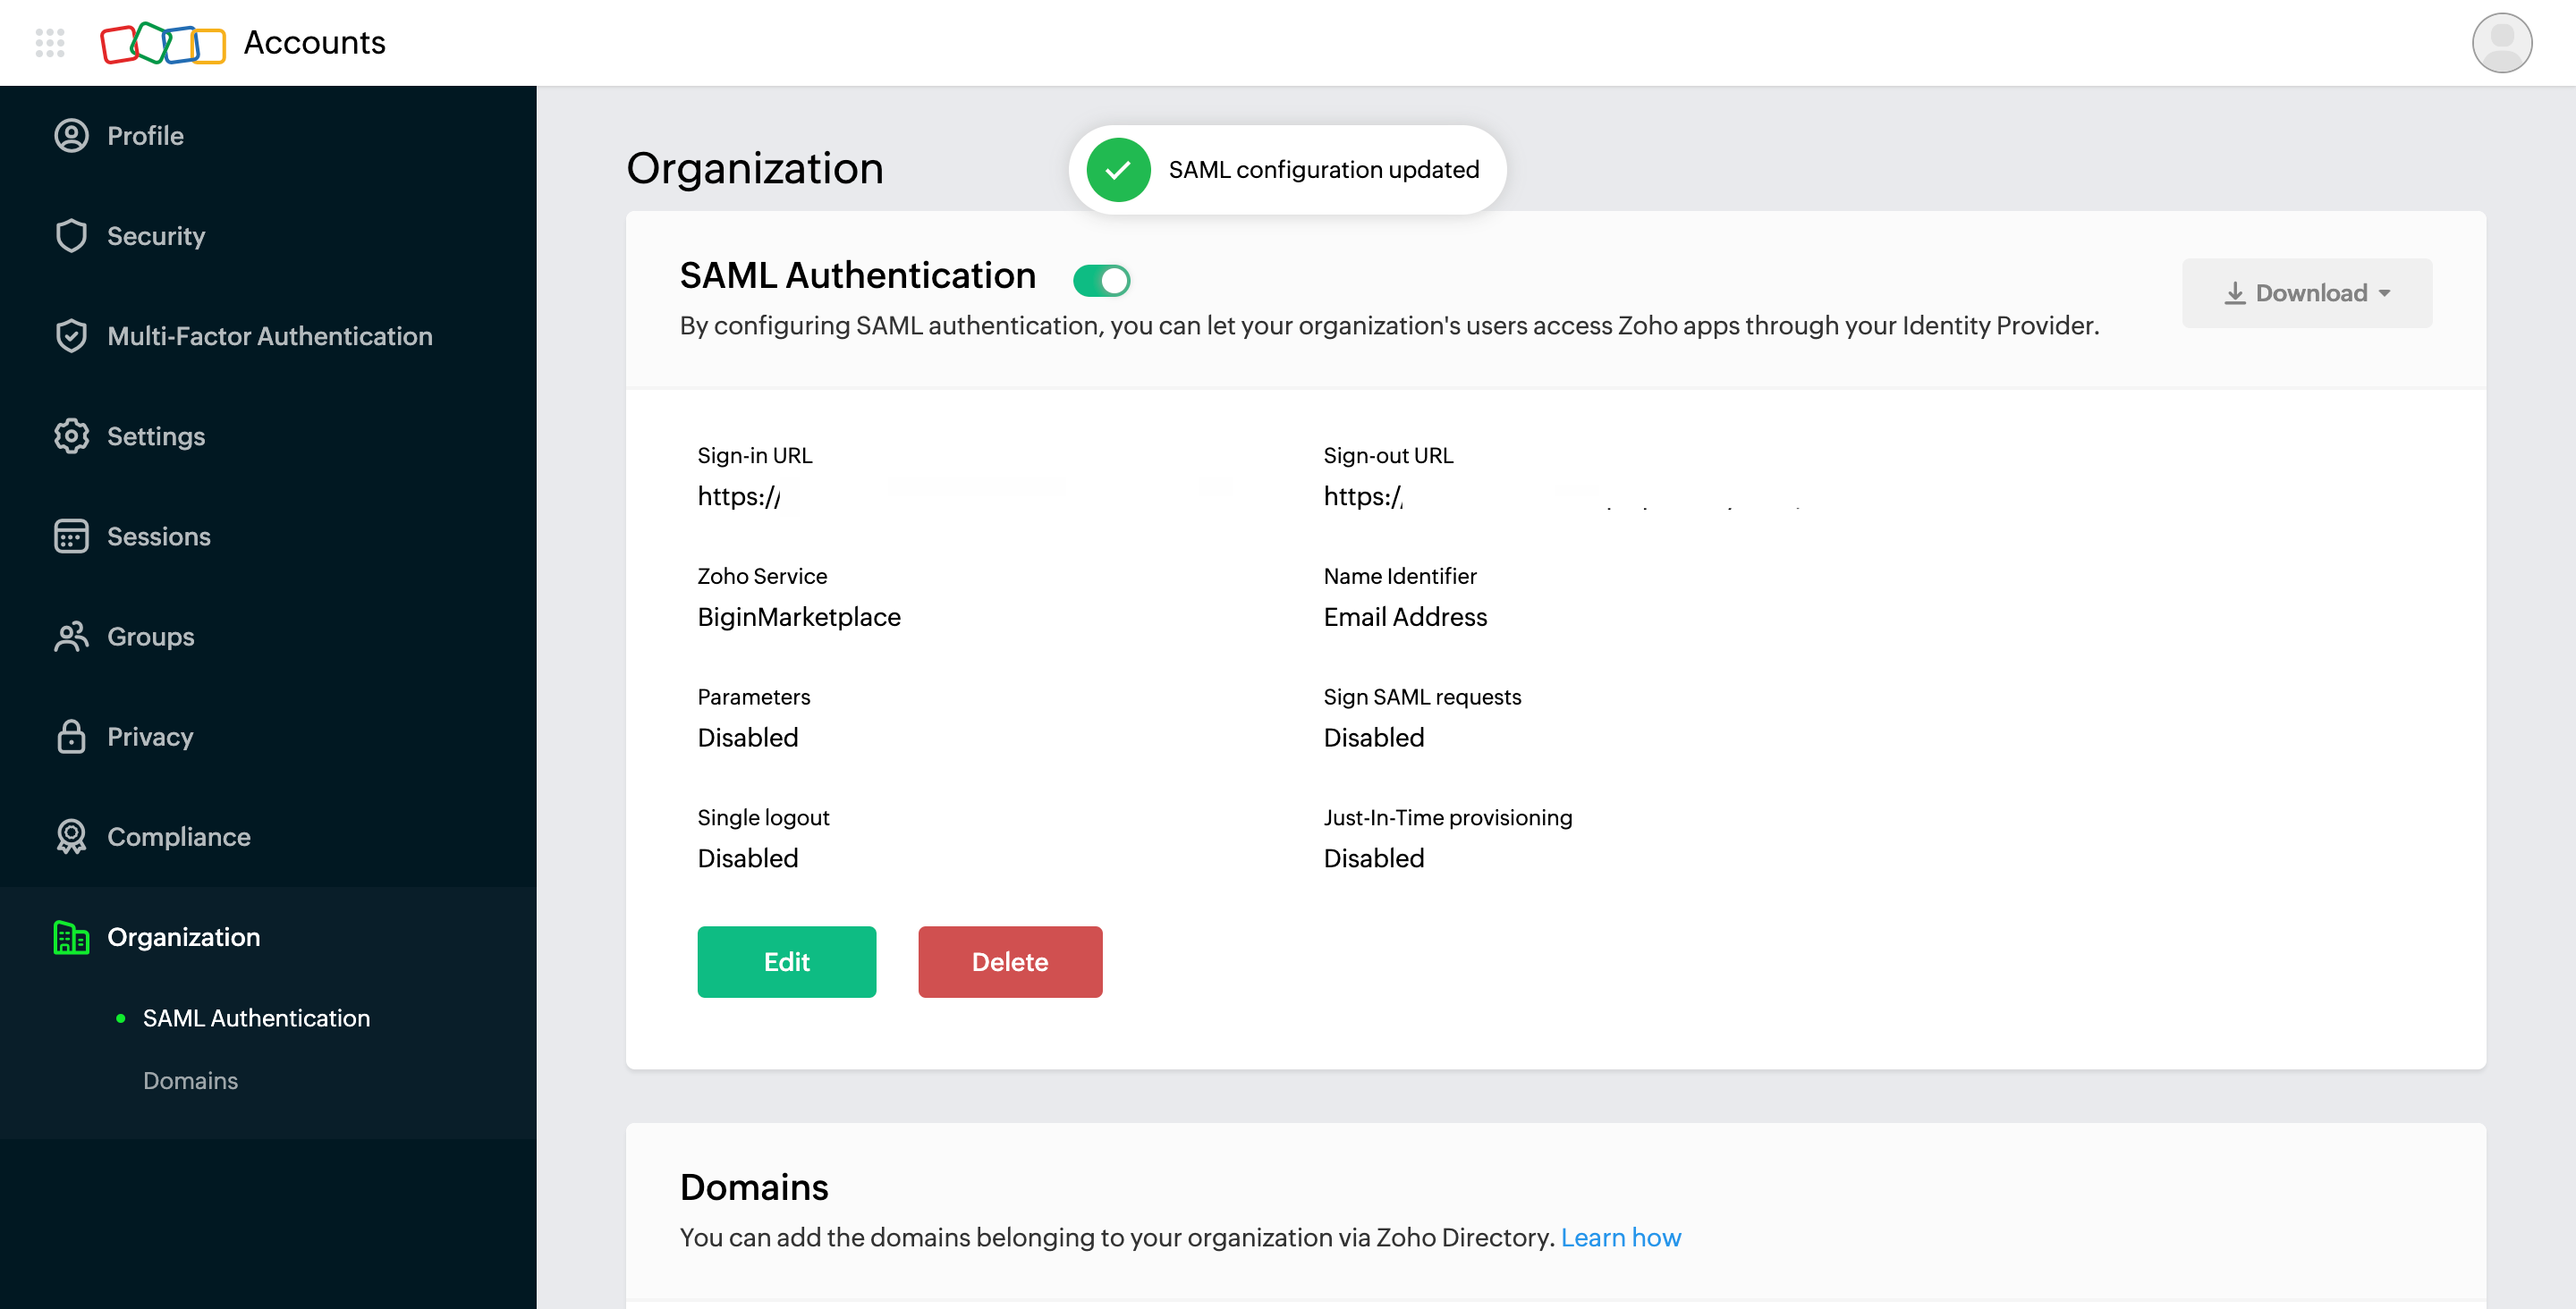
20 The SAML configurations will be displayed.
21 Paste the Login Endpoint in Sign-in URL.

22 Return to your dashboard, copy Logout Endpoint Redirect.

23 Switch to Zoho, paste the Login Endpoint in Sign-out URL.
24 Return to your dashboard, click on DOWNLOAD CERTIFICATE.
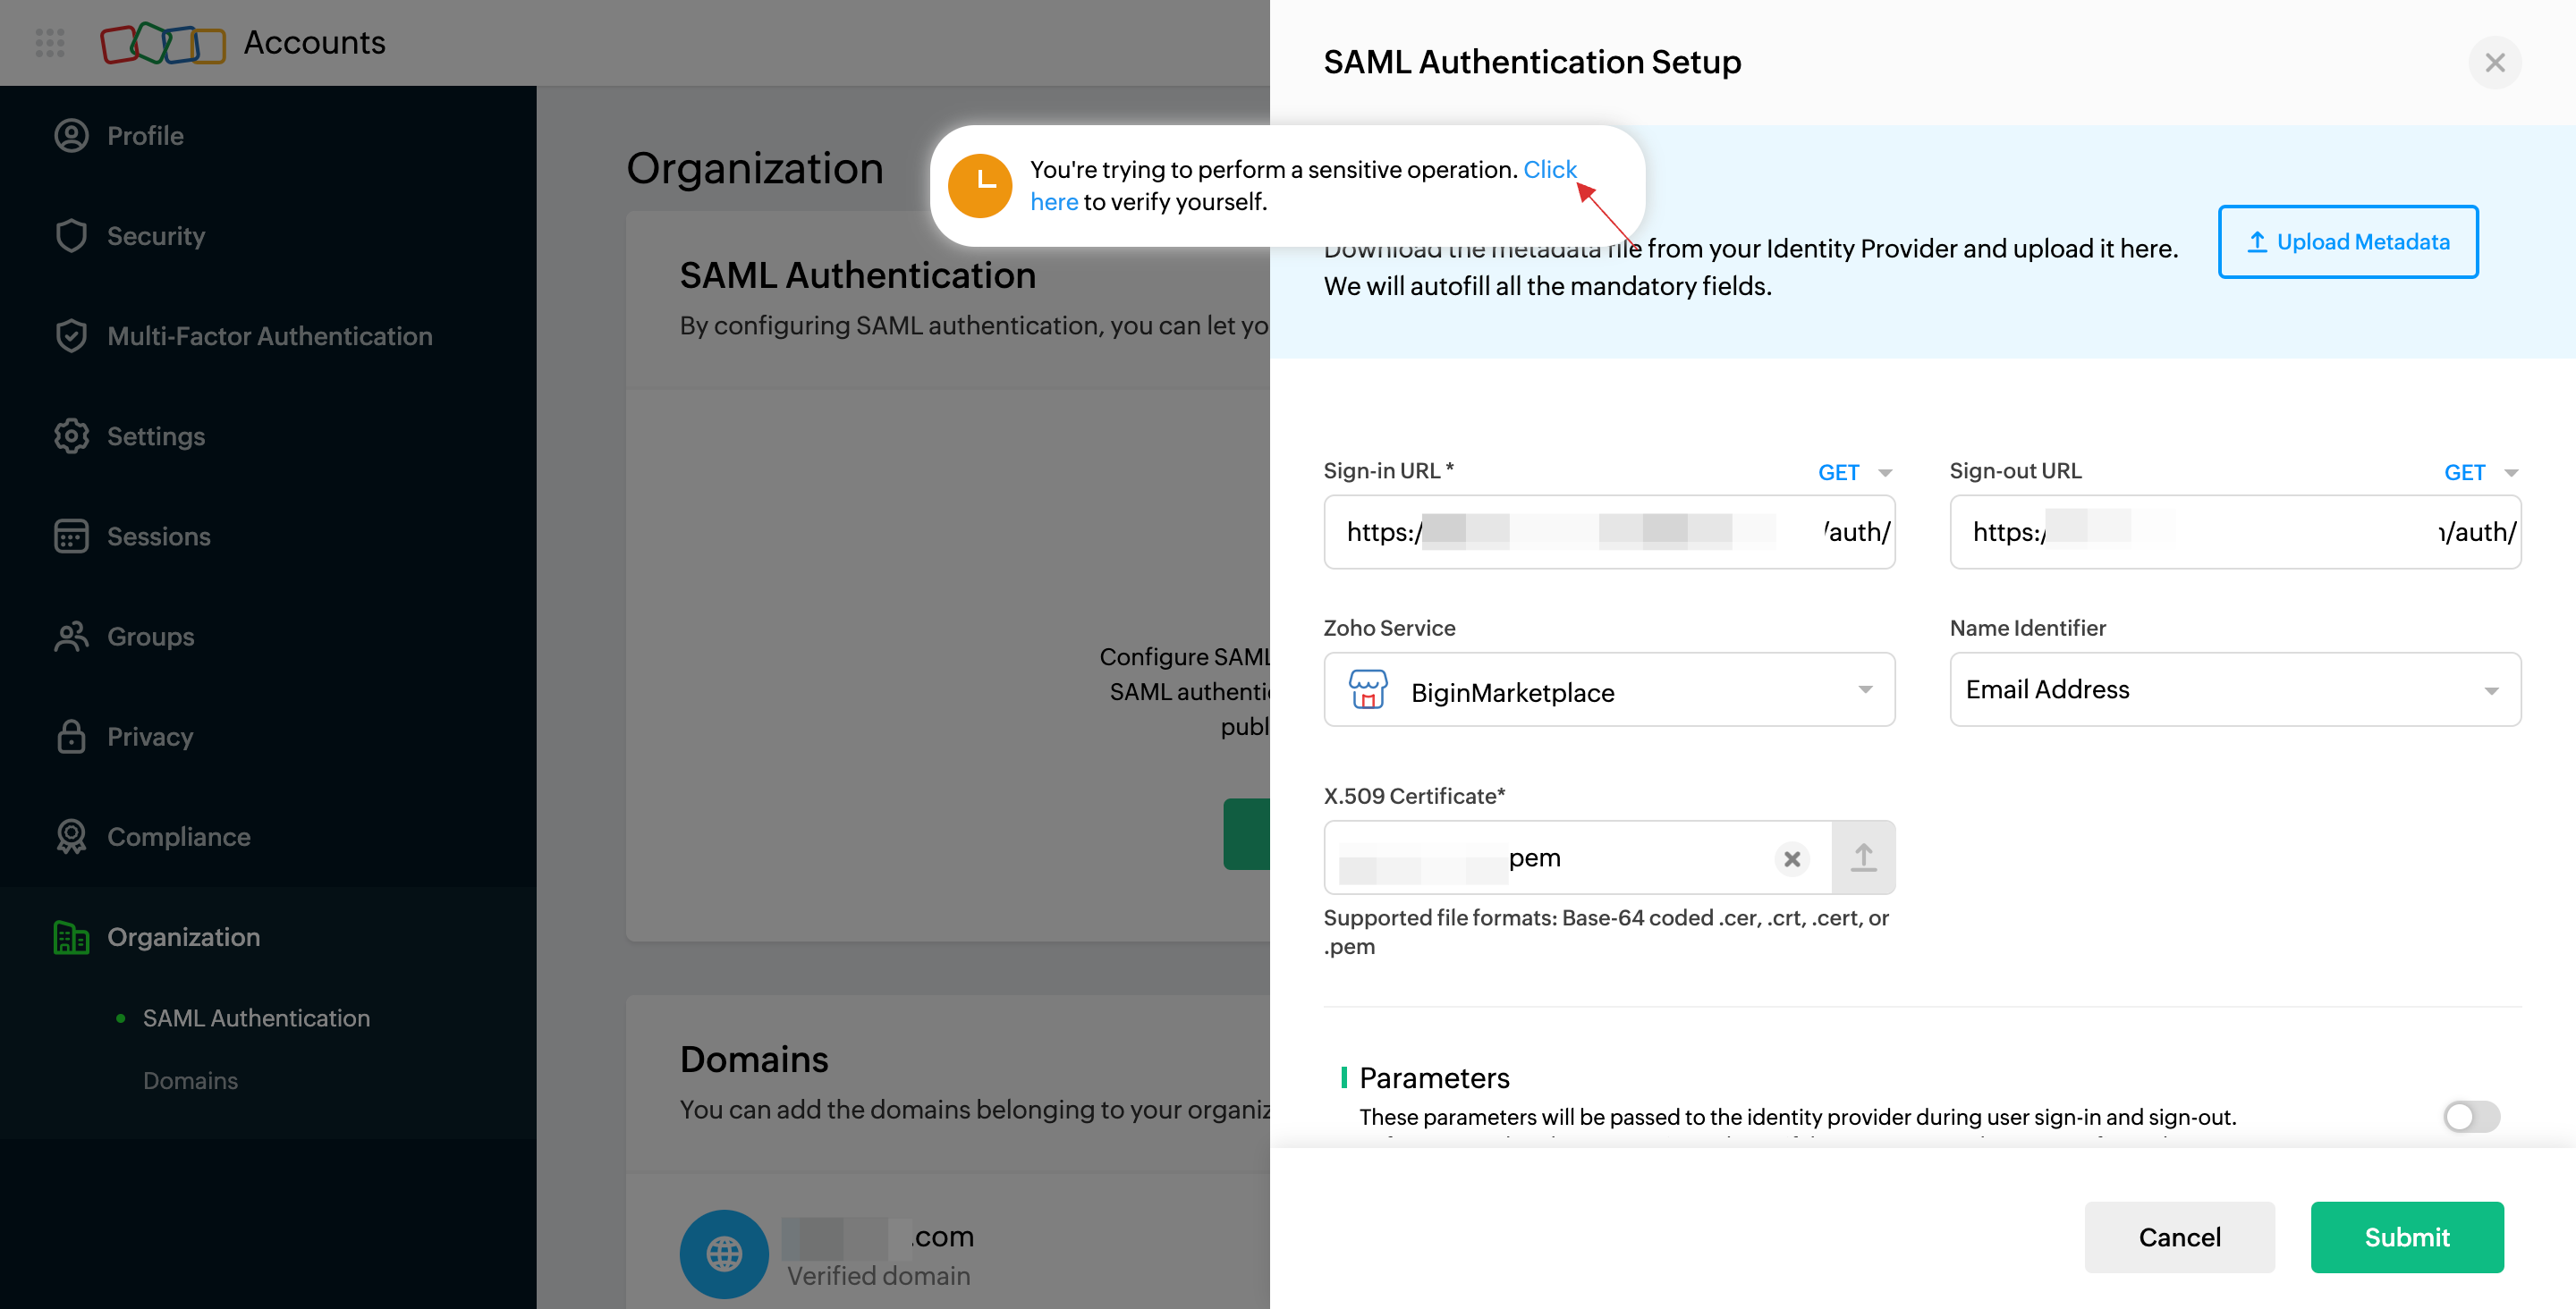
25 Switch to Zoho, select the downloaded certificate from the file upload menu.

26 Click on Submit.
27 Upon clicking submit, you will be asked to verify your identity. Click on Click here to verify yourself.
28 Provide the password and click on Confirm Password.
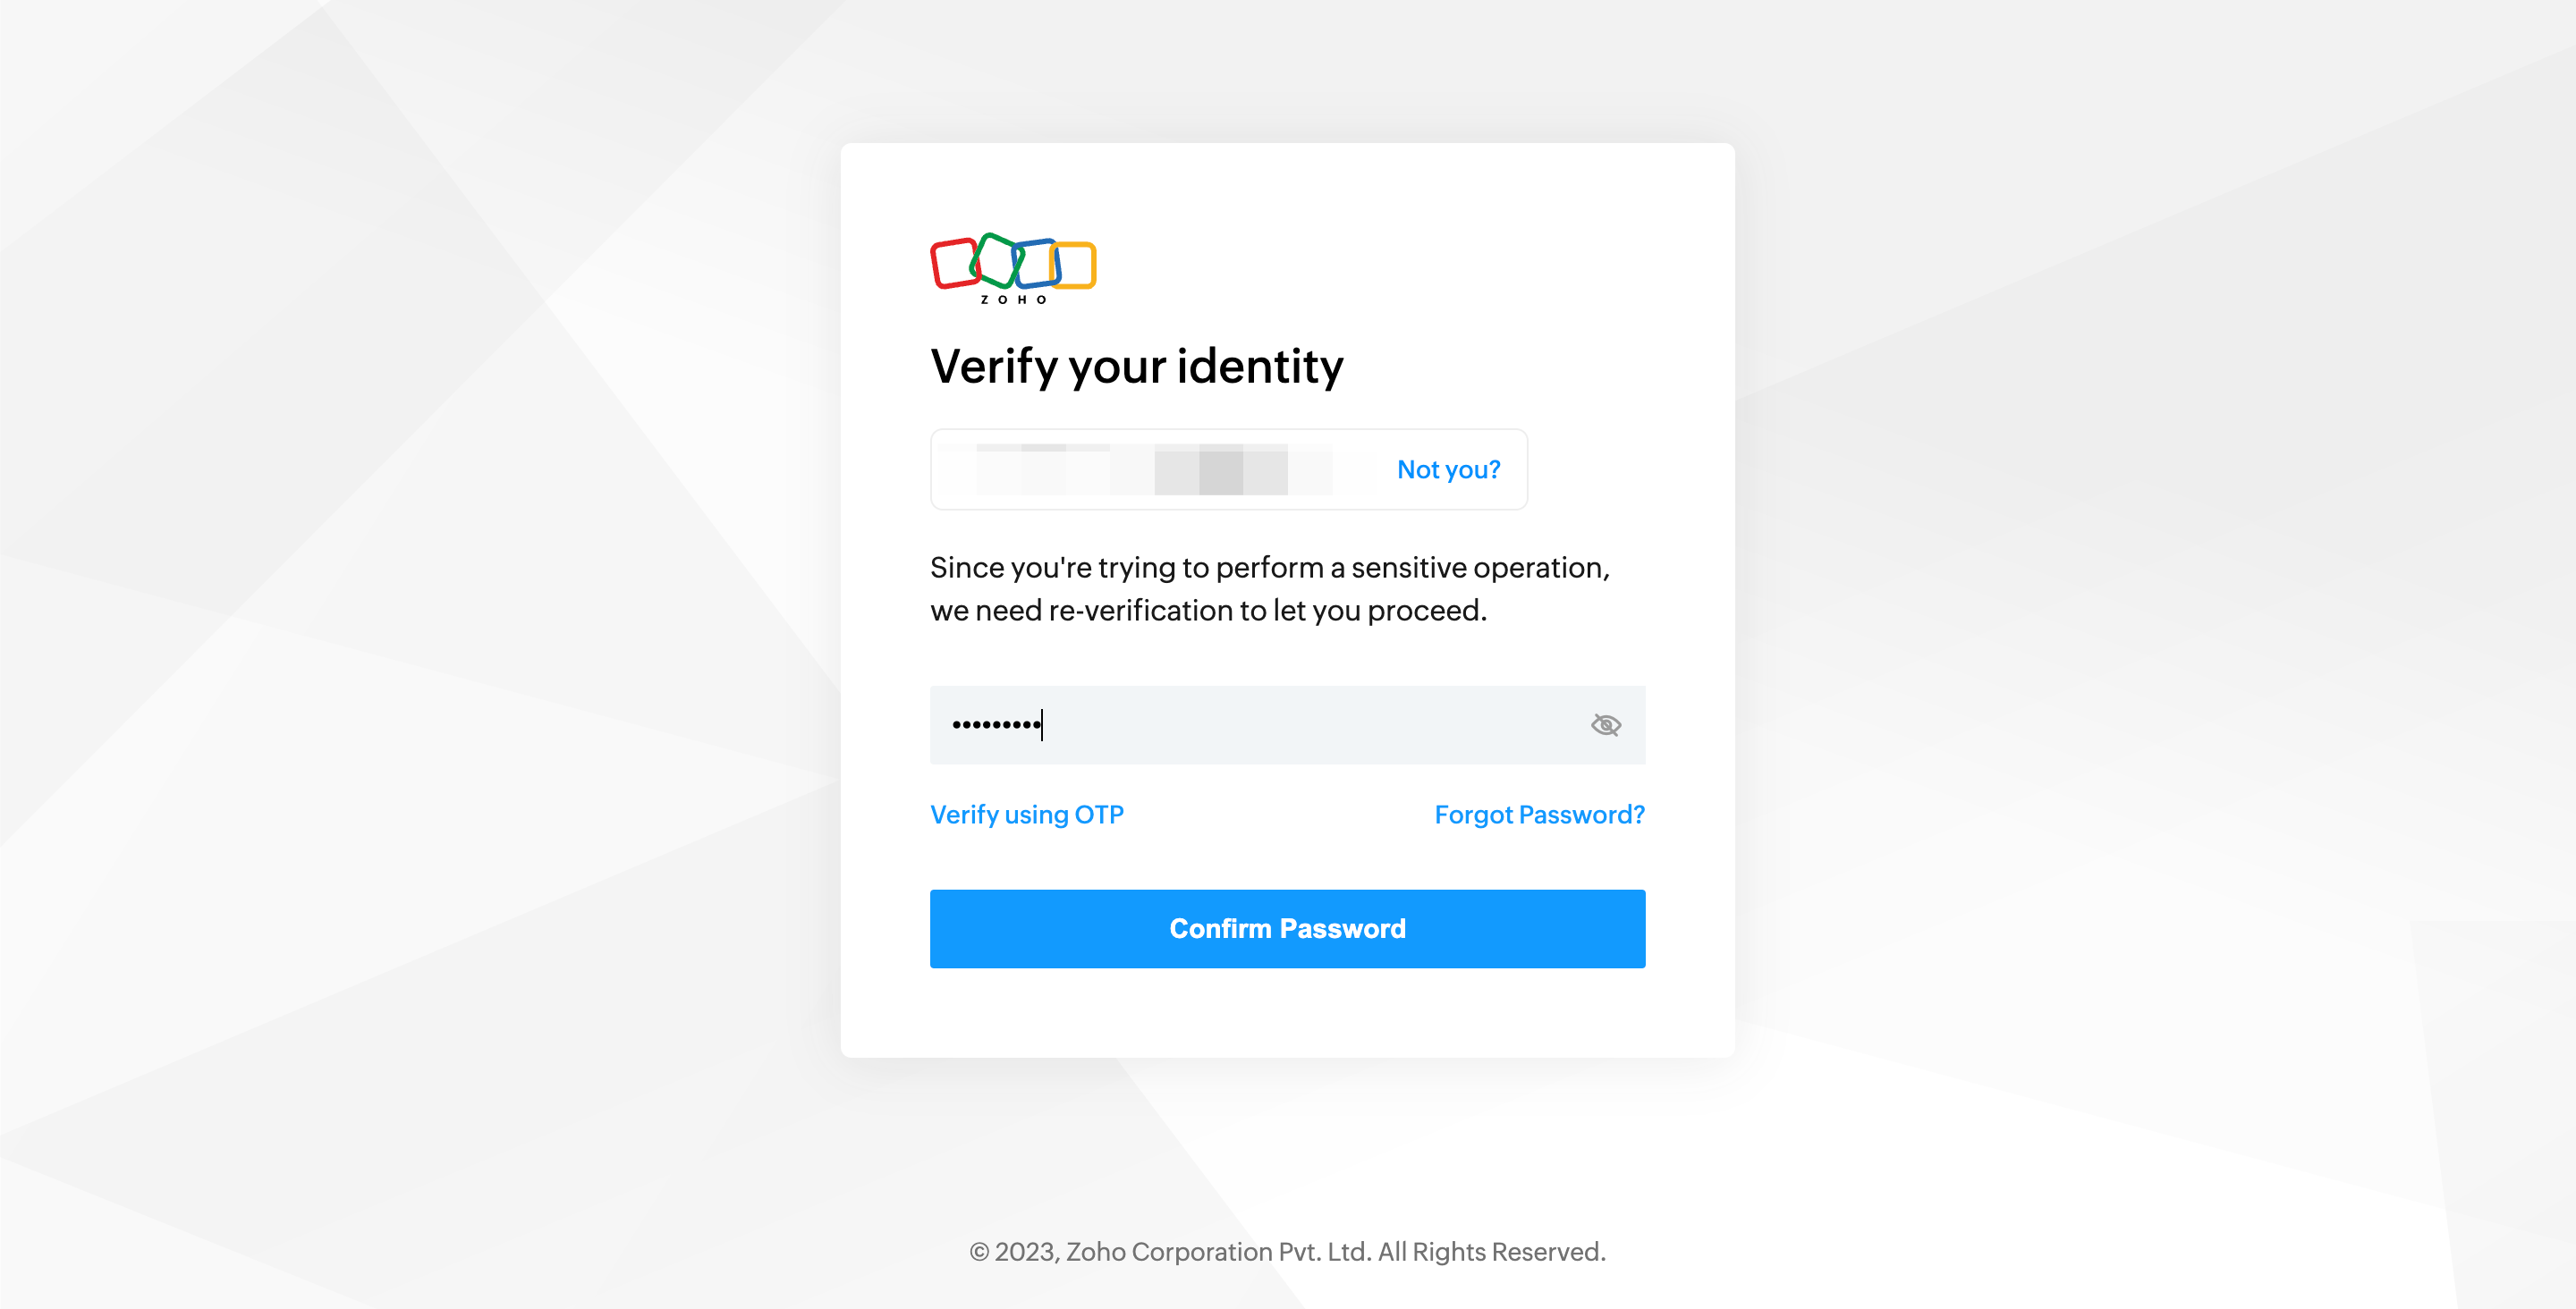
29 Click on Submit.

30 The SAML configuration will be updated successfully.
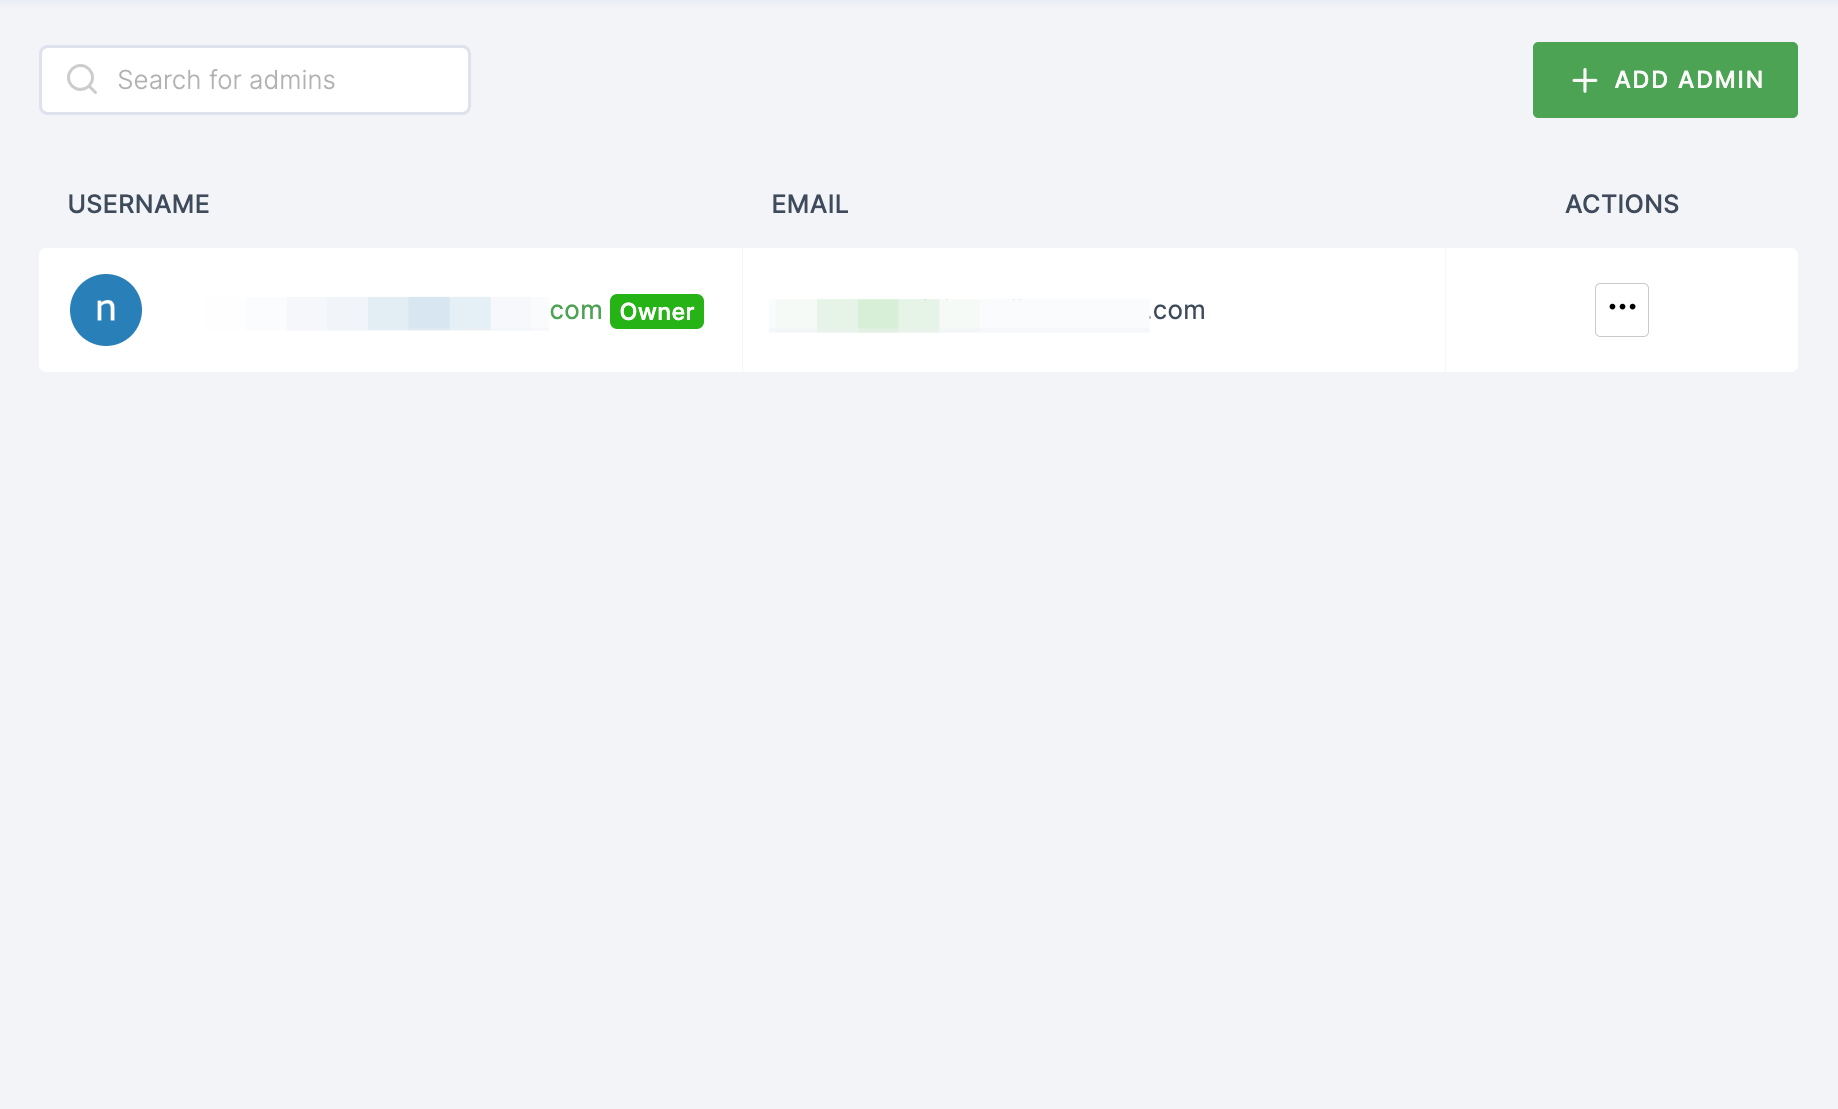
31 Return to your dashboard, assign a user with Zoho role. To do so, navigate to Users or Workspace Admins, click on the user you want to assign the role.
32 You will be taken to the user's Details tab, click on Roles & Groups.
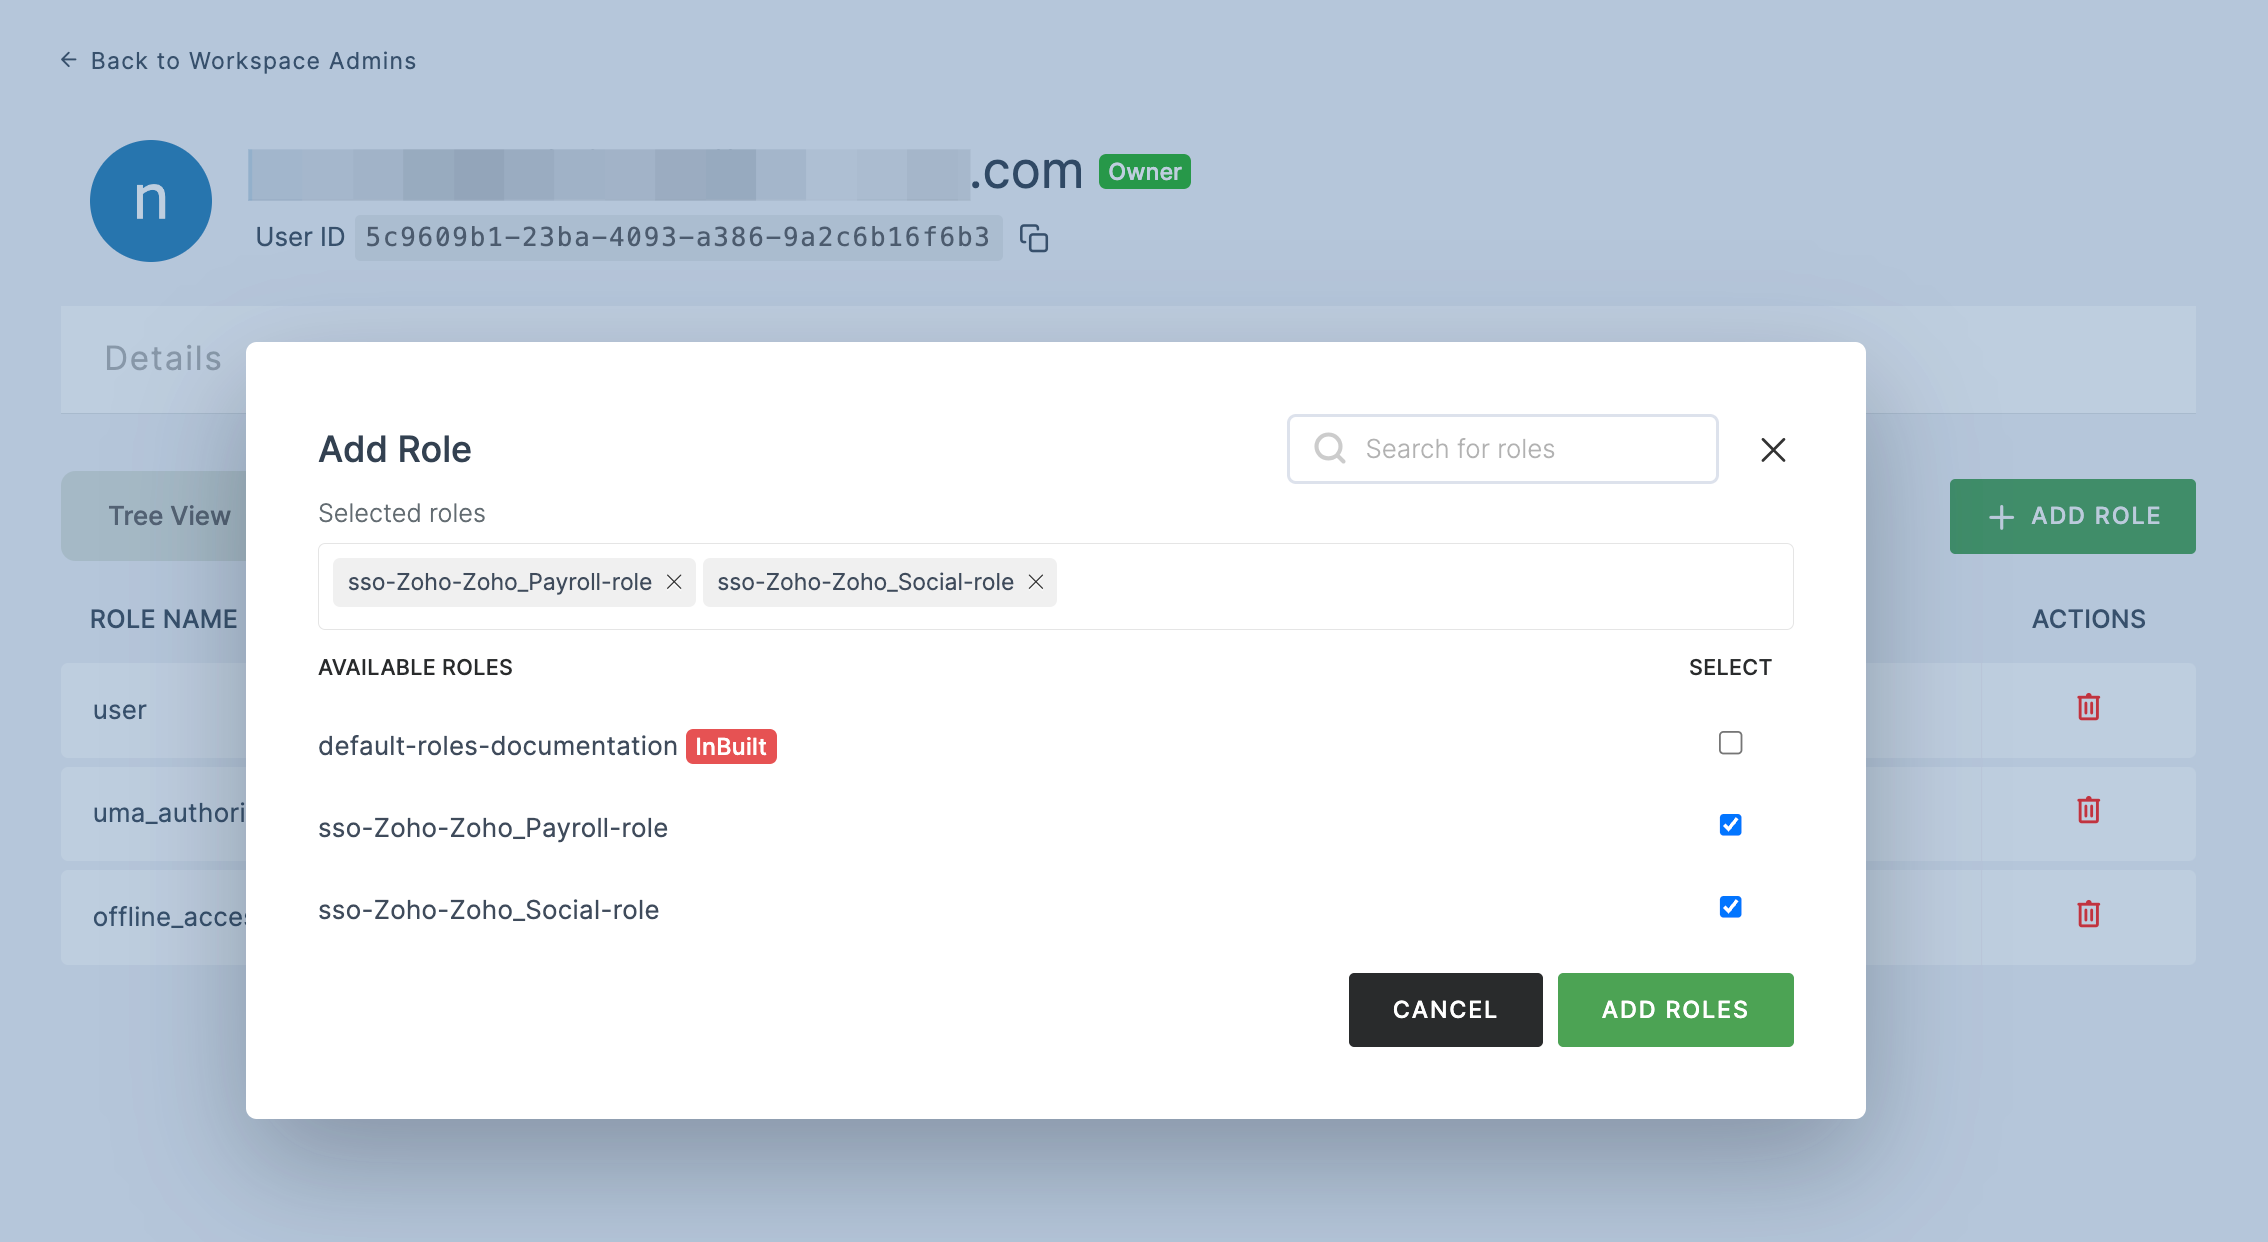
33 Select List View and click on + ADD ROLE.
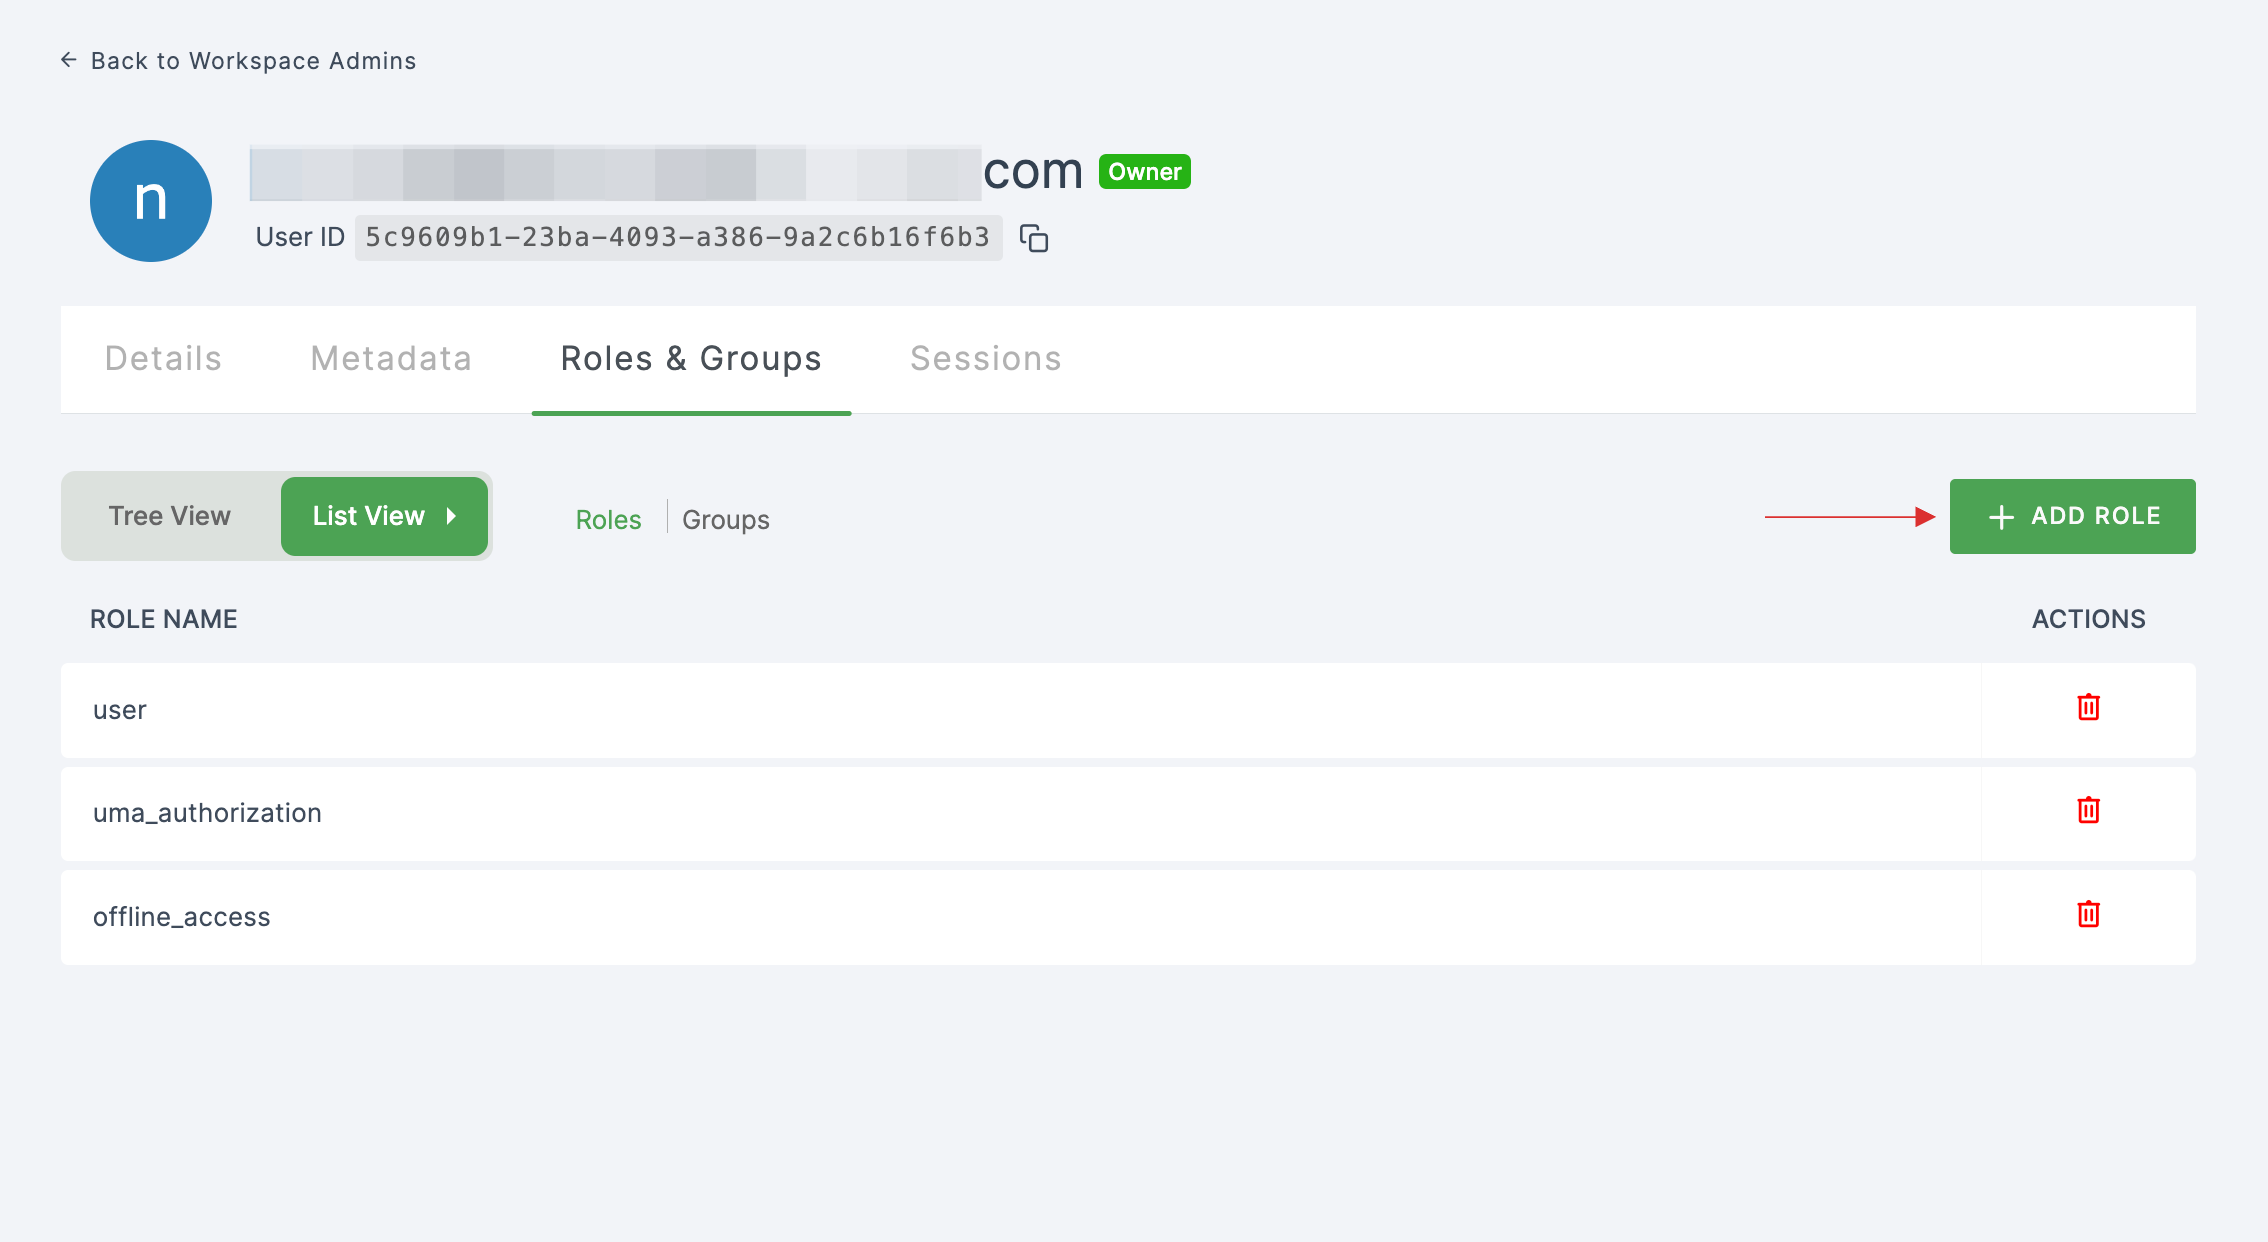
34 The available roles will appear; select sso-zoho-Zoho-role and click on ADD ROLES.
35 To verify whether SSO has been successfully enabled, go to Applications > SSO, click on SSO DASHBOARD button.
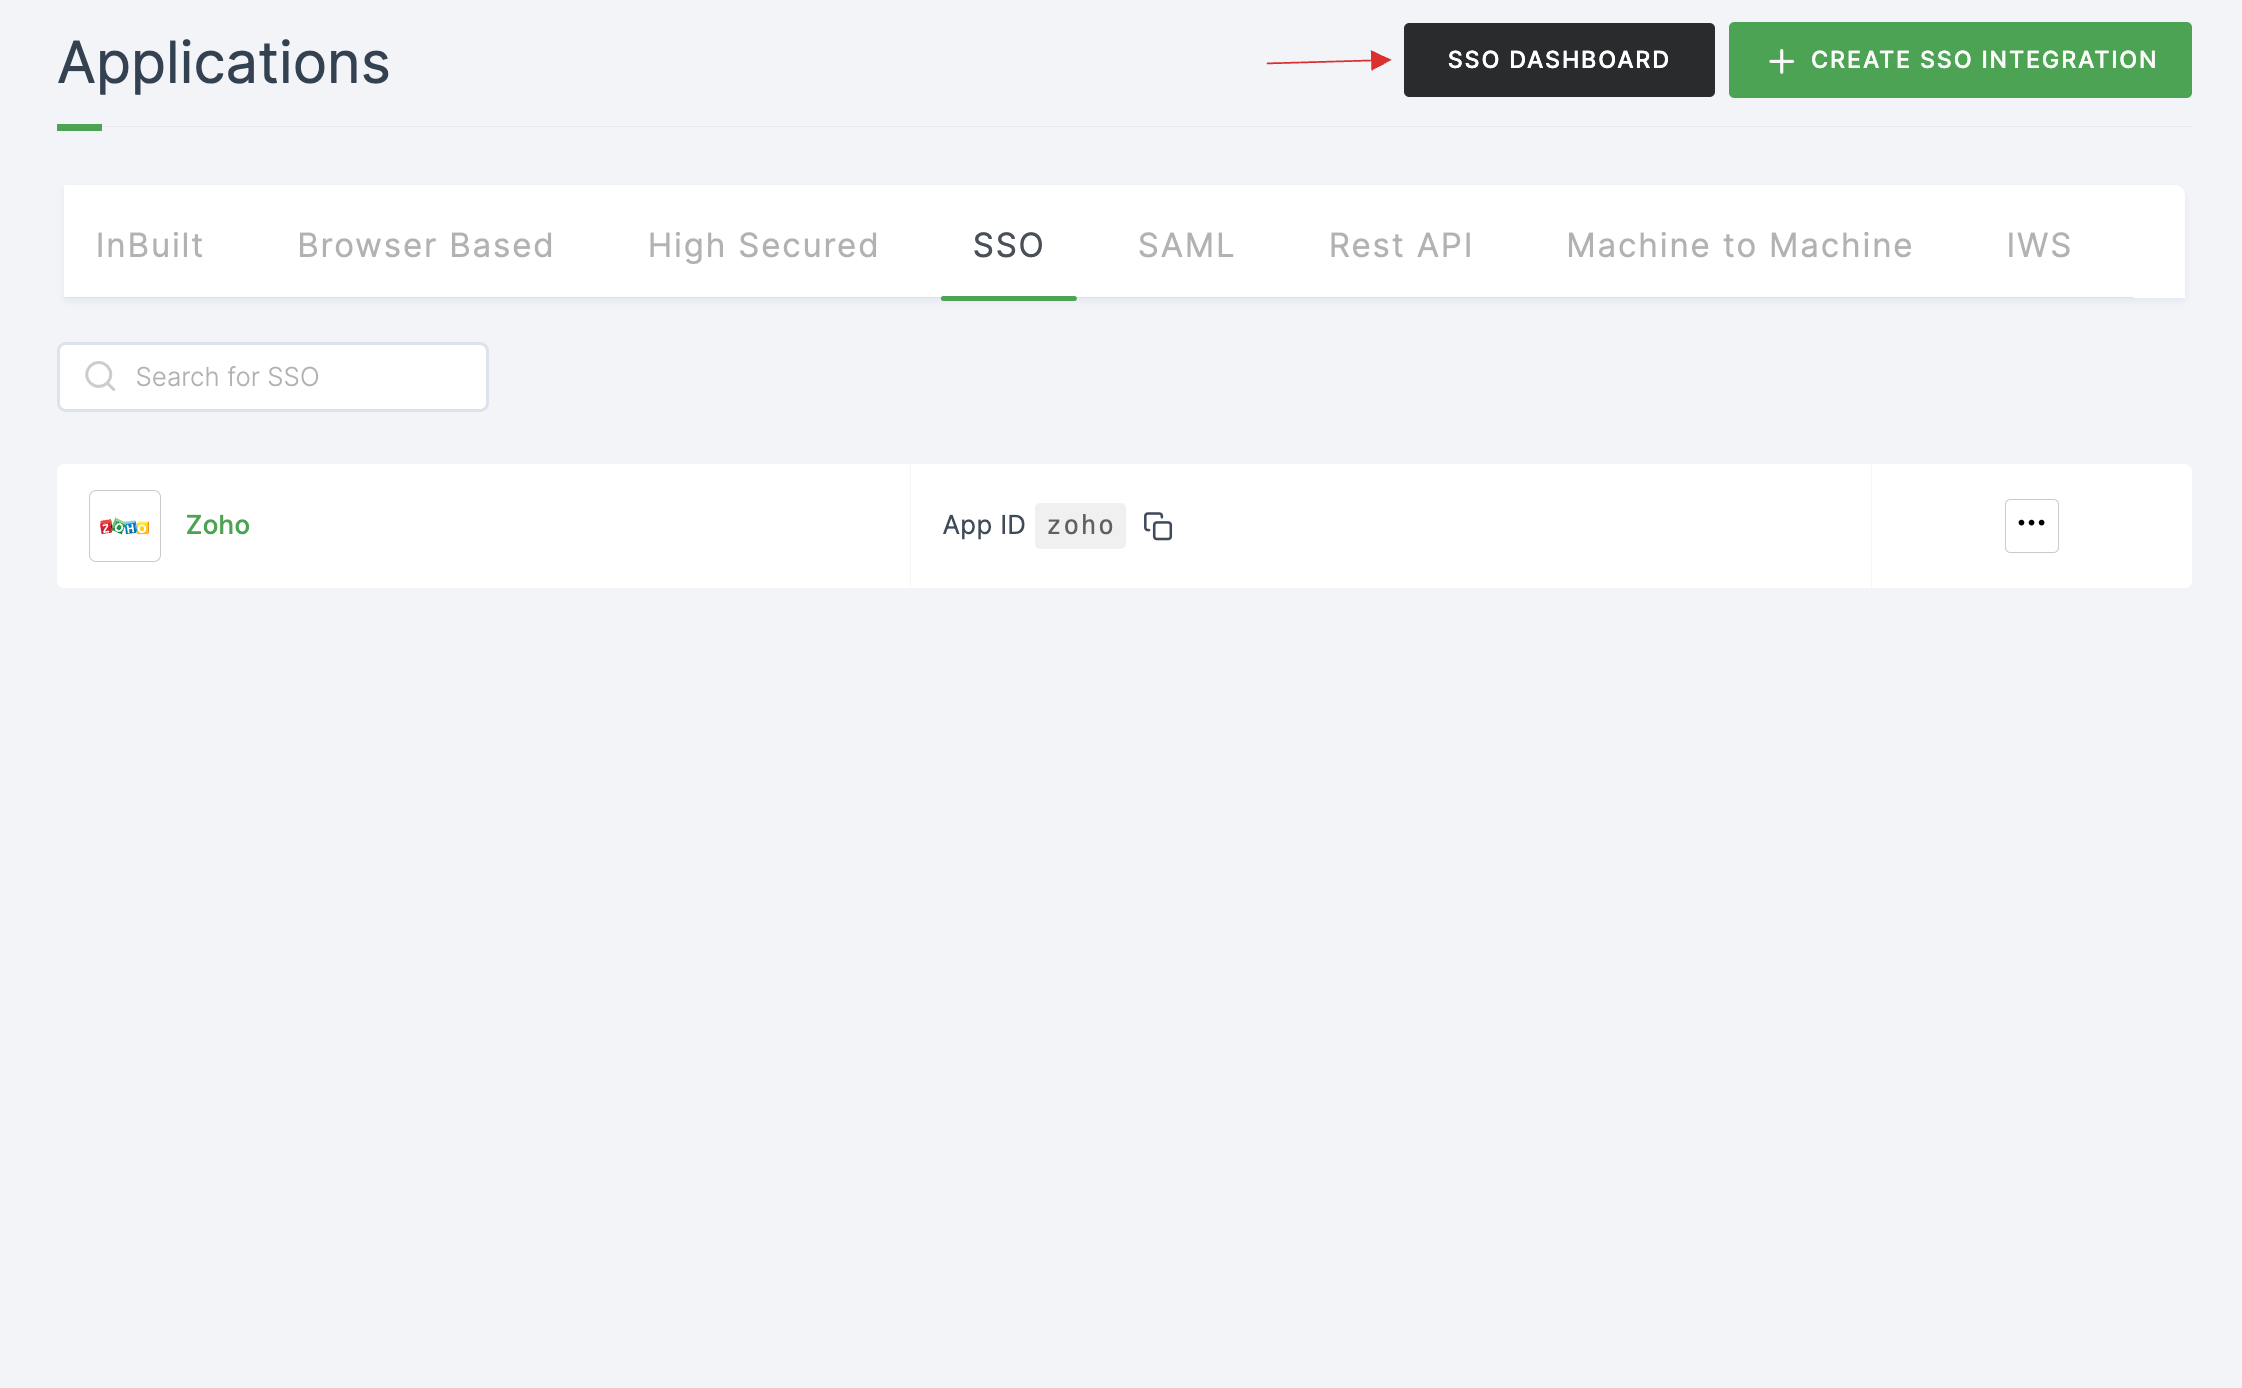
36 The Zoho SSO will be enabled successfully.