AWS
AWS provides a comprehensive range of services, including computing power, storage, databases, machine learning, analytics, networking, security, and more.
You must have an account in AWS.
1 Go to Dashboard > Marketplace > SSO Integrations.
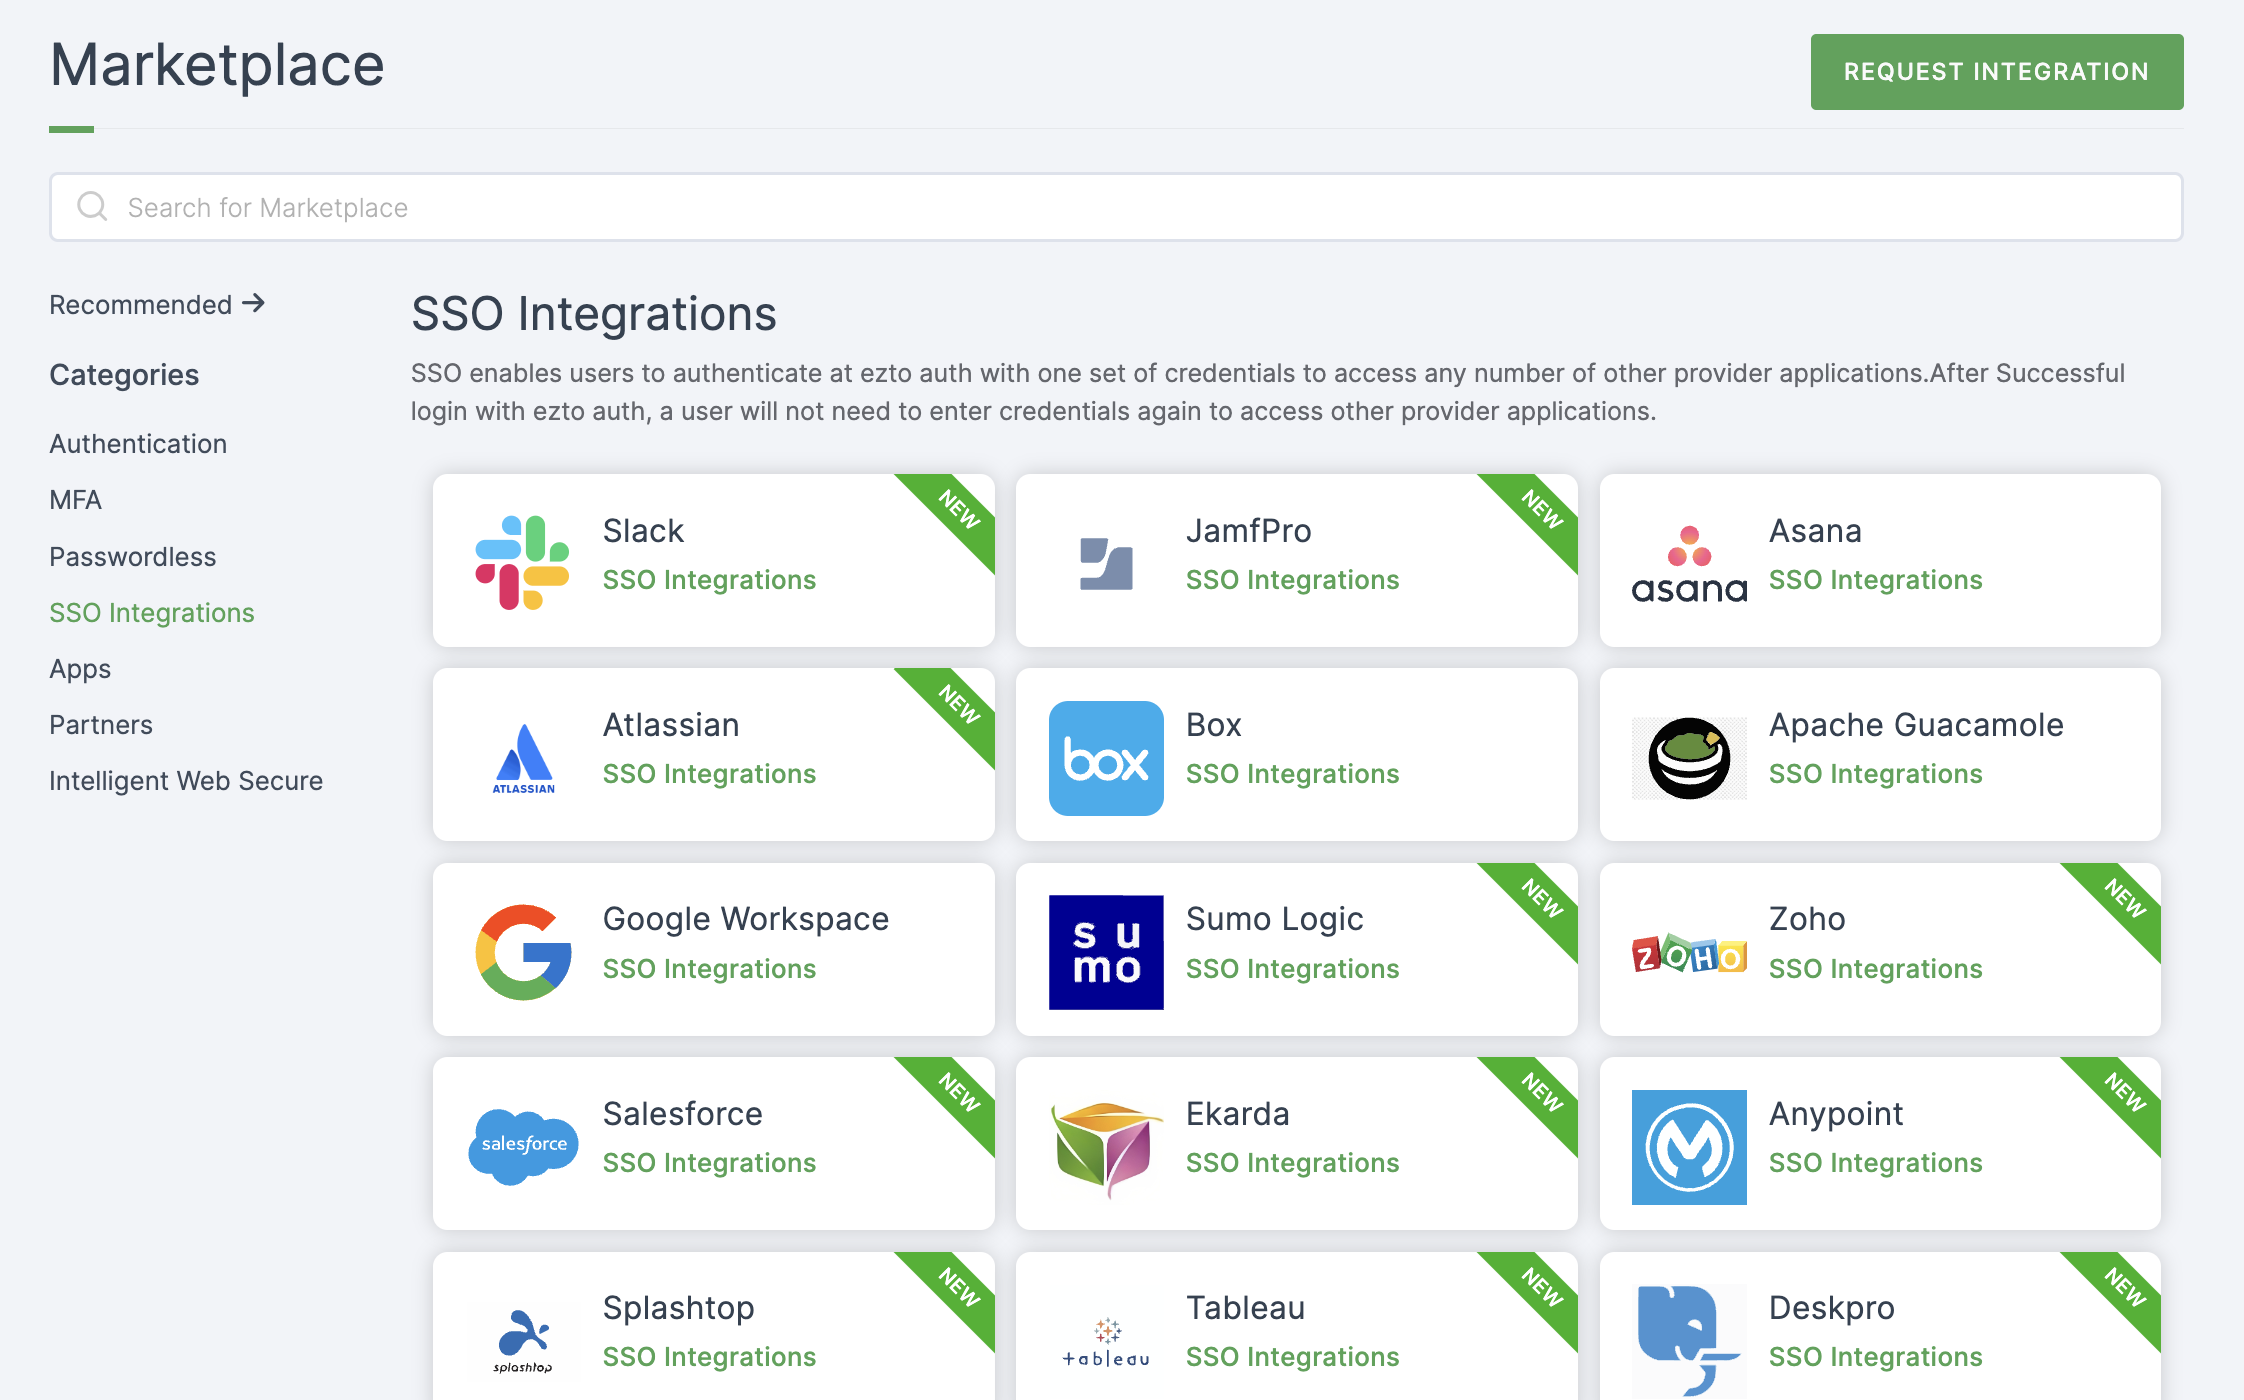
2 Select AWS from the list.
3 You'll land on the overview page, with an additional tab: Installation (providing a step-by-step installation guide).
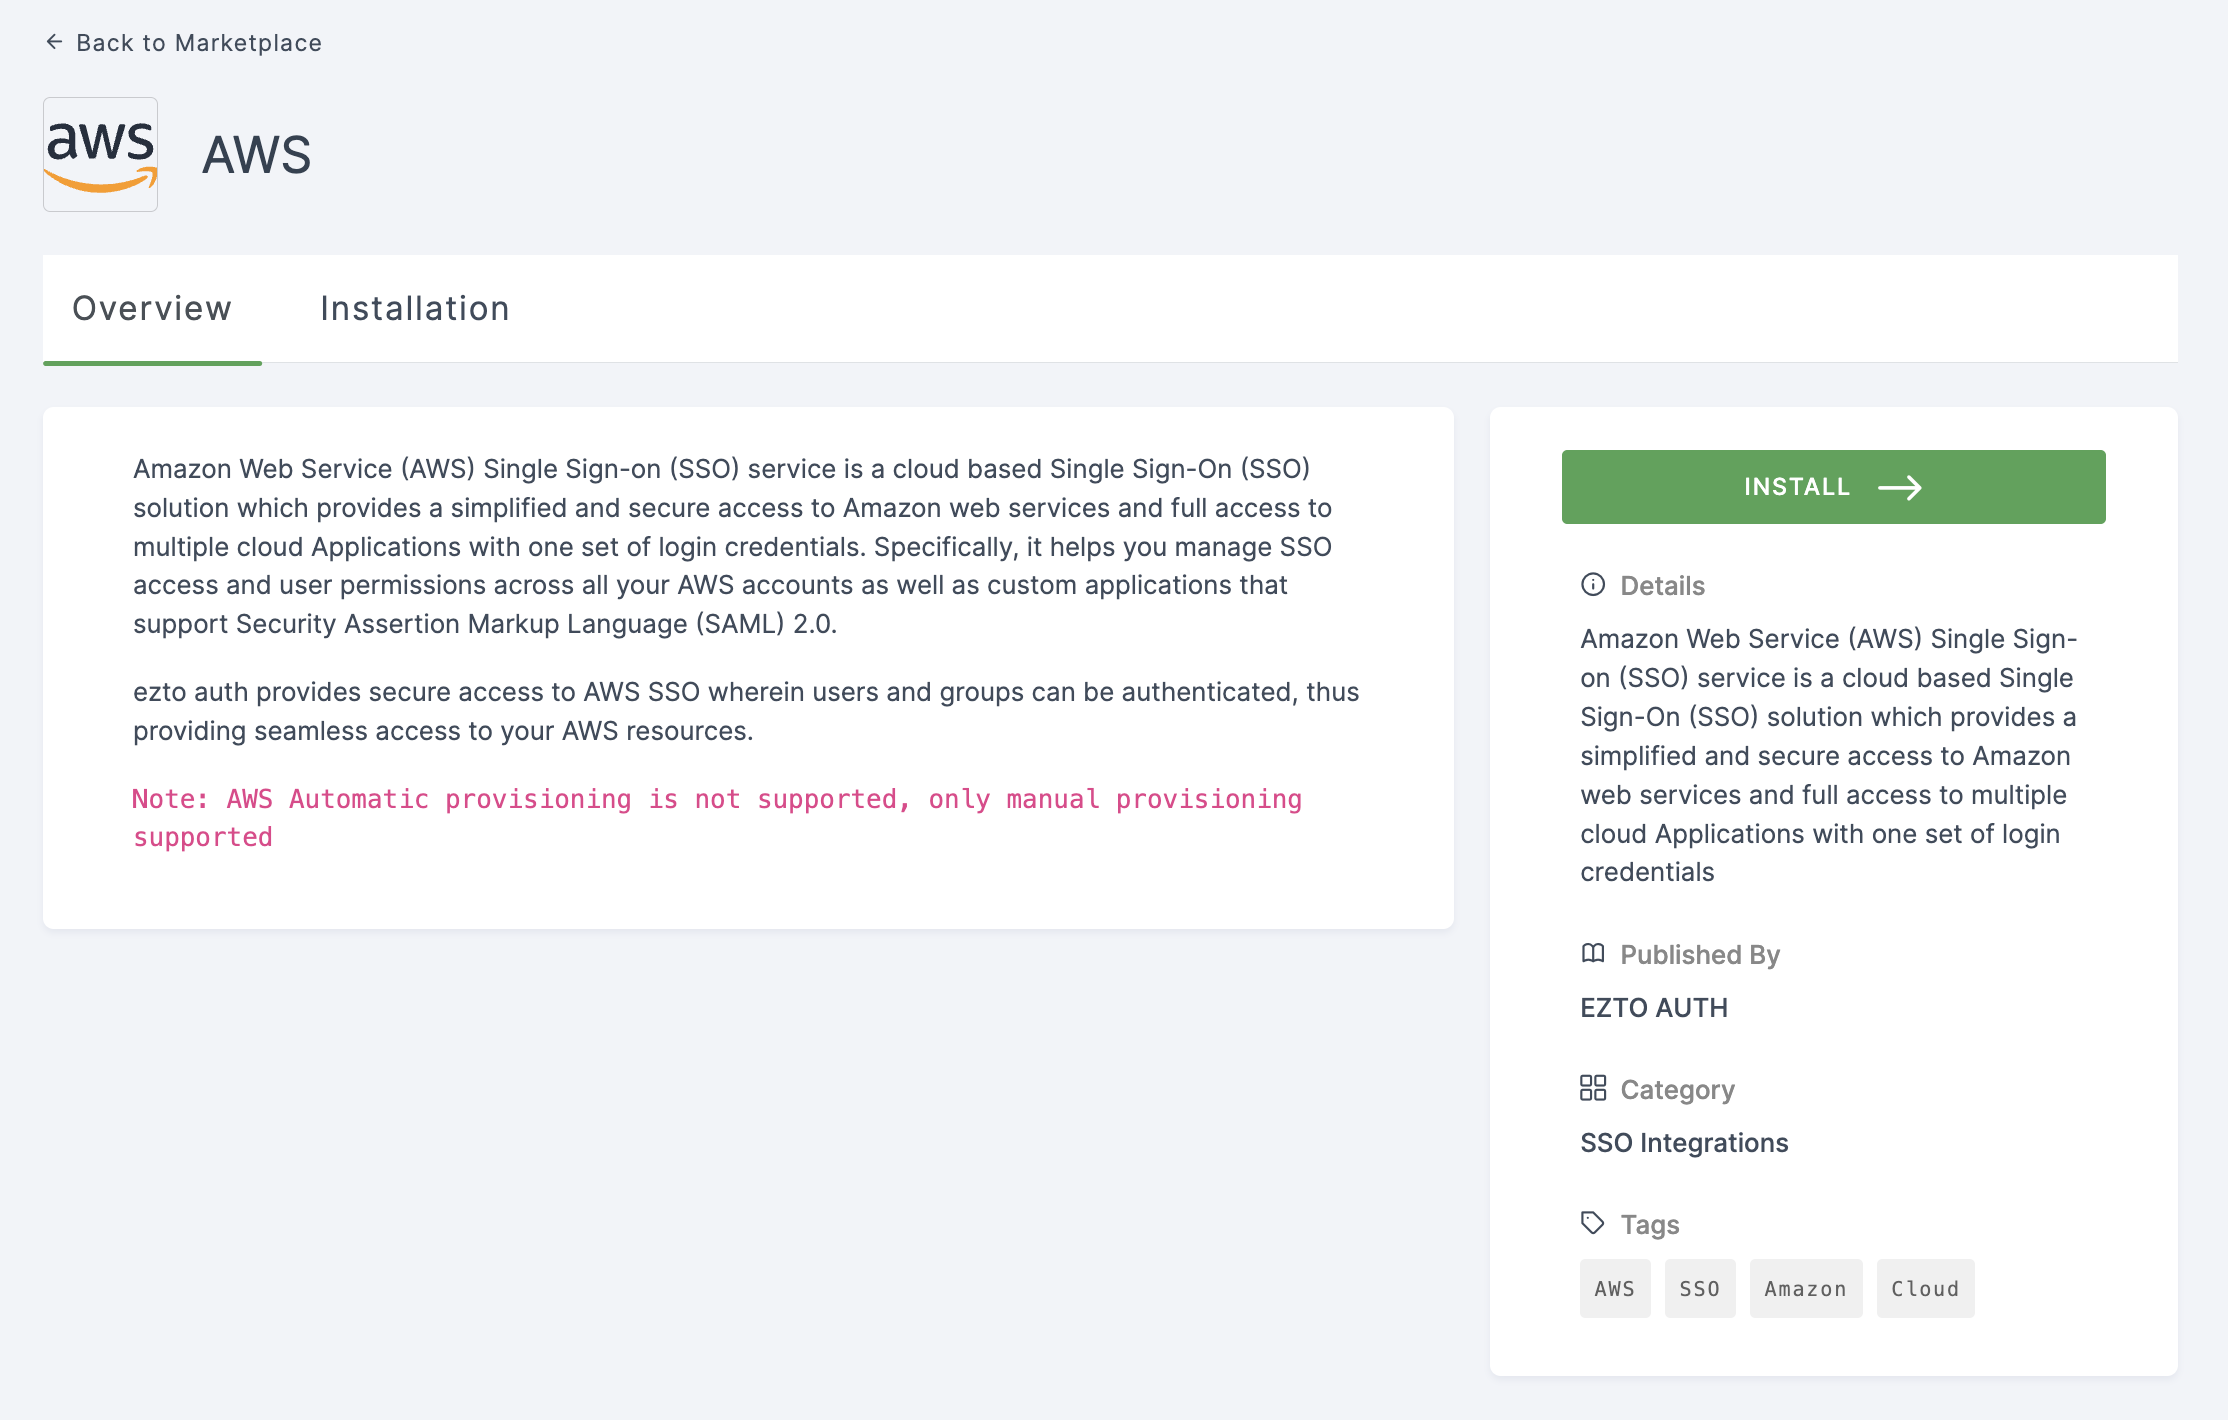
4 Click on INSTALL.
5 Provide a Name, and for the Sign-in URL, go to your AWS Management Console.
6 Click on Services > Security, Identity, & Compliance > AWS Single Sign-On.

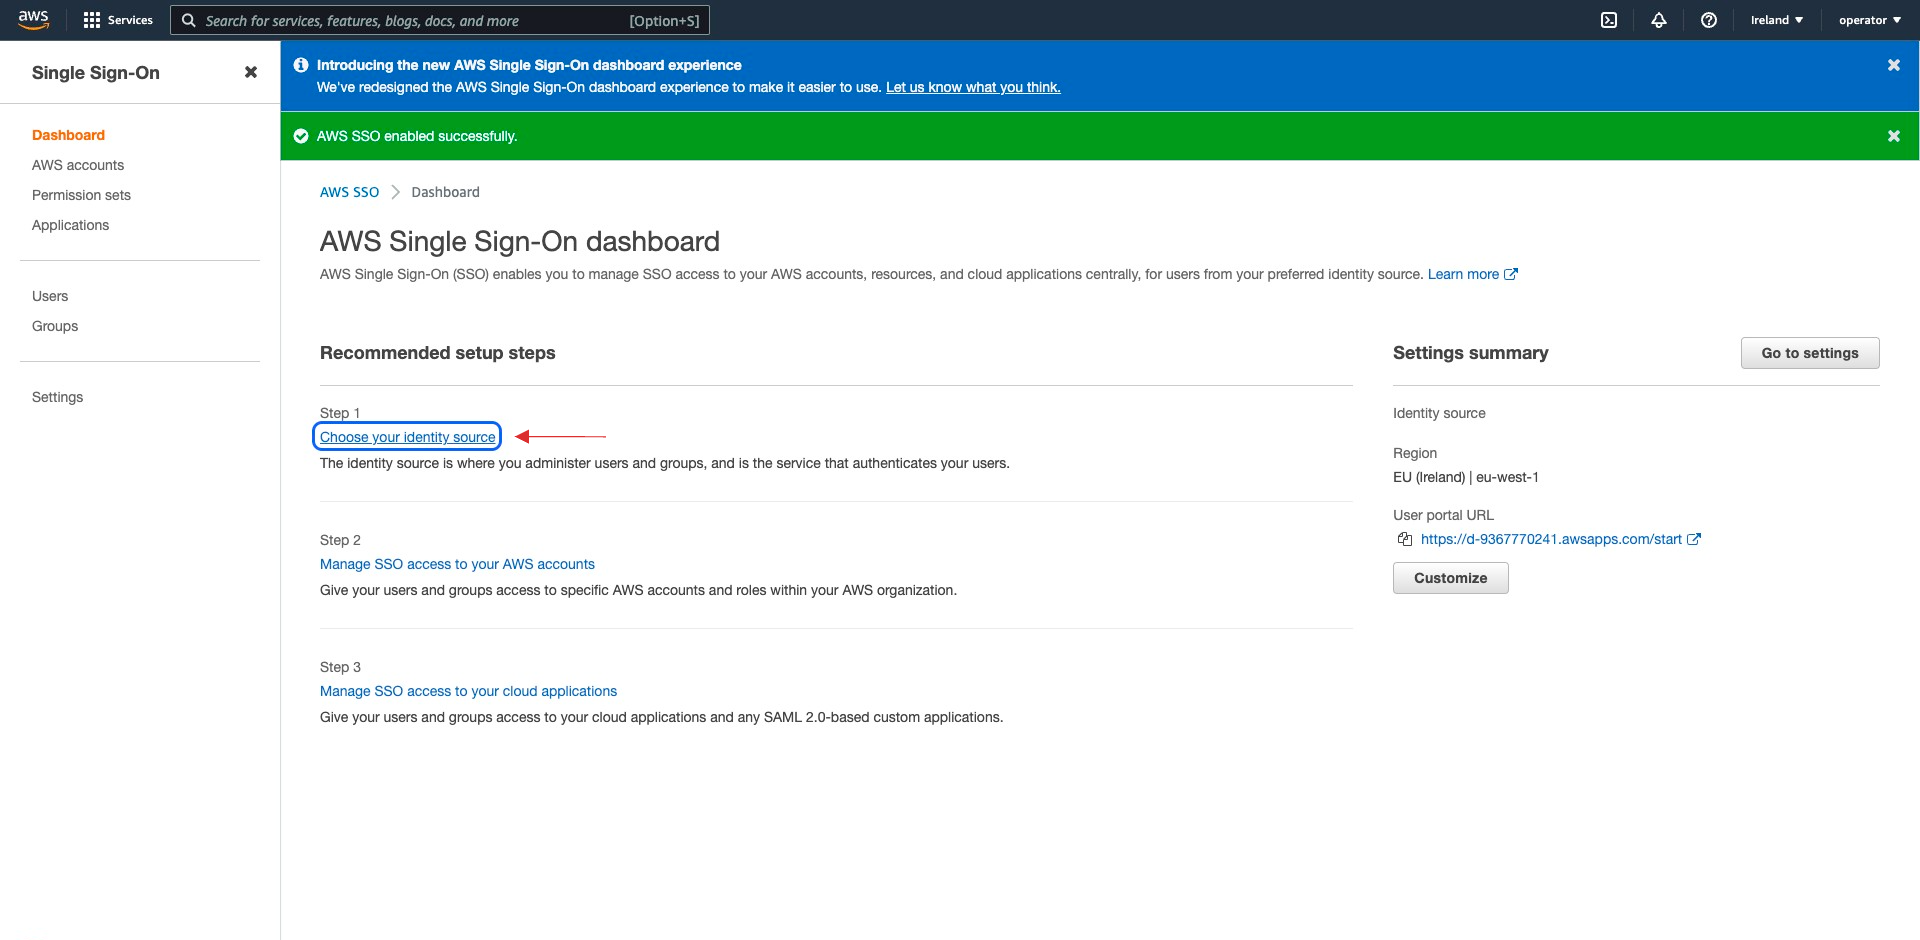
7 Click on Enable AWS SSO.

8 Click on Finish enabling AWS SSO.

9 Click on Choose your identity source.
10 For Identity source, click on Actions and select Change Identity Source from the drop-down.
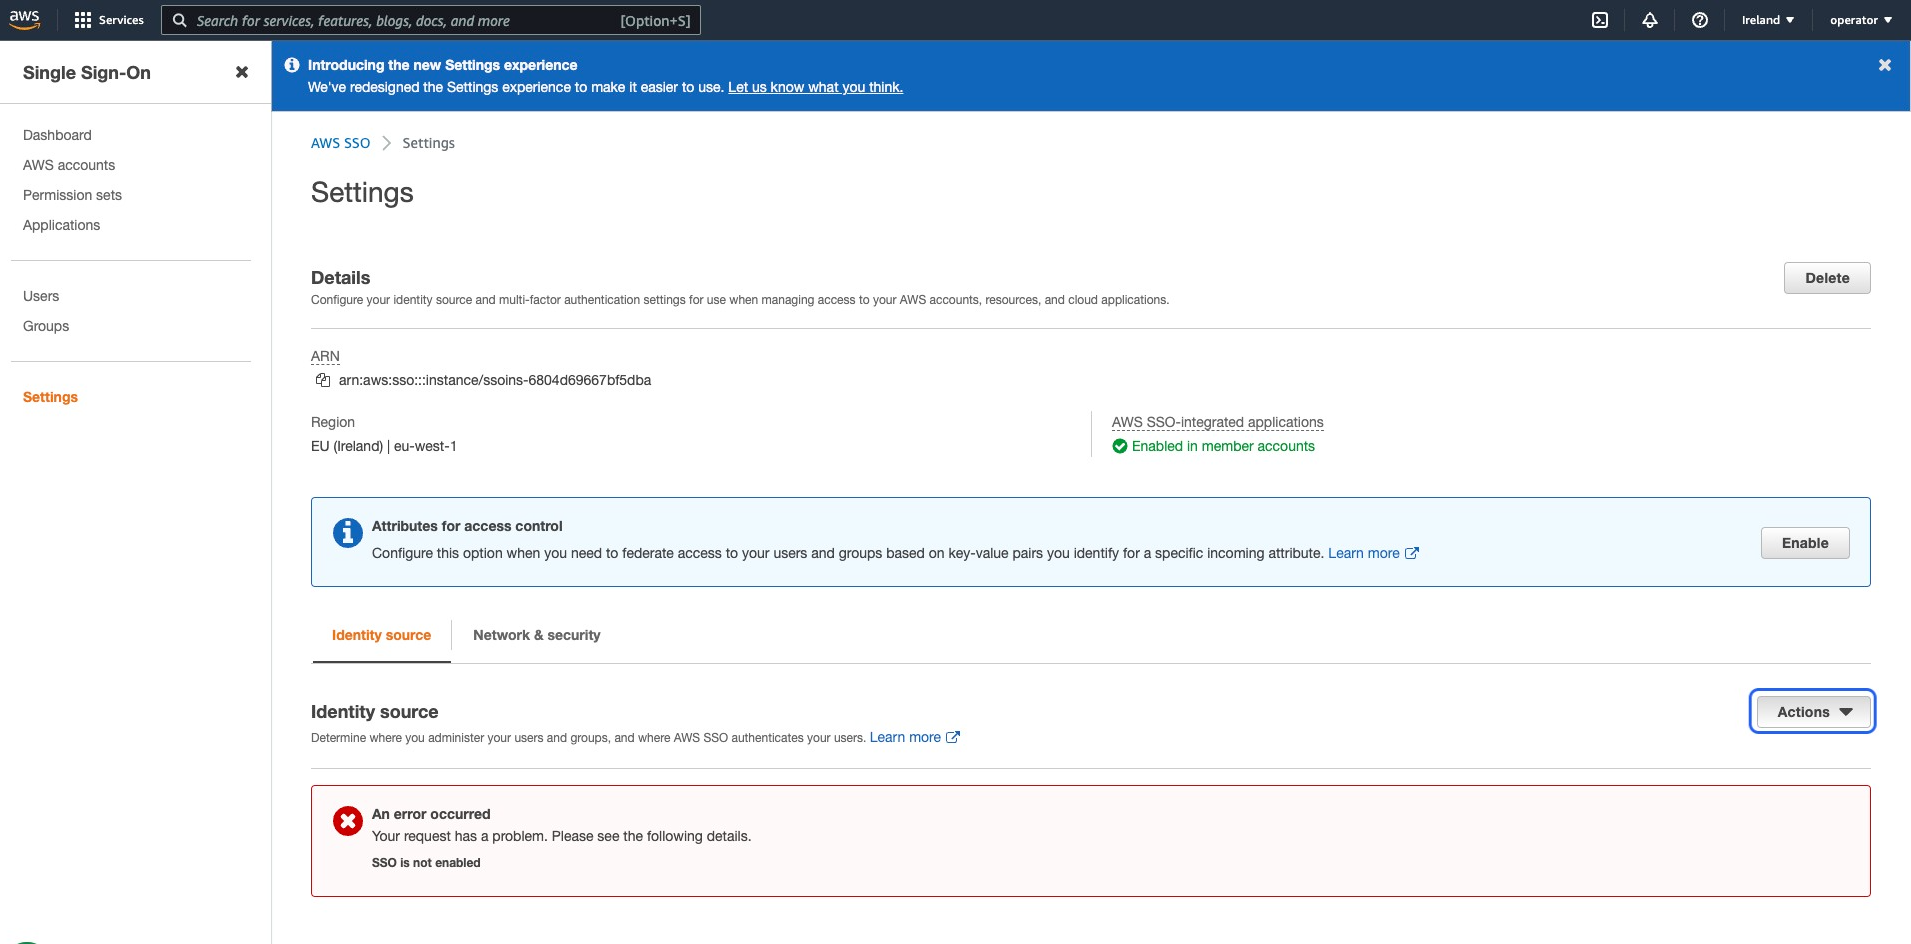
11 Check on External Identity Provider, and click on Next.

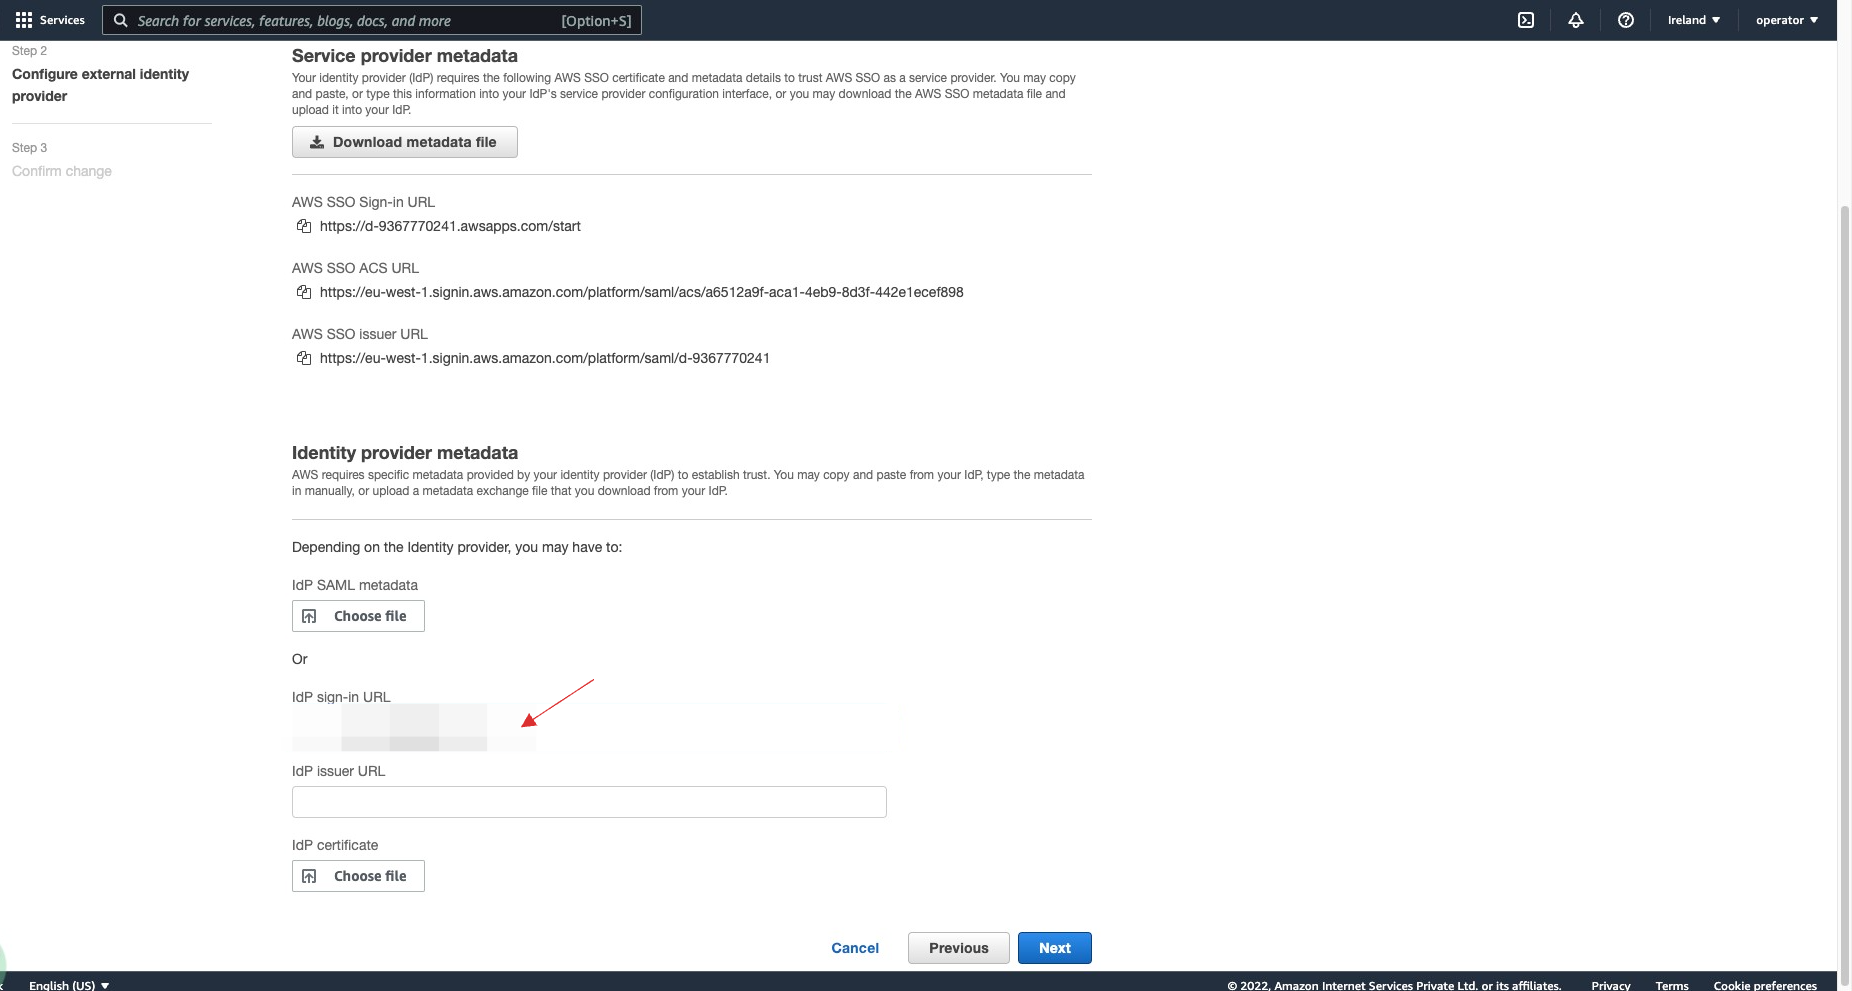
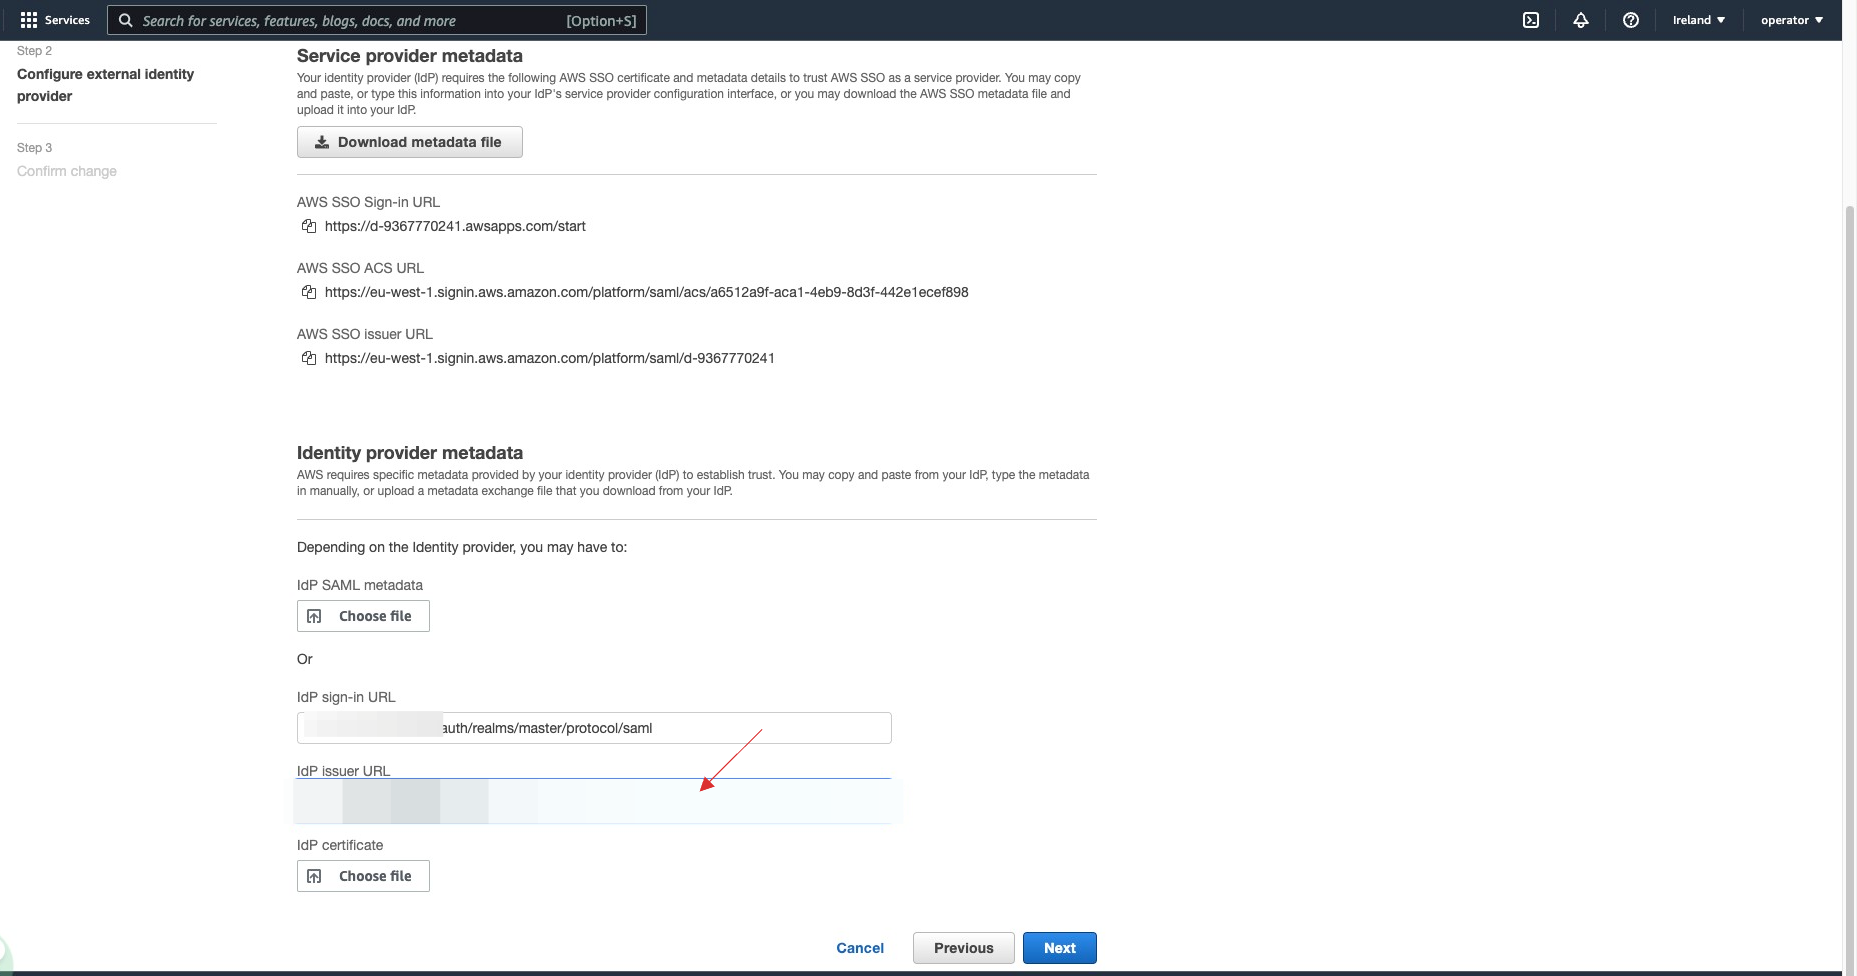
12 Copy the AWS SSO Sign-in URL, SSO ACS URL, and AWS SSO Issuer URL to your clipboard.

13 Return to your dashboard, paste the copied URLs in the respective fields.
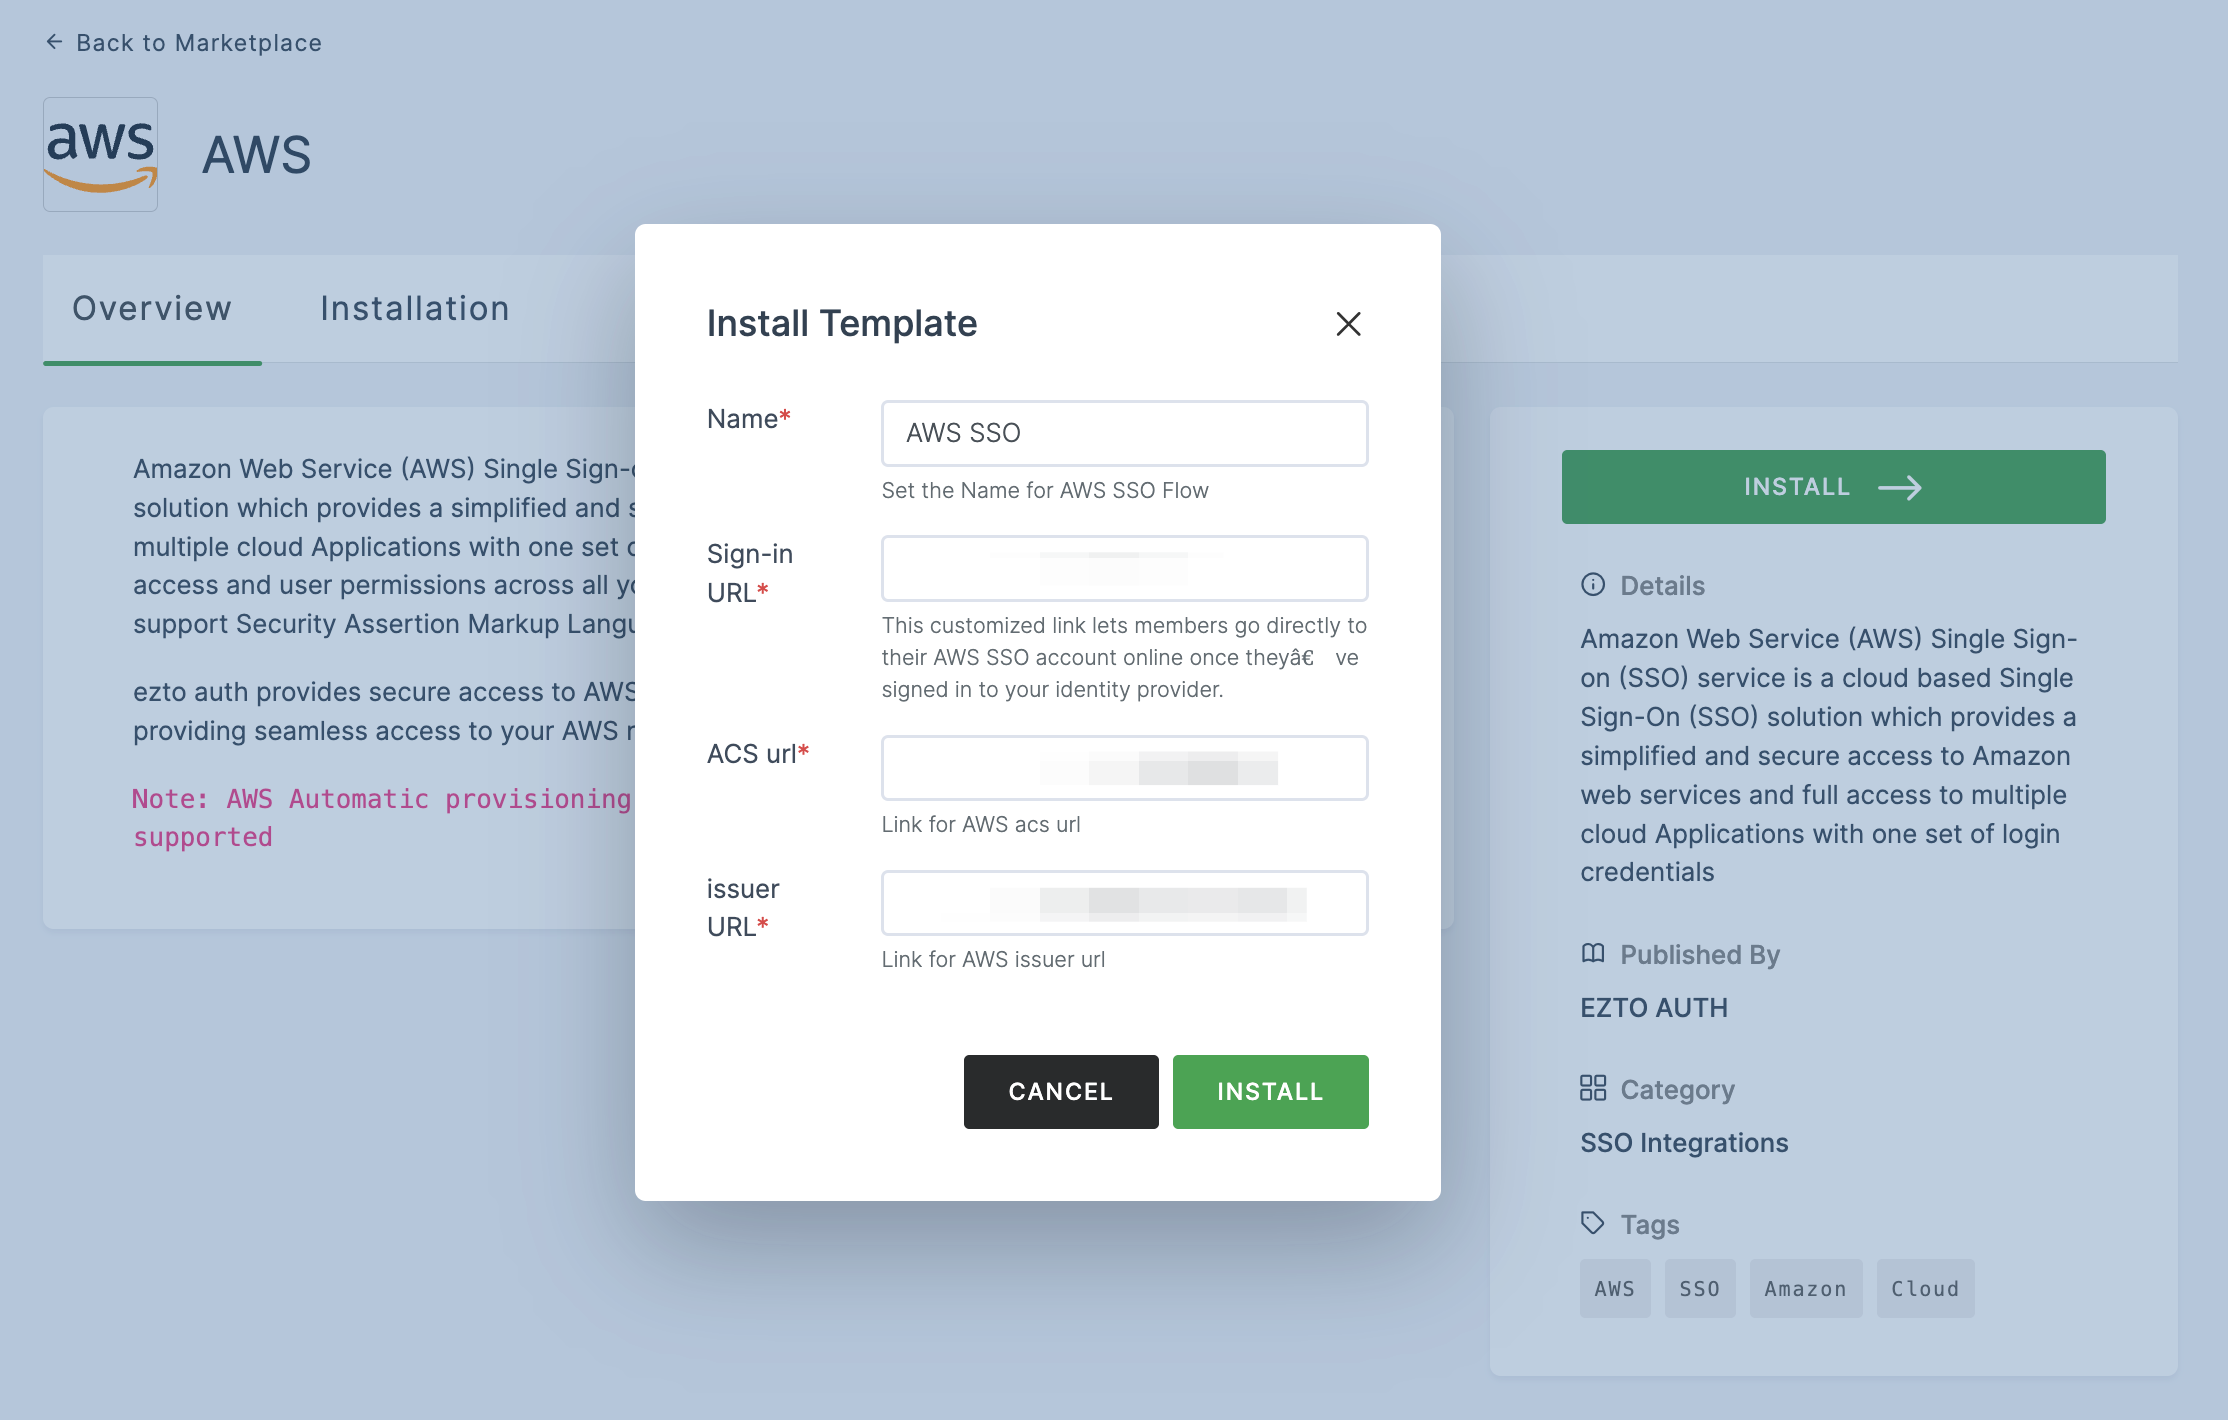
14 Once the configurations are provided, click on INSTALL.
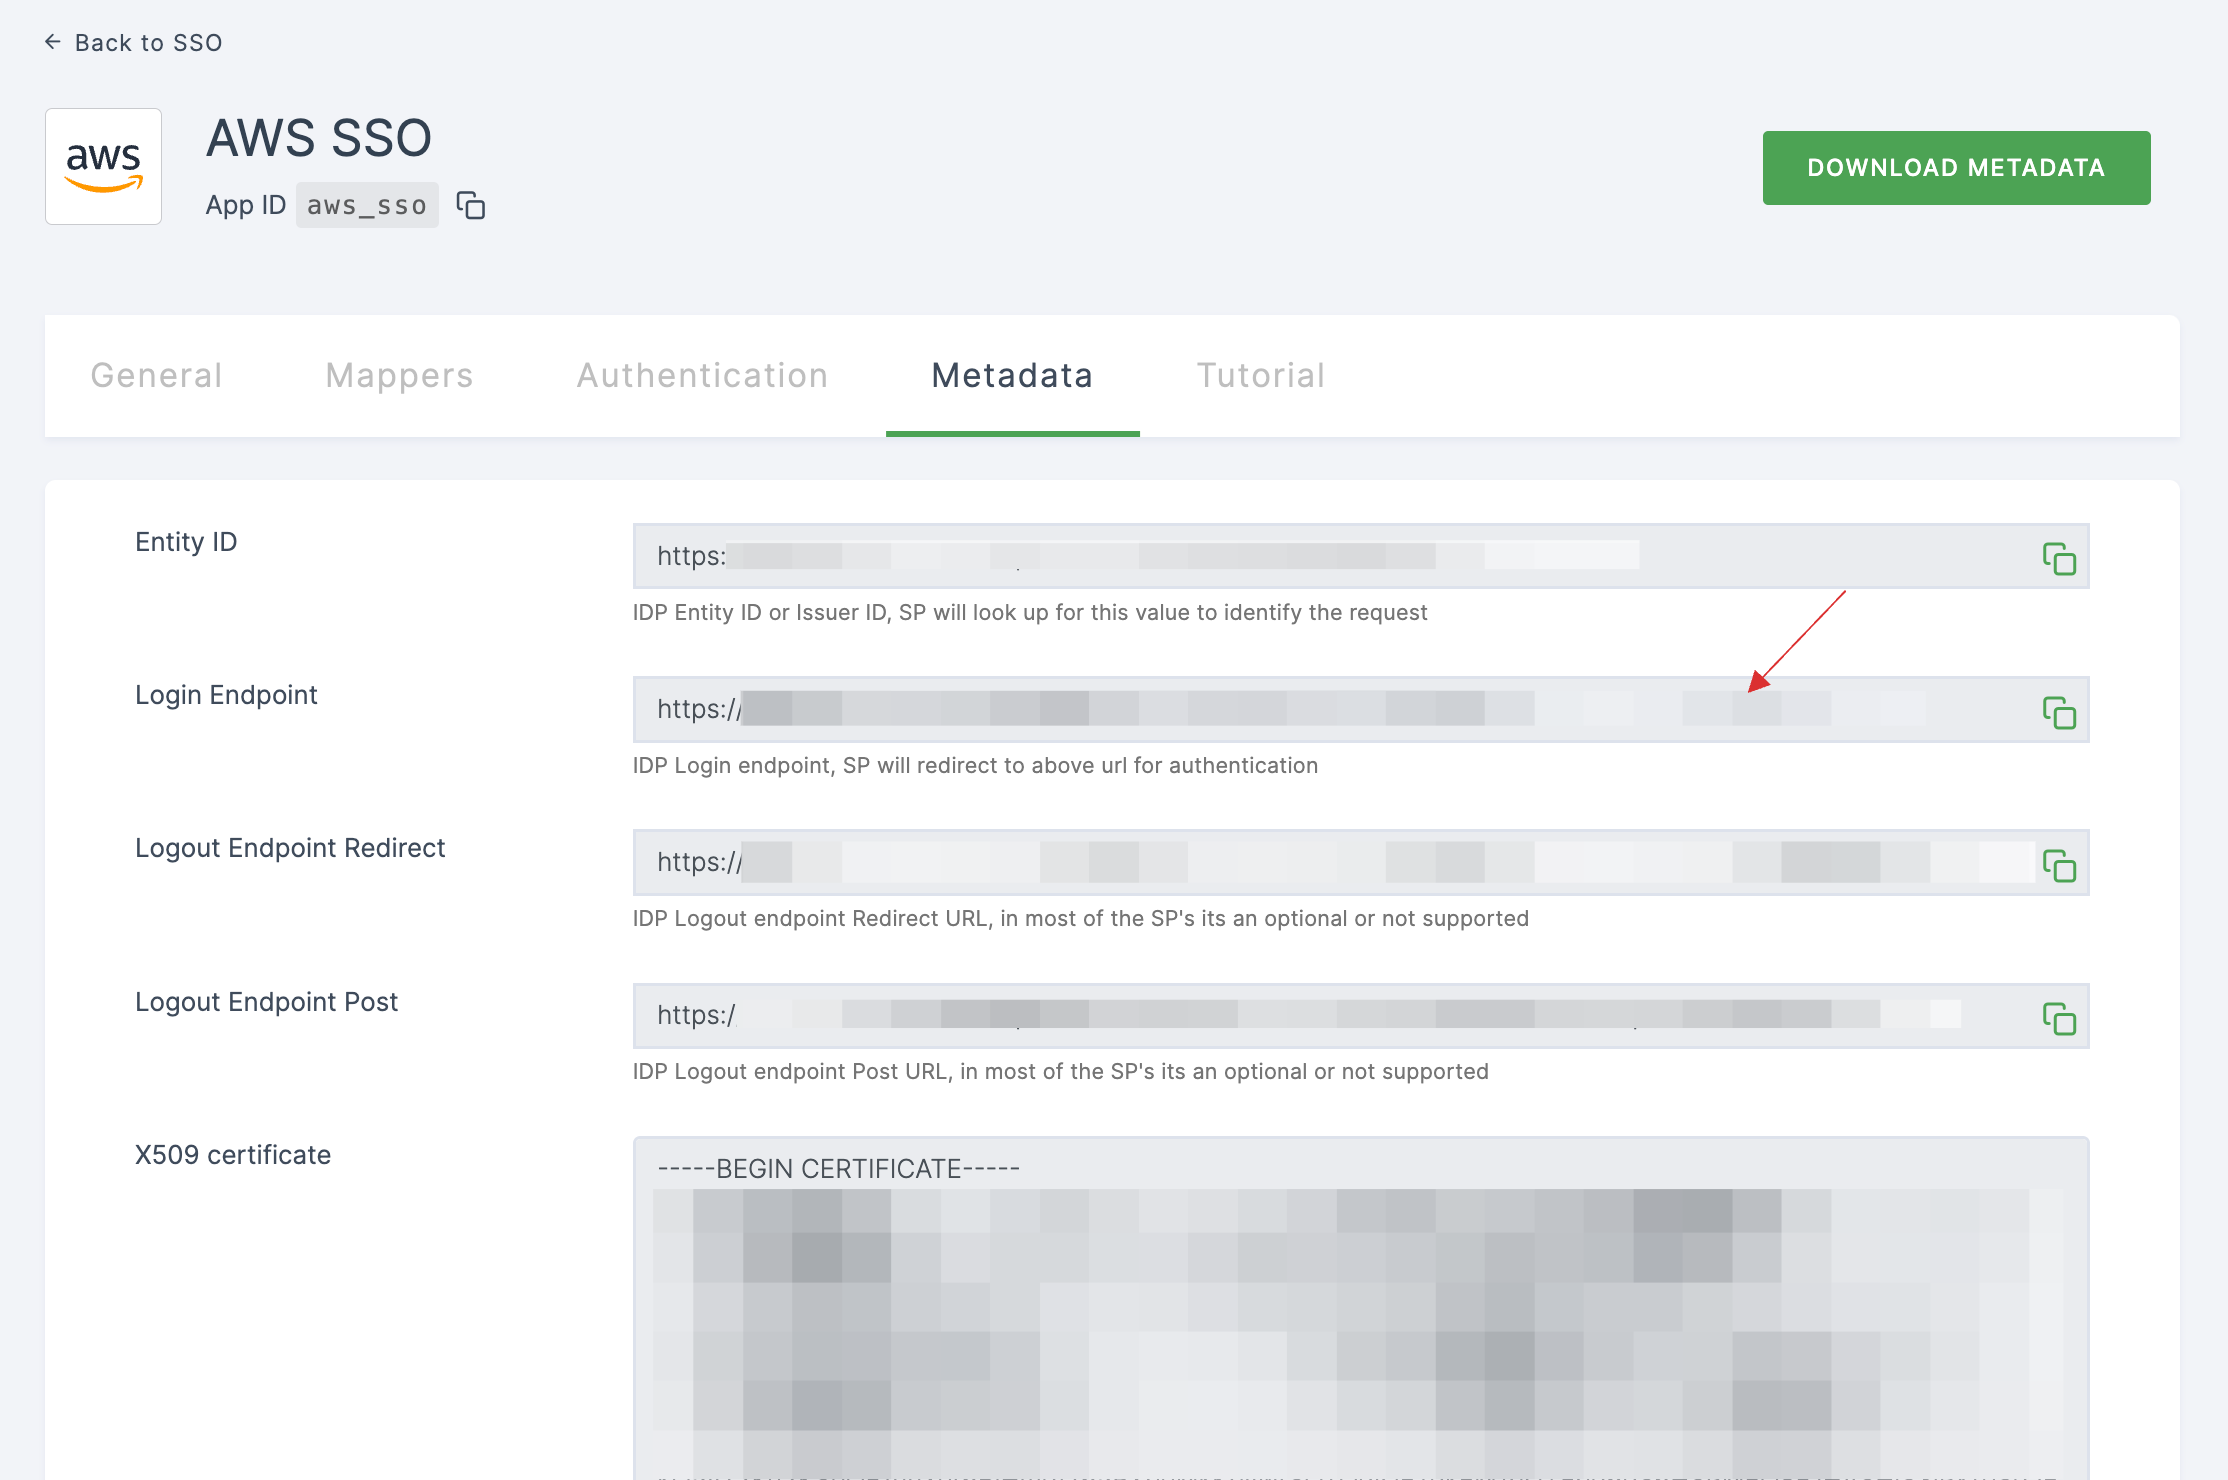
15 To enable AWS SSO login, go to Applications > SSO, and click on the created AWS SSO.

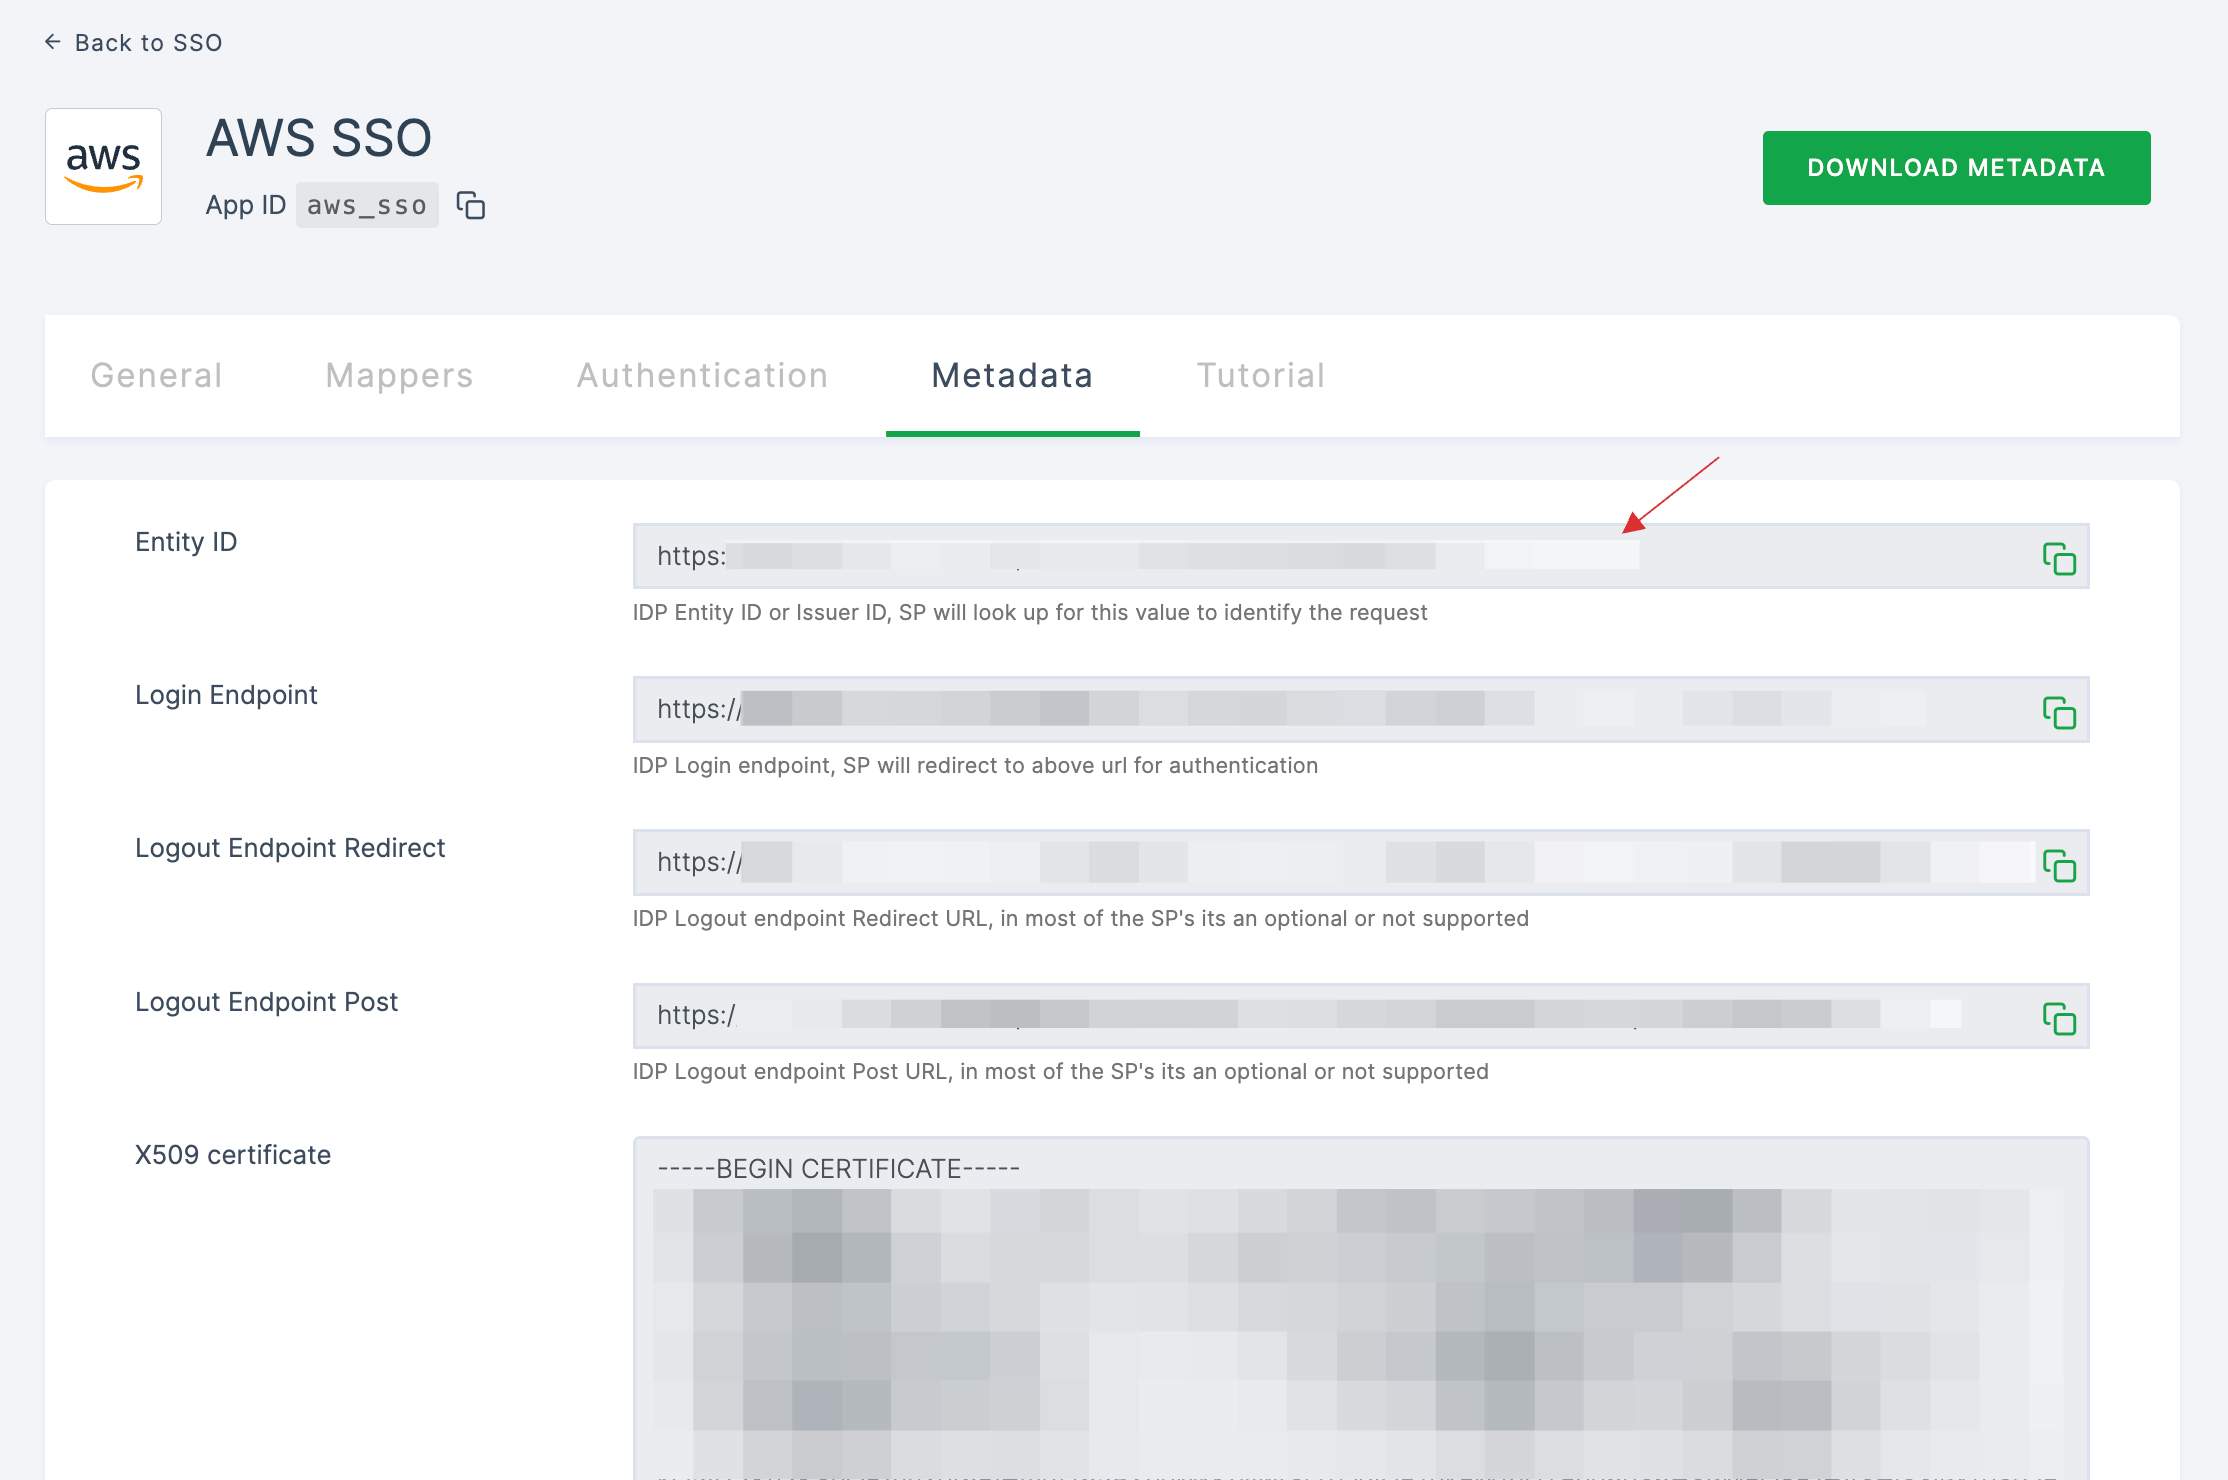
16 Click on Metadata, where the list of endpoints for the particular SSO will be available. Copy the Login Endpoint.
17 Switch to AWS, paste it under IdP sign-in URL.
18 Return to your dashboard, copy the Entity ID.
19 Switch to AWS, paste it under IdP Issuer URL.
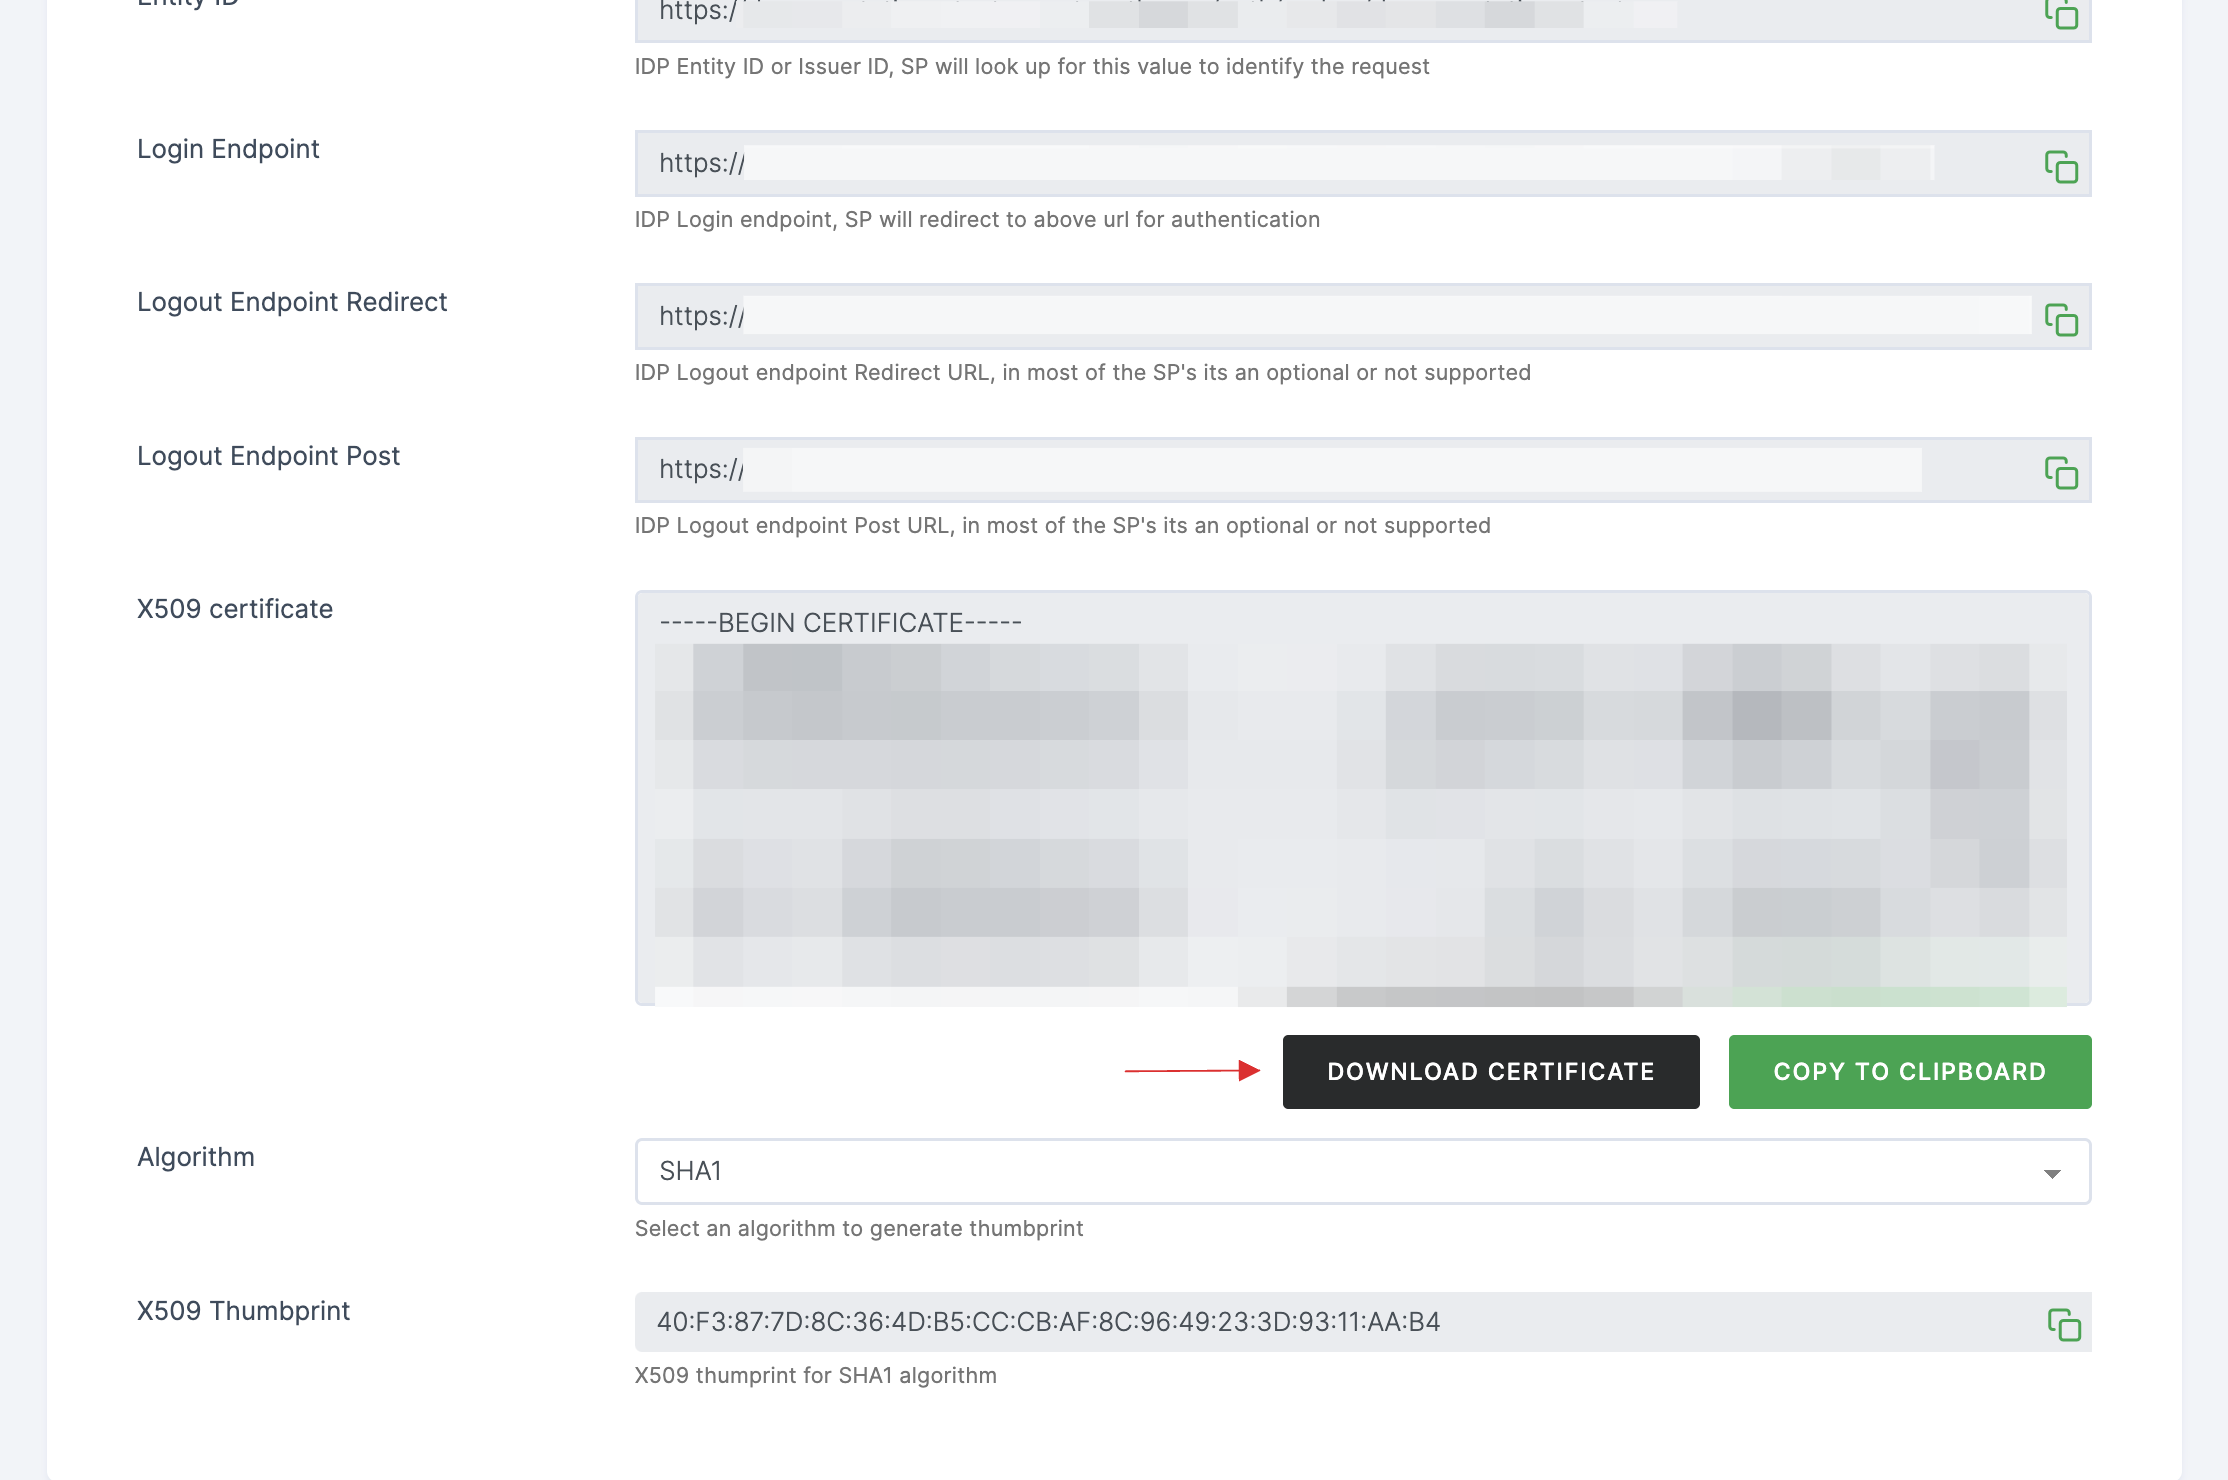
20 Return to your dashboard, click on DOWNLOAD CERTIFICATE.
21 Switch to AWS, upload the downloaded X509 Certificate.
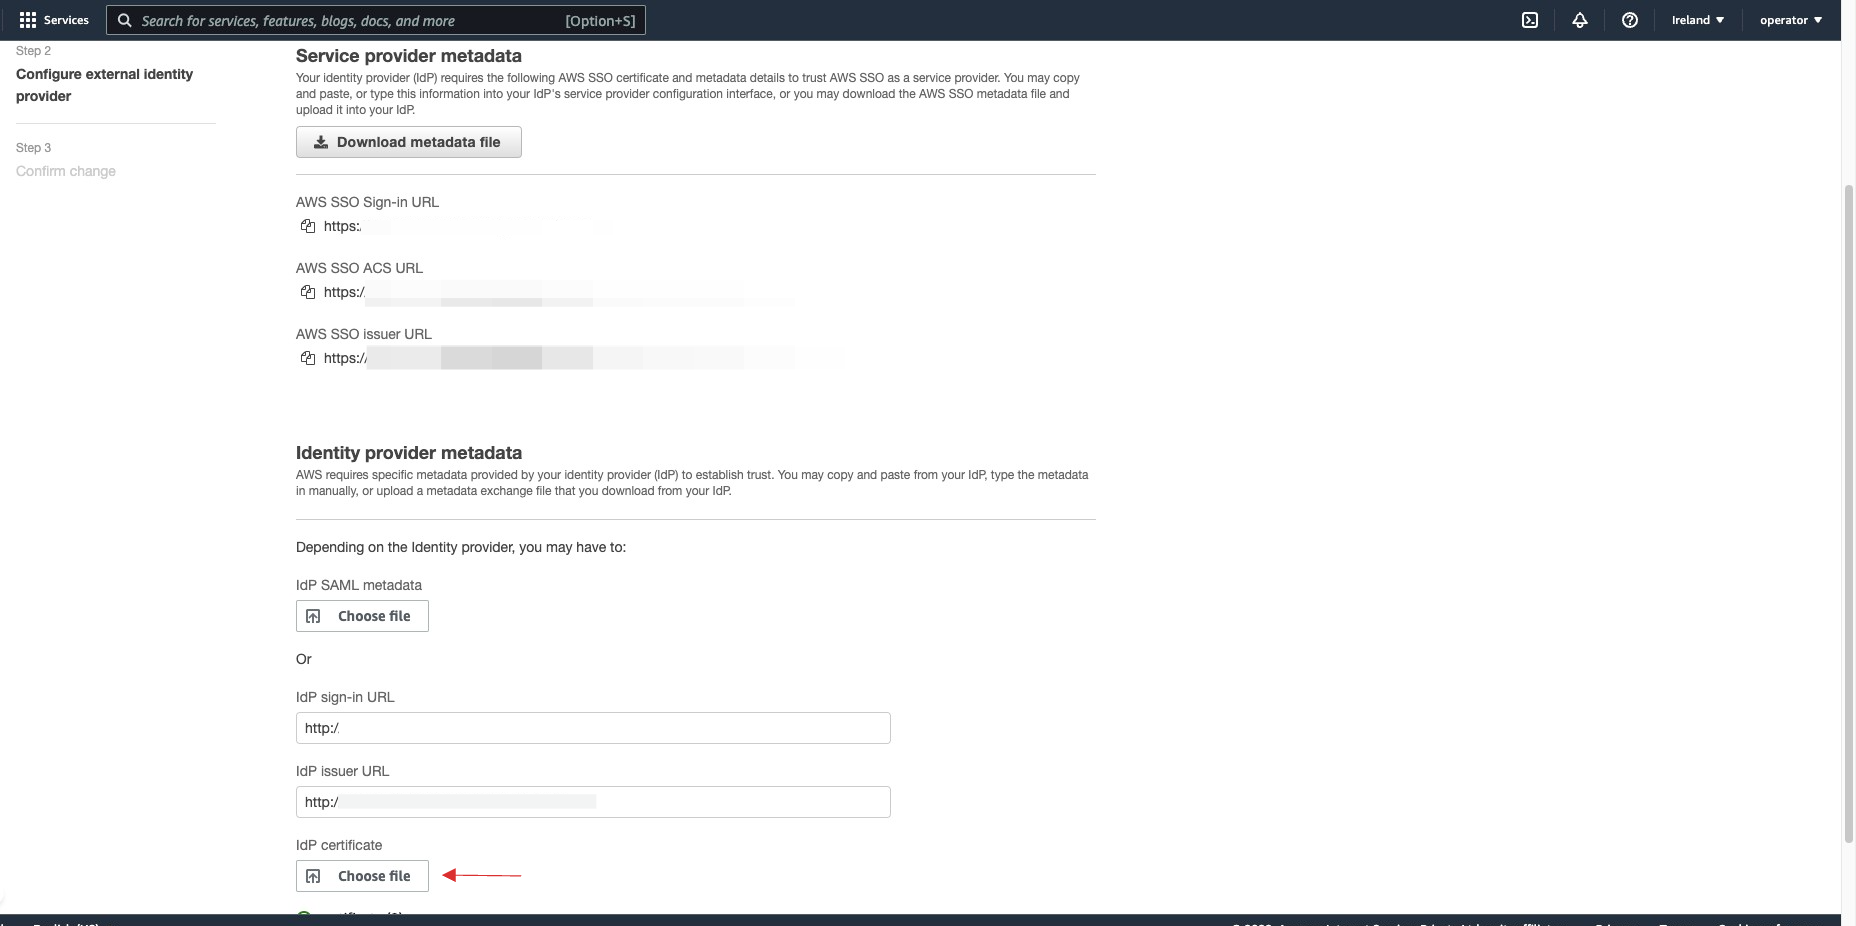
22 Click on Next.
23 Confirm the change of identity source by typing in ACCEPT. Click on Change Identity source.

24 Return to your dashboard, assign a user with AWS role. To do so, navigate to Users or Workspace Admins, click on the user you want to assign the role.
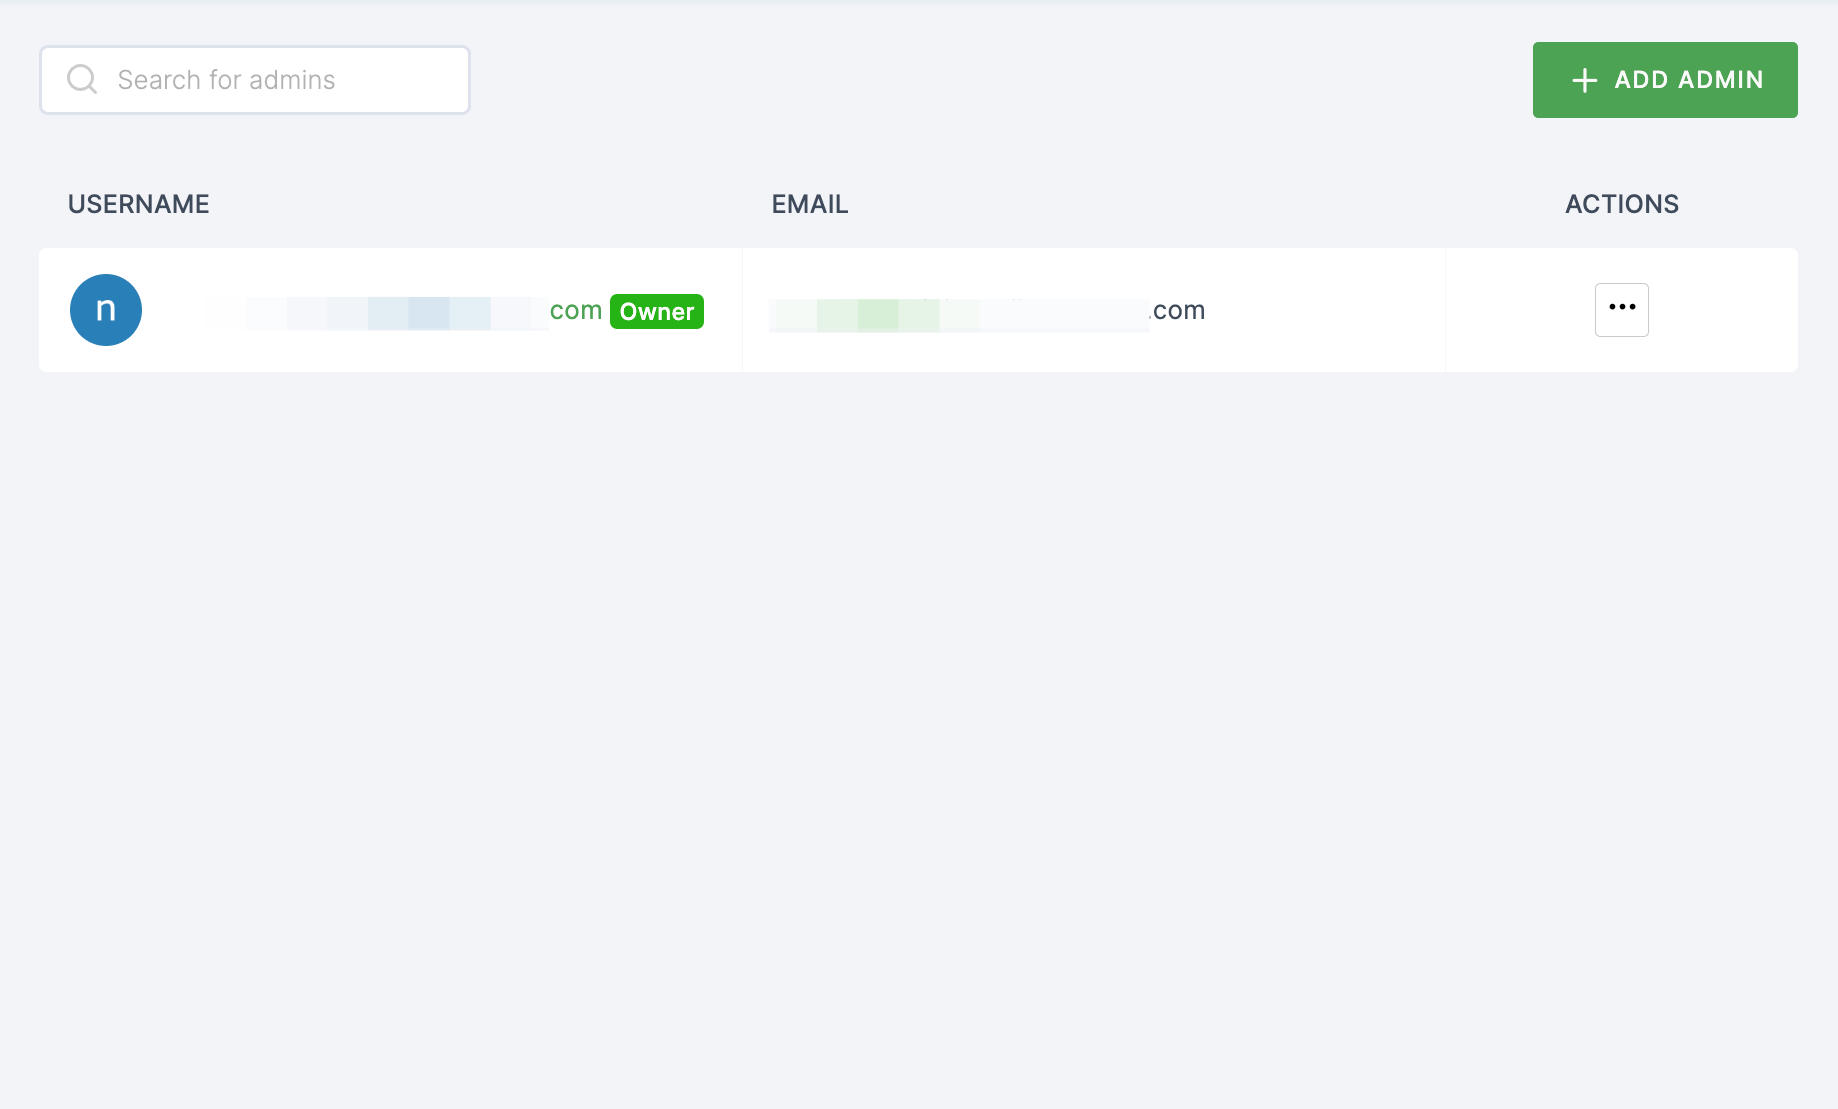
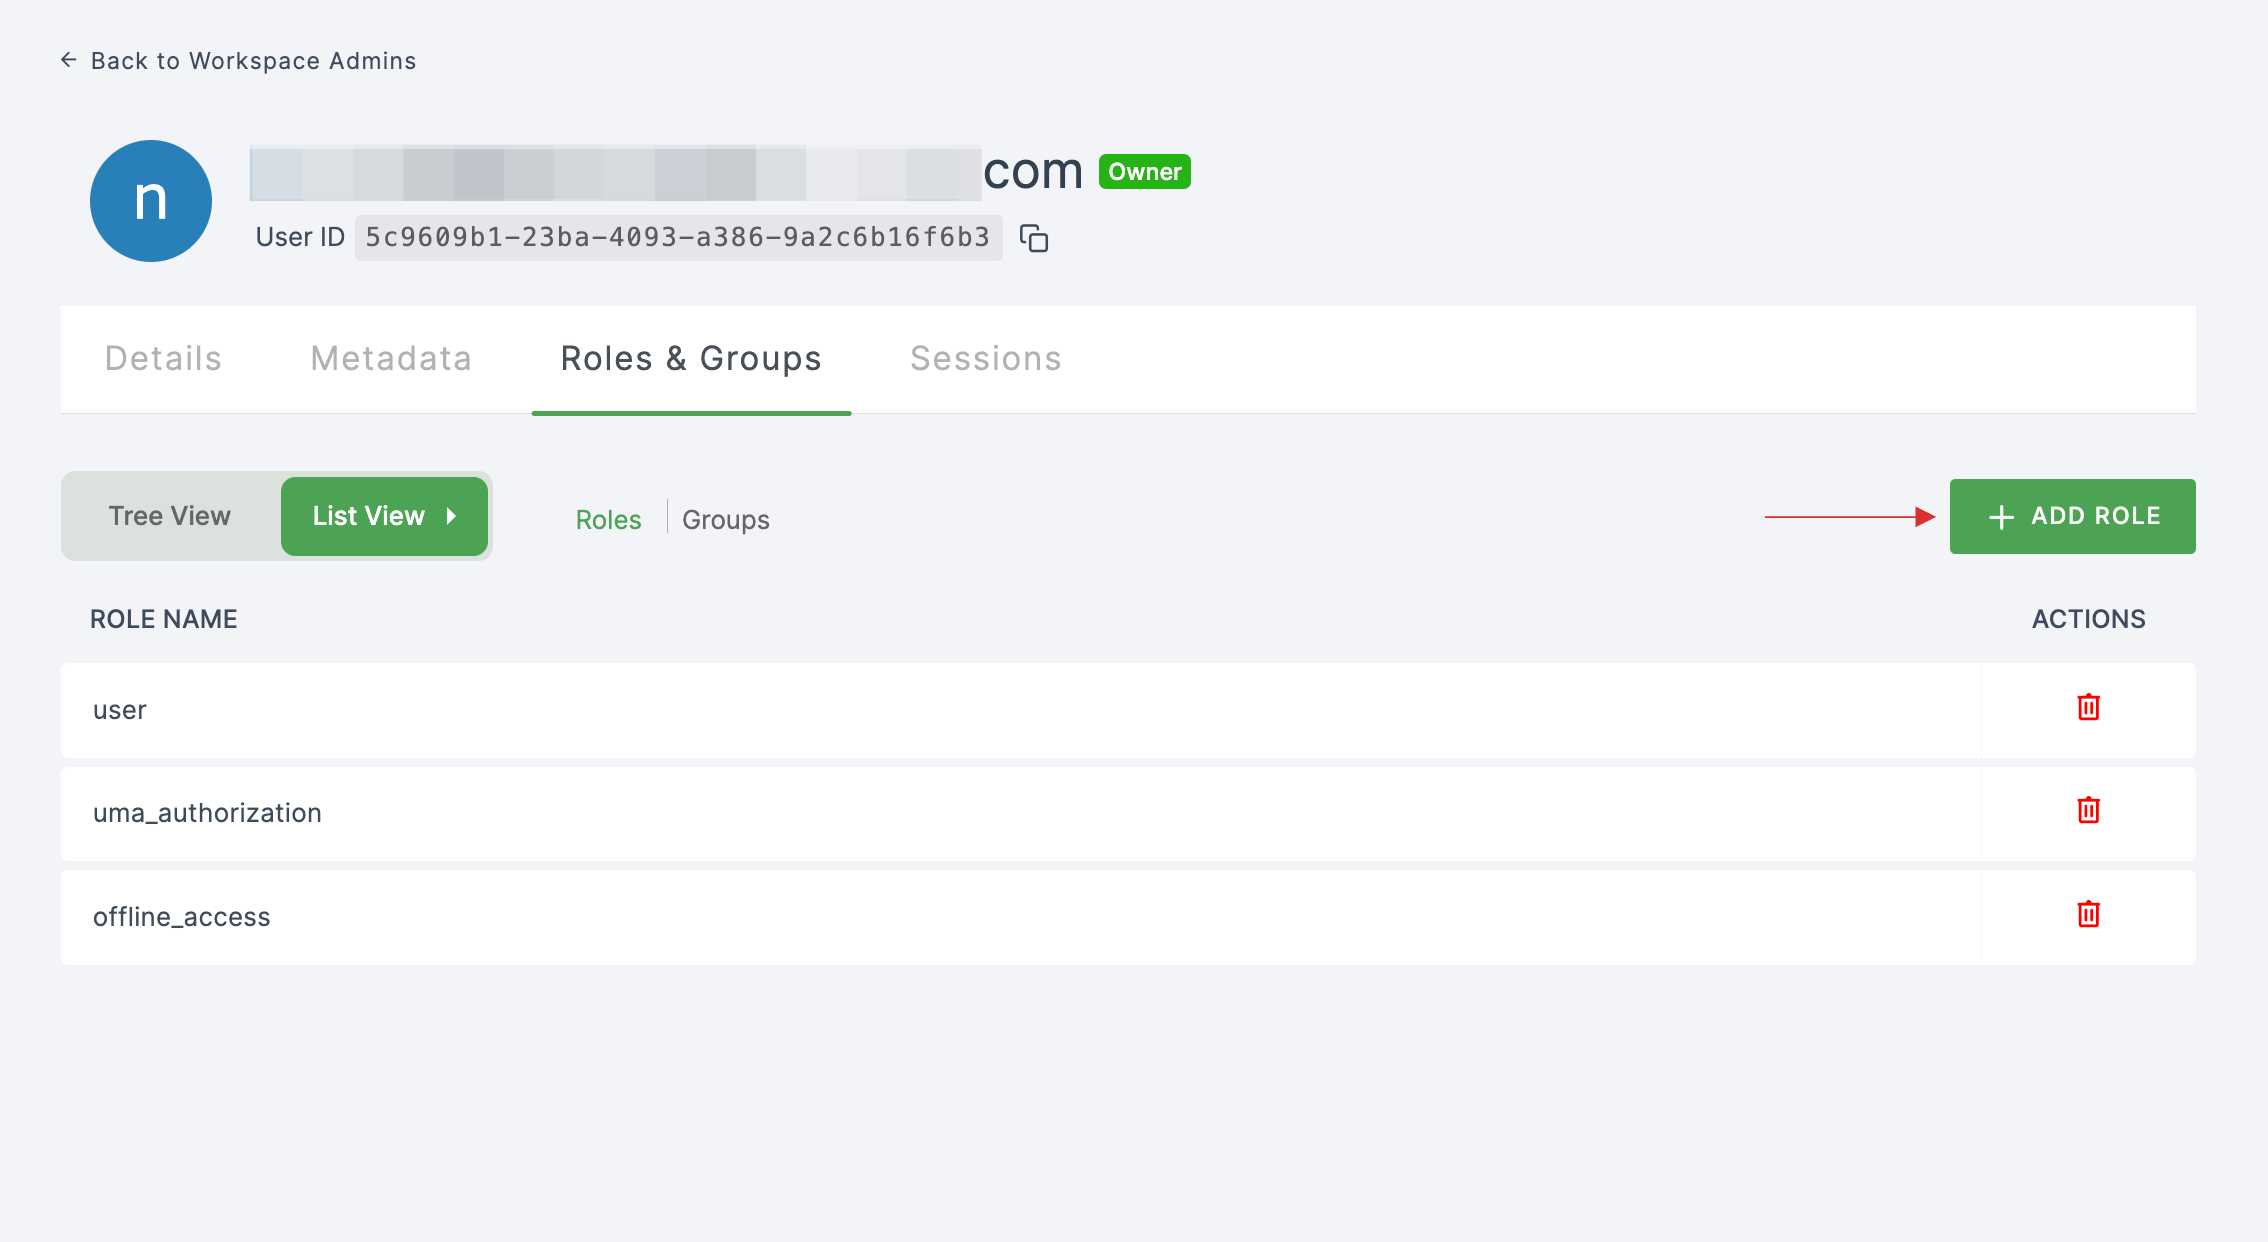
25 You will be taken to the user's Details tab, click on Roles & Groups.
26 Select List View and click on + ADD ROLE.
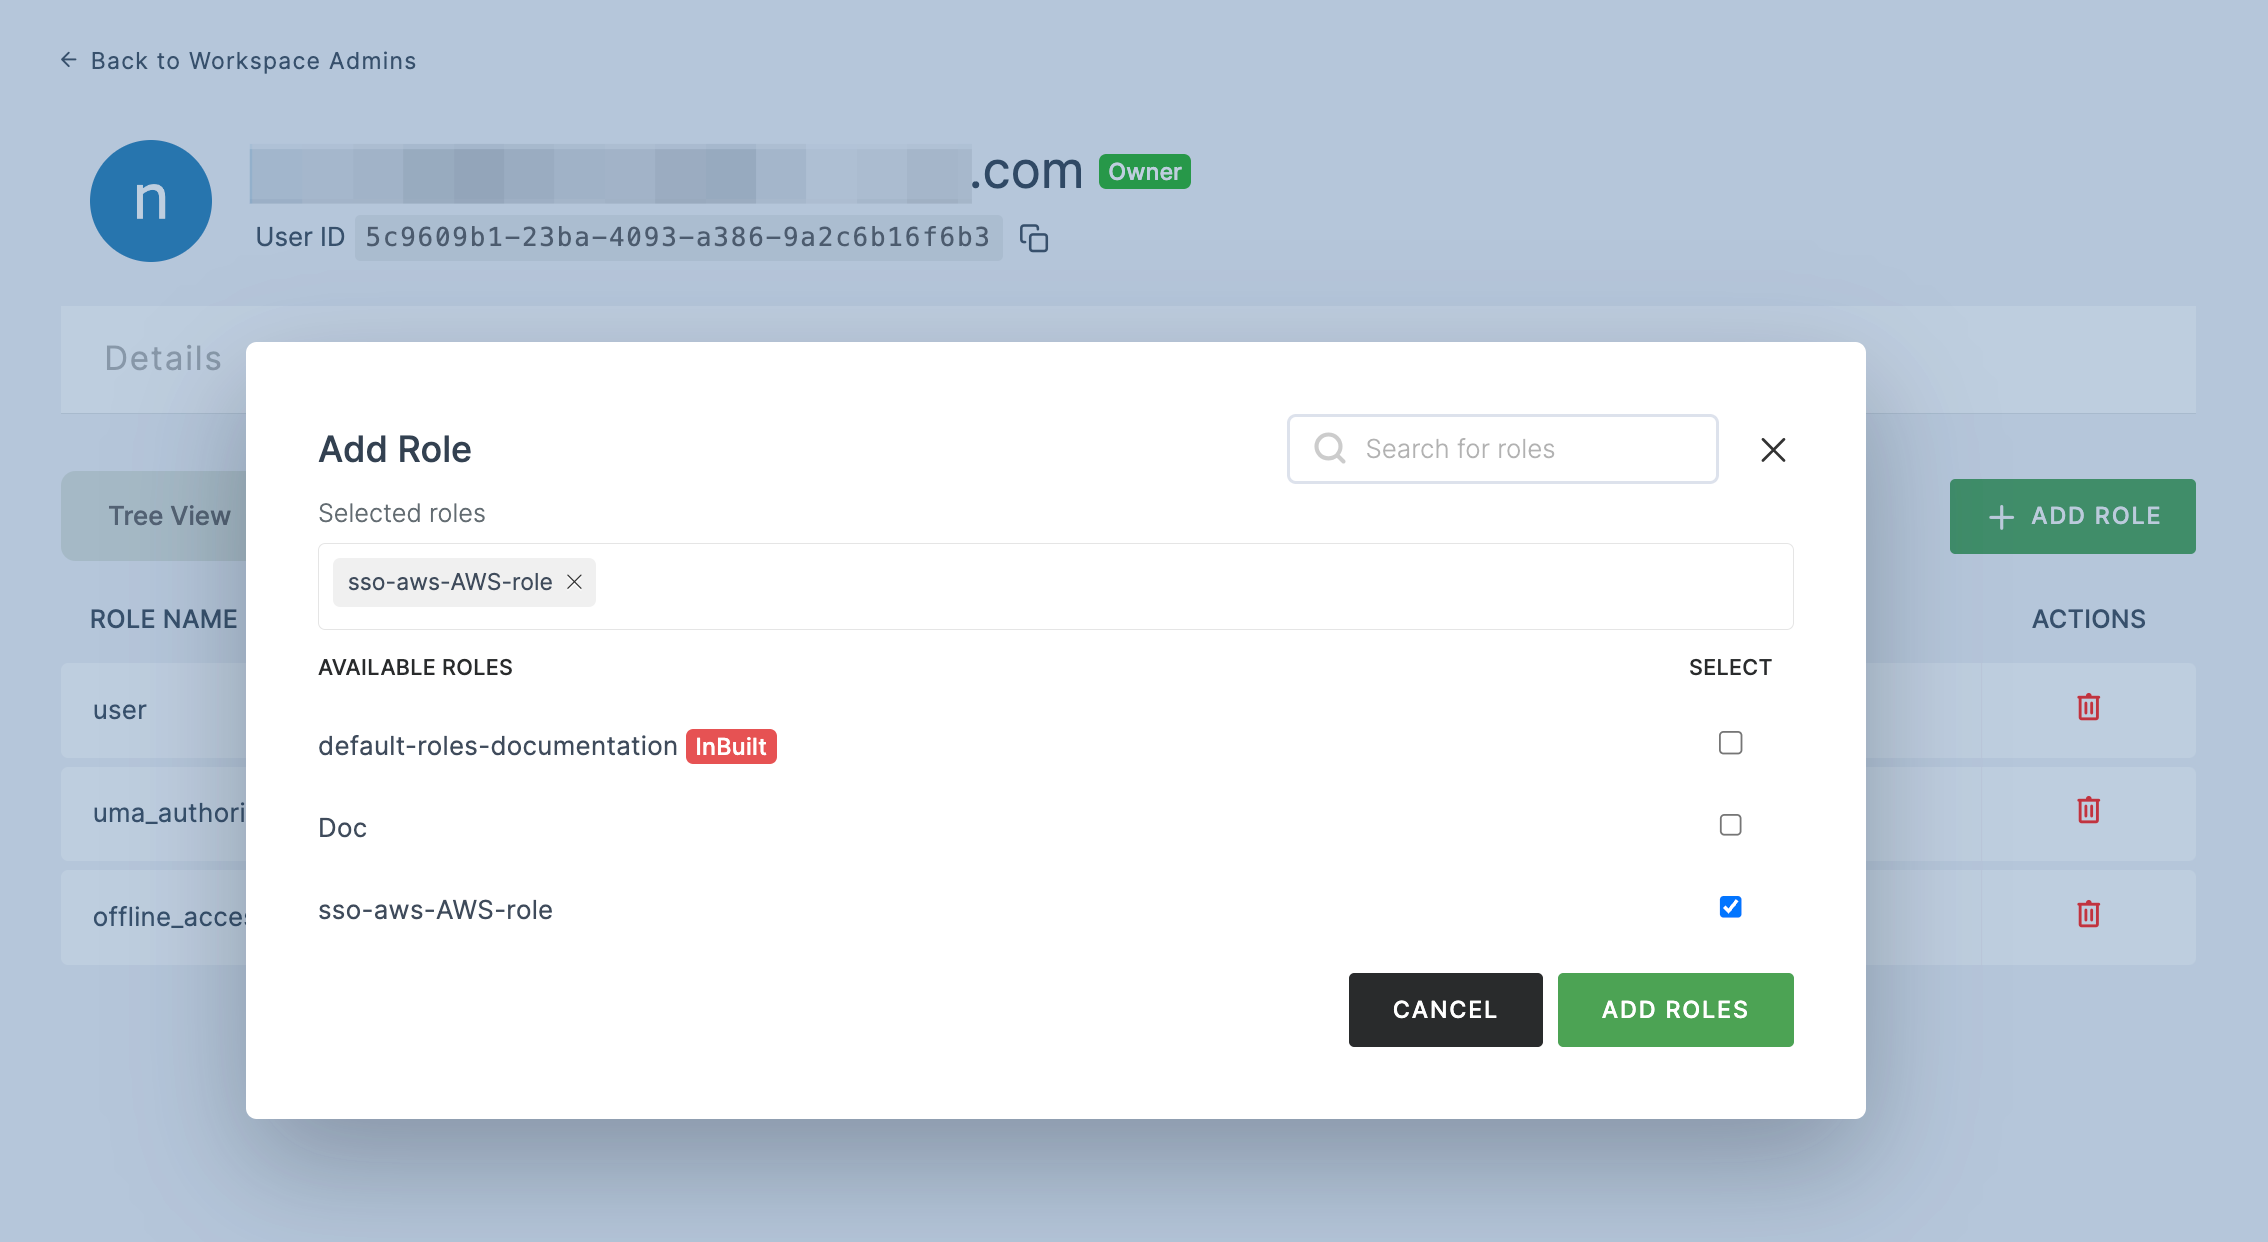
27 The available roles will appear; select sso-aws-AWS-role and click on ADD ROLES.
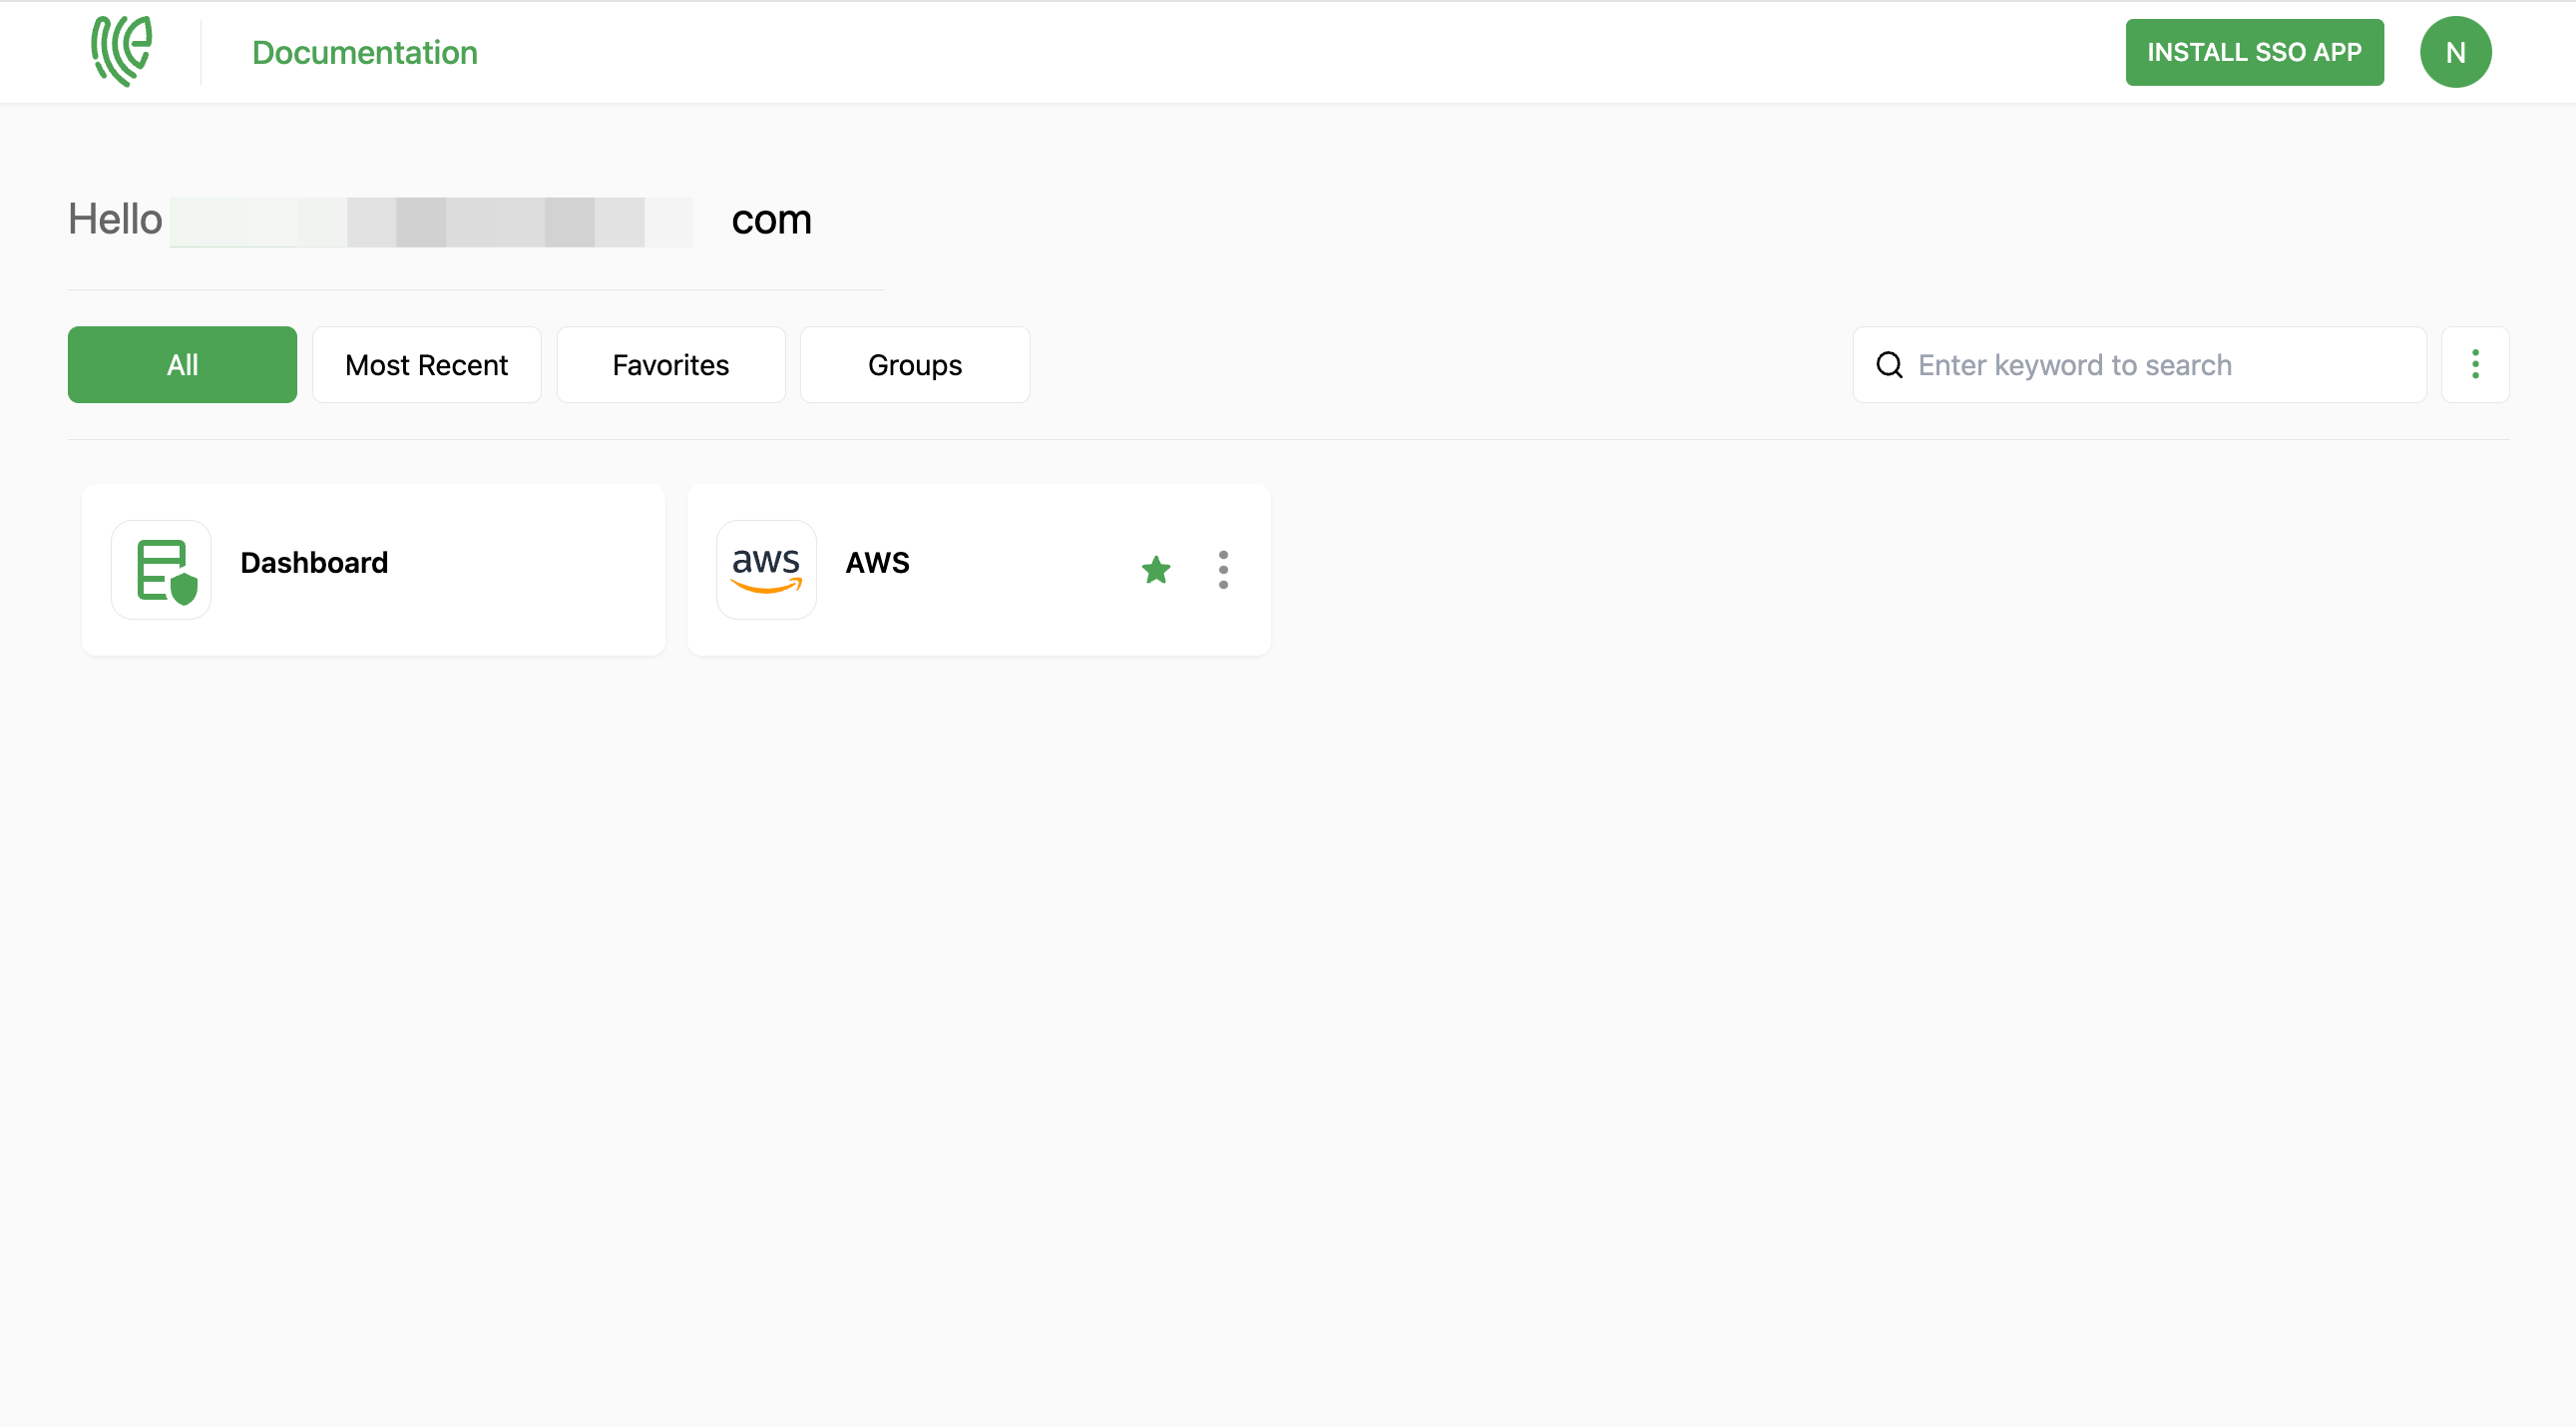
28 To verify whether SSO has been successfully enabled, go to Applications > SSO, click on SSO DASHBOARD button.
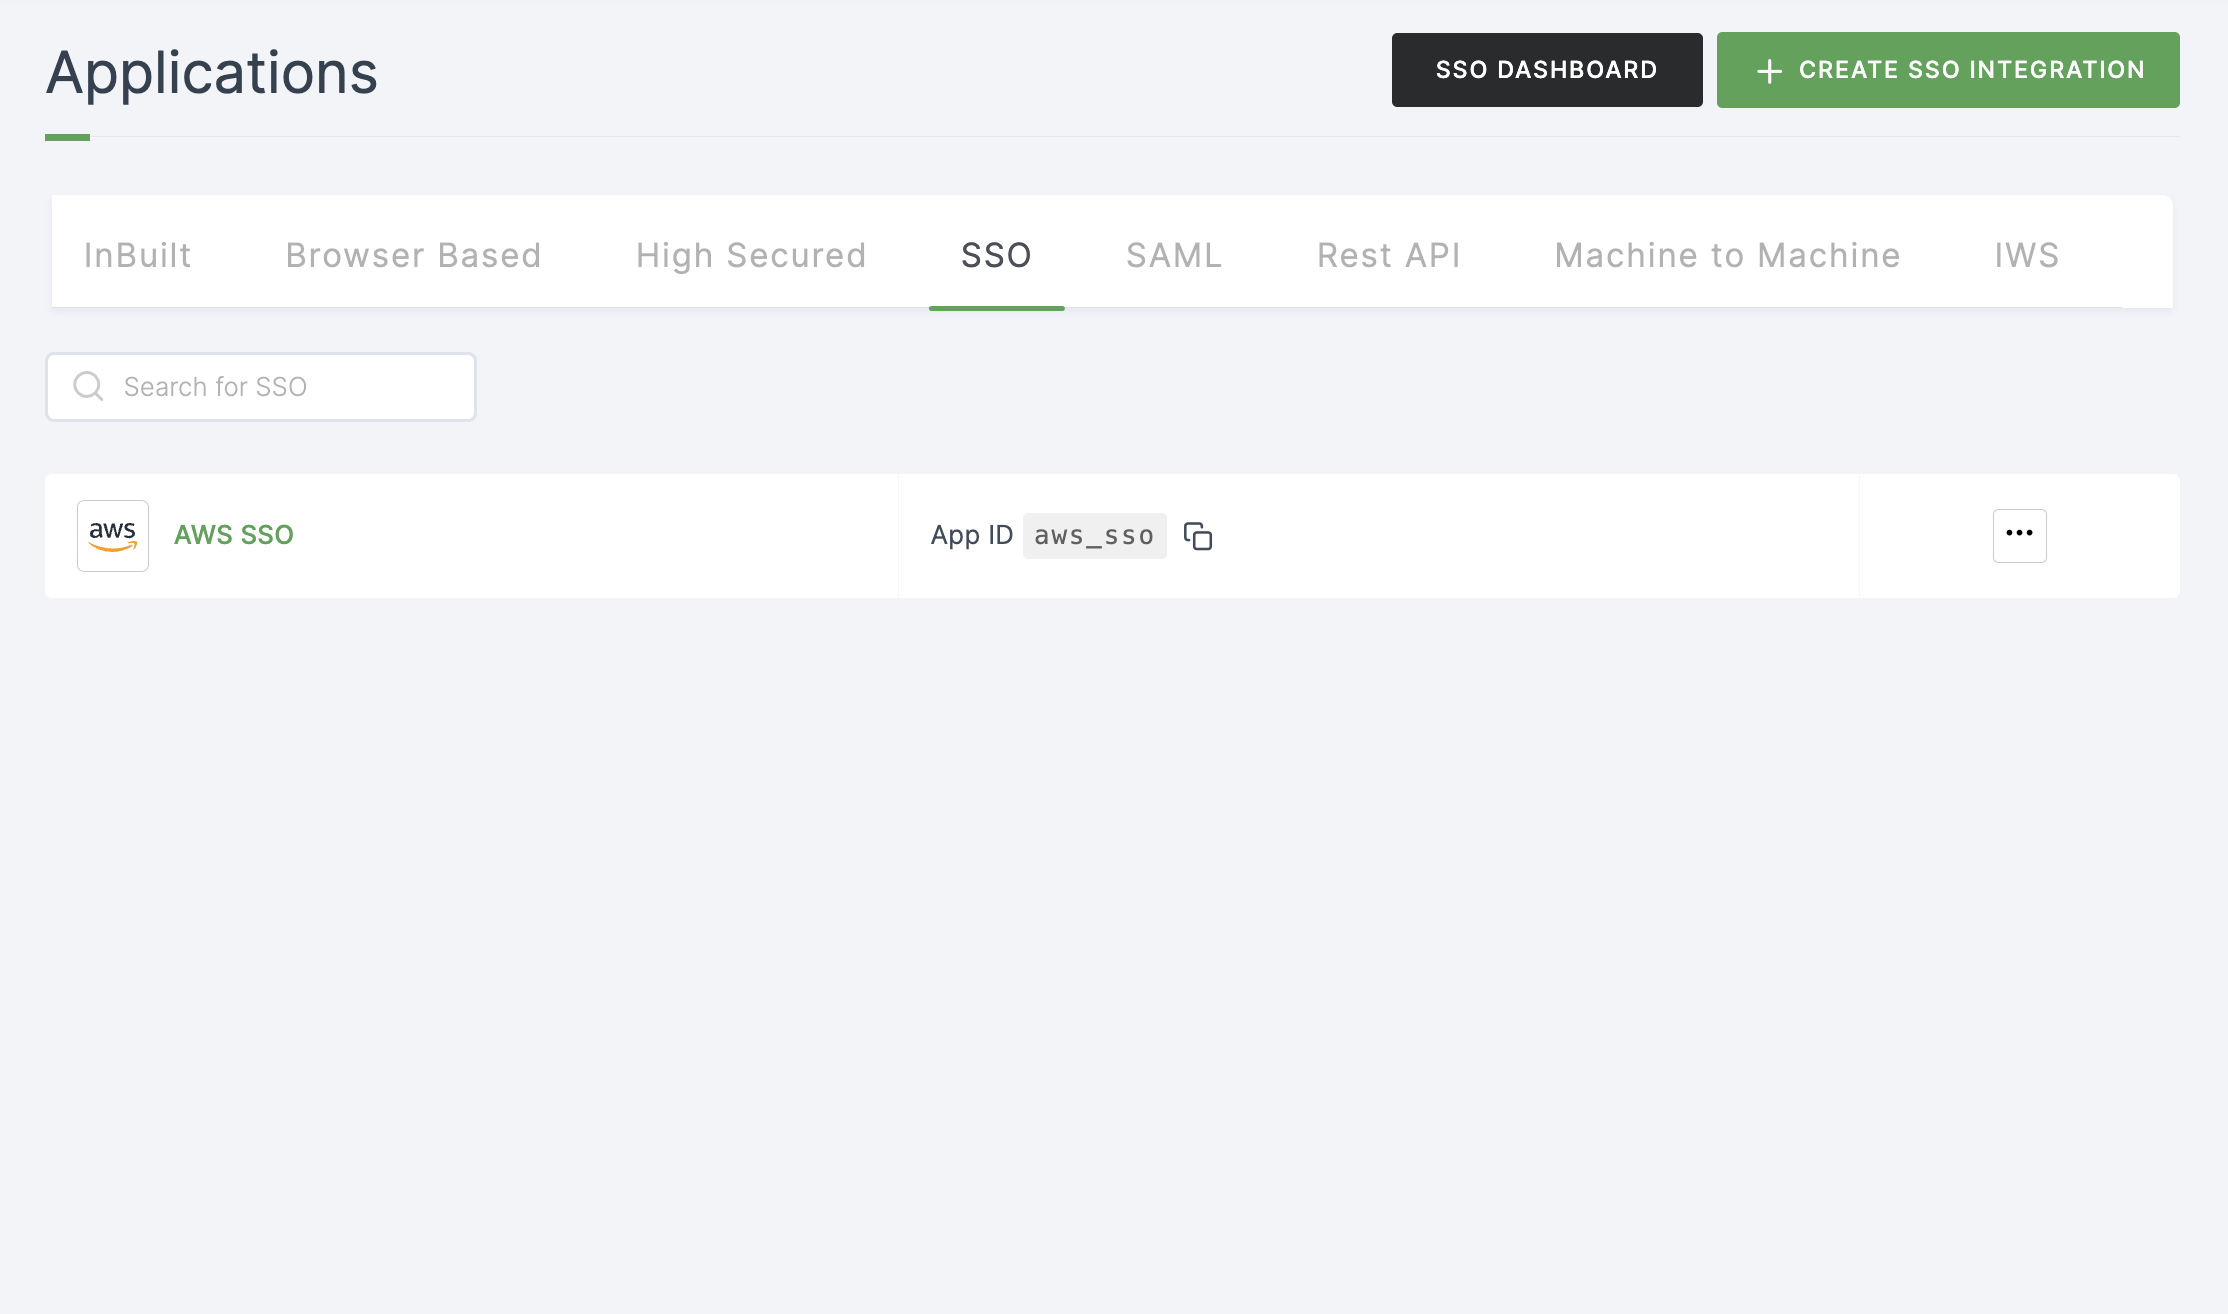
29 The AWS SSO will be enabled successfully.