Splunk
Splunk is a platform for searching, monitoring, and analyzing machine-generated data. It provides insights into various aspects of IT infrastructure, security, and business operations.
You must have an account in Splunk.
1 Go to Dashboard > Marketplace > SSO Integrations.
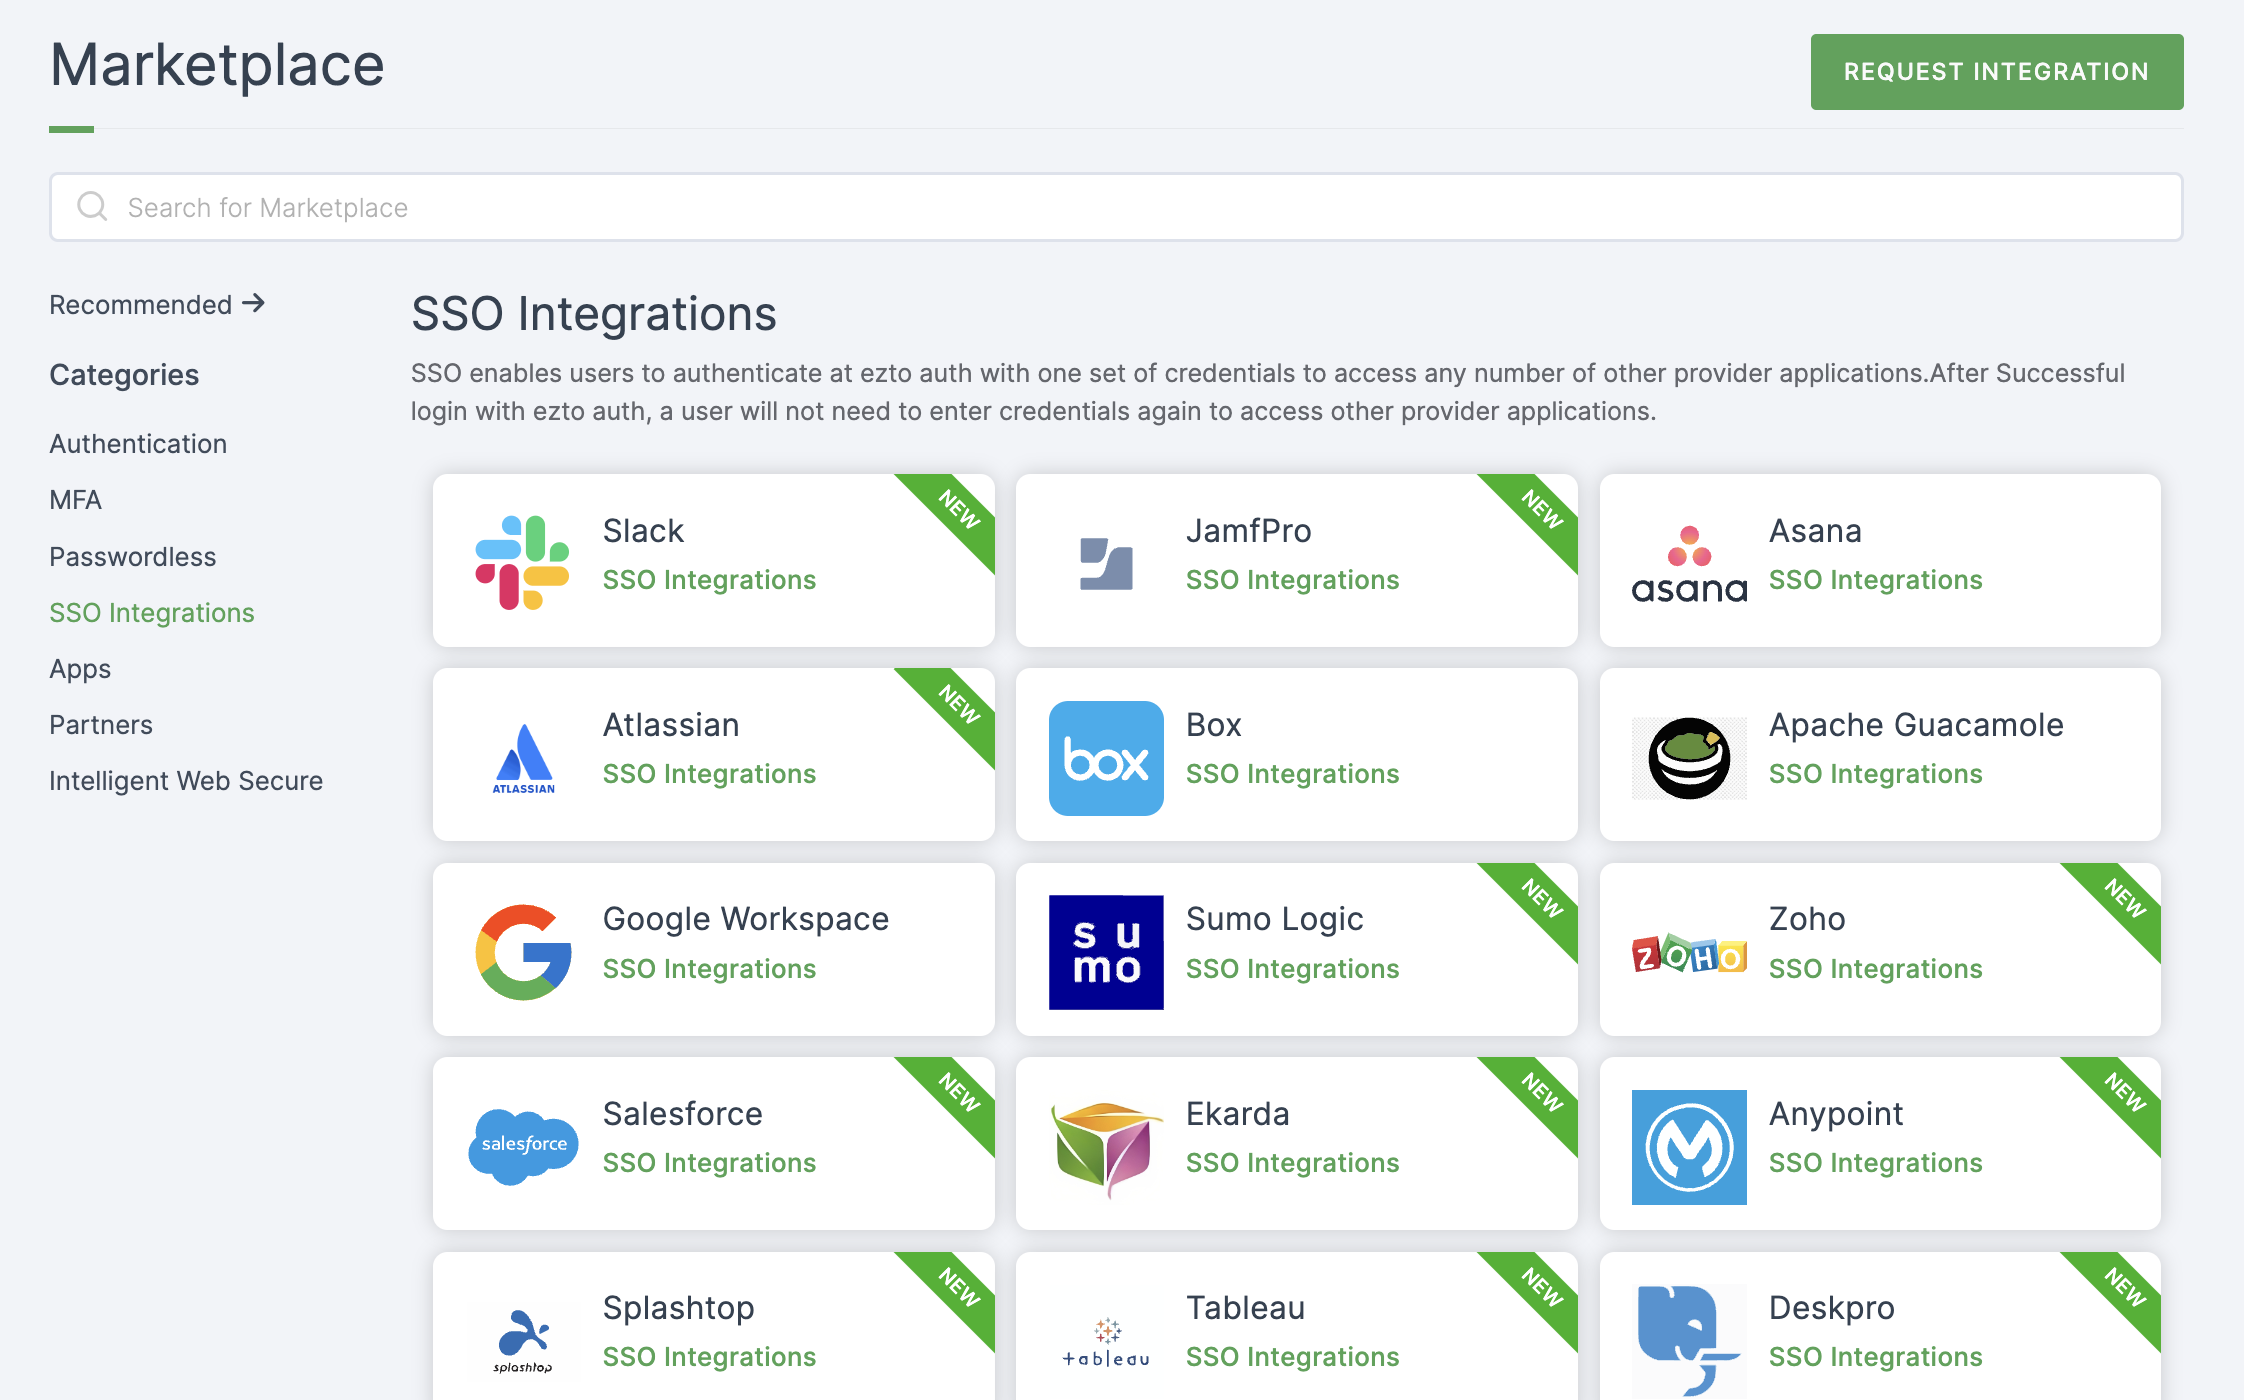
2 Select Splunk from the list.
3 You'll land on the overview page, with an additional tab: Installation (providing a step-by-step installation guide).
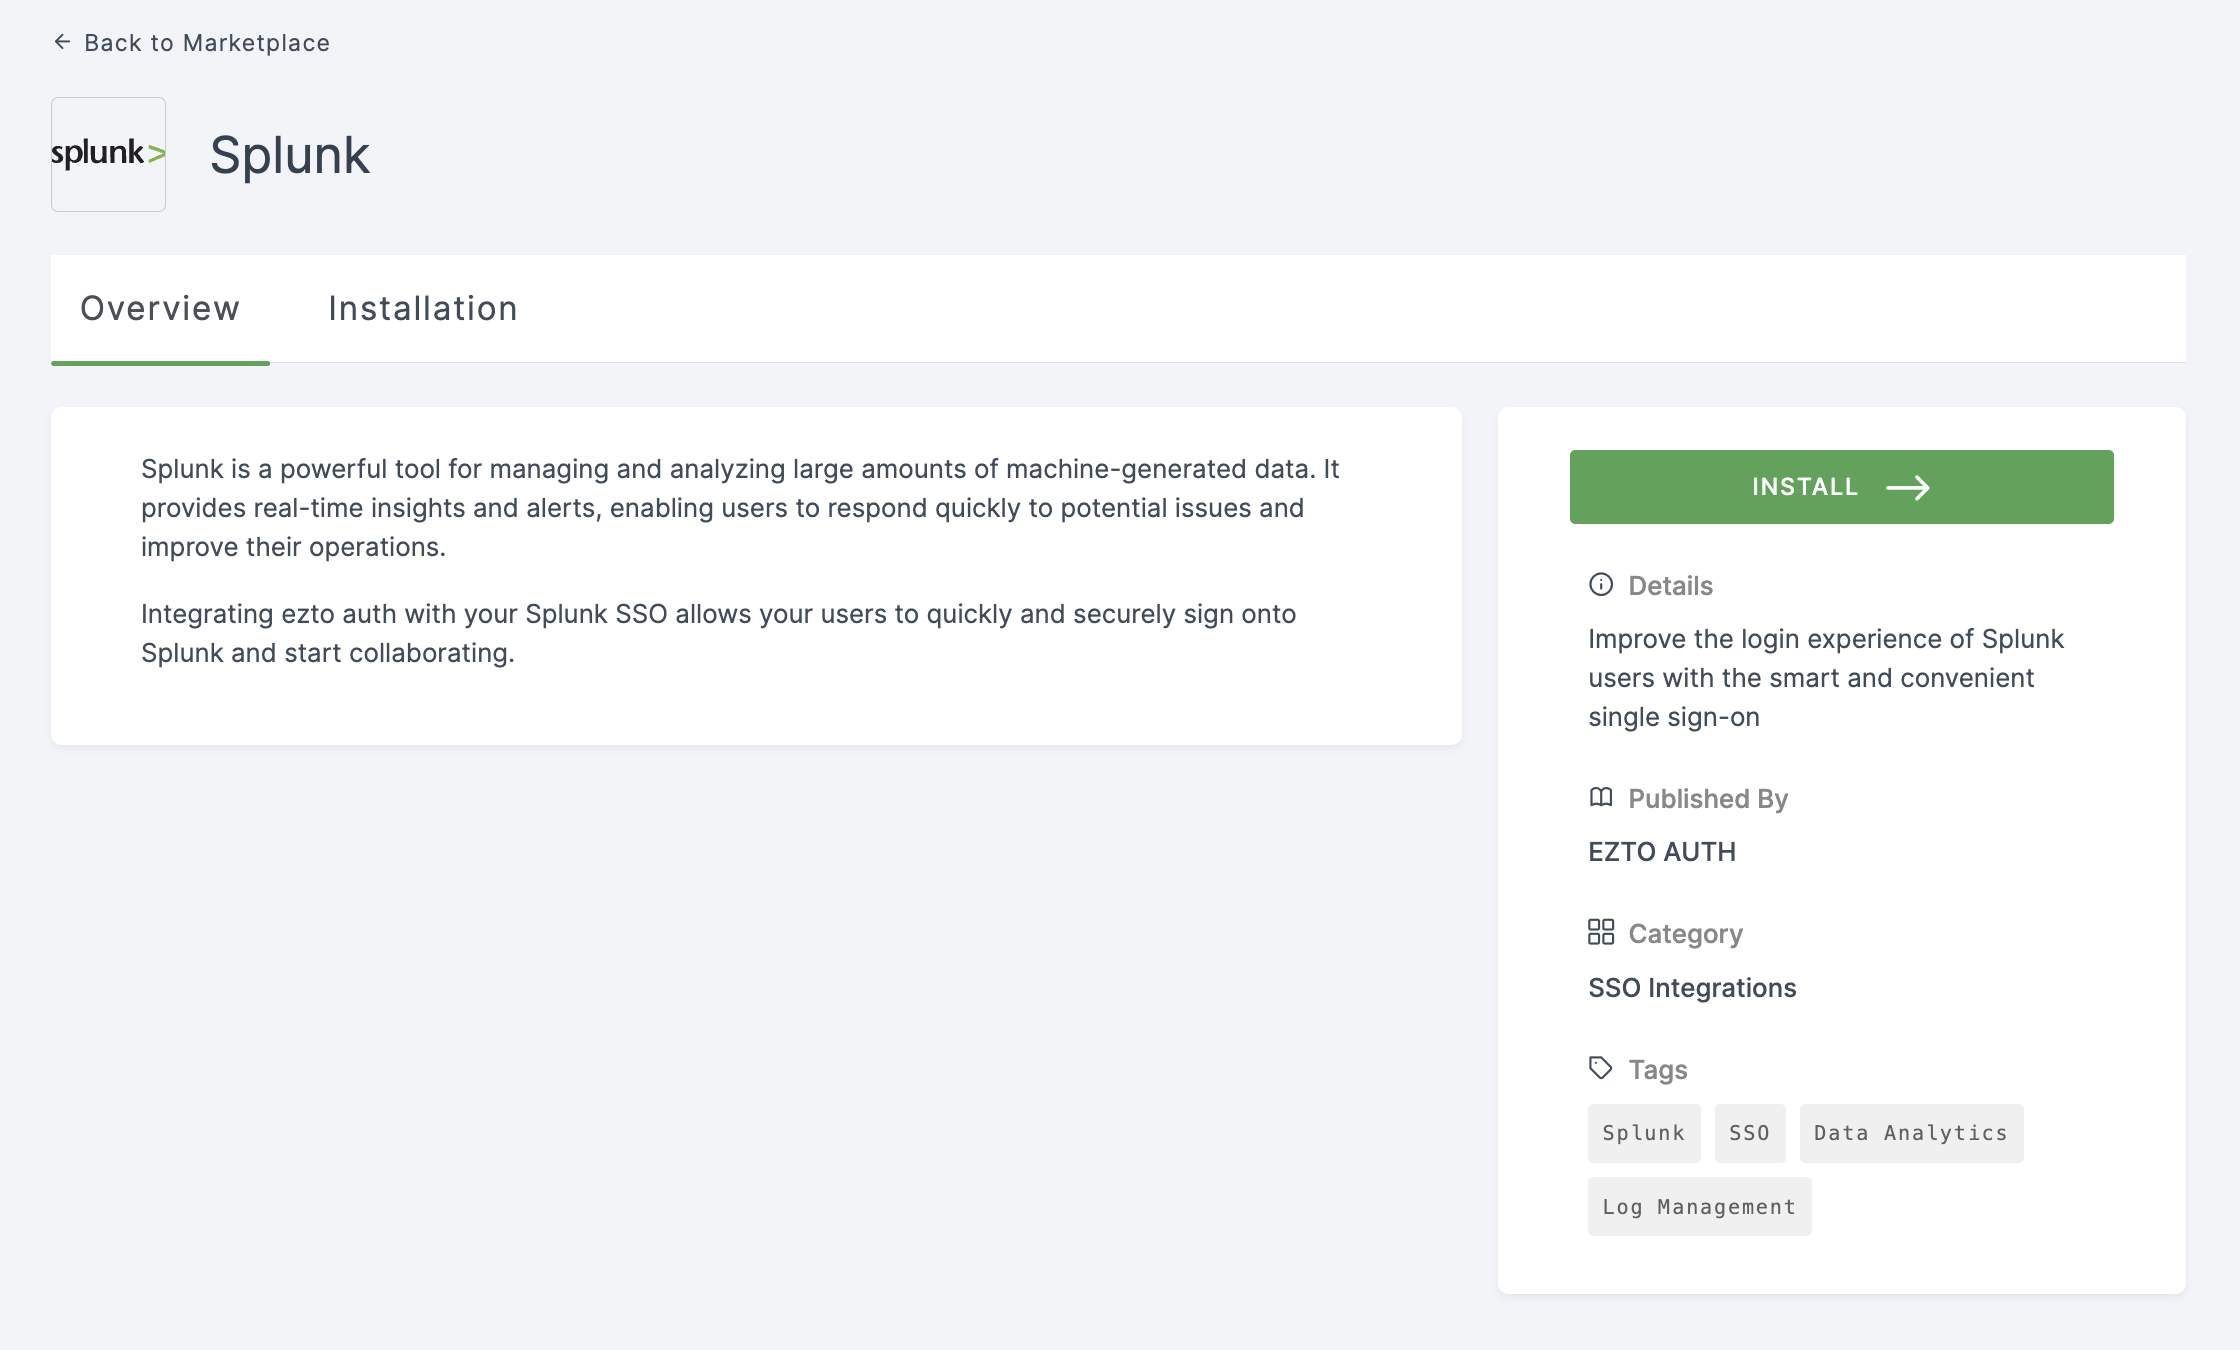
4 Click on INSTALL.
5 Provide a Name, and for the ACS URL, go to your Splunk Dashboard.
6 Copy the domain part of the URL and add /saml/acs in the end; this will be your ACS URL.
Example: https://{domain}.splunkcloud.com/saml/acs
7 Return to your dashboard, paste the ACS URL.
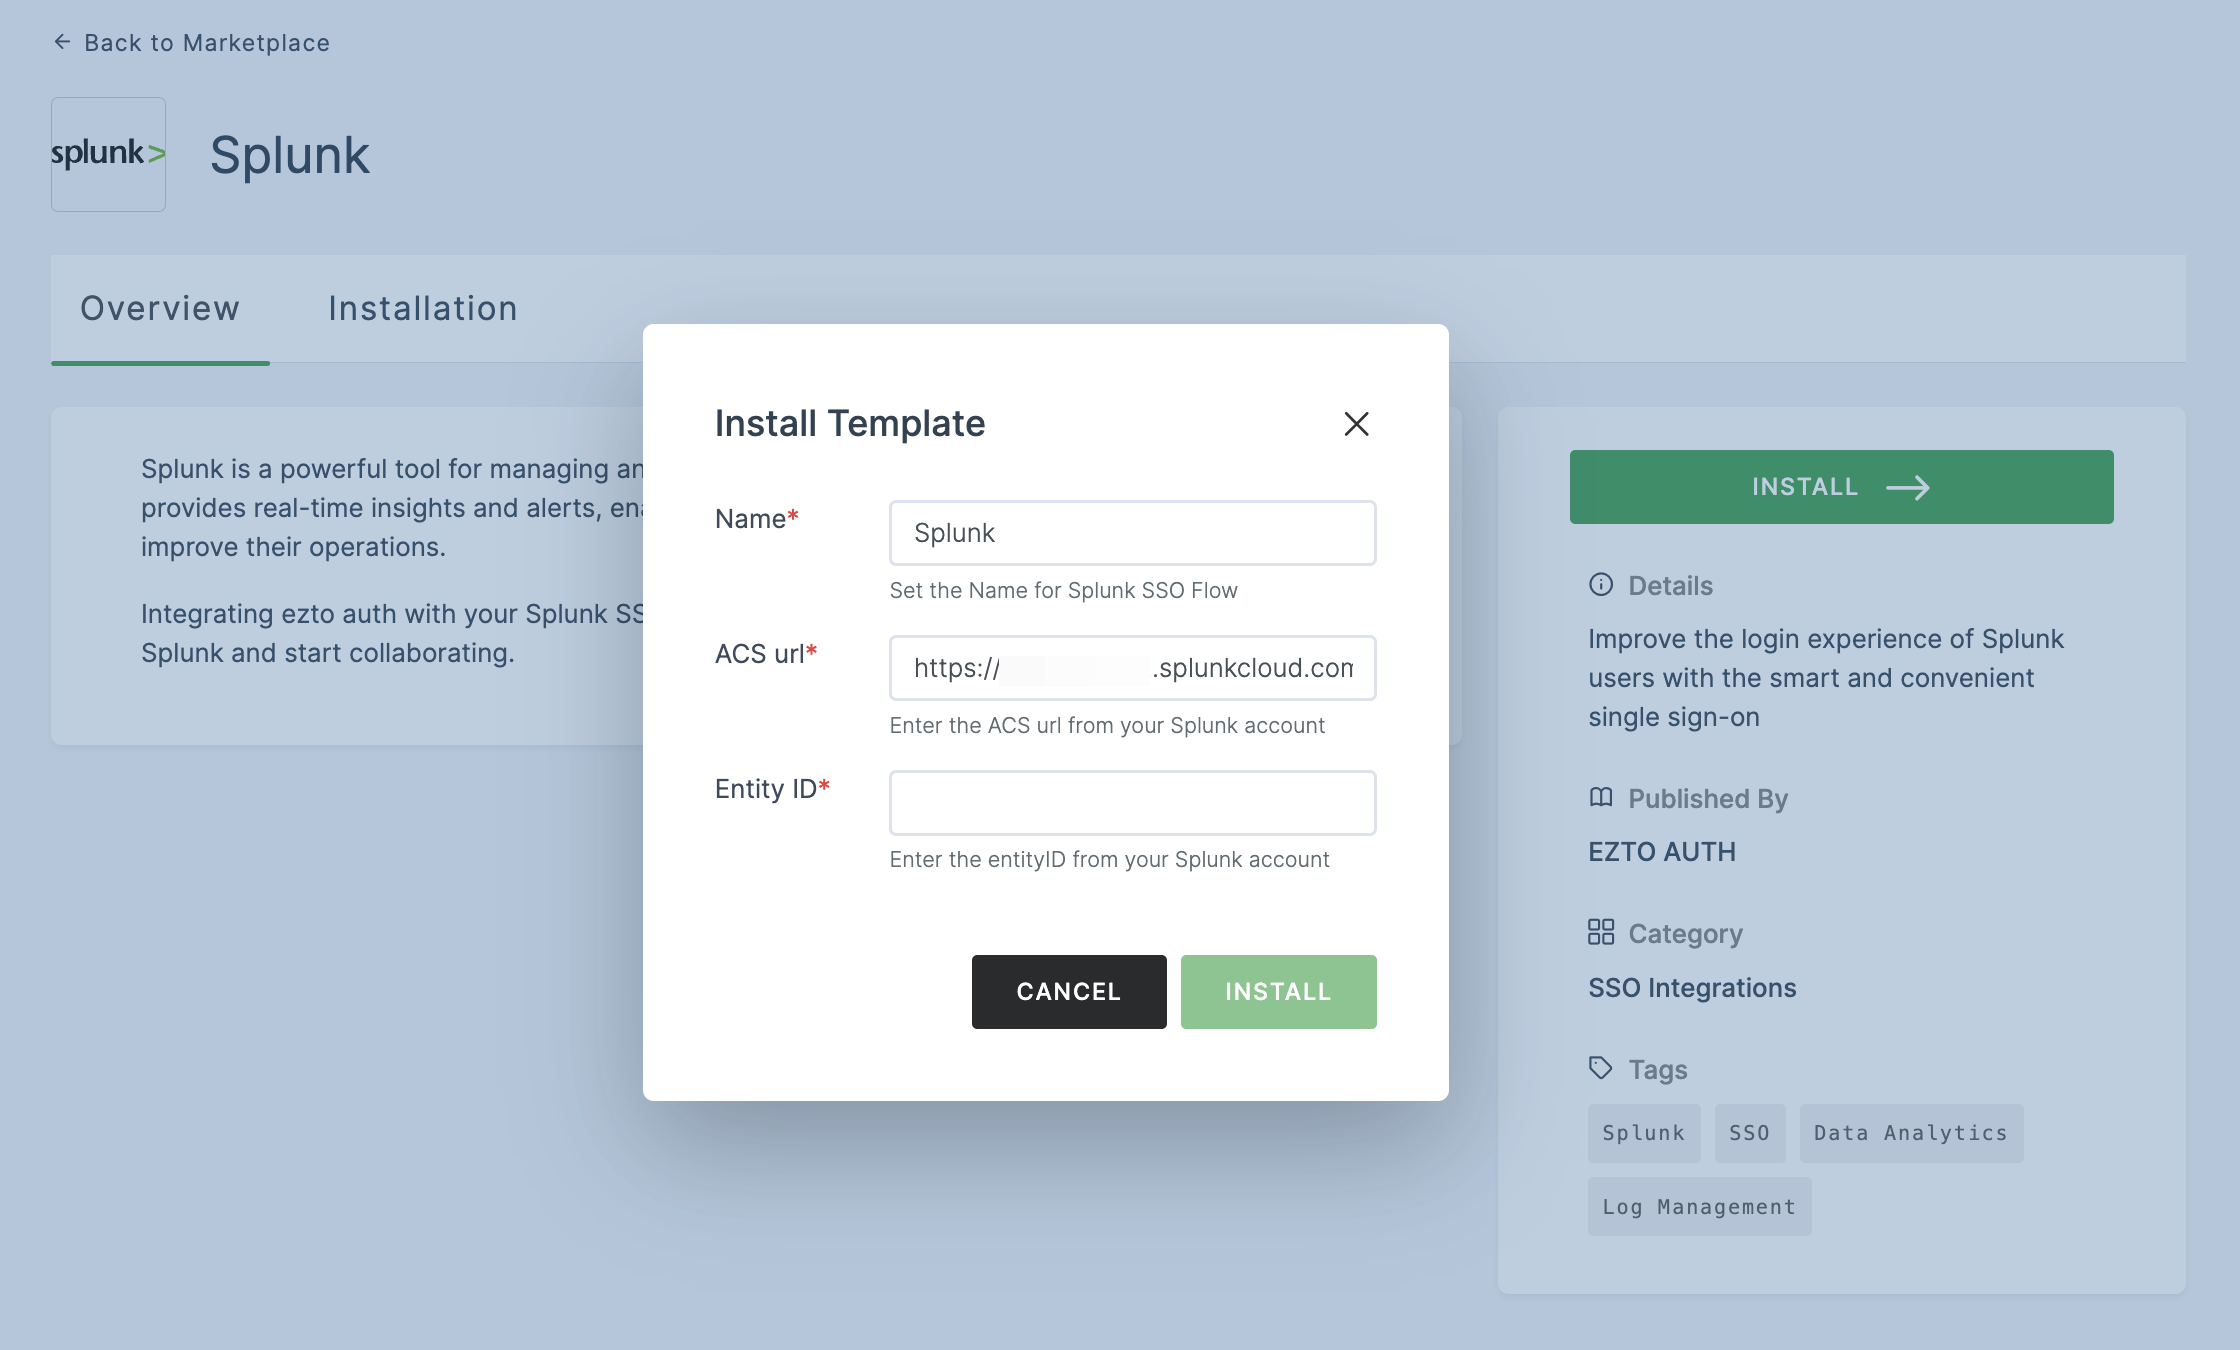
8 Provide "Splunk" as the Entity ID.
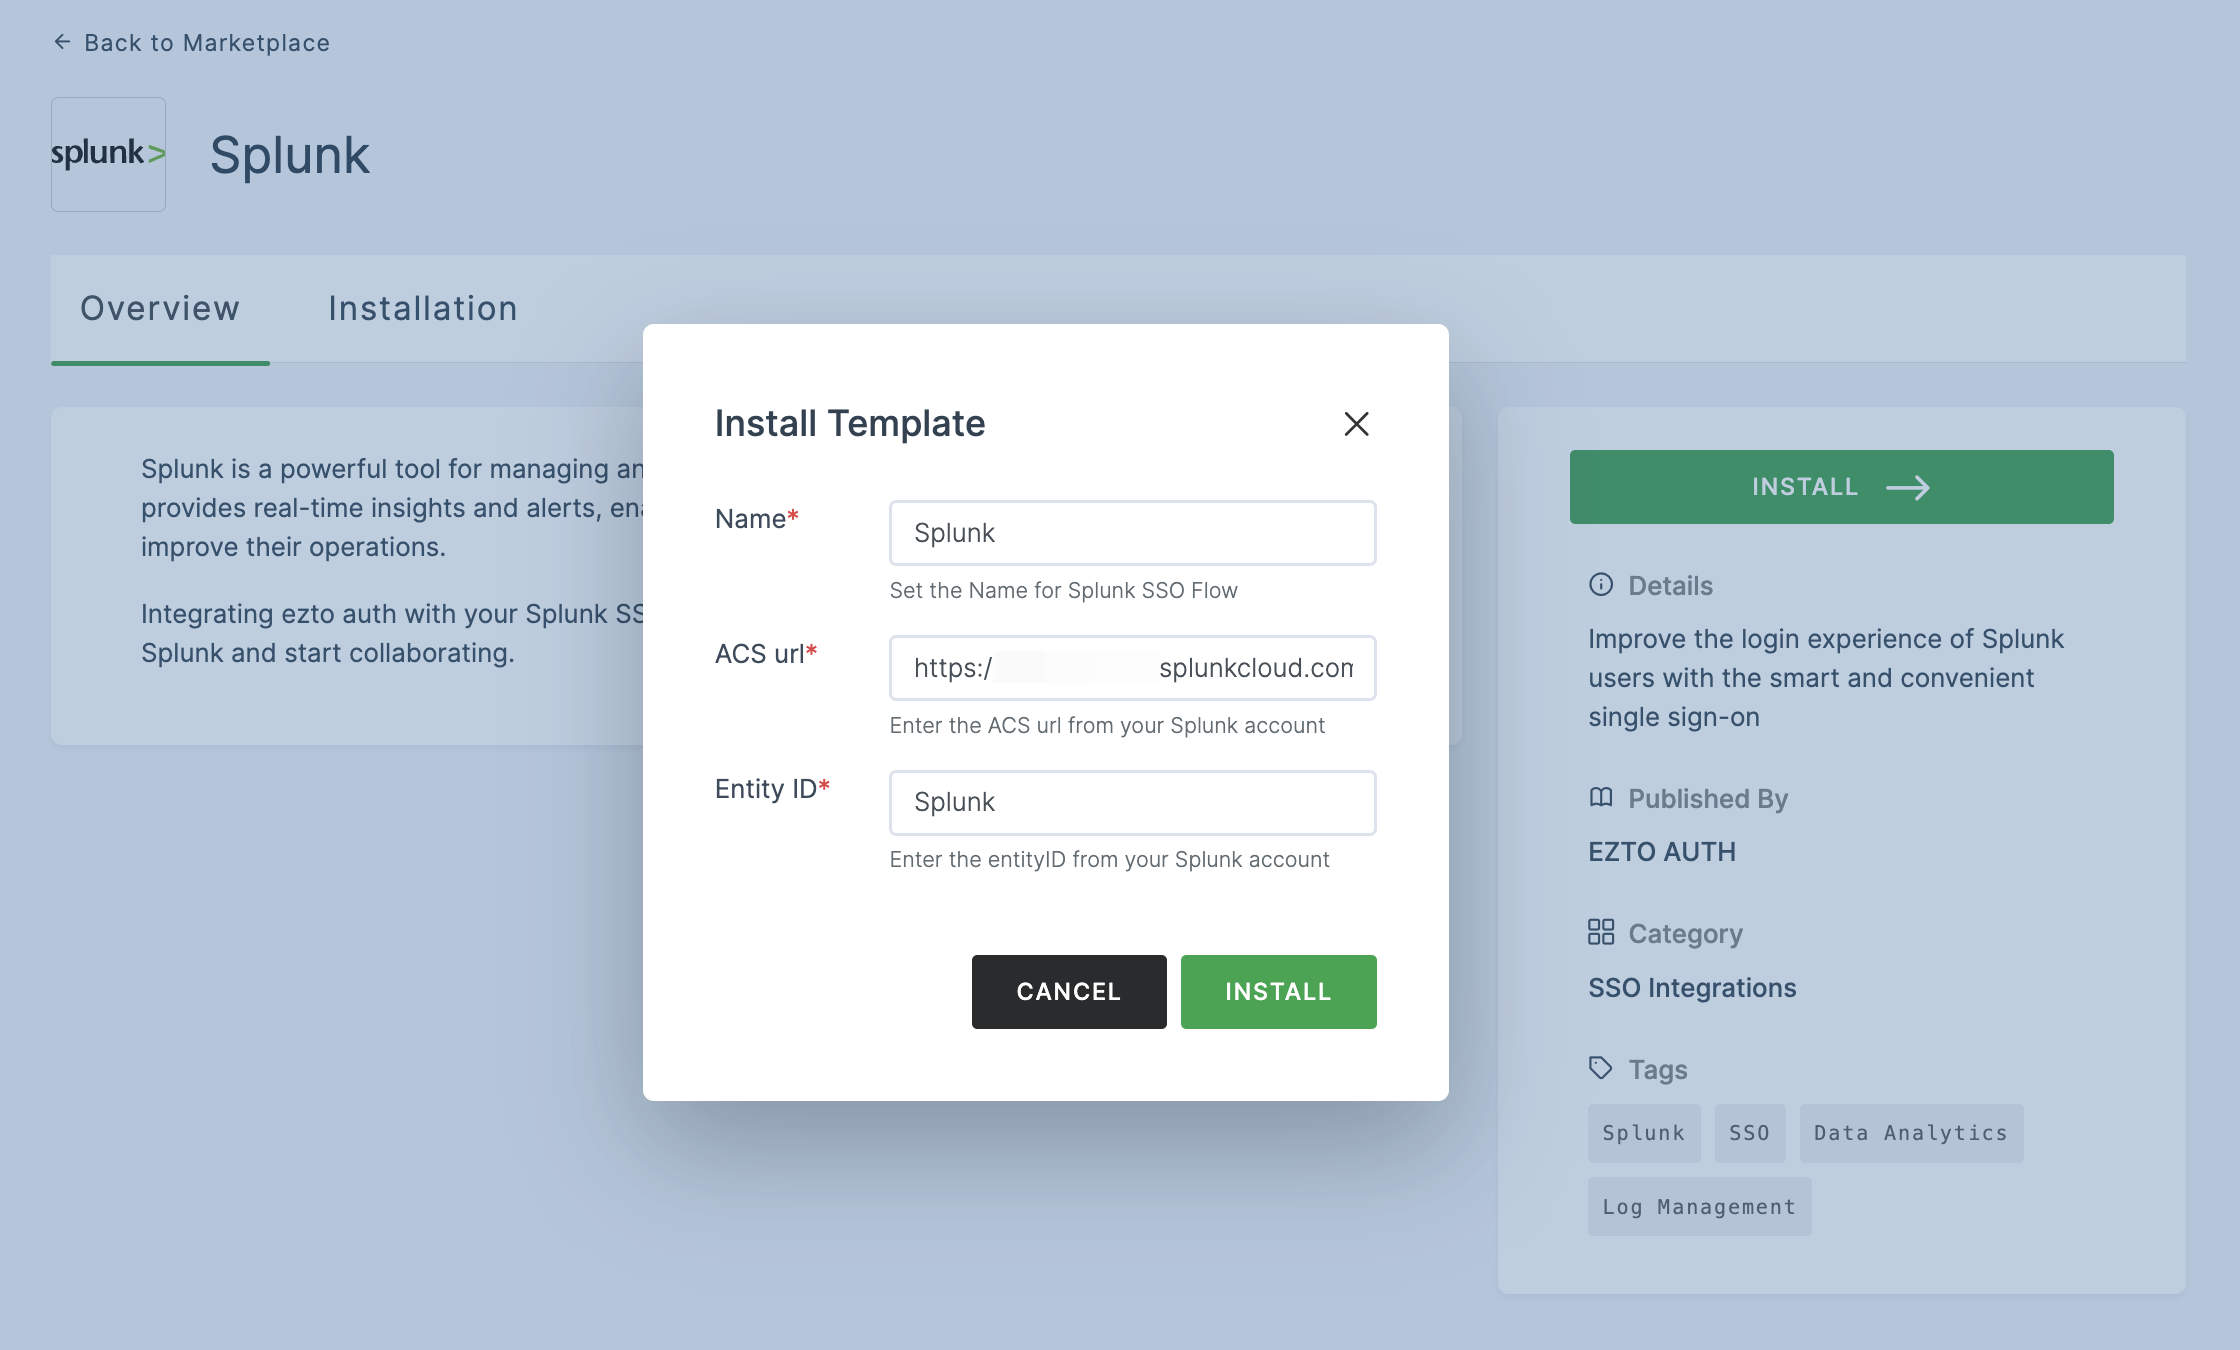
9 Once the configurations are provided, click on INSTALL.
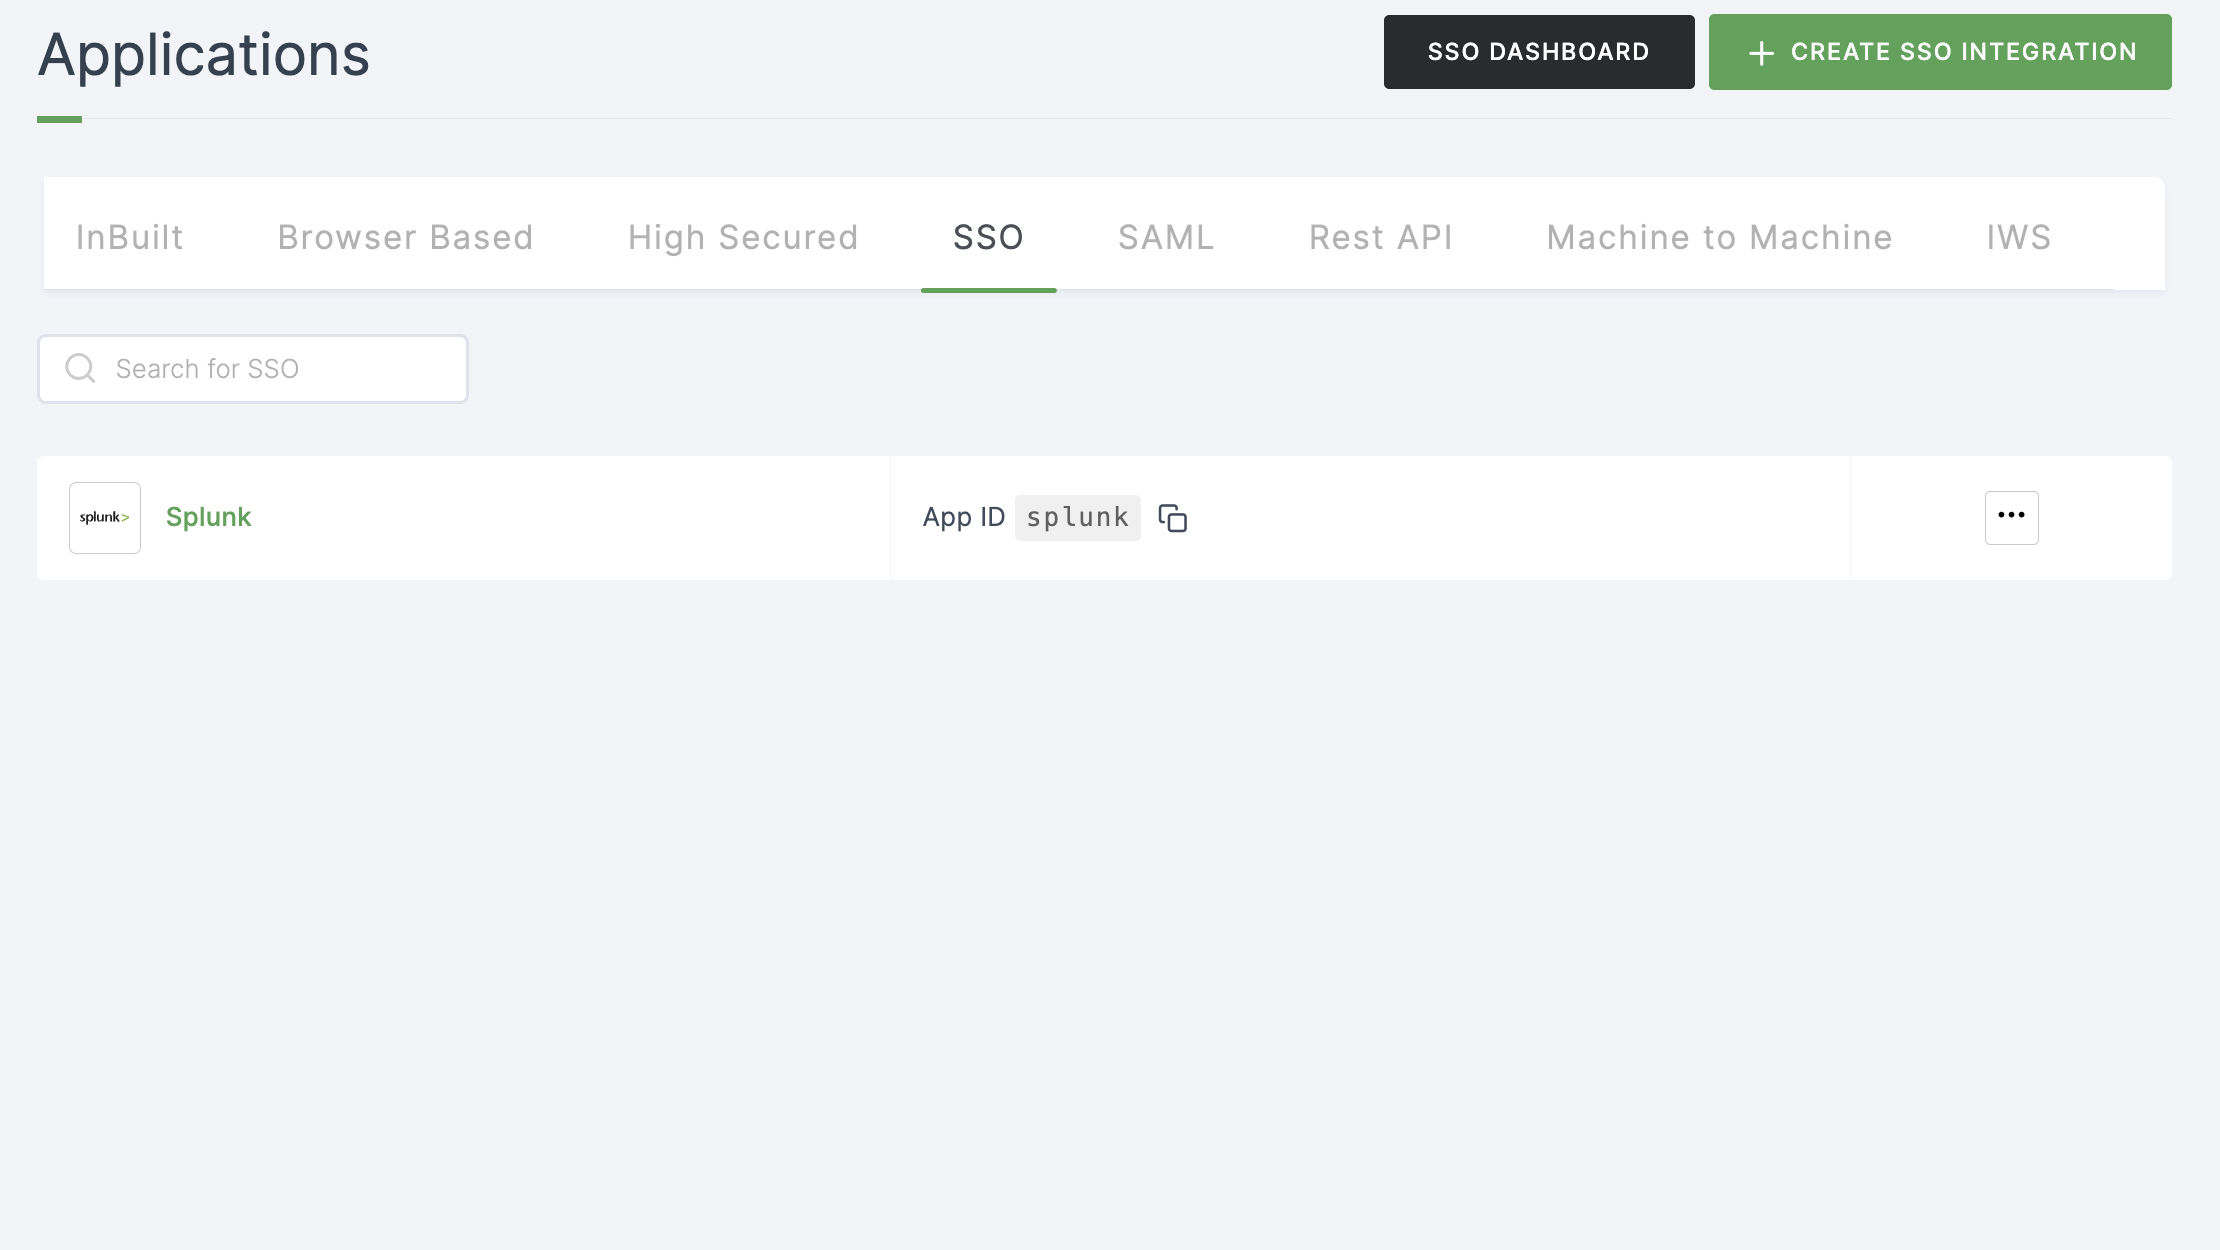
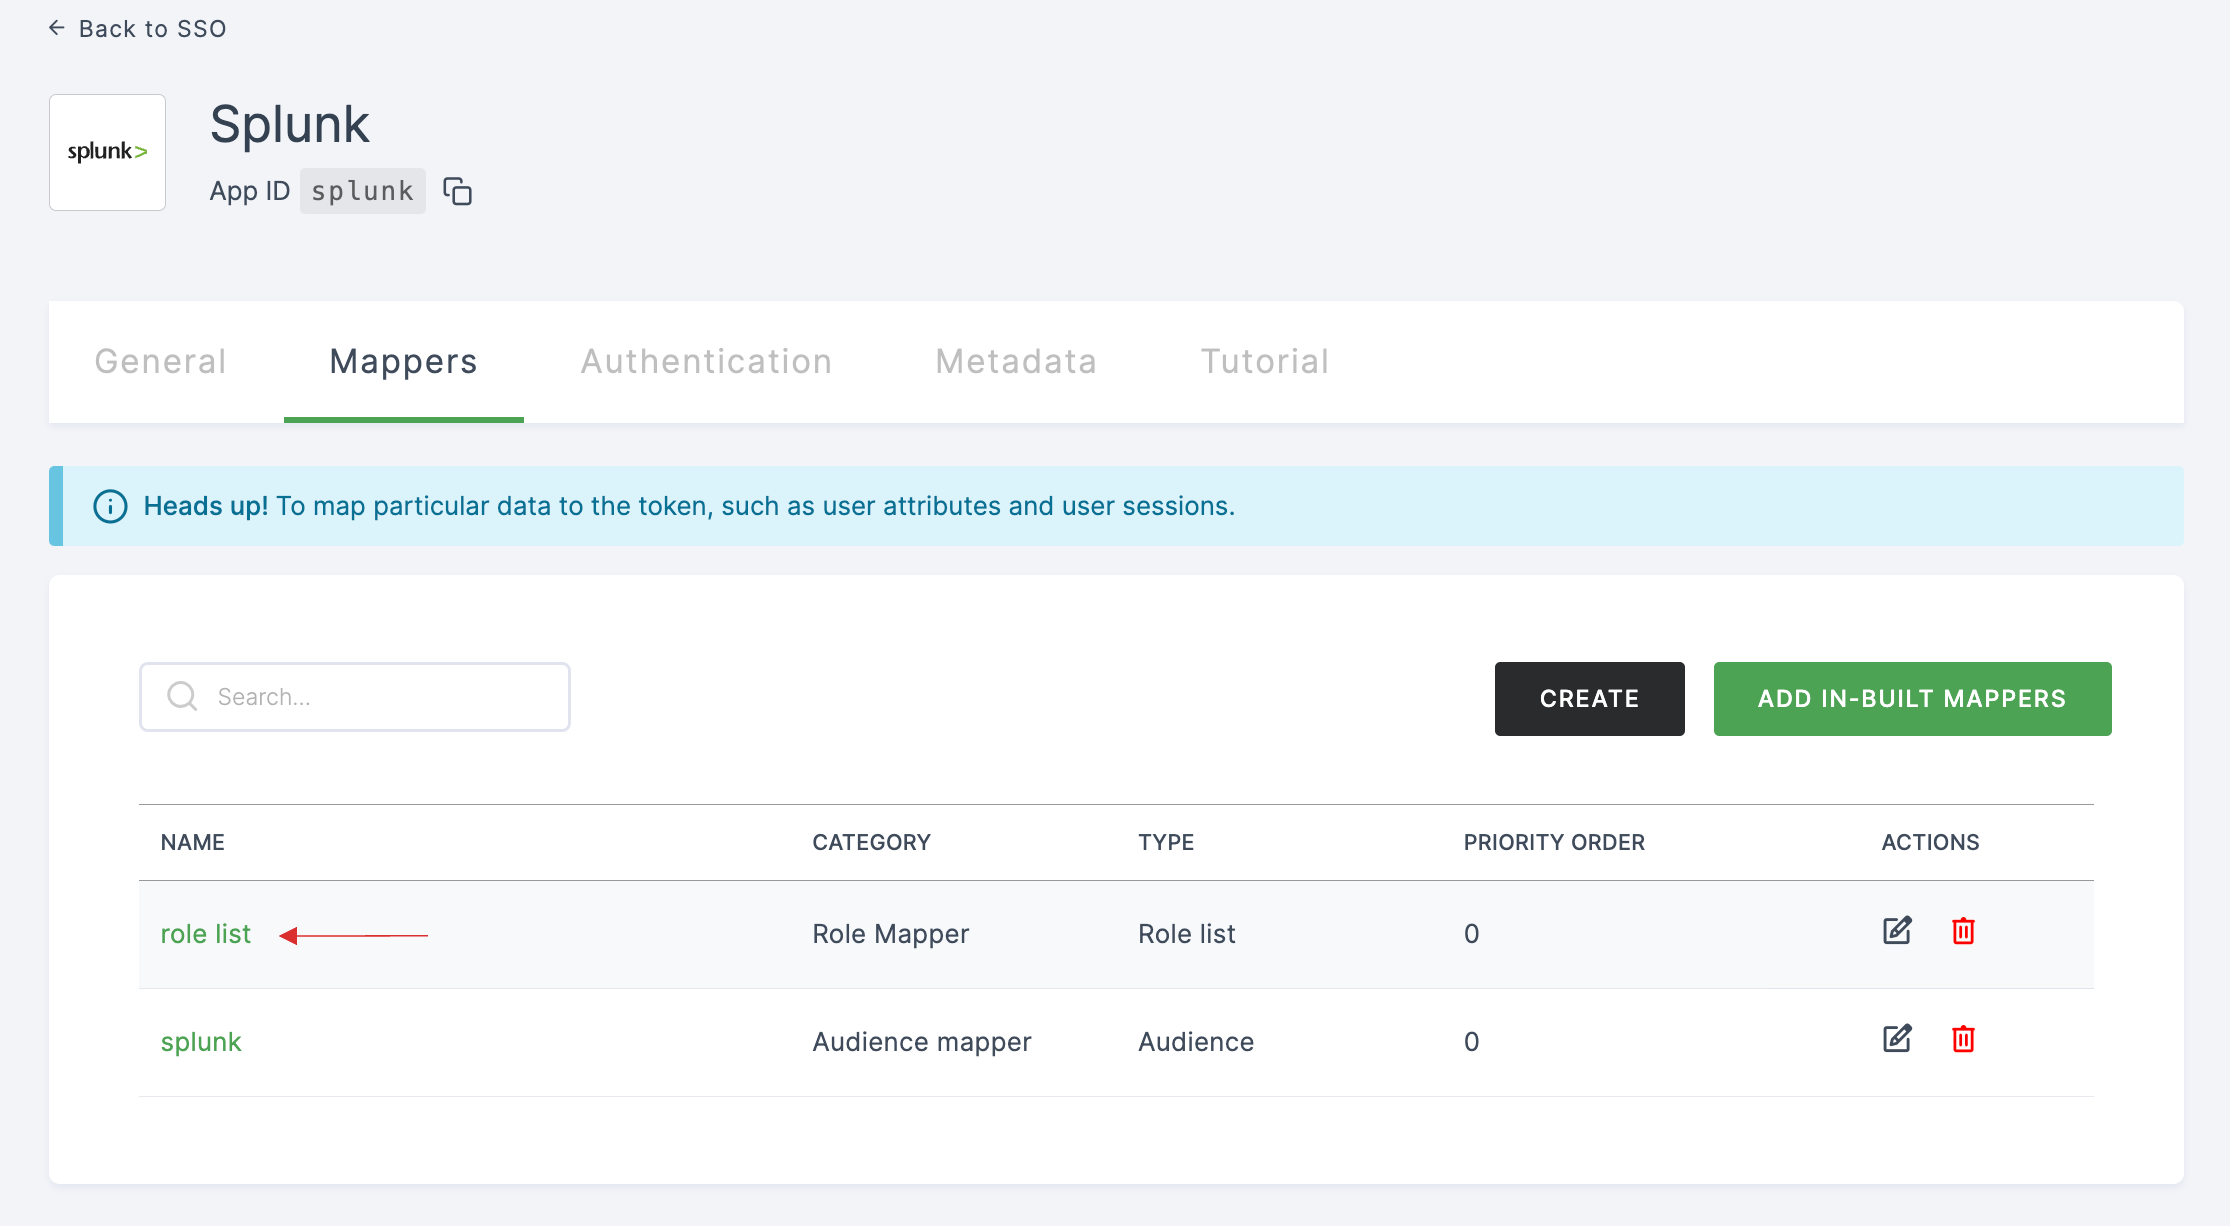
10 To enable Splunk SSO login, go to Applications > SSO, and click on the created Splunk SSO.
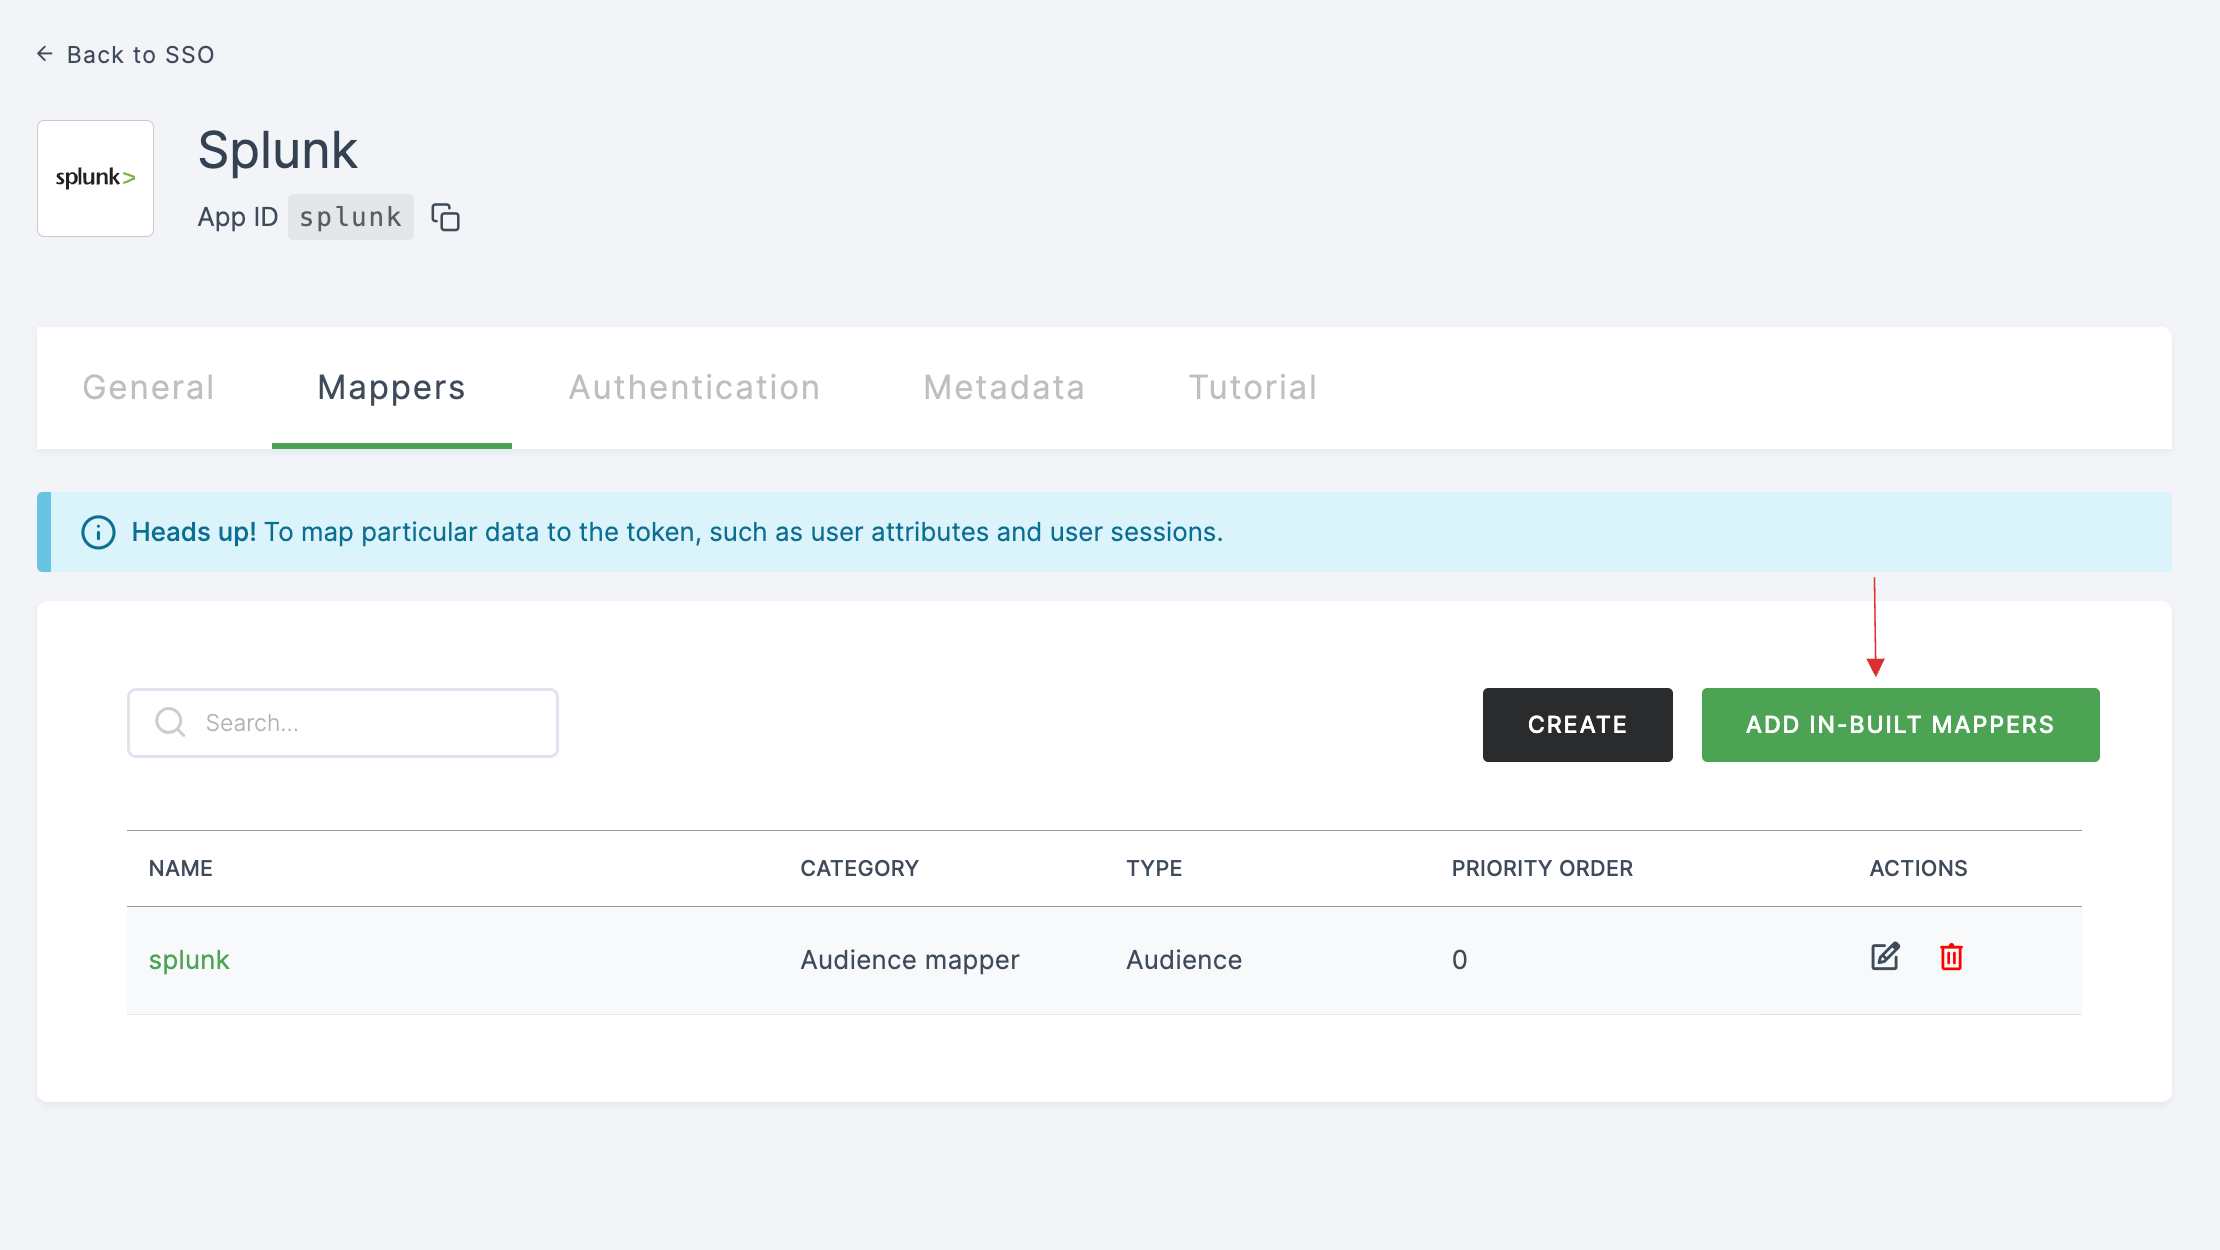
11 Click on Mappers > ADD IN-BUILT MAPPERS.
12 List of in-built mappers will be displayed for the particular SSO. Check on role list.
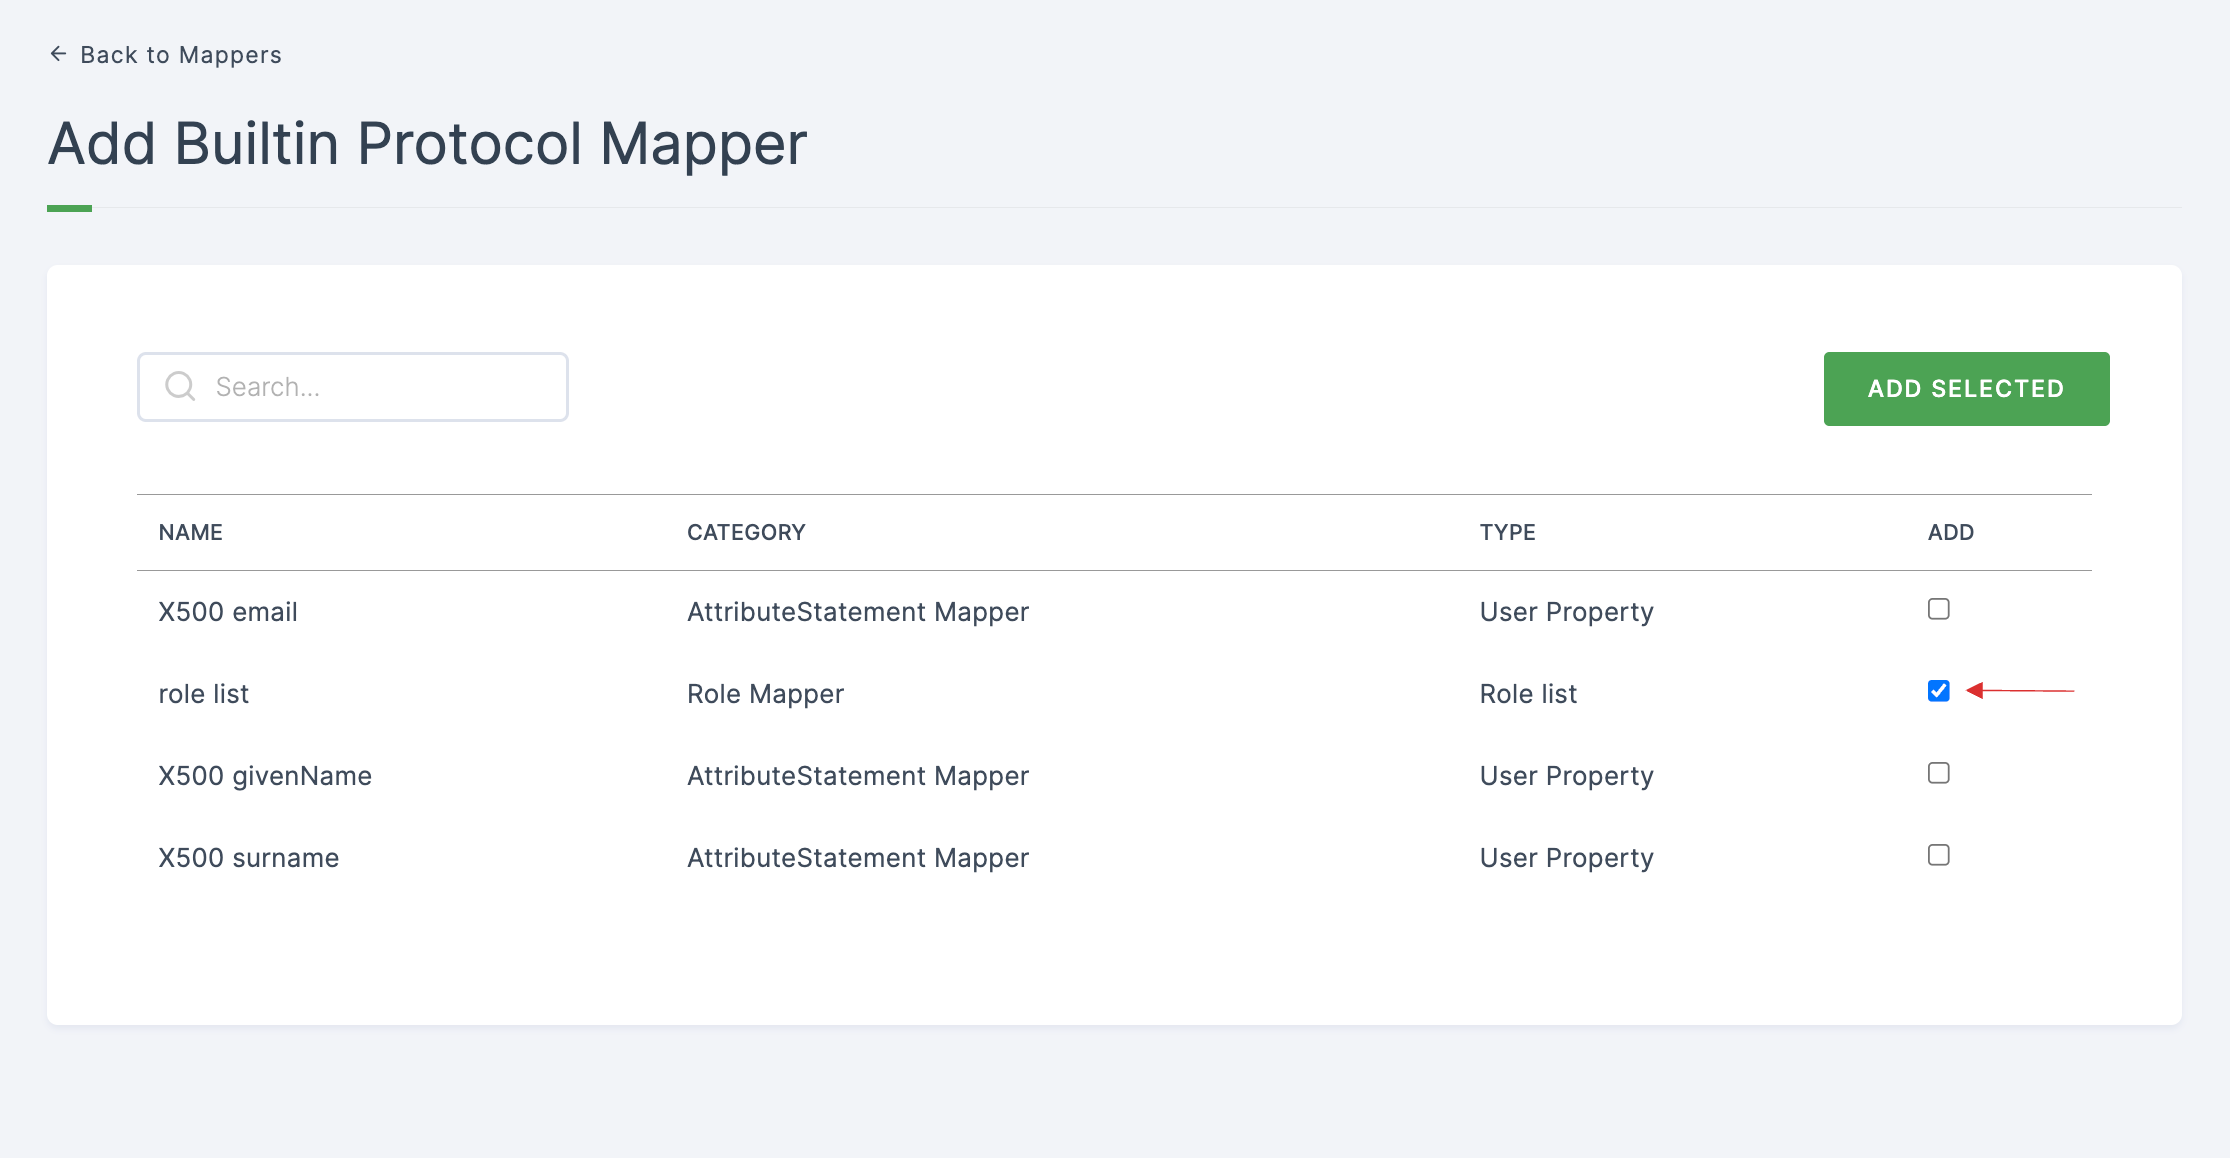
13 Click on ADD SELECTED.
14 Click on the added "role list."
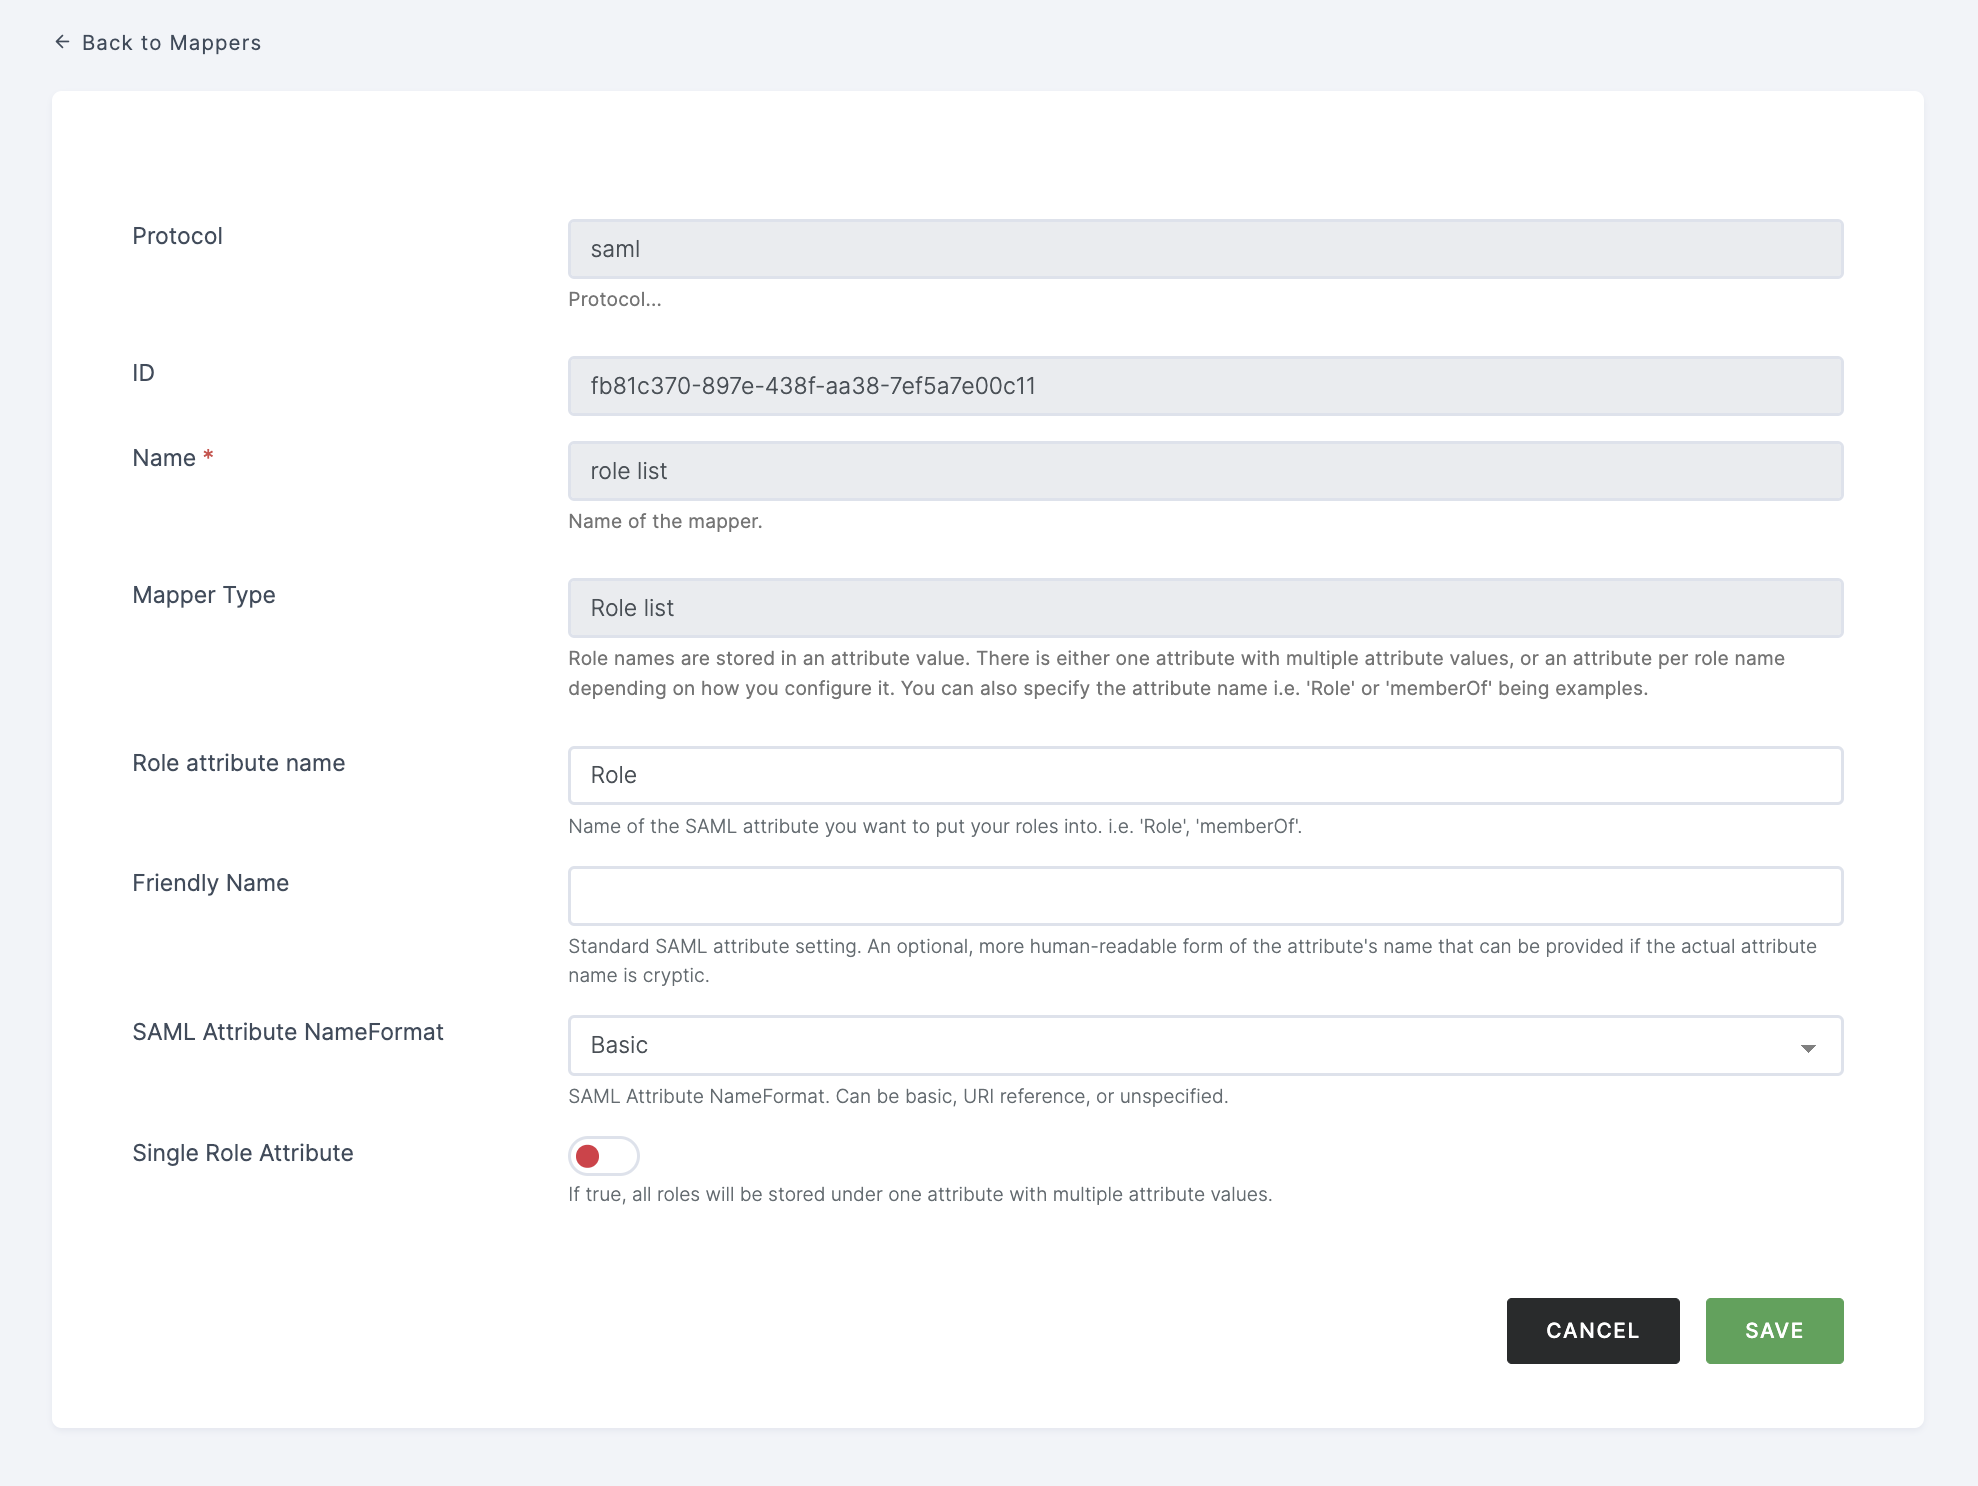
15 A set of configurations will be displayed.
The Role attribute name should be noted for "role list". This name should be used while creating group in Splunk.
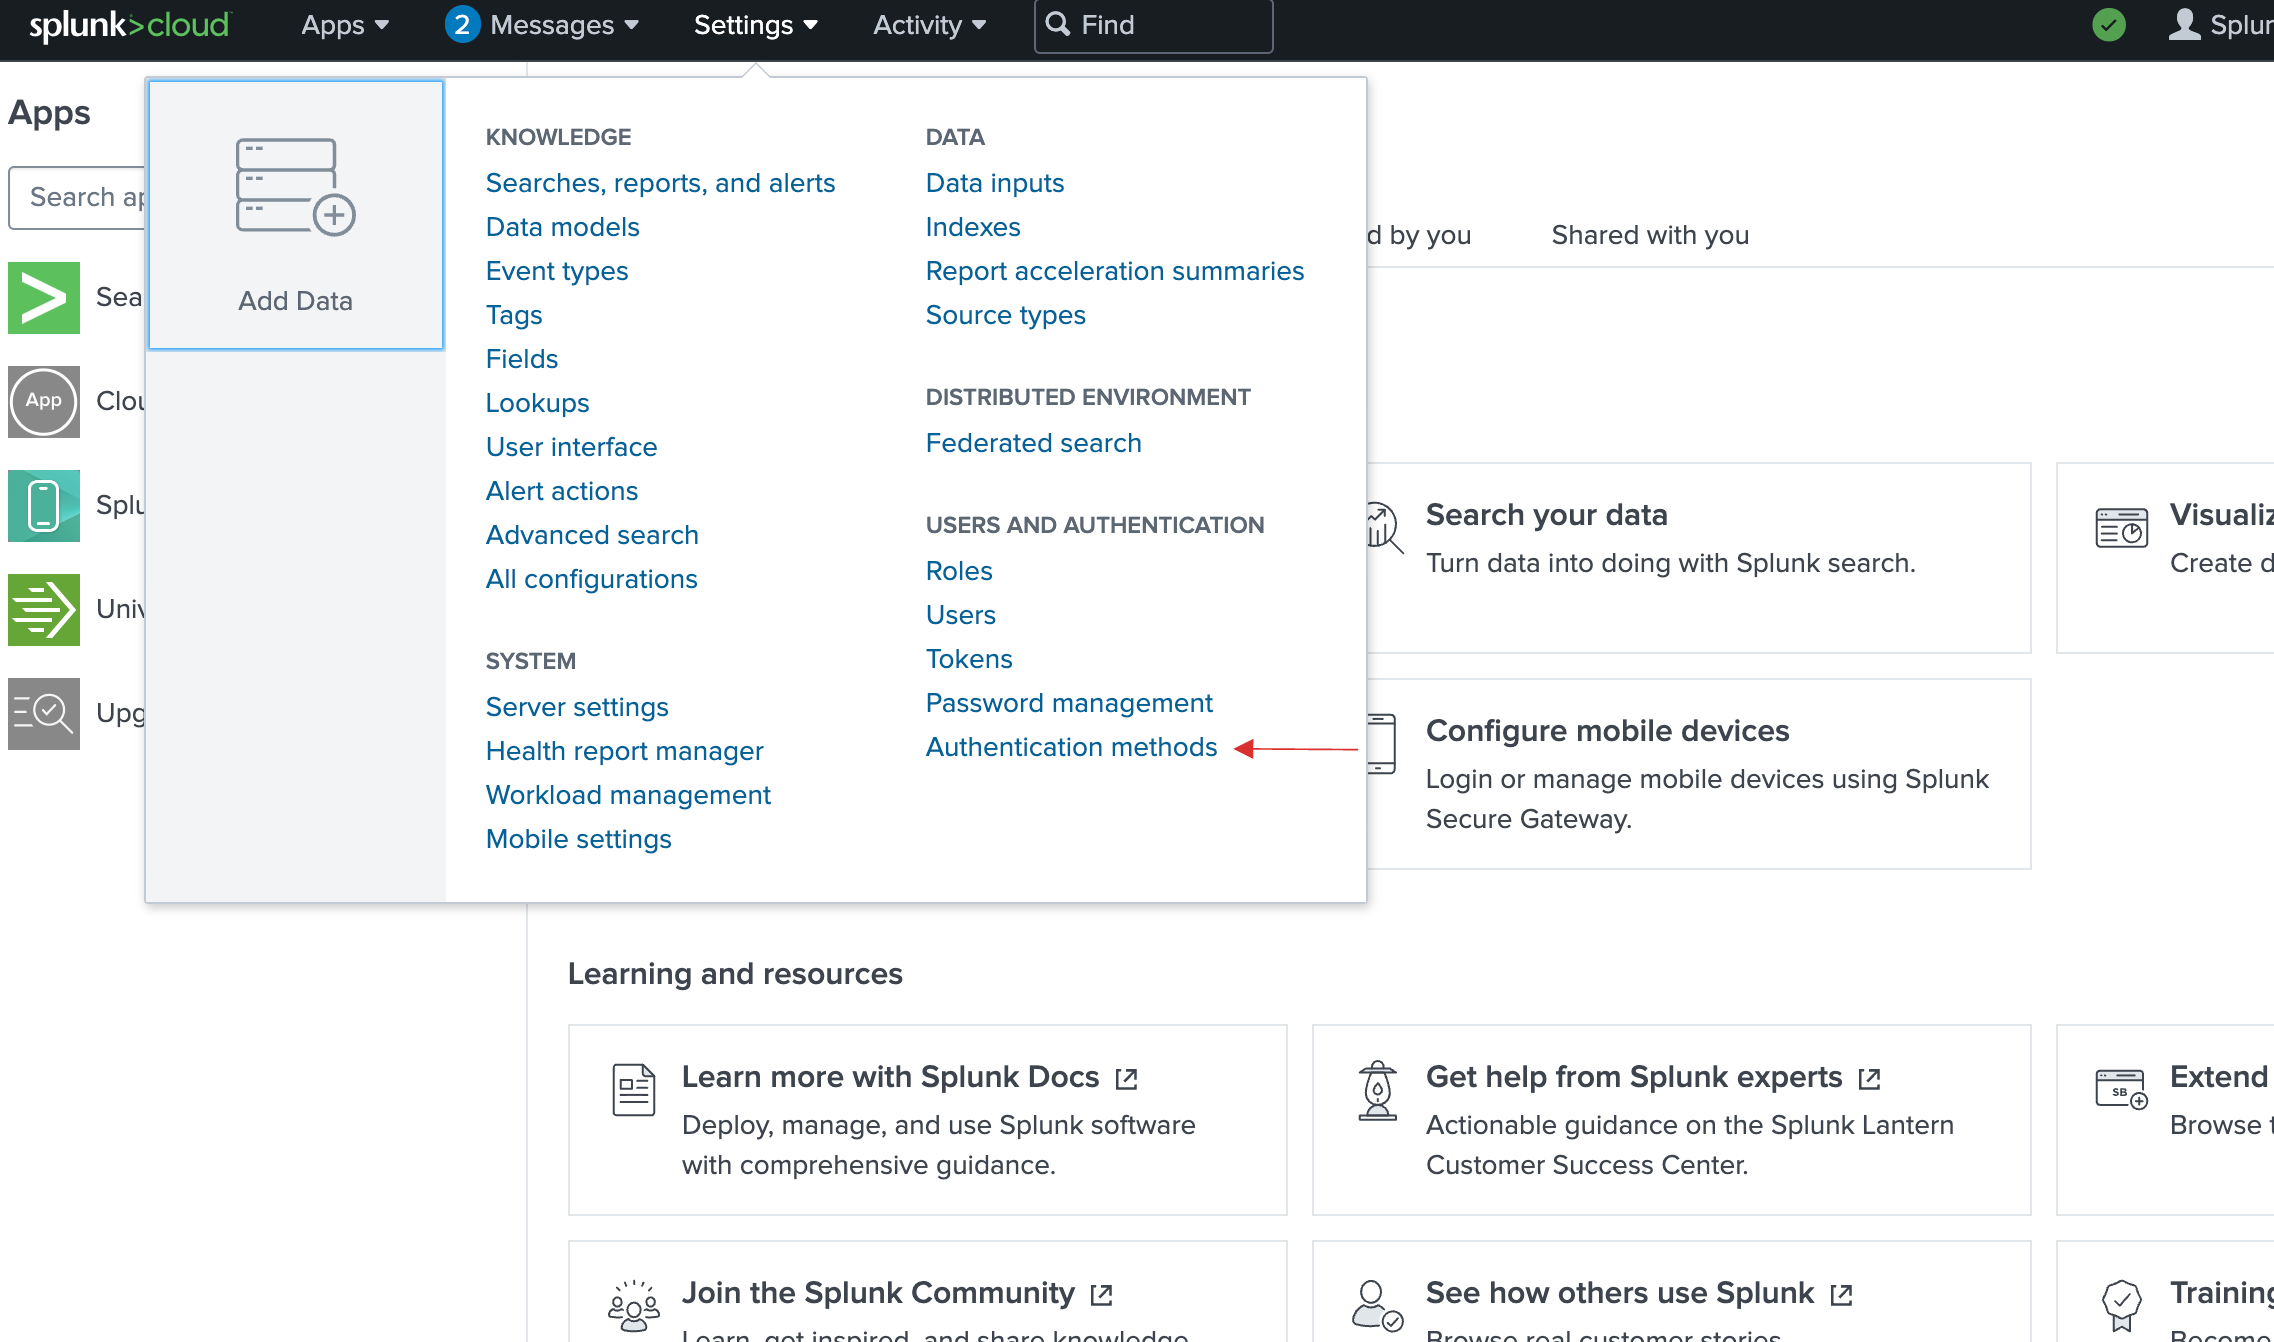
16 Switch to Splunk, click on Settings > Authentication methods.
17 Check on SAML and click on Configure Splunk to use SAML.
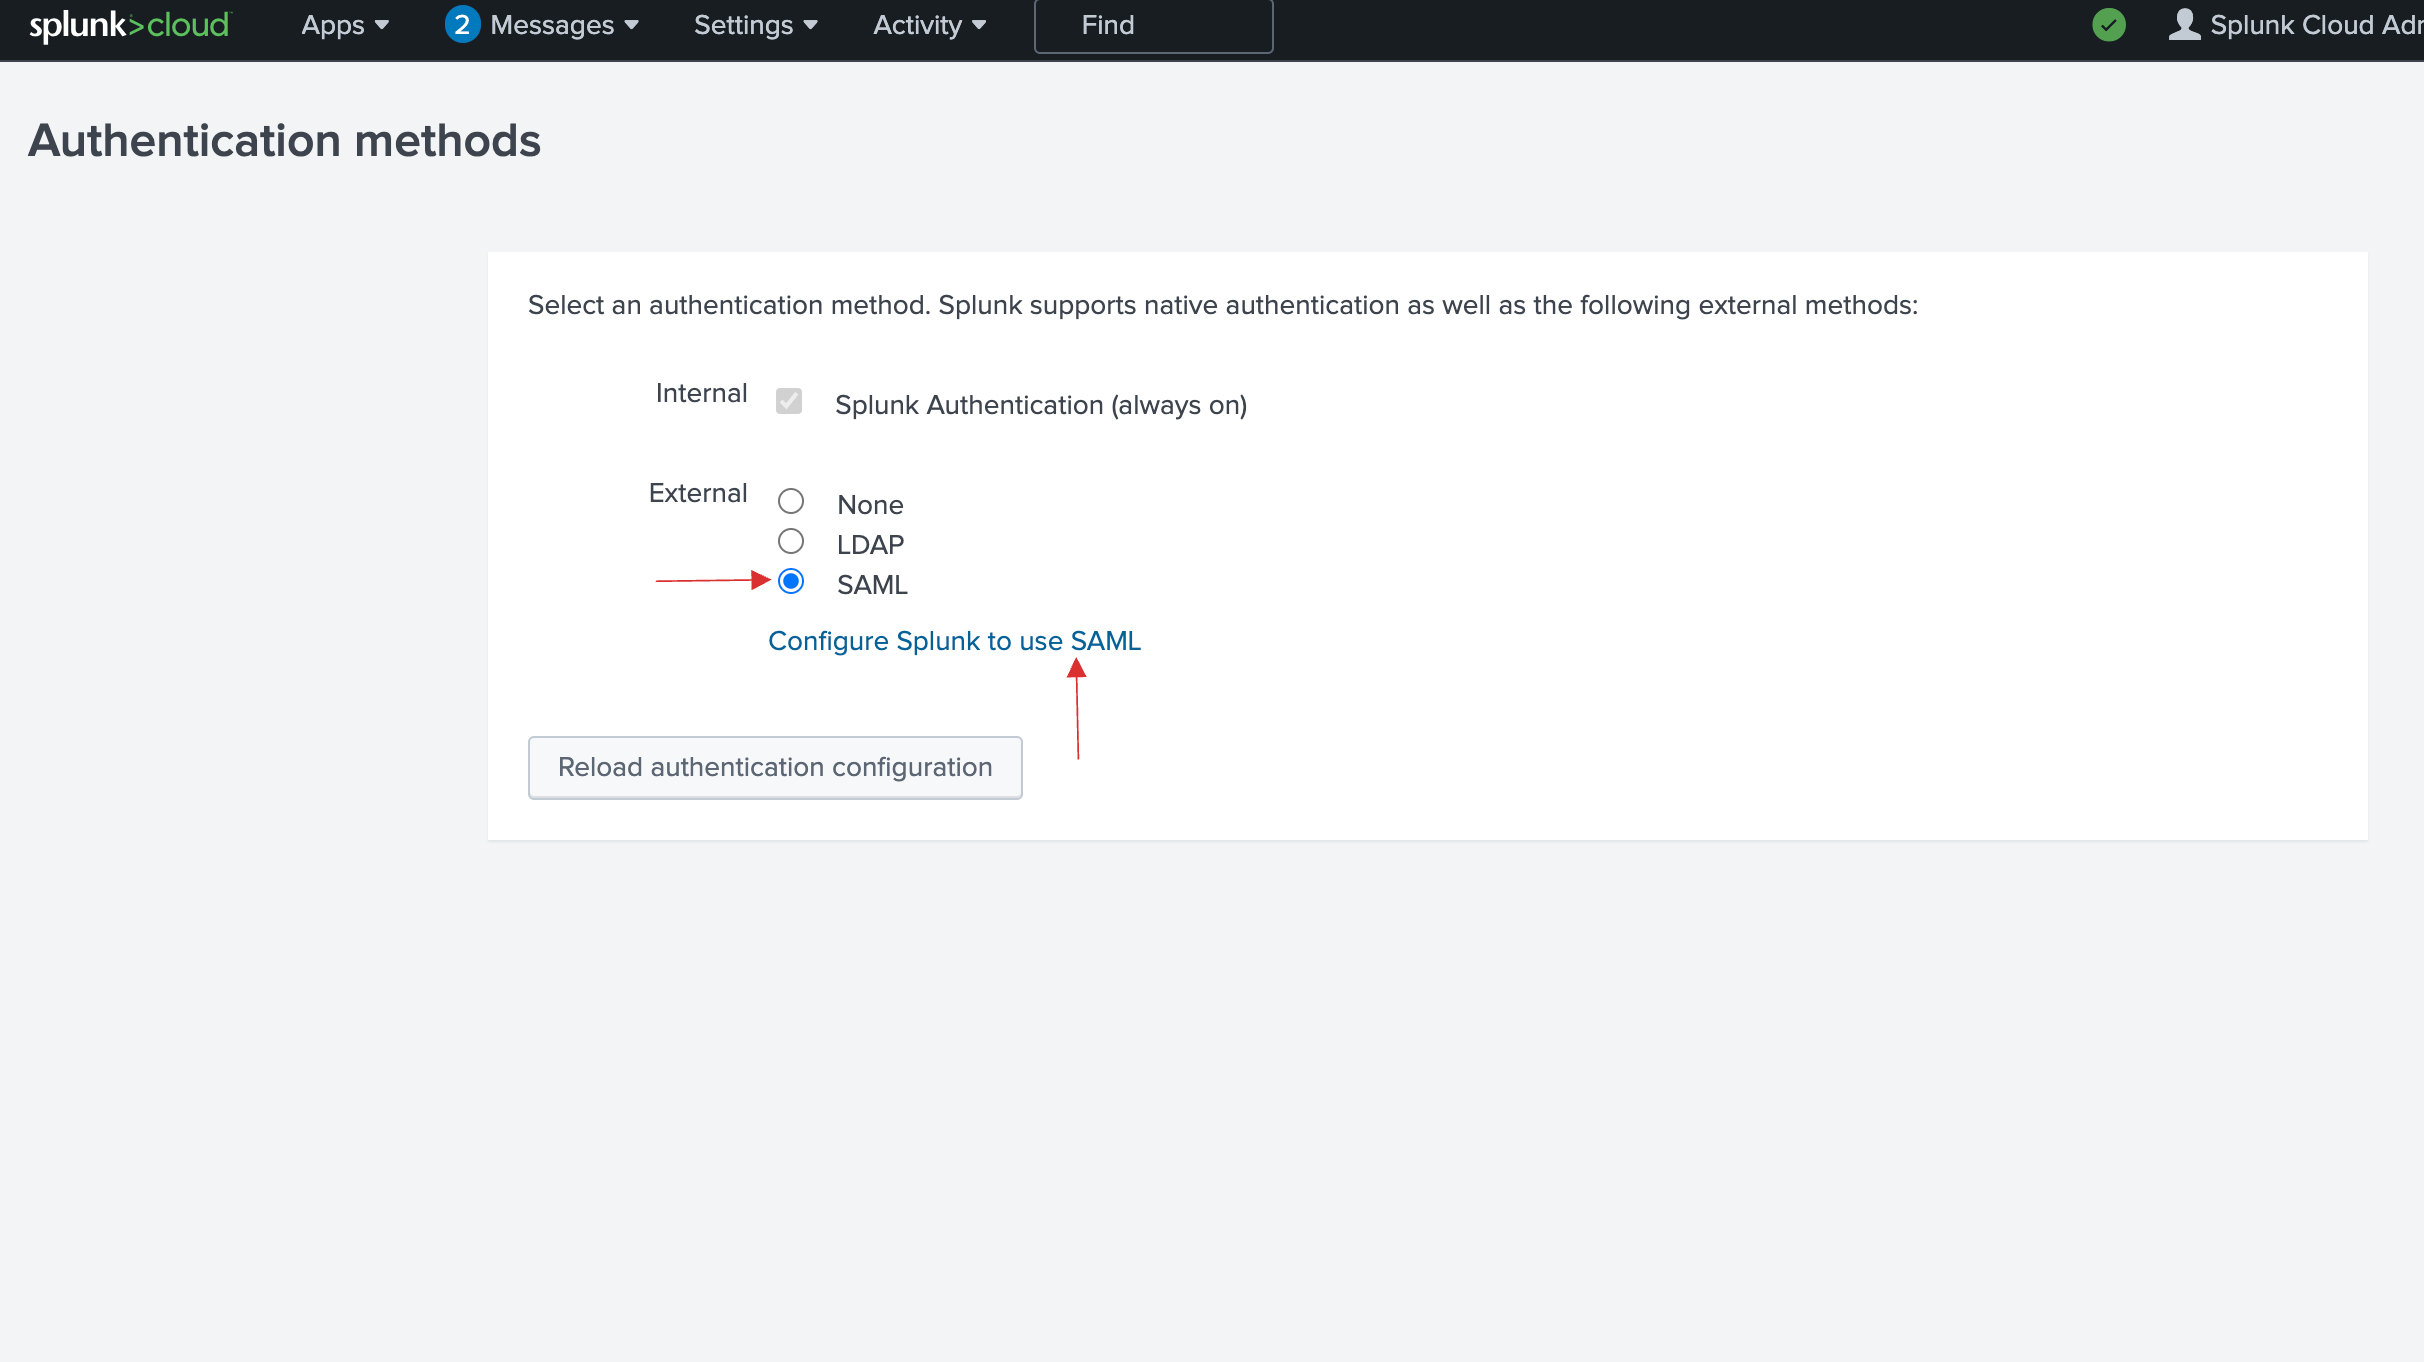
18 The SAML Configuration will be displayed.
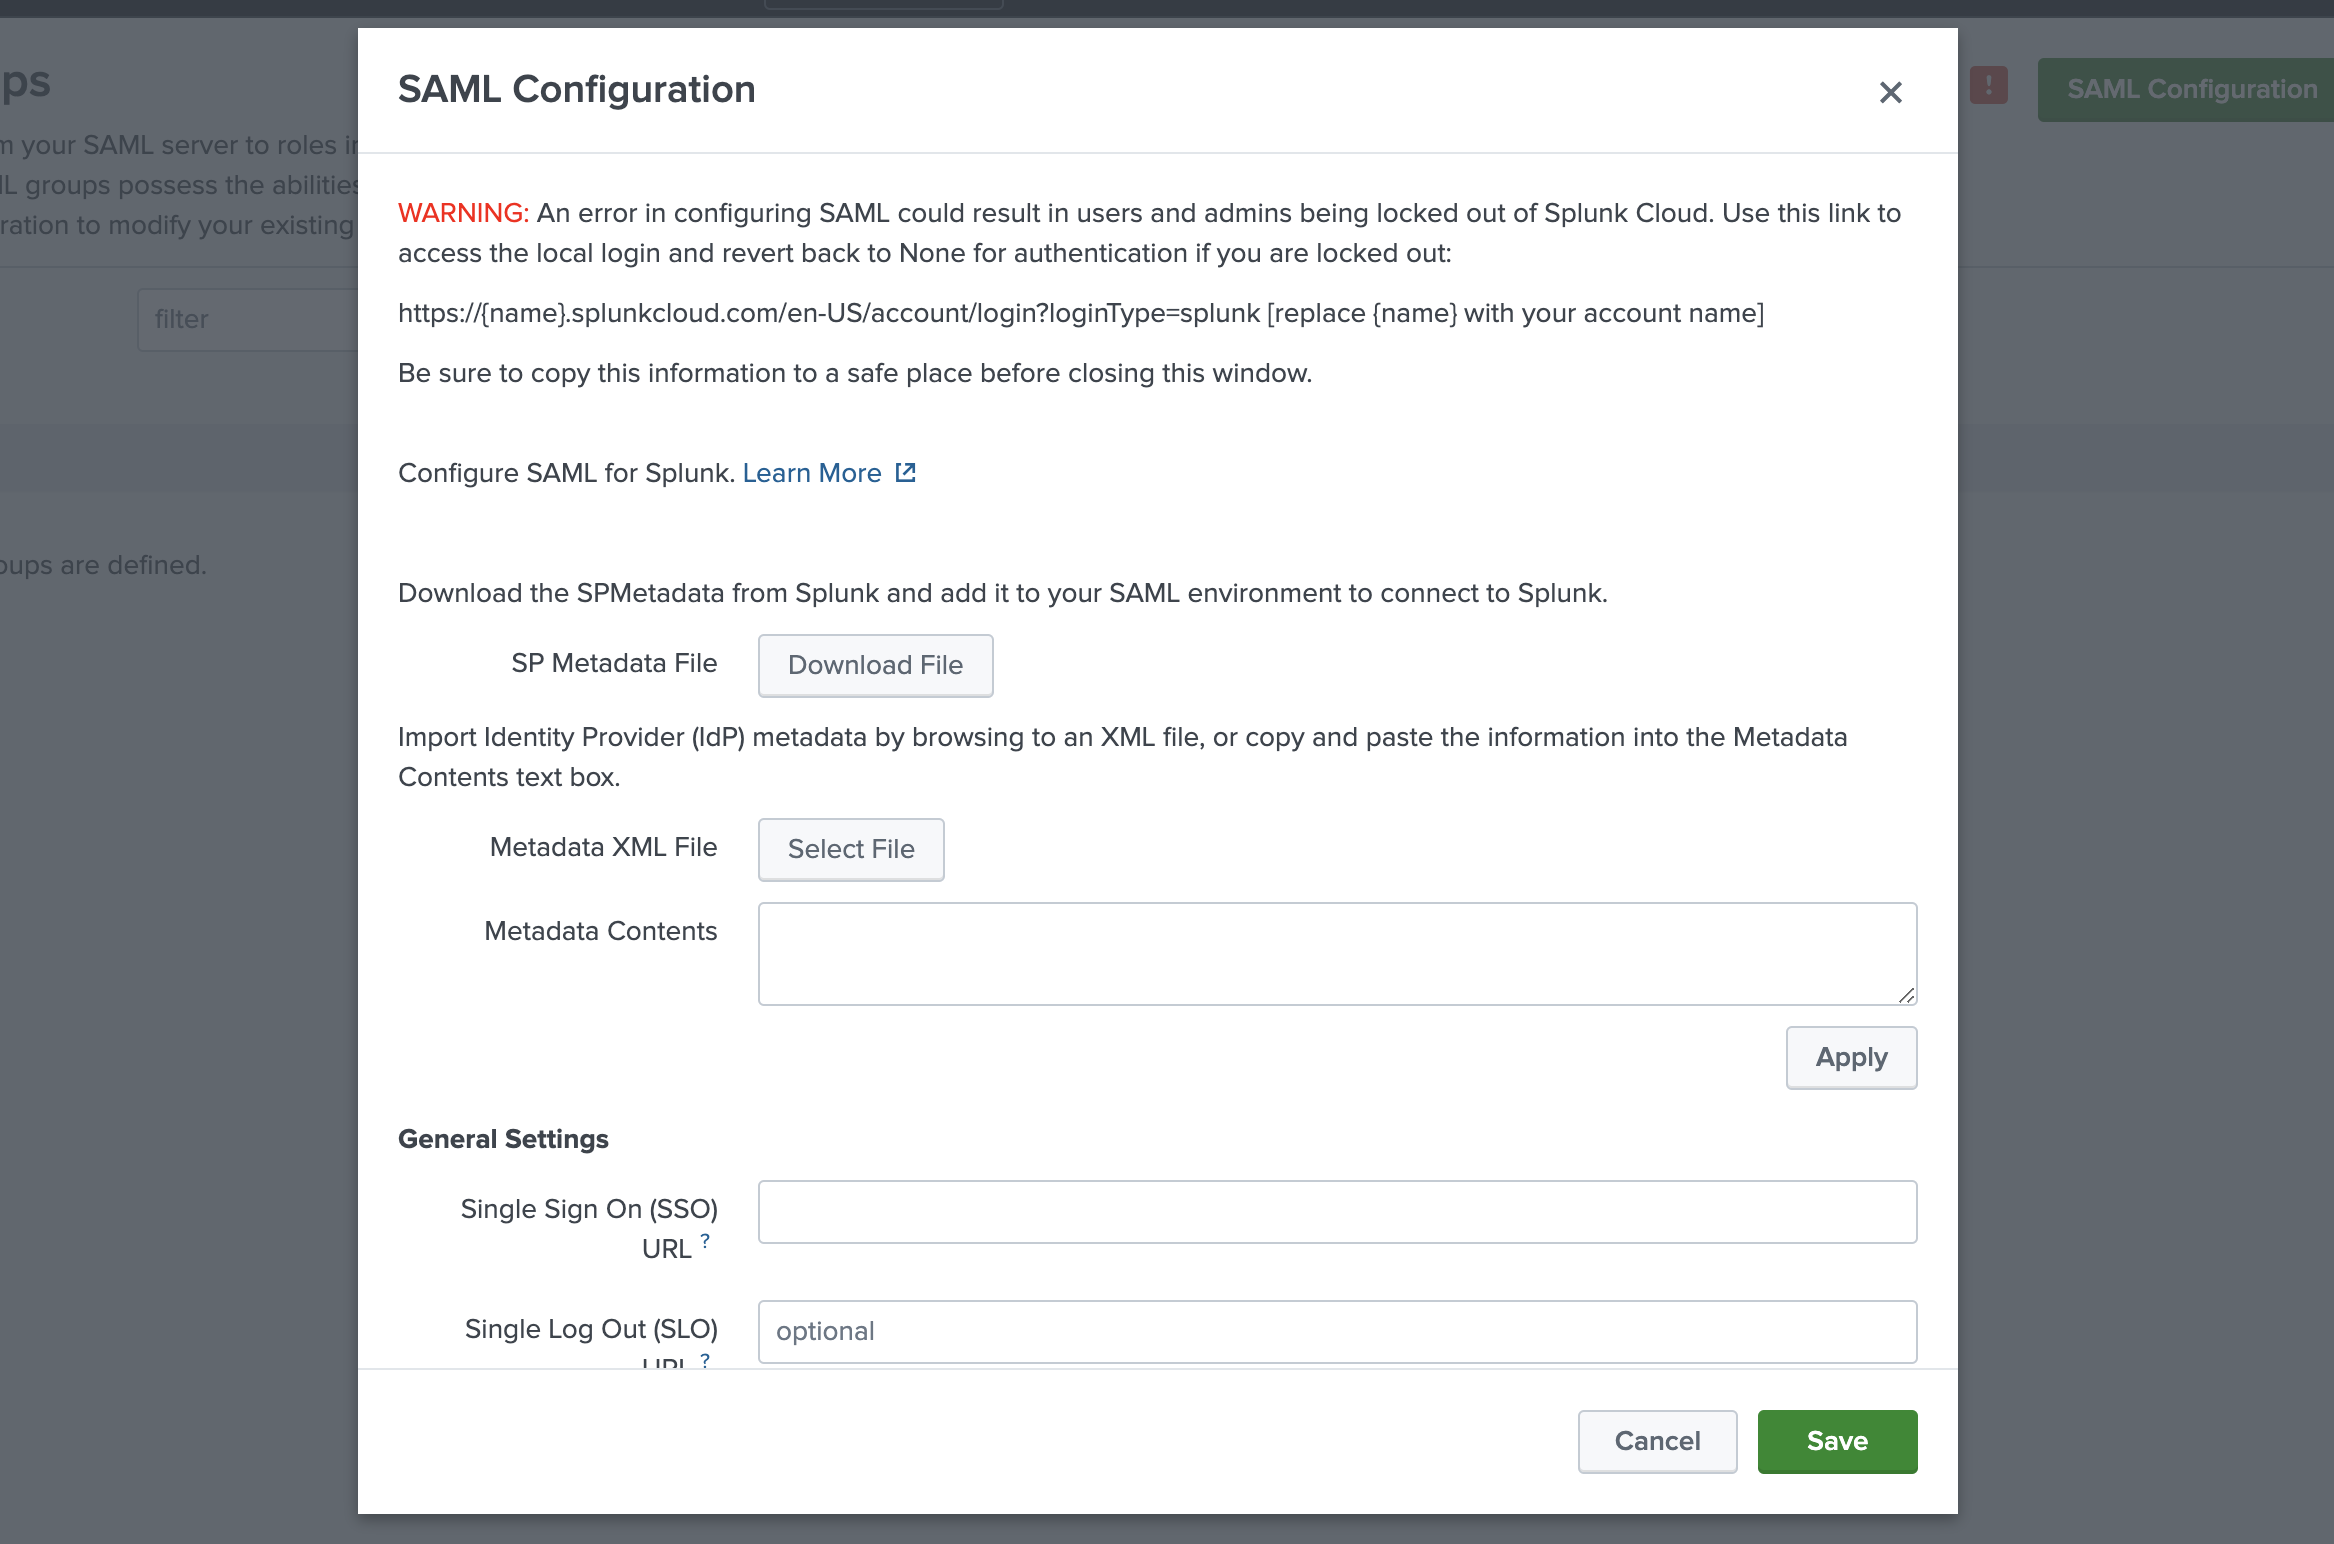
19 Return to your dashboard, go to Applications > SSO, and click on the created Splunk SSO.

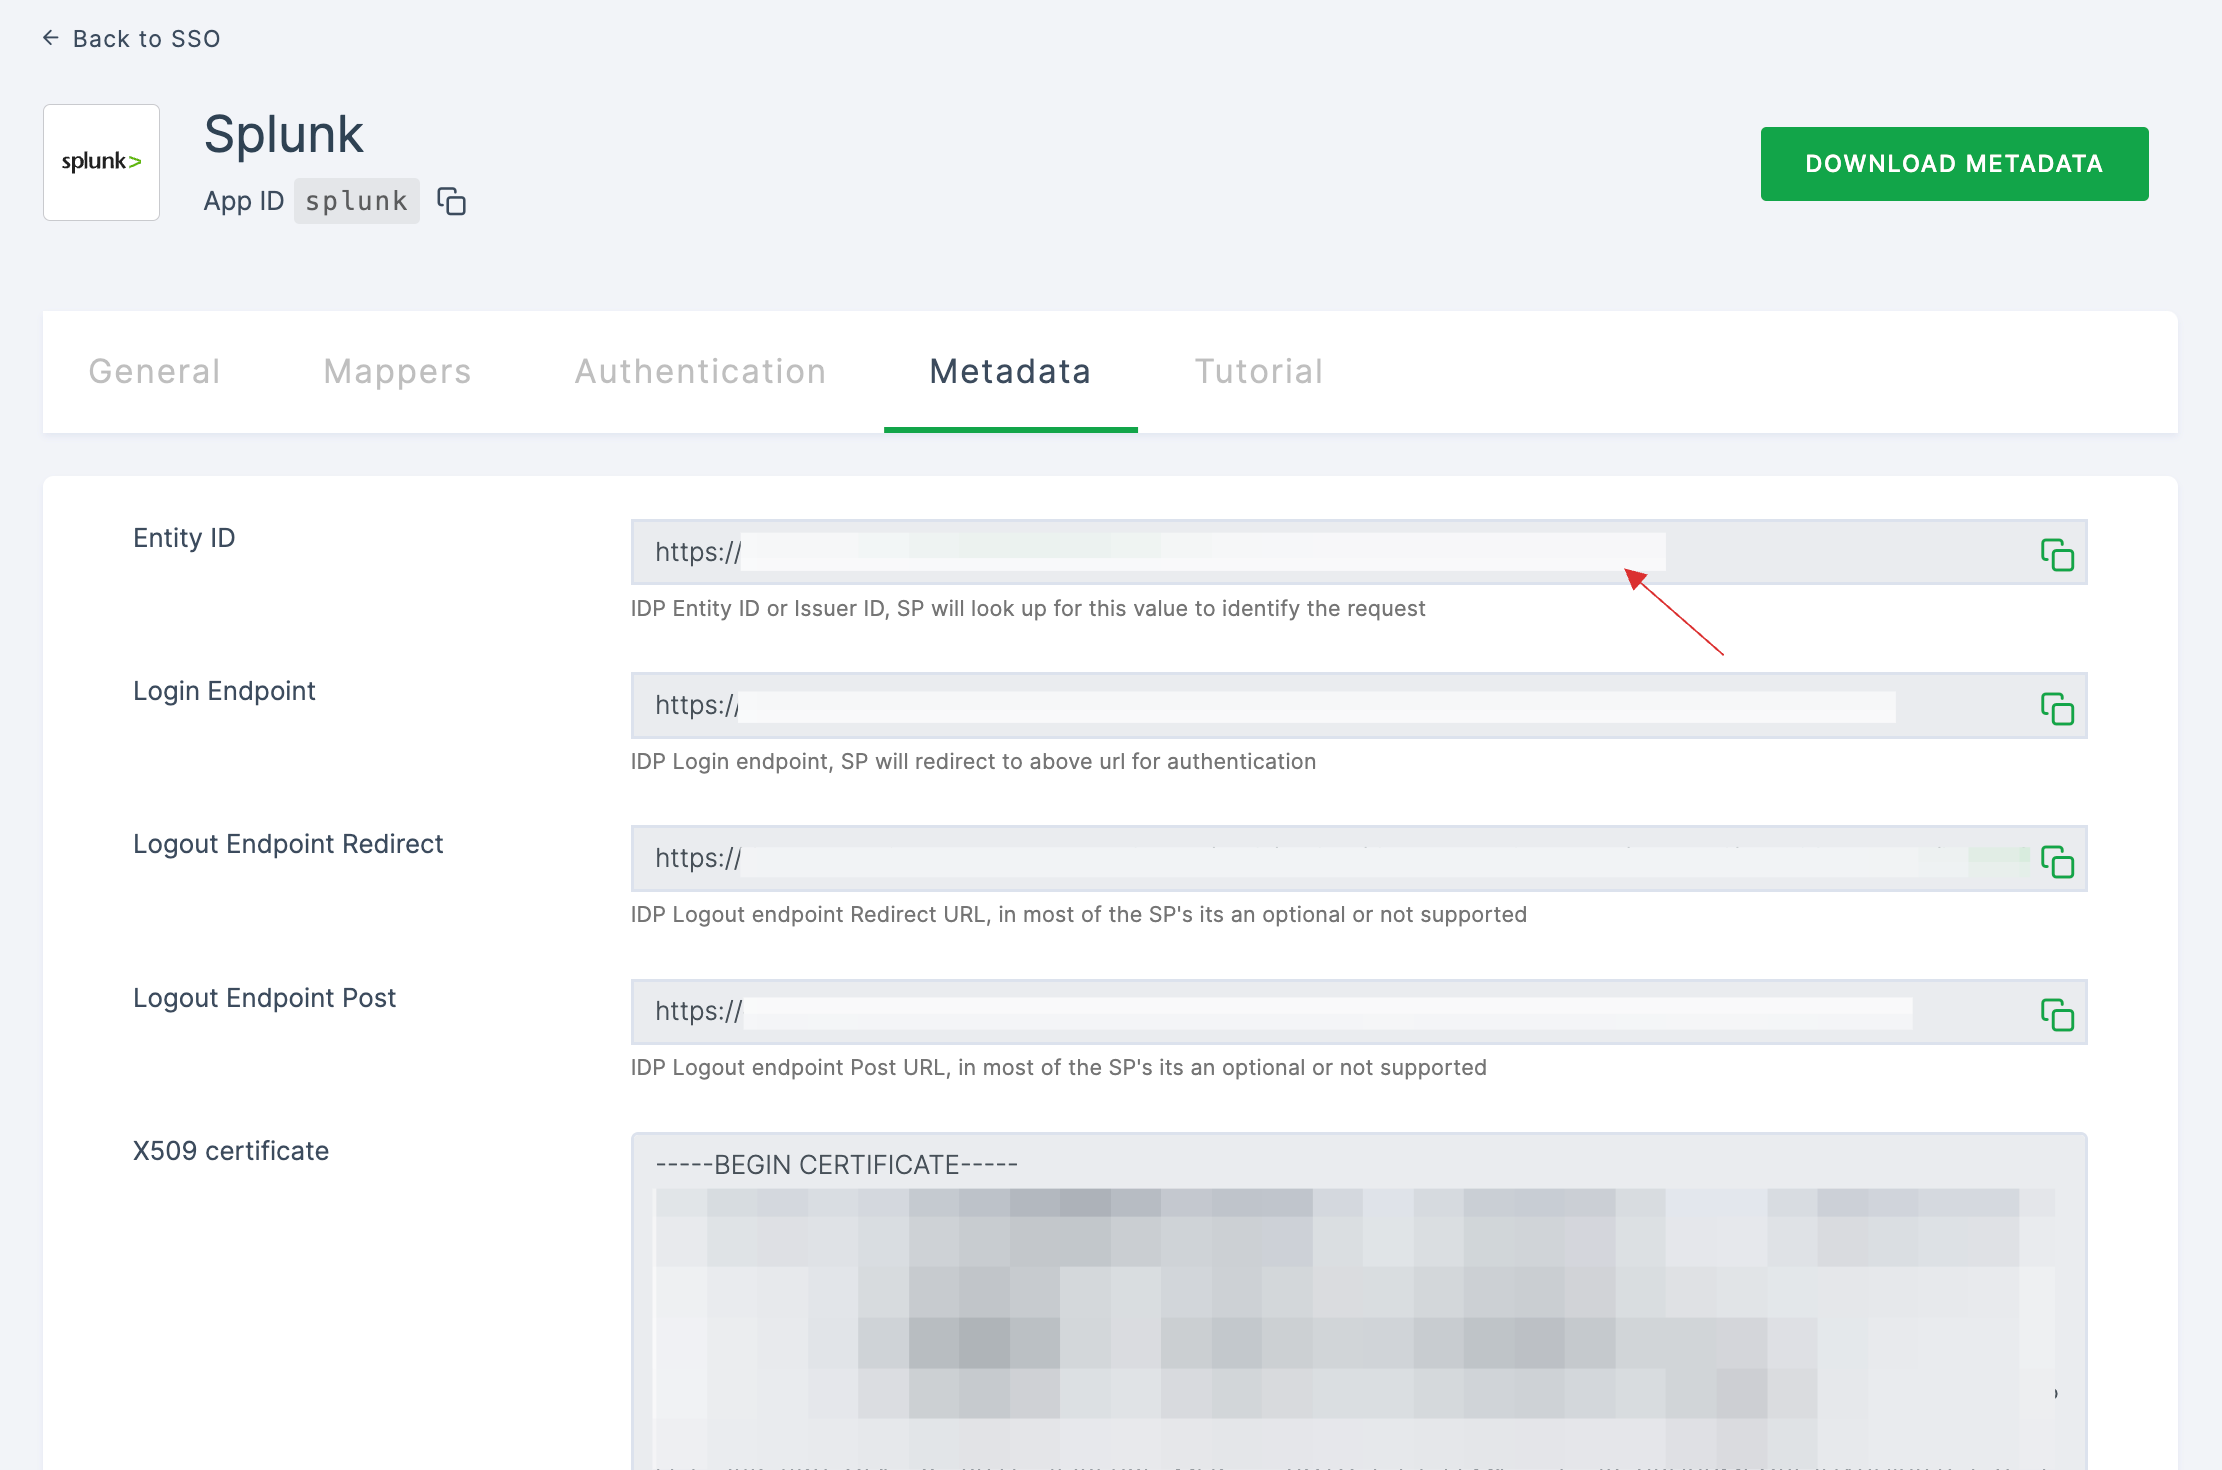
20 Click on Metadata, where the list of endpoints for the particular SSO will be available. Copy the Login Endpoint.
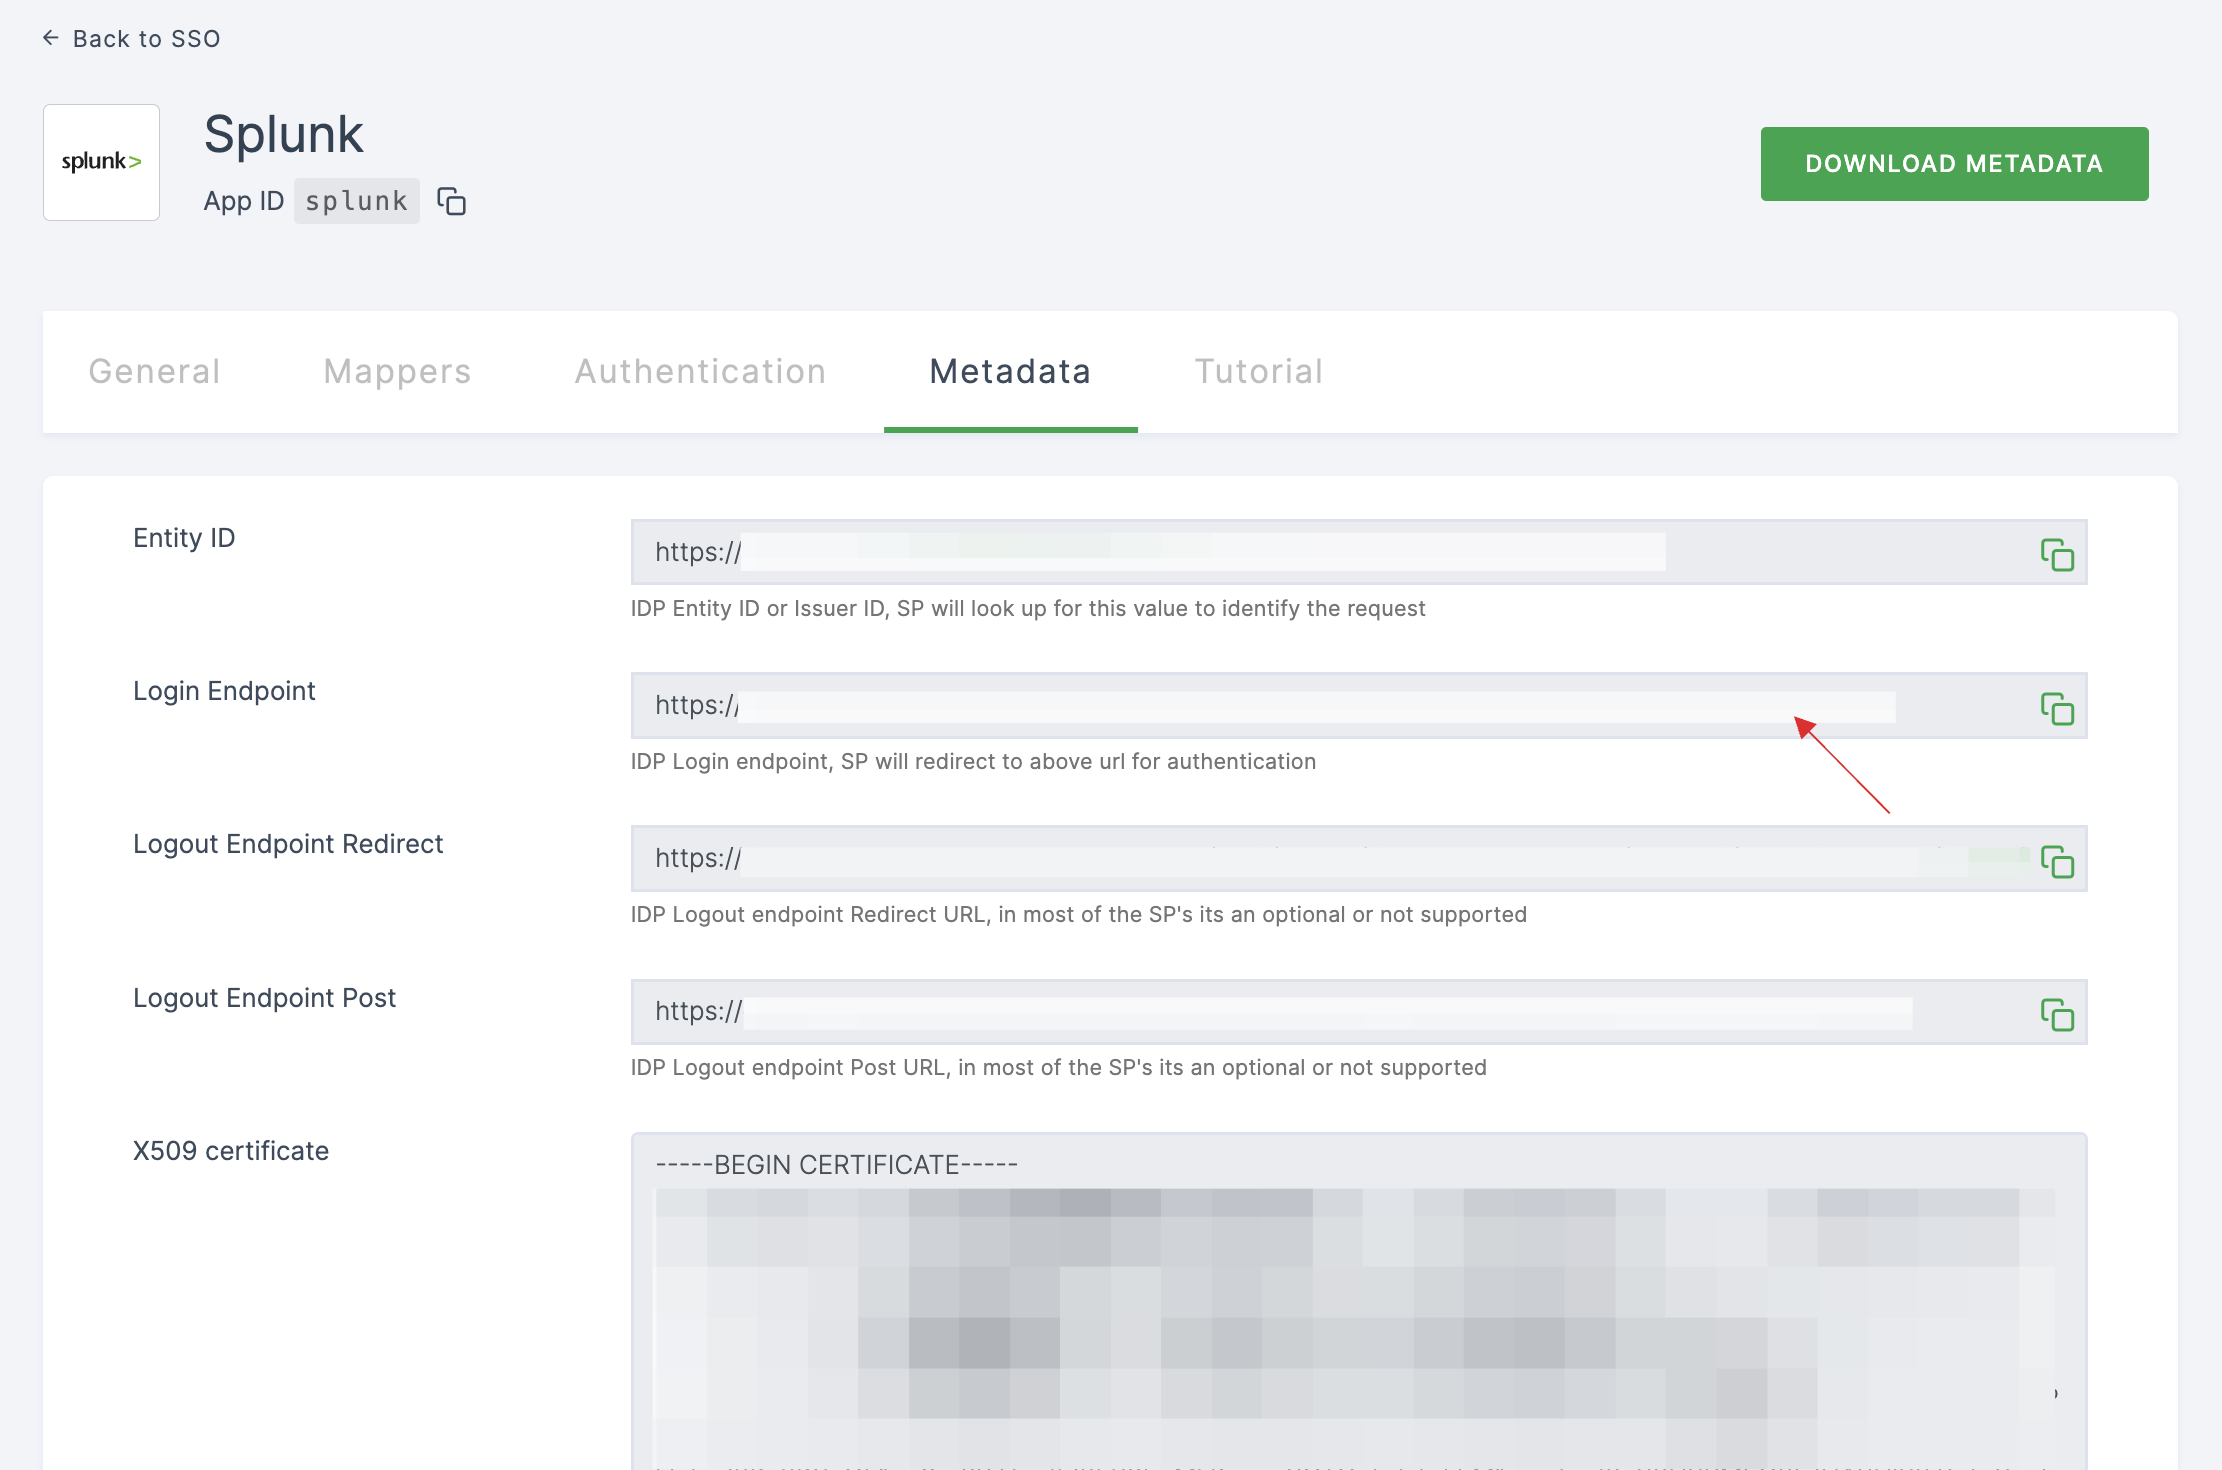
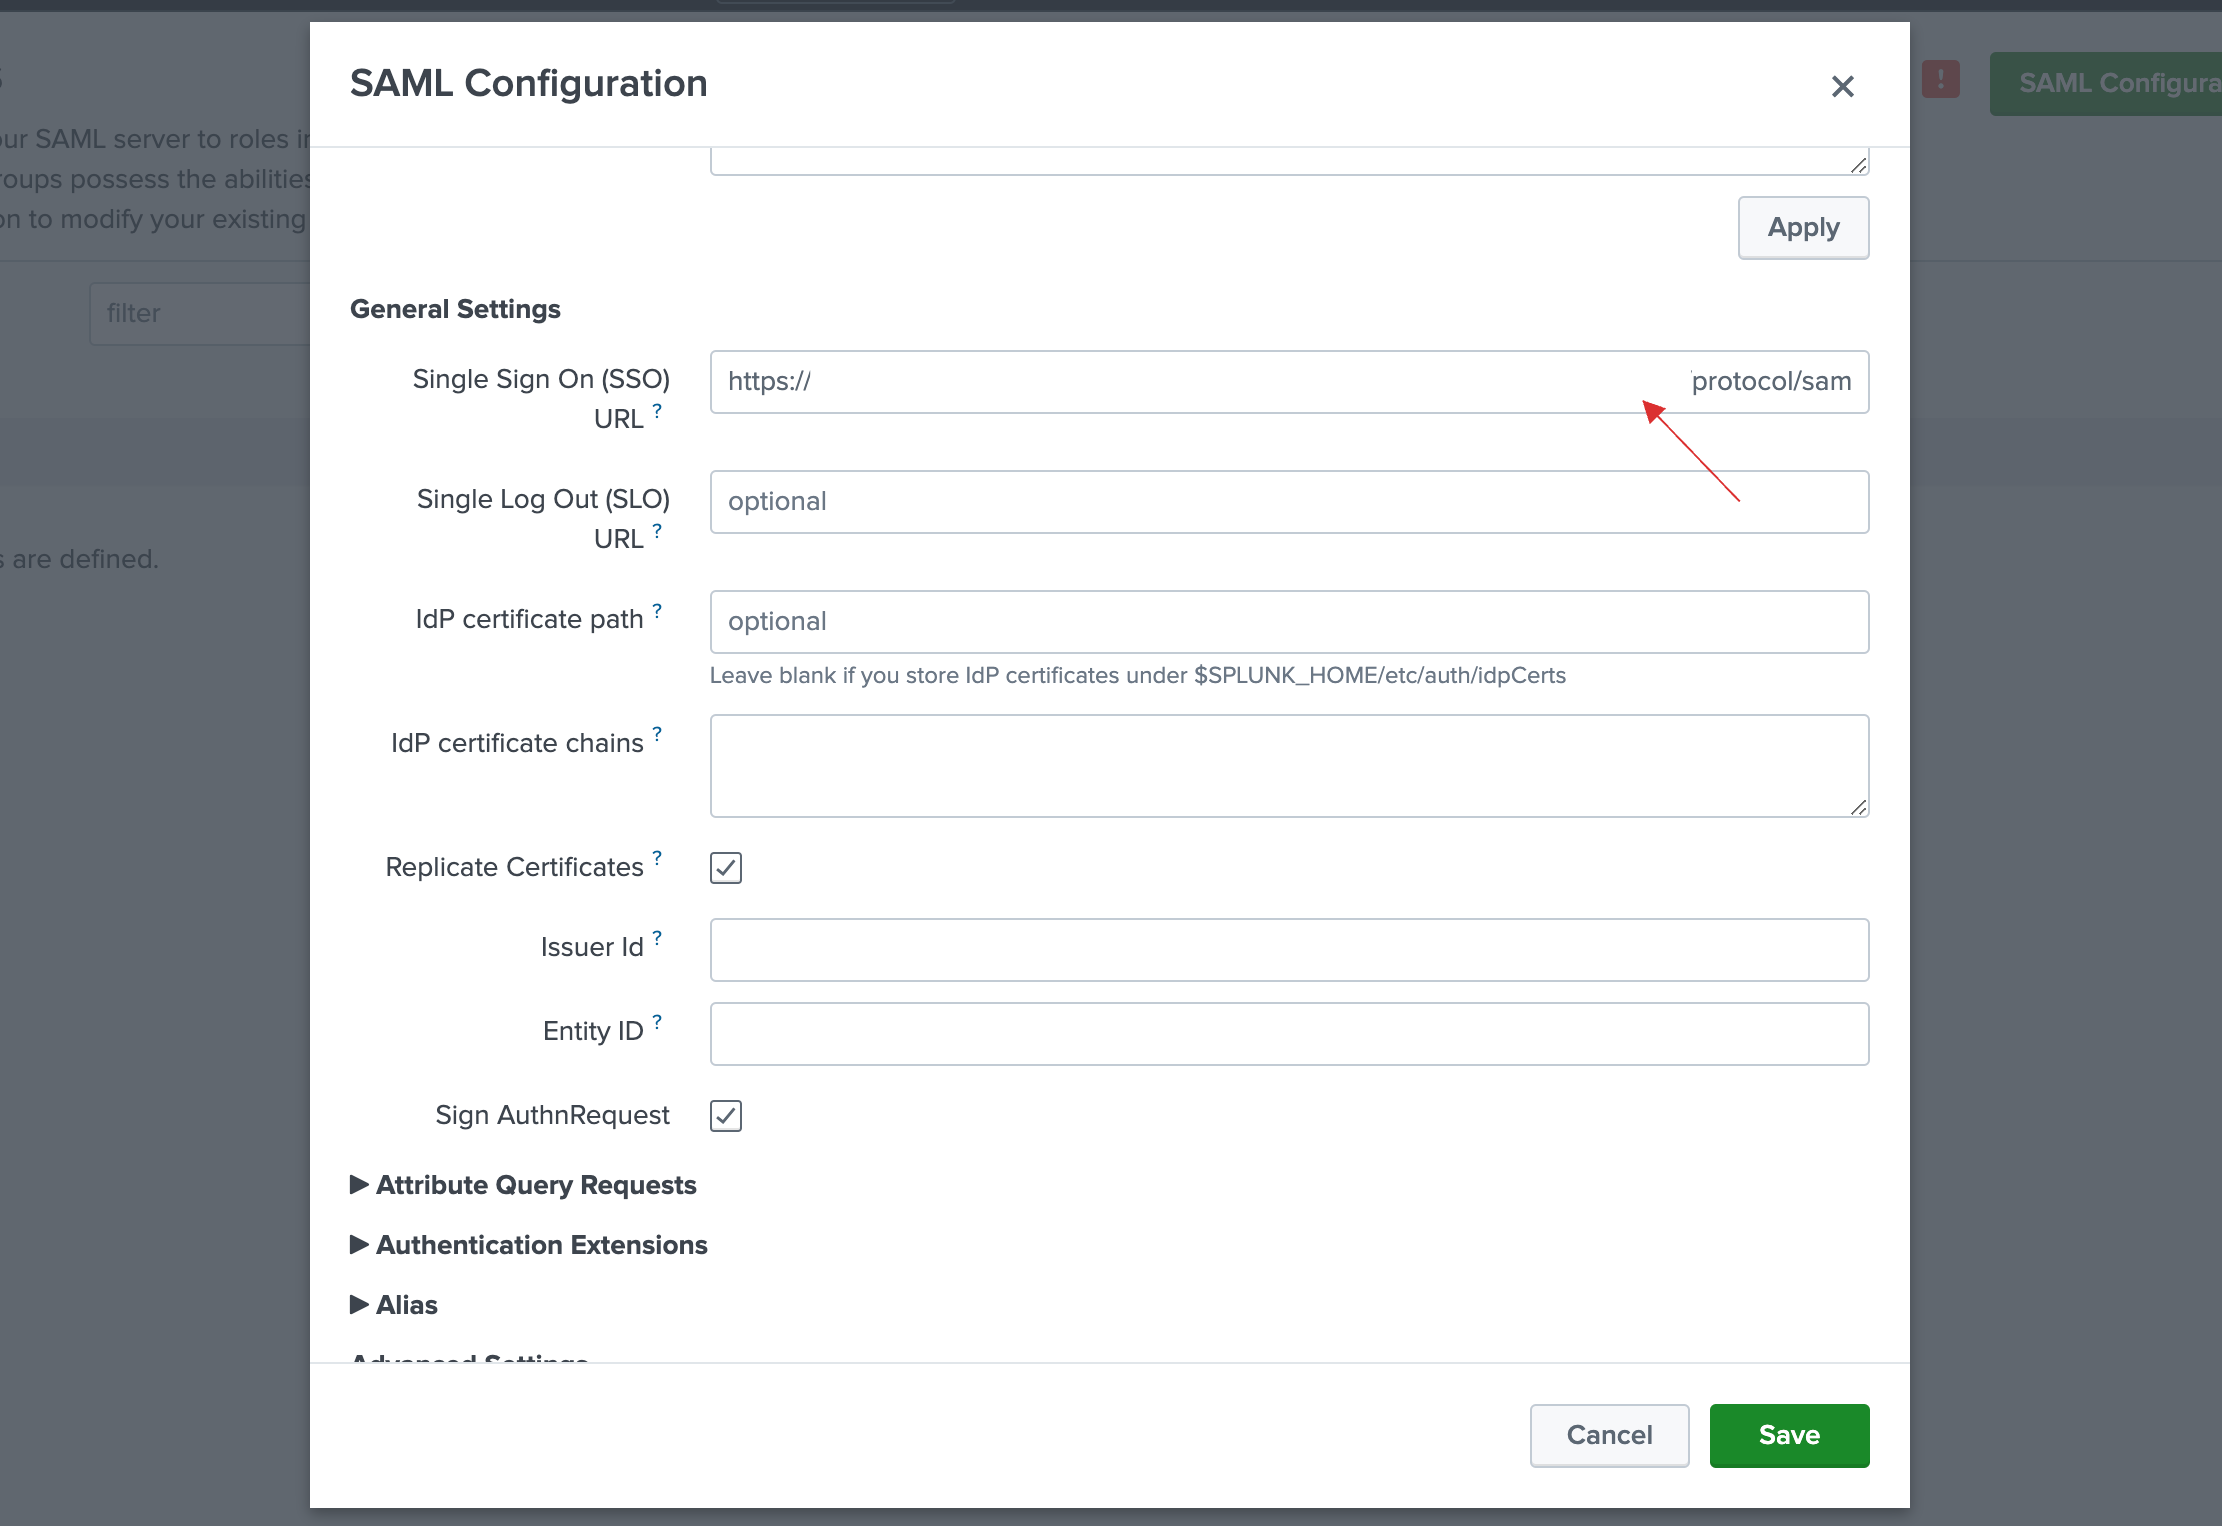
21 Switch to Splunk, paste it in Single Sign On(SSO) URL.
22 Return to your dashboard, click on COPY TO CLIPBOARD for the X509 certificate.
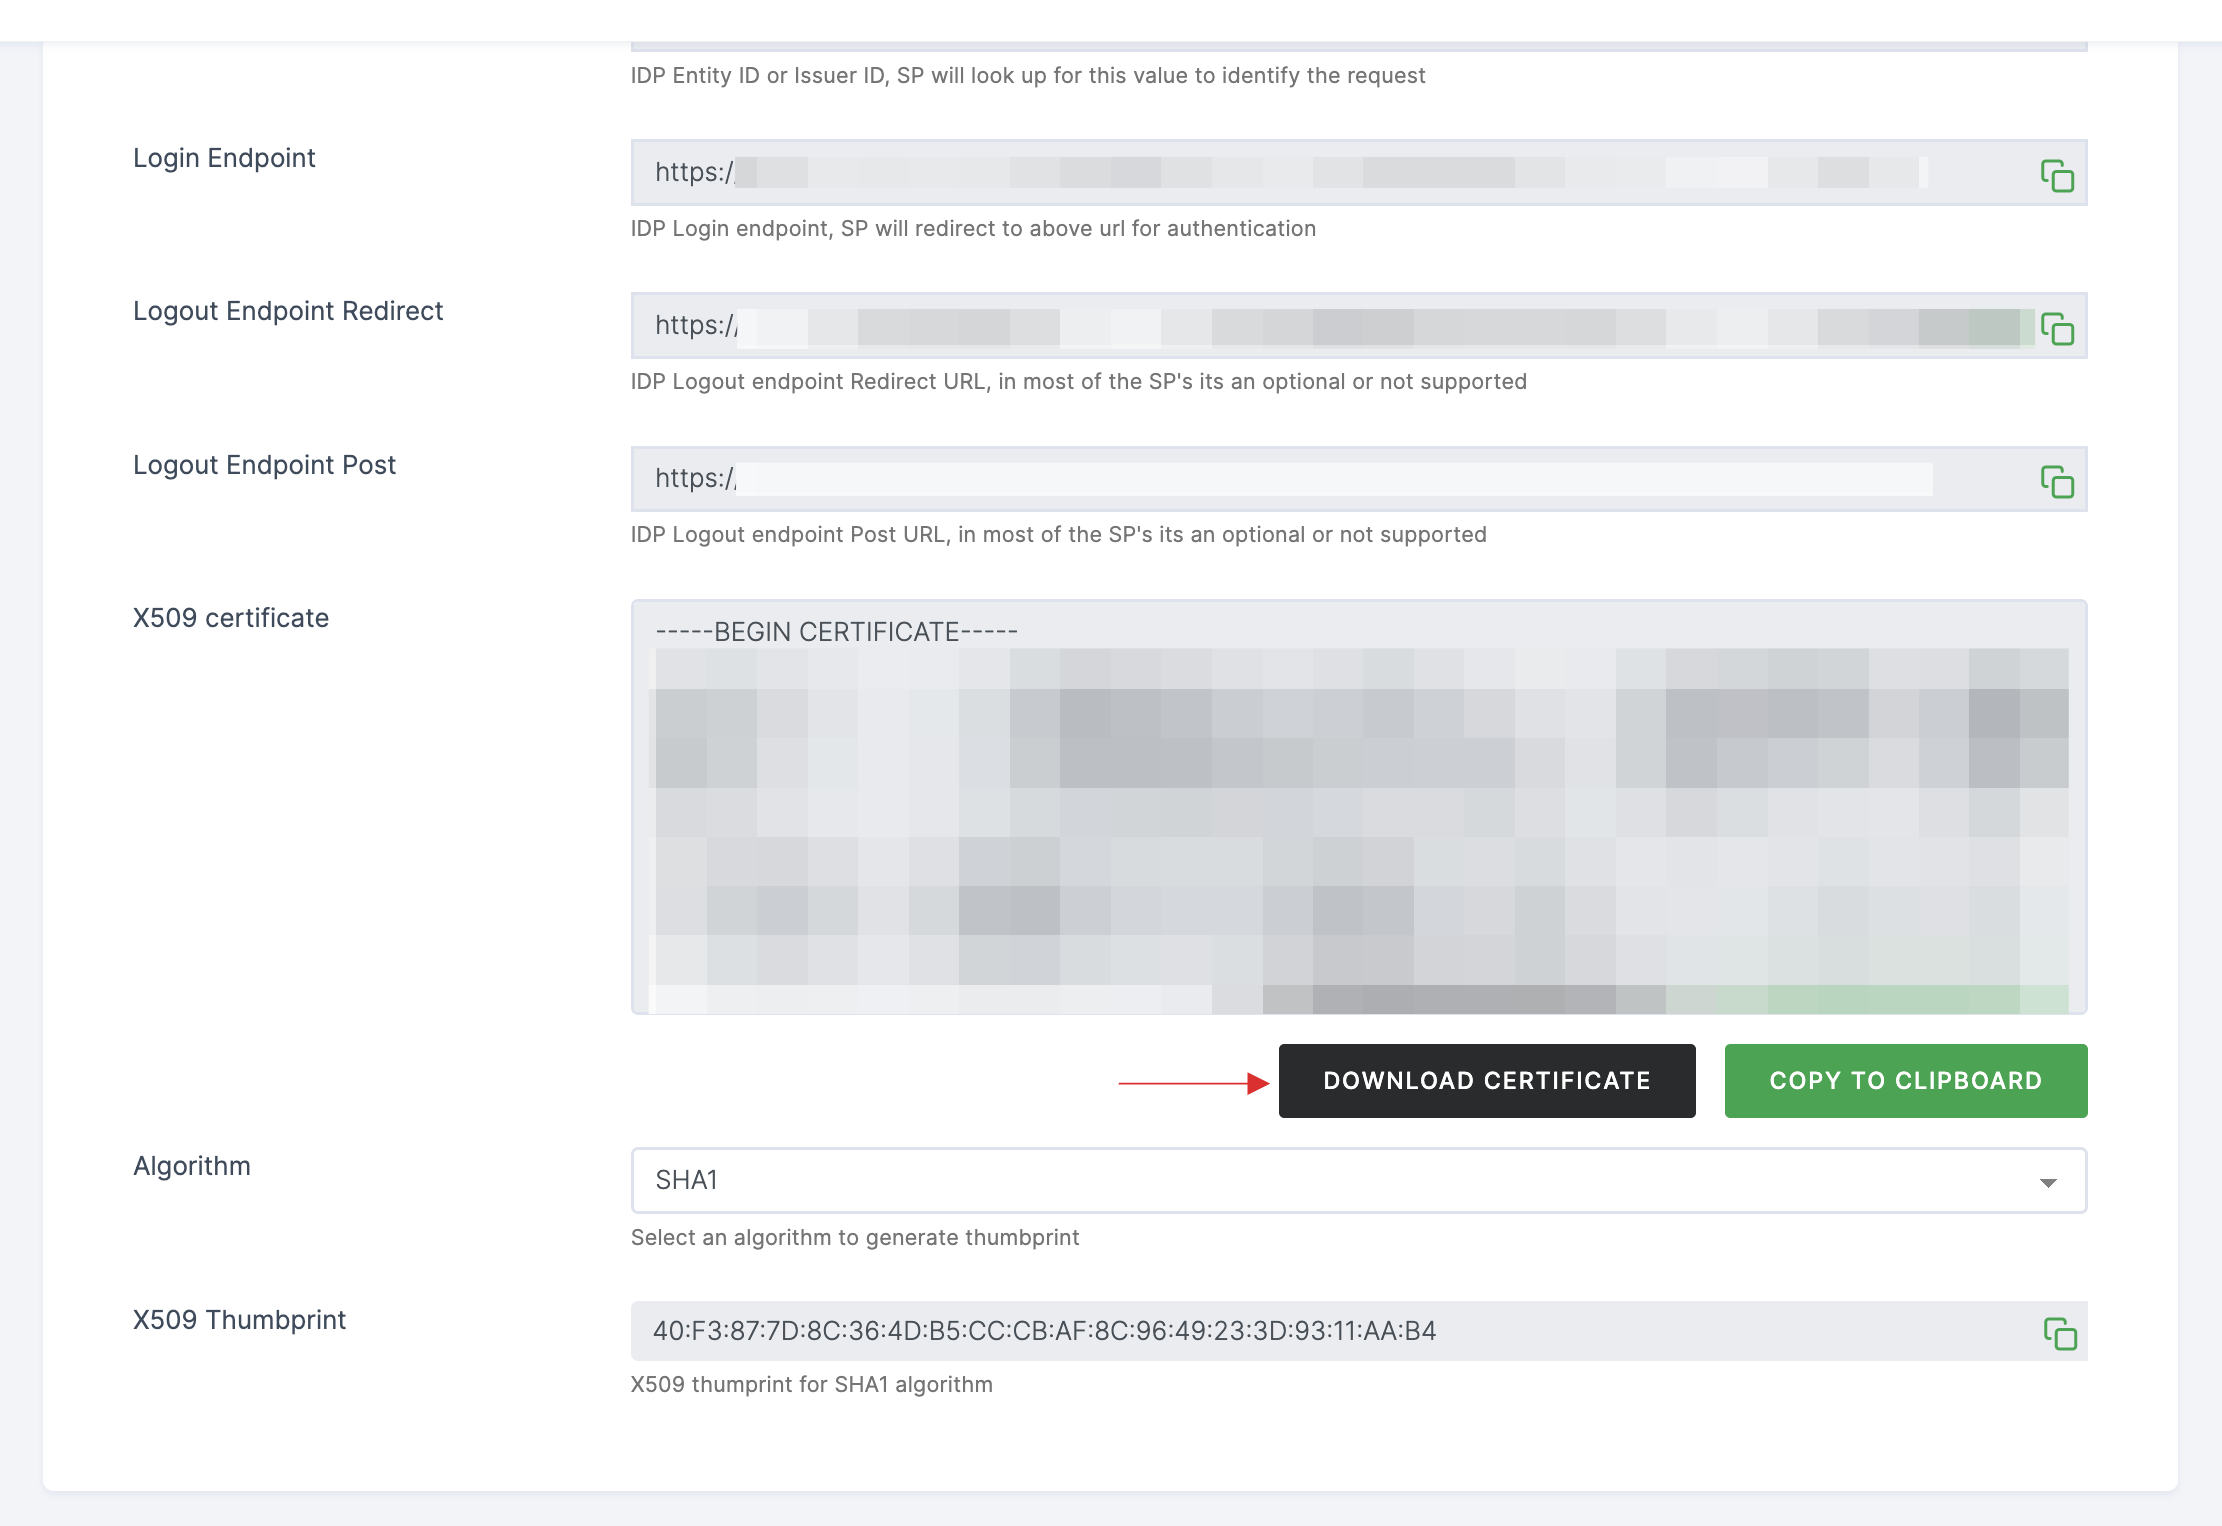
23 Switch to Splunk, paste the X509 certificate.

24 Return to your dashboard, copy the Entity ID.
25 Switch to Splunk, paste the Entity ID in Issuer ID.
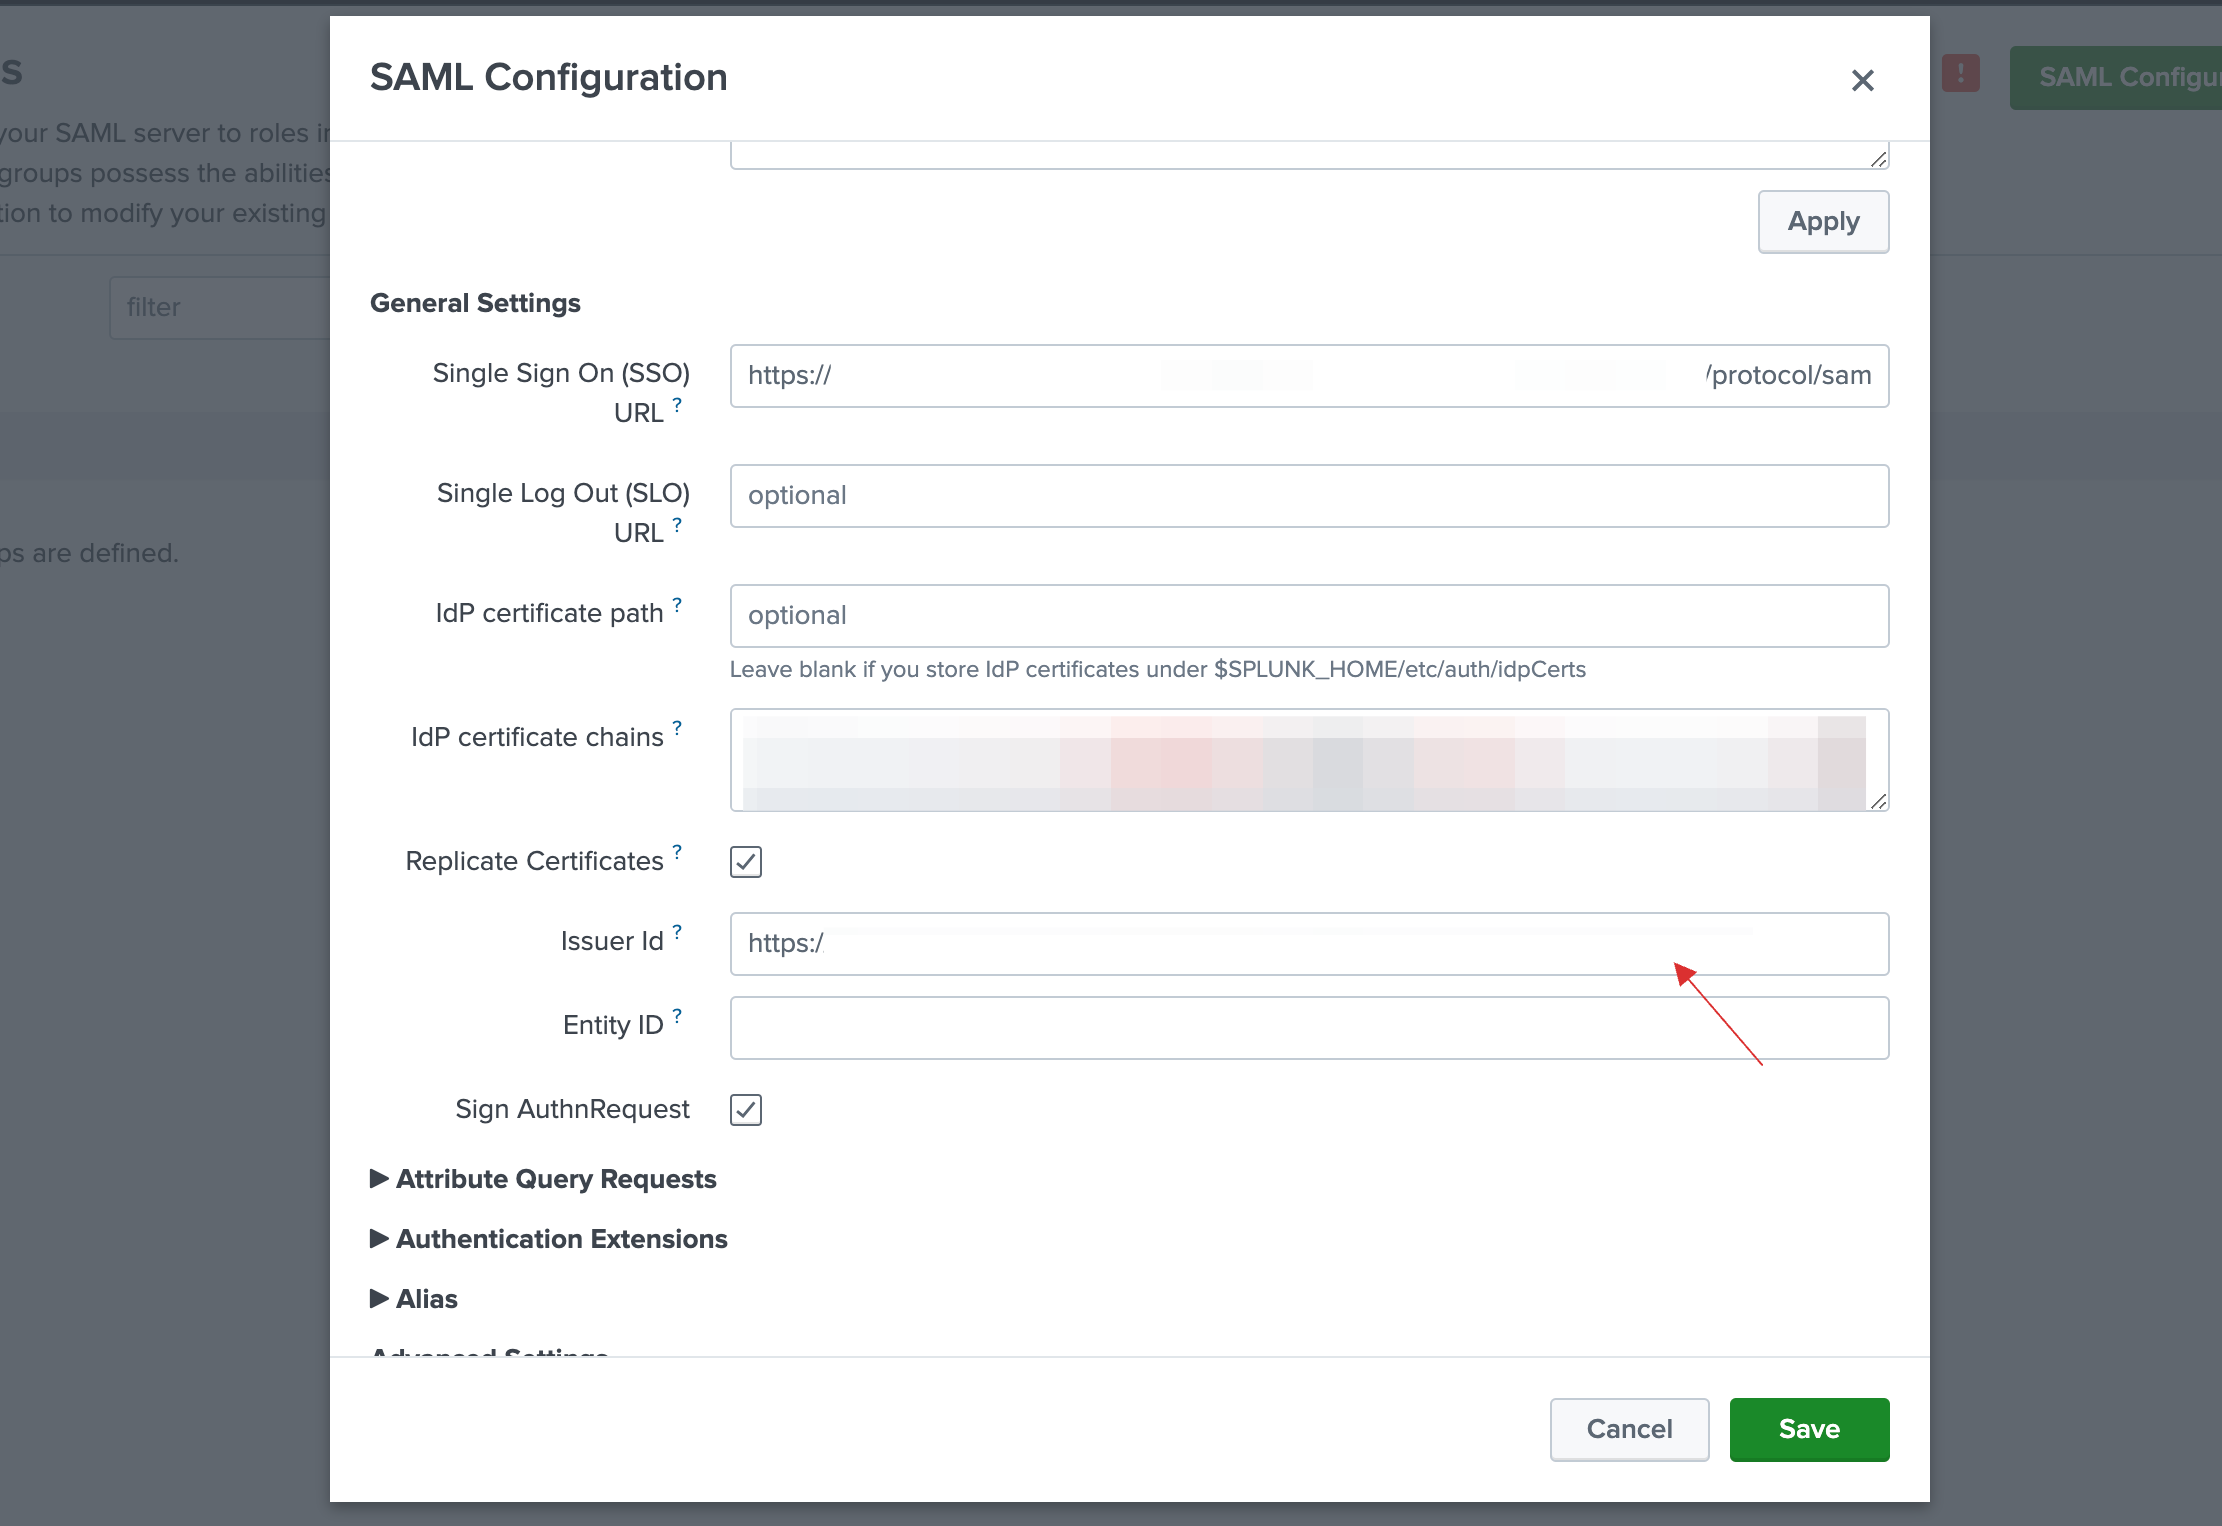
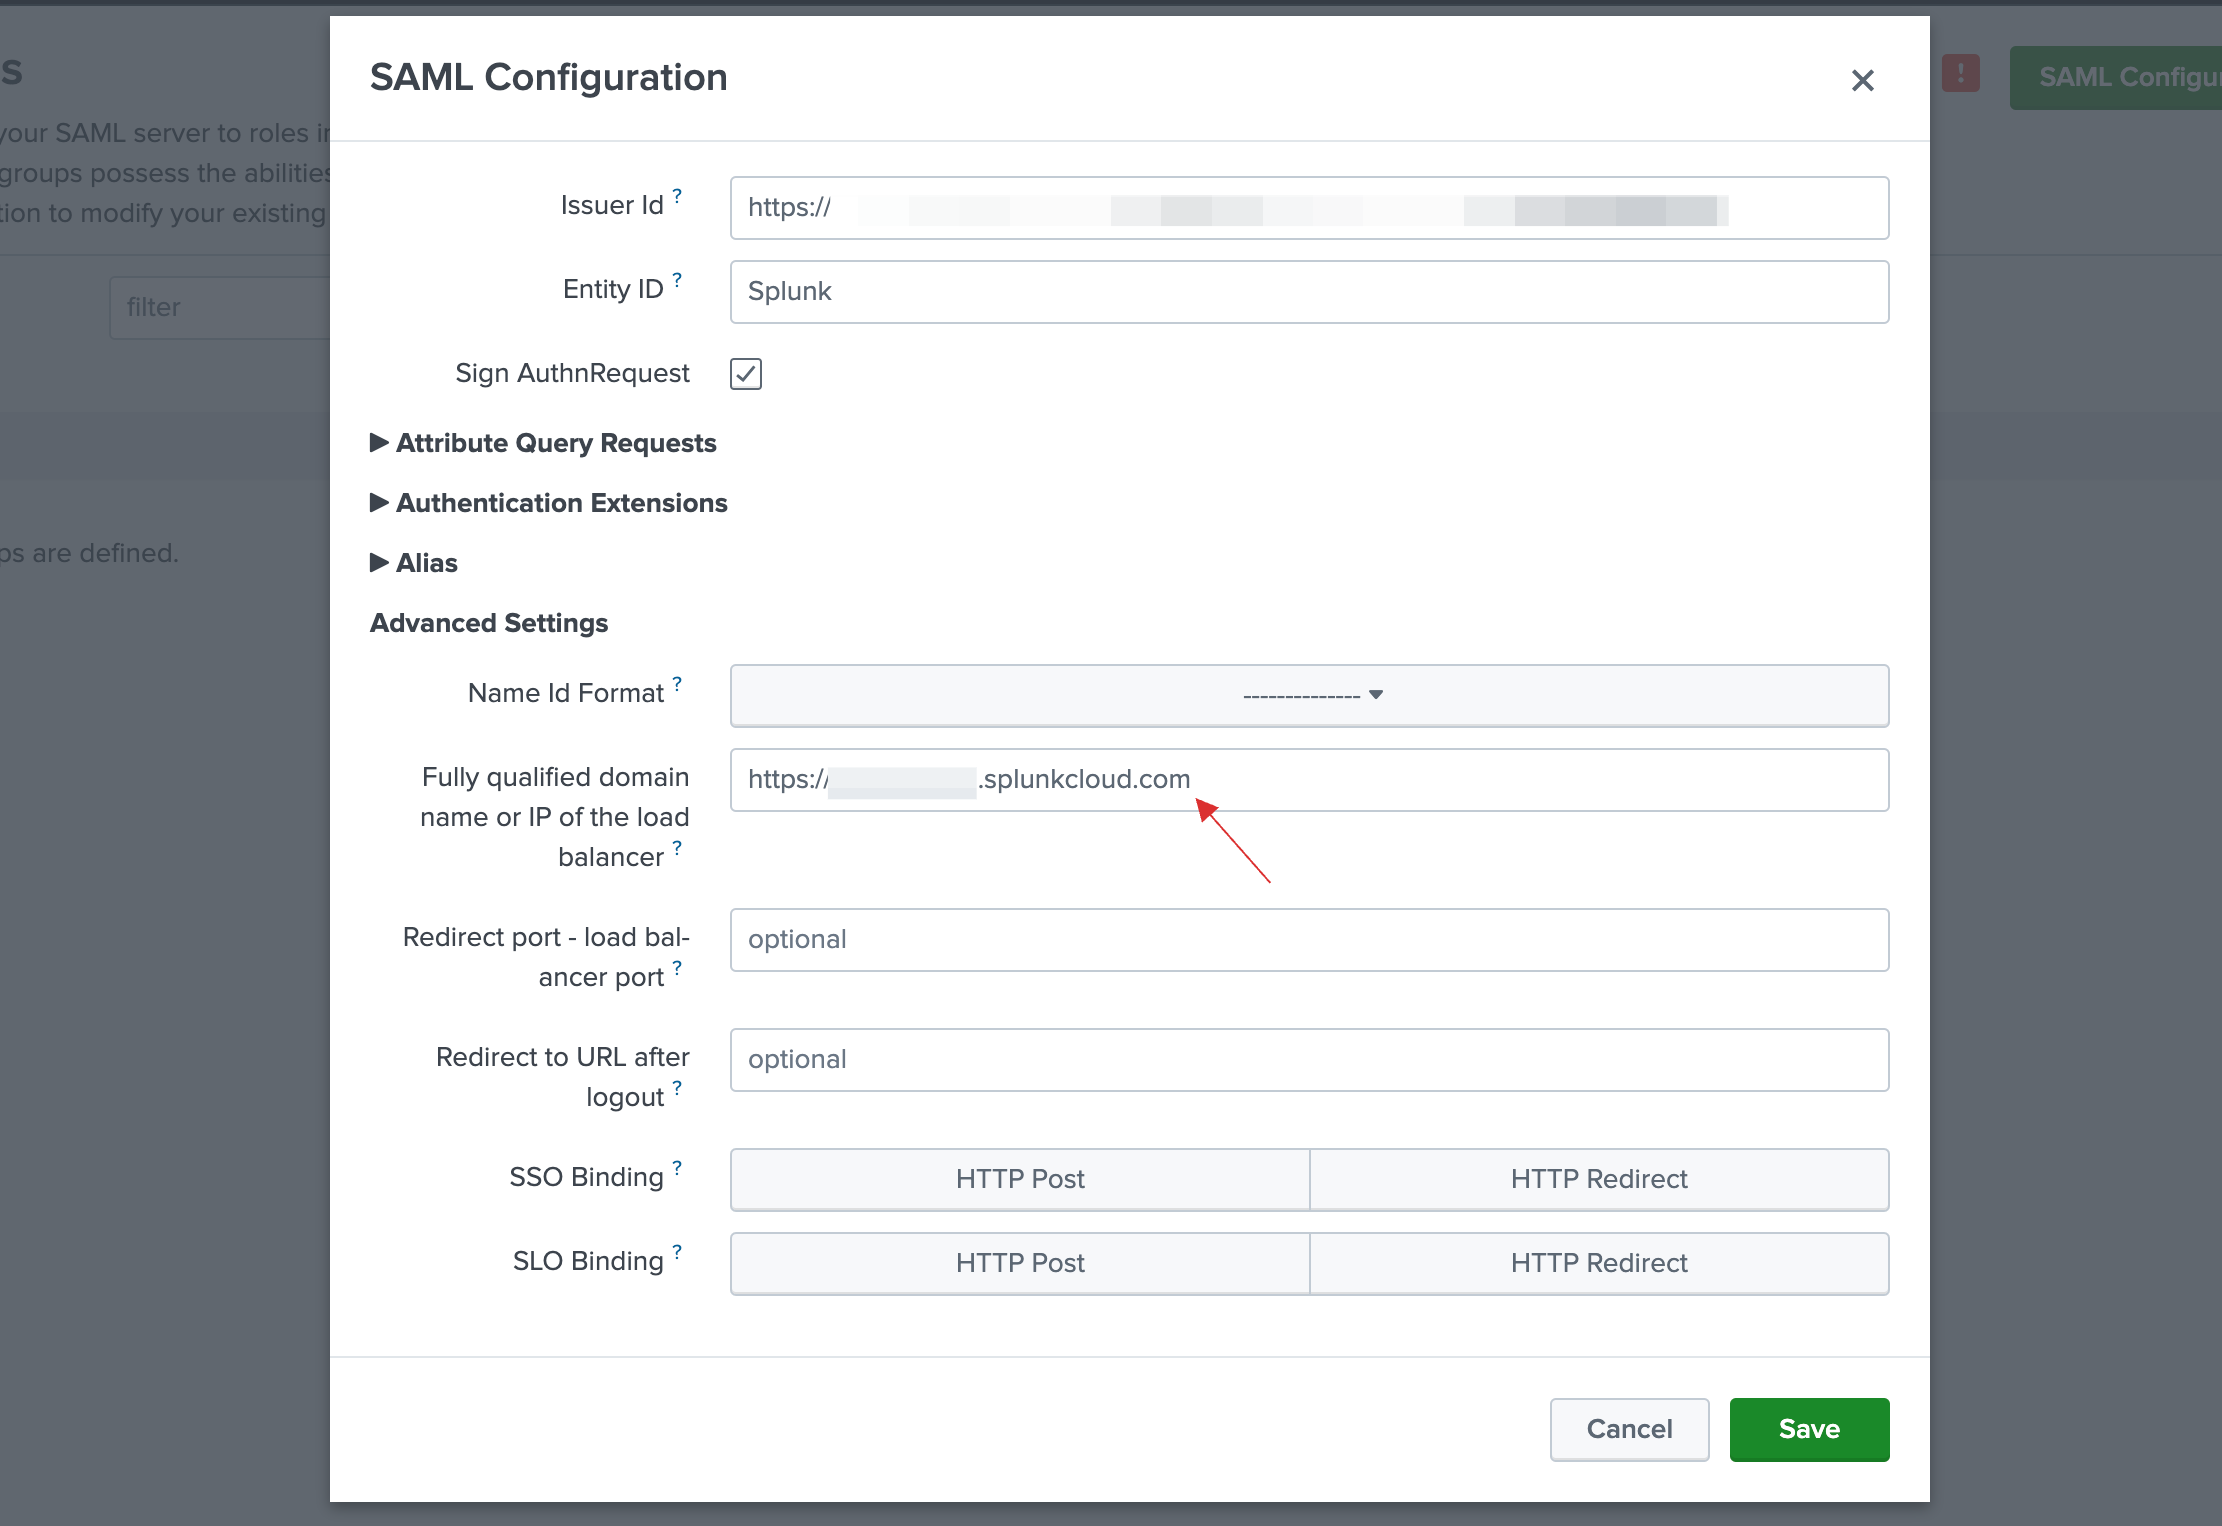
26 Provide Entity ID as the same that was provided during installation of Splunk SSO in your dashboard.

27 Click on Alias, a set of configurations will be displayed. Provide "Role alias", "RealName alias" and "Mail alias" as the name given while creating "role mapper" in your dashboard. For instance, "Role" was the name given in this flow.

28 Click on Advanced Settings. Provide your Splunk Domain URL in Fully qualified domain name.
Example: https://{domain}.splunkcloud.com
29 Provice "0" for Redirect port - load balancer.
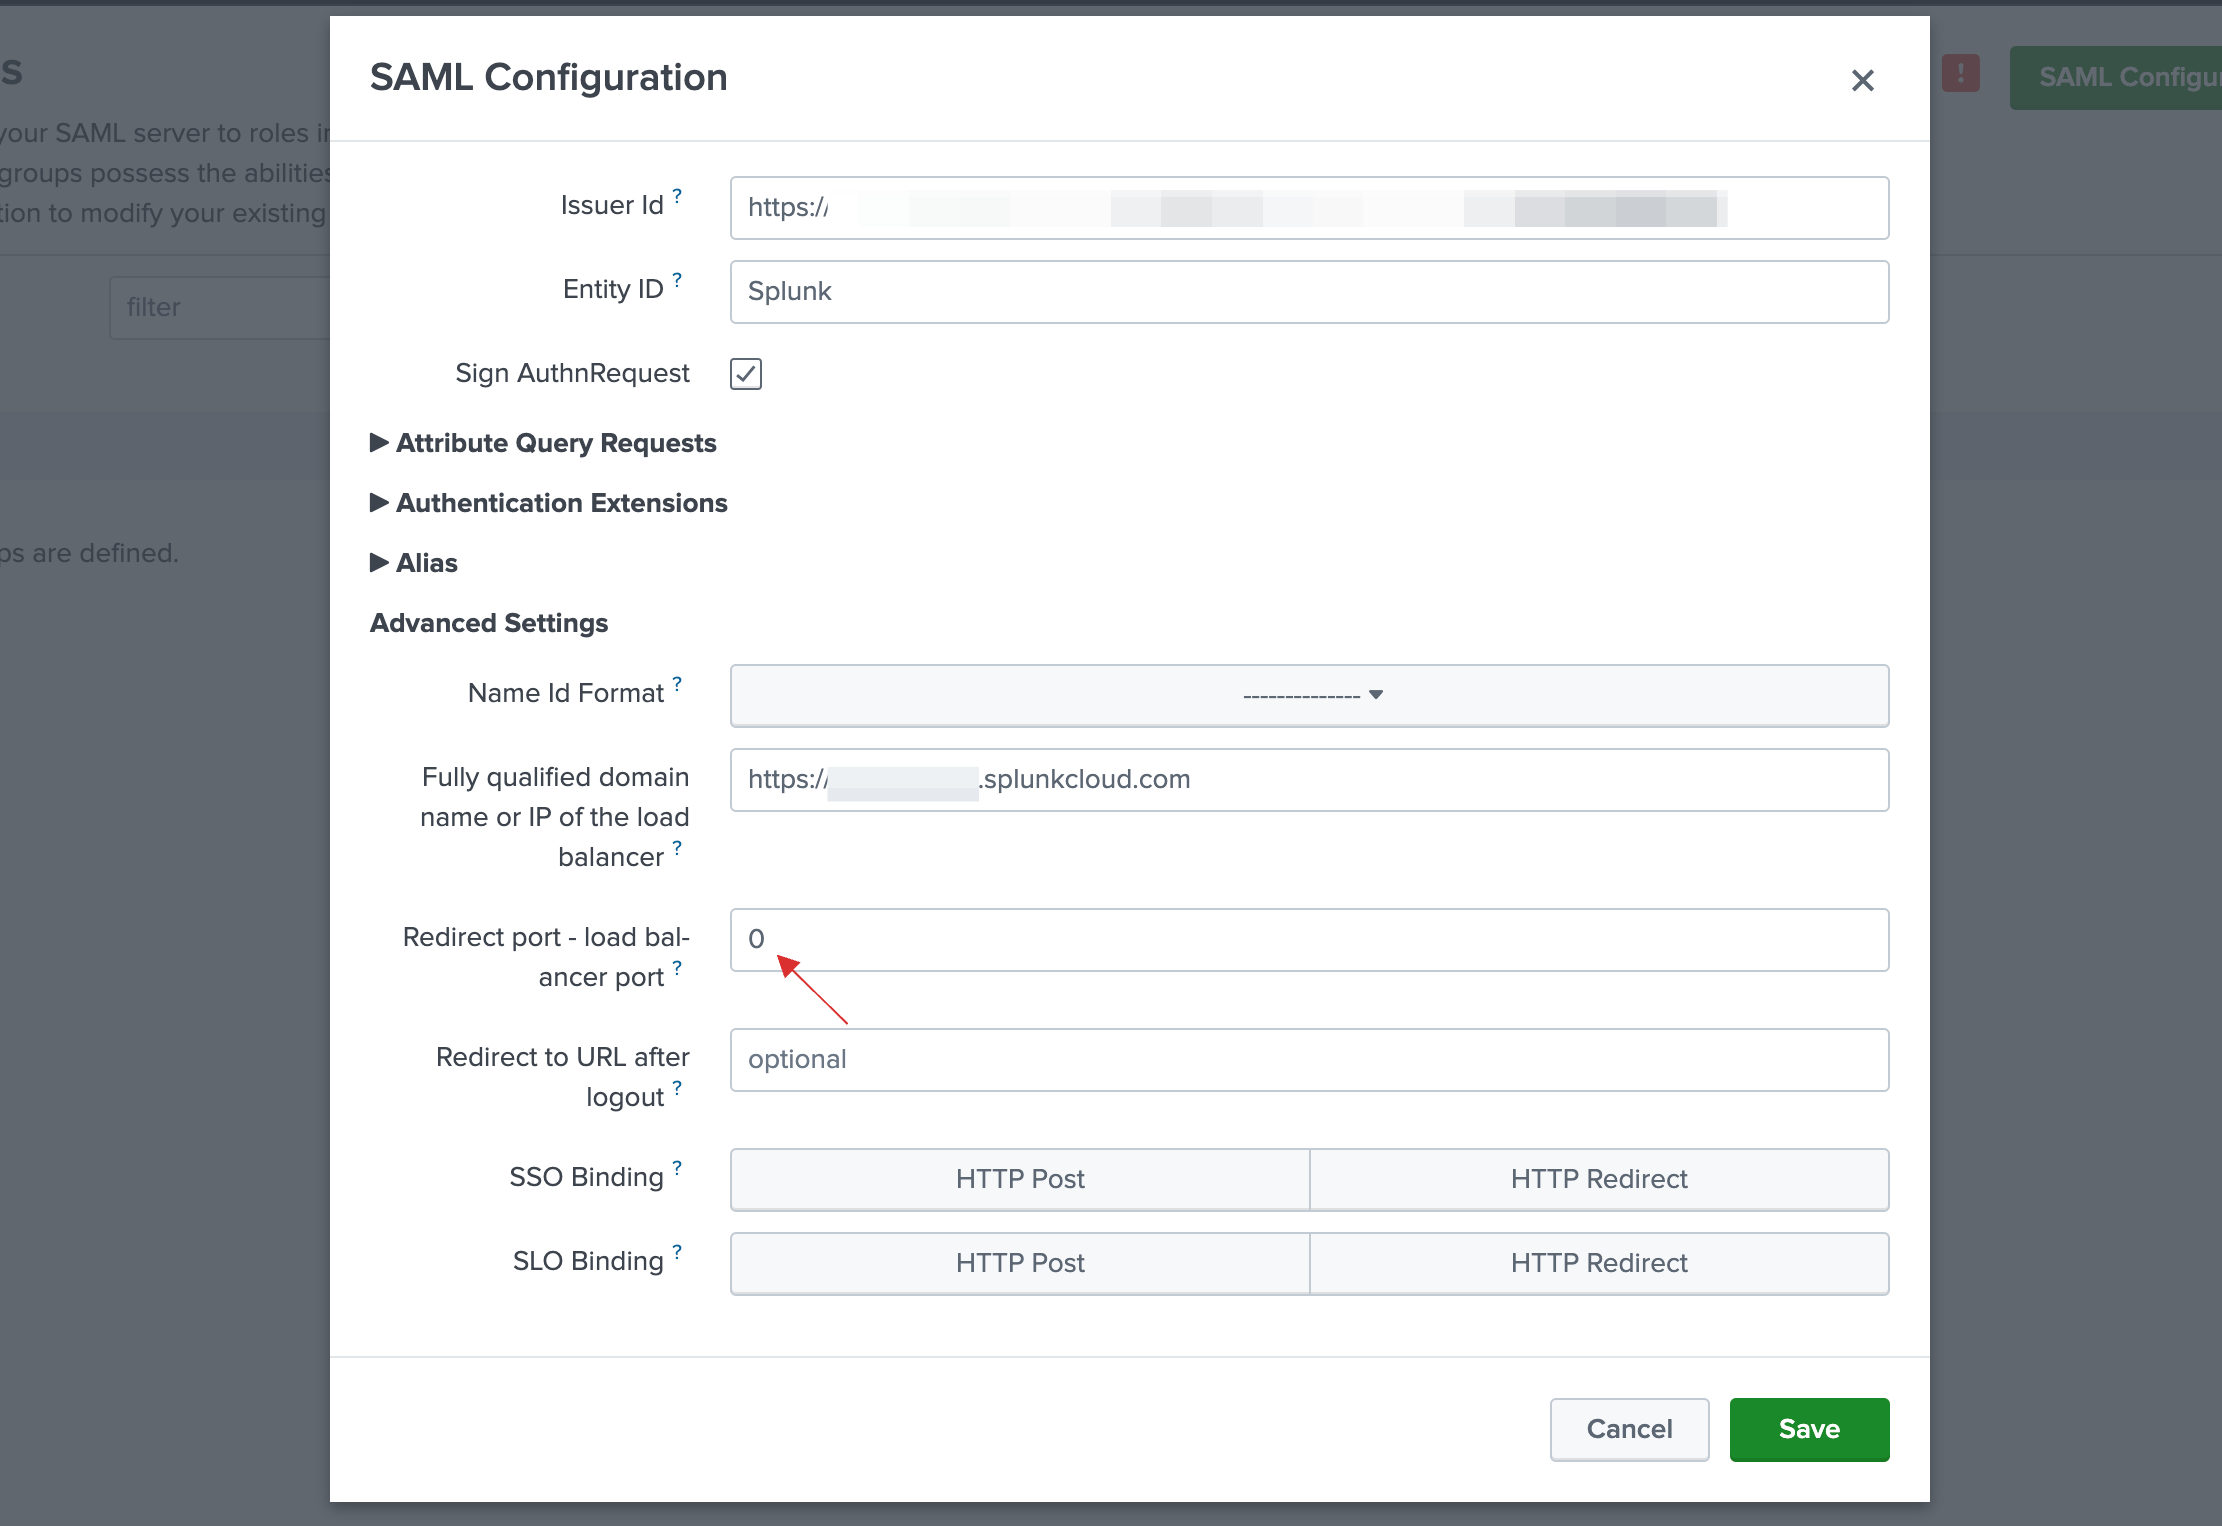
30 Click on Save.
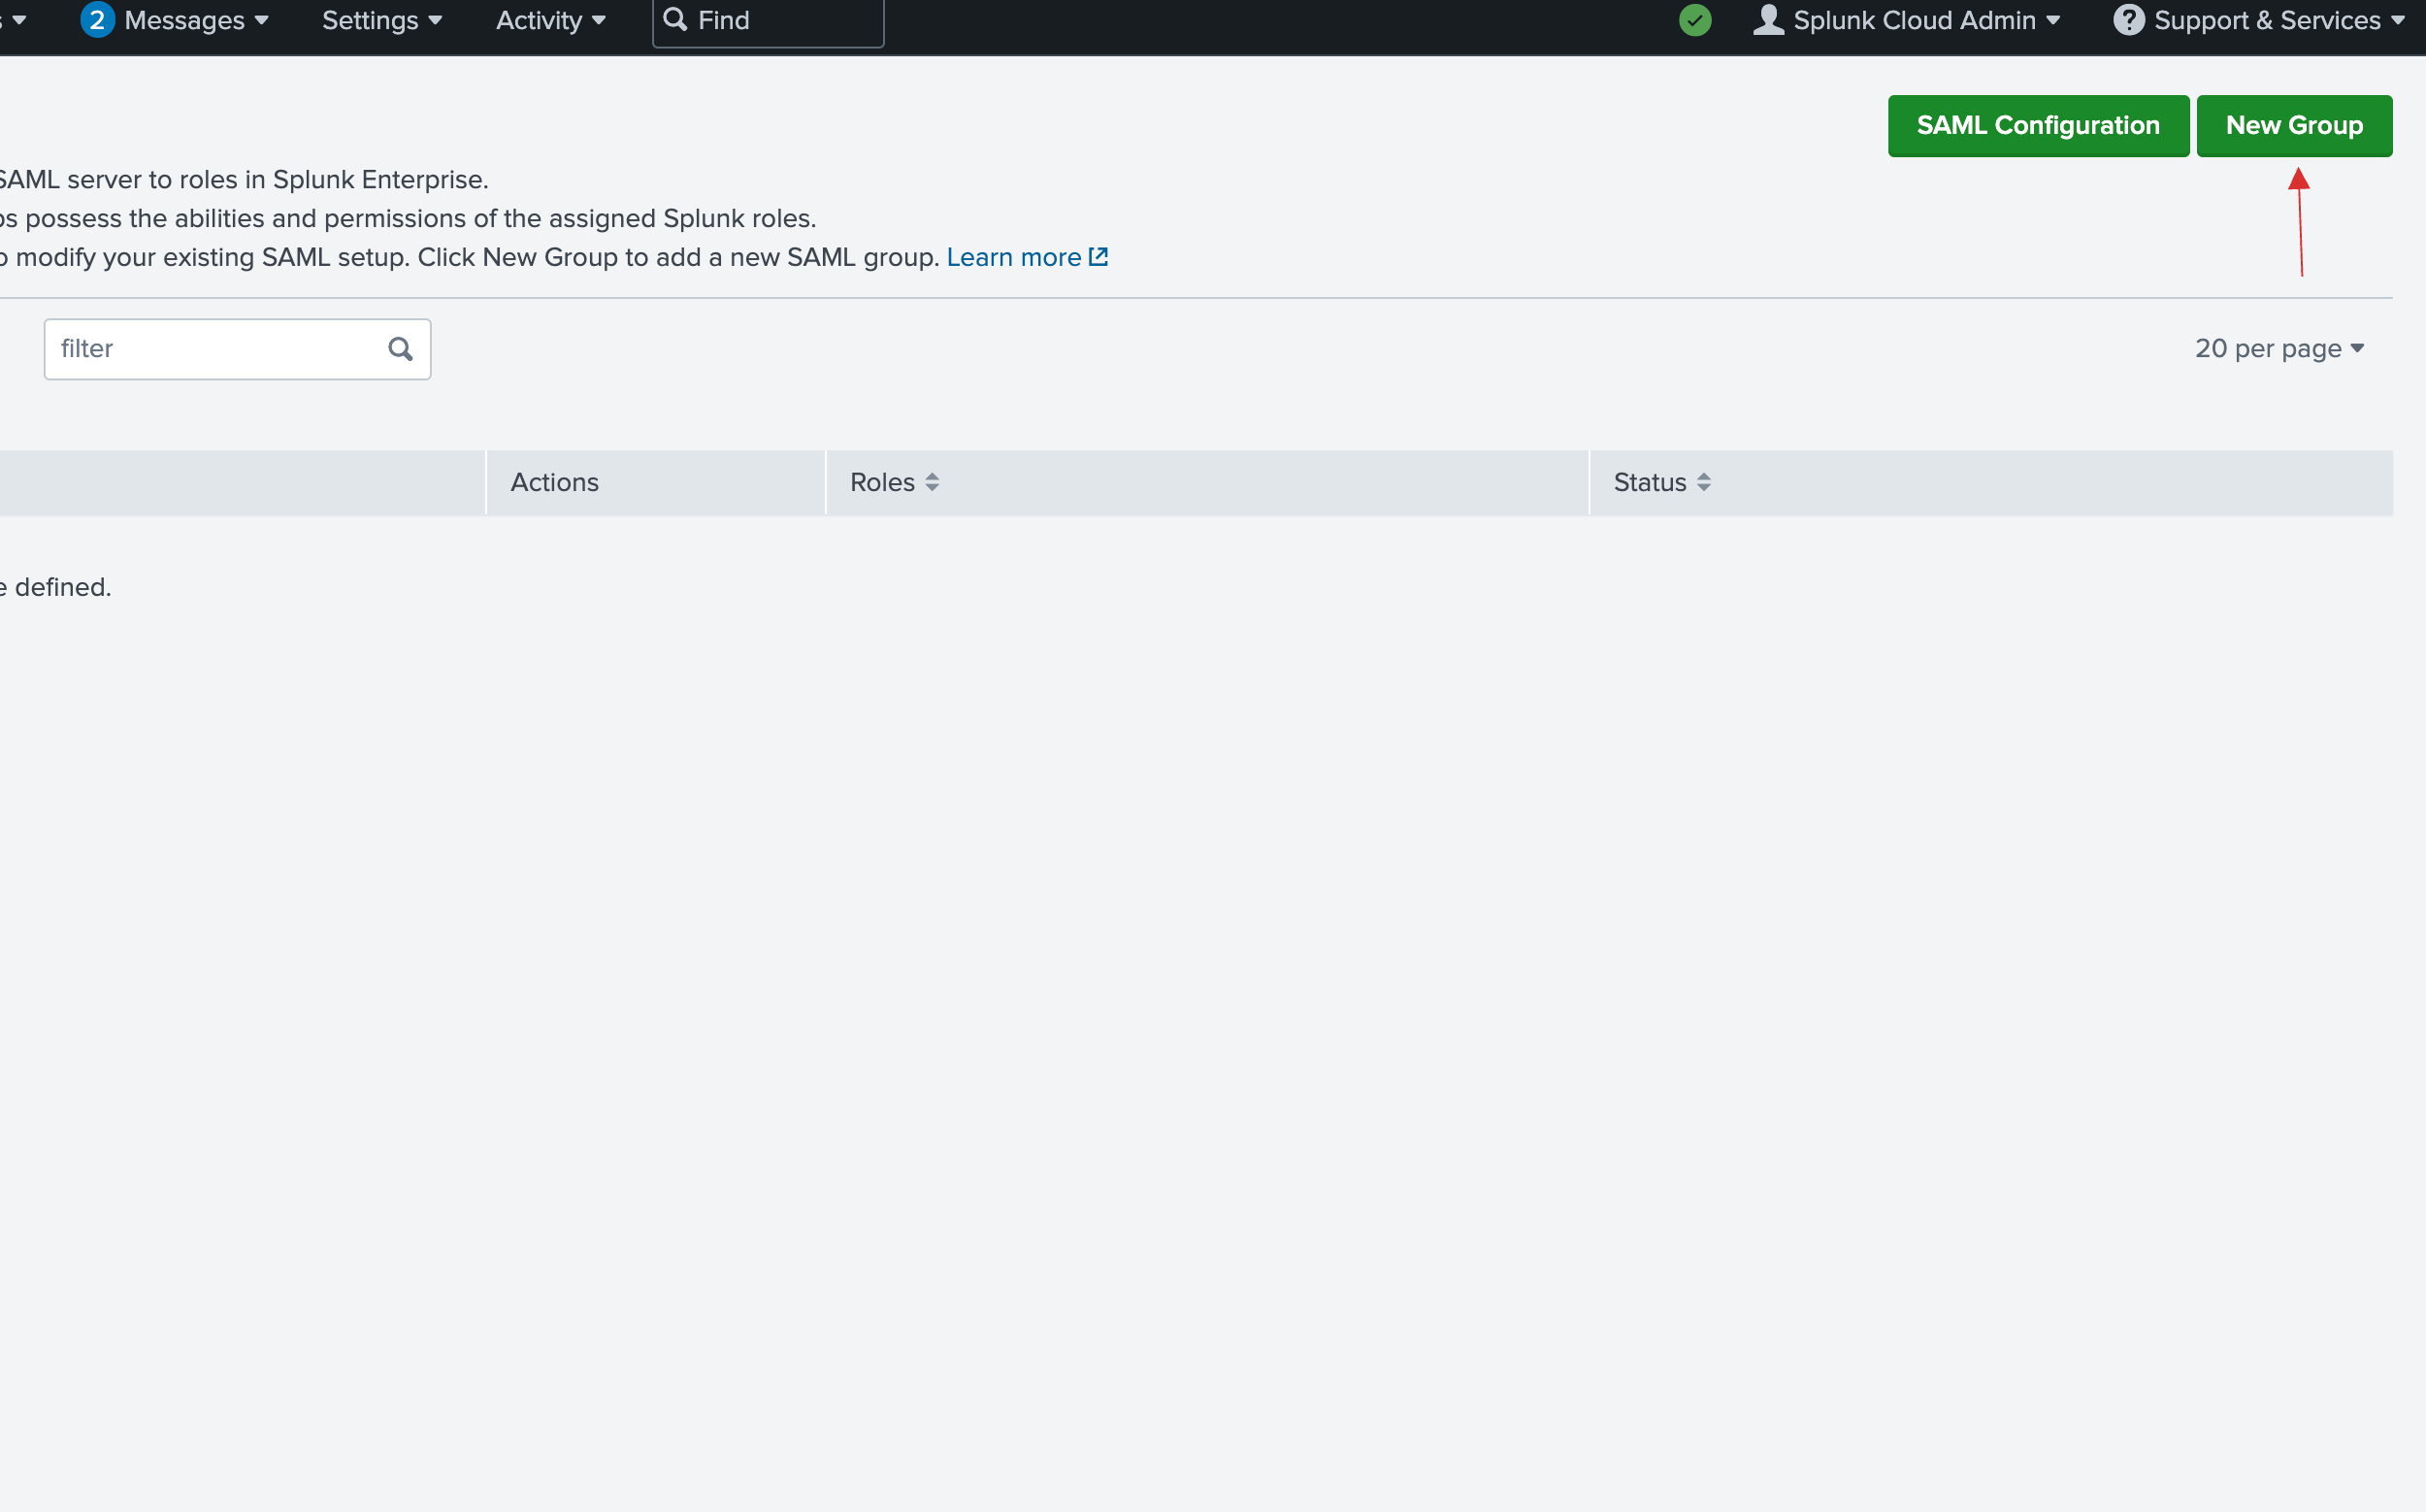
31 Click on New Group.
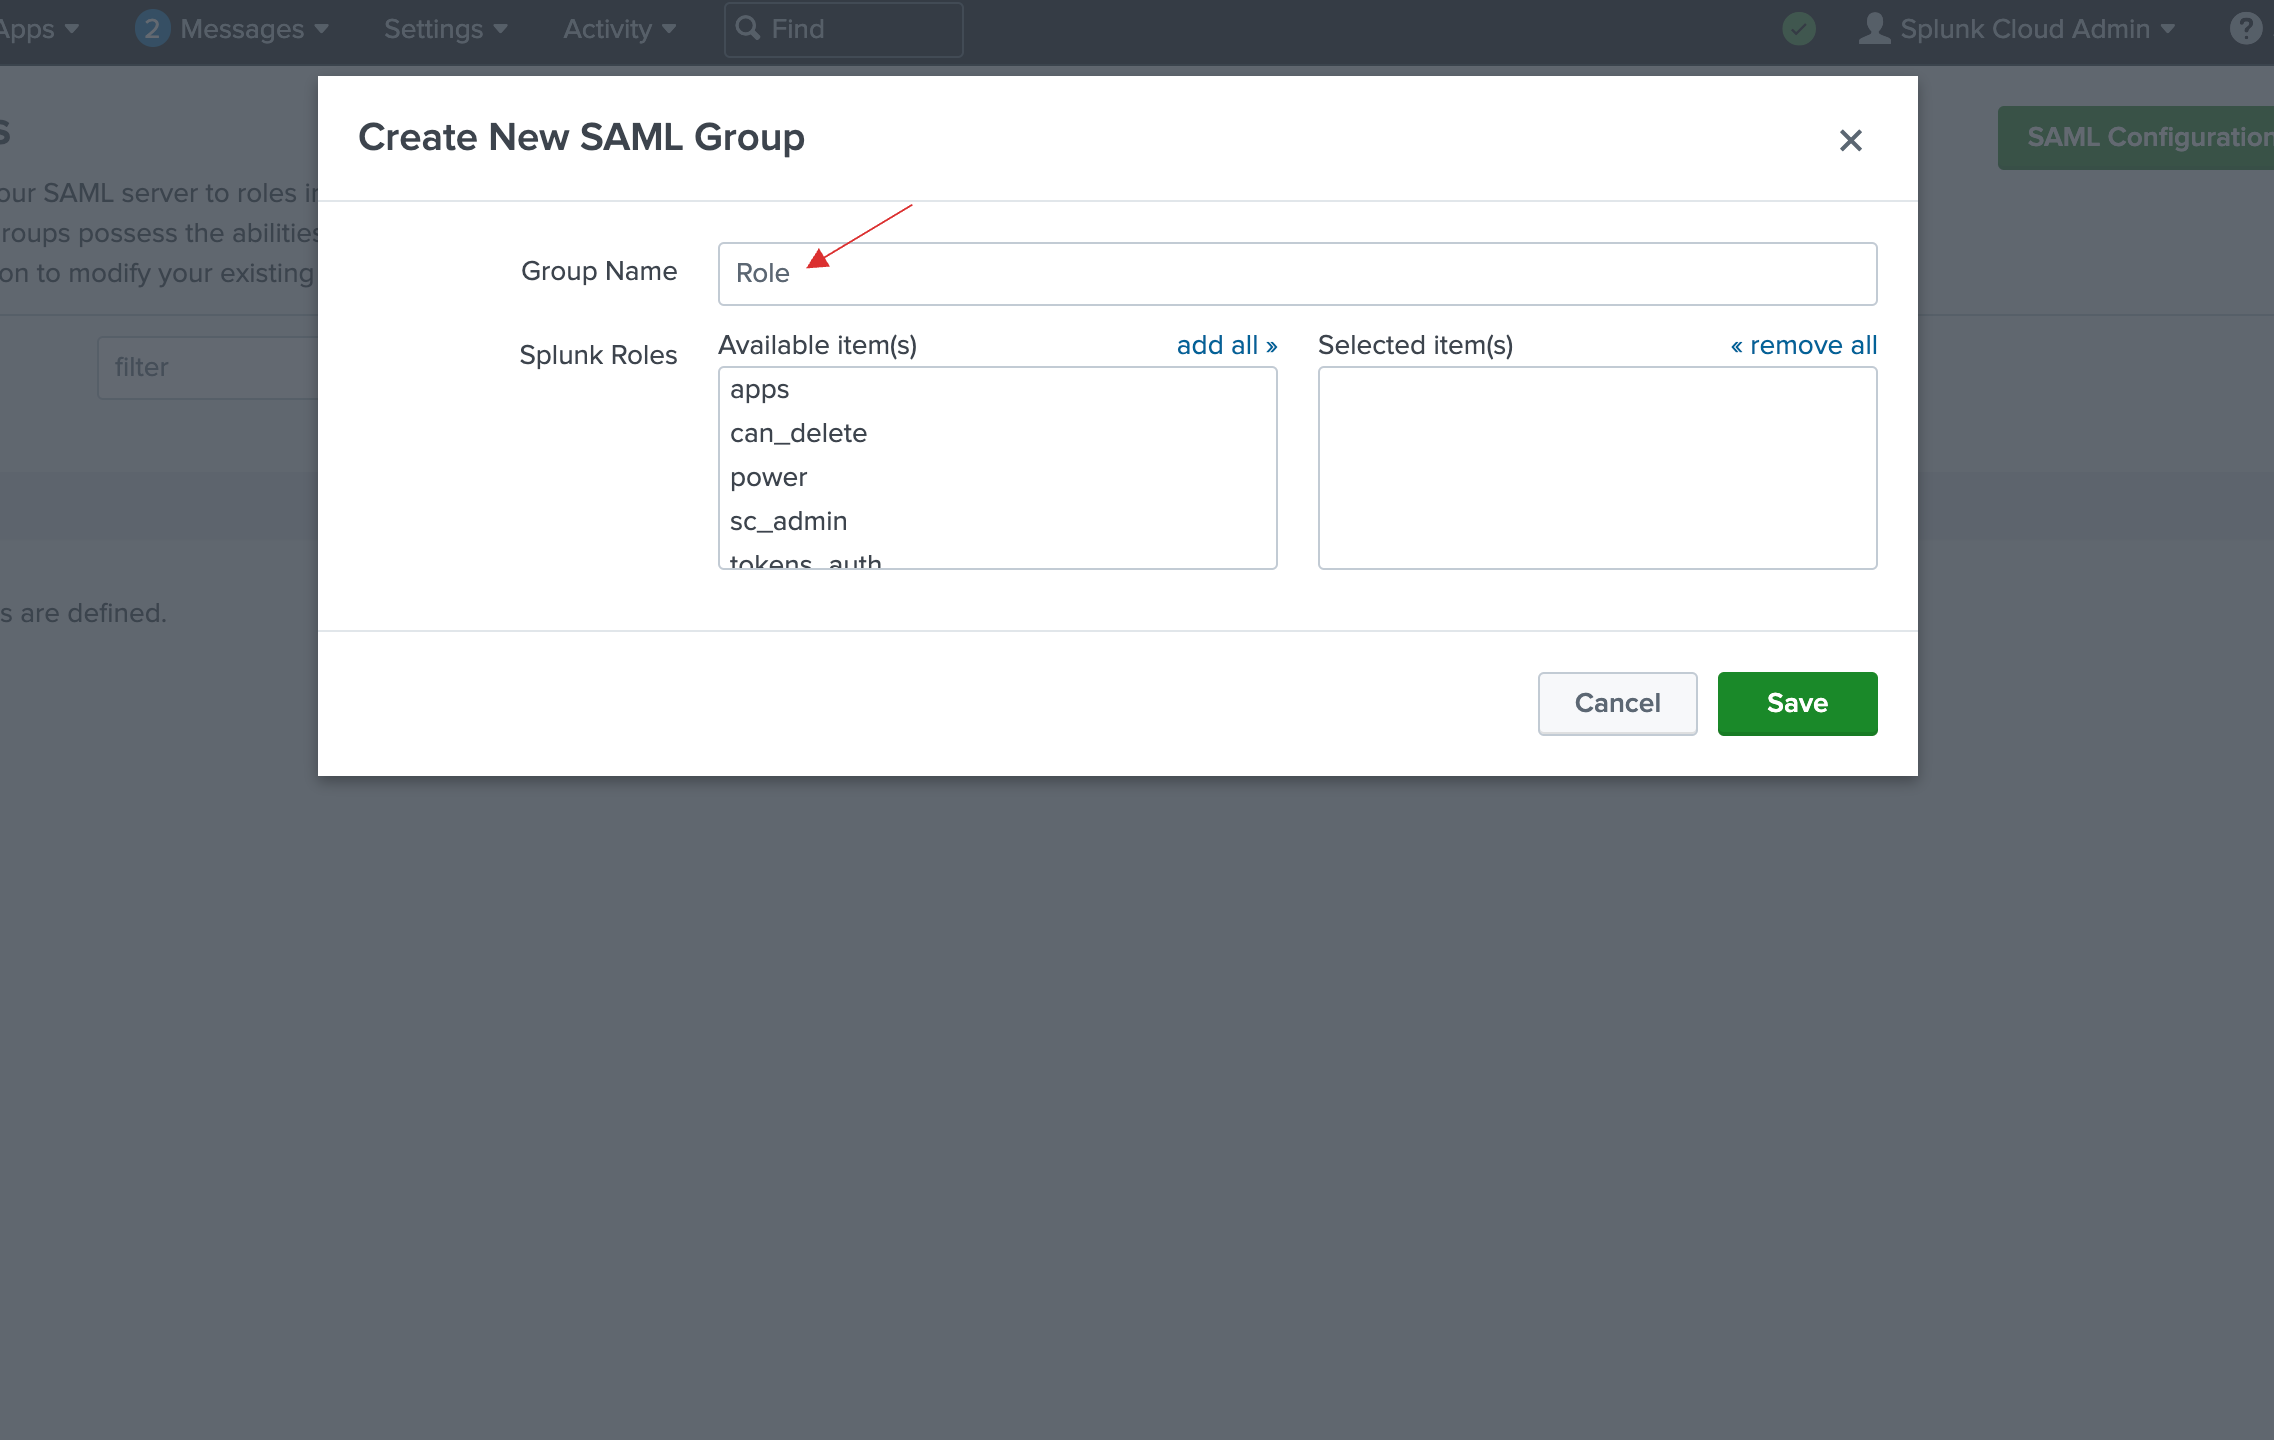
32 Provide Group Name.
The Group Name should be the same name as the role-list mapper created in your dashboard. i.e, Role.
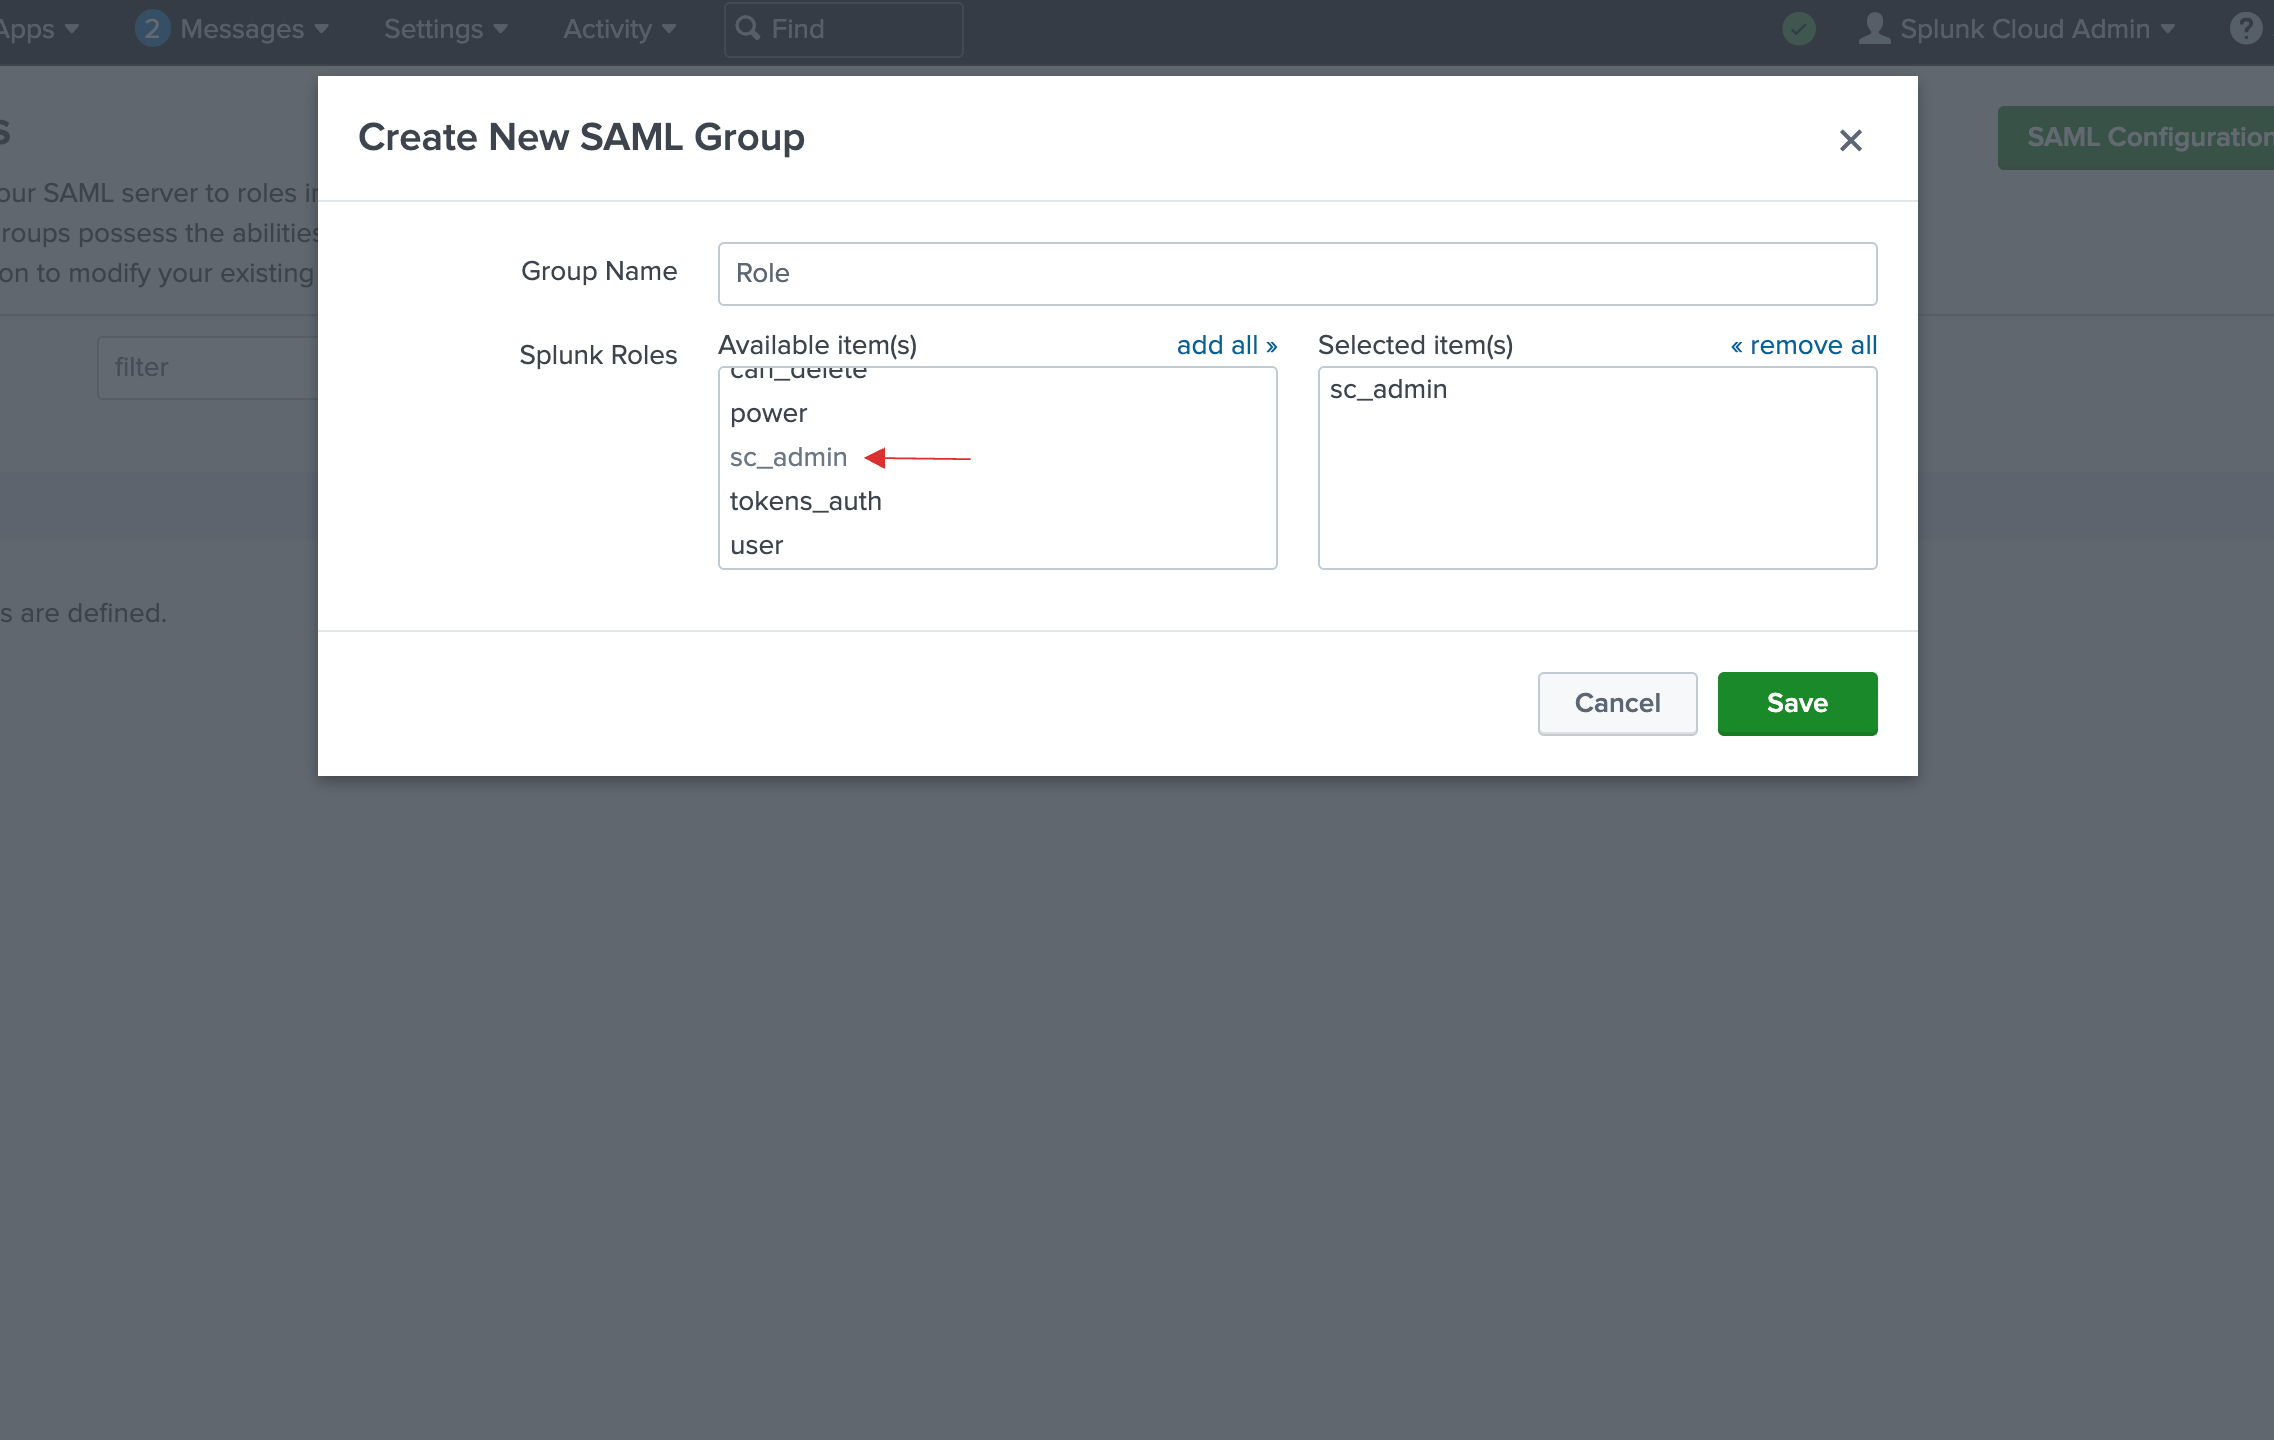
33 For Splunk Roles, select sc_admin from the drop-down. Click on Save.
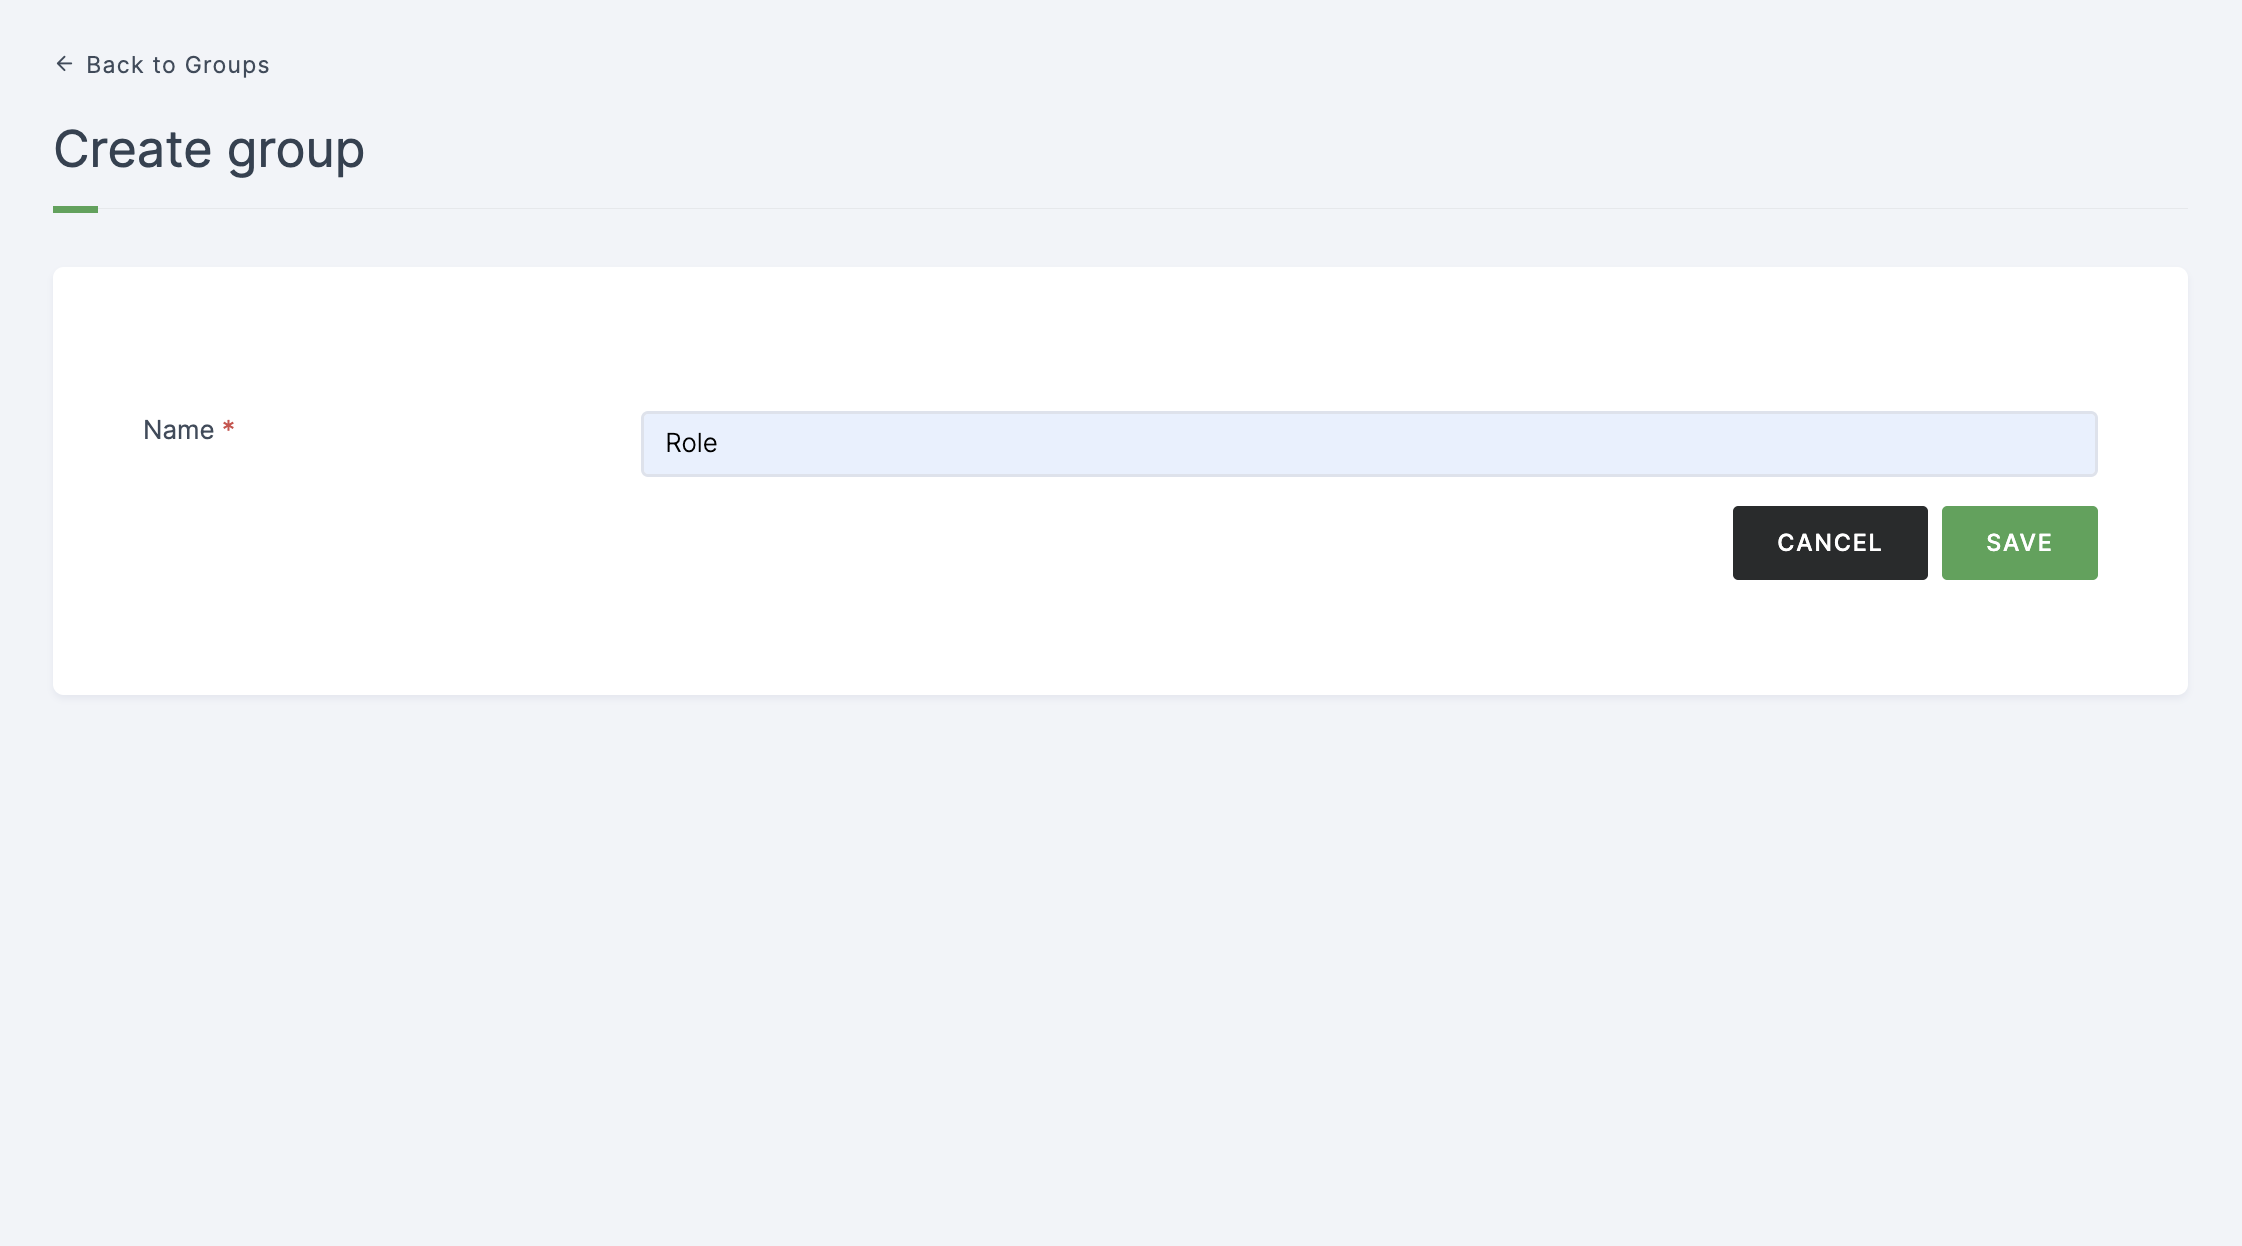
34 Return to your dashboard, User Management > User Groups > Click on CREATE GROUP.
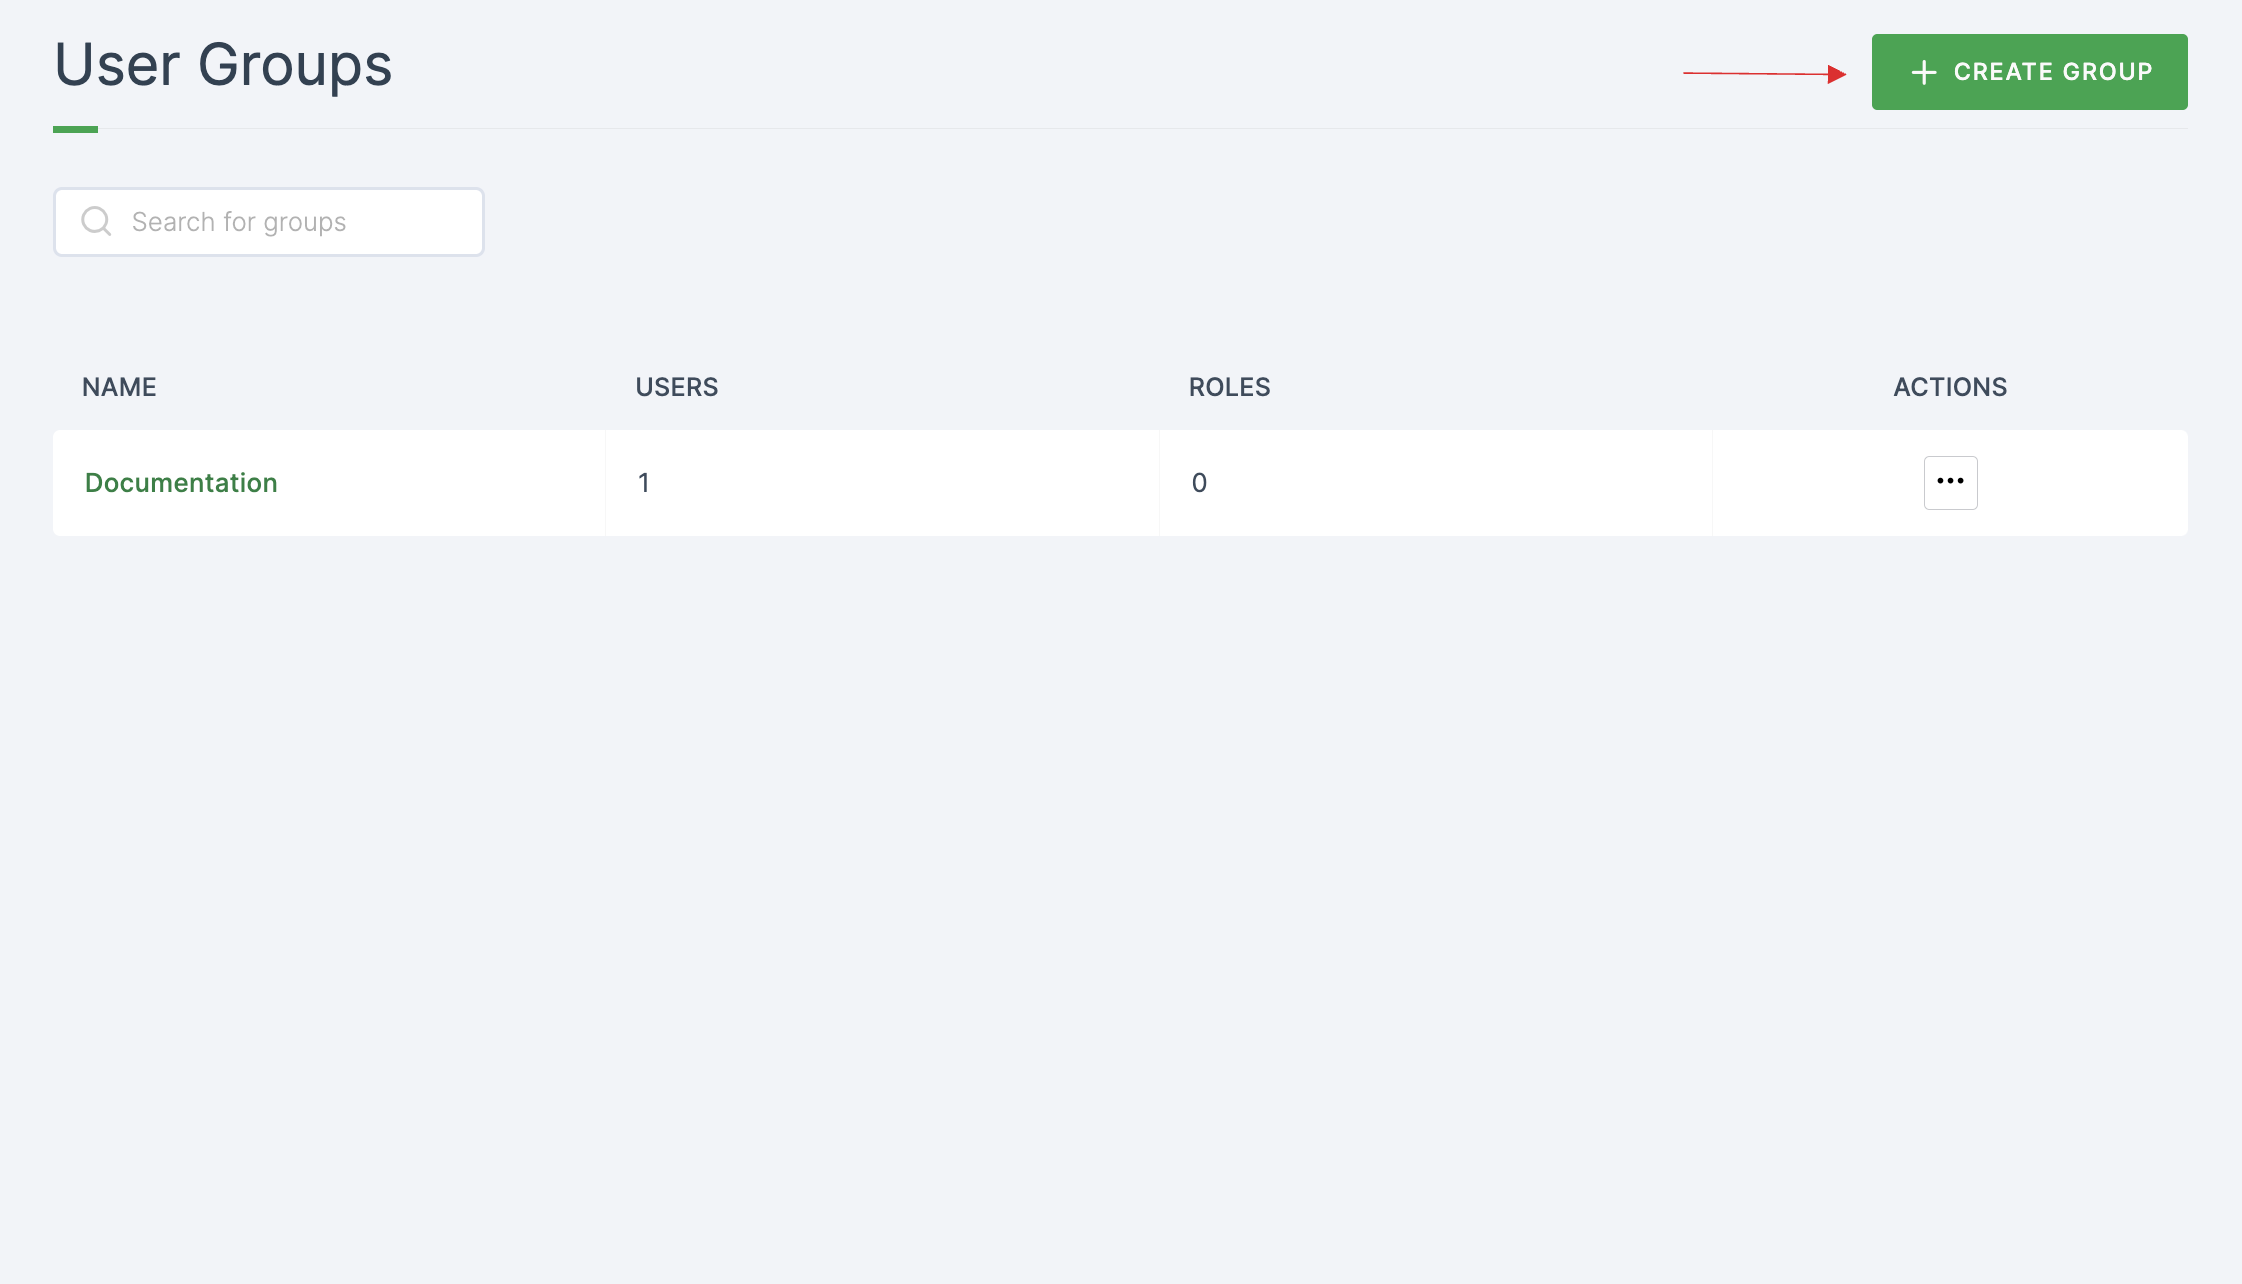
35 Provide the same name that was given for the role-list mapper name attribute, i.e: Role. Click on SAVE.
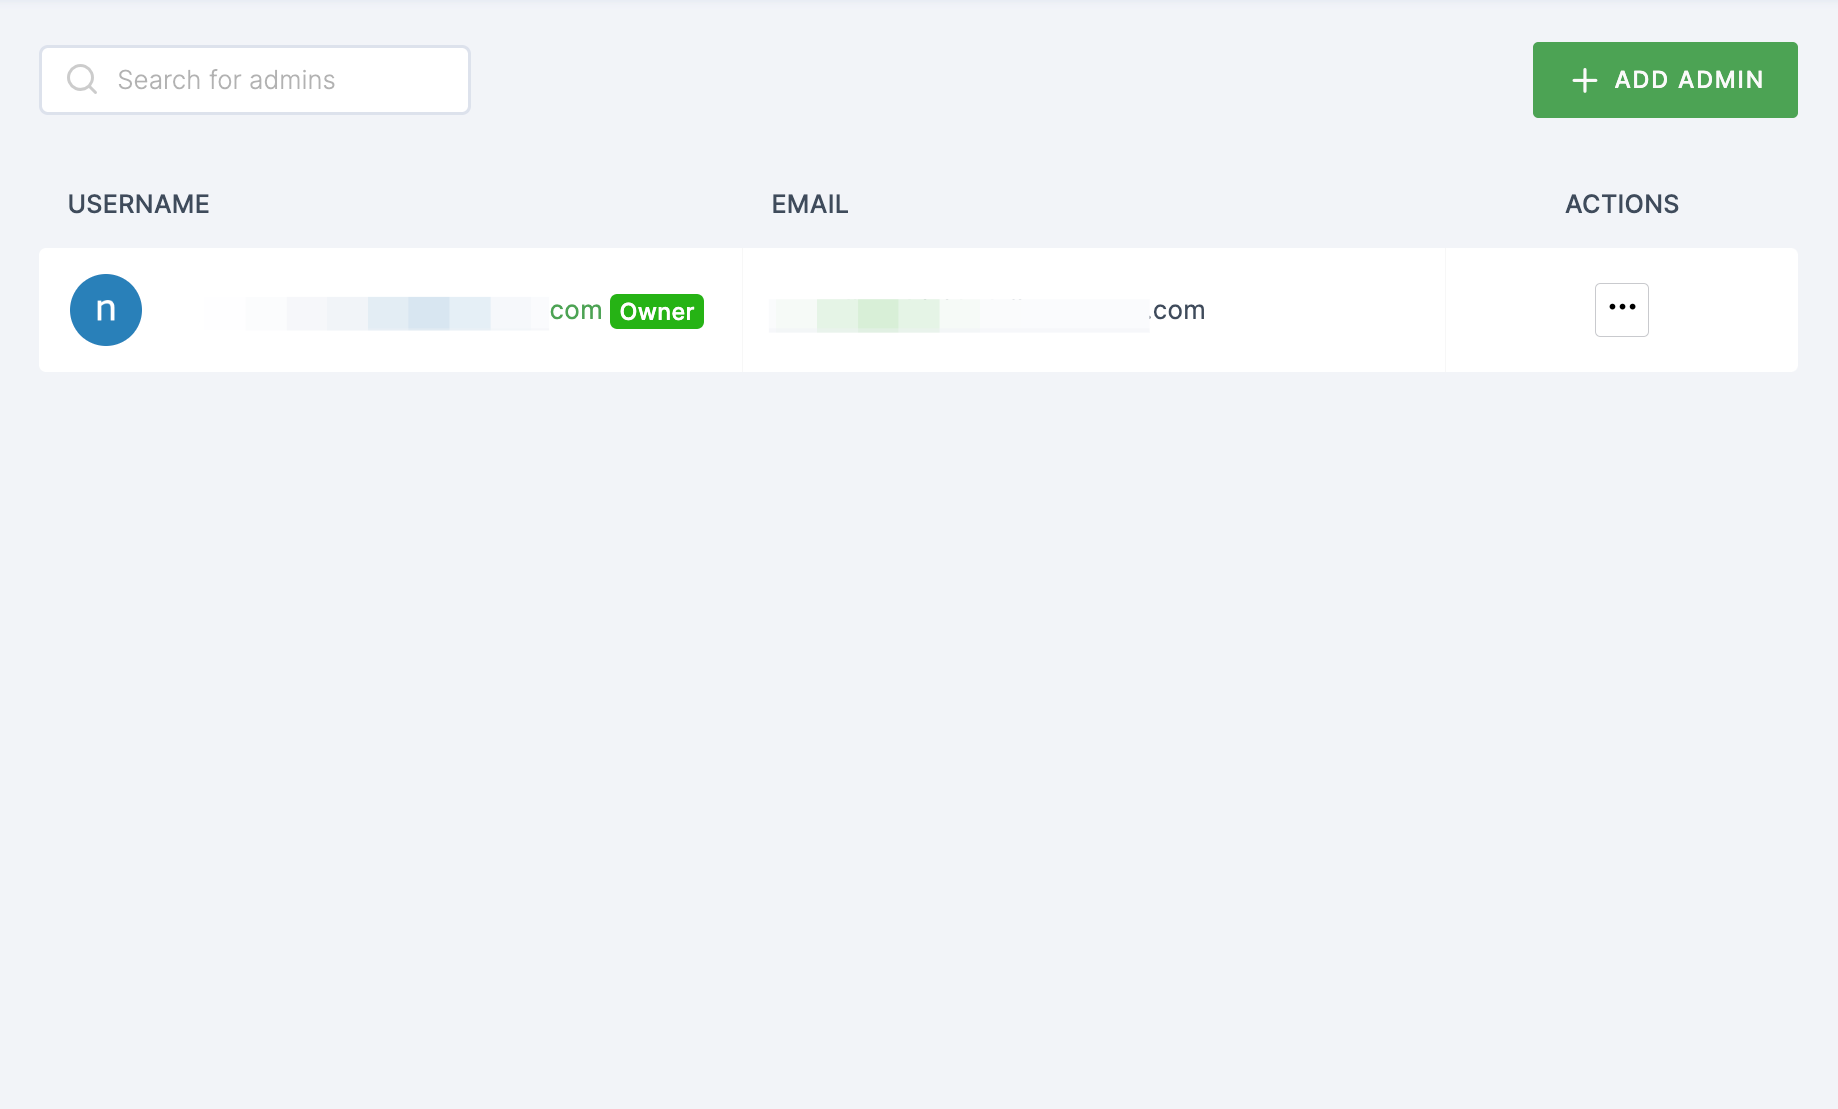
36 Assign a user with Splunk role. To do so, navigate to Users or Workspace Admins, click on the user you want to assign the role.
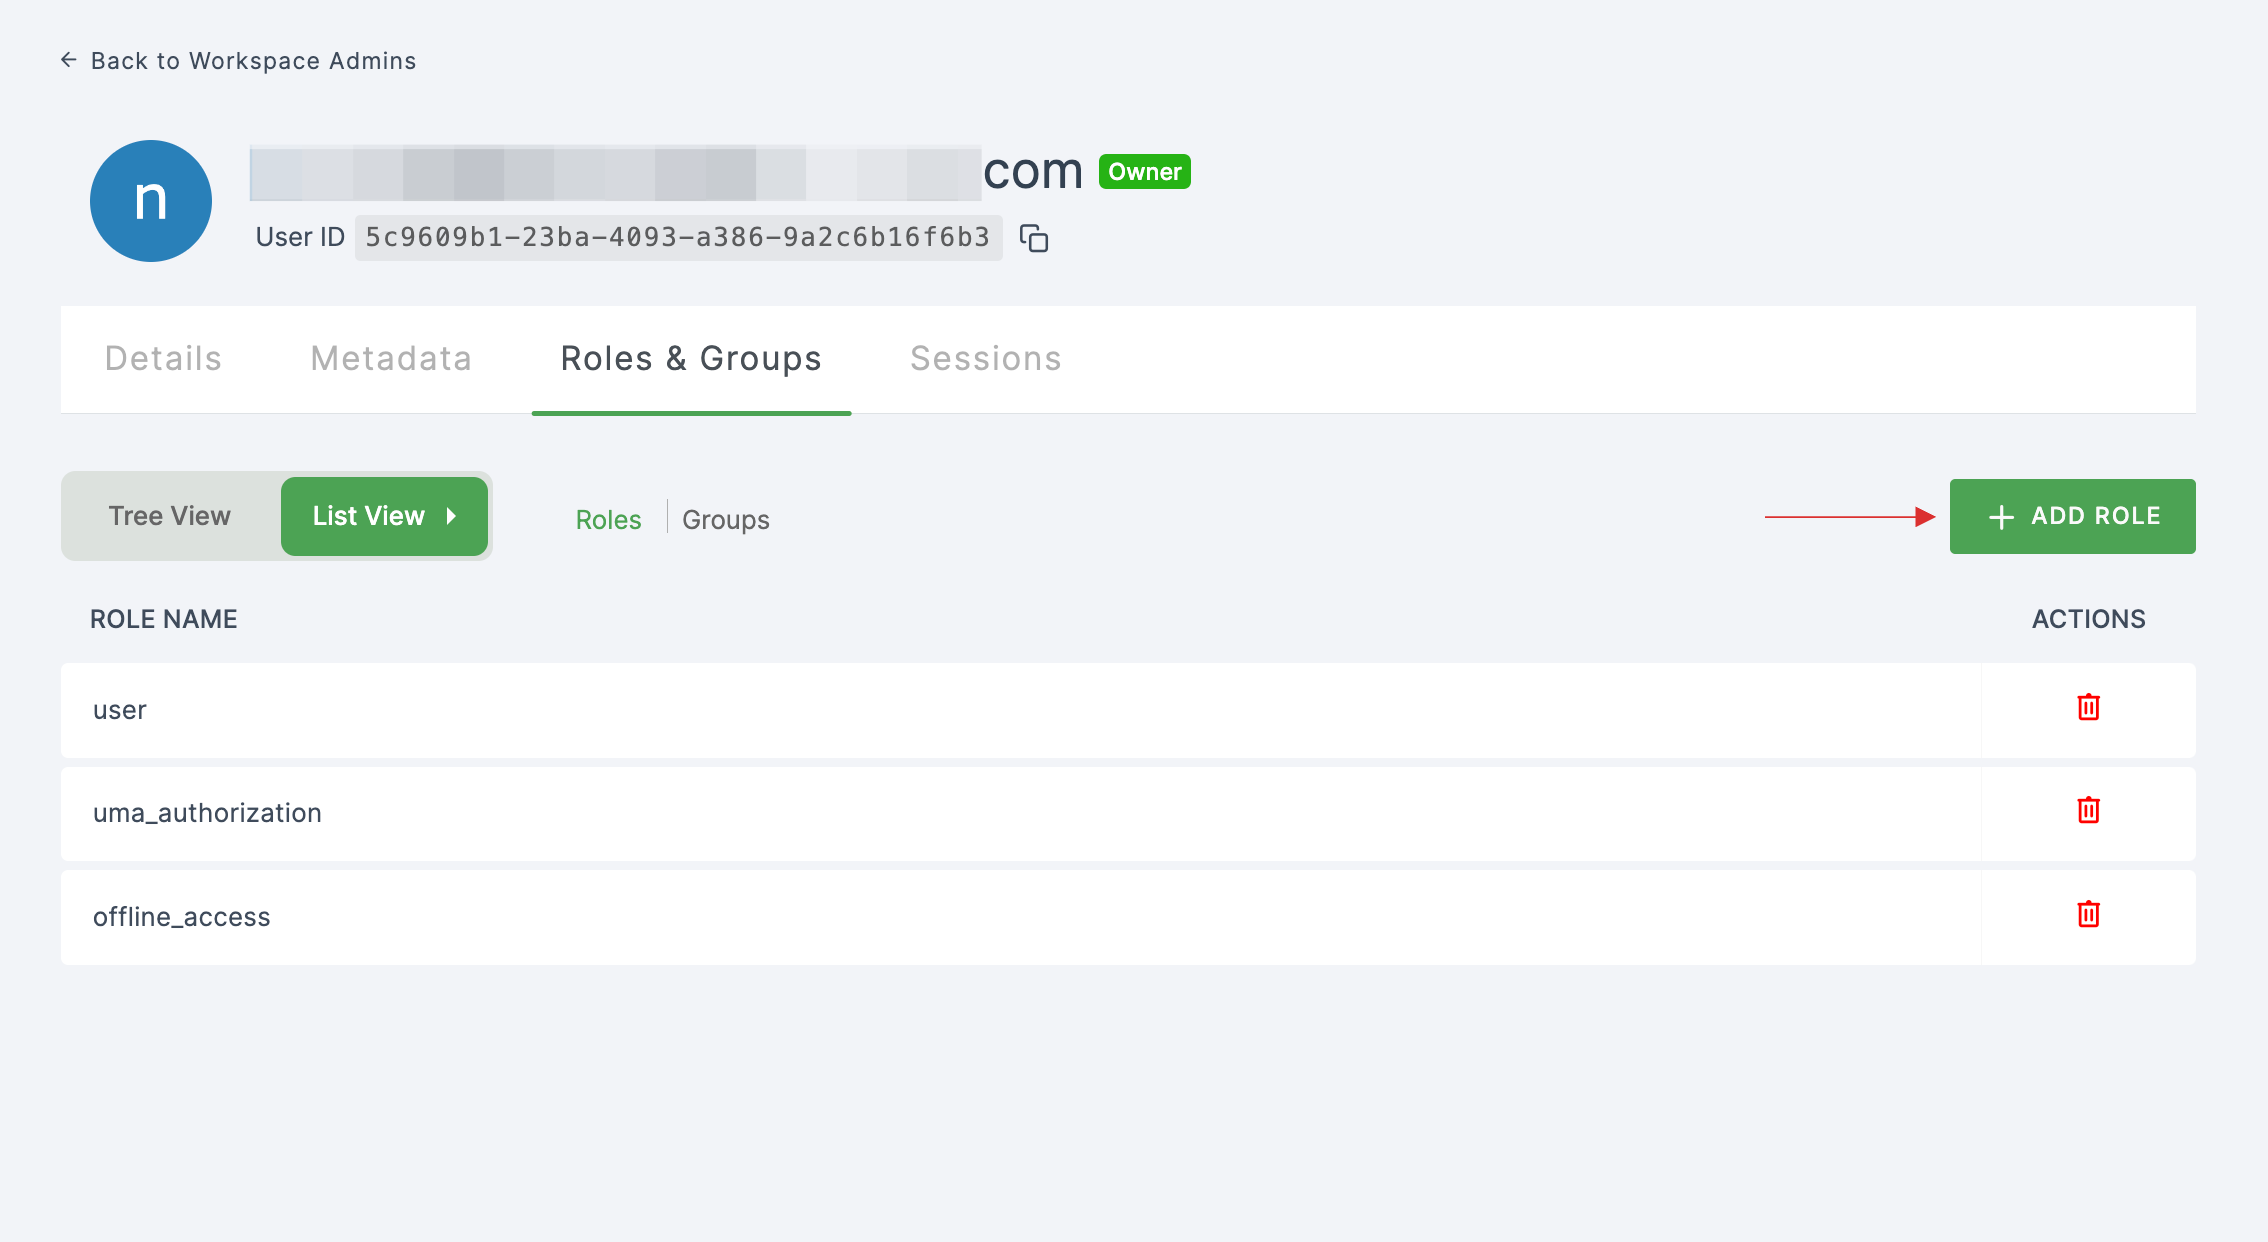
37 You will be taken to the user's Details tab, click on Roles & Groups.
38 Select List View and click on + ADD ROLE.
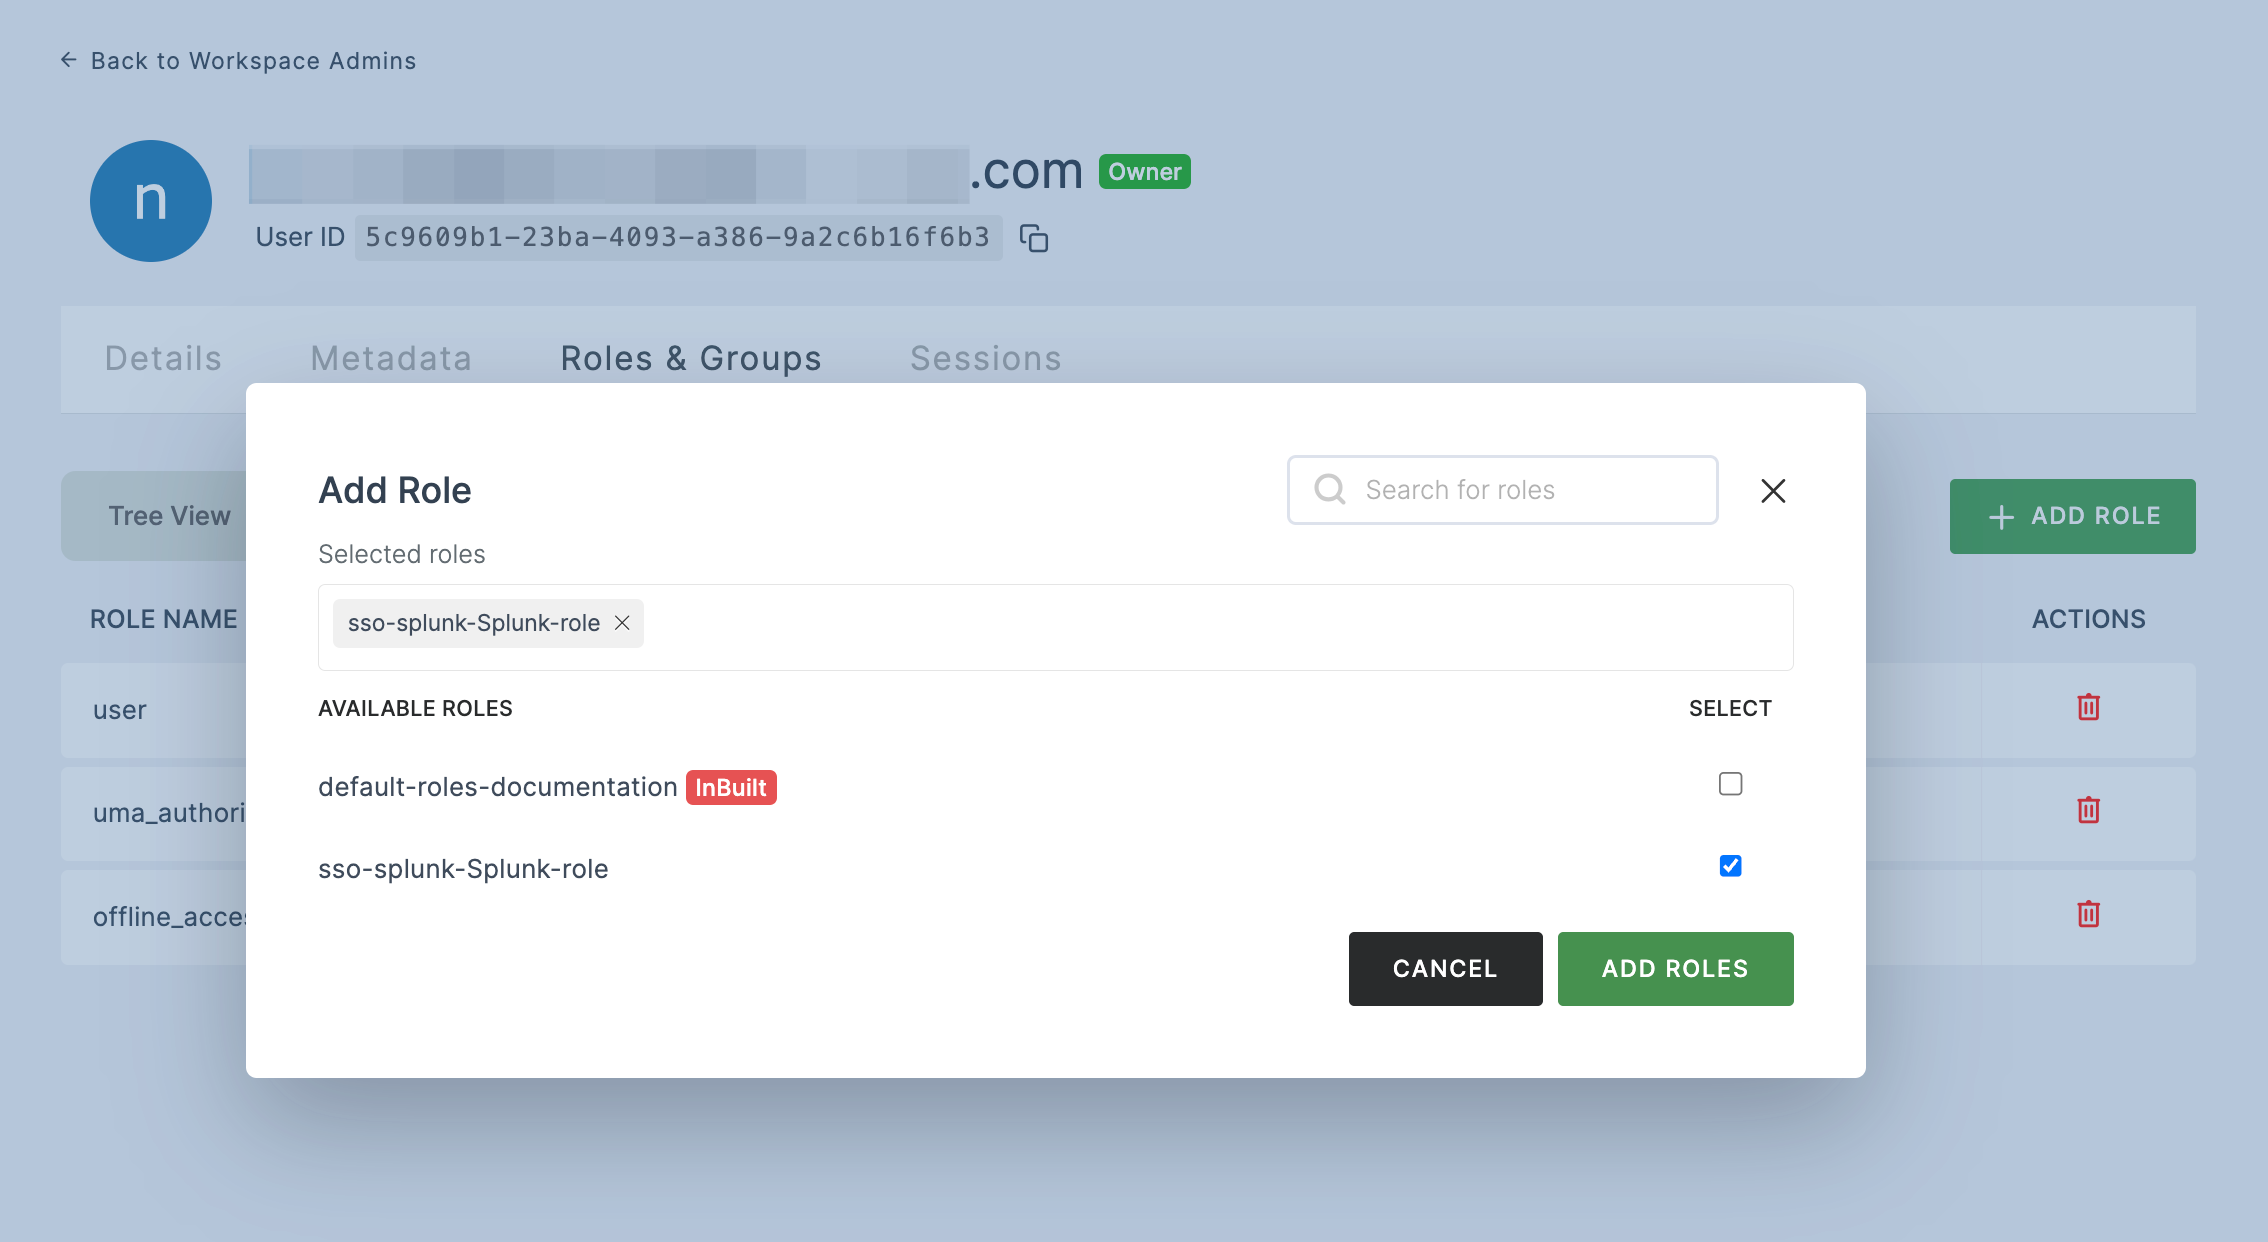
39 The available roles will appear; select sso-splunk-Splunk-role and click on ADD ROLES.
40 To verify whether SSO has been successfully enabled, go to Applications > SSO, click on SSO DASHBOARD button.
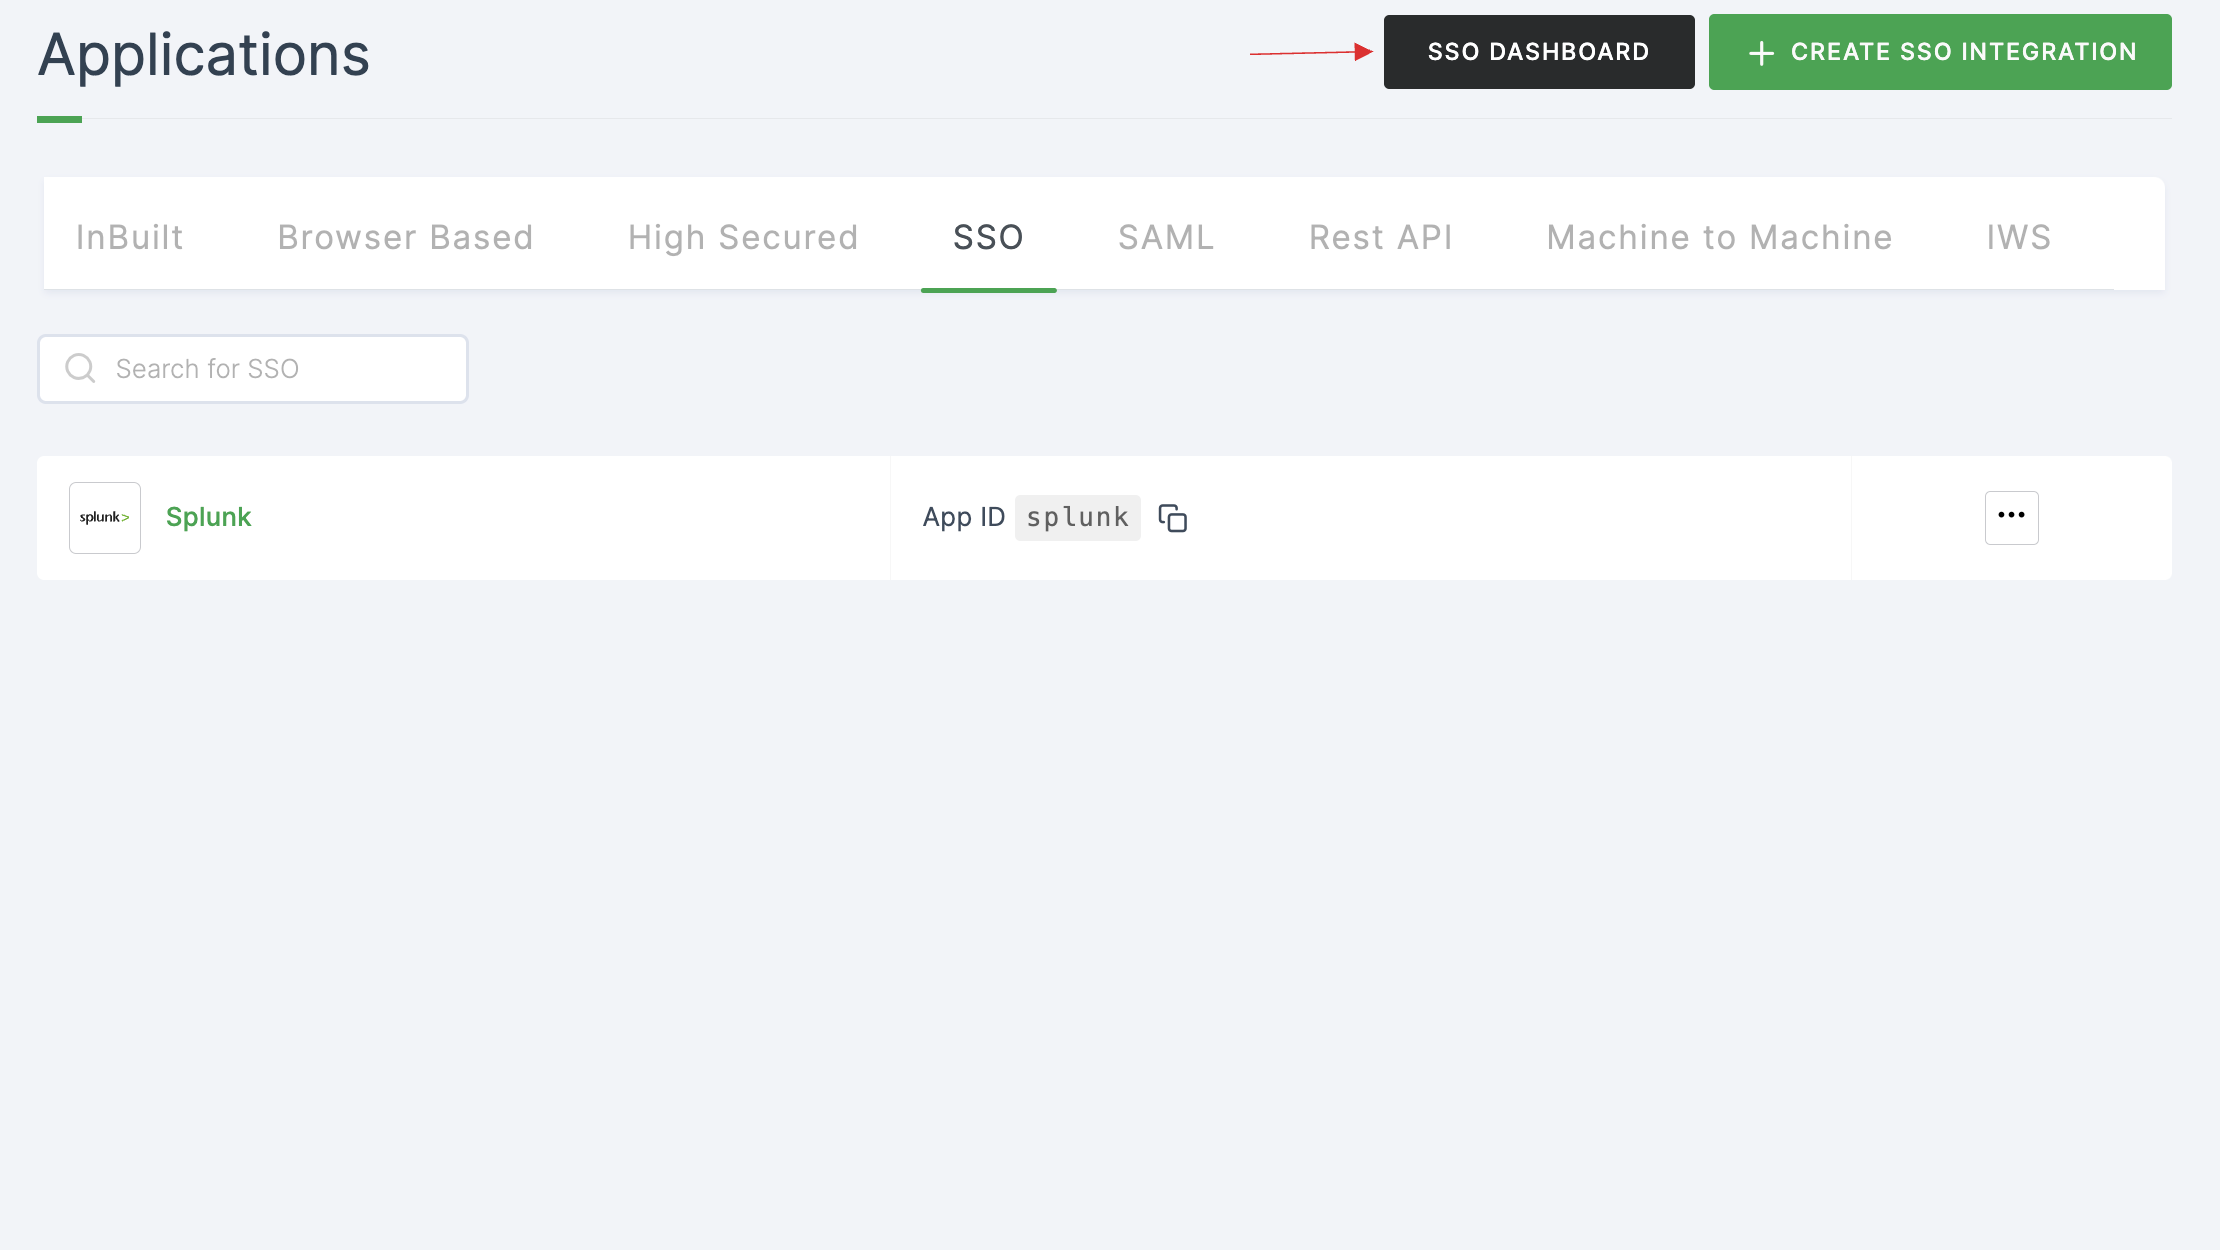
41 The Splunk SSO will be enabled successfully.