Splashtop
Splashtop is a remote desktop software and service that allows users to access and control computers from a distance.
You must have an account in Splashtop.
1 Go to Dashboard > Marketplace > SSO Integrations.
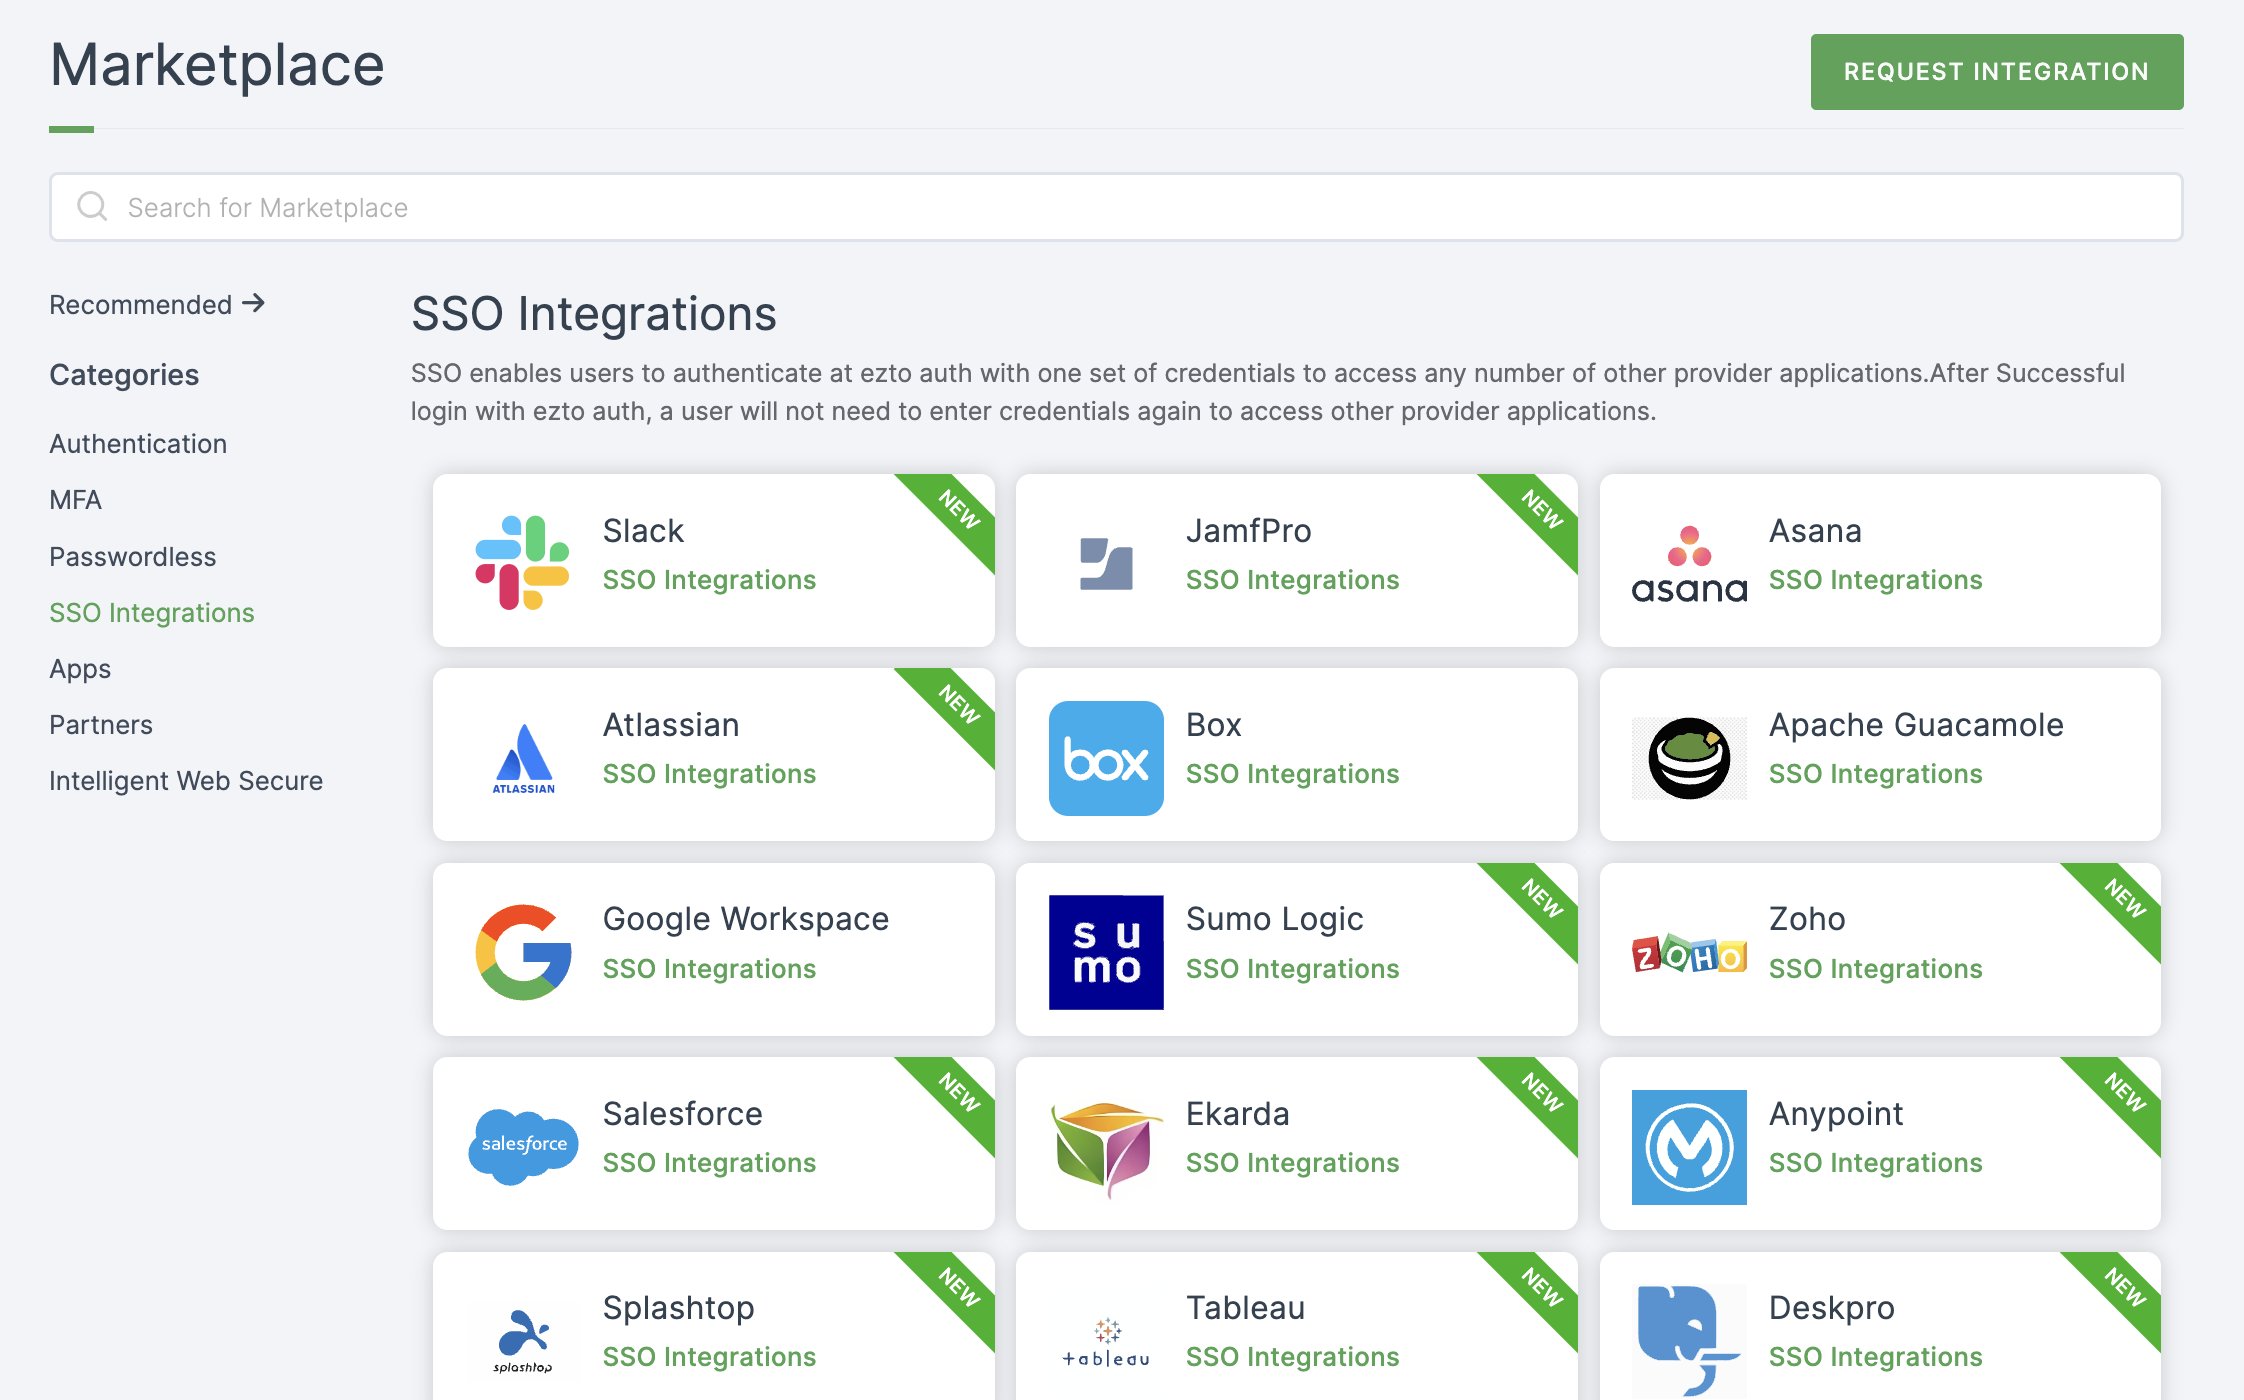
2 Select Splashtop from the list.
3 You'll land on the overview page, with an additional tab: Installation (providing a step-by-step installation guide).
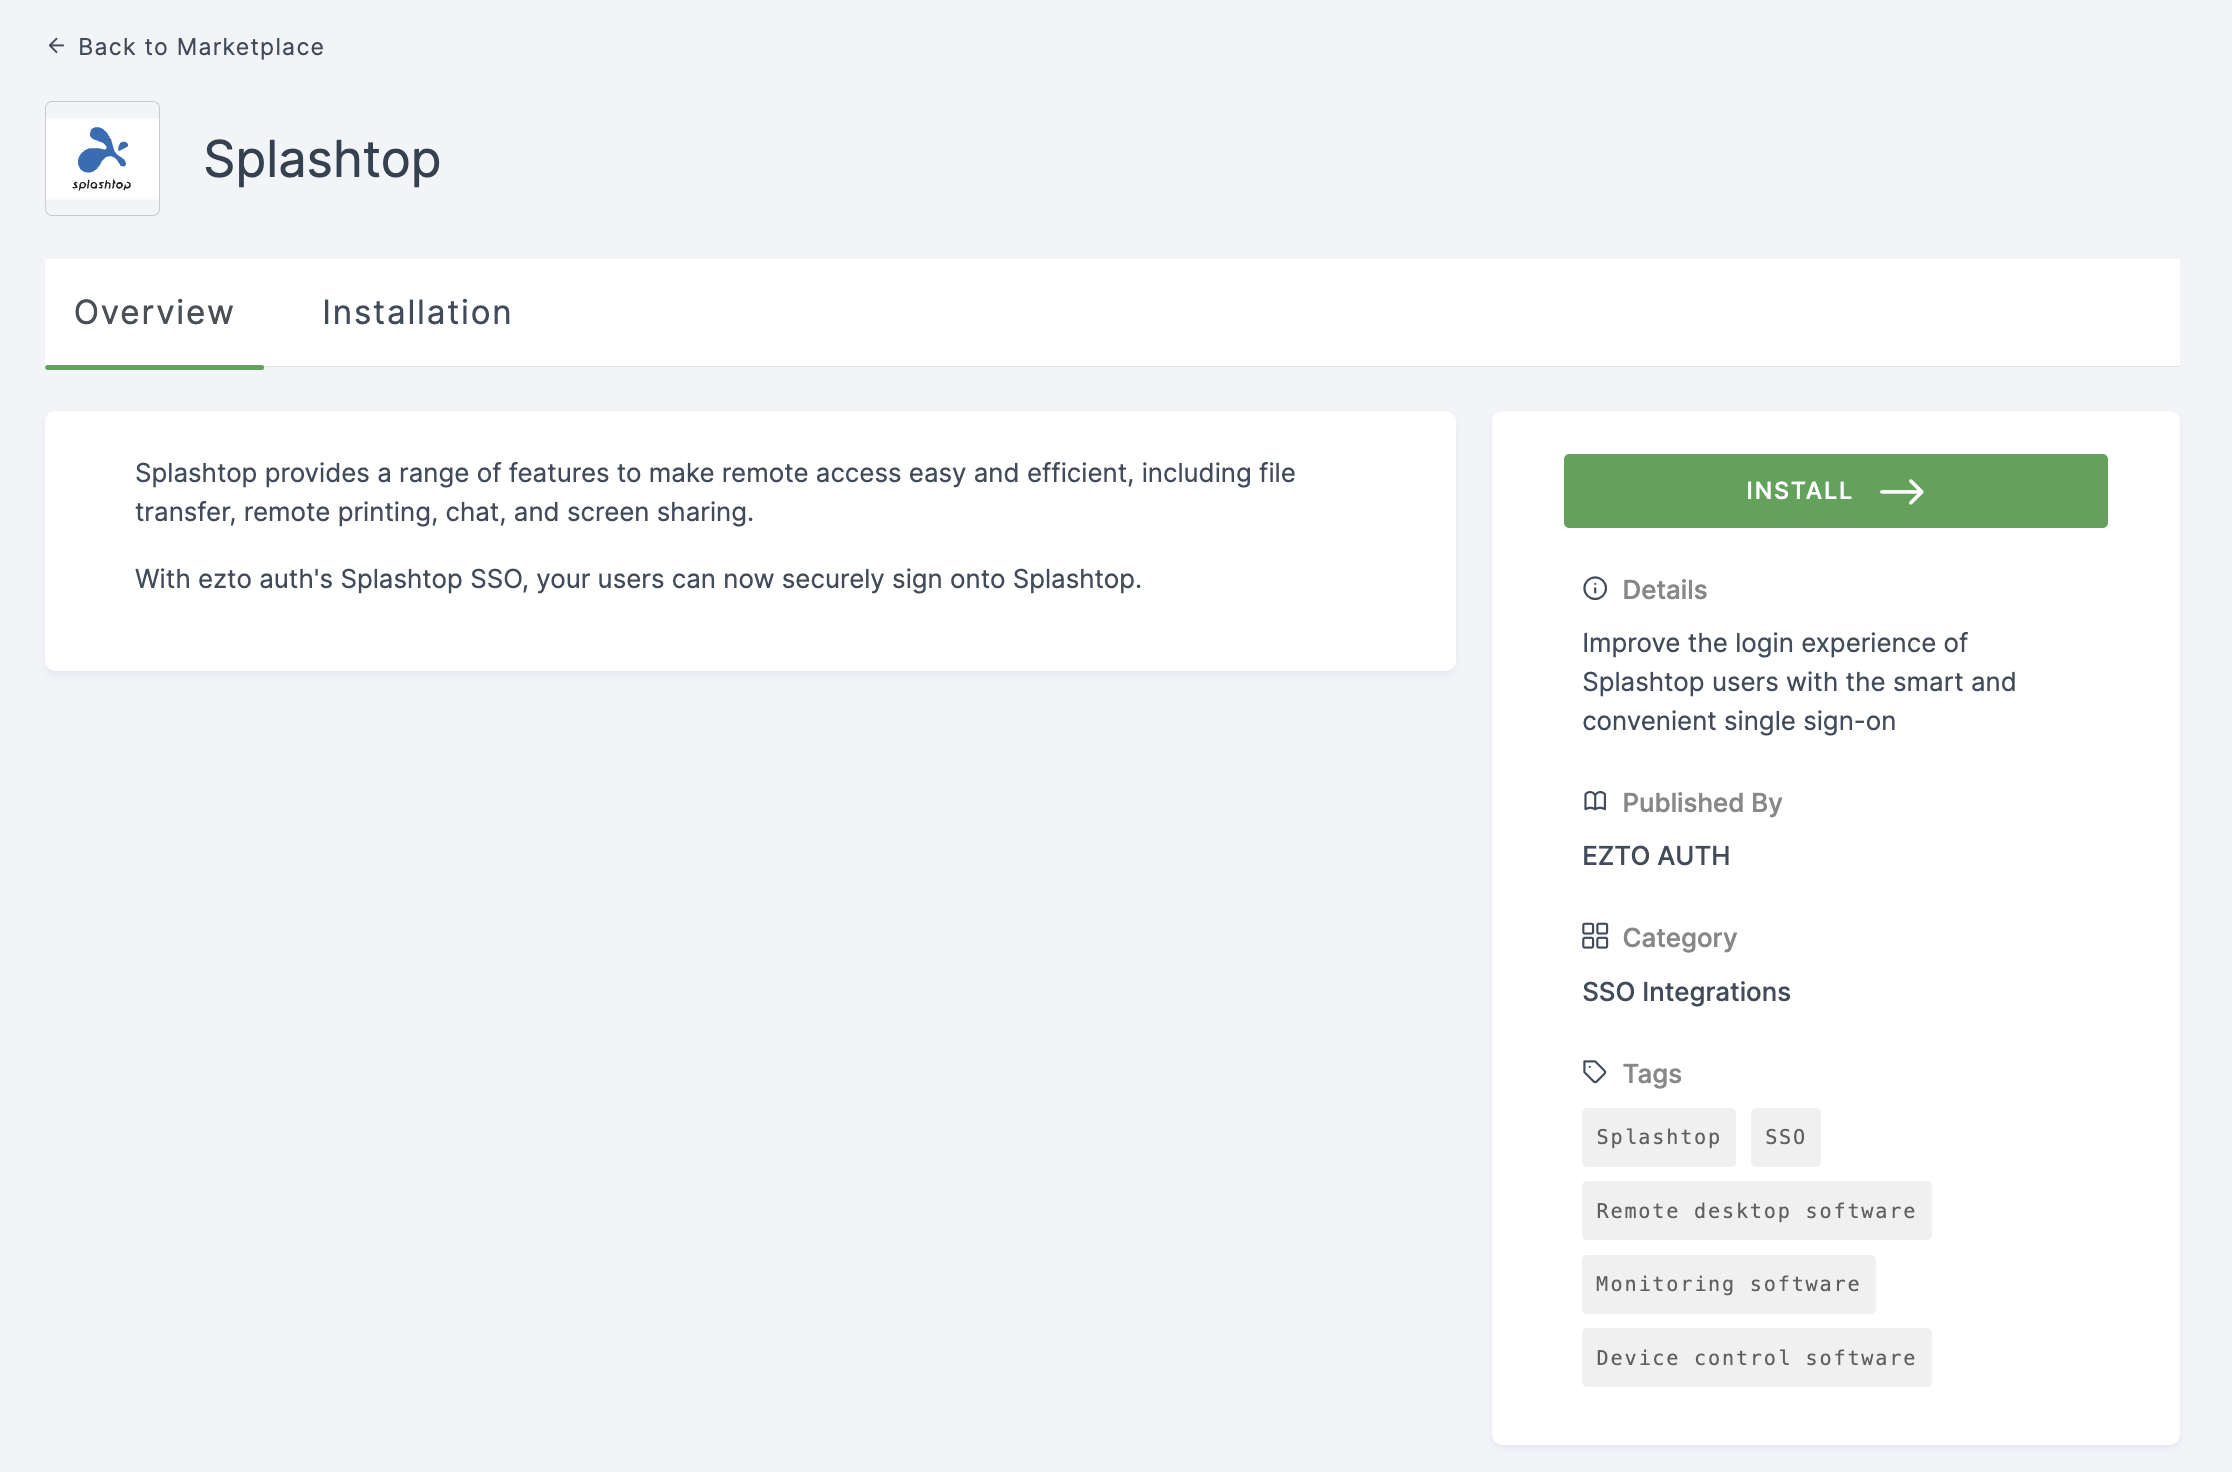
4 Click on INSTALL.
5 Provide a descriptive Name.
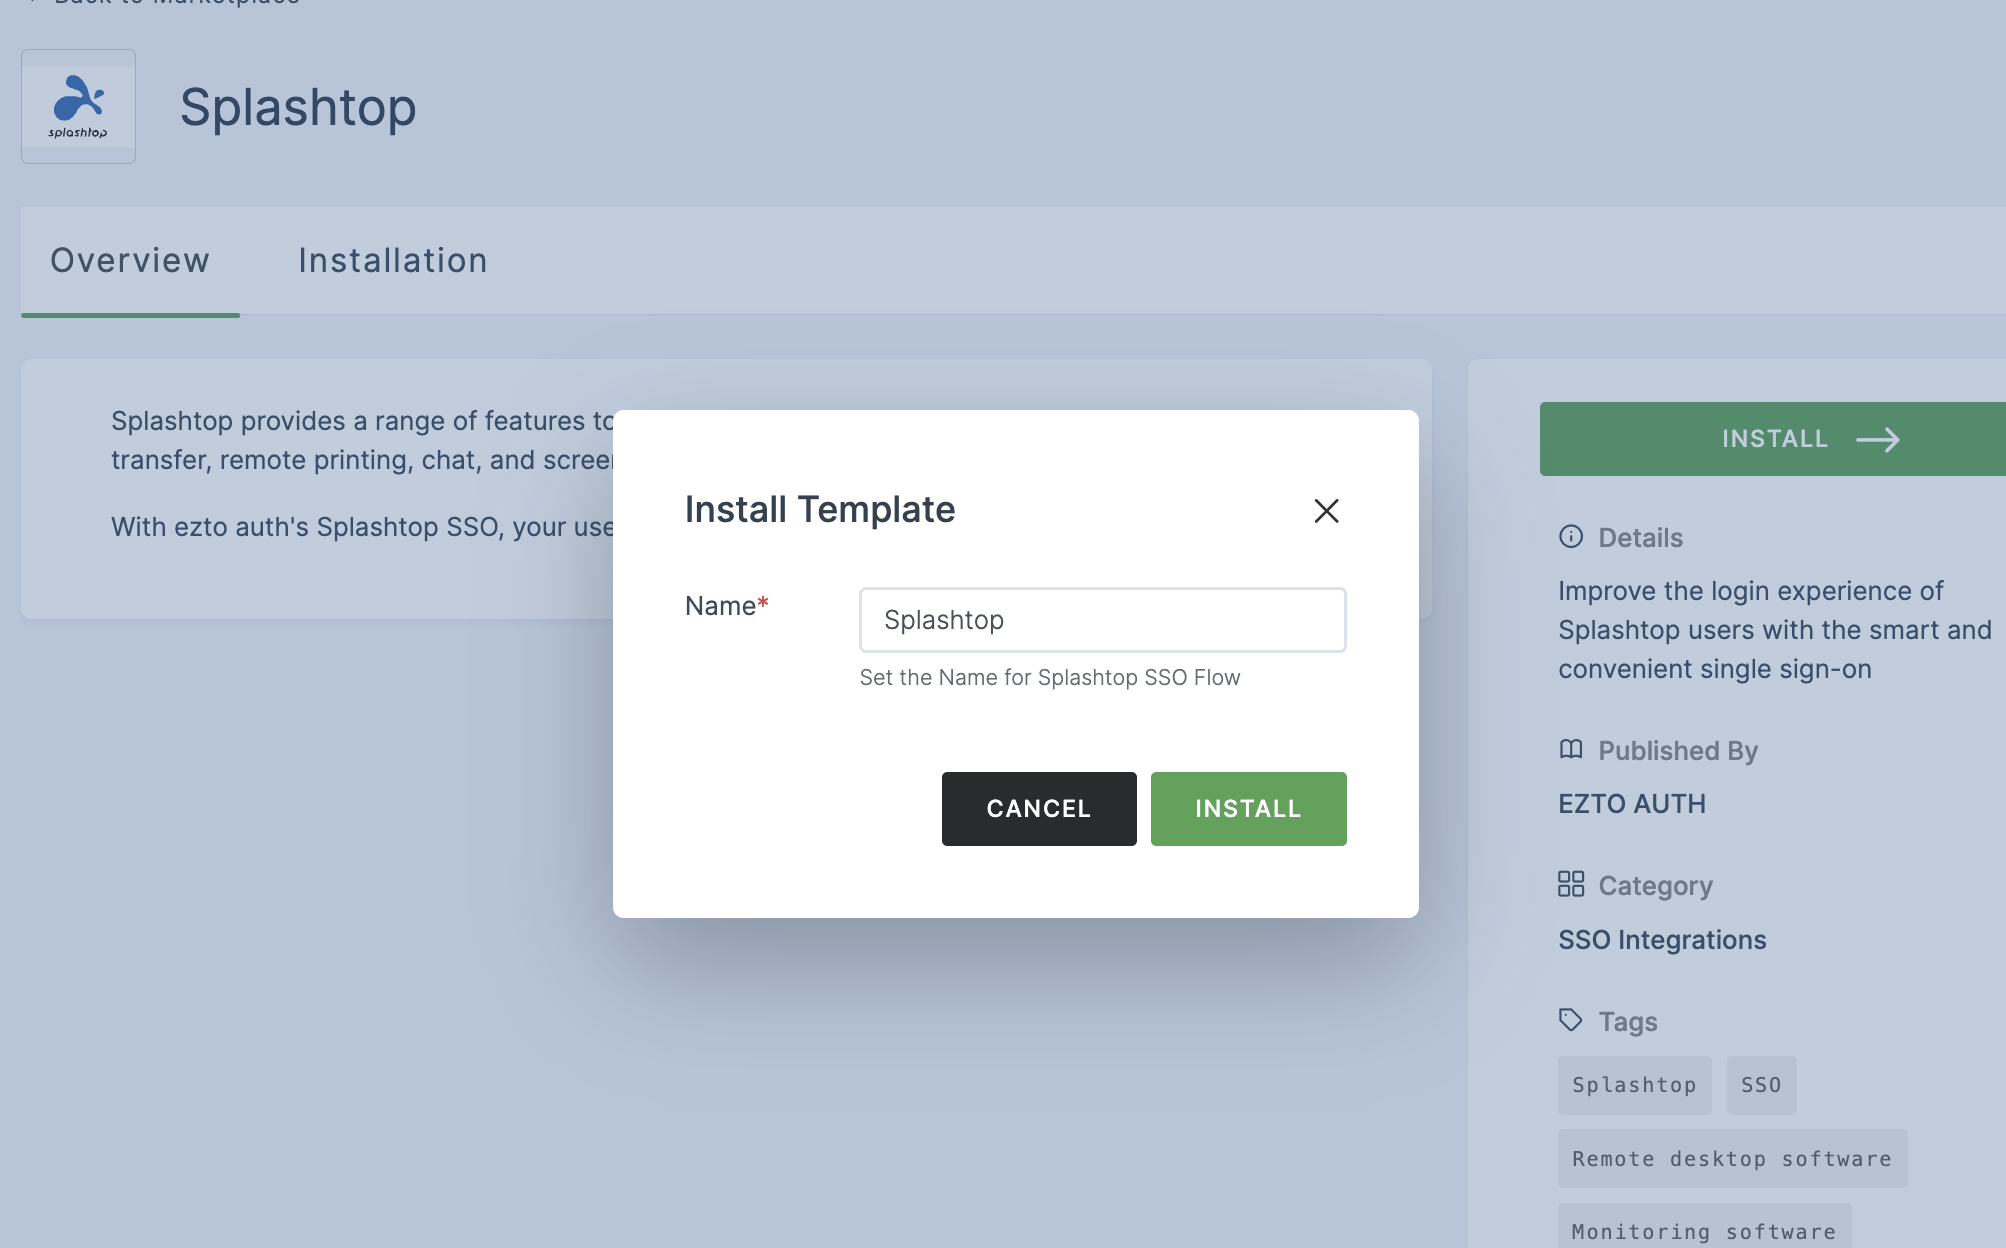
6 Click on INSTALL.
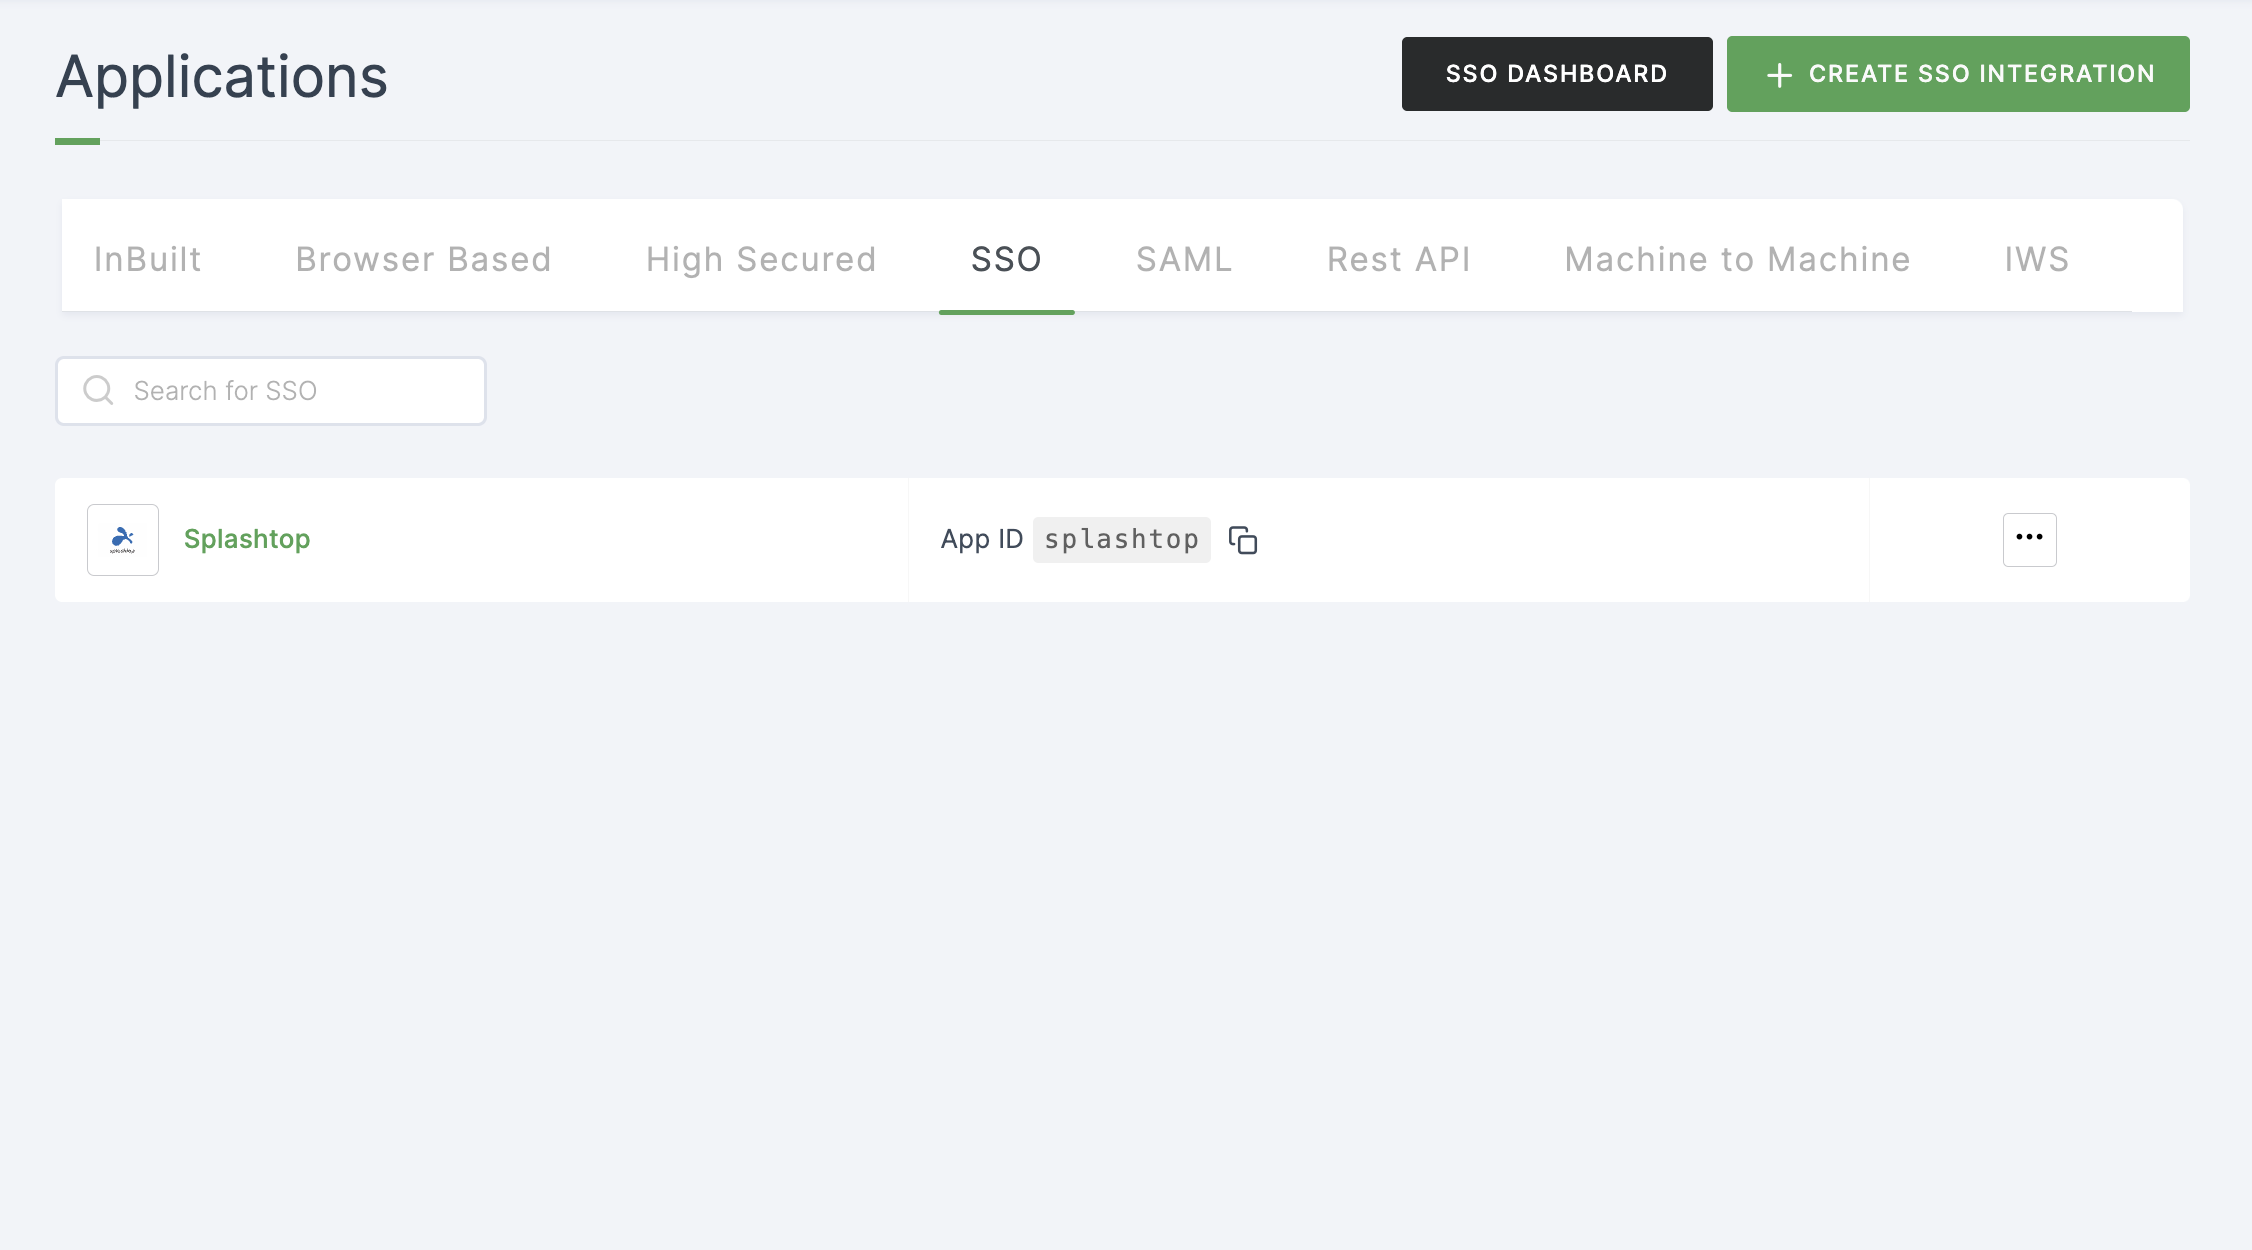
7 To enable Splashtop SSO login, go to Applications > SSO, and click on the created Splashtop SSO.
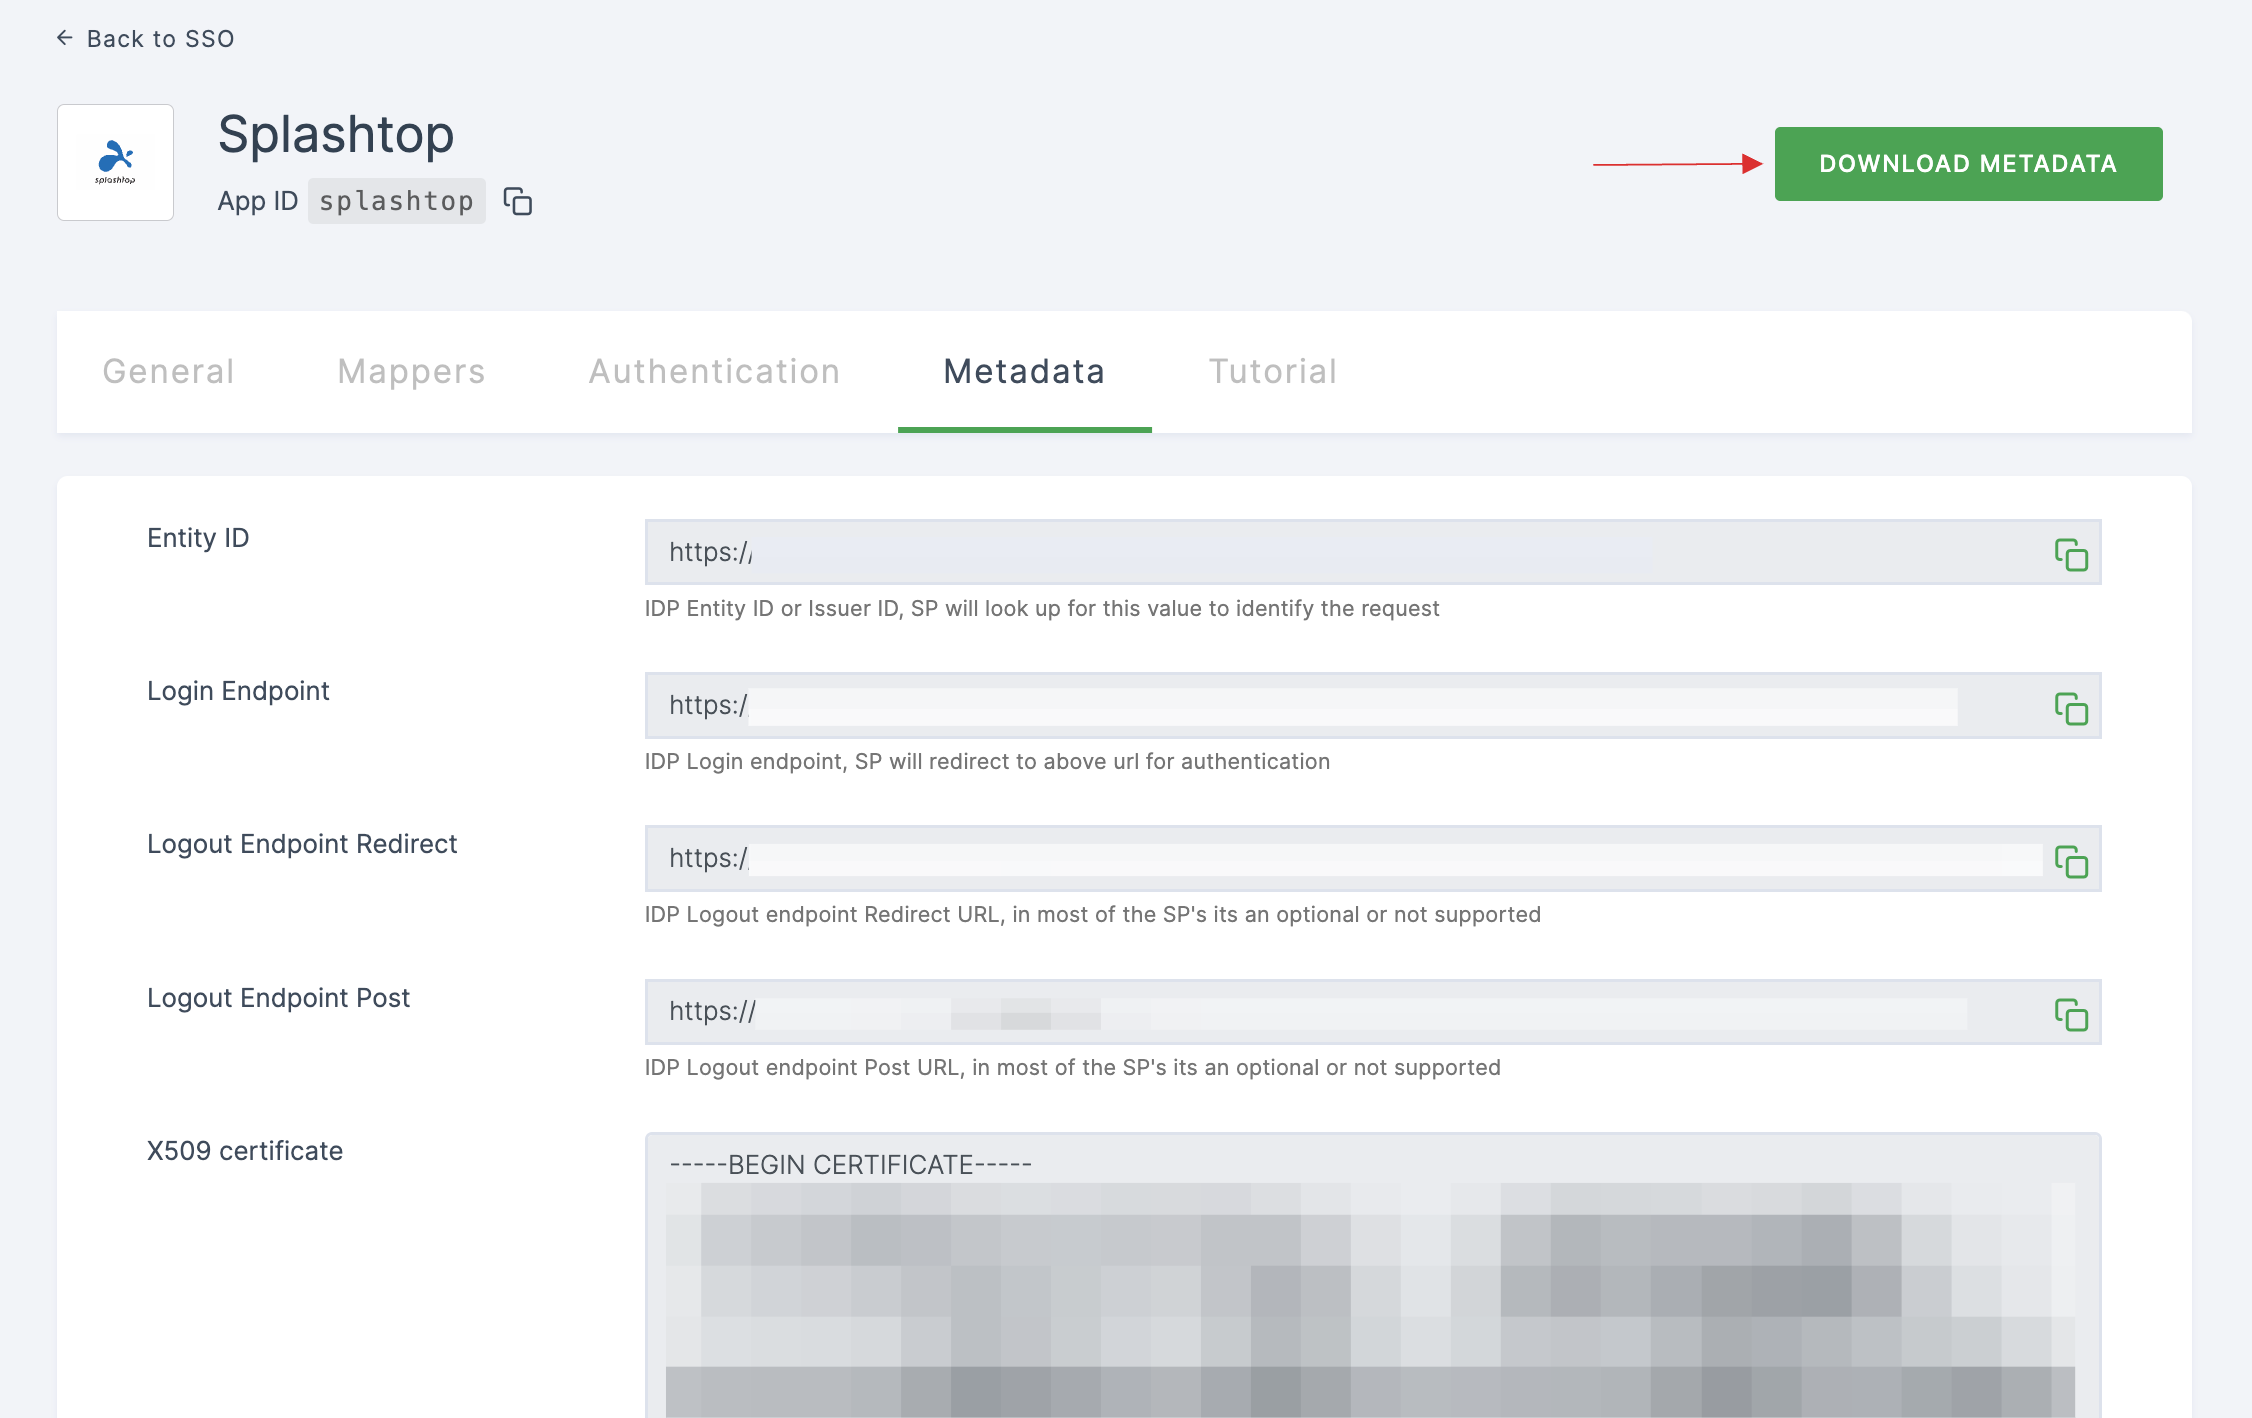
8 Click on Metadata, where the list of endpoints for the particular SSO will be available. Click on DOWNLOAD METADATA.
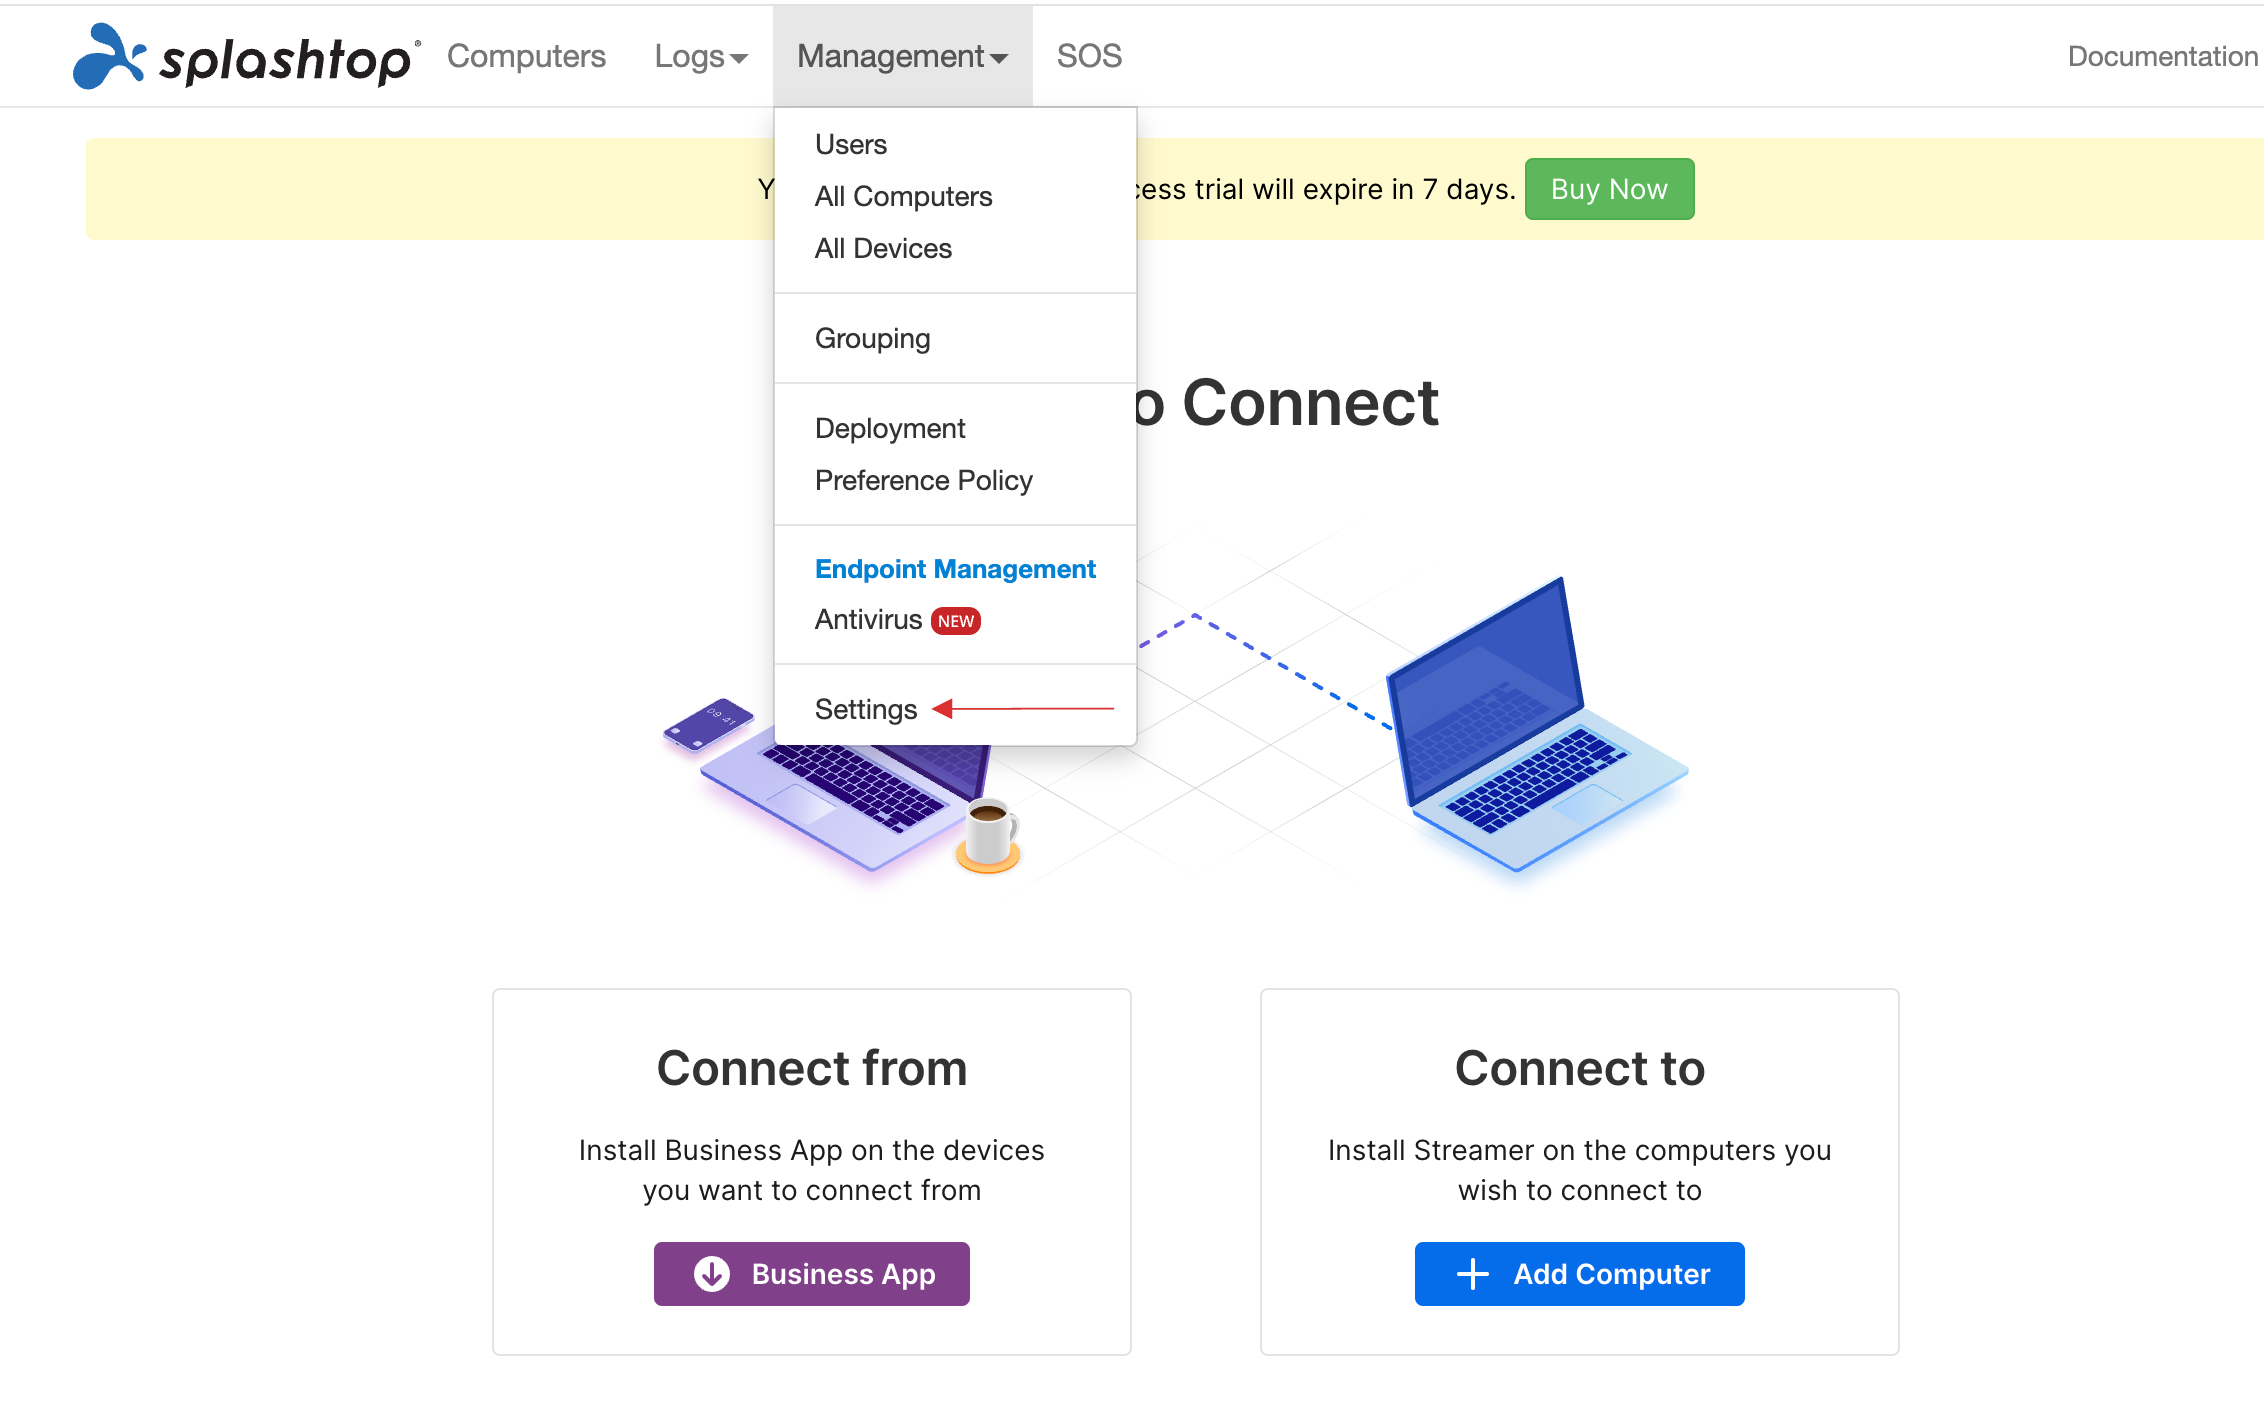
9 Navigate to your Splashtop dashboard.
10 Click on Management, and then click on Settings.
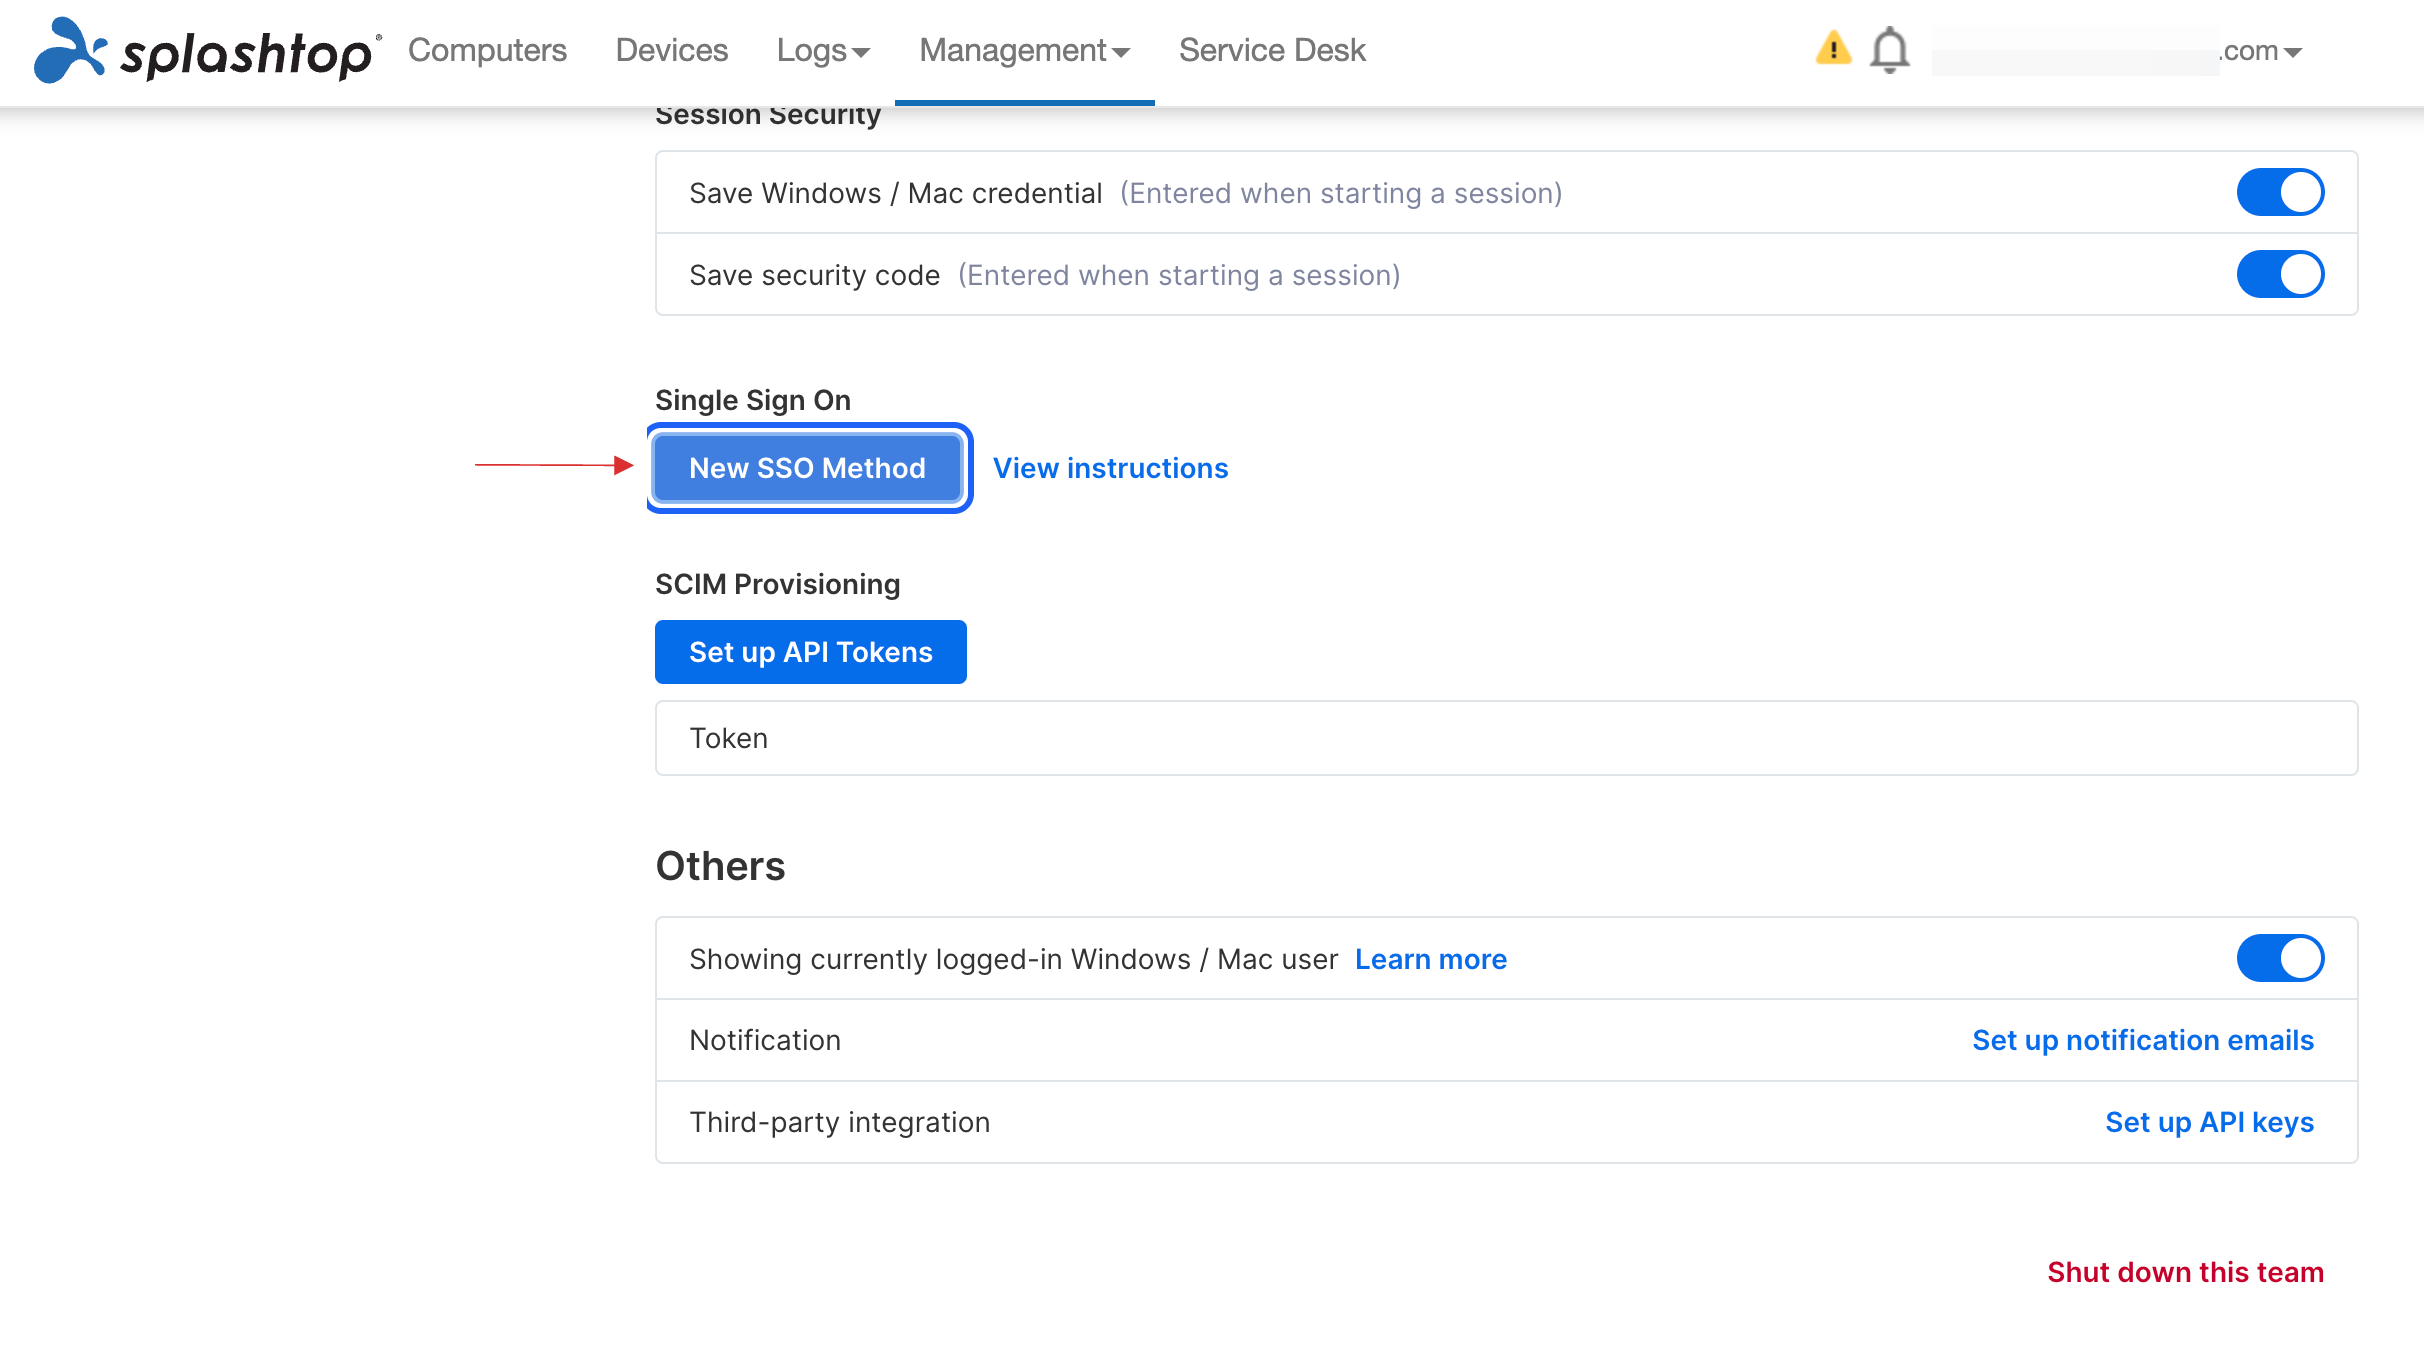
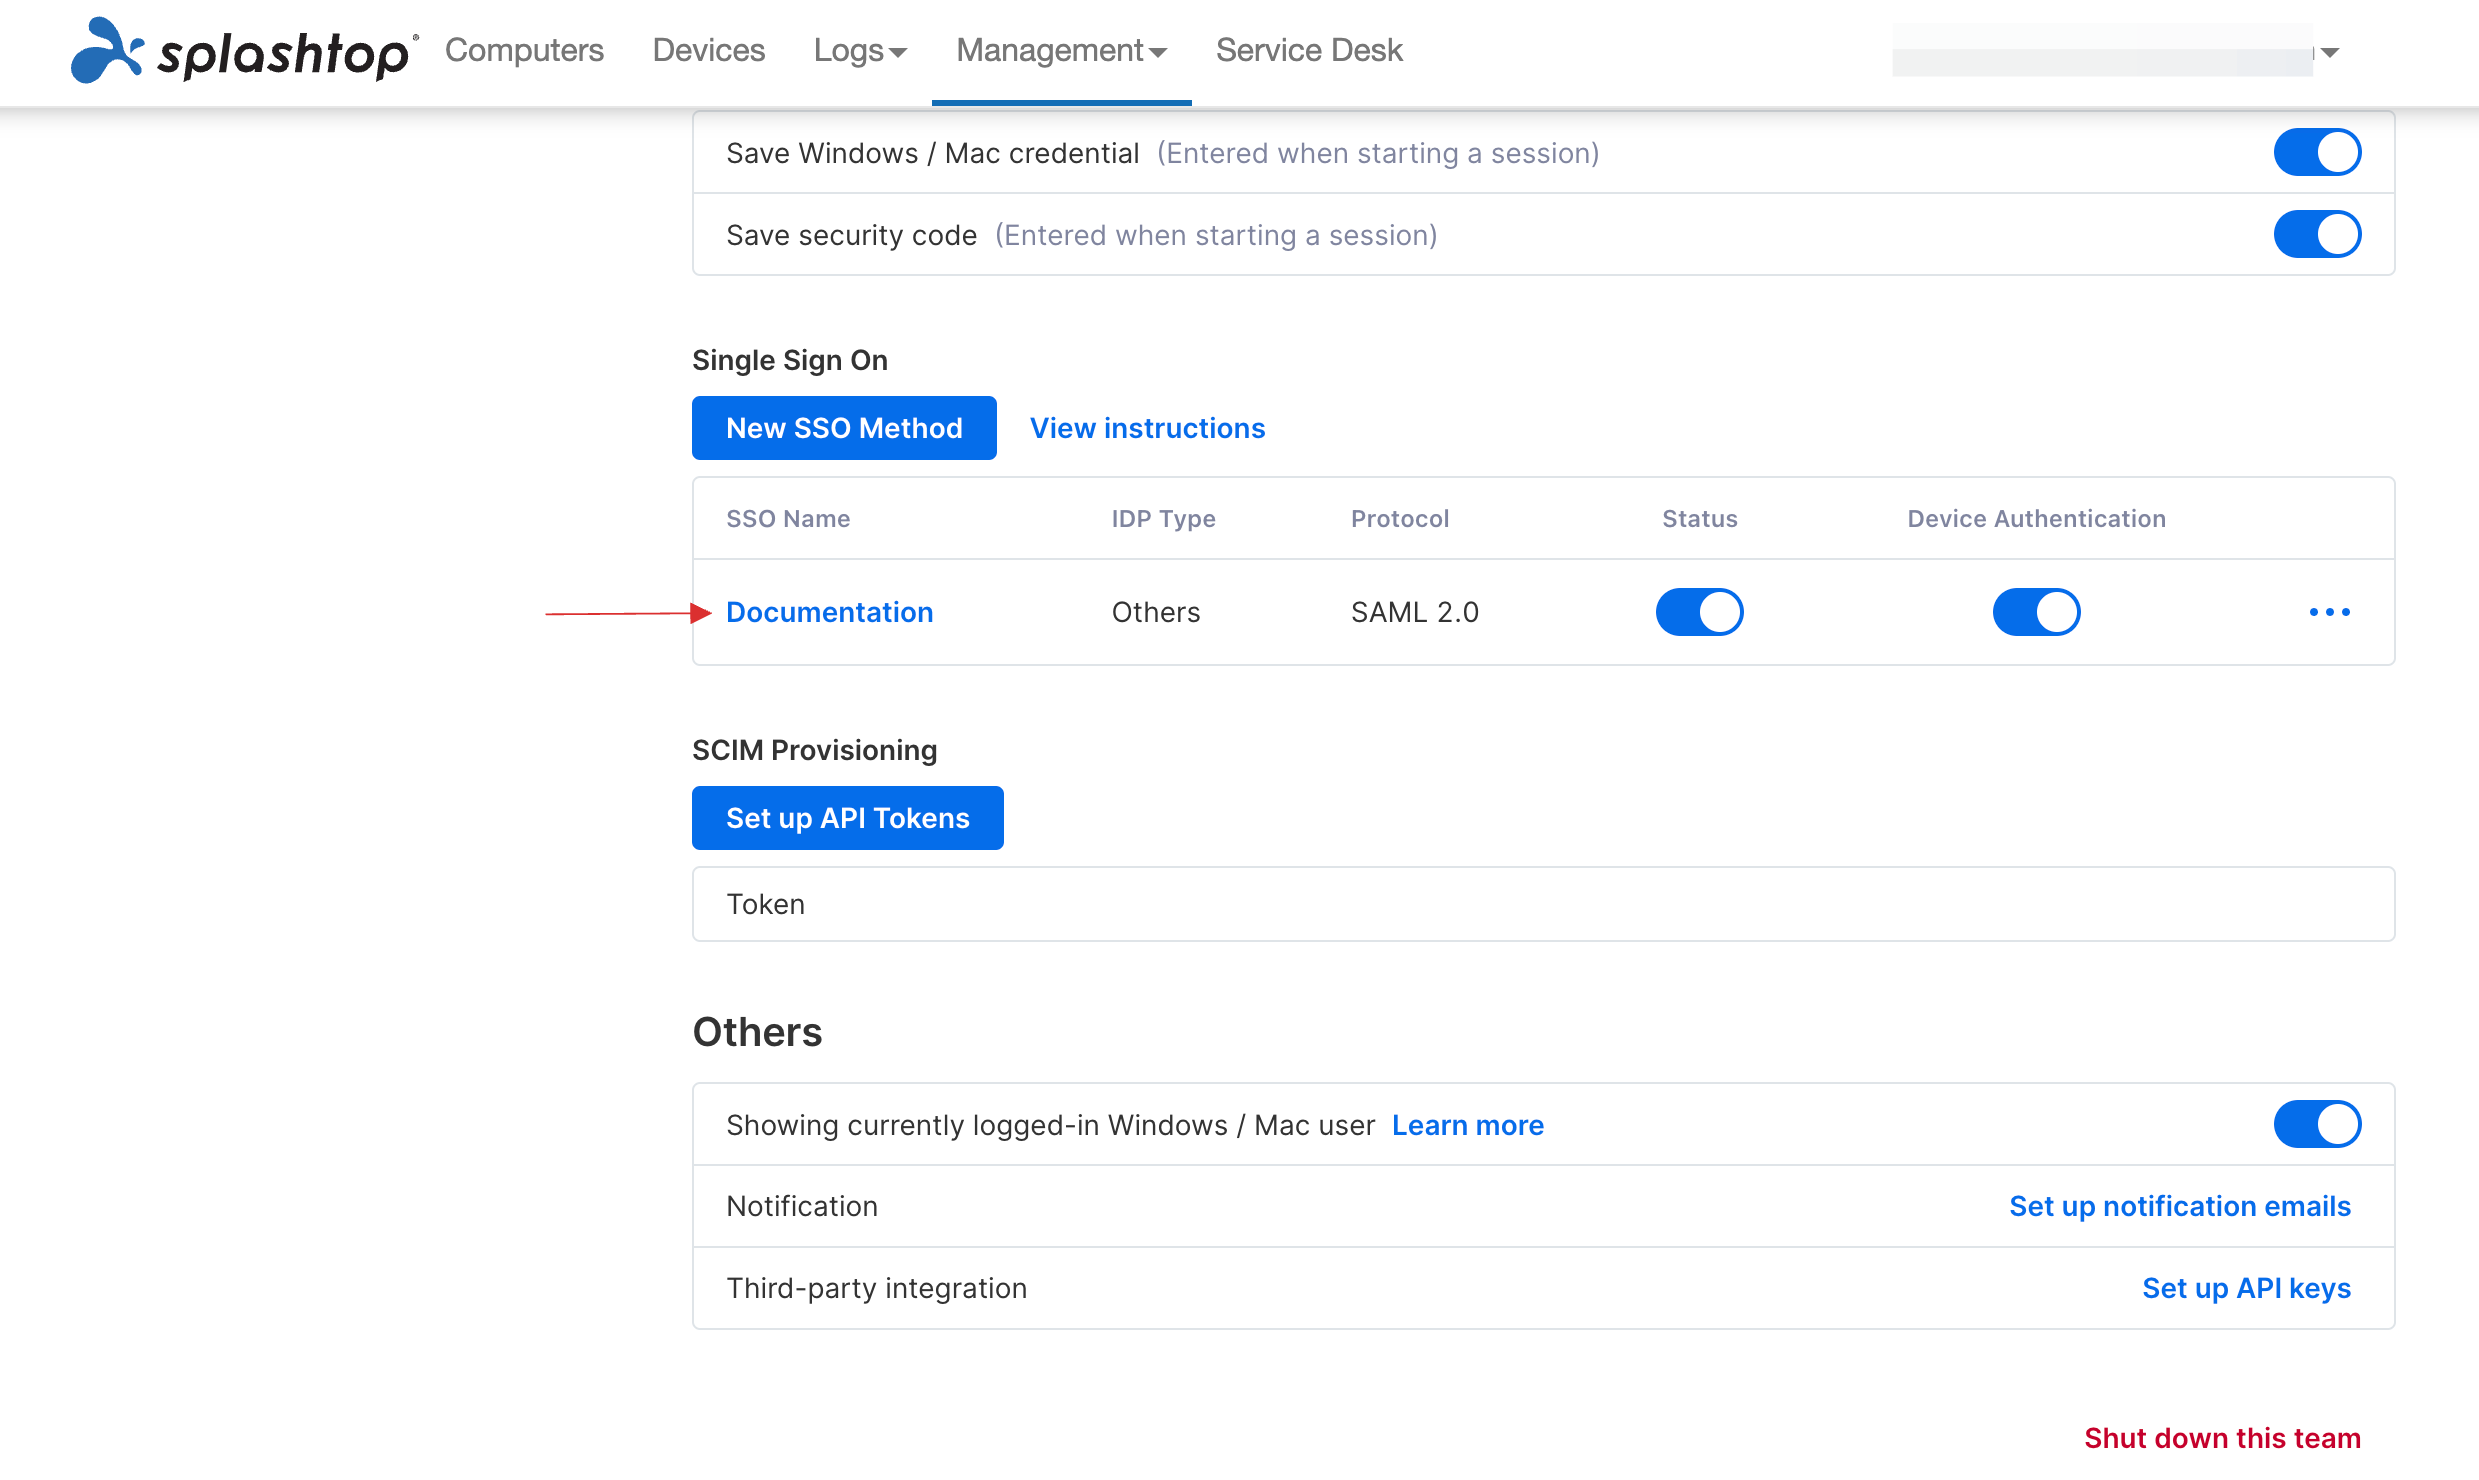
11 Scroll down, click on New SSO Method.
12 Configure the New SSO method.
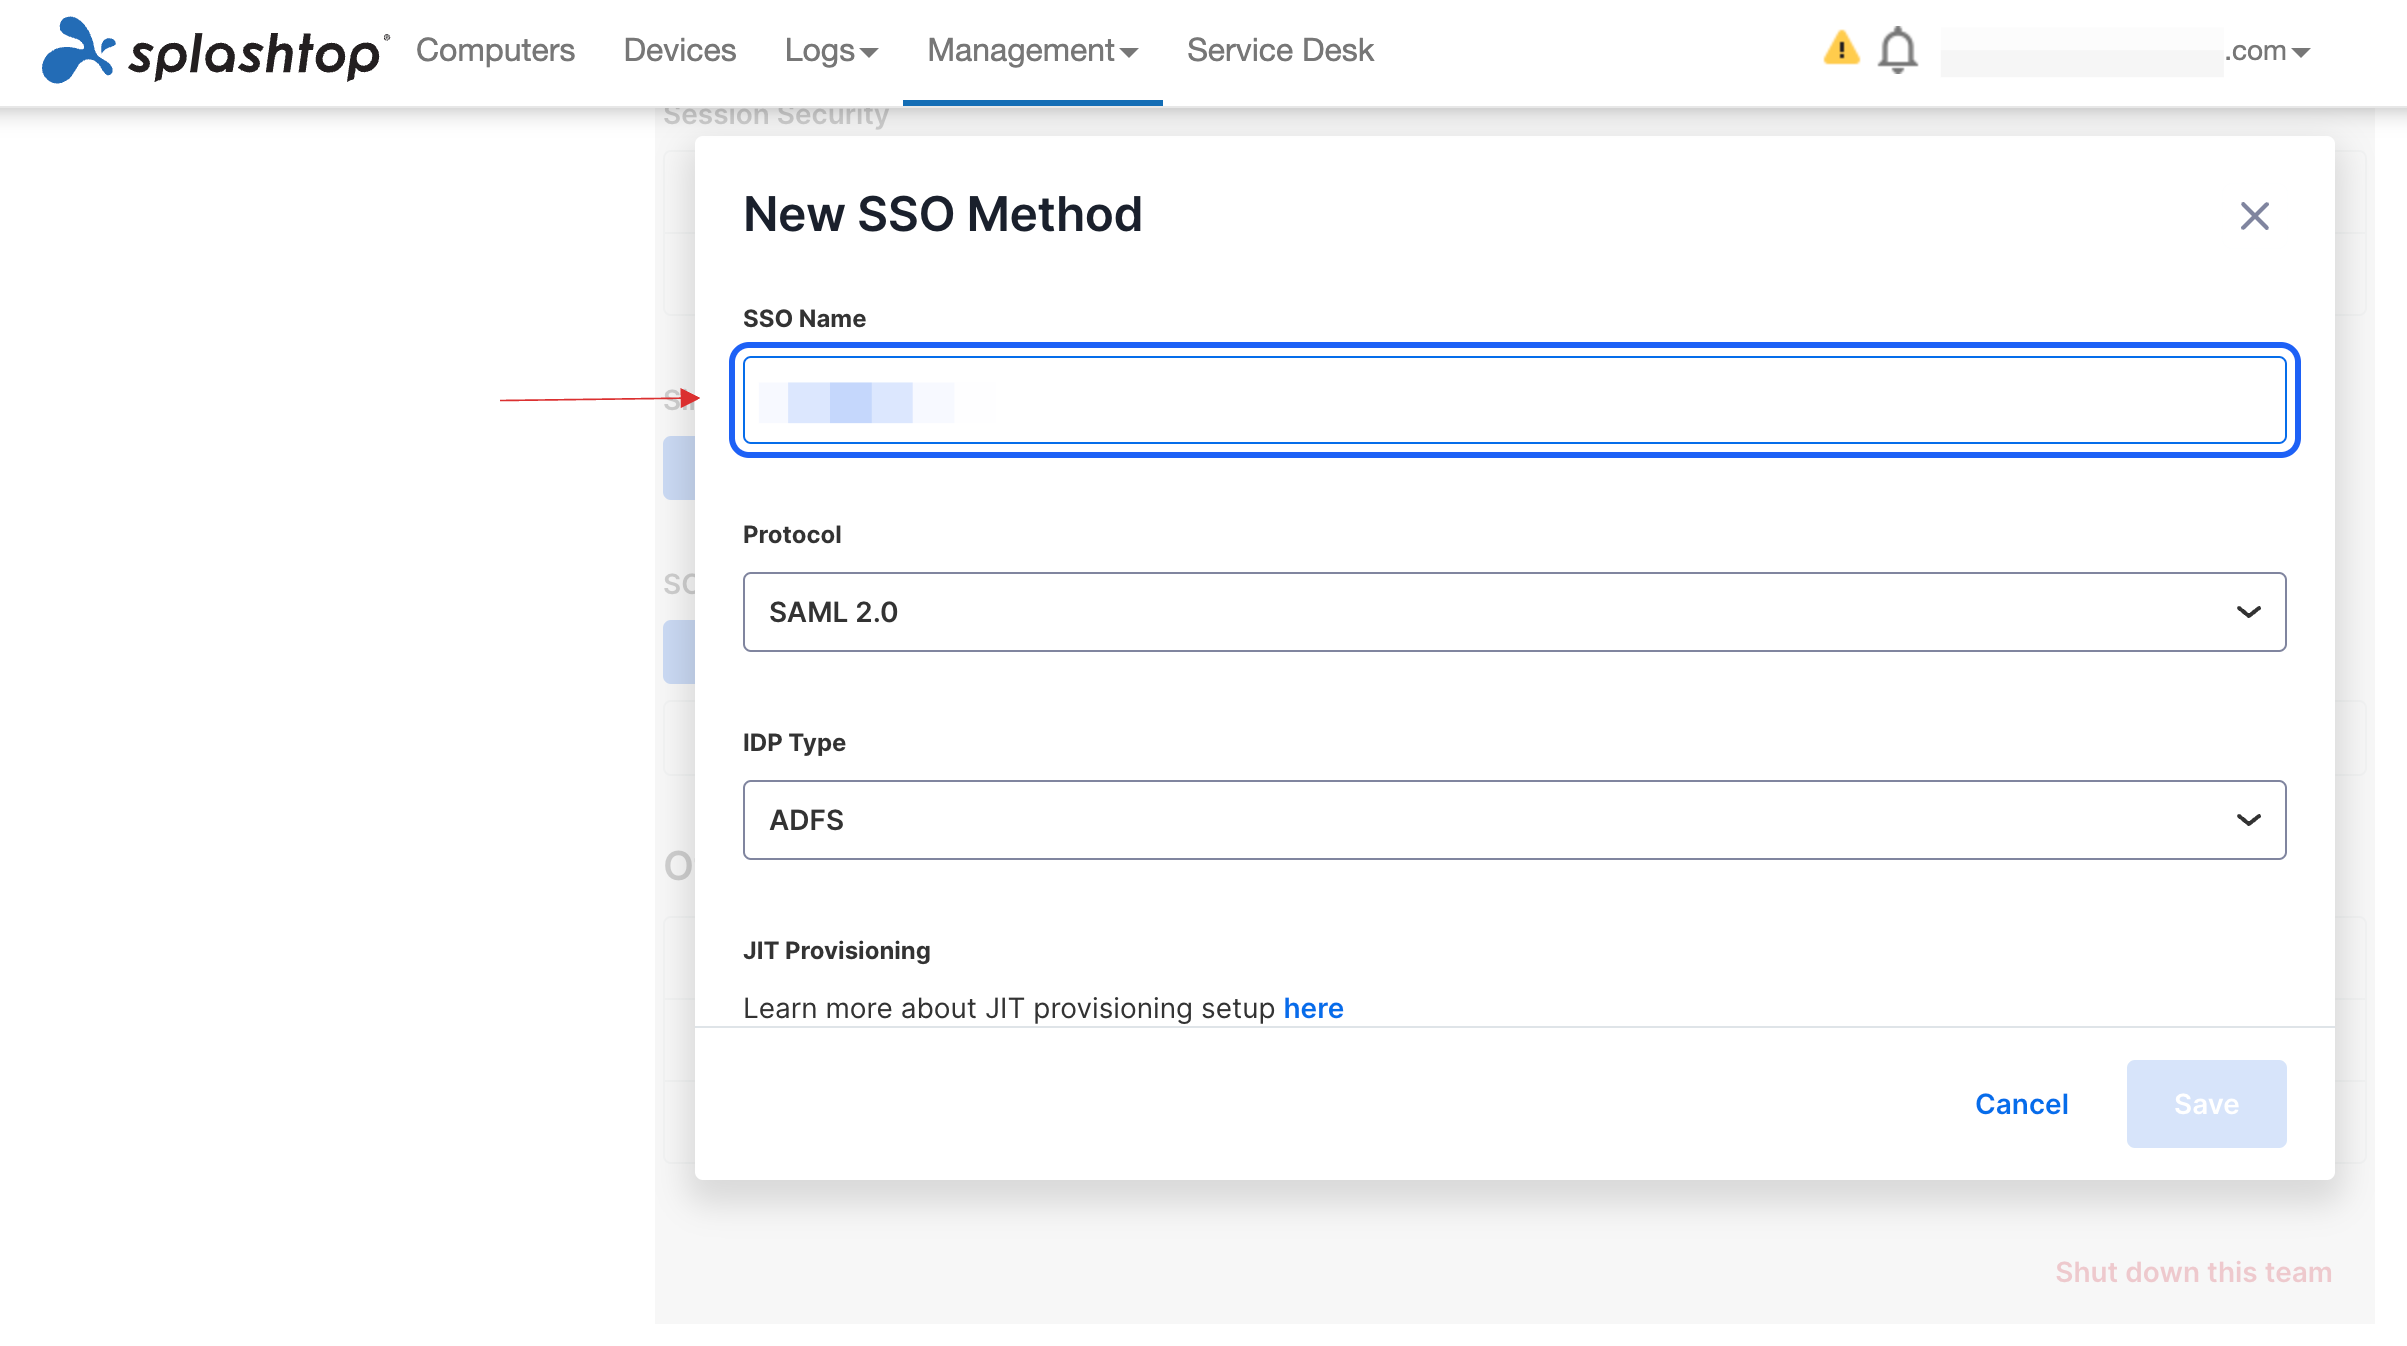
13 Provide SSO Name.
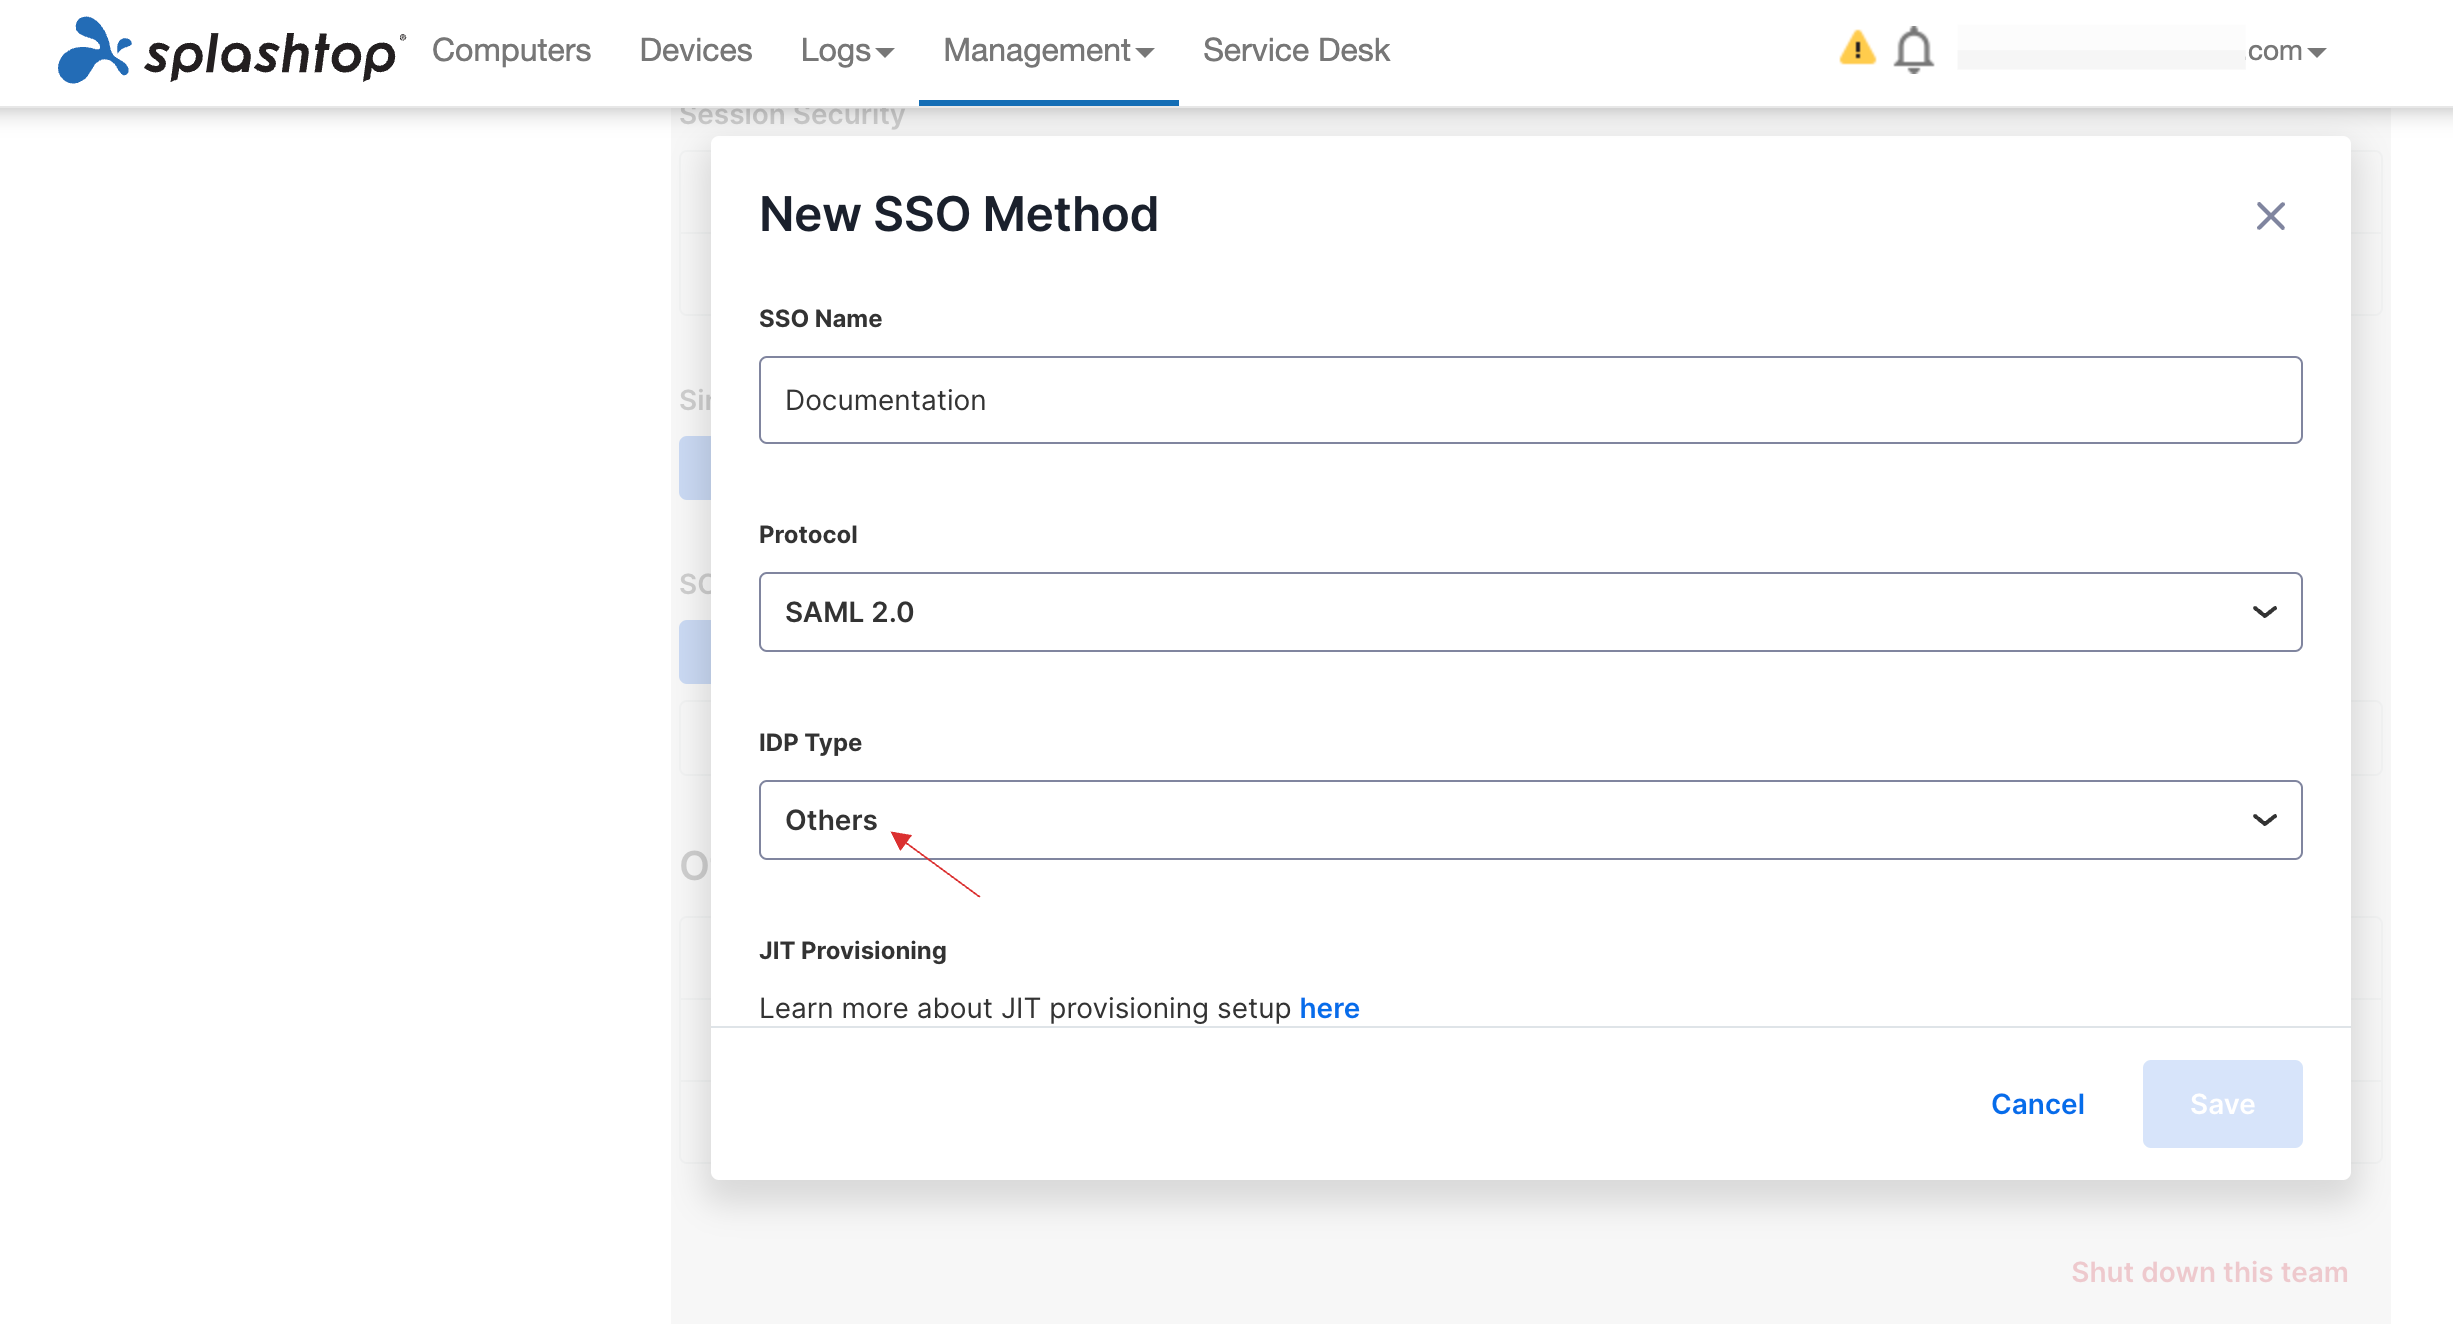
14 For IDP Type, choose Others from the drop-down.
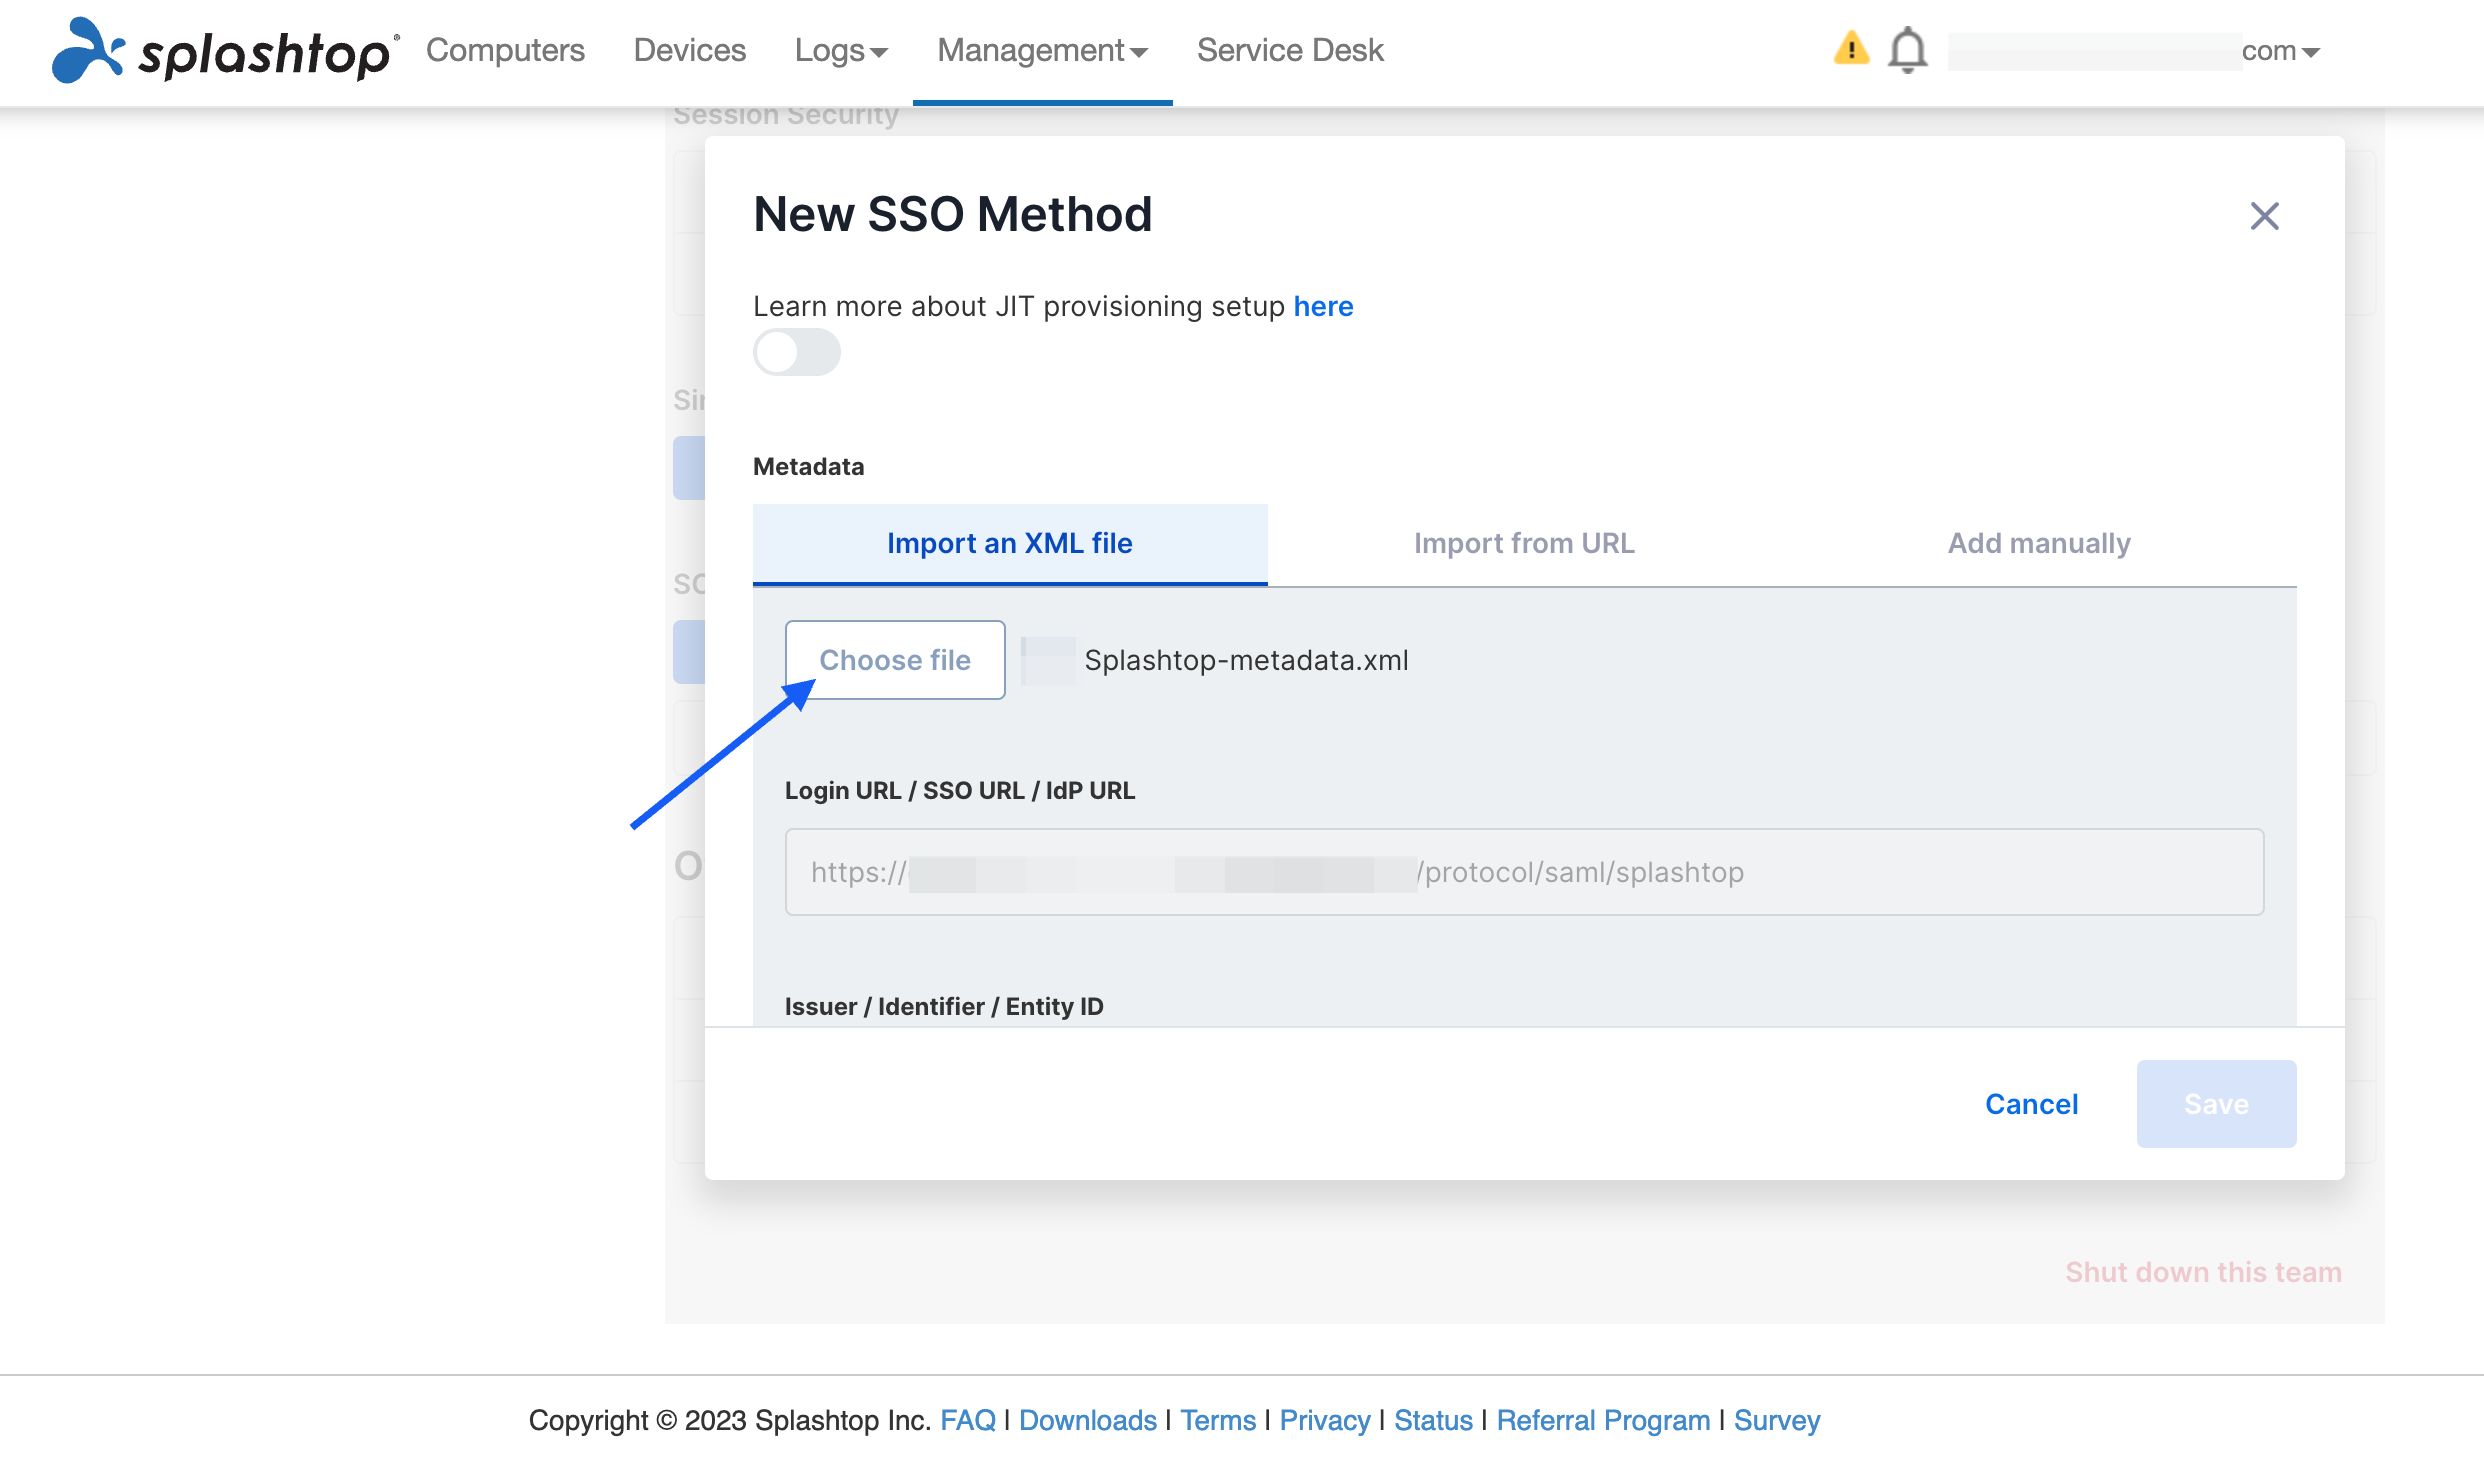
15 Scroll down to Metadata, and click on Choose file and upload the downloaded Metadata XML file.
16 Scroll down, provide your domain.
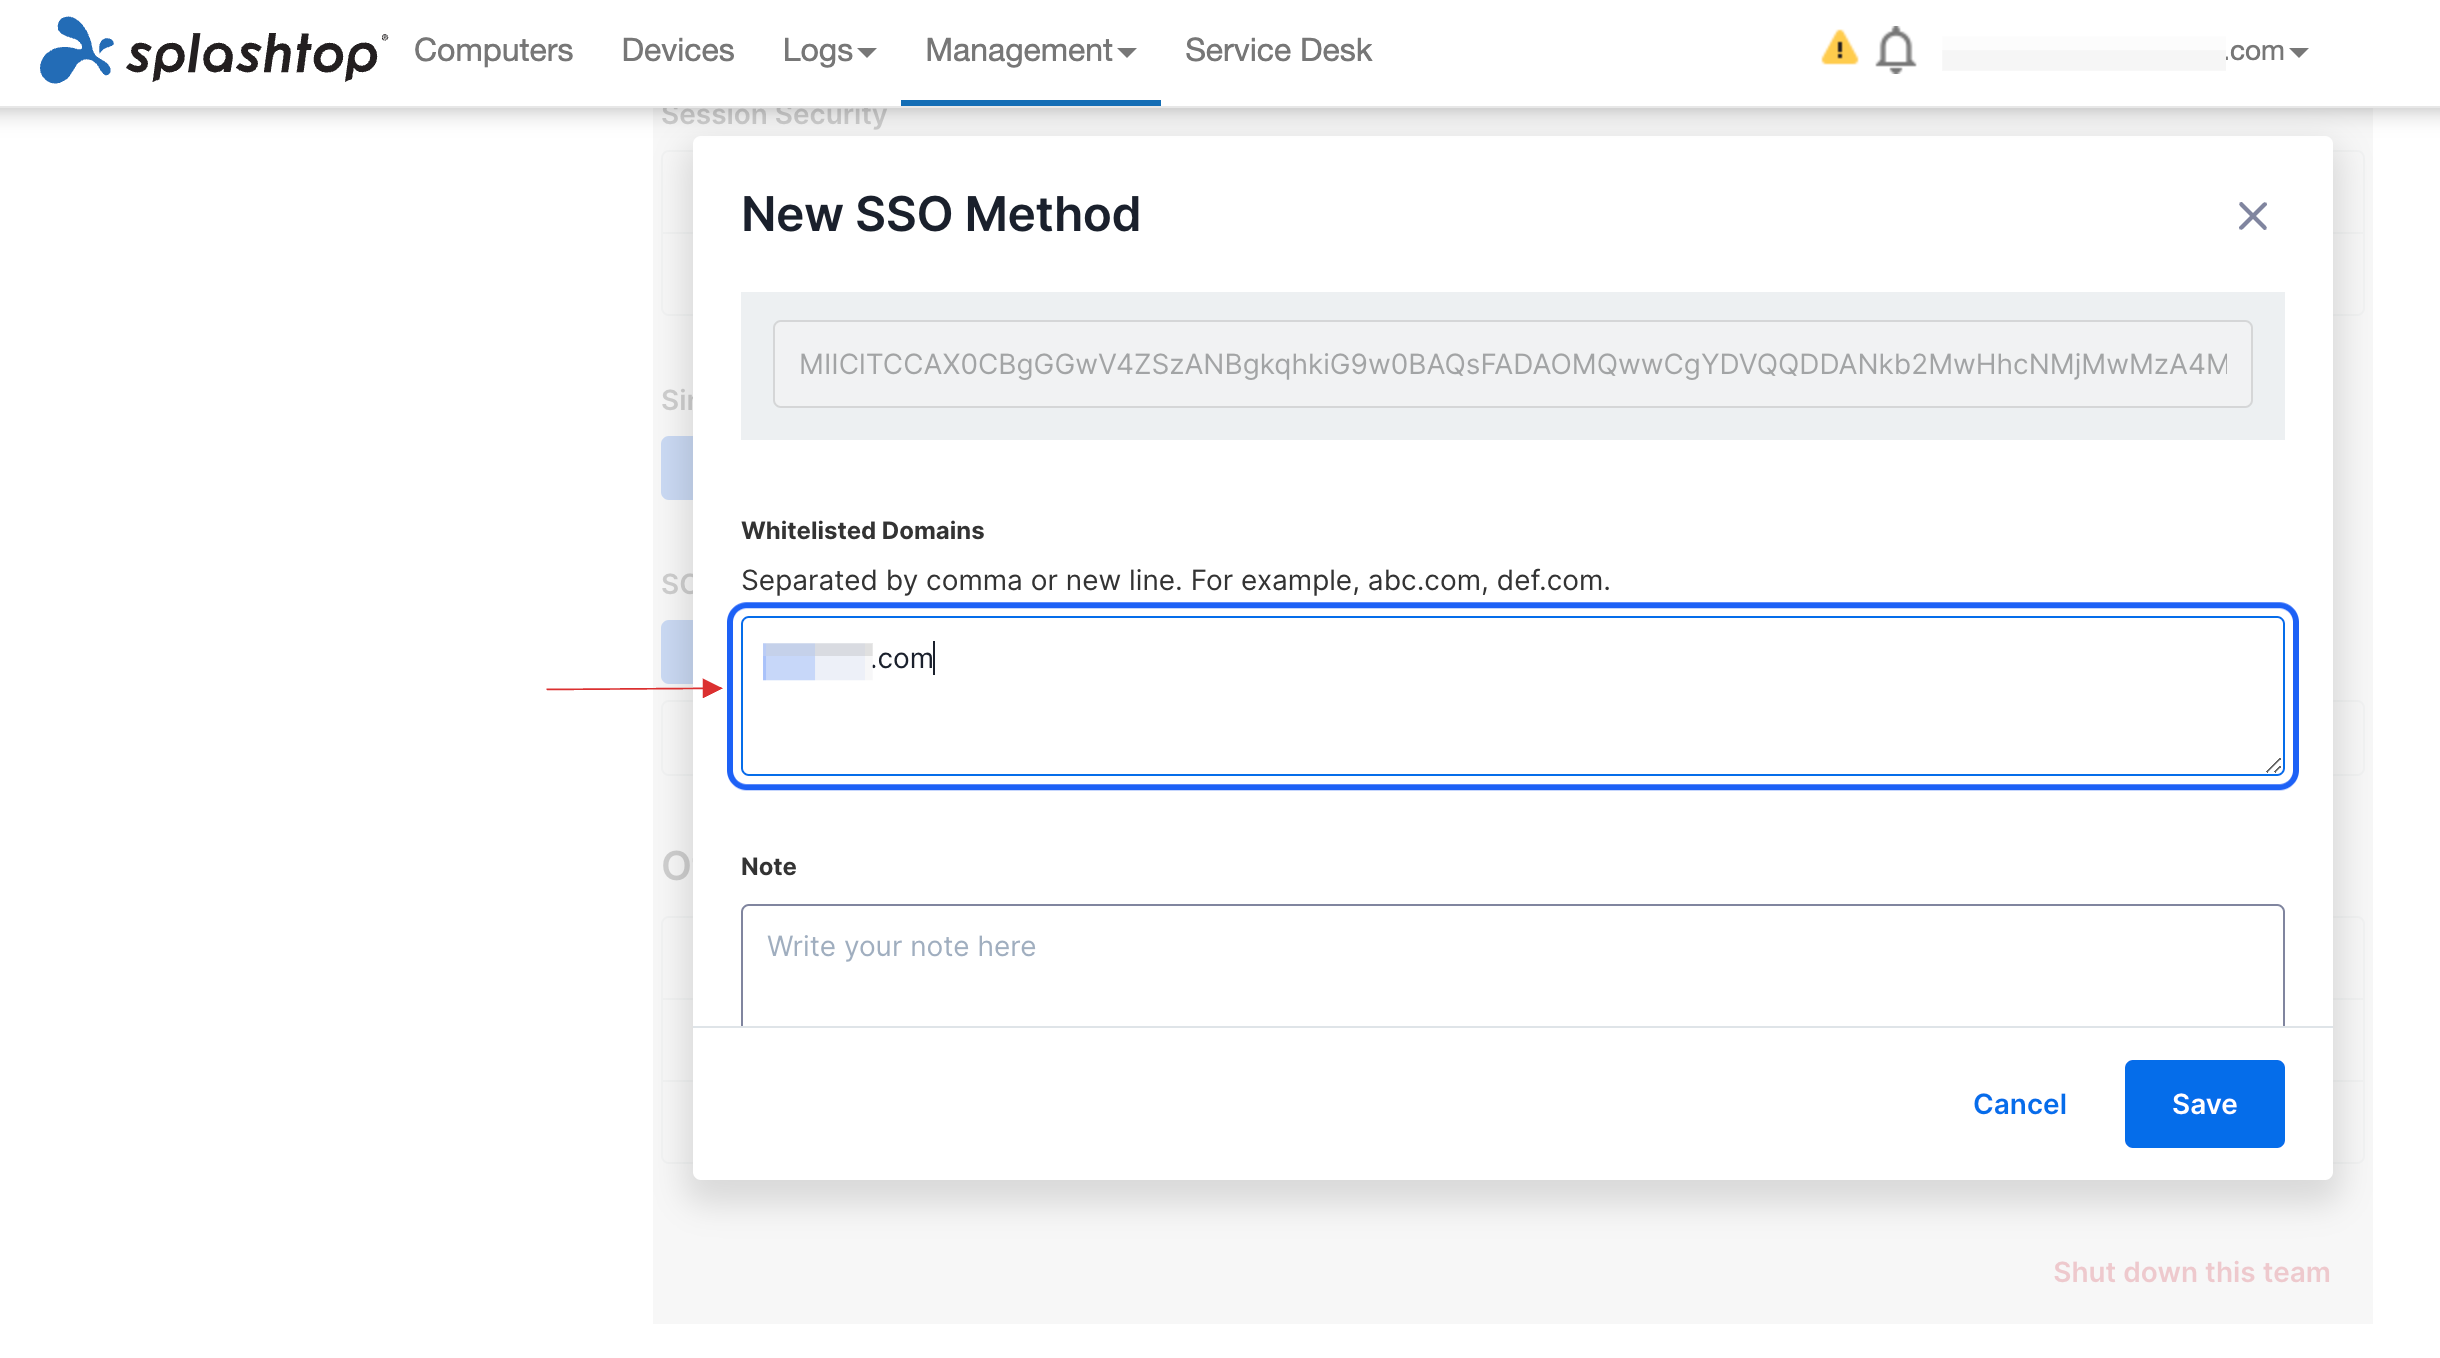
17 Click on Save.
To activate Single Sign On from Splashtop's end, wait for a few hours or days.
Please configure a DNS TXT record that is sent to you in mail by Splashtop to confirm ownership of the domain.
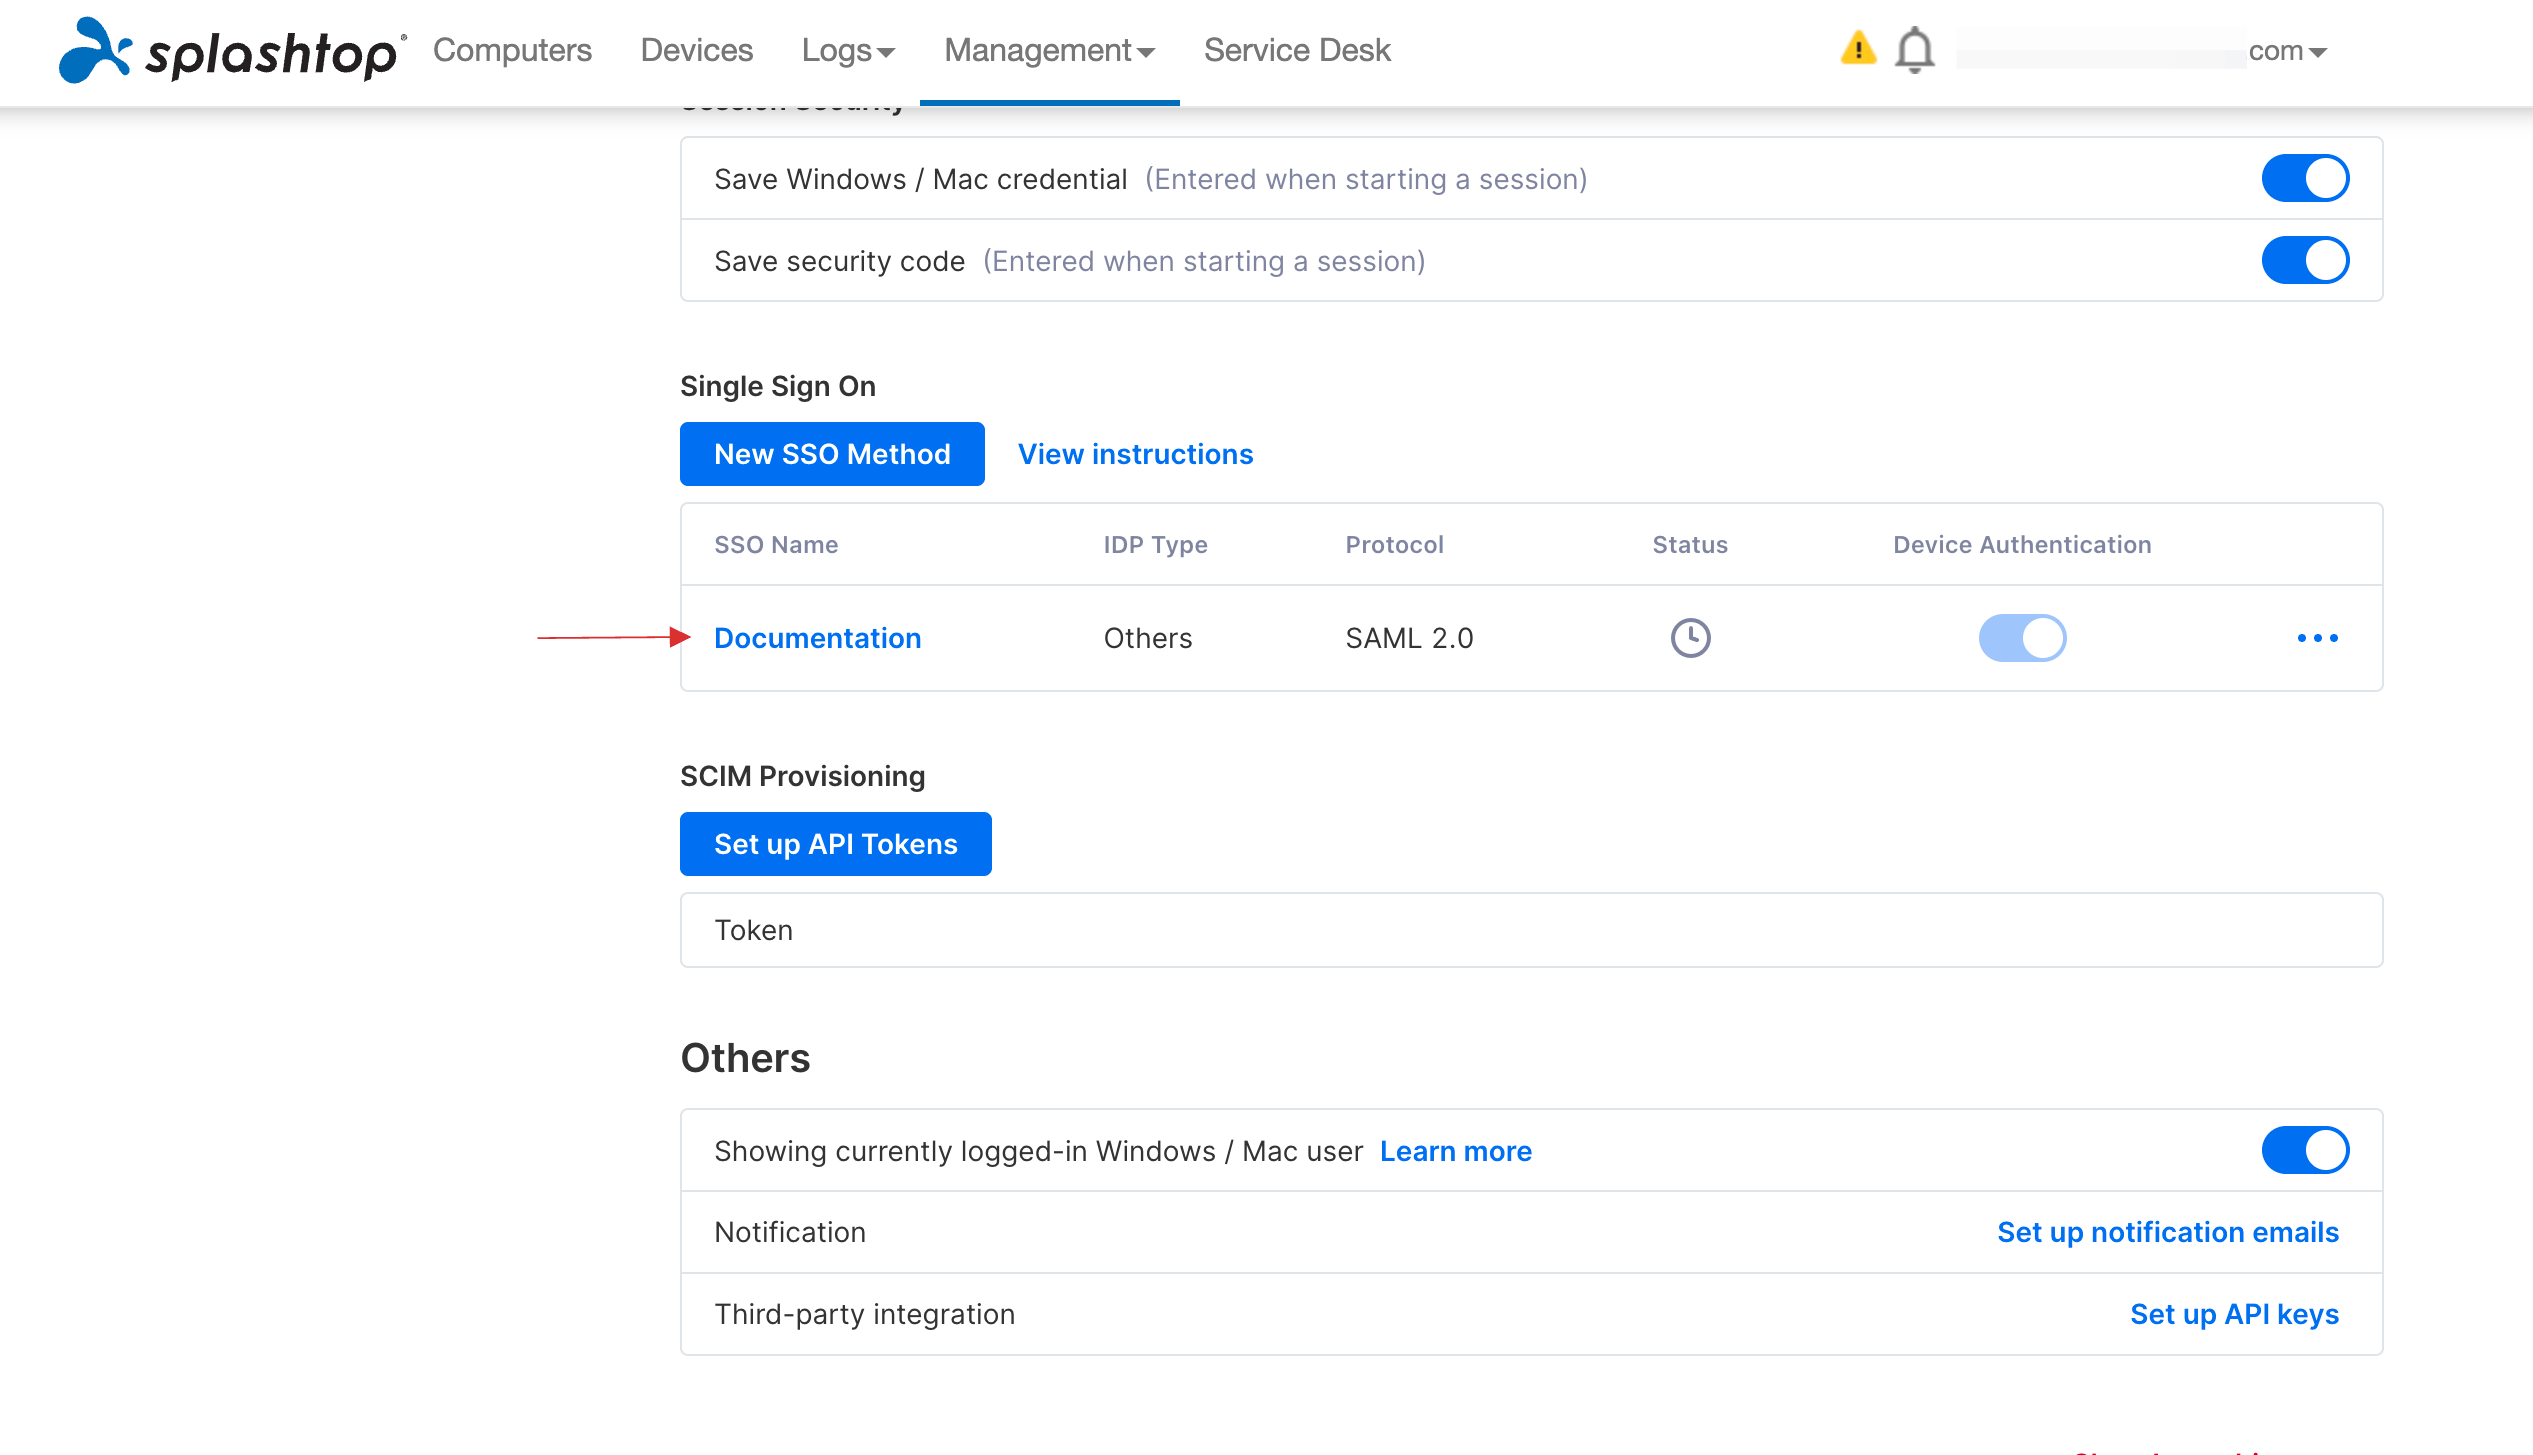
18 SSO will be activated.
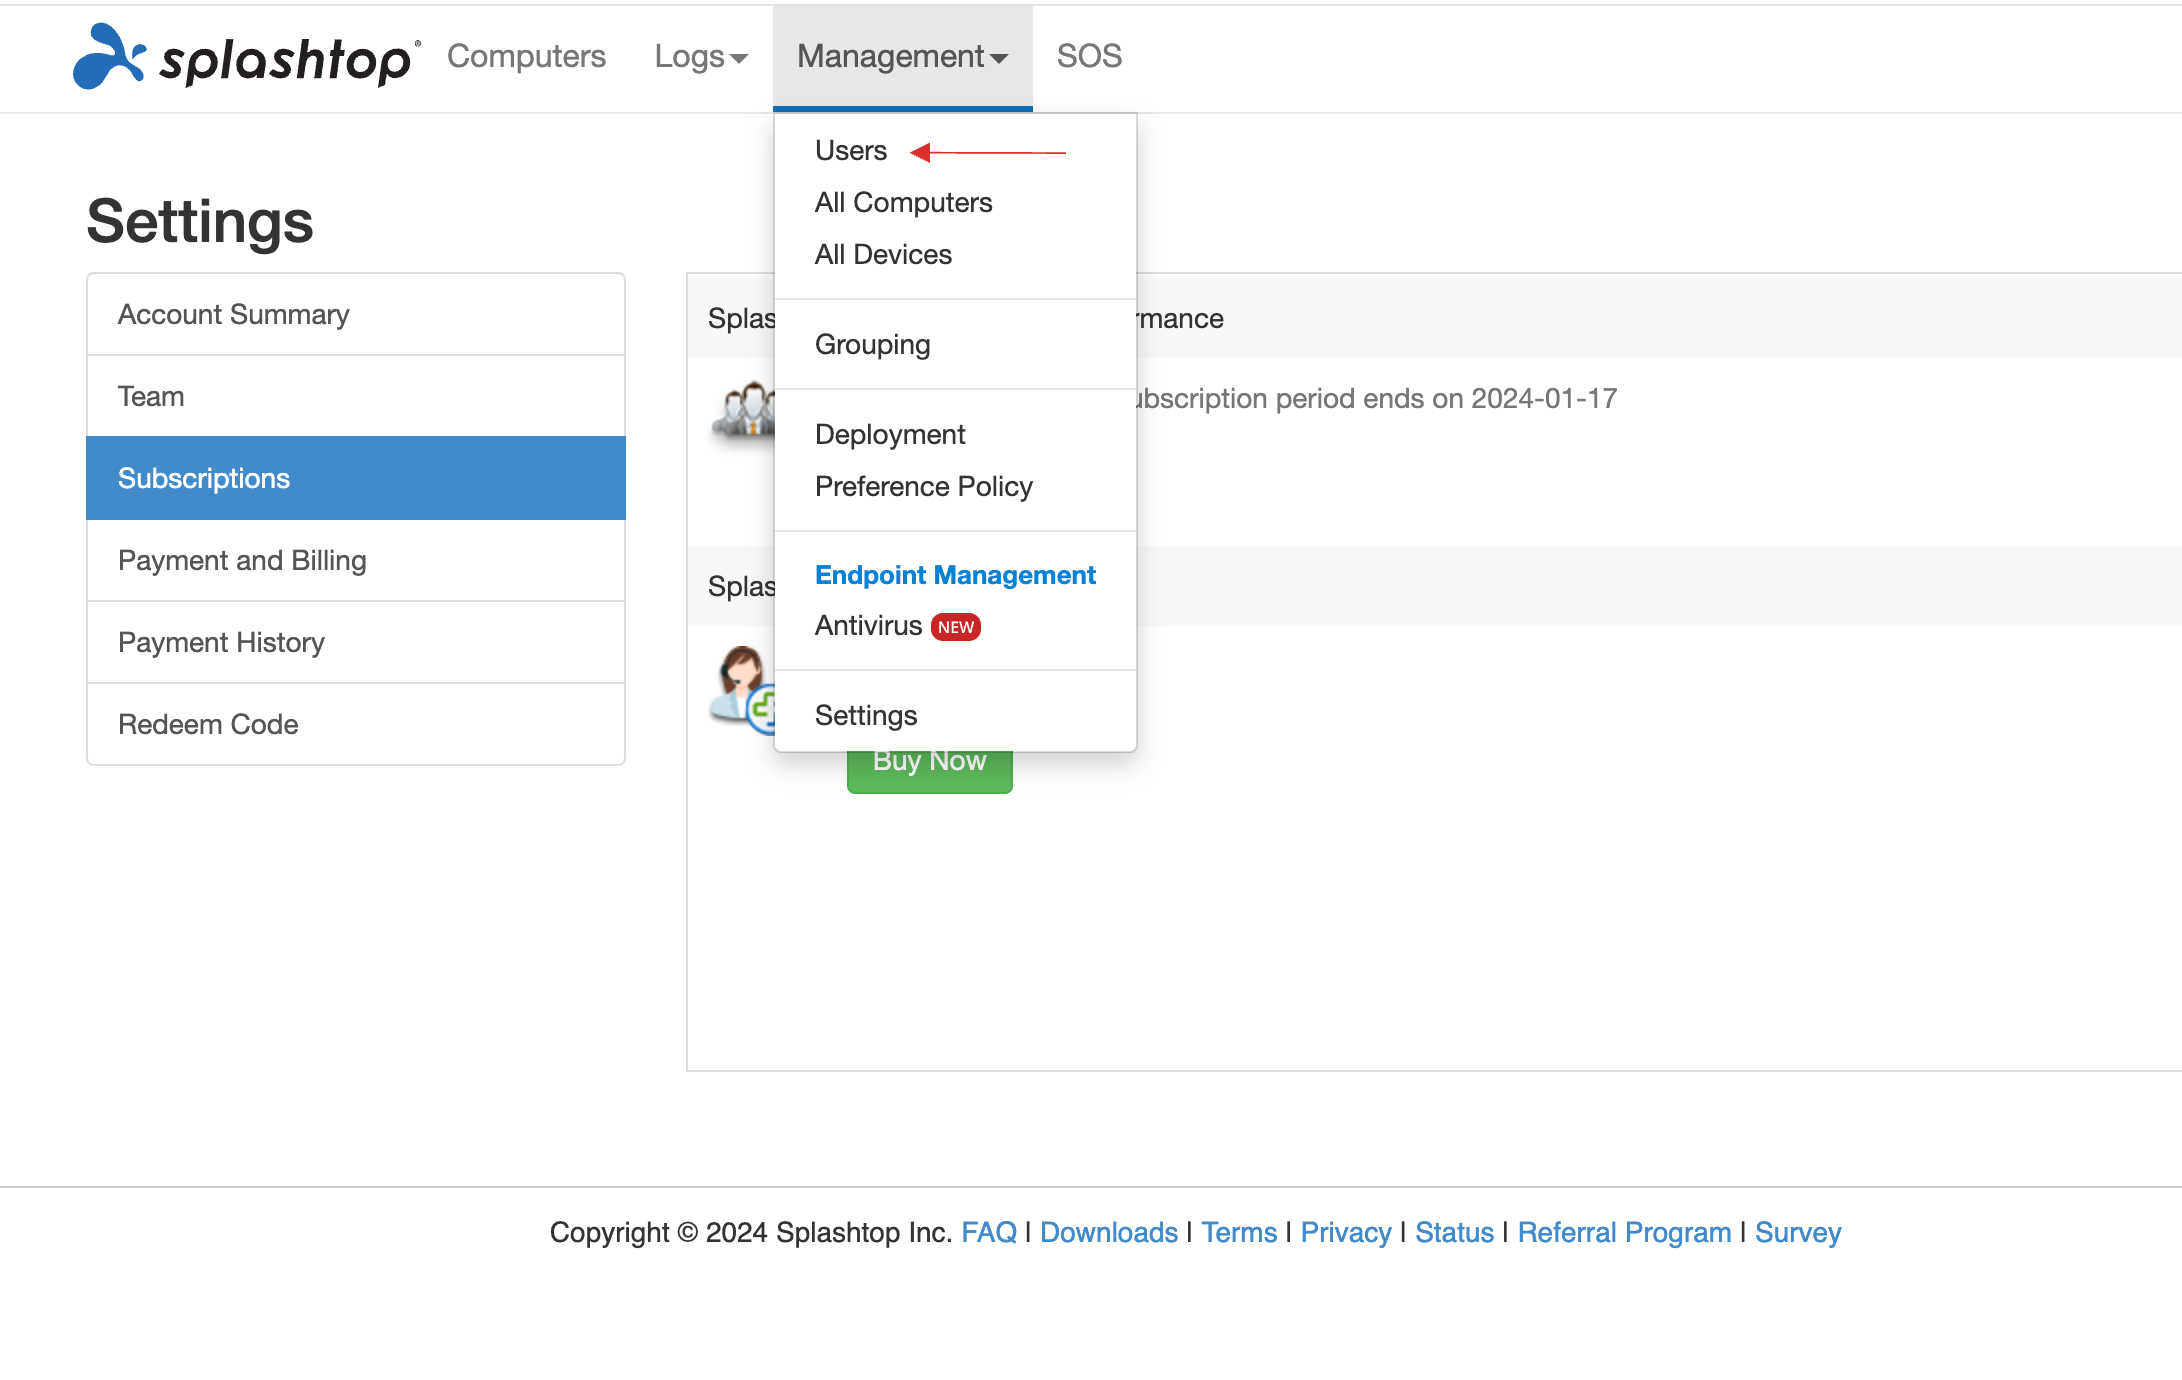
19 Click on Management > Users.
20 Click on your users' setting icon.
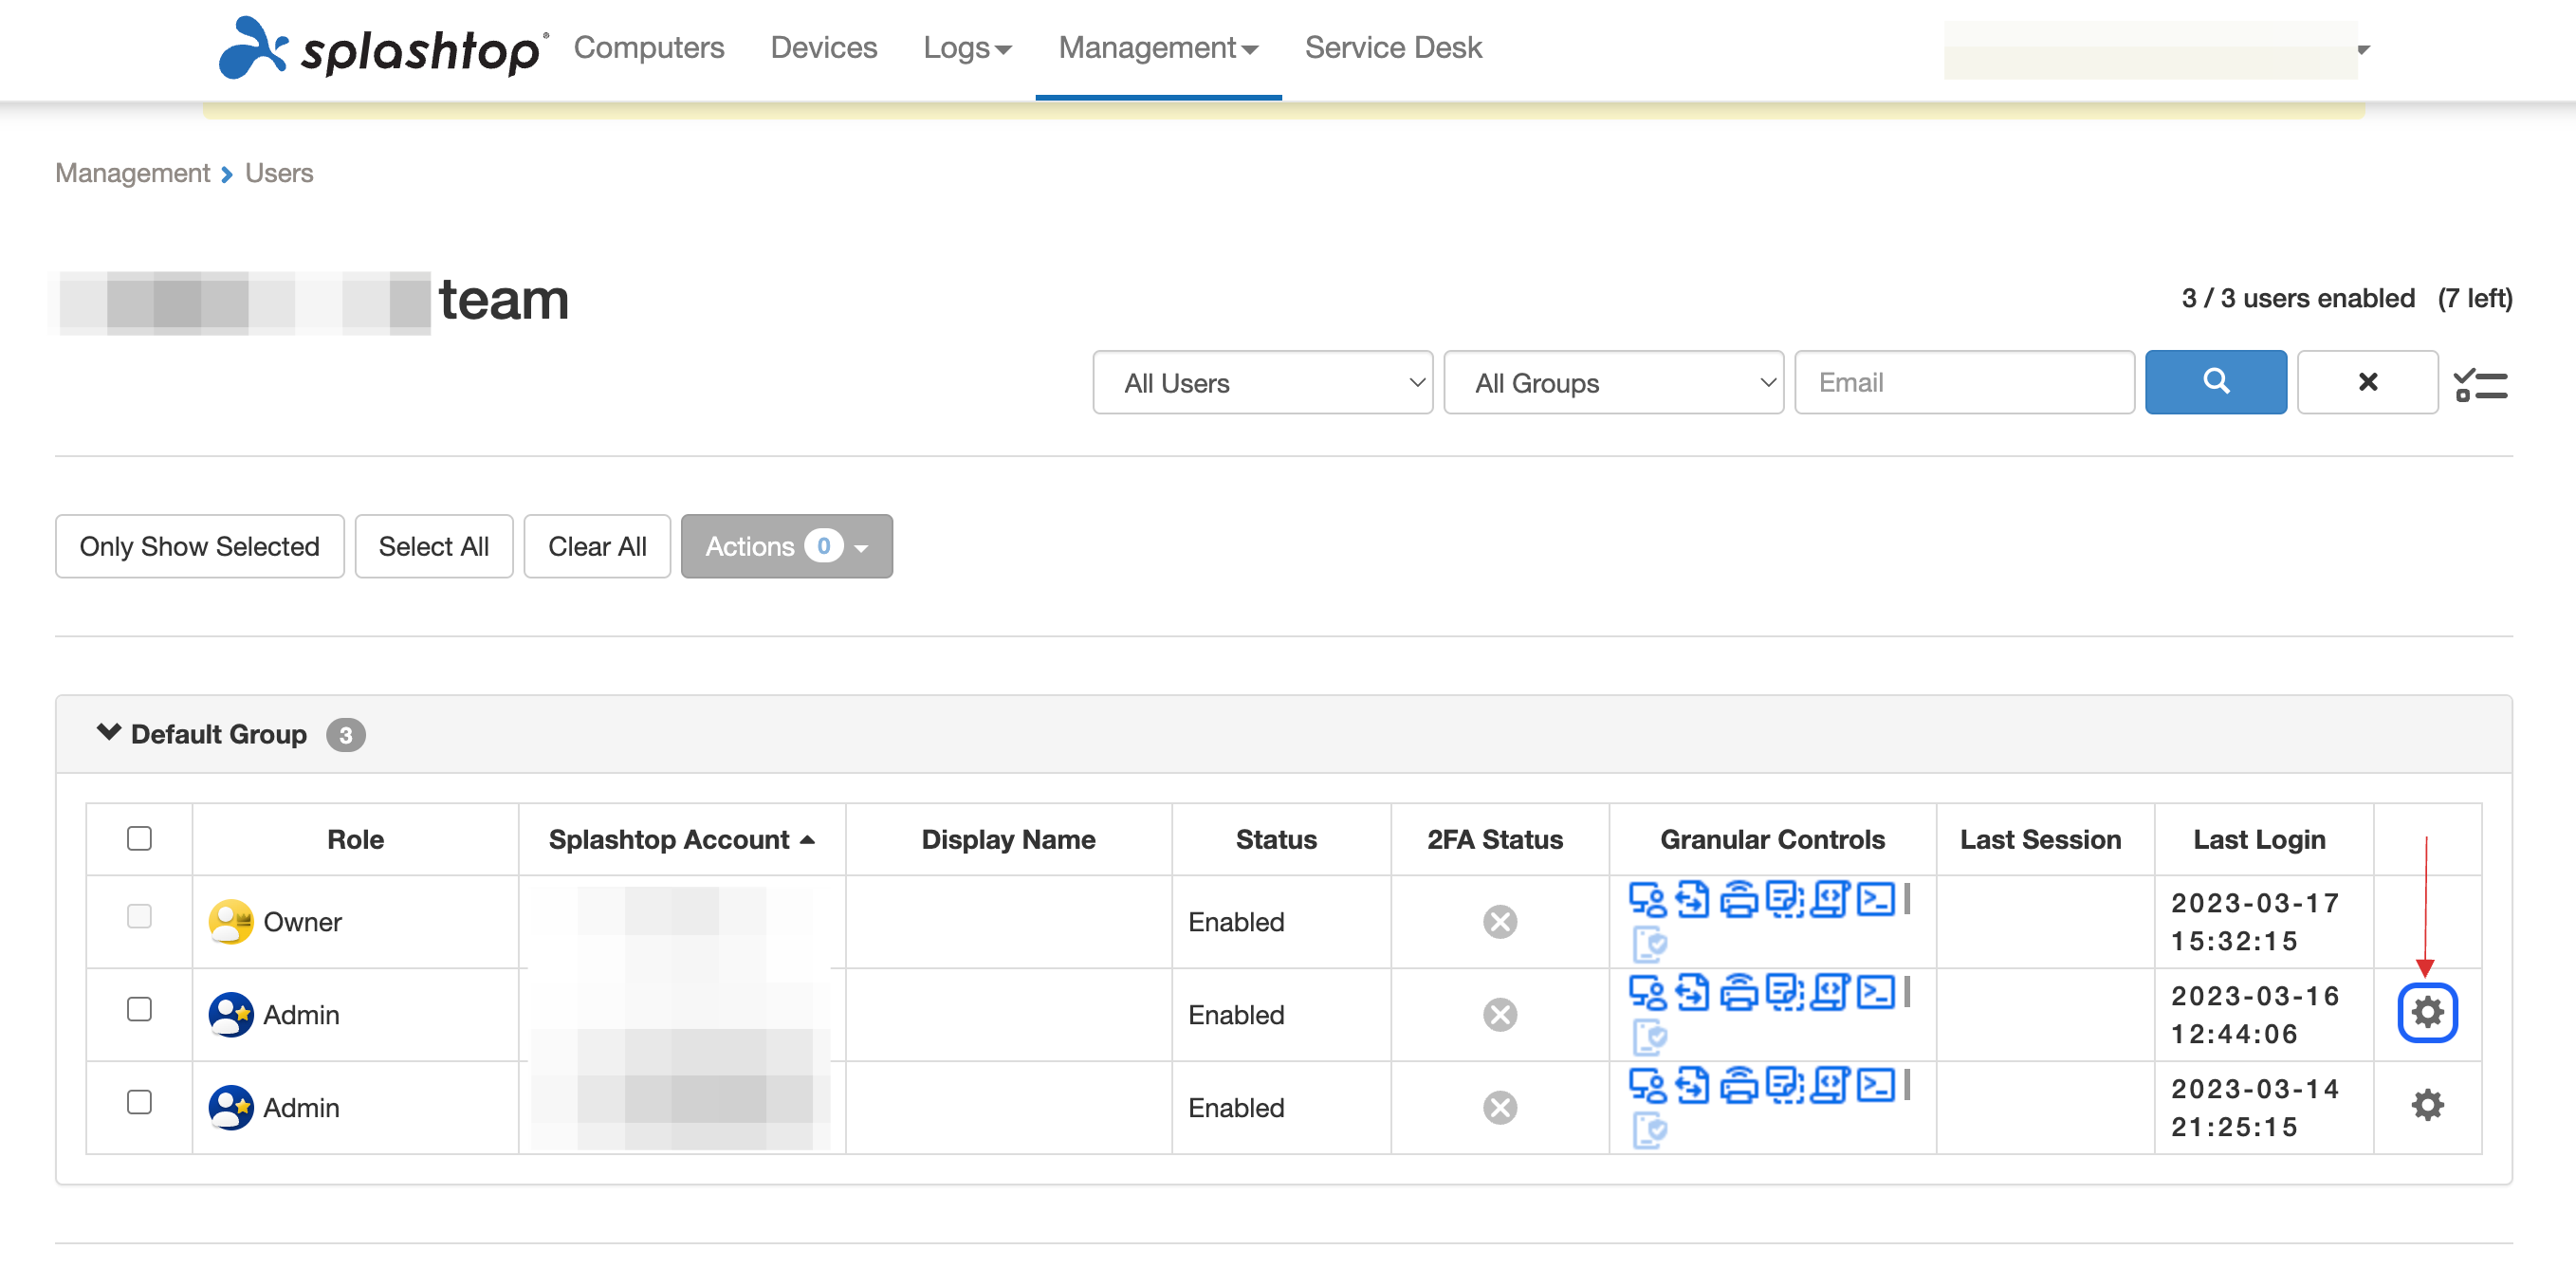
21 Click Change authentication, choose your SSO Configuration name from the dropdown, and click on Save.
22 Return to your dashboard, assign a user with Splashtop role. To do so, navigate to Users or Workspace Admins, click on the user you want to assign the role.
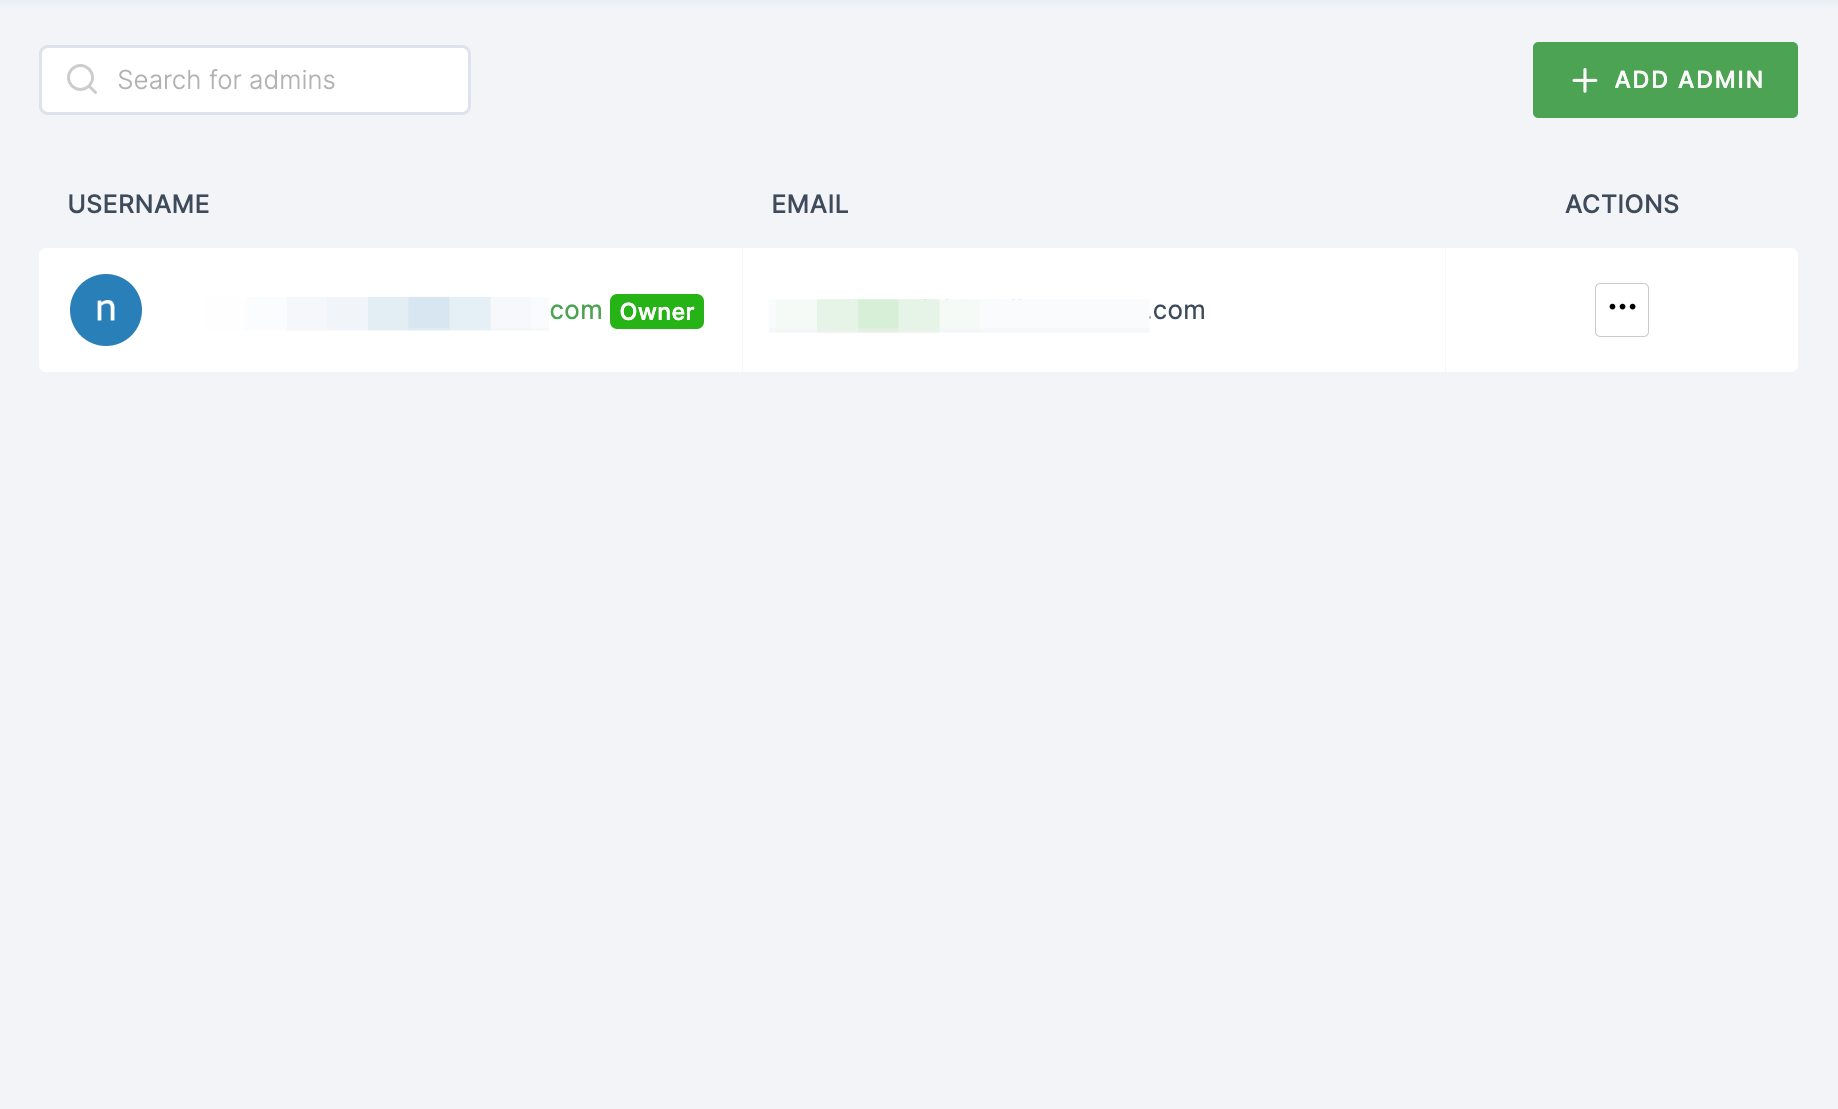
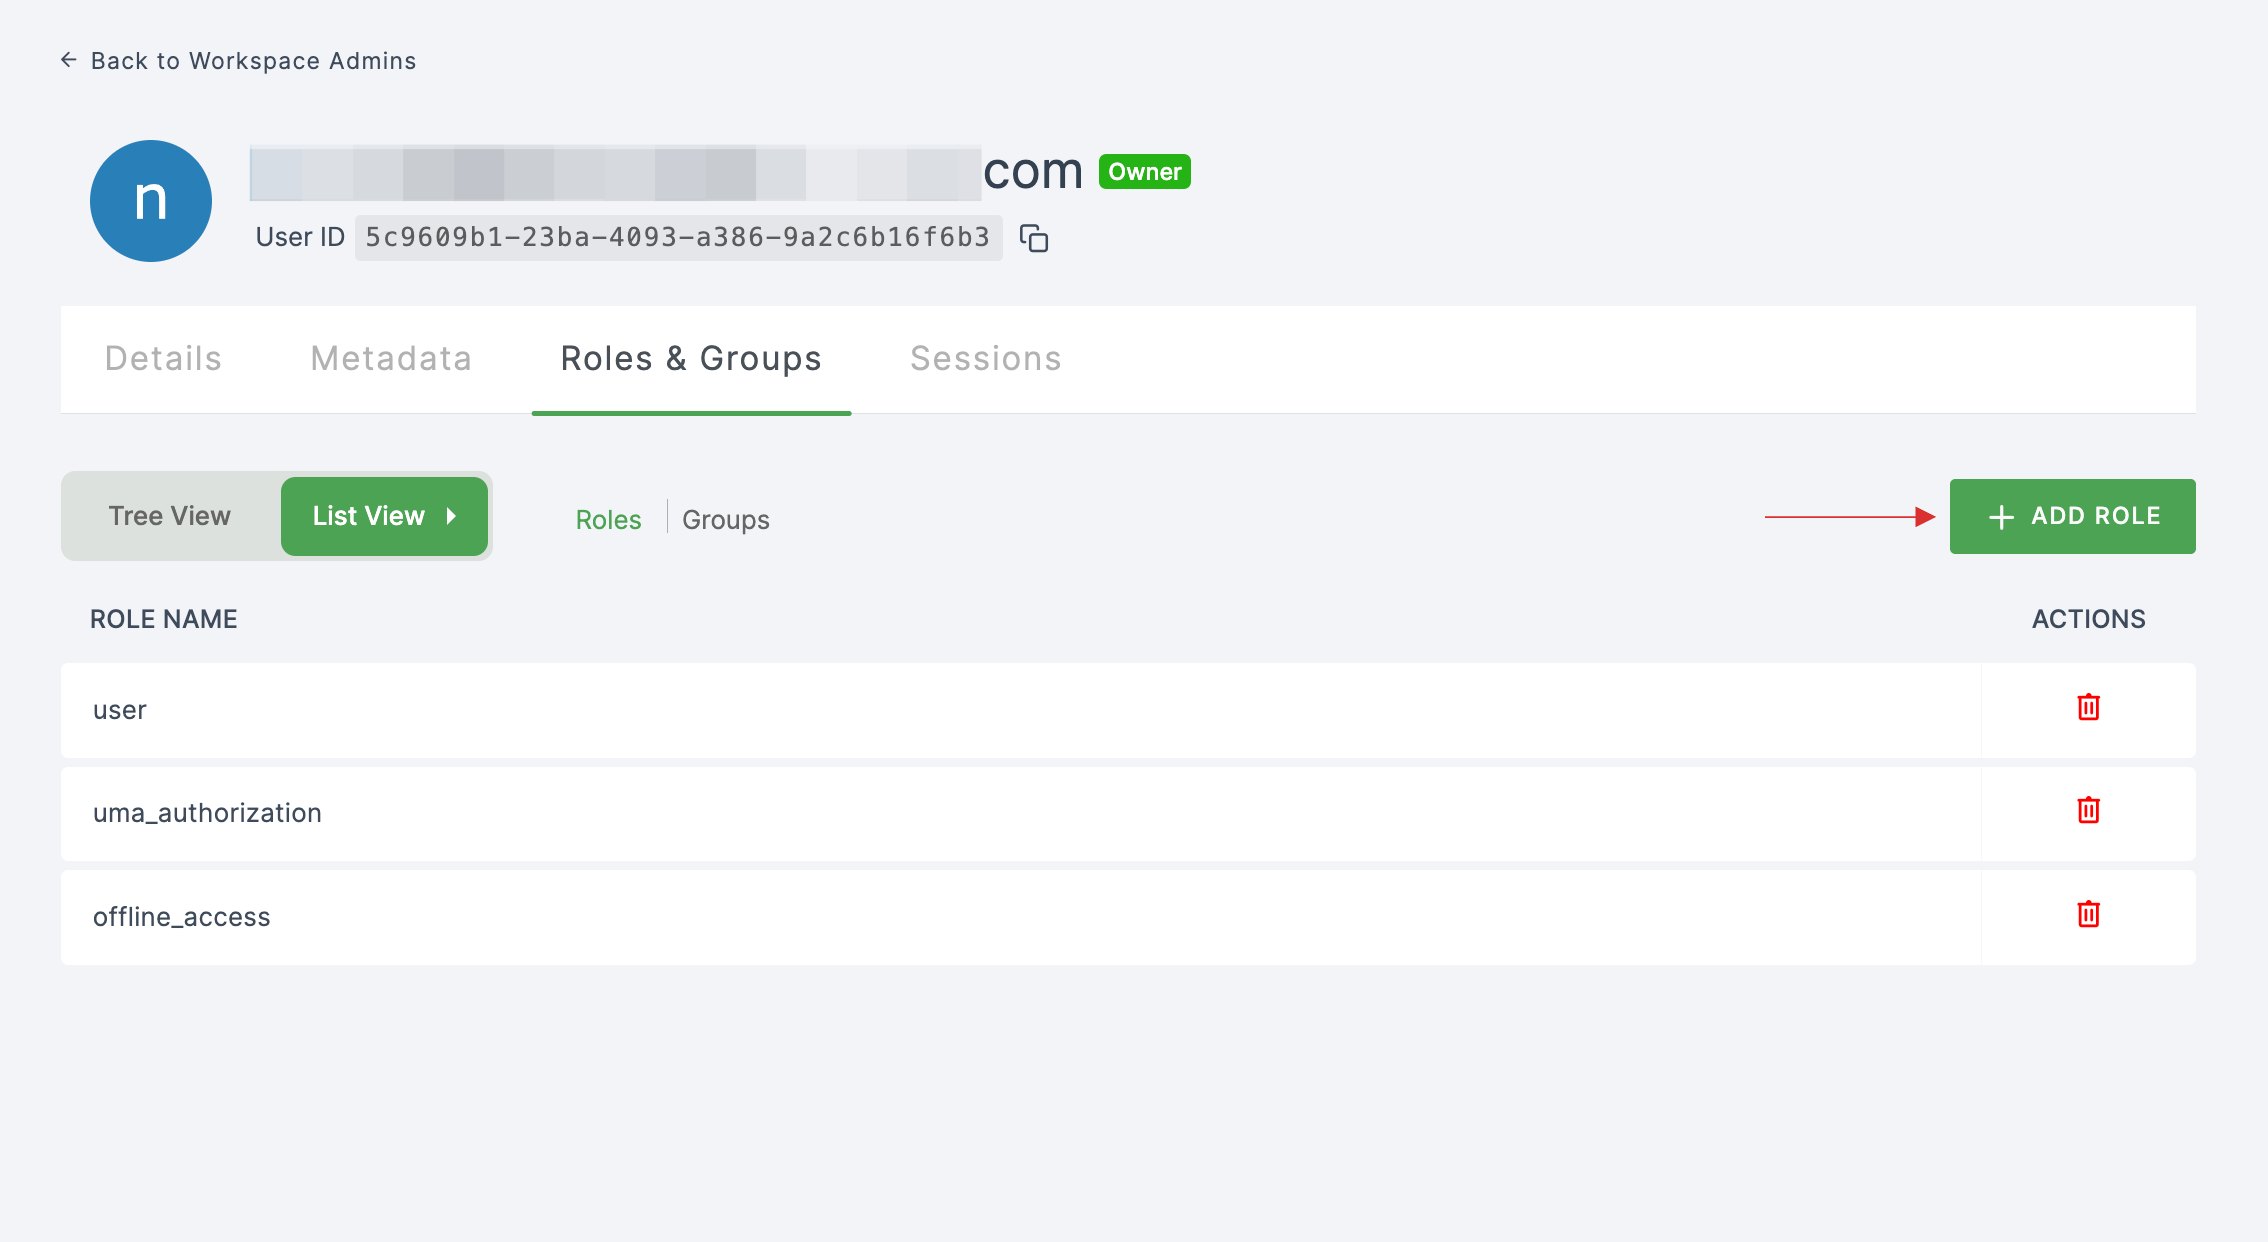
23 You will be taken to the user's Details tab, click on Roles & Groups.
24 Select List View and click on + ADD ROLE.
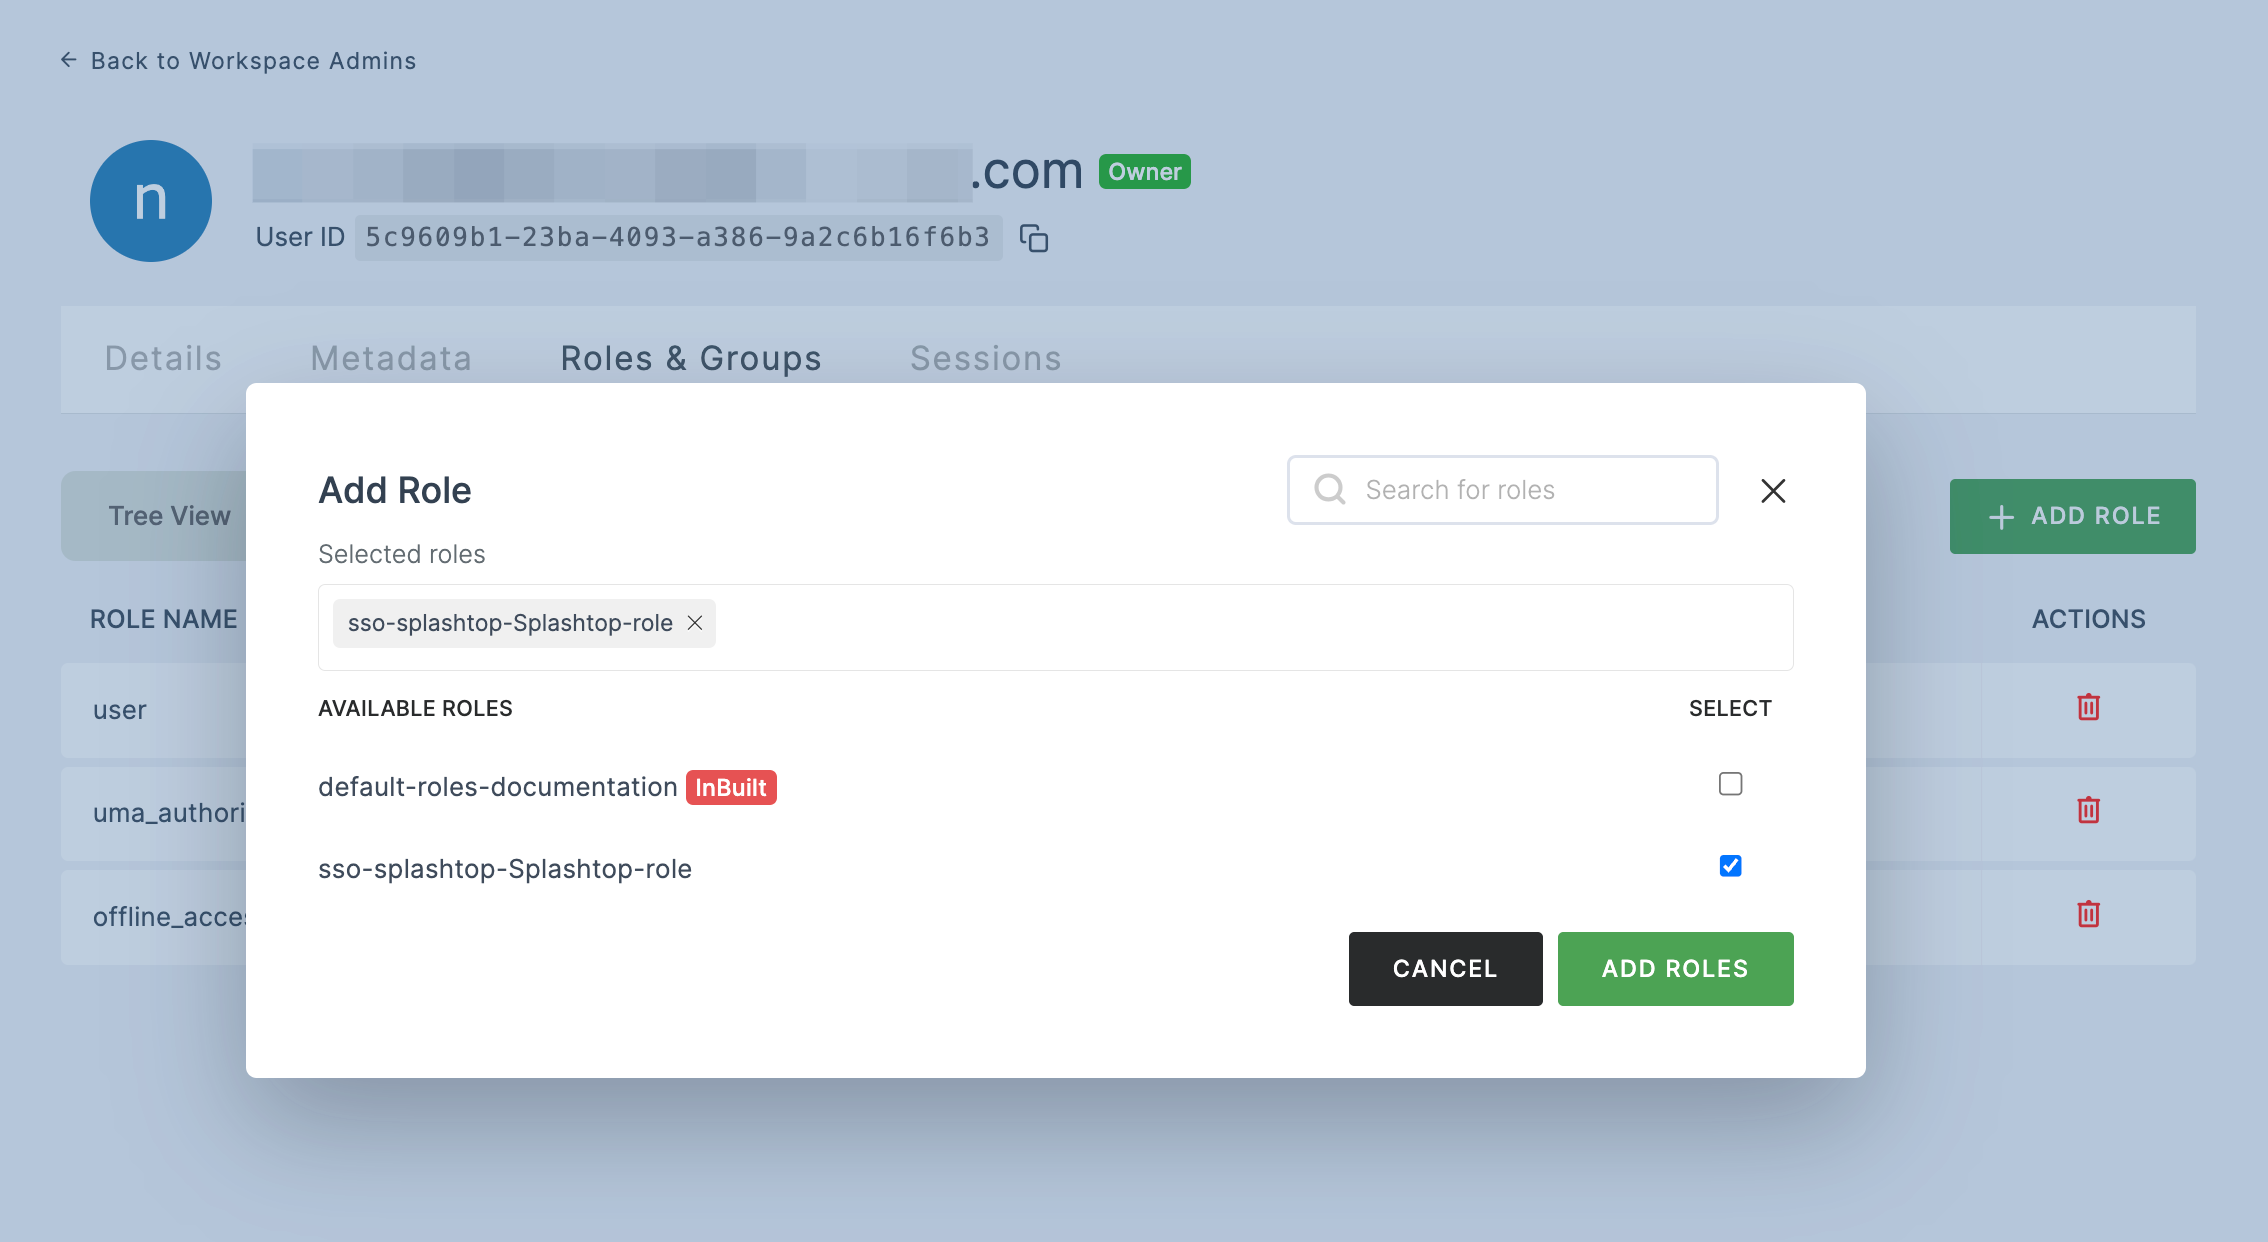
25 The available roles will appear; select sso-splashtop-Splashtop-role and click on ADD ROLES.
26 To verify whether SSO has been successfully enabled, go to Applications > SSO, click on SSO DASHBOARD button.
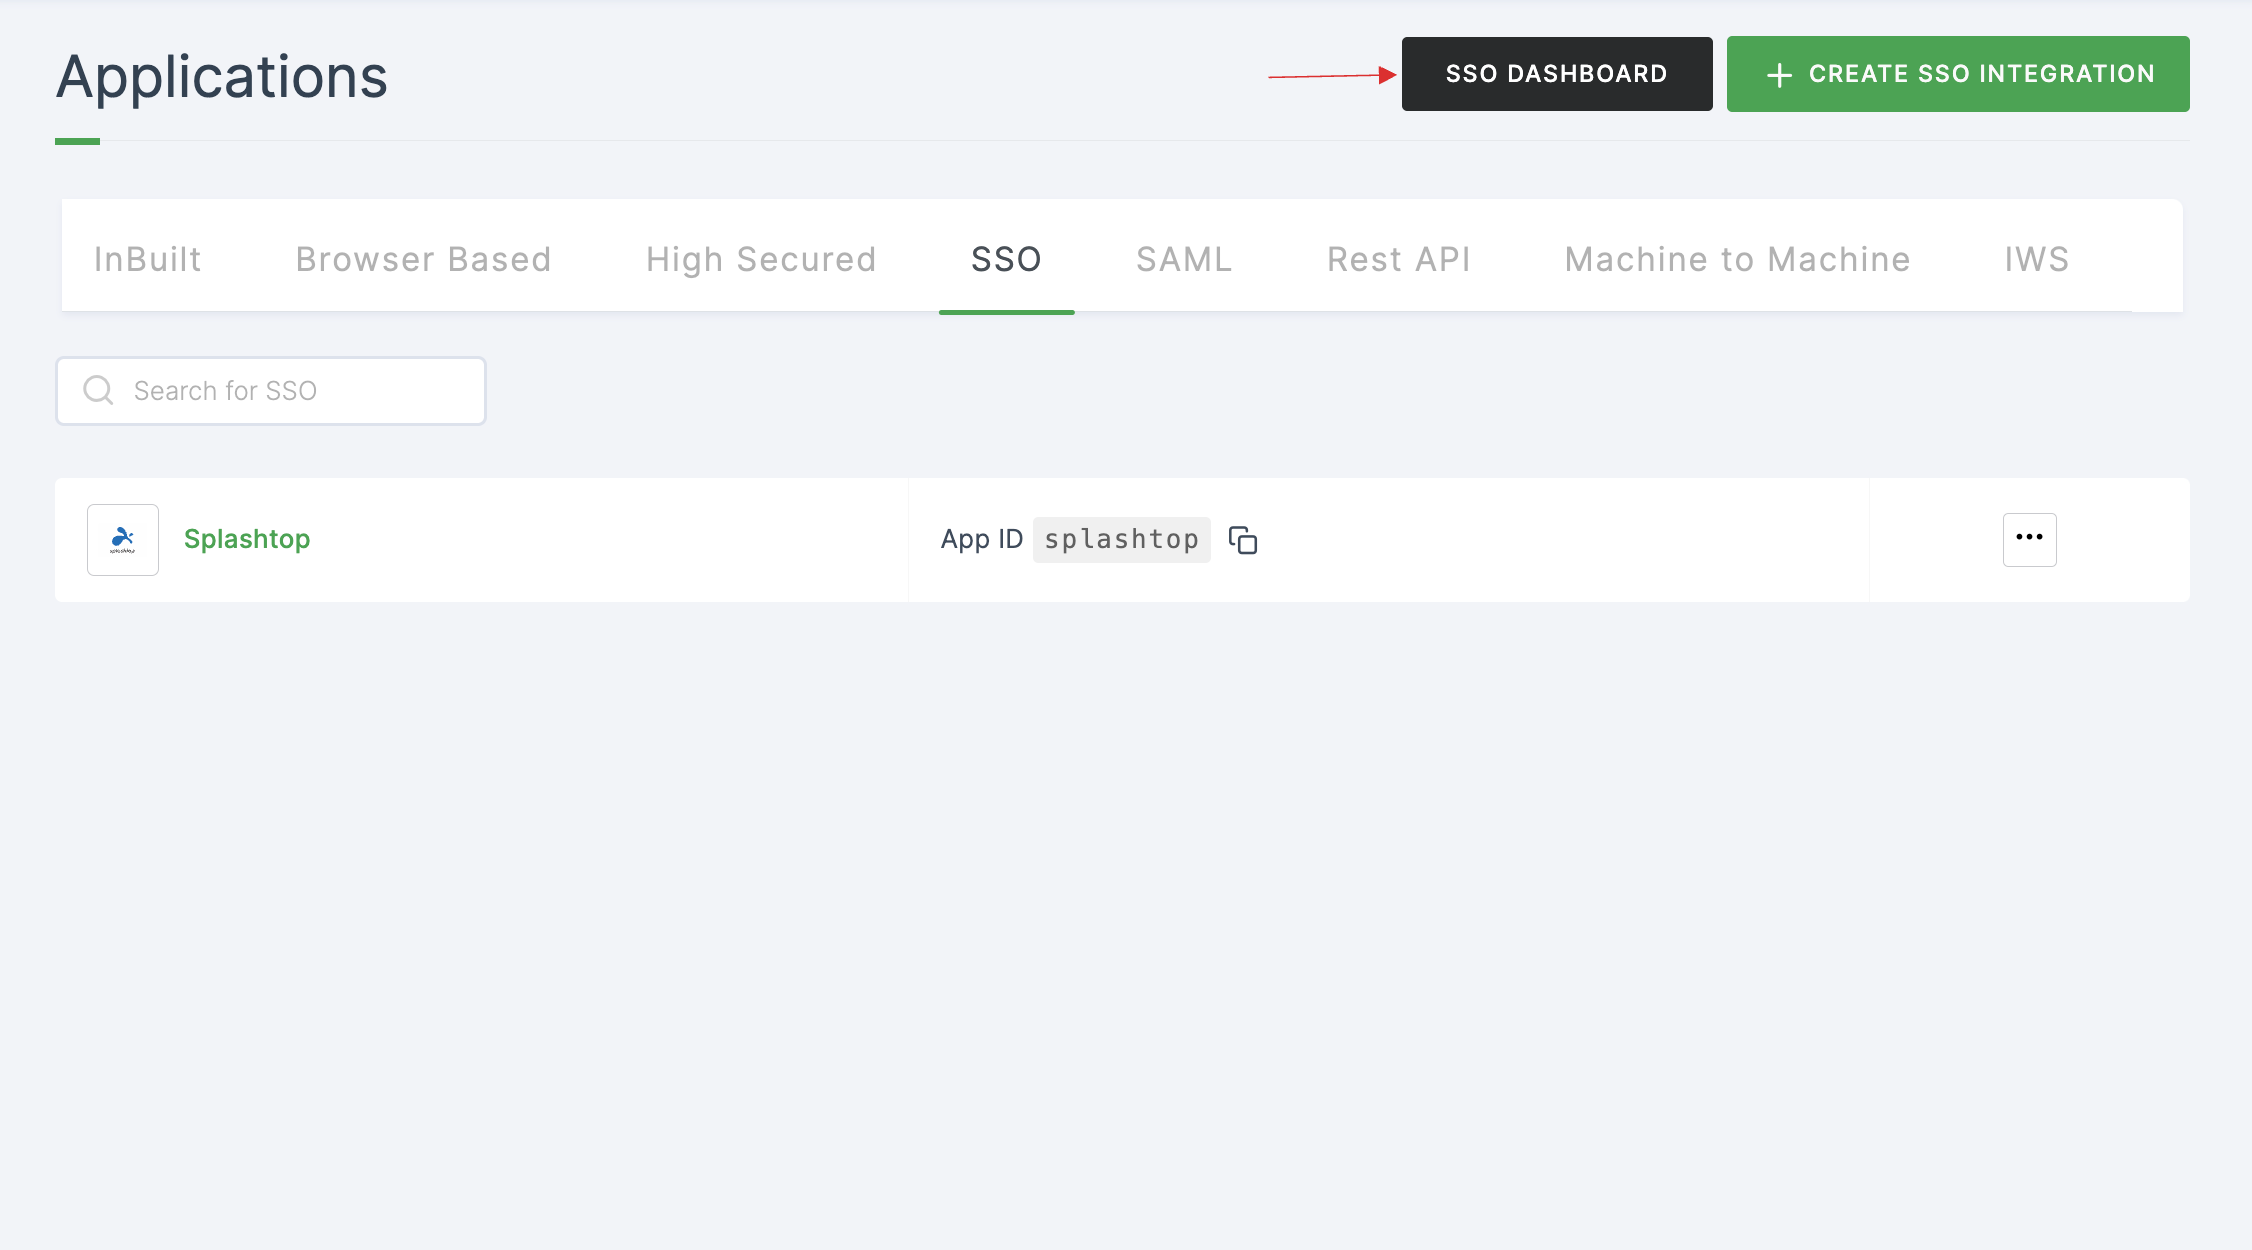
27 The Splashtop SSO will be enabled successfully.
