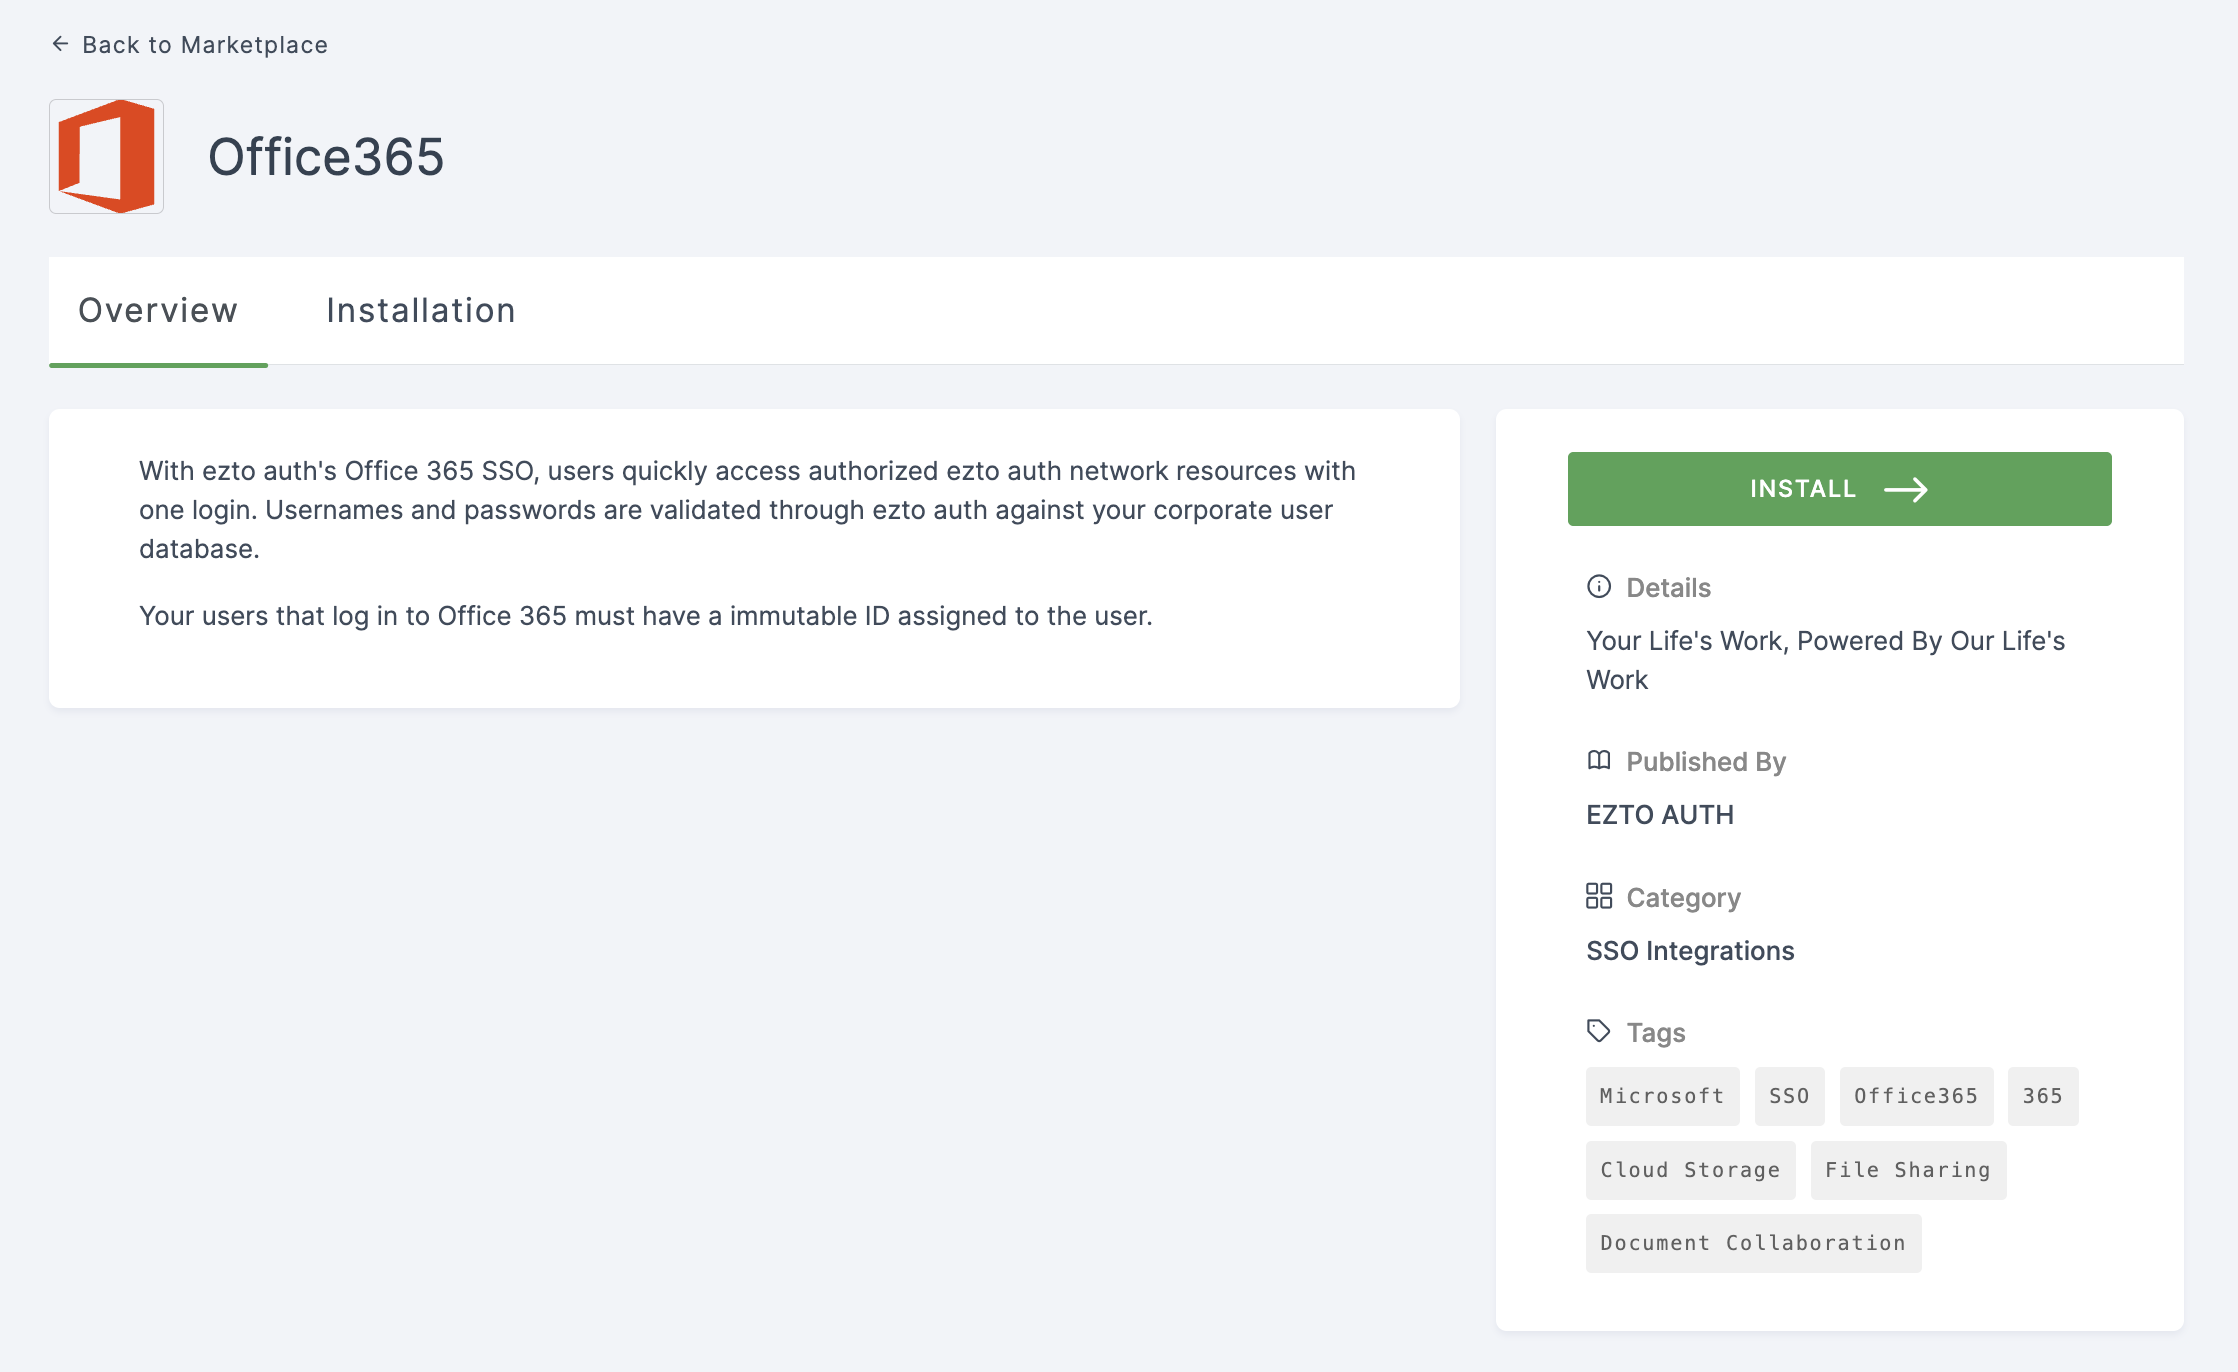
Office365
It seamlessly integrates collaboration tools with productivity applications from Microsoft 365, complemented by a suite of cloud services and security features.
Users logging into Office365 must be assigned an immutable ID.
1 Go to Dashboard > Marketplace > SSO Integrations.

2 Select Office365 from the list.
3 You'll land on the overview page, with an additional tab: Installation (providing a step-by-step installation guide).
4 Click on INSTALL.
5 Provide a distinctive Name for the Office365 SSO flow and input the Domain Name. Add the domain registered with your Office365 account.
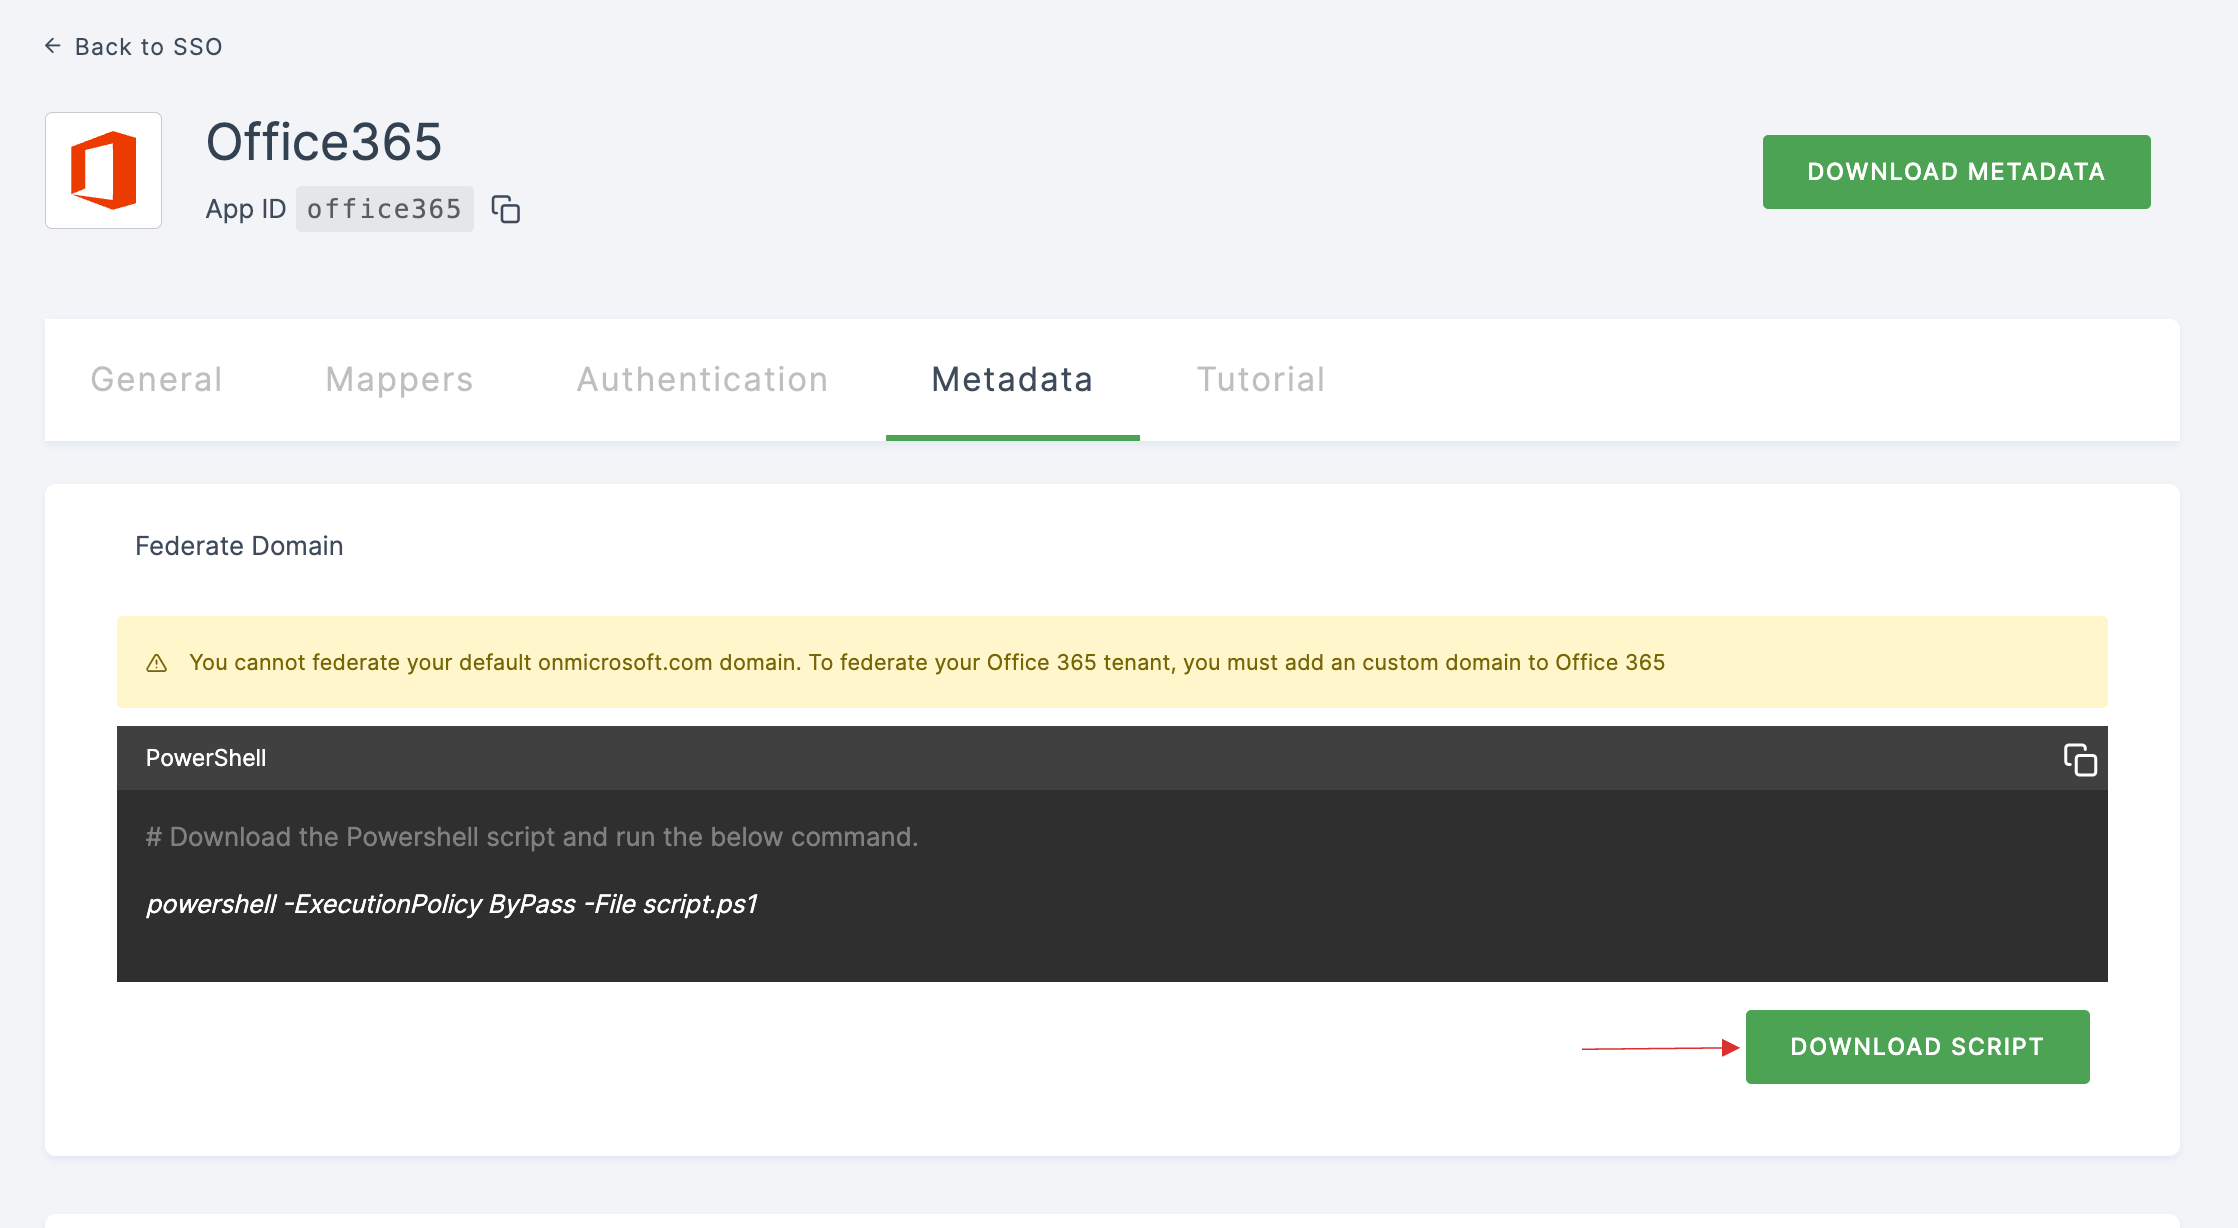
You cannot federate your default domain. To federate your Office365 Workspace, you must add a custom domain to Office365.
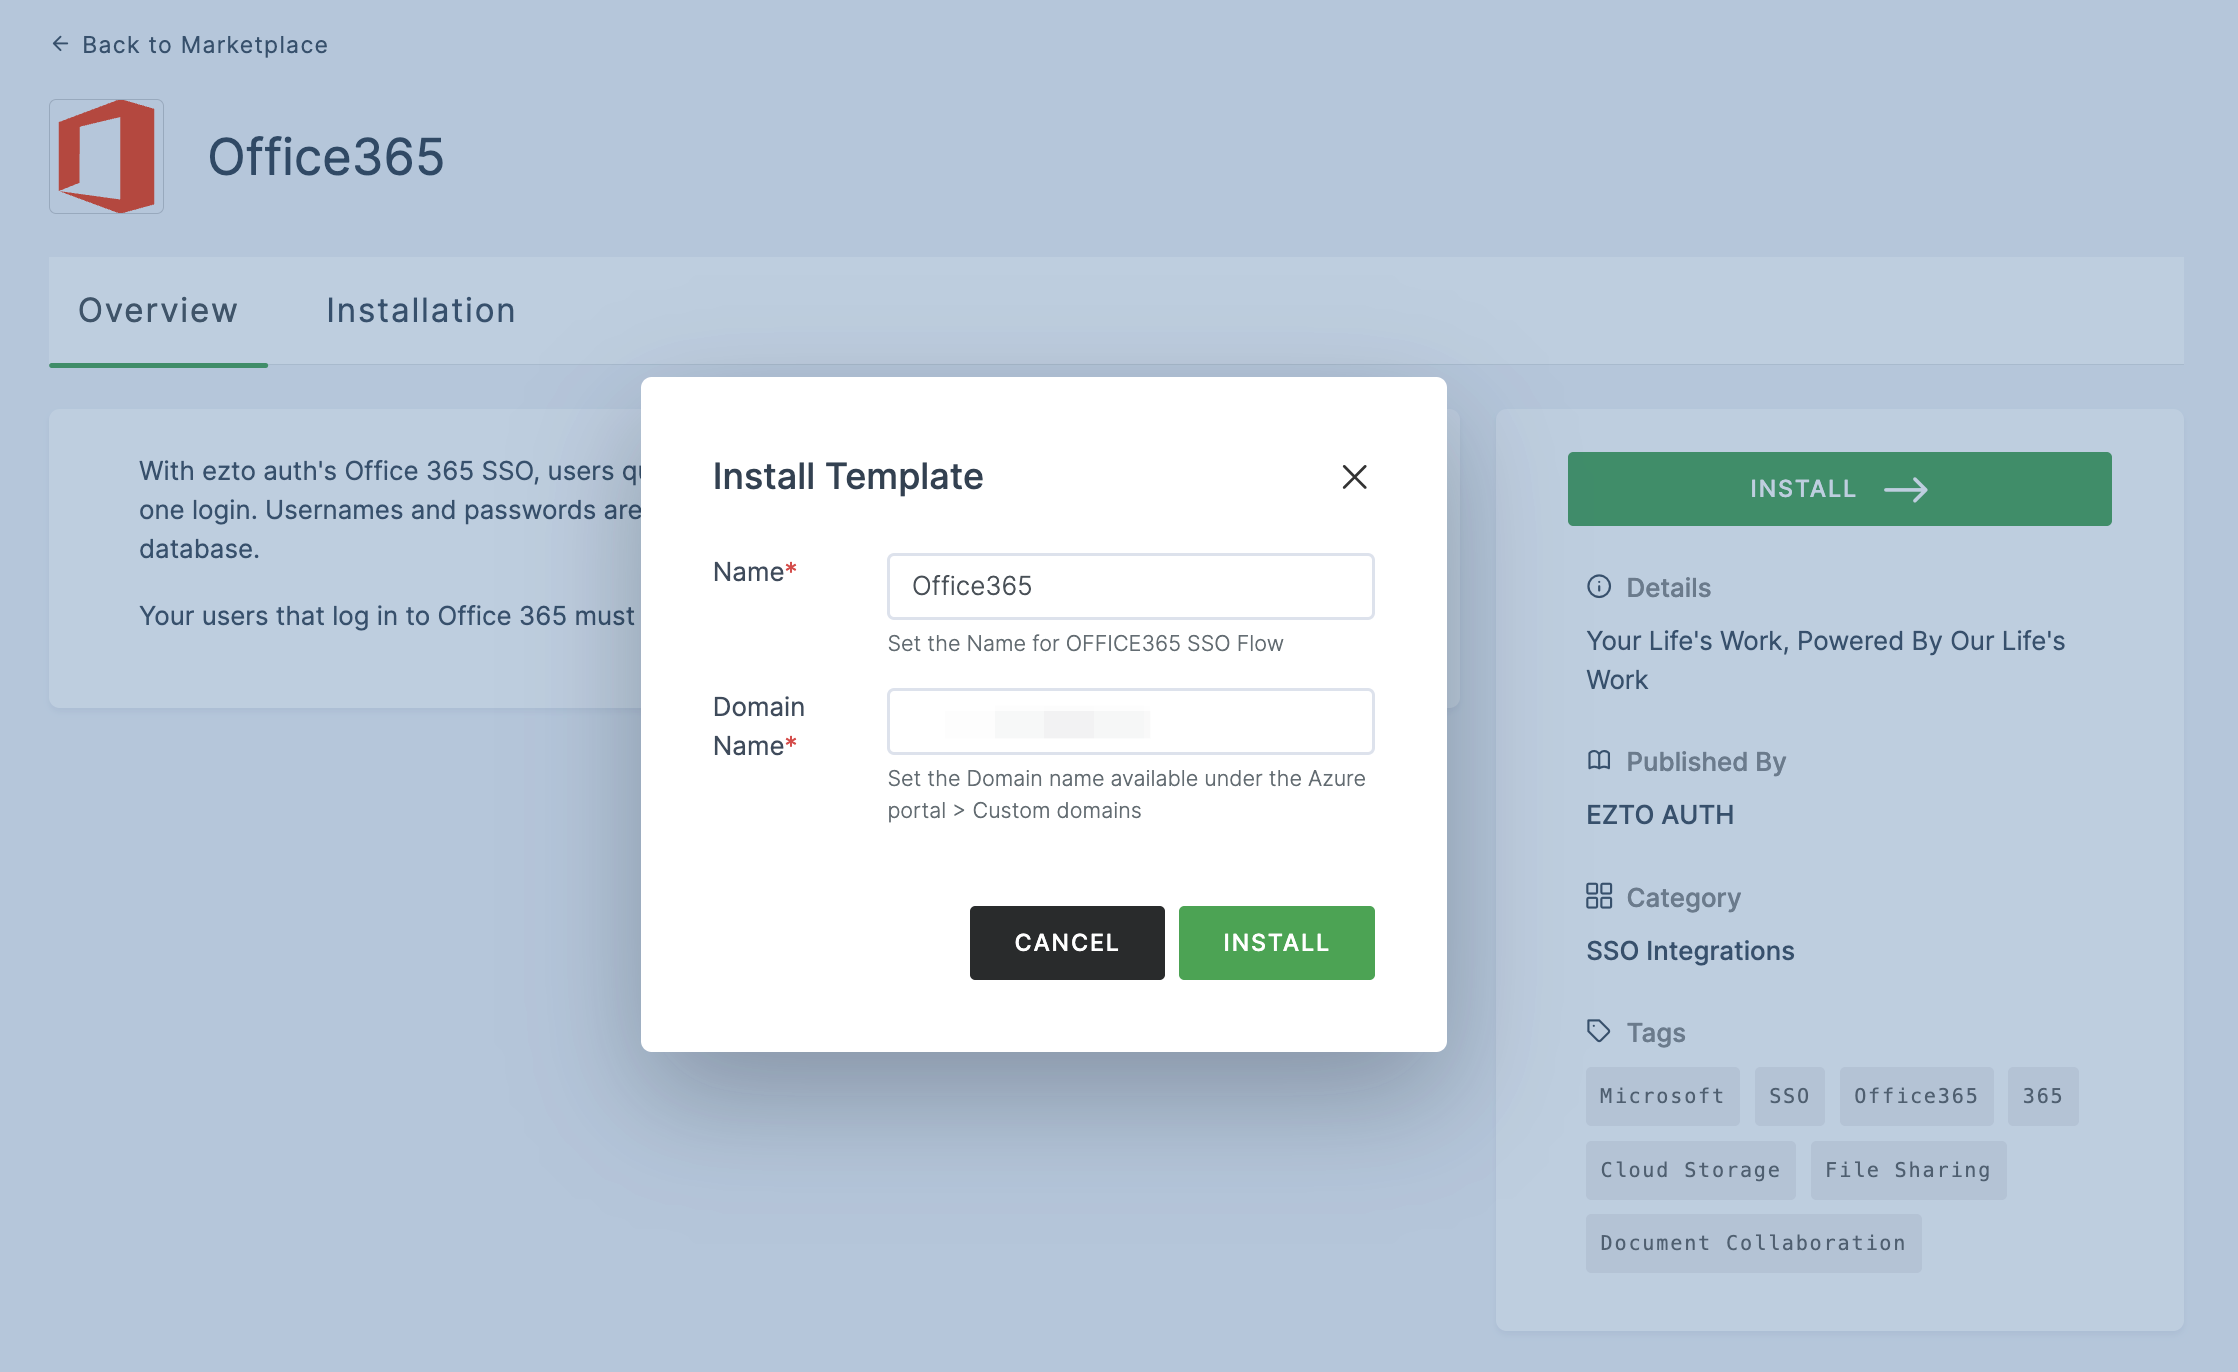
6 Once the configurations are provided, click on INSTALL.
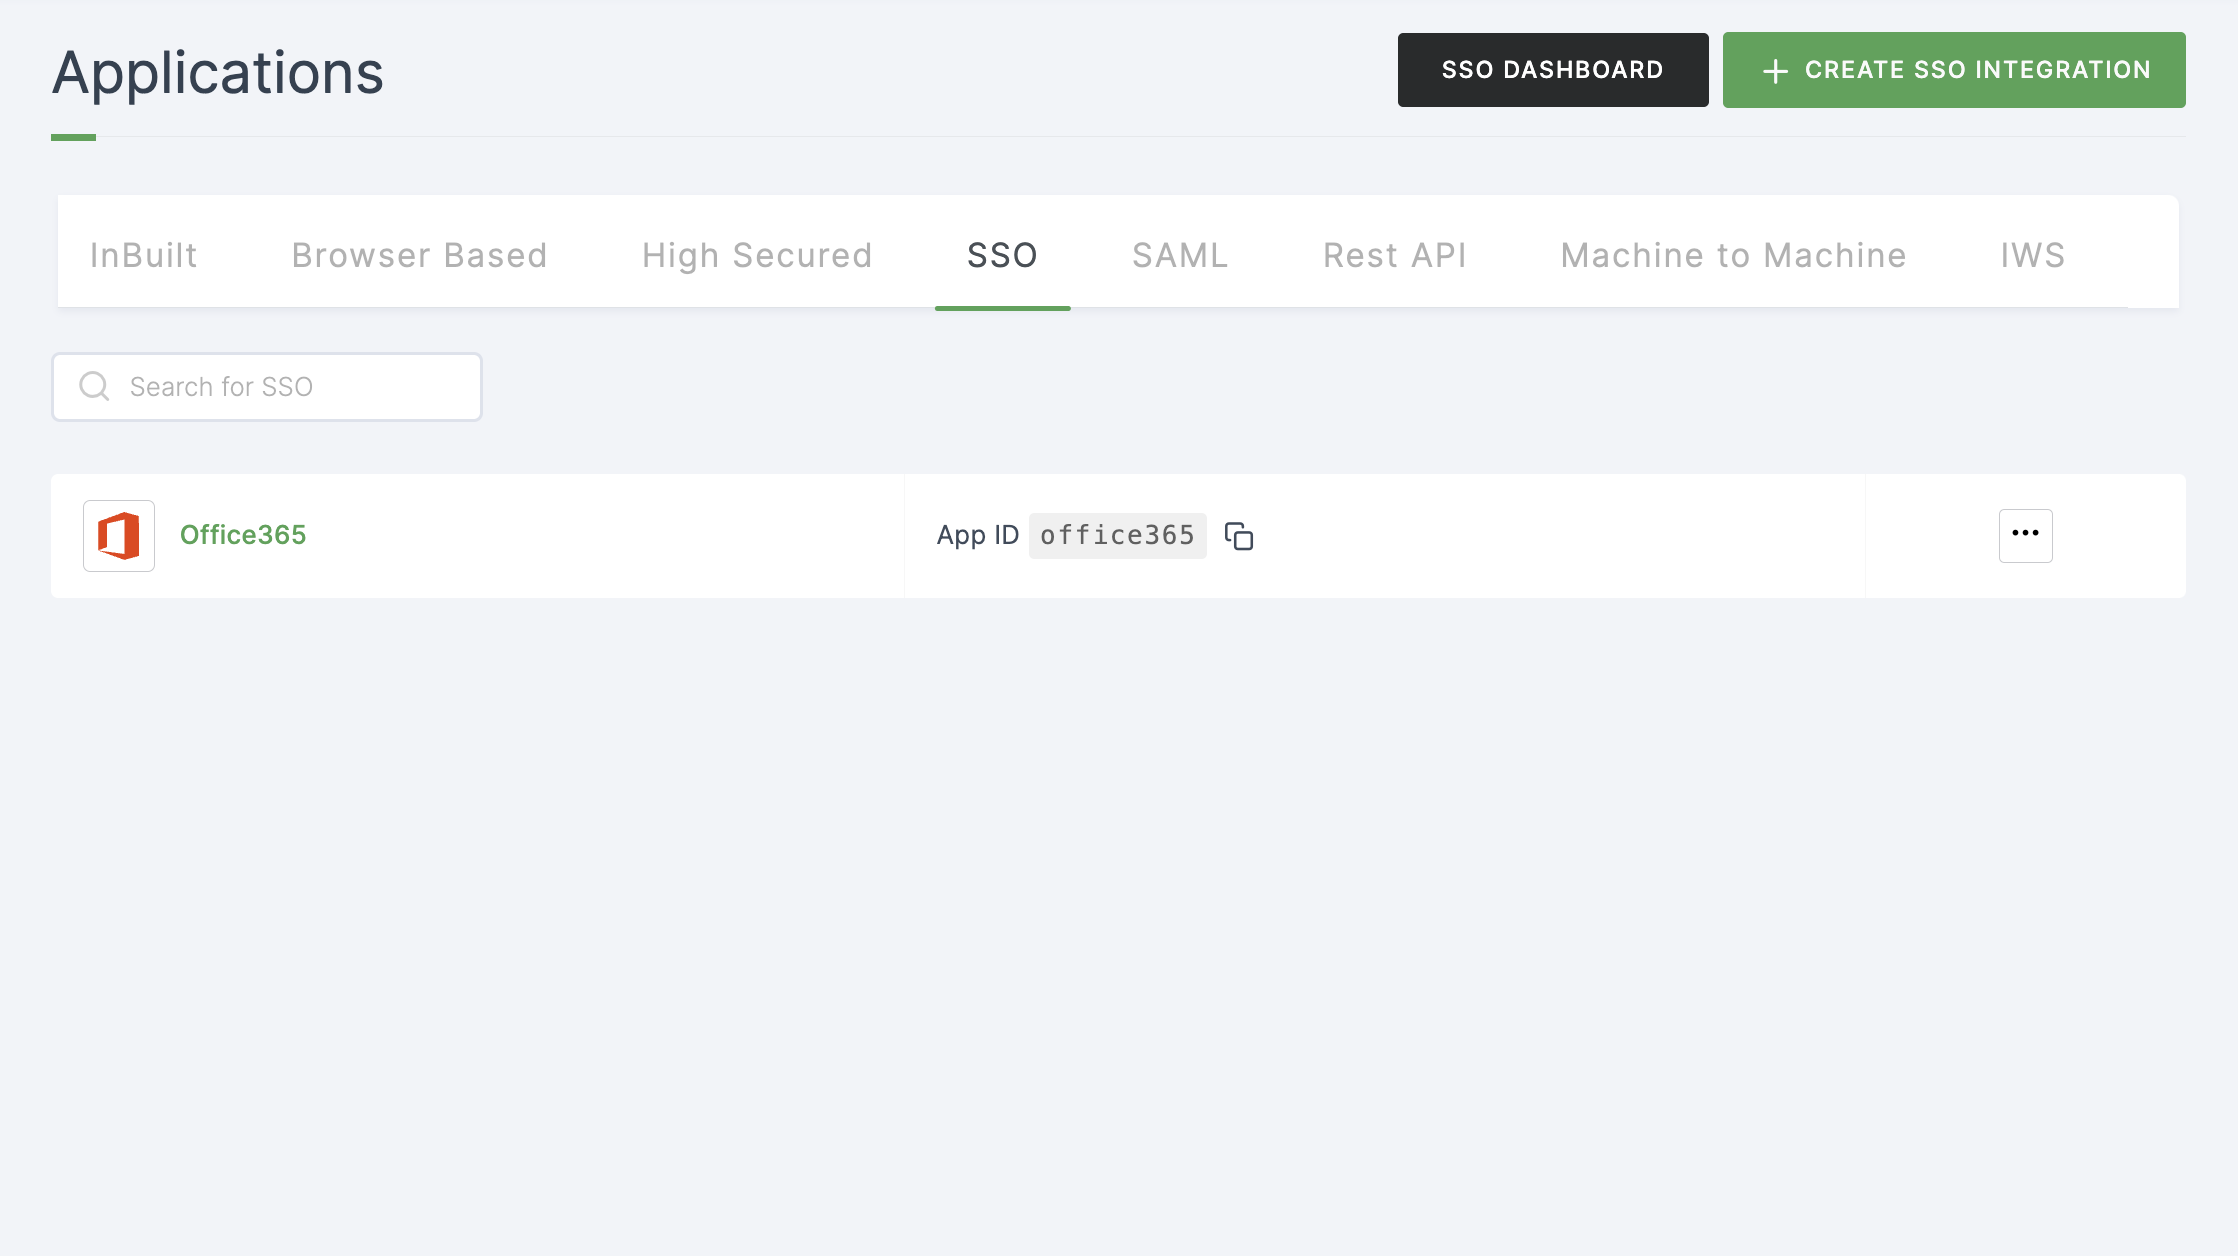
7 To enable Office365 SSO login, go to Applications > SSO, and select on the created Office365 SSO.
8 Click on Metadata, where the script for the particular SSO will be available. Click on DOWNLOAD SCRIPT.
9 Go to Window Machine with Powershell with an admin access.
Run the Powershell in Administrator Mode.
10 Execute the following command.
Connect-MgGraph
11 Run the subsequent command.
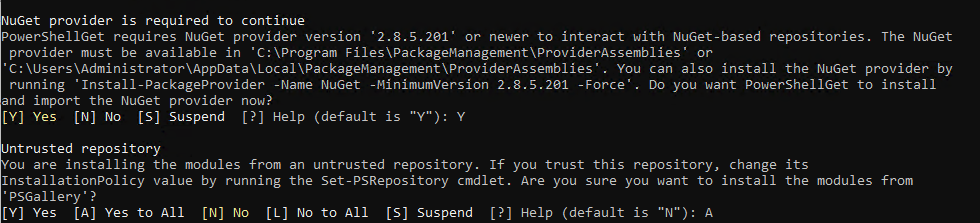
powershell -ExecutionPolicy ByPass -File {{downloaded_script_filename}}.ps1
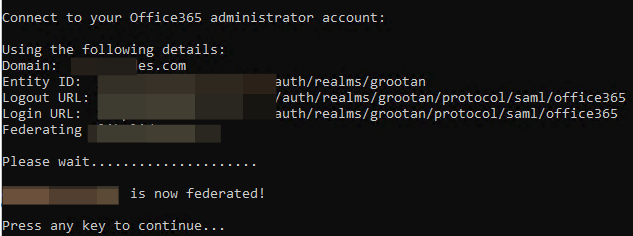
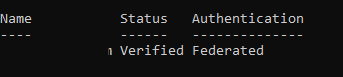
12 Confirm domain federation by running the following command.
Get-MgDomain
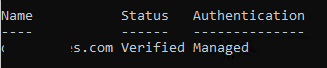
13 Revoke the federated domain with Connect-MgGraph. You'll be prompted for the admin login of your Microsoft 365 account.
Use
Update-MgDomain -DomainId "{{your_domain_name}}" -AuthenticationType "Managed"
with DomainName {{your_domain_name}} to change as Authentication Managed.
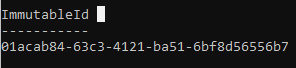
14 Immutable ID is crucial for Microsoft 365 functionality. Check if the user has an immutable ID by running the following command.
Get-MgUser -UserId {{username}} | Select-OnPremisesImmutableId
15 To set Immutable ID, run the following command.
Update-MgUser -UserId "{{userid}}" -OnPremisesImmutableId "{{base64 value}}" `
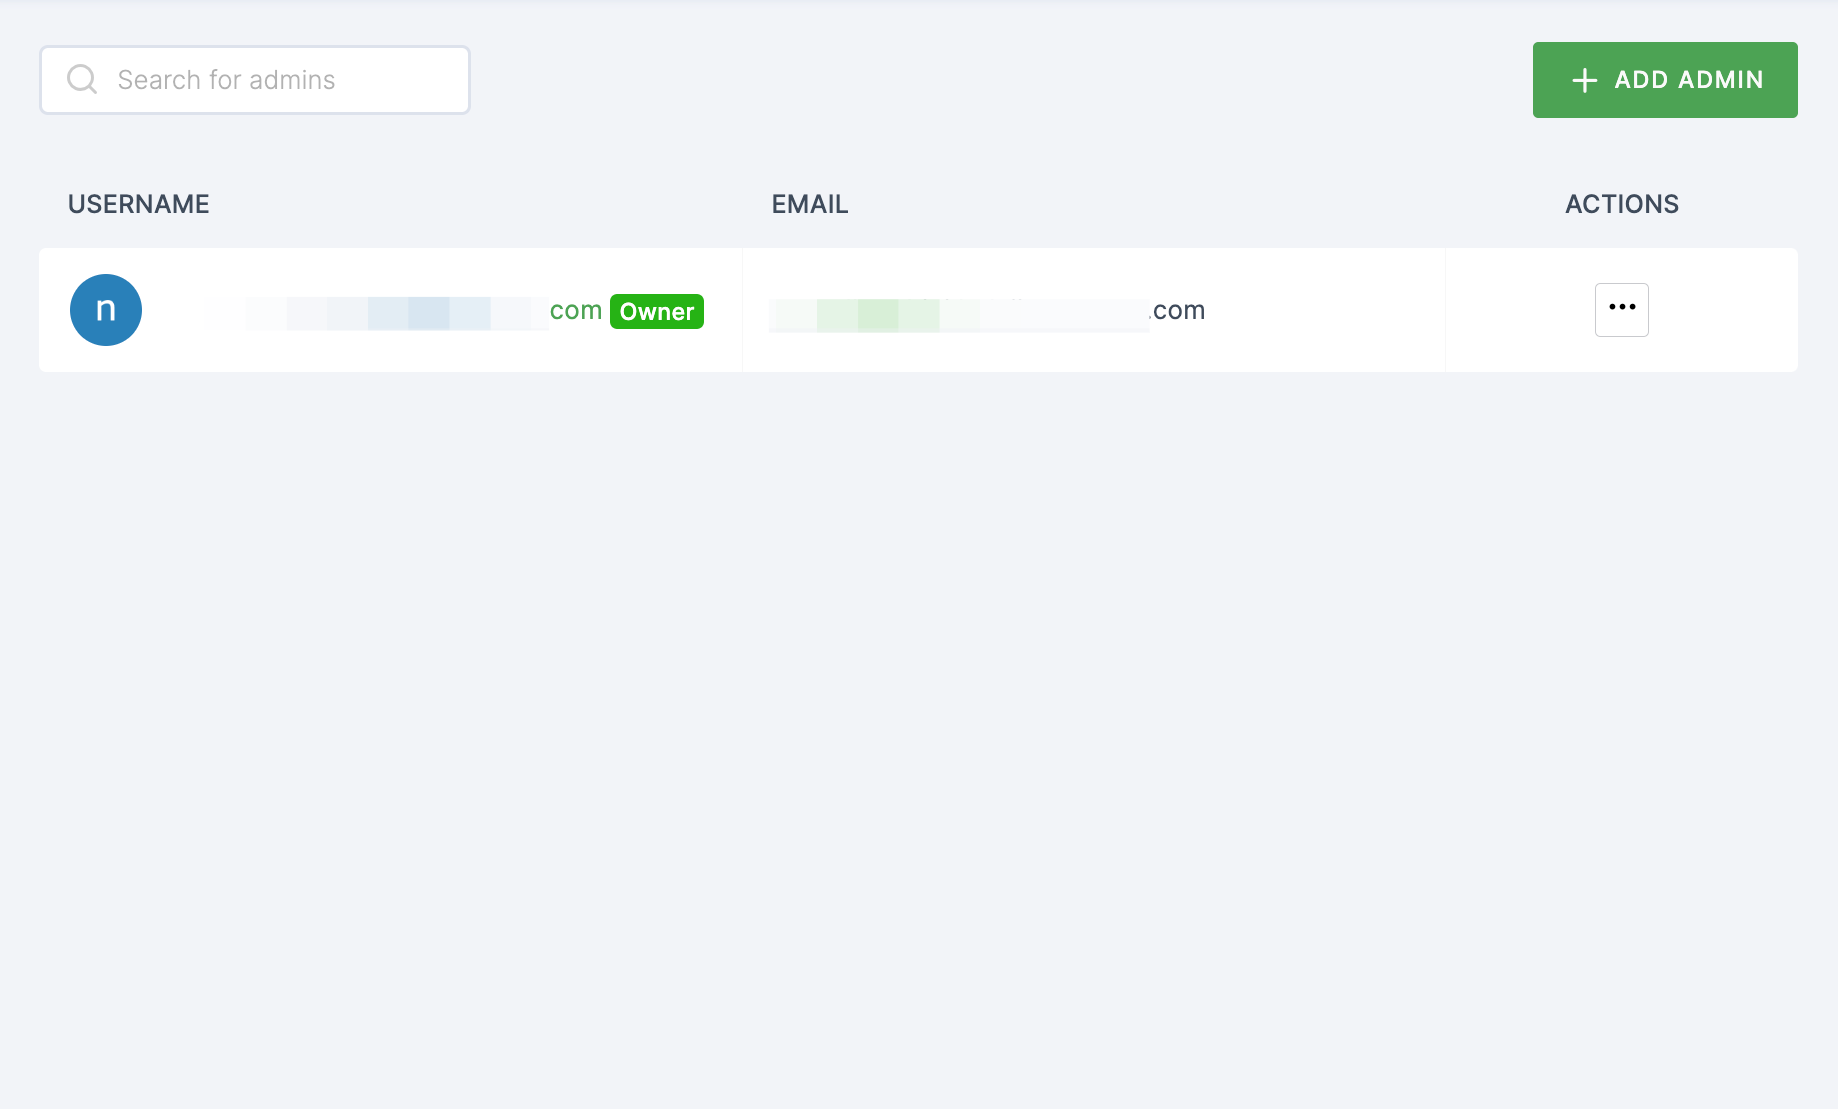
16 Return to your dashboard, assign a user with Office365 role. To do so, navigate to Users or Workspace Admins, click on the user you want to assign the role.
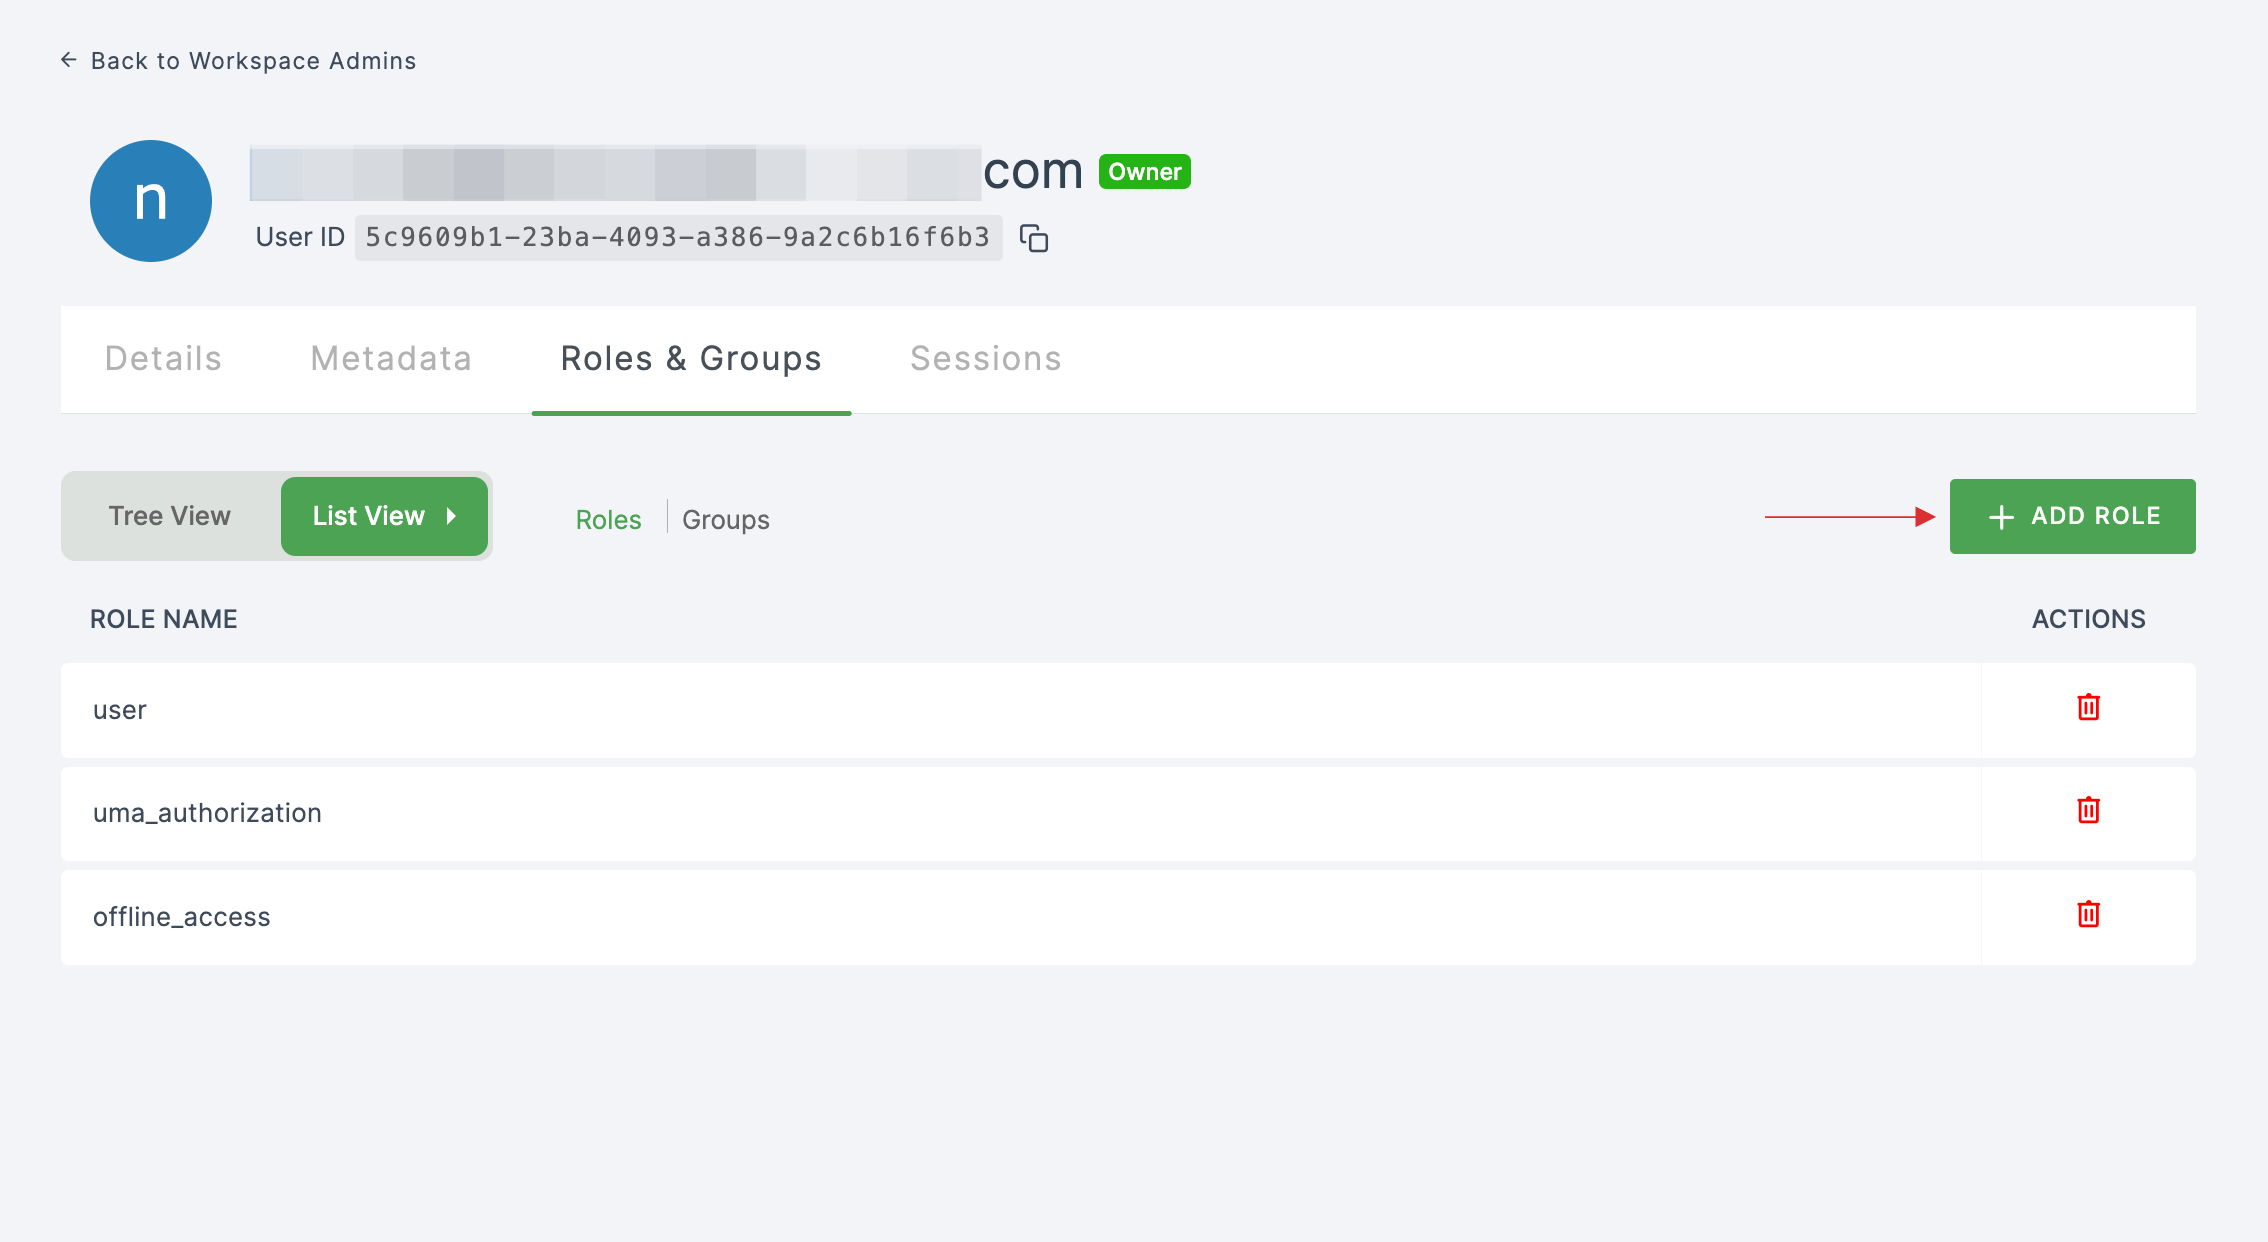
17 You will be taken to the user's Details tab, click on Roles & Groups.
18 Select List View and click on + ADD ROLE.
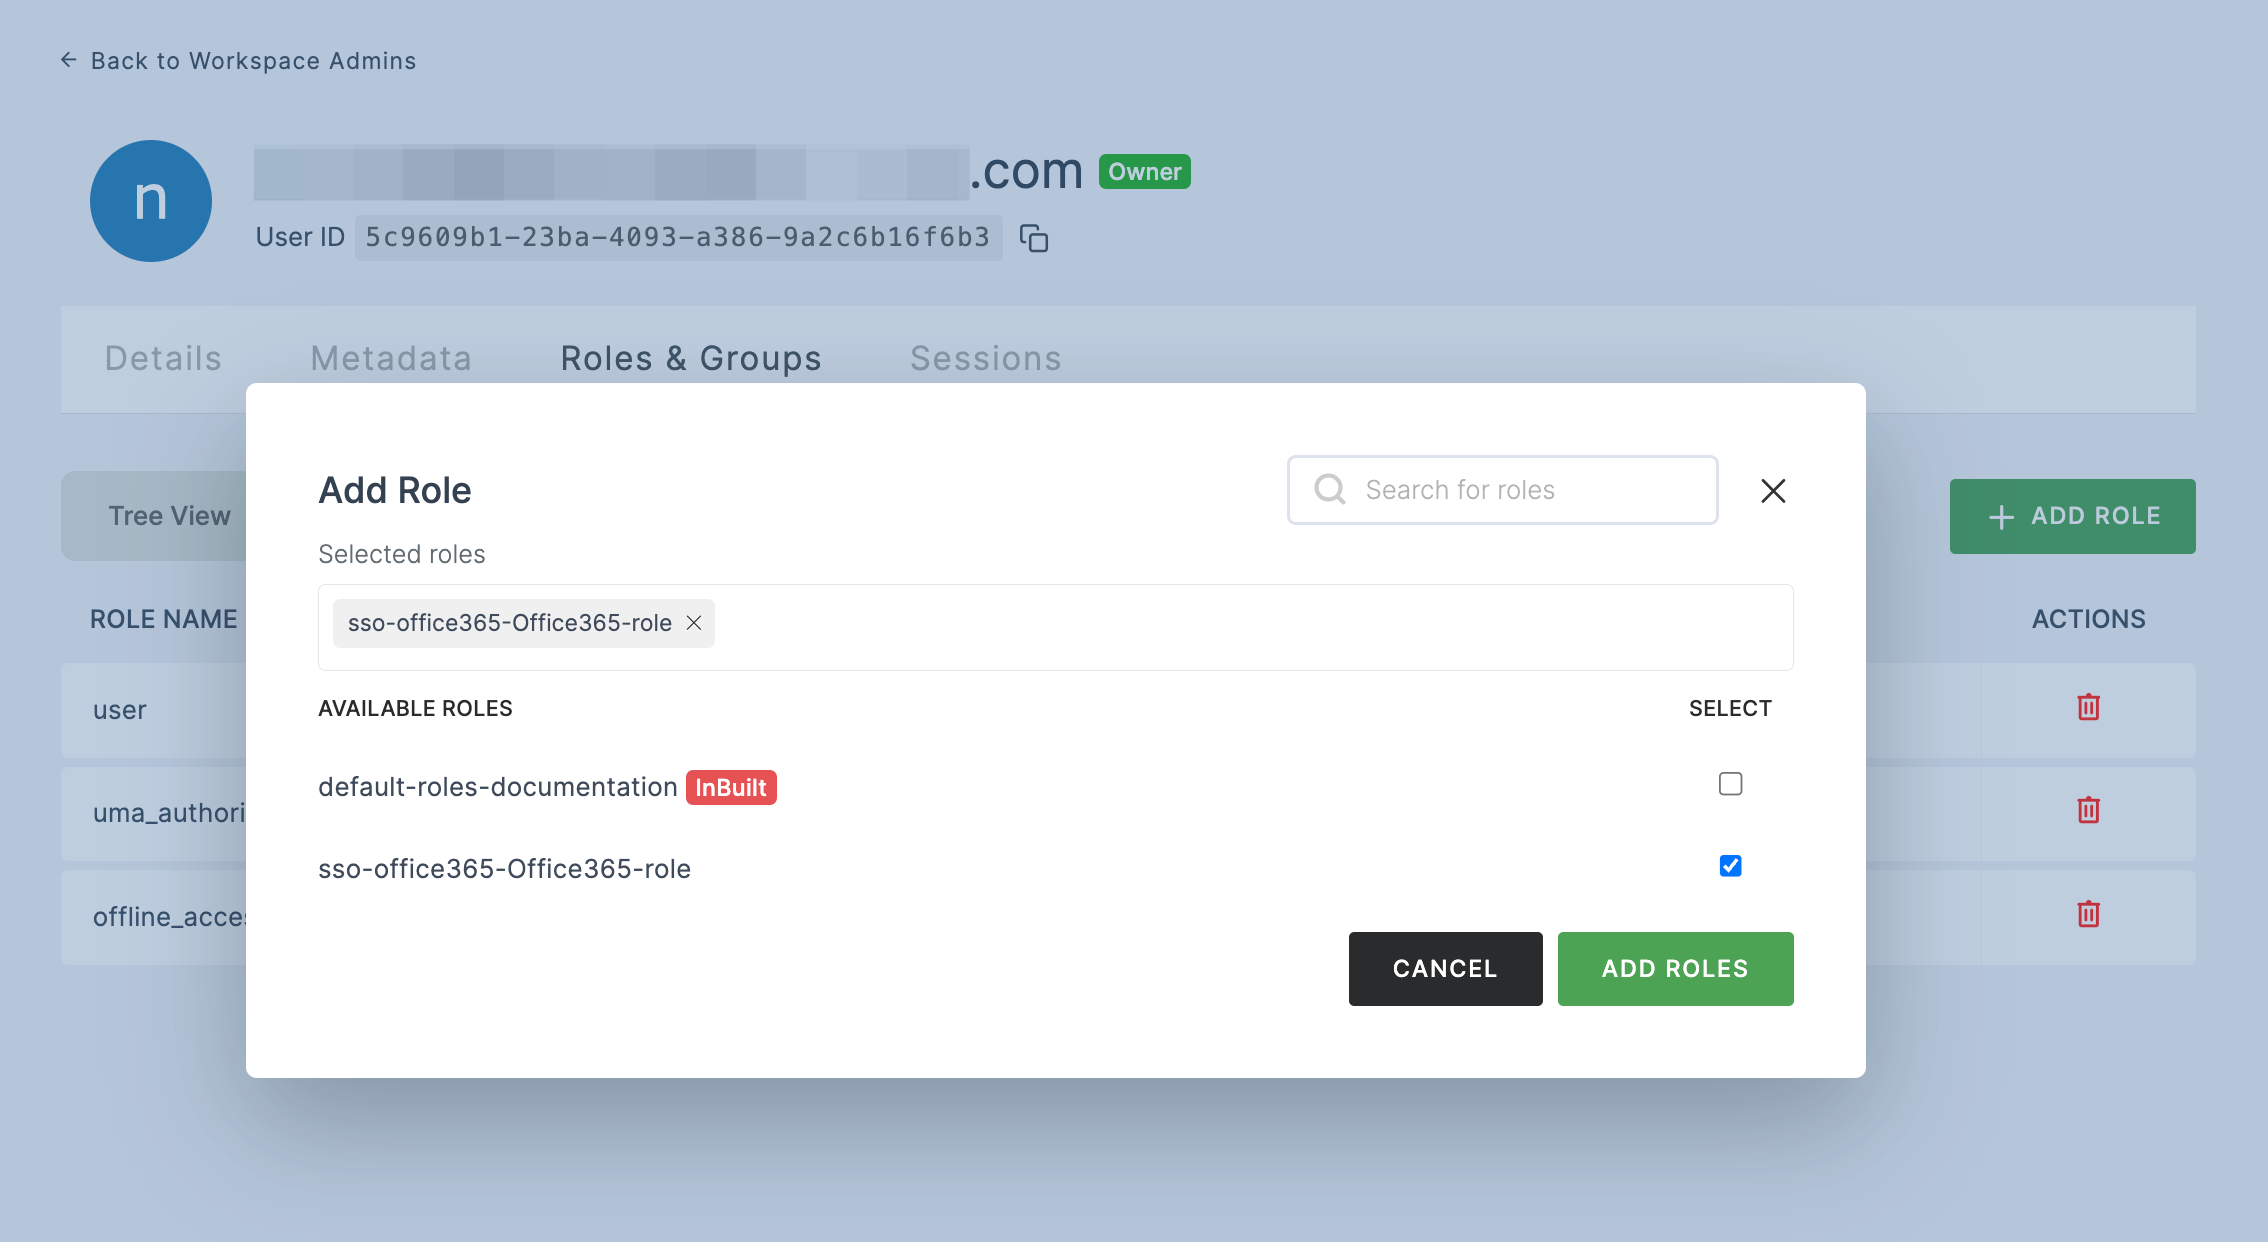
19 The available roles will appear; select sso-office365-Office365-role and click on ADD ROLES.
20 To verify whether SSO has been successfully enabled, go to Applications > SSO, click on SSO DASHBOARD button.

21 The Office365 SSO will be enabled successfully.
