GitLab
GitLab serves as a web-based platform equipped with tools tailored for software development, encompassing functionalities such as version control through Git, continuous integration, and collaborative features.
You must have an account in GitLab.
1 Go to Dashboard > Marketplace > SSO Integrations.
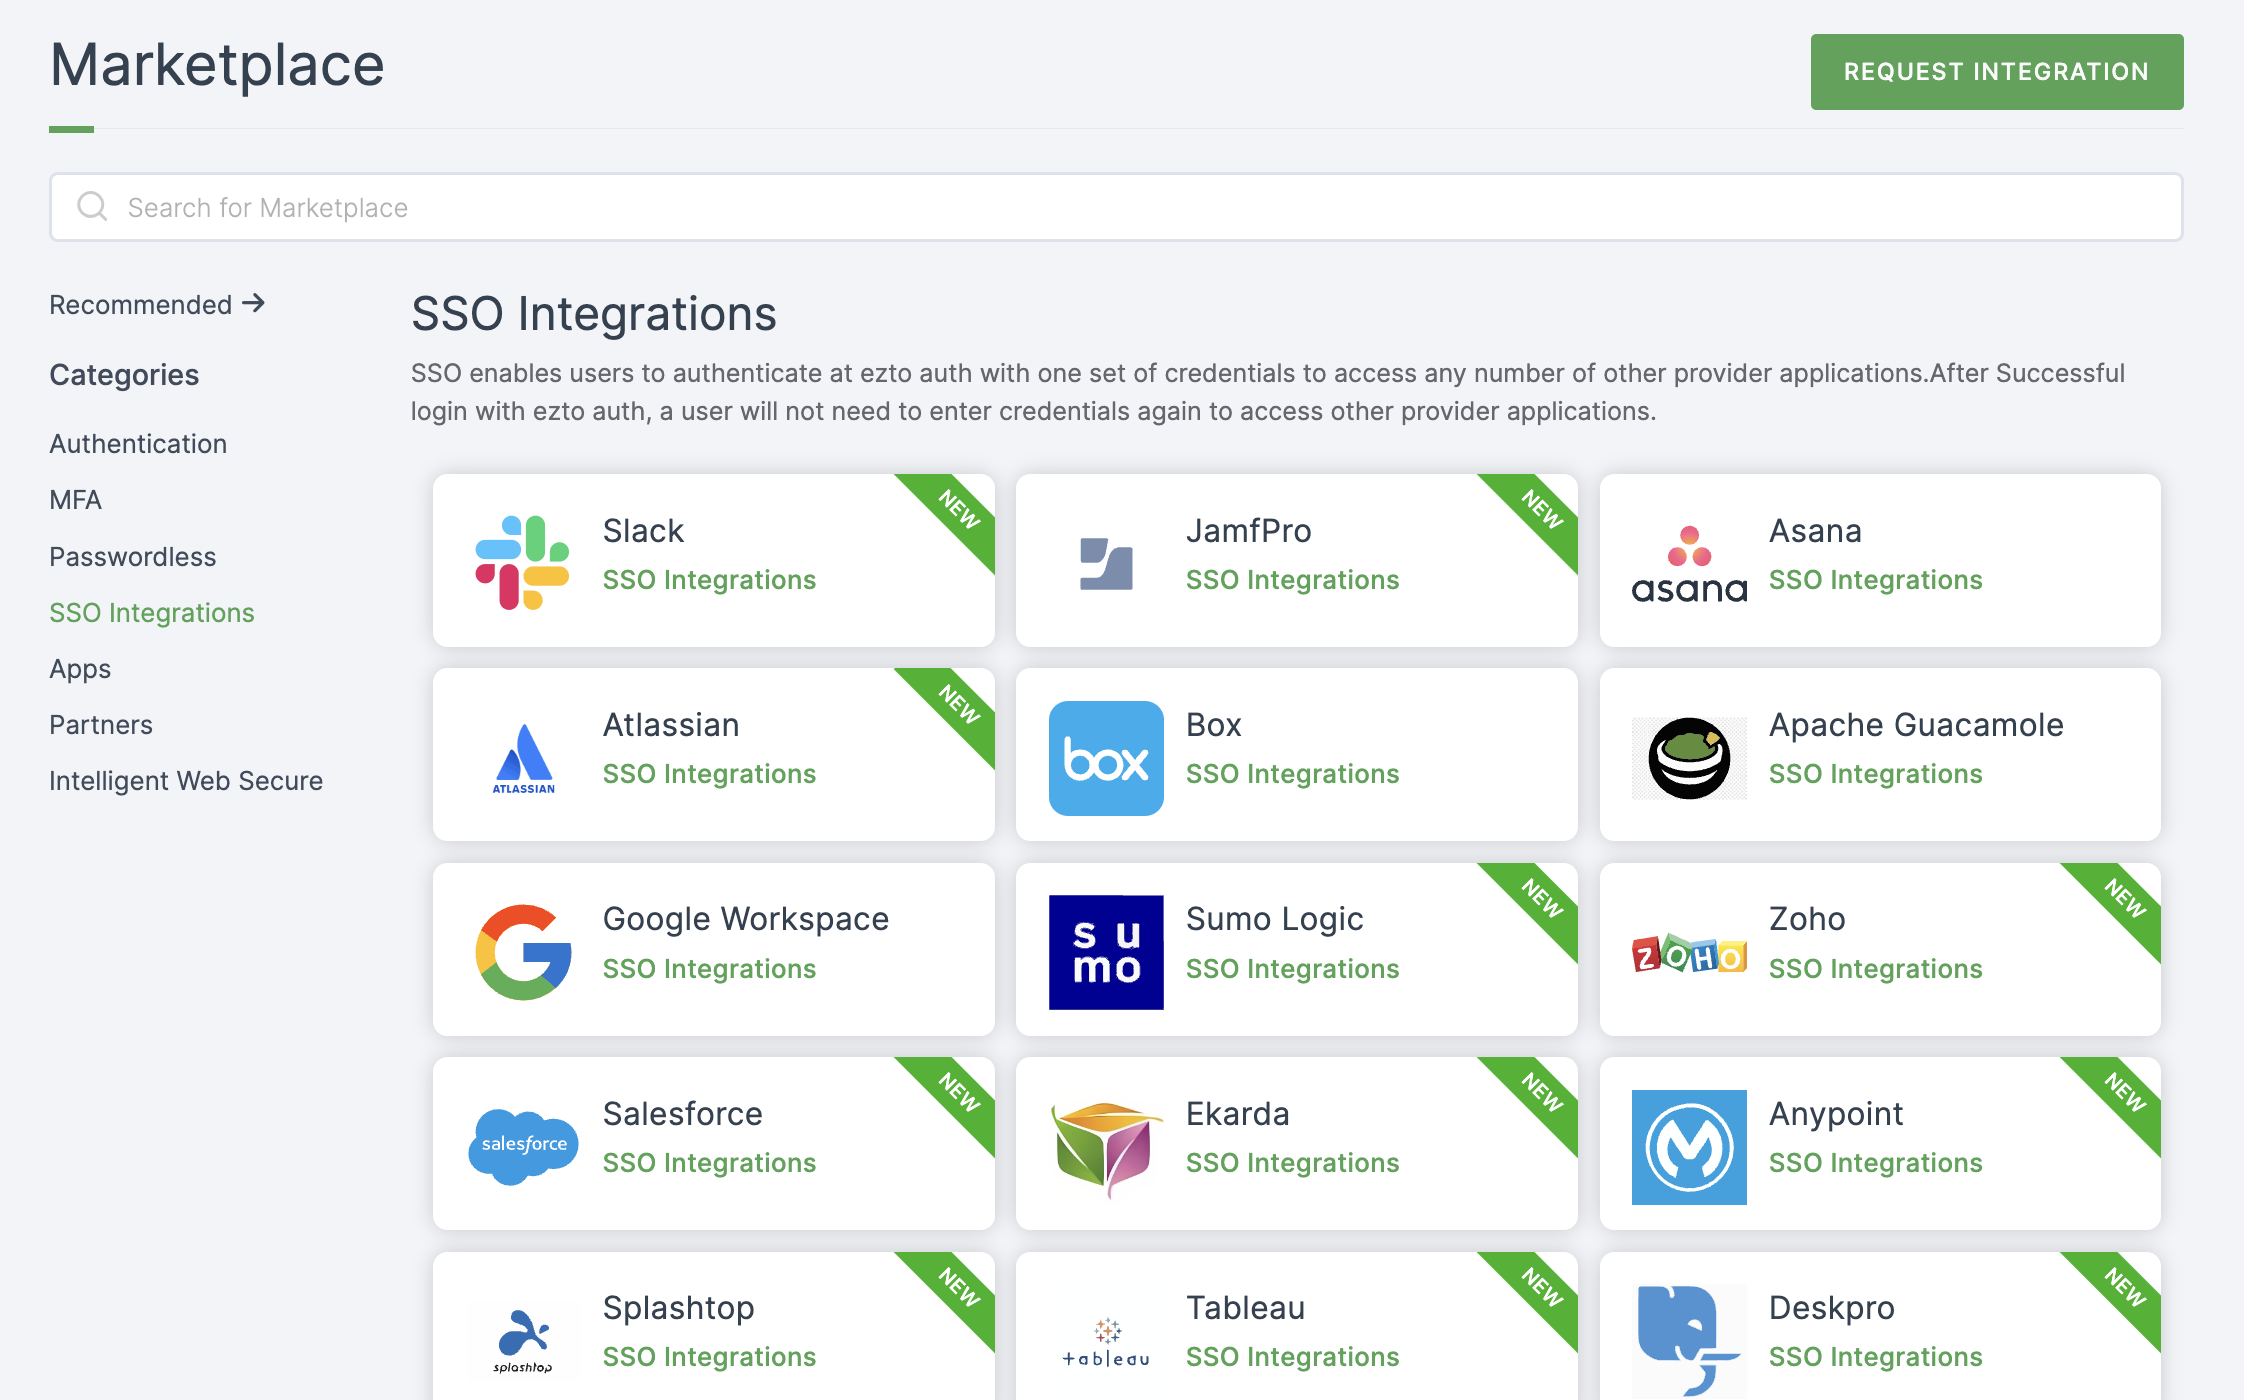
2 Select GitLab from the list.
3 You'll land on the overview page, with an additional tab: Installation (providing a step-by-step installation guide).
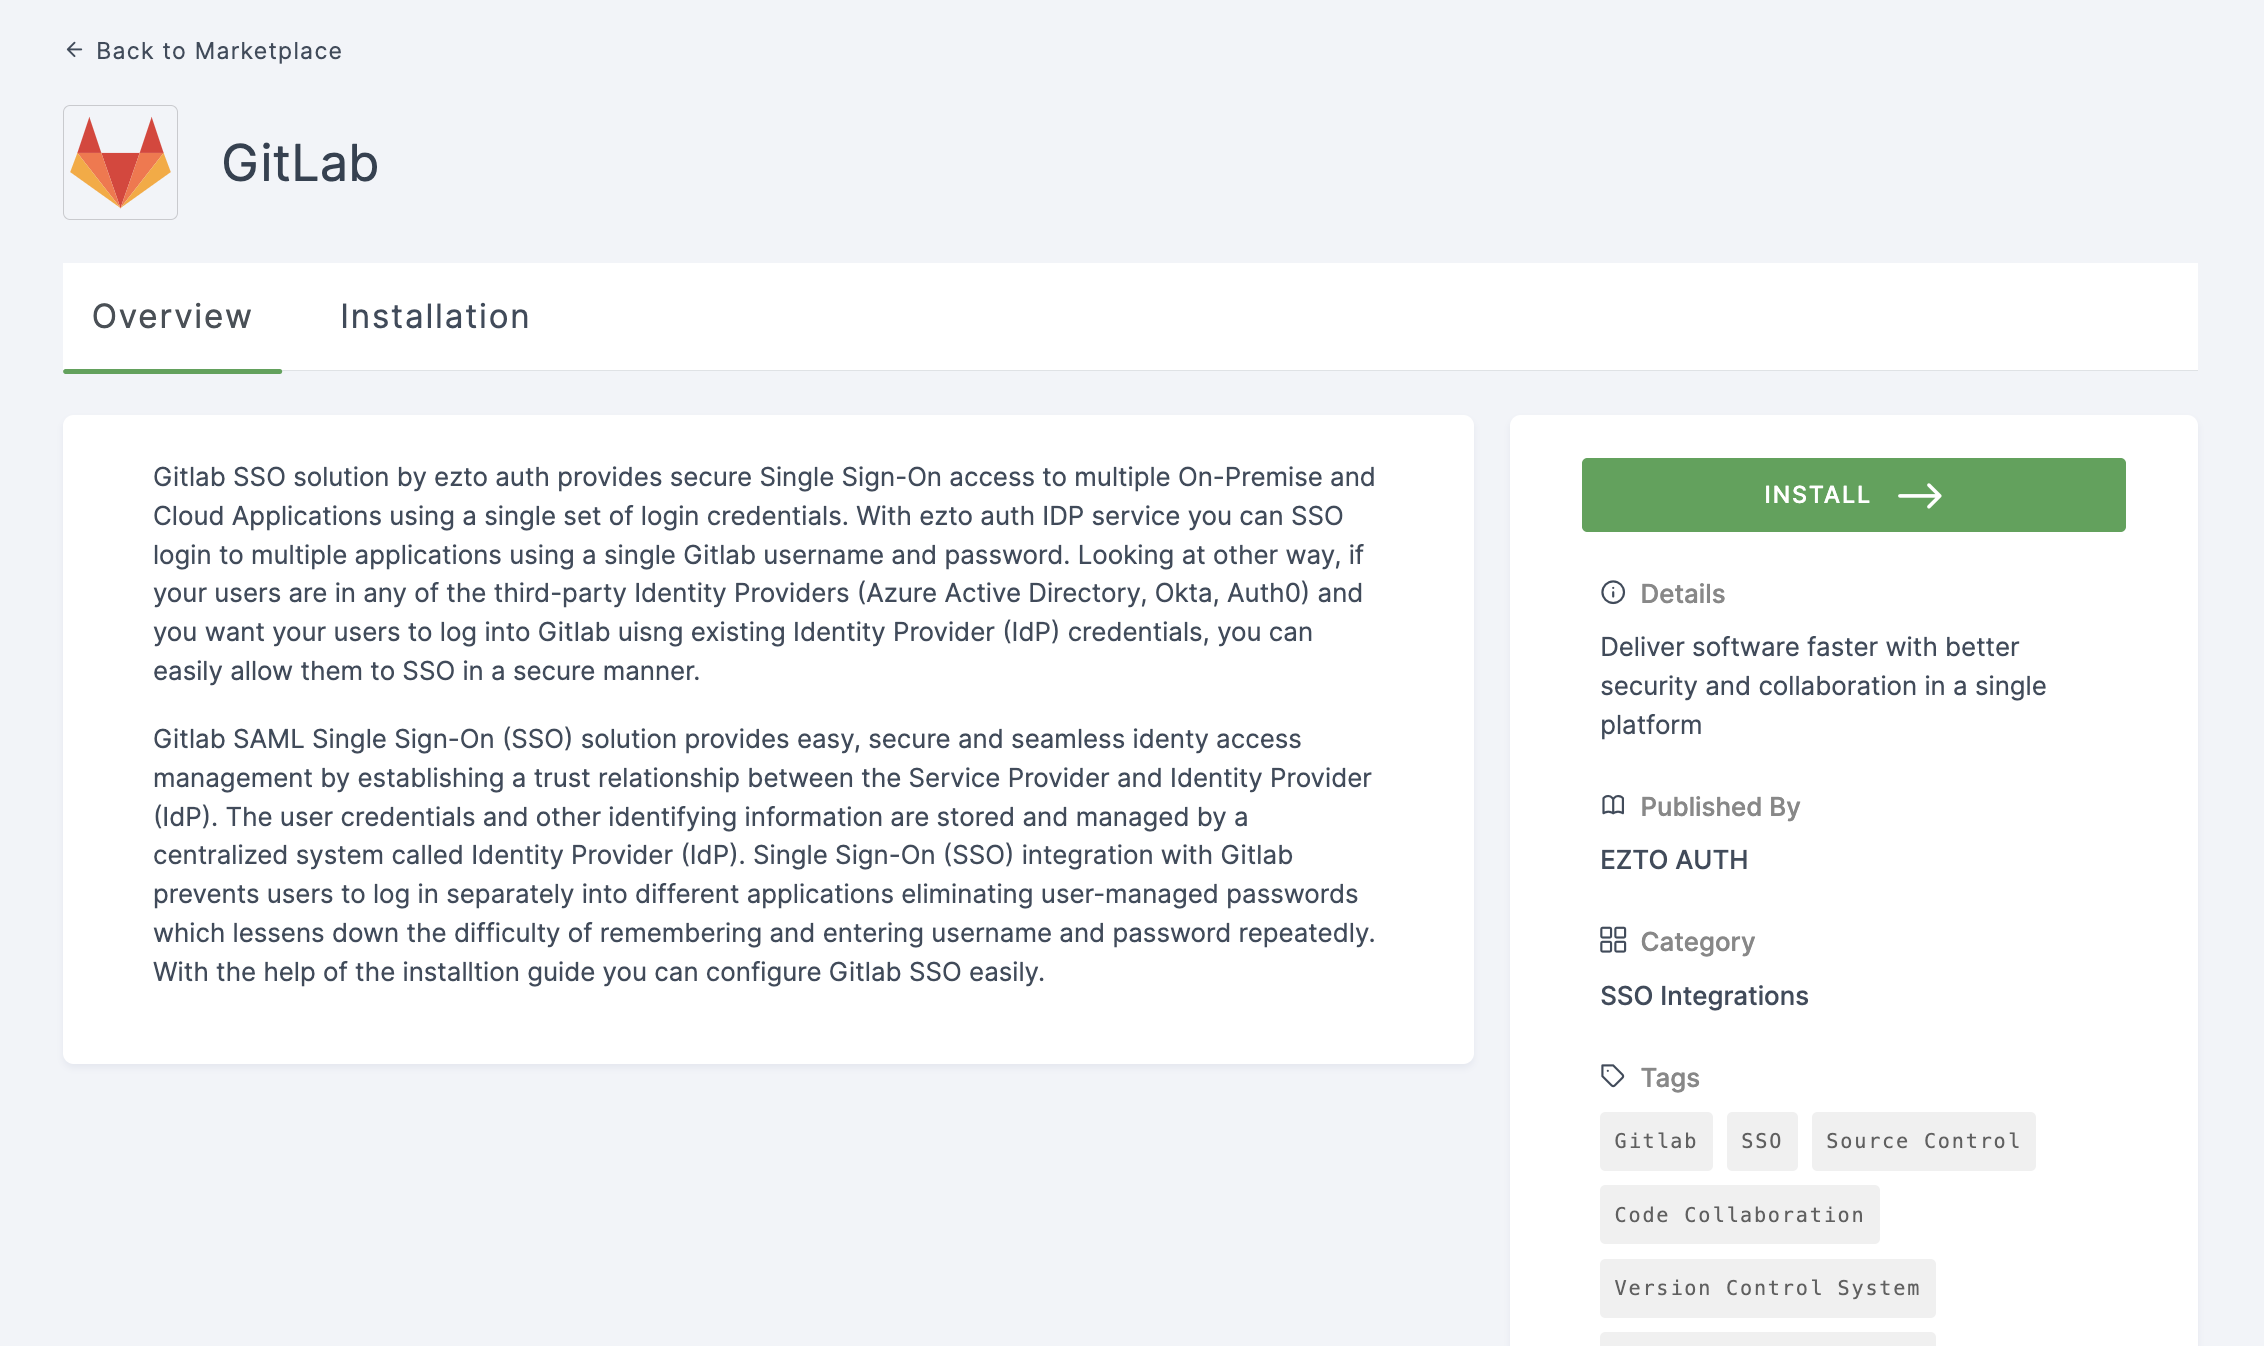
4 Click on INSTALL.
5 Provide a Name and Gitlab Base Url.
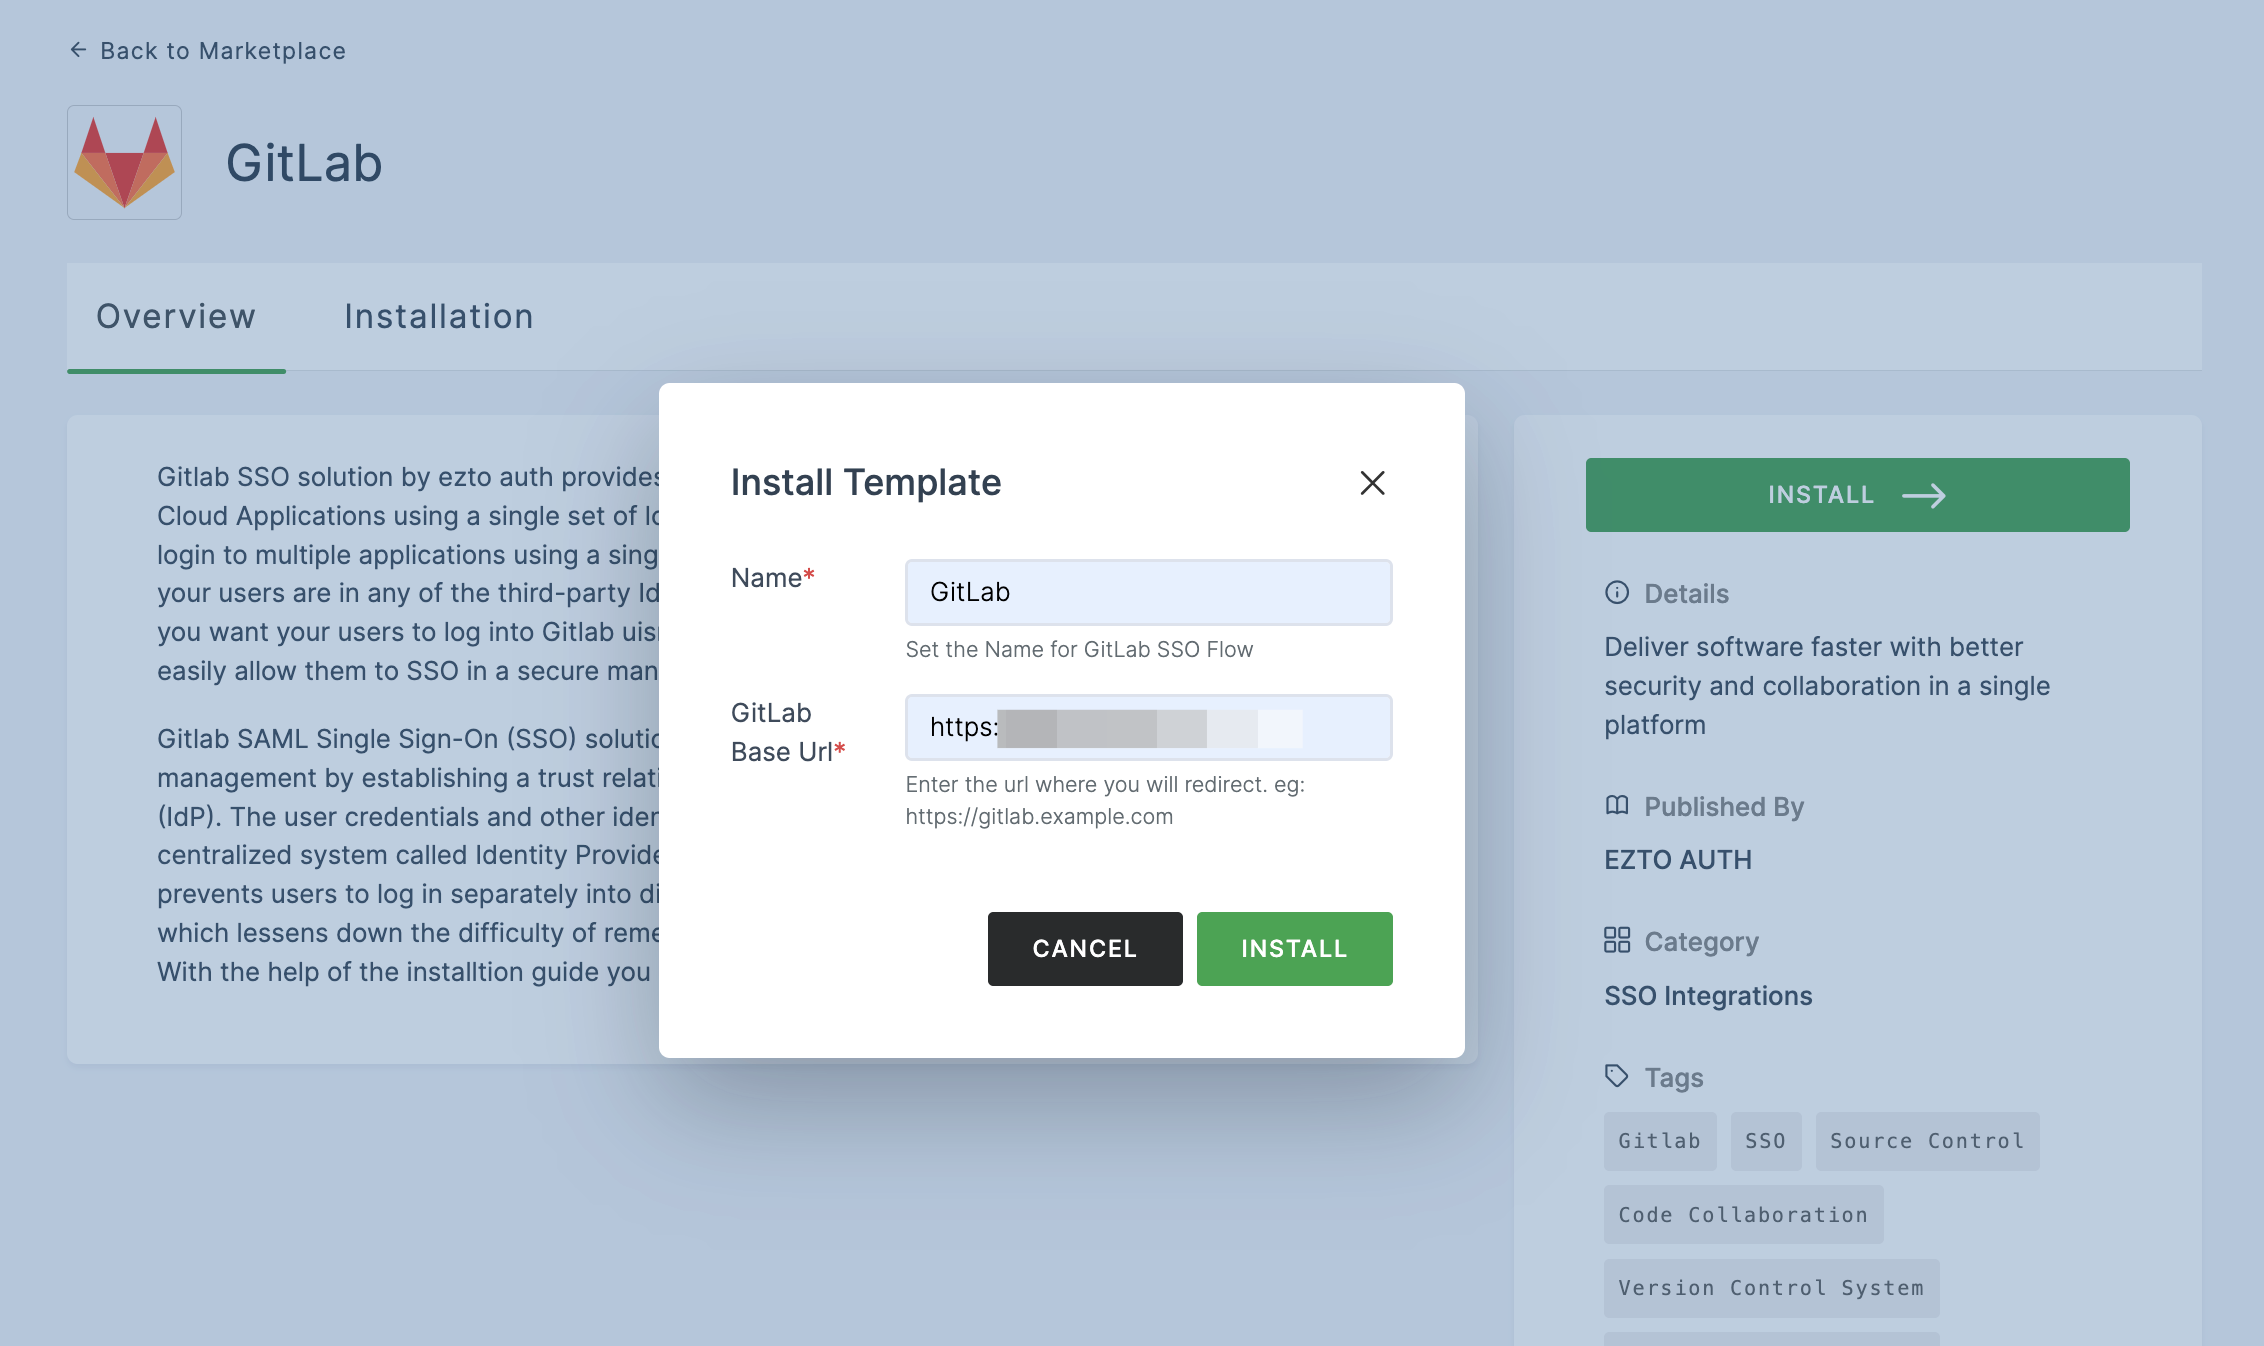
6 Once the configurations are provided, click on INSTALL.
7 Switch to GitLab Configuration.
8 To allow your users to use your dashboard to sign up without having to manually create an account first, don’t forget to add the following values to your configuration:
gitlab_rails['omniauth_allow_single_sign_on'] = ['saml'] gitlab_rails['omniauth_block_auto_created_users'] = false

gitlab_rails['omniauth_auto_link_saml_user'] = true
9 Add Provider Configuration:
gitlab_rails['omniauth_providers'] = [

{

name: 'saml',

args: {

assertion_consumer_service_url: {

Gitlab Base URL

}

/users/auth/saml/callback',

idp_cert_fingerprint: {

Copy and paster SHA1 Fingerprint

},

idp_sso_target_url: {

Copy and paste Metadata > Login Endpoint

}

issuer: {

Copy and Paster Client ID

},

name_identifier_format: 'urn:oasis:names:tc:SAML:2.0:nameid-format:transient'

},

label: '{name}'

# optional label

for SAML login button,

defaults to "Saml"

}

]
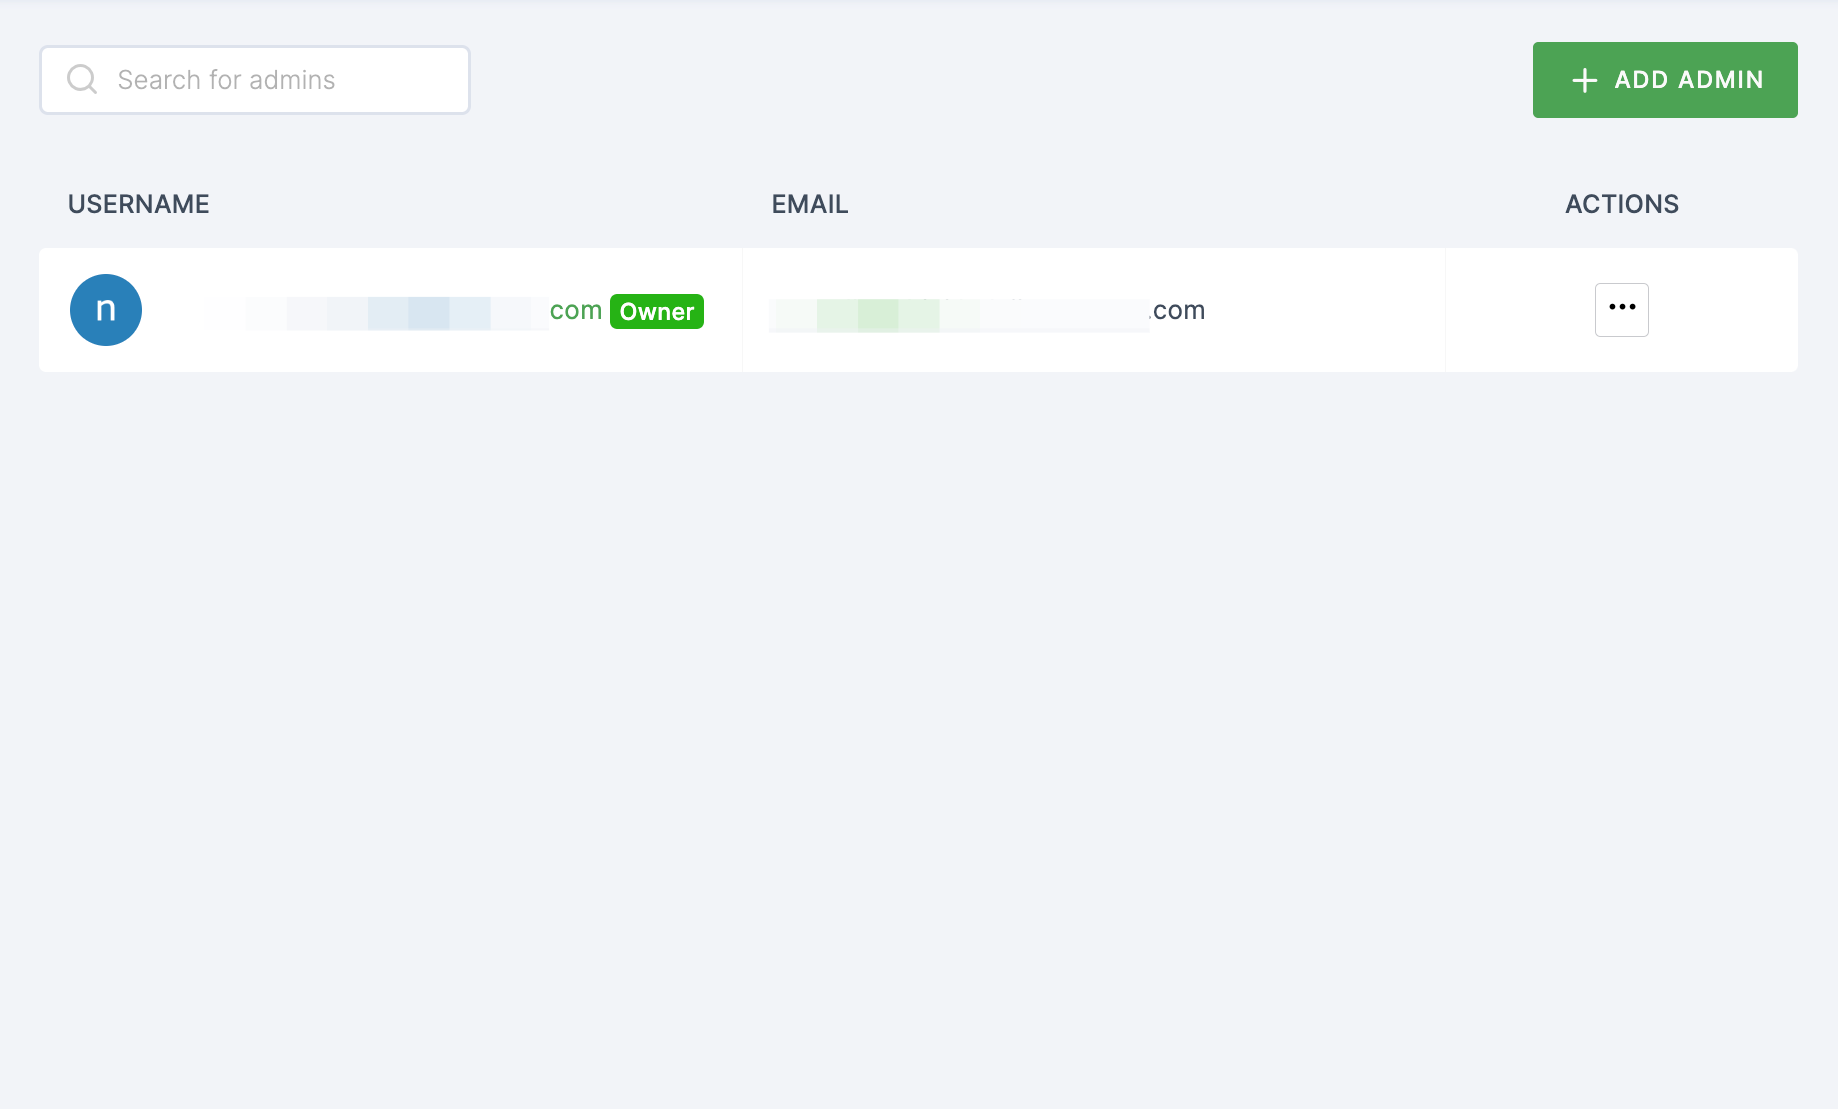
10 Return to your dashboard, assign a user with GitLab role. To do so, navigate to Users or Workspace Admins, click on the user you want to assign the role.
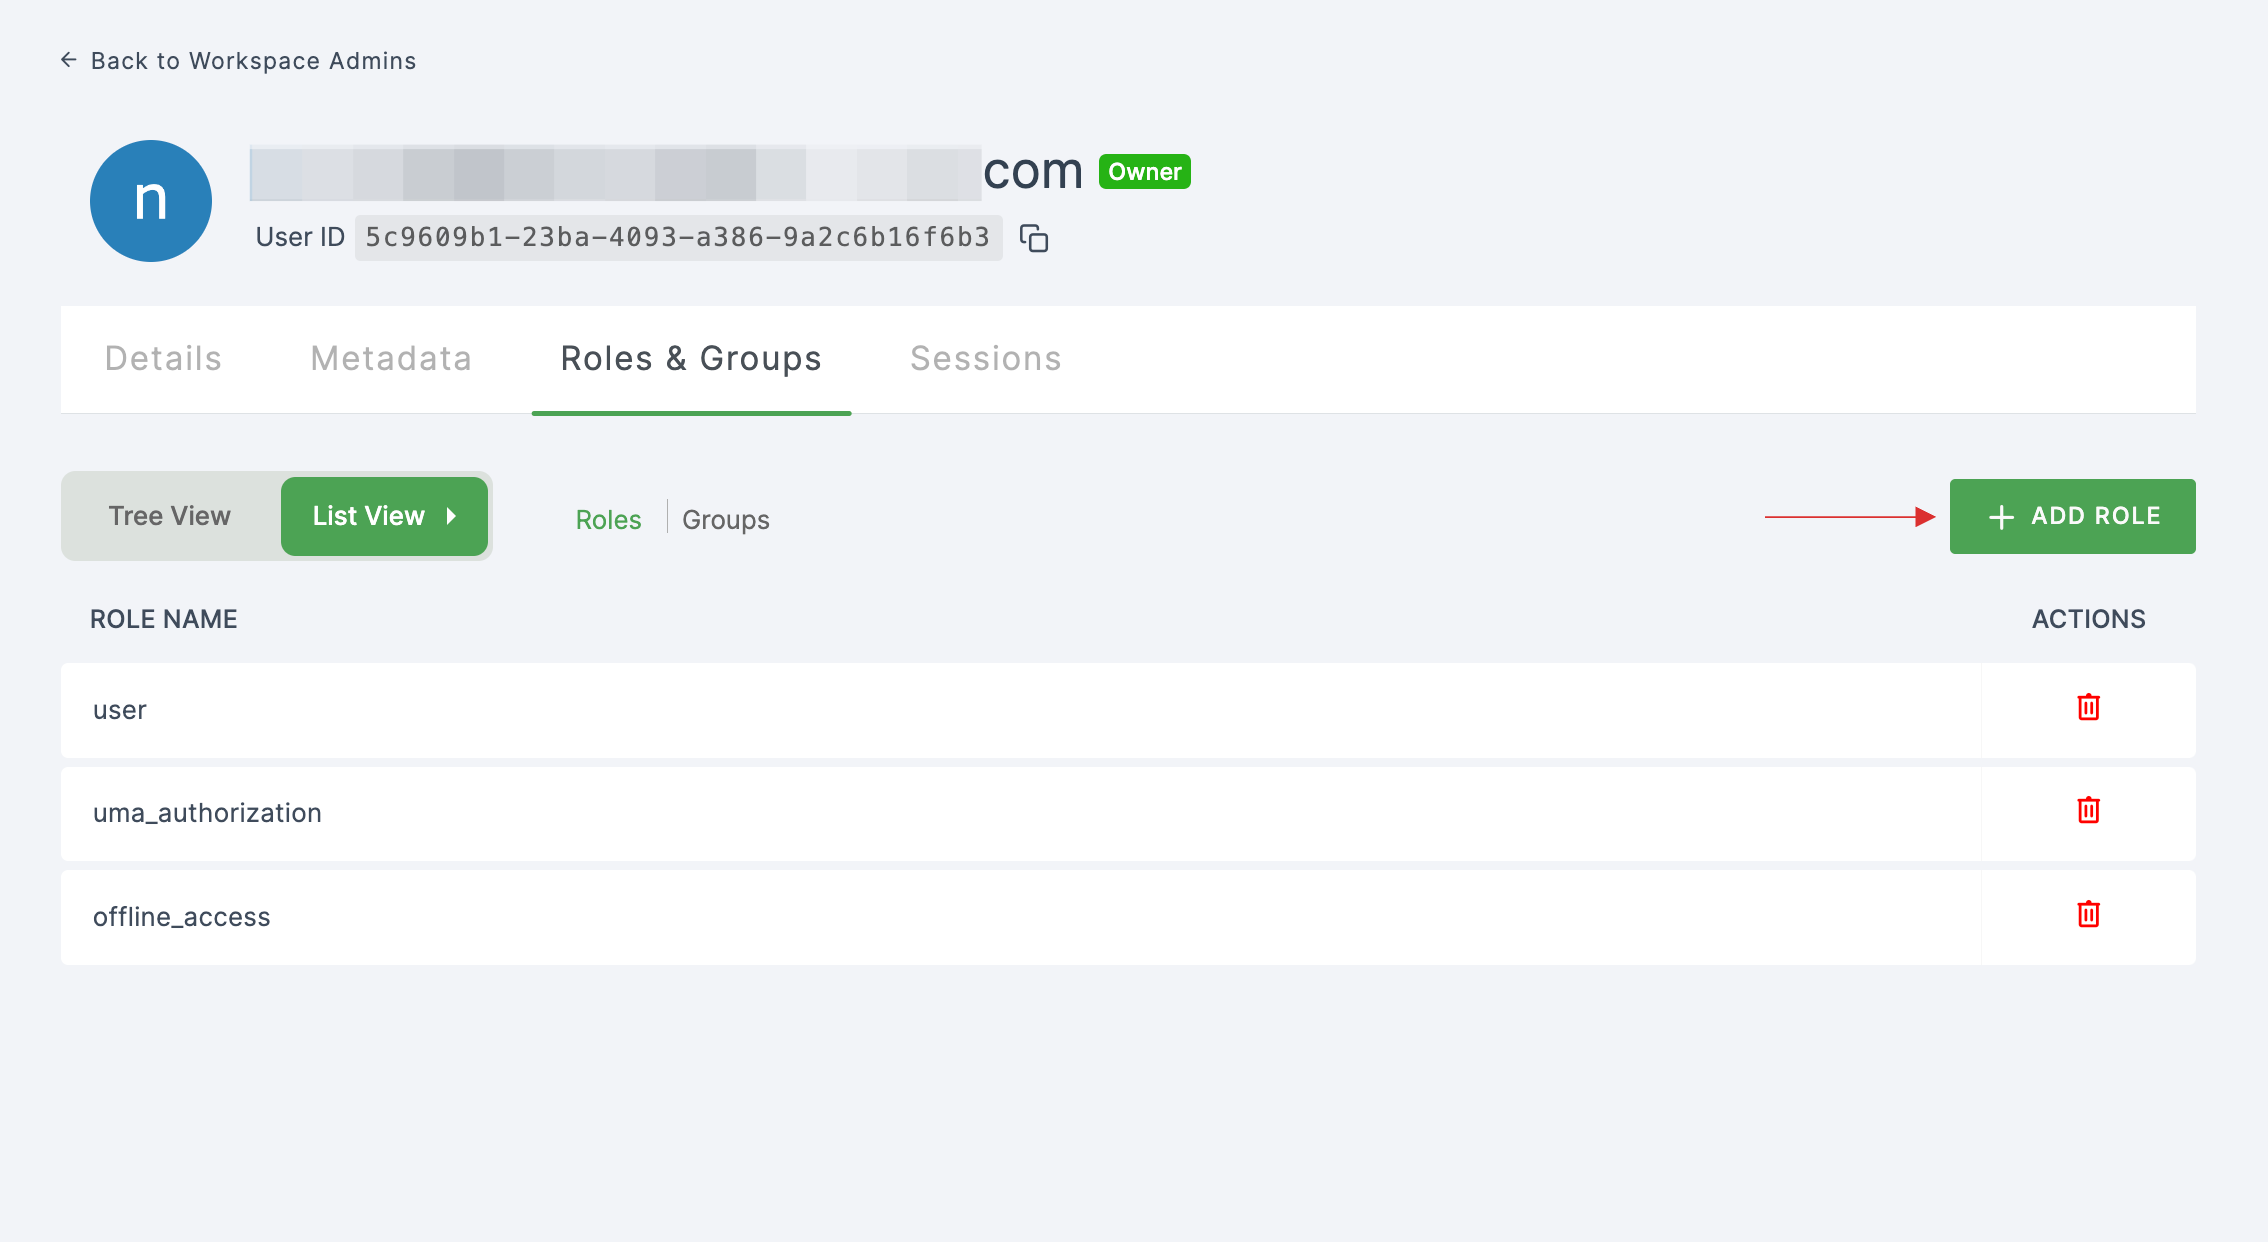
11 You will be taken to the user's Details tab, click on Roles & Groups.
12 Select List View and click on + ADD ROLE.
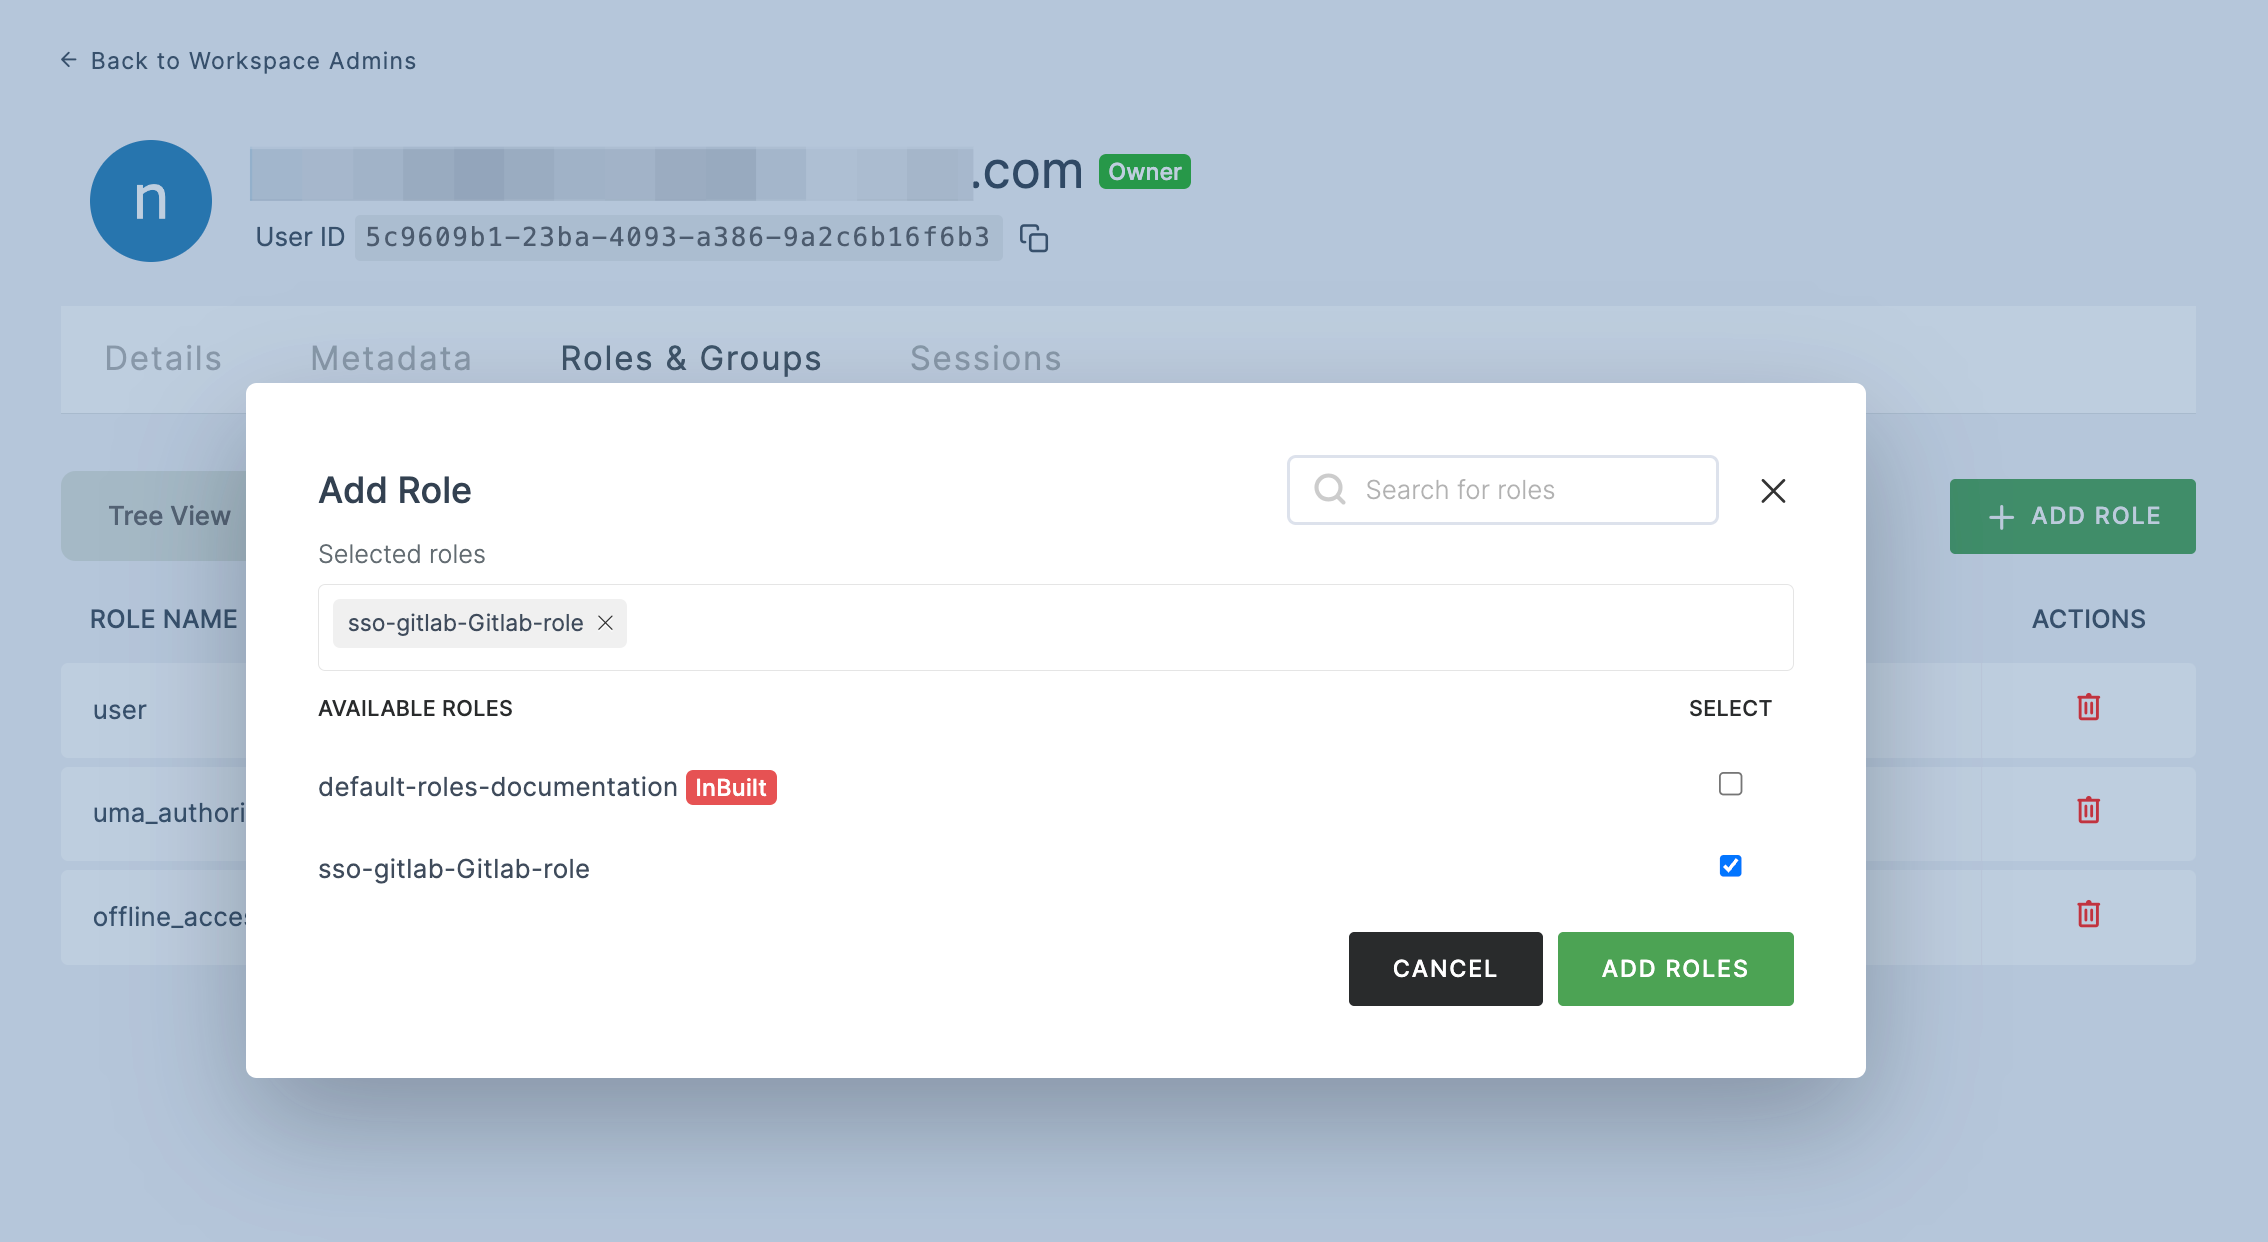
13 The available roles will appear; select sso-gitlab-GitLab-role and click on ADD ROLES.
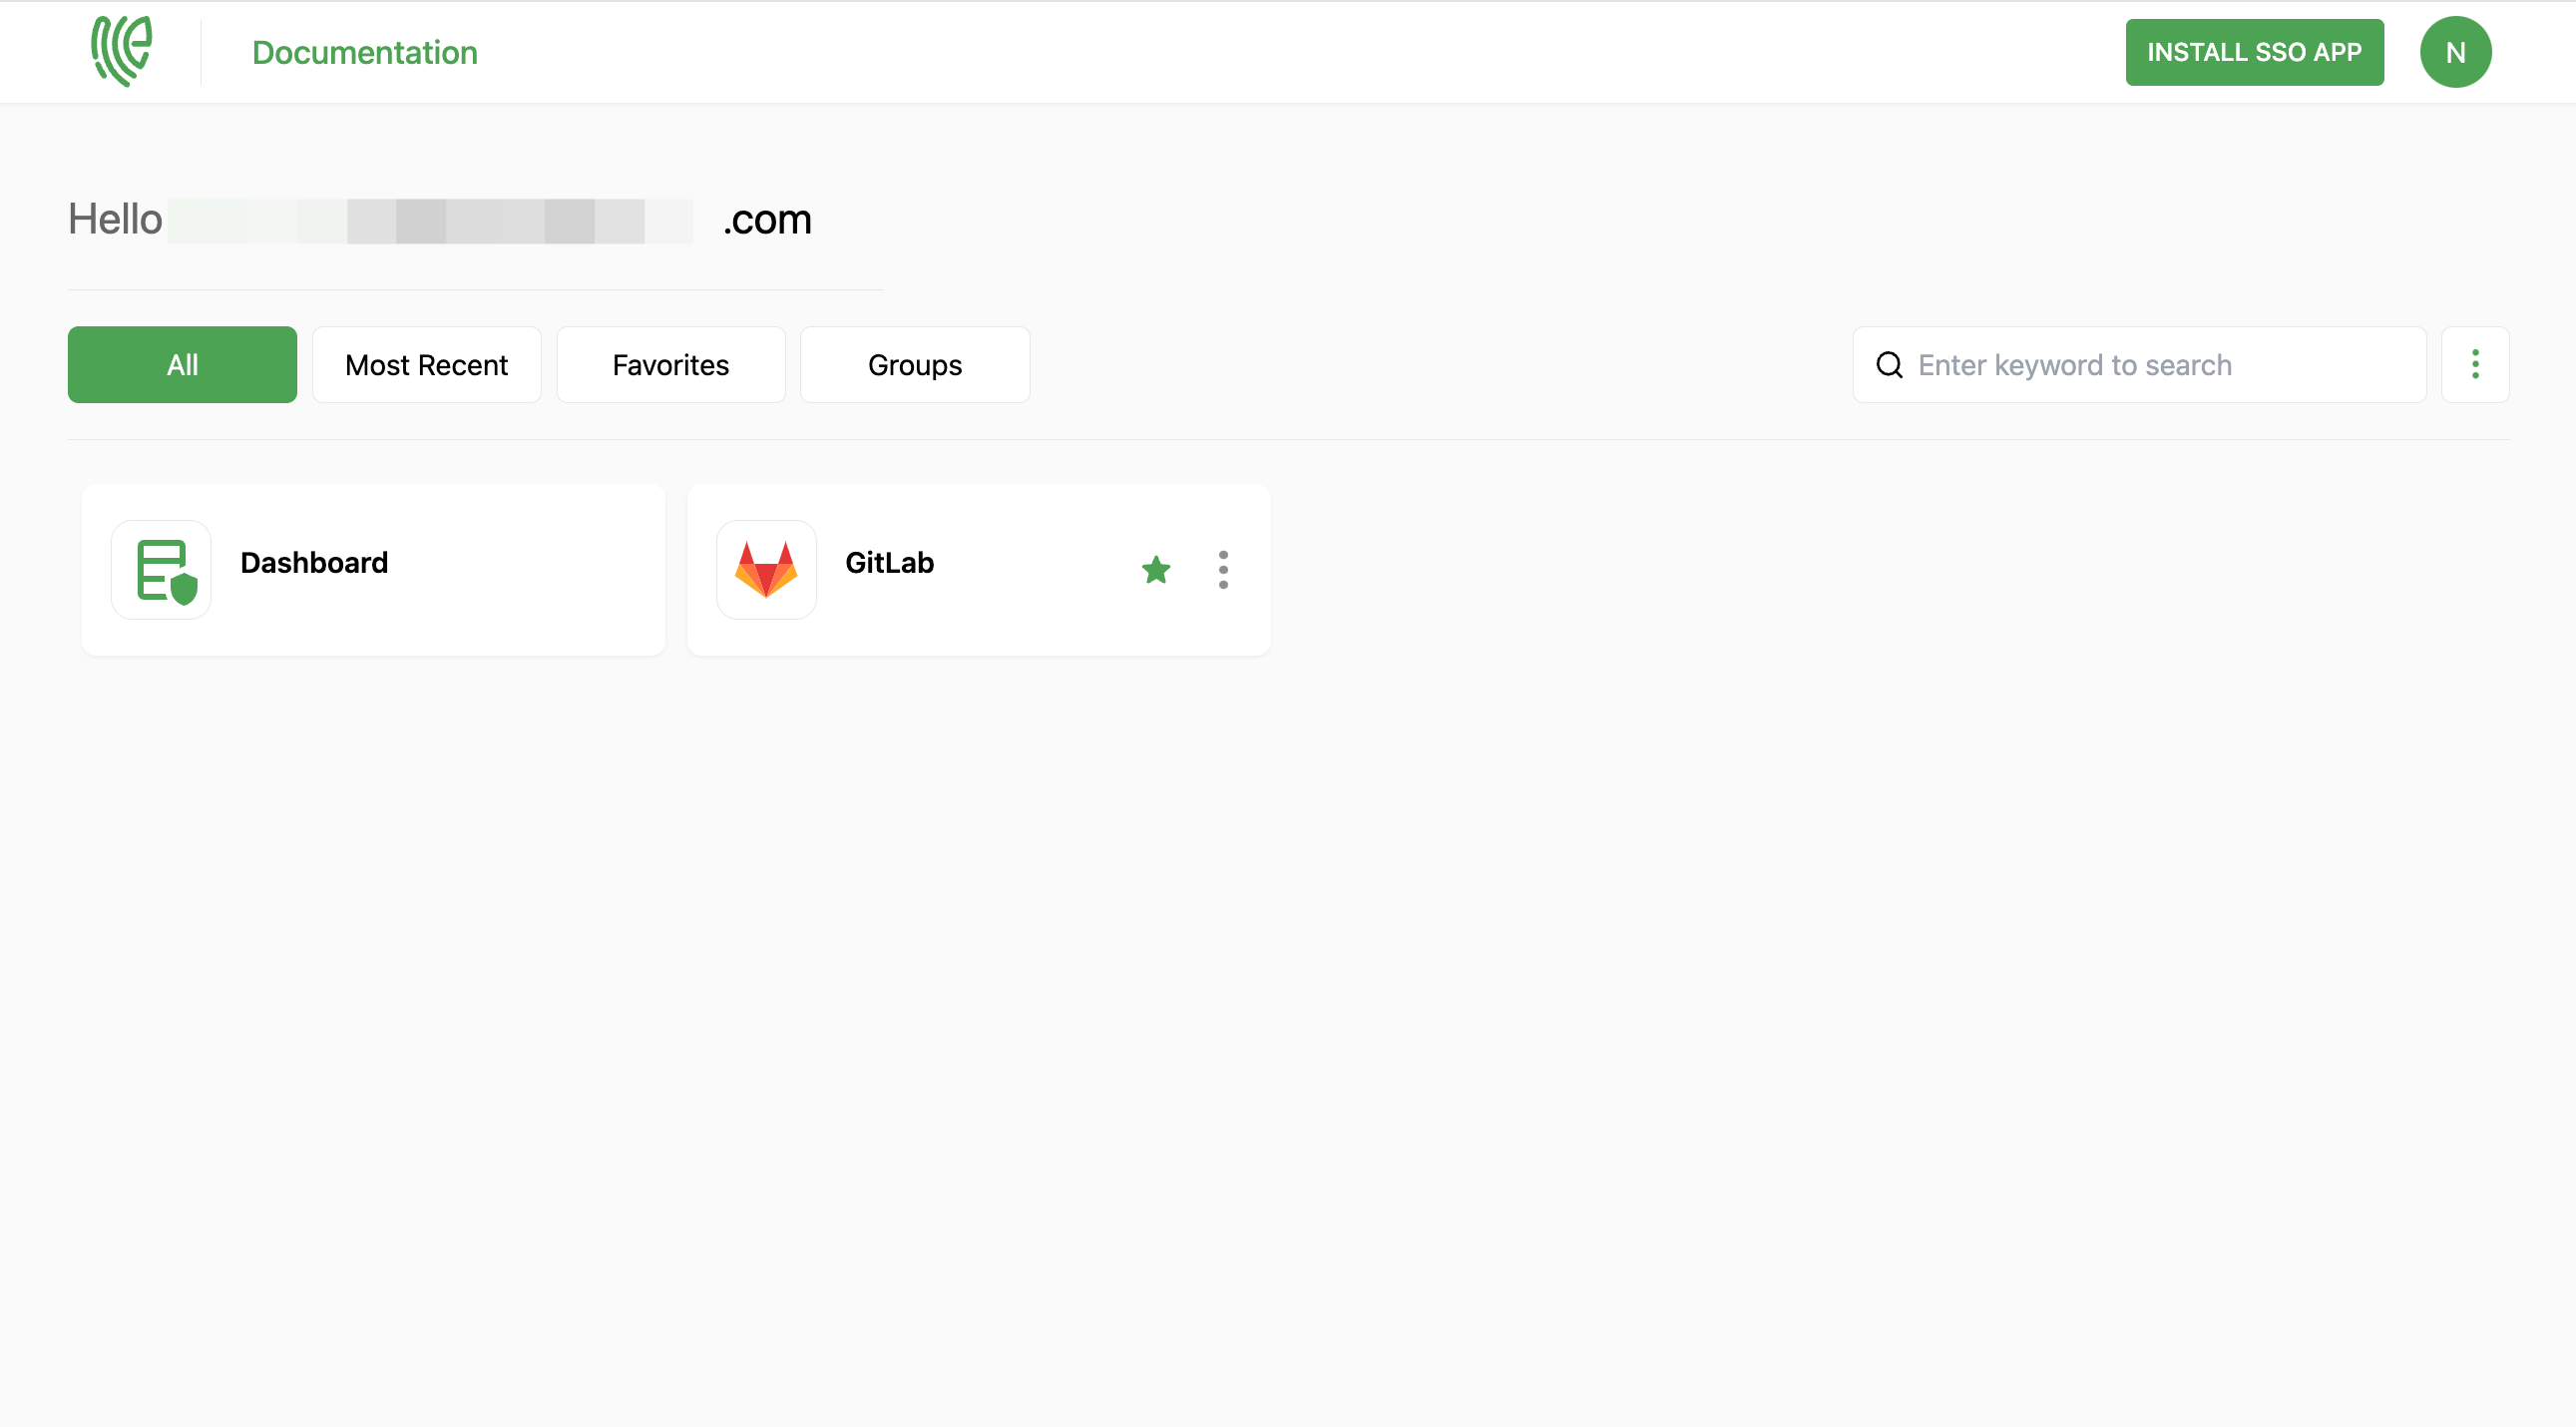
14 To verify whether SSO has been successfully enabled, go to Applications > SSO, click on SSO DASHBOARD button.
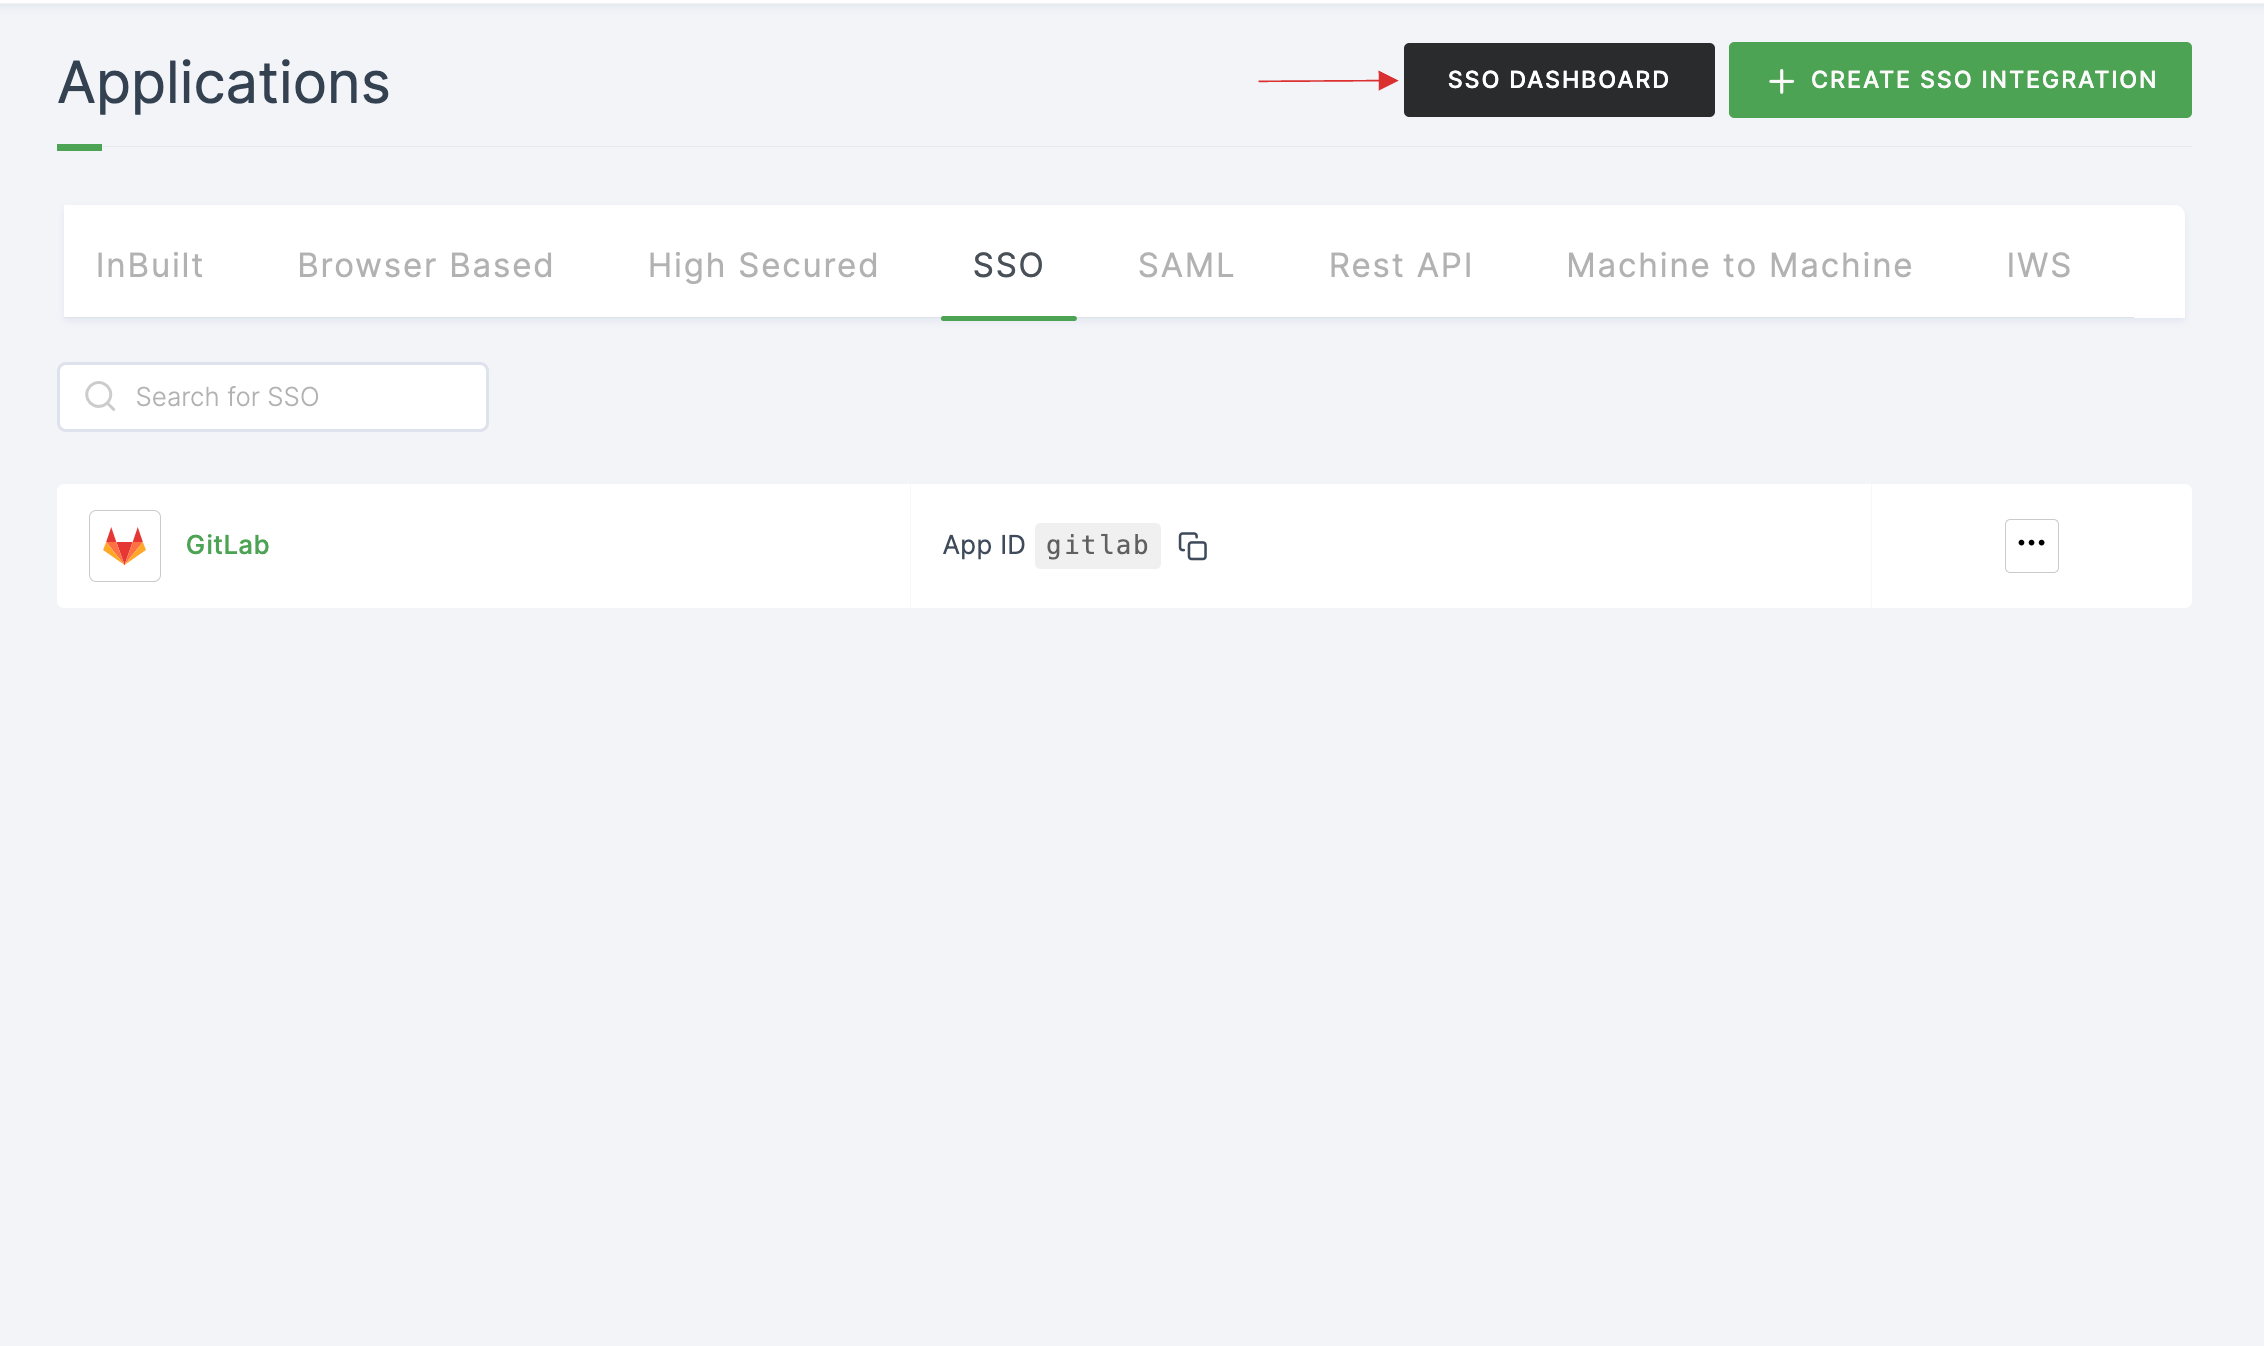
15 The GitLab SSO will be enabled successfully.
