Freshdesk
Freshdesk is a cloud-based customer support software that provides helpdesk and customer service solutions for businesses. It offers a range of features to help companies manage customer inquiries, issues, and support tickets efficiently.
You must have an account in Freshdesk.
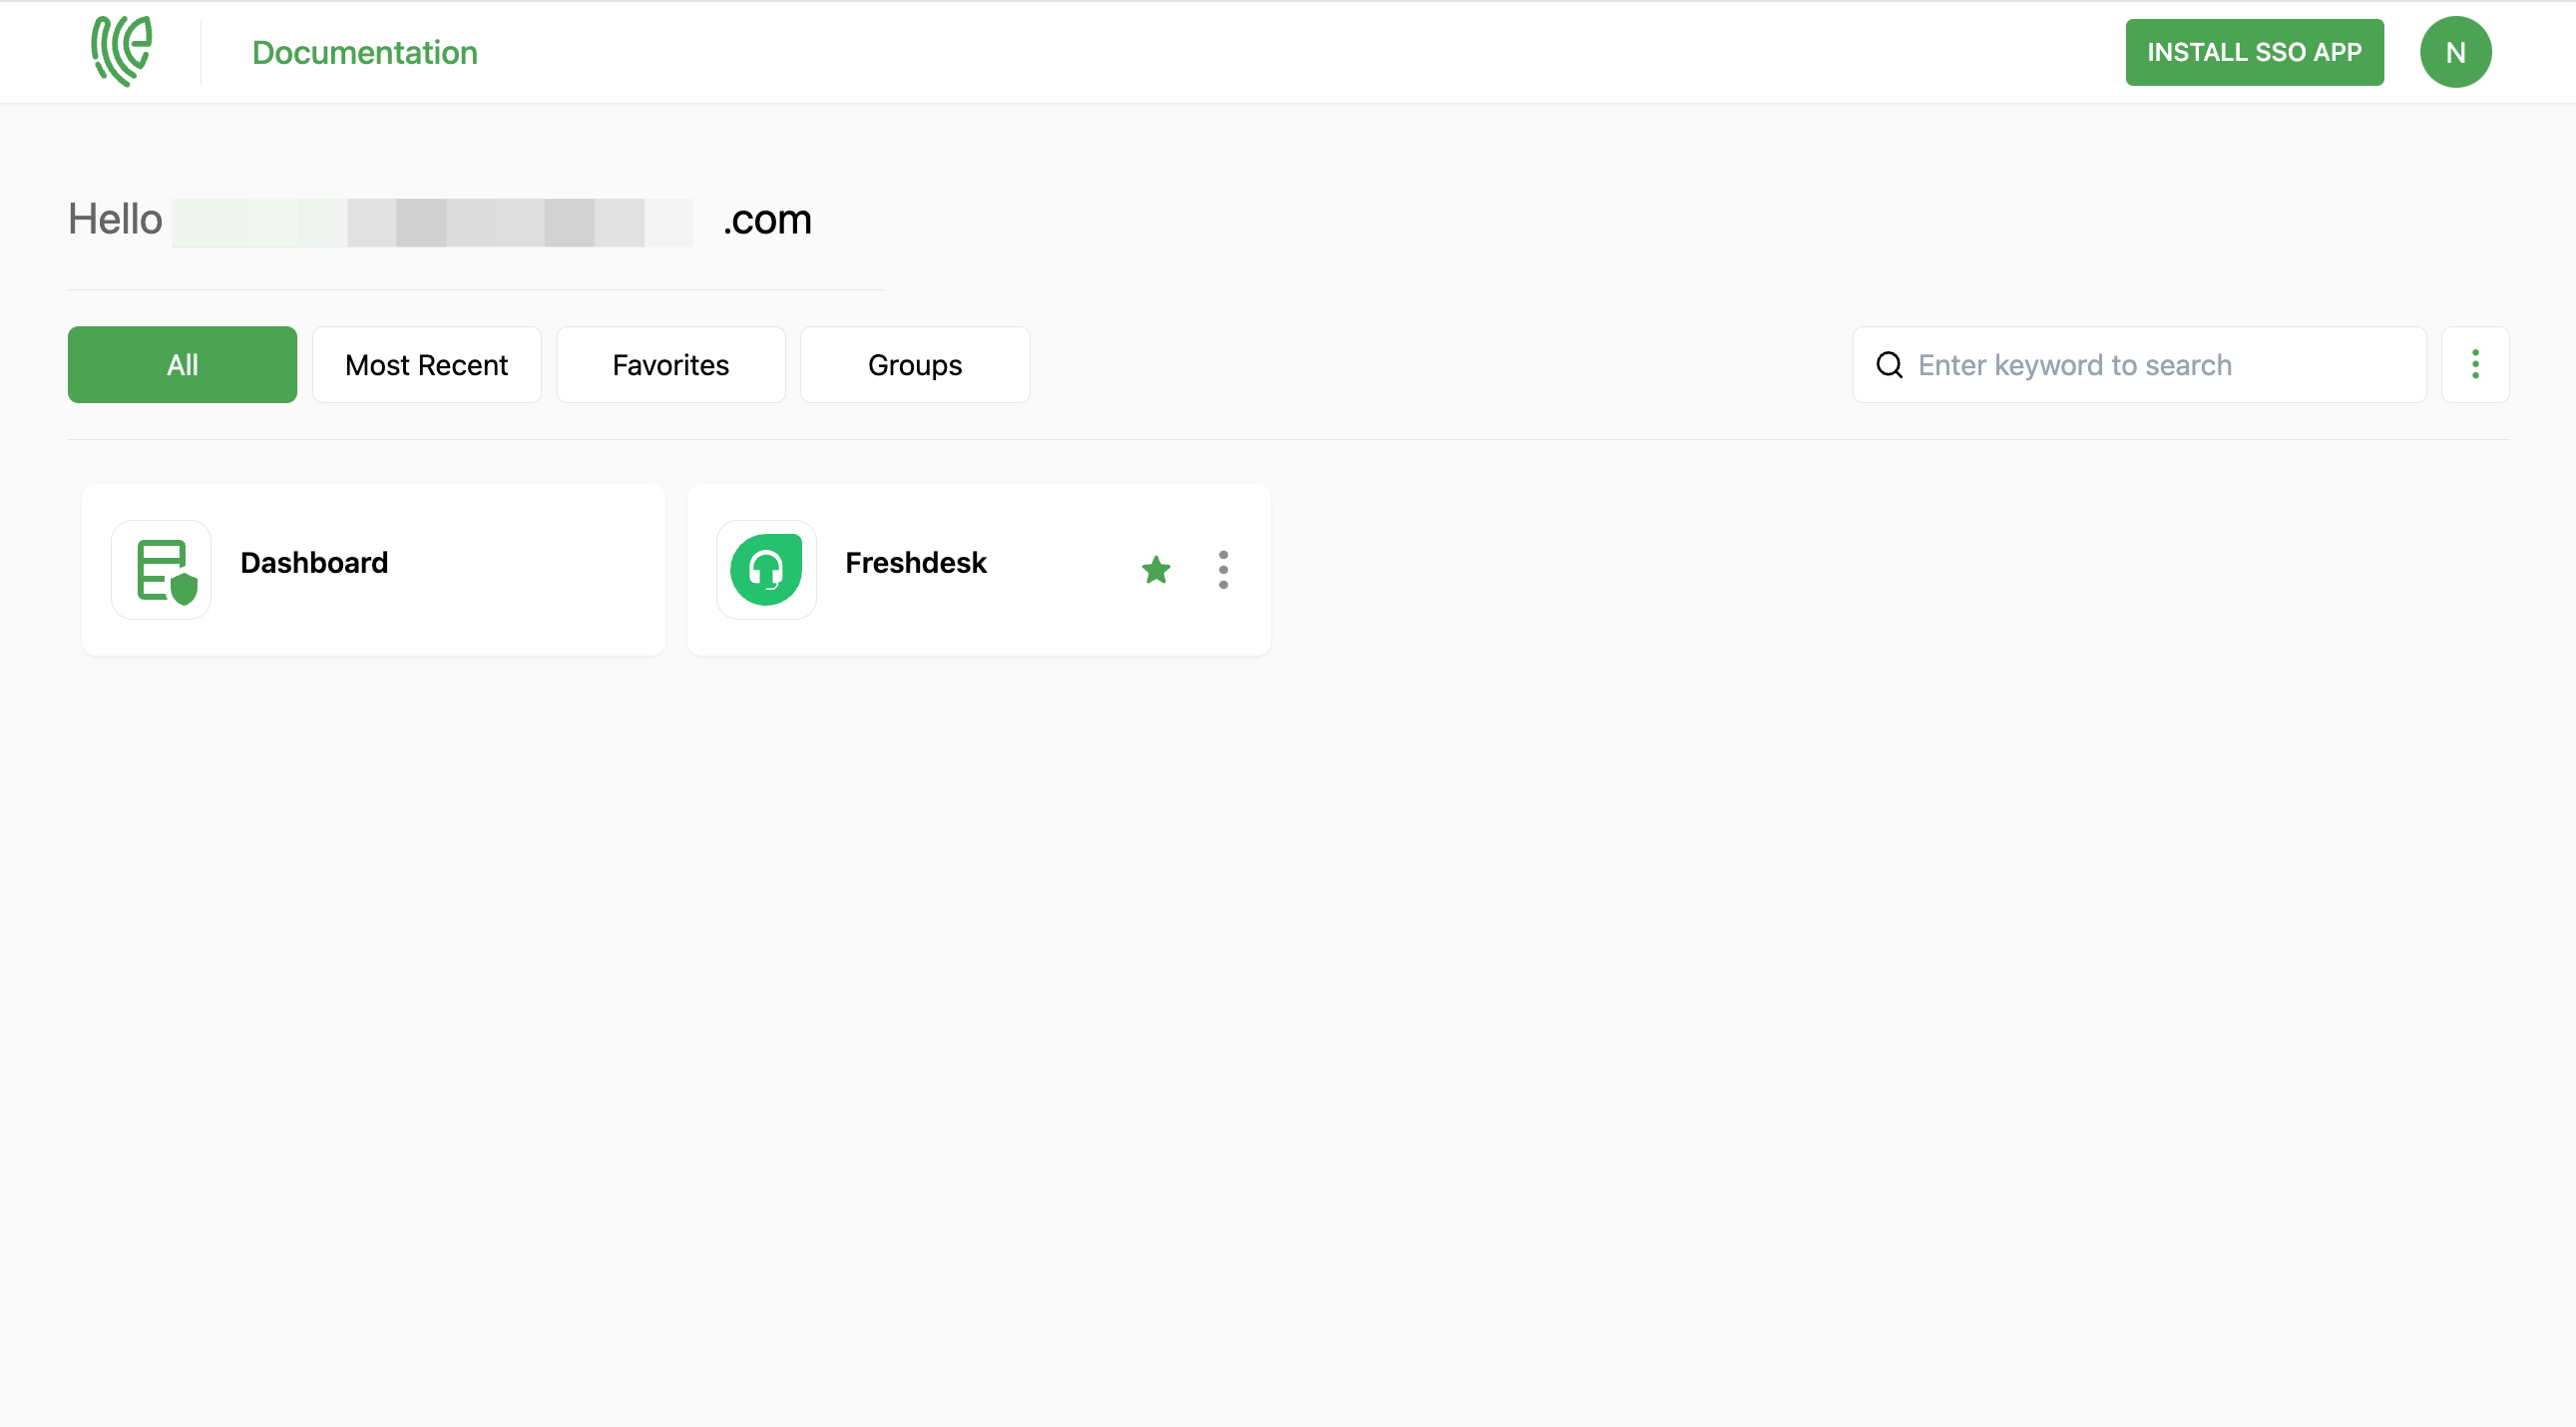
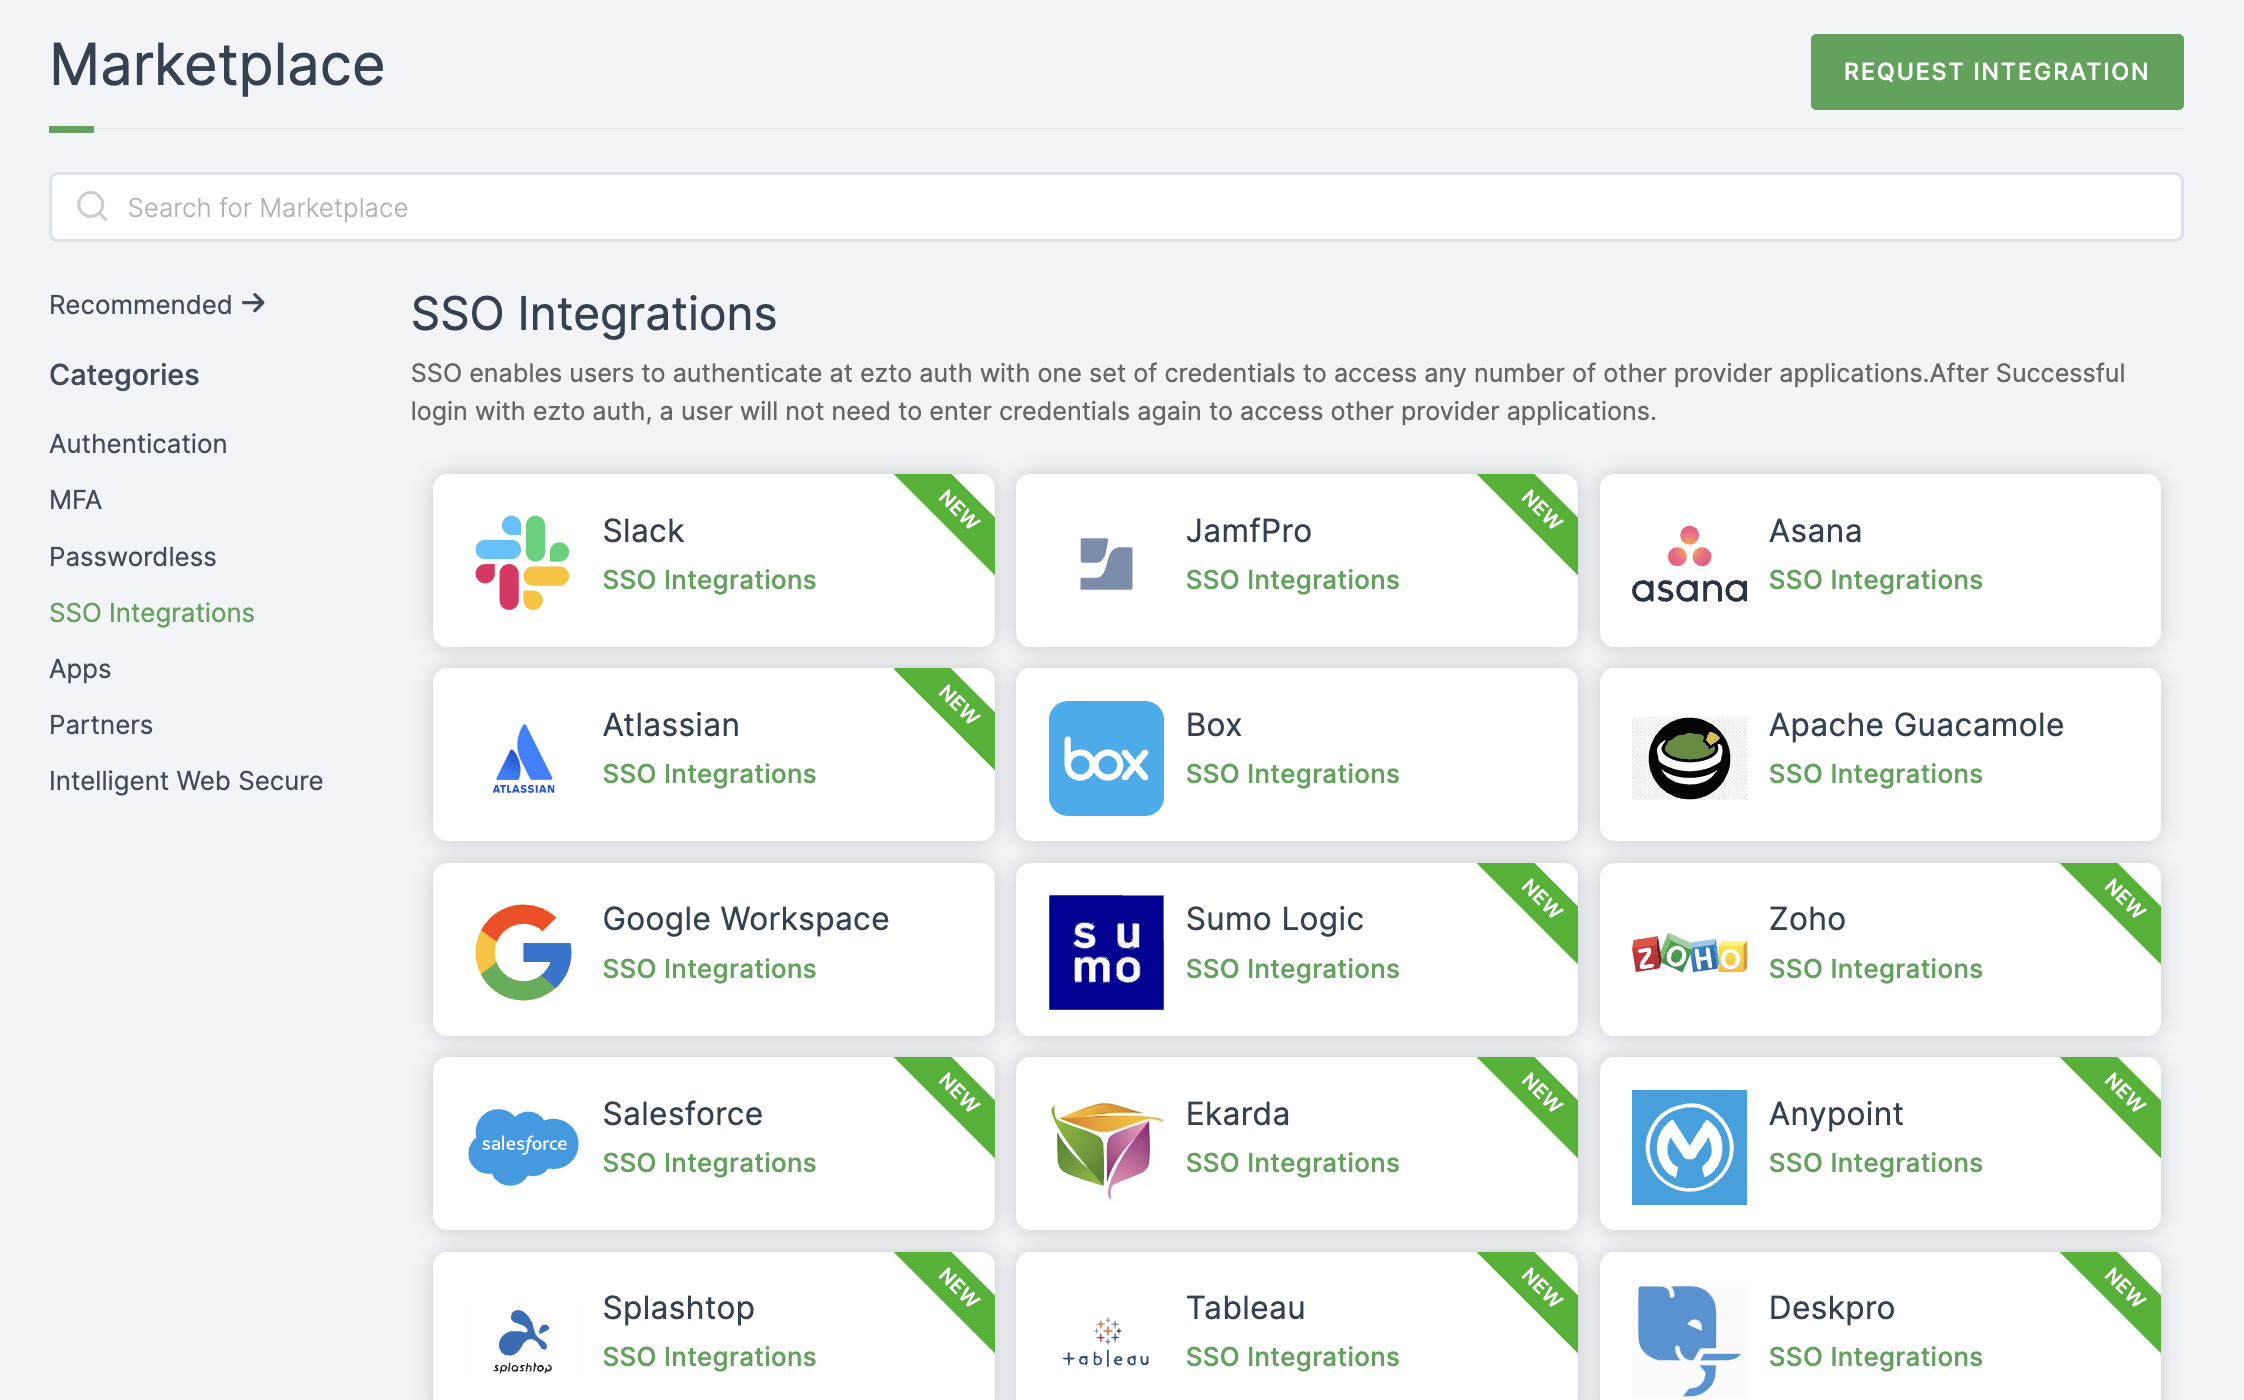
1 Go to Dashboard > Marketplace > SSO Integrations.
2 Select Freshdesk from the list.
3 You'll land on the overview page, with an additional tab: Installation (providing a step-by-step installation guide).
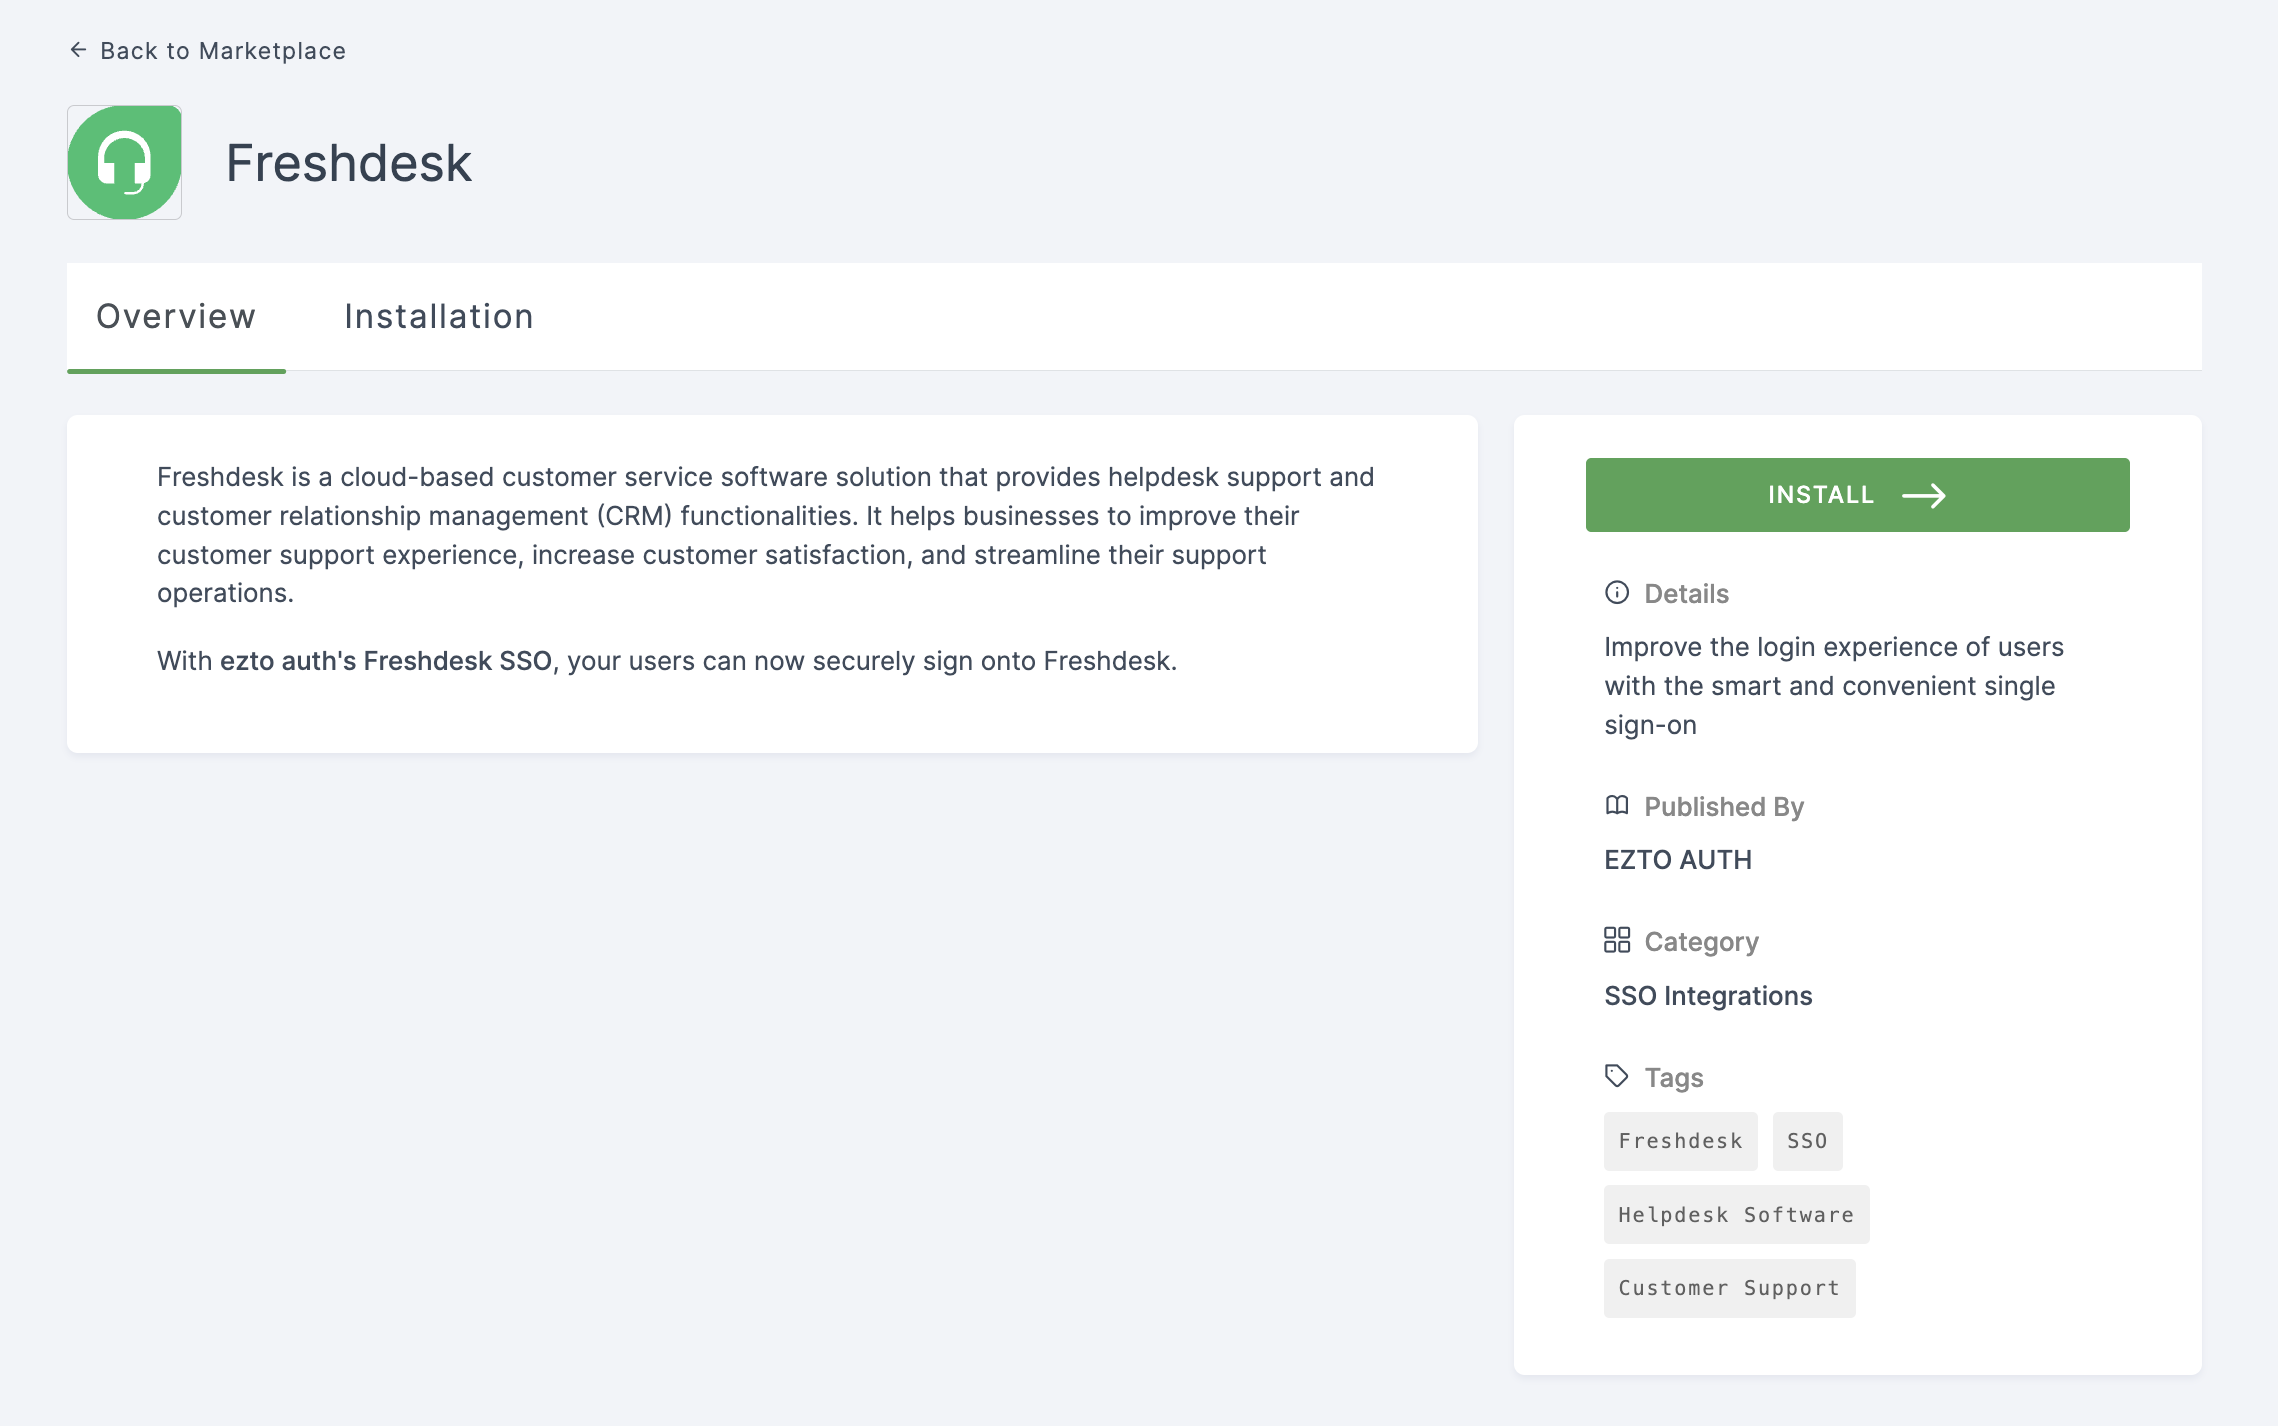
4 Click on INSTALL.
5 Provide a Name, and for the Entity ID, go to your Freshdesk Dashboard.
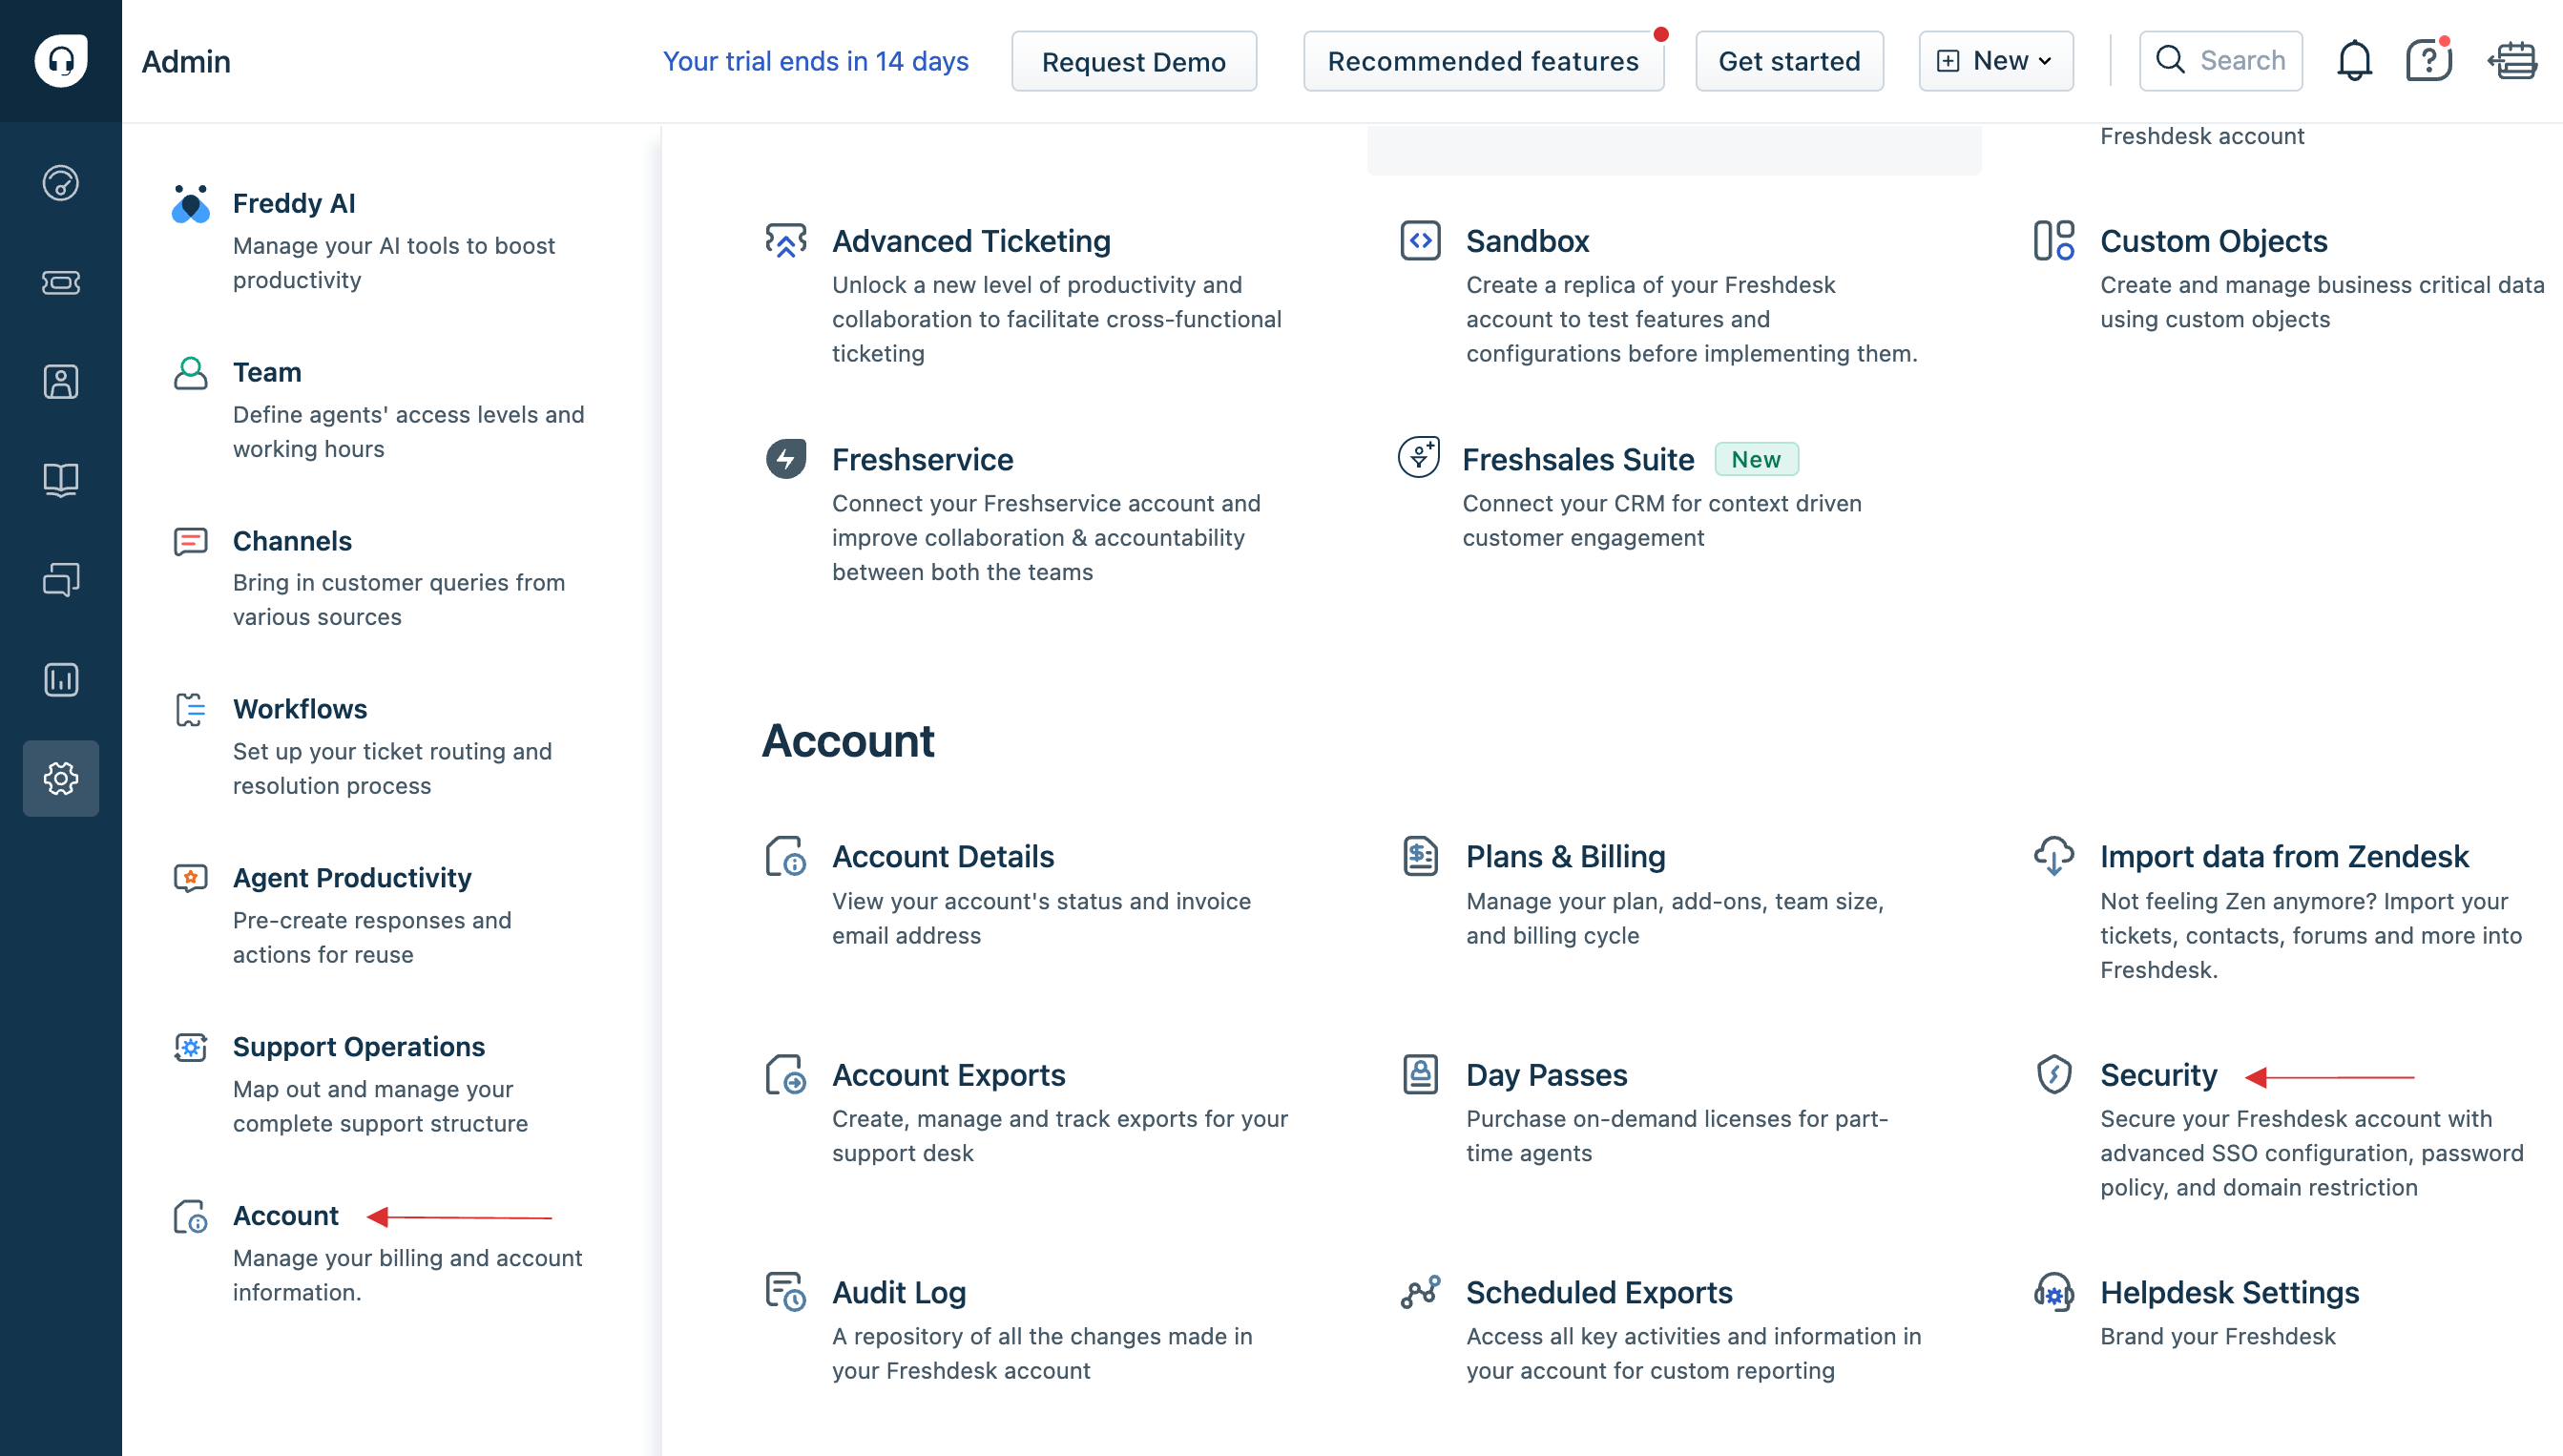
6 Click on Admin.
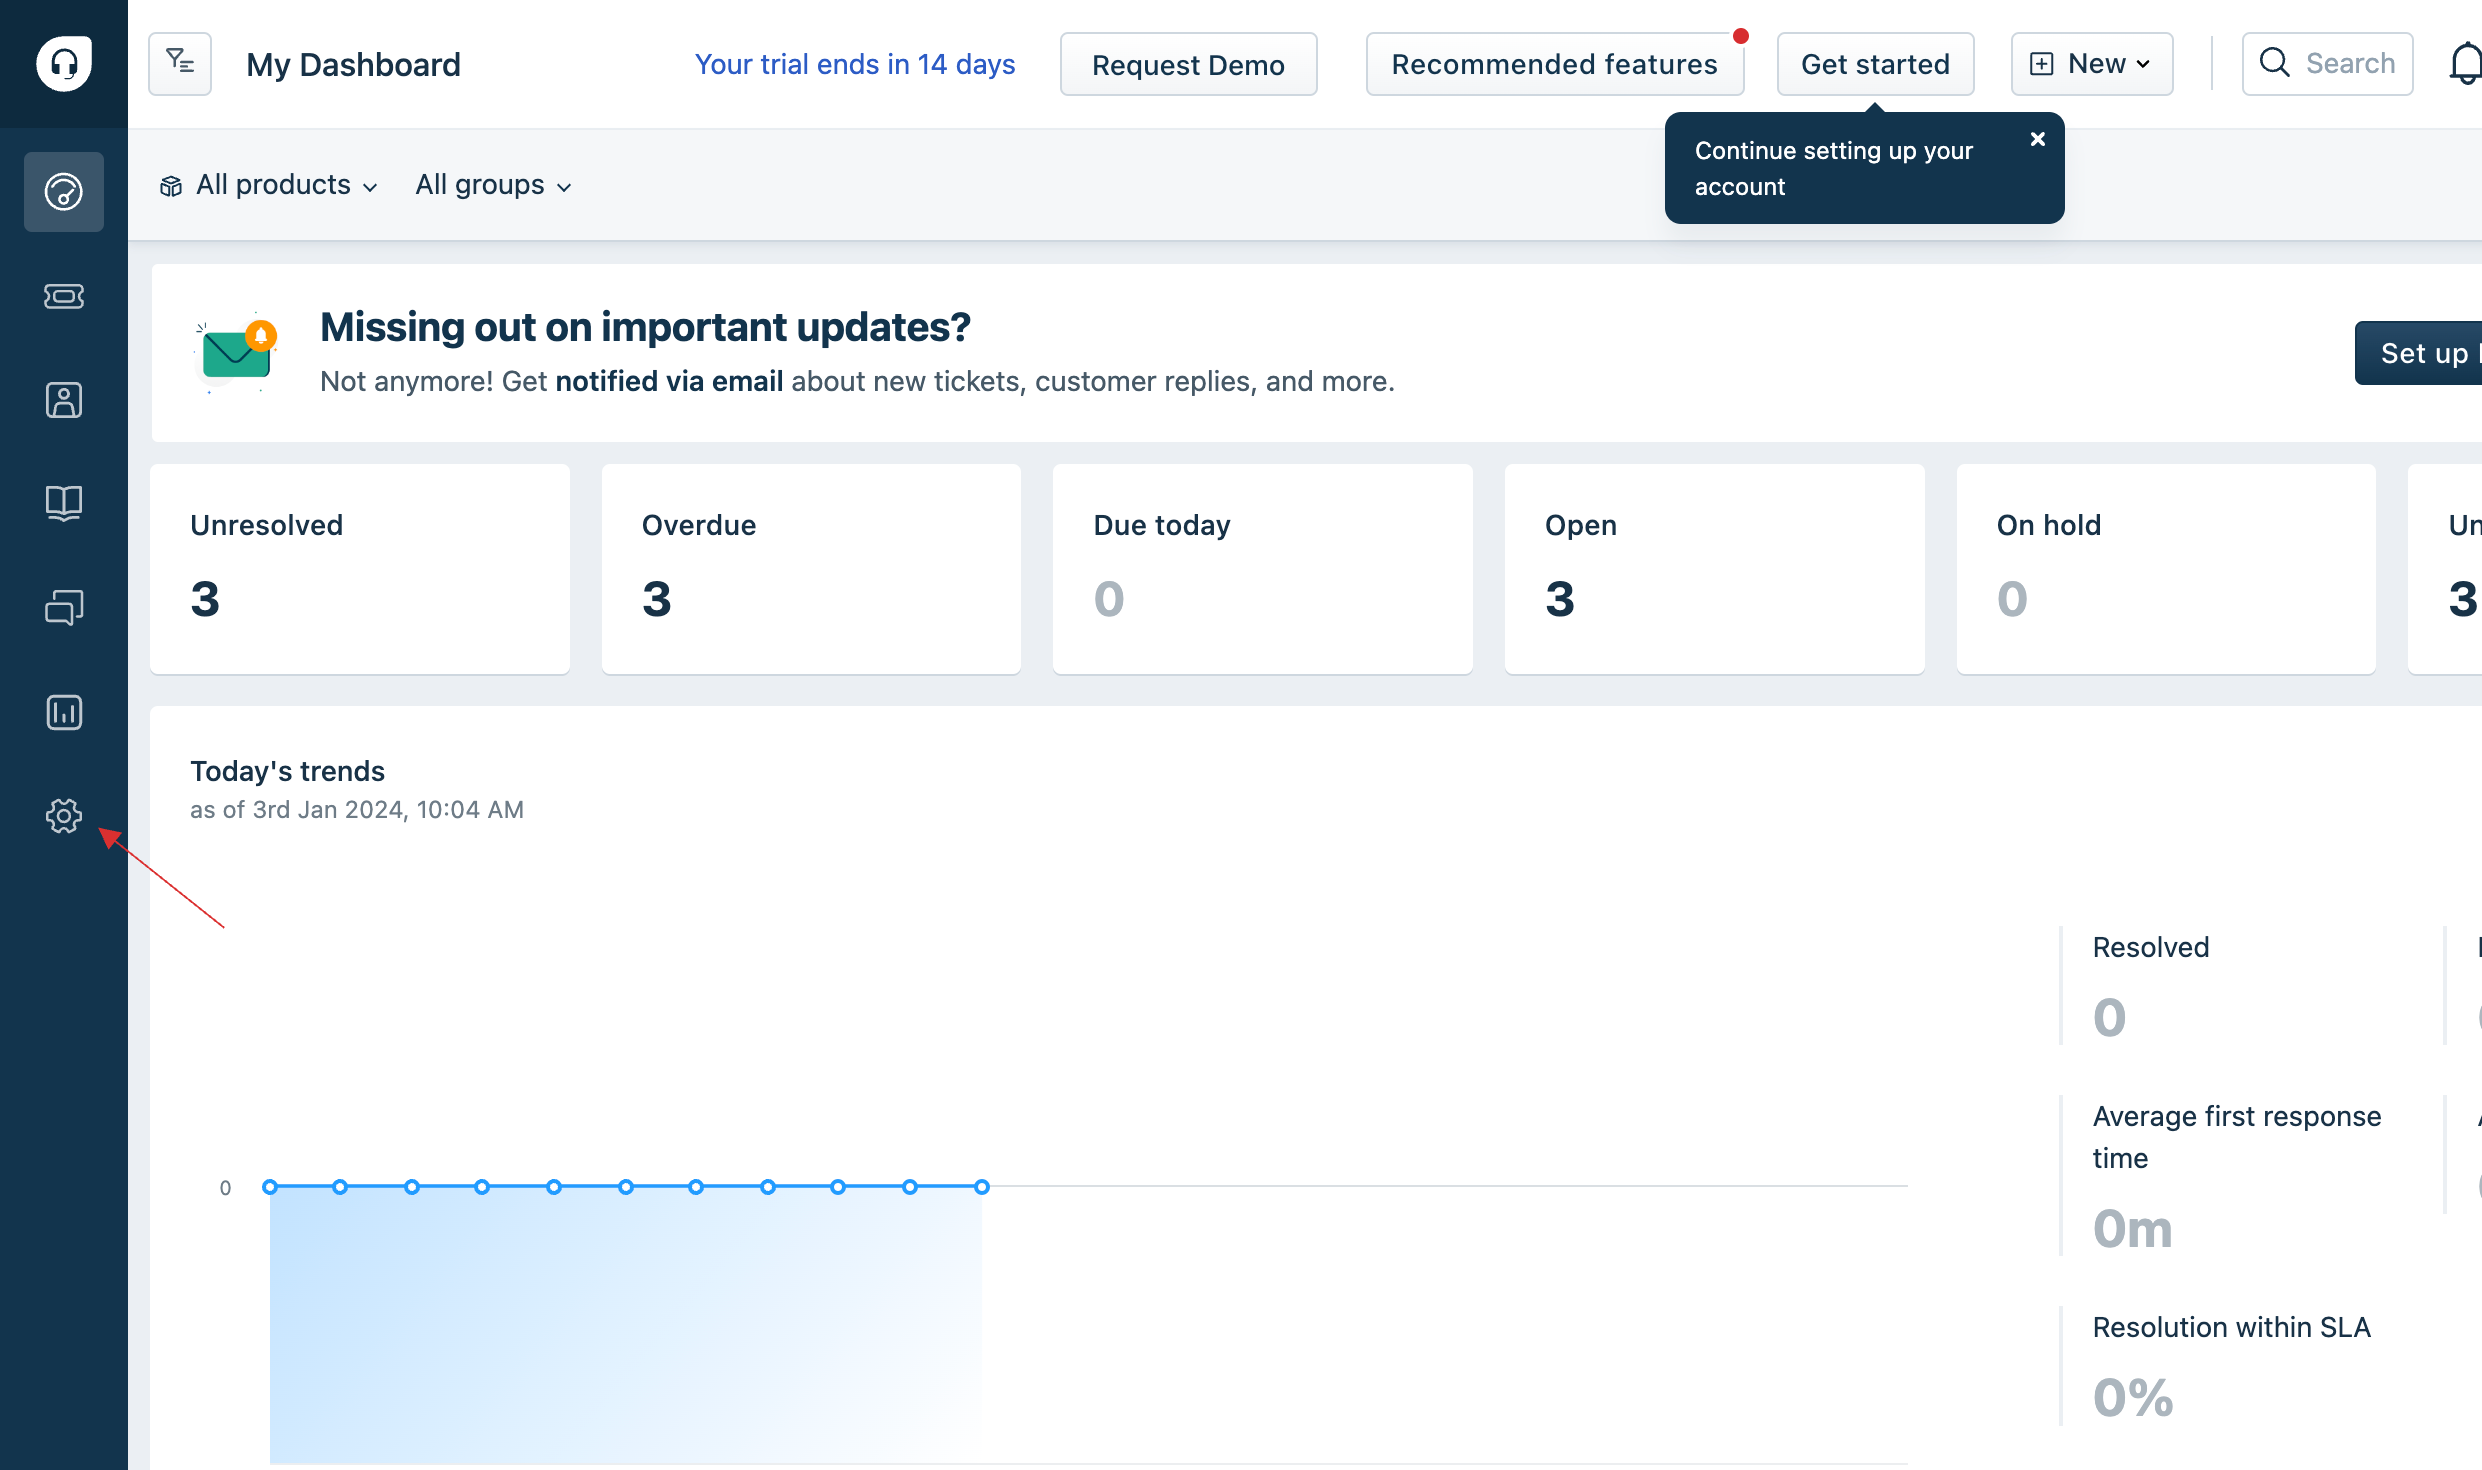
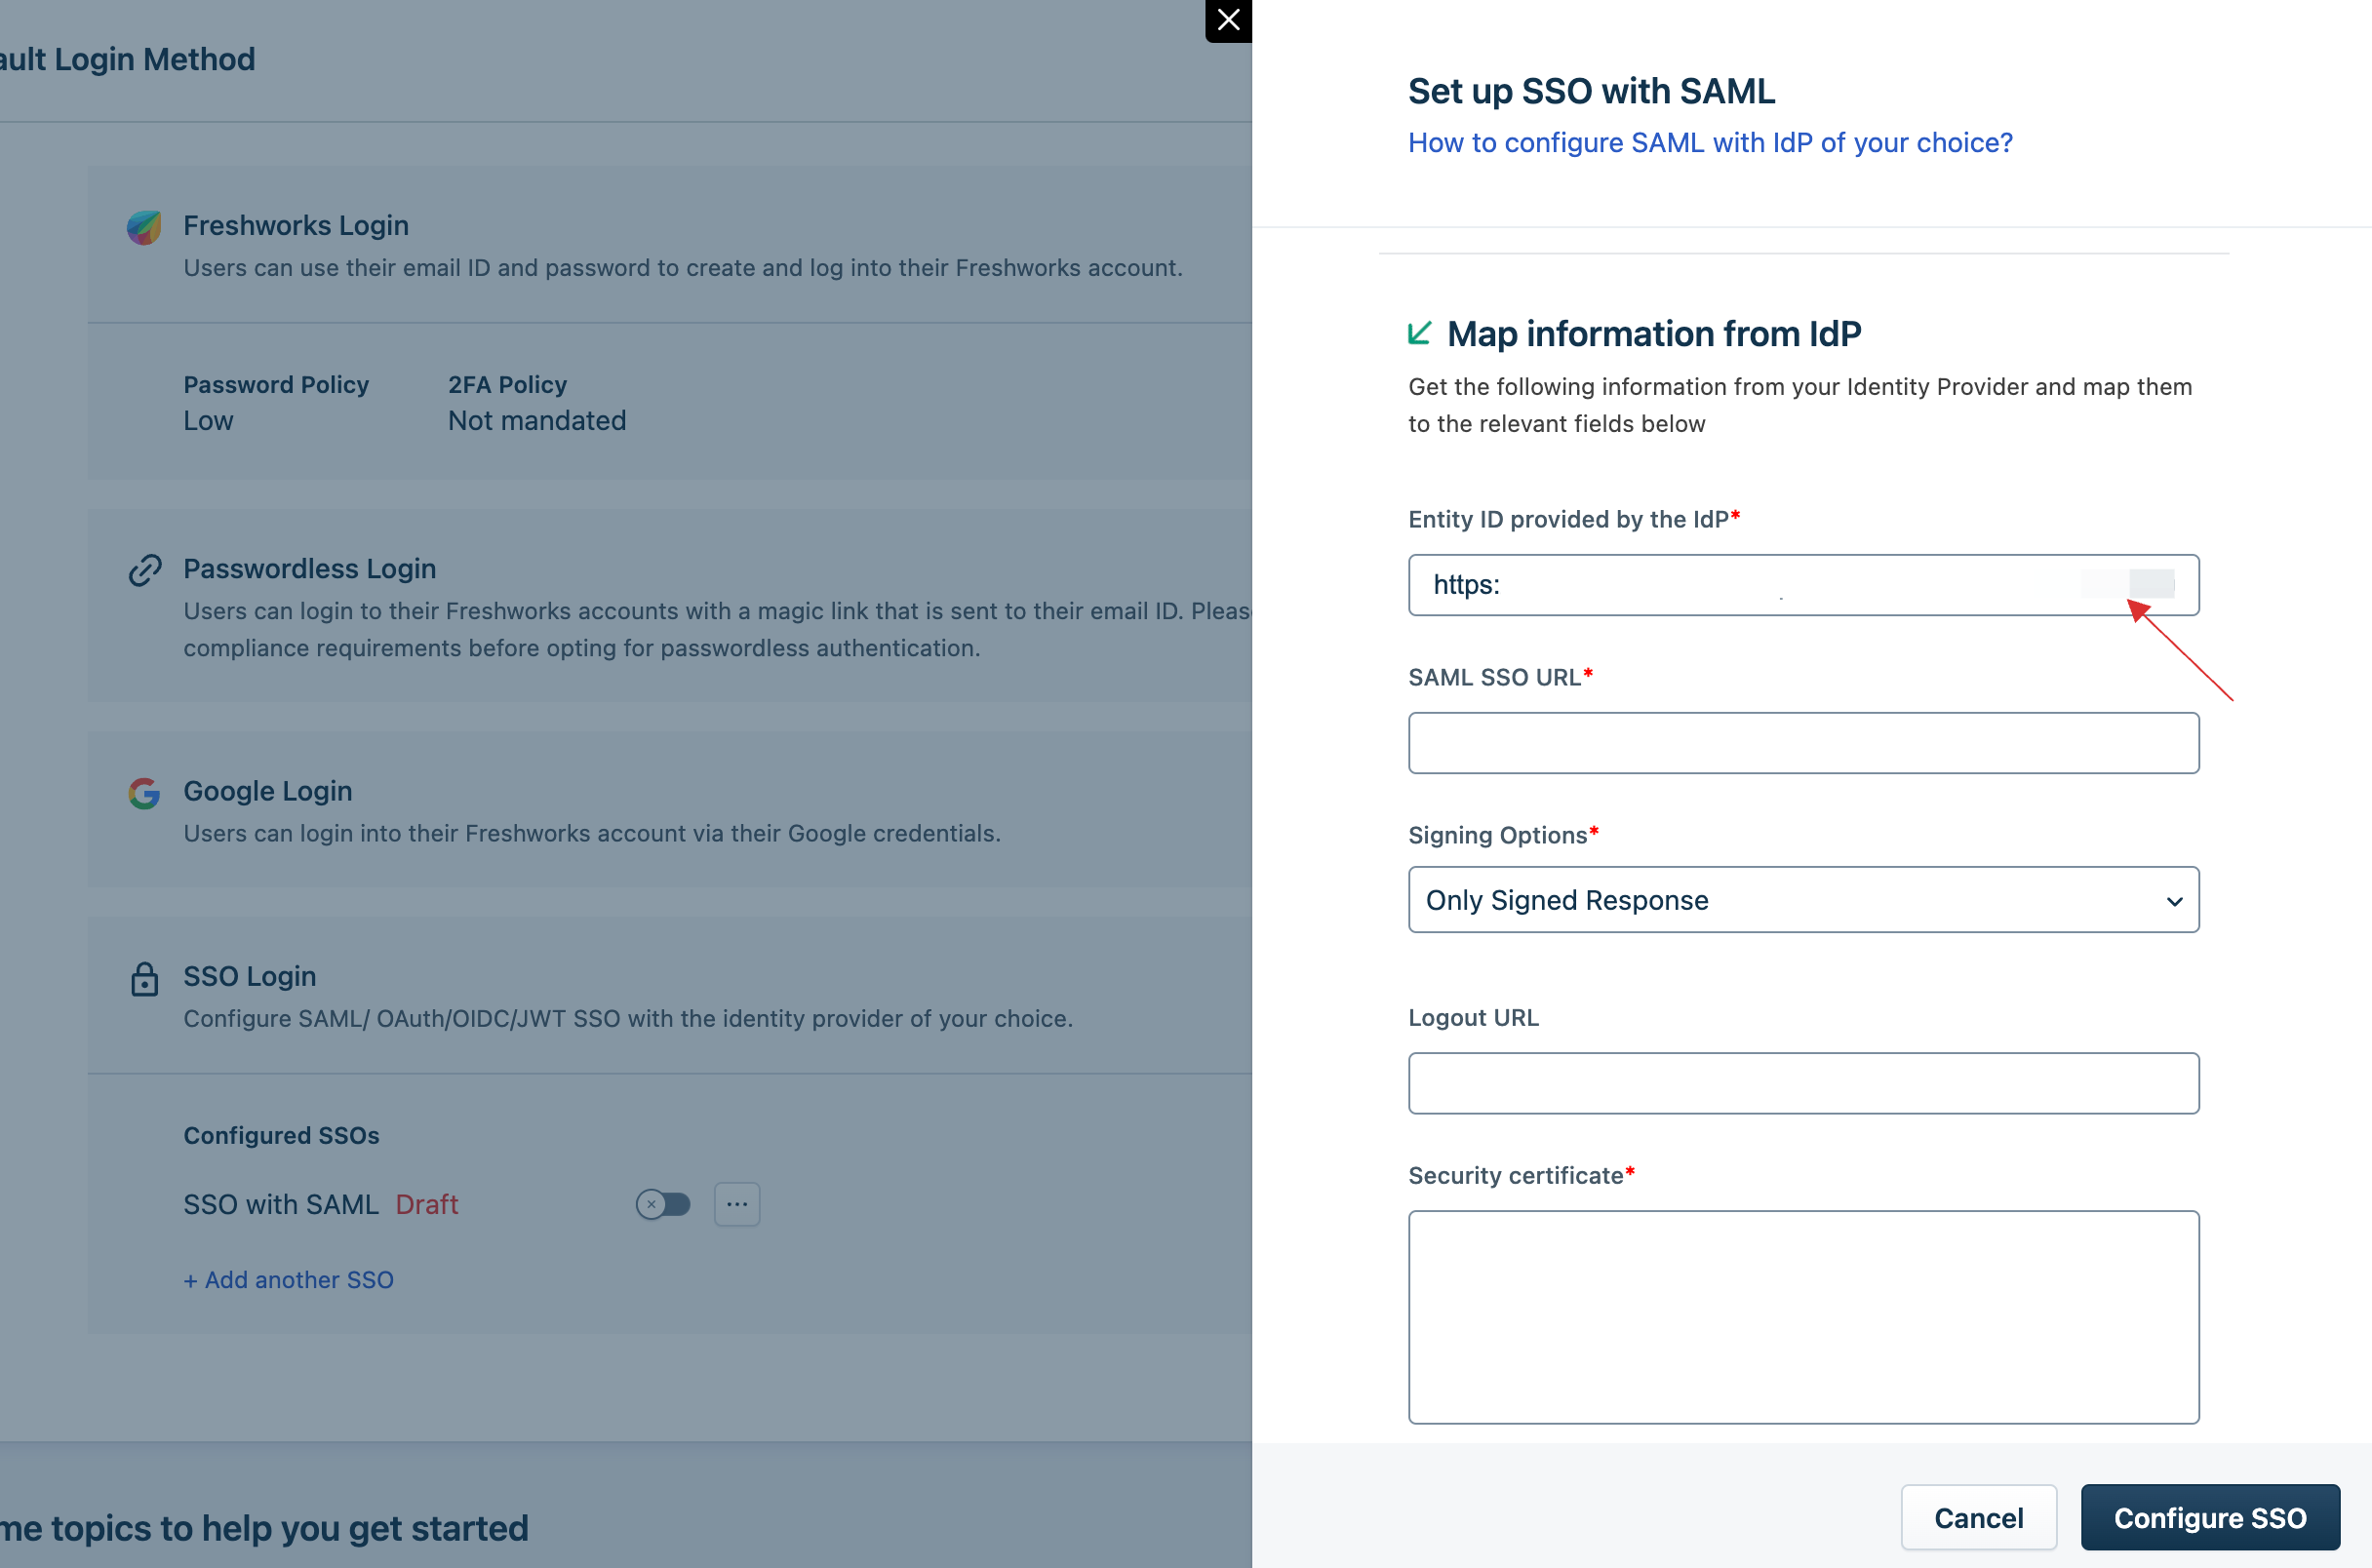
7 Click on Account > Security.
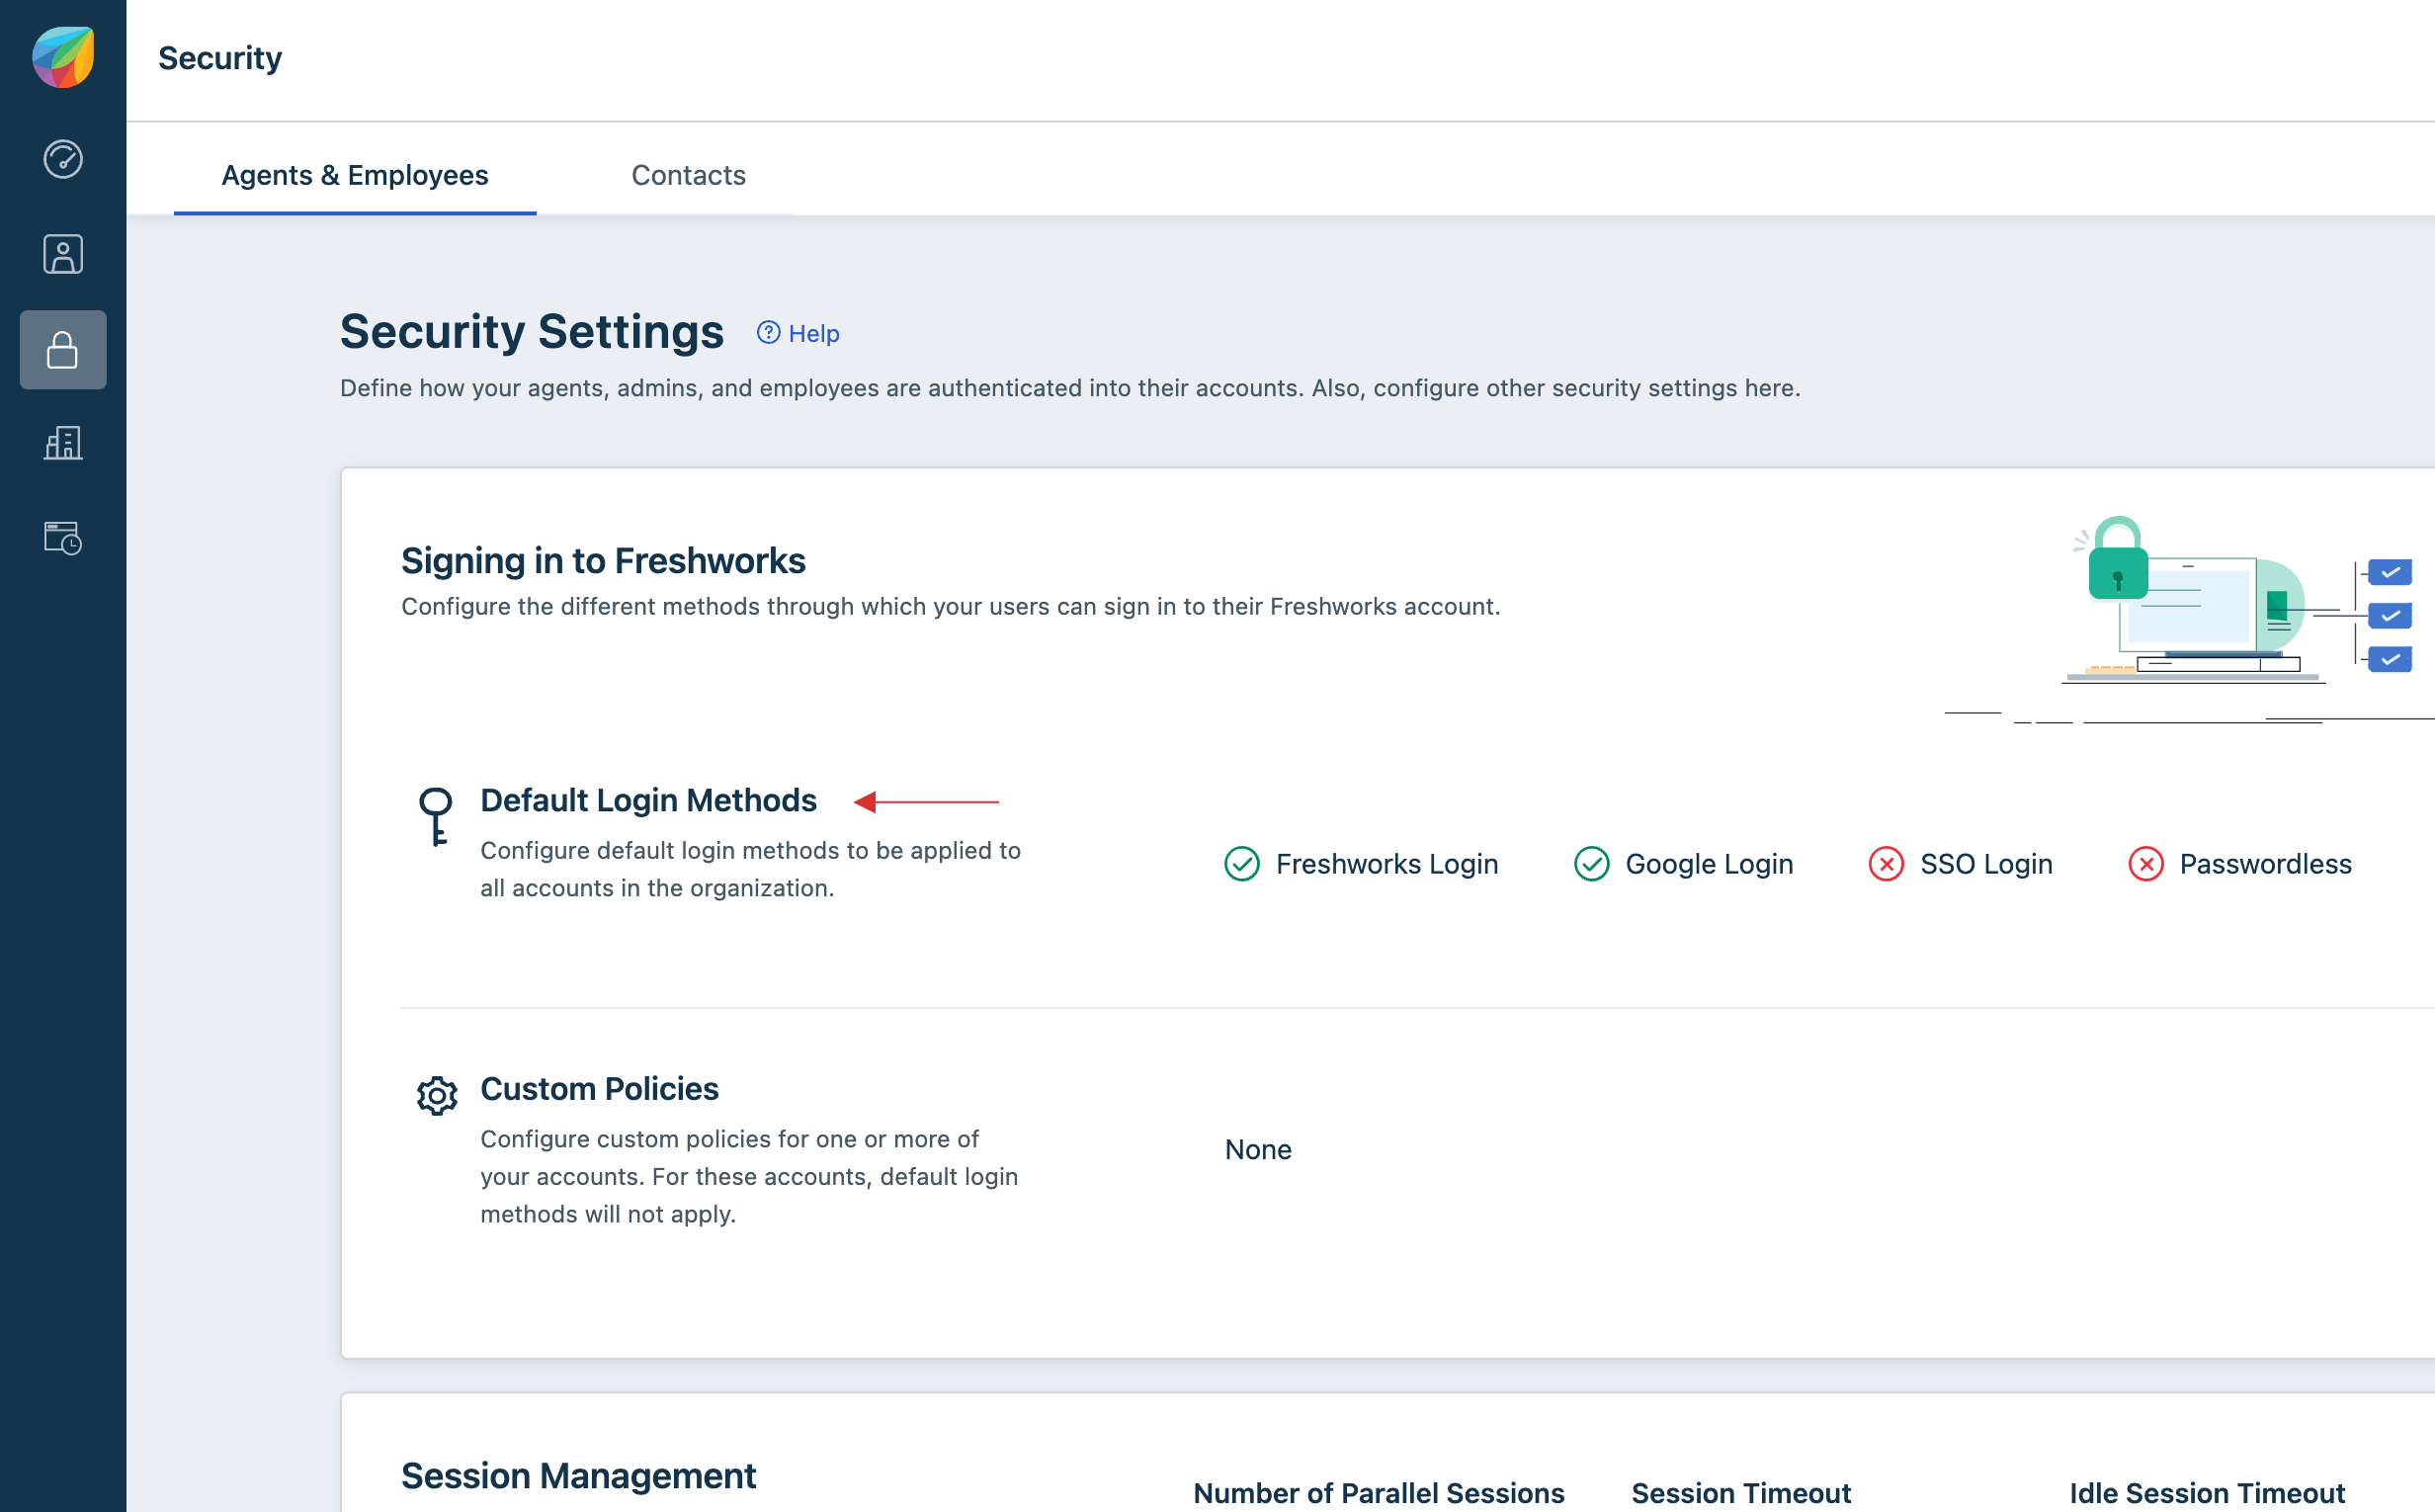
8 Click on Configure Freshworks SSO.

9 Under Security Settings, click on Default Login Methods.
10 Toggle the enable button for SSO Login.
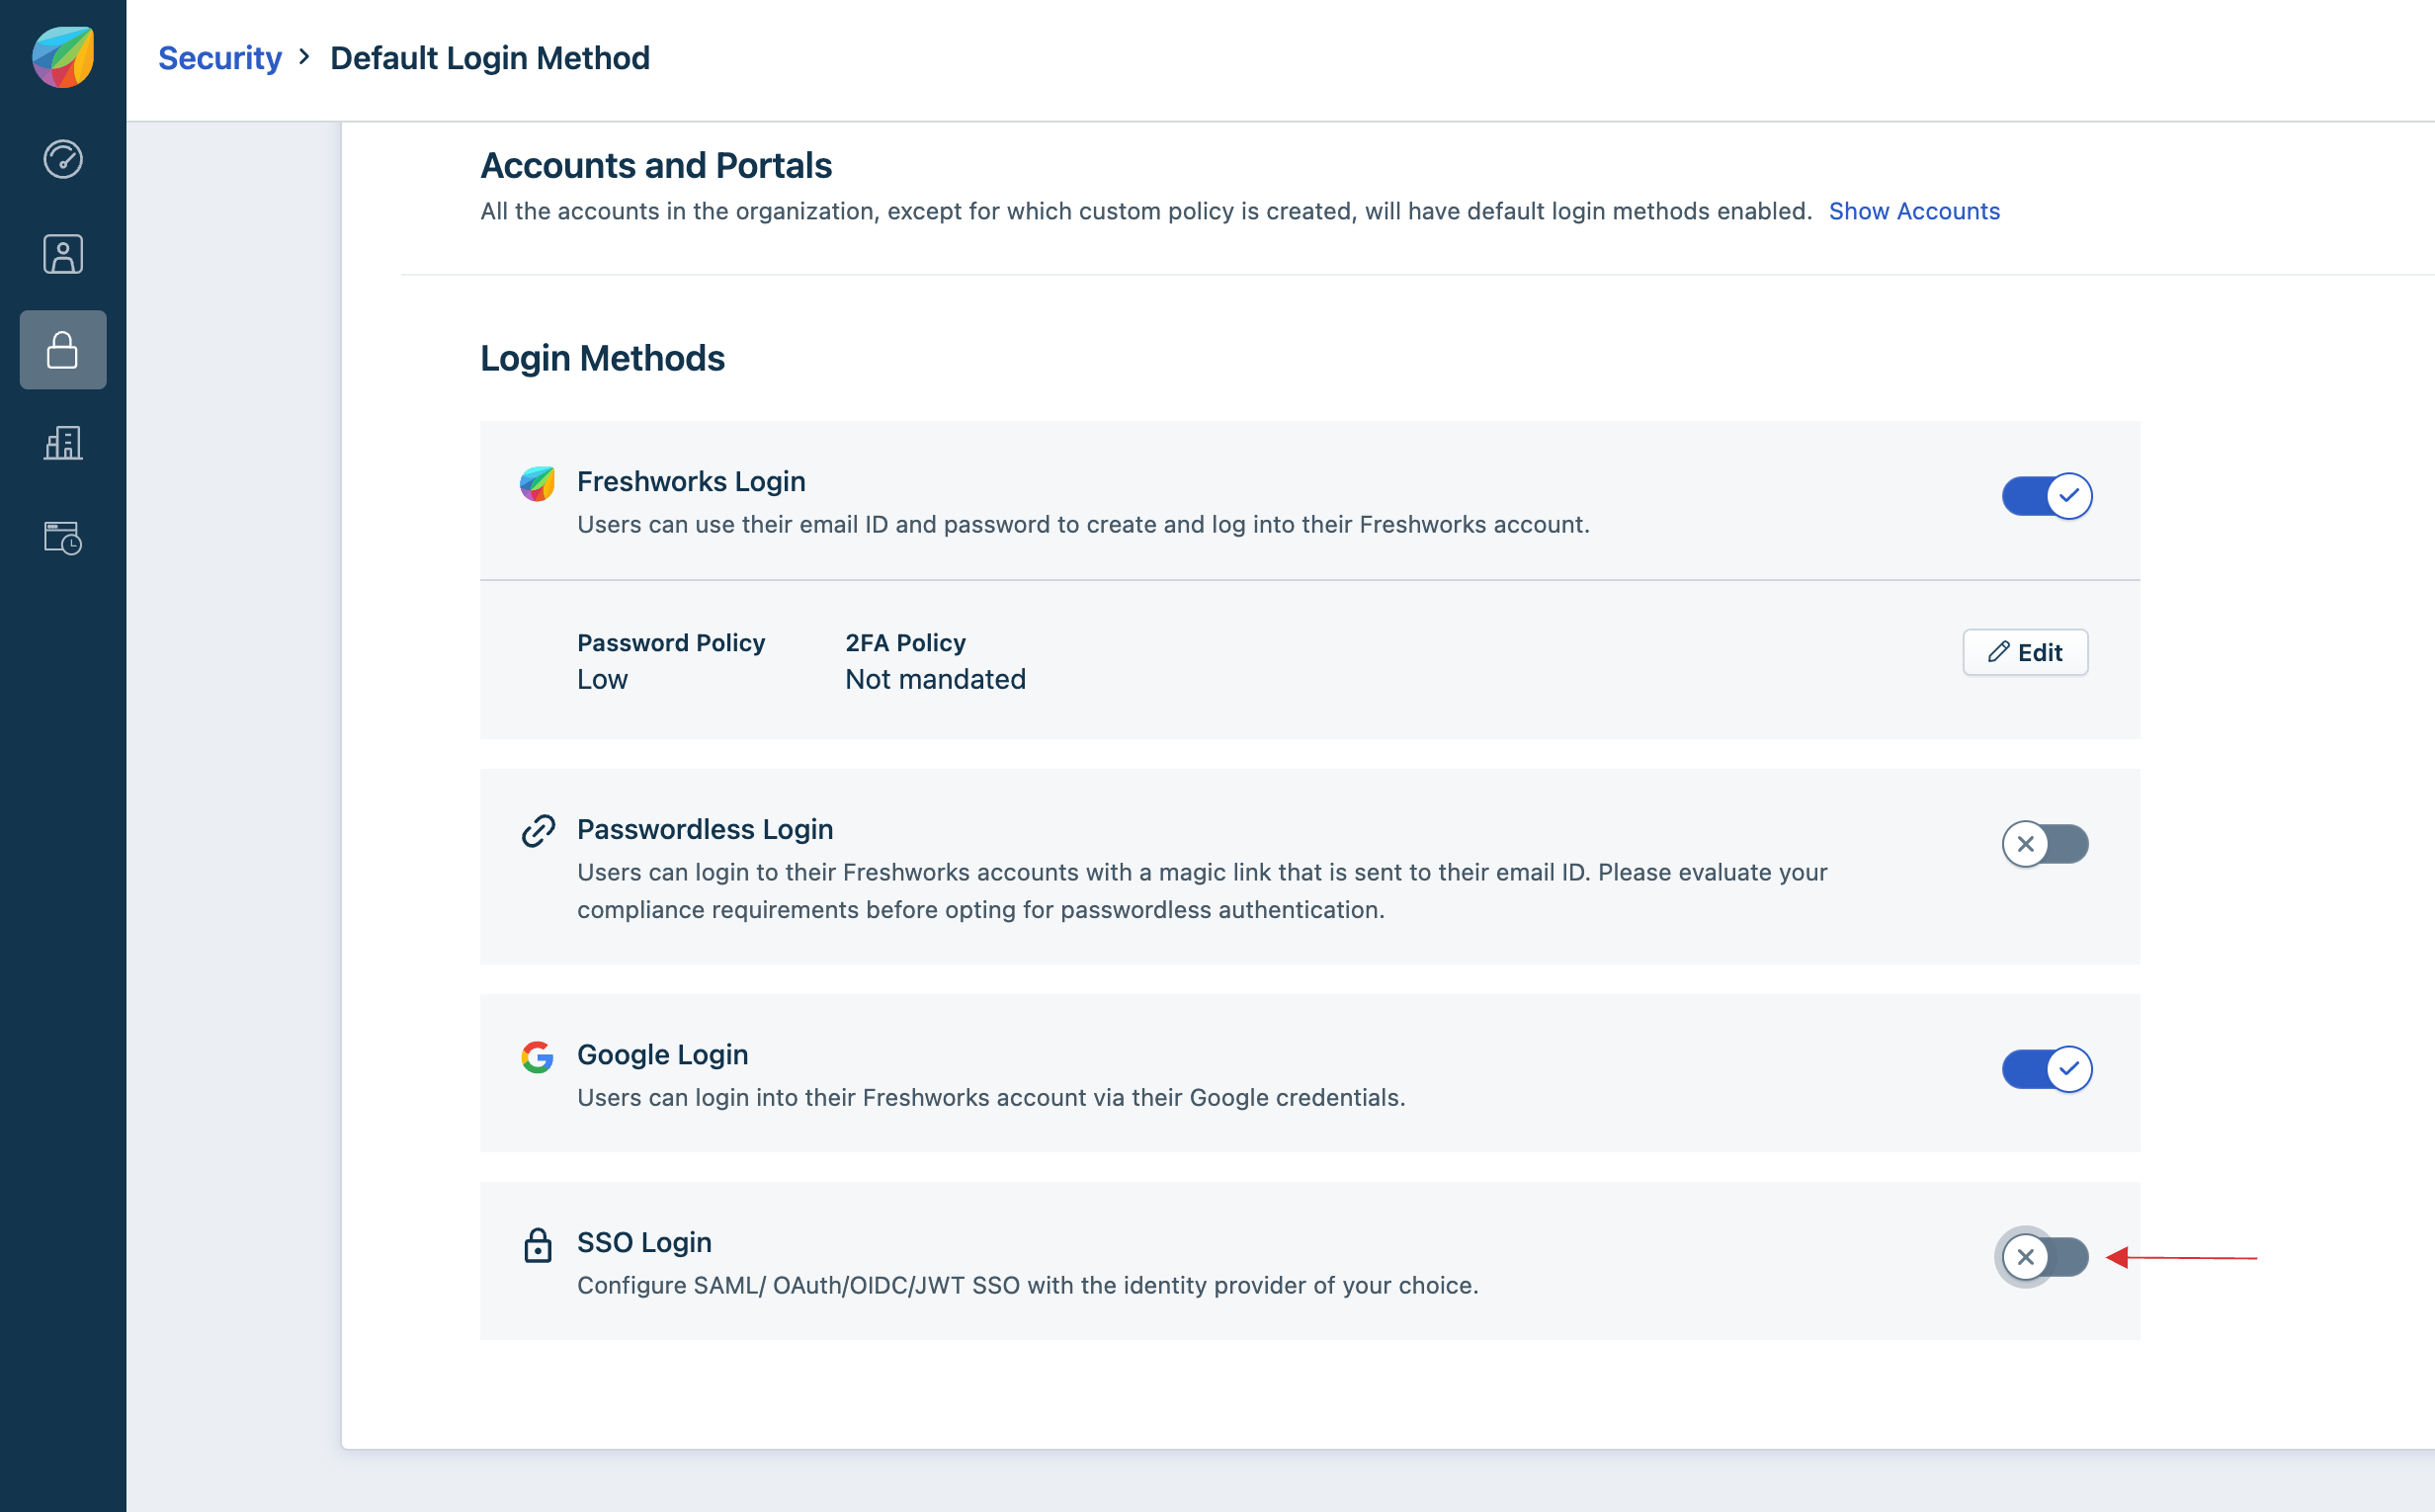
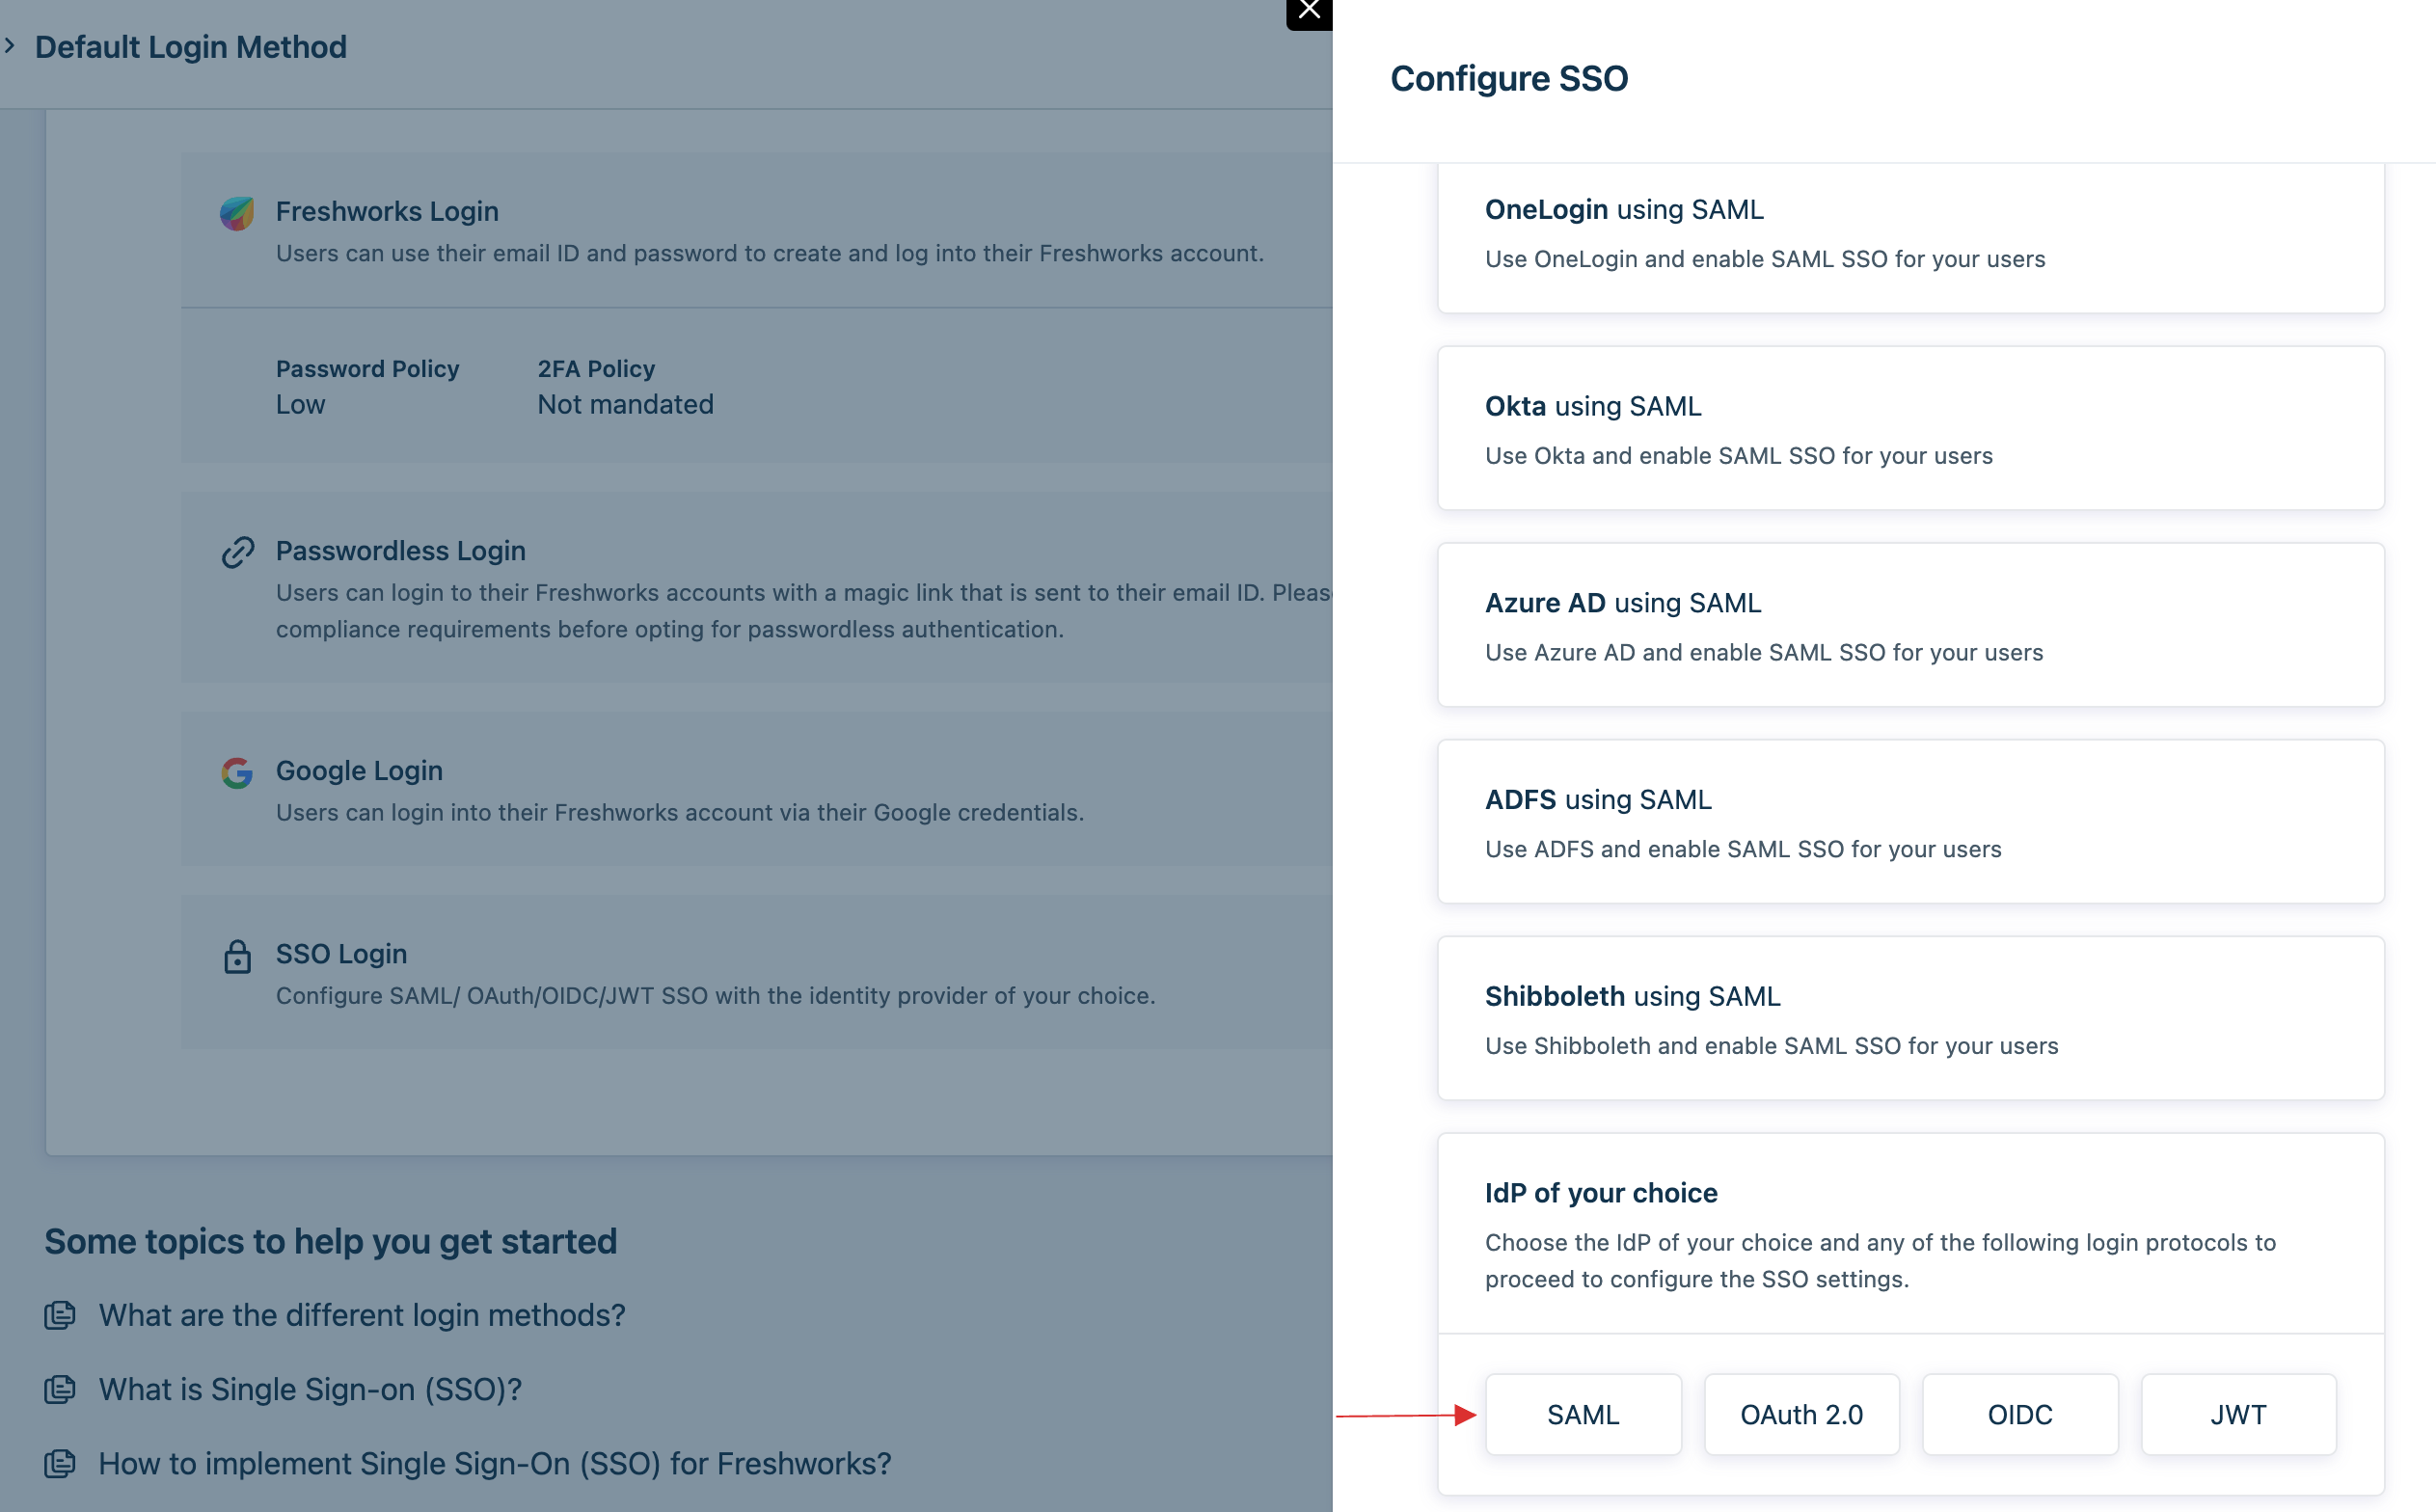
11 Choose SAML for IdP of your choice.
12 Copy the ACS URL and Entity ID.

13 Return to your dashboard, paste the copied ACS URL and Entity ID.
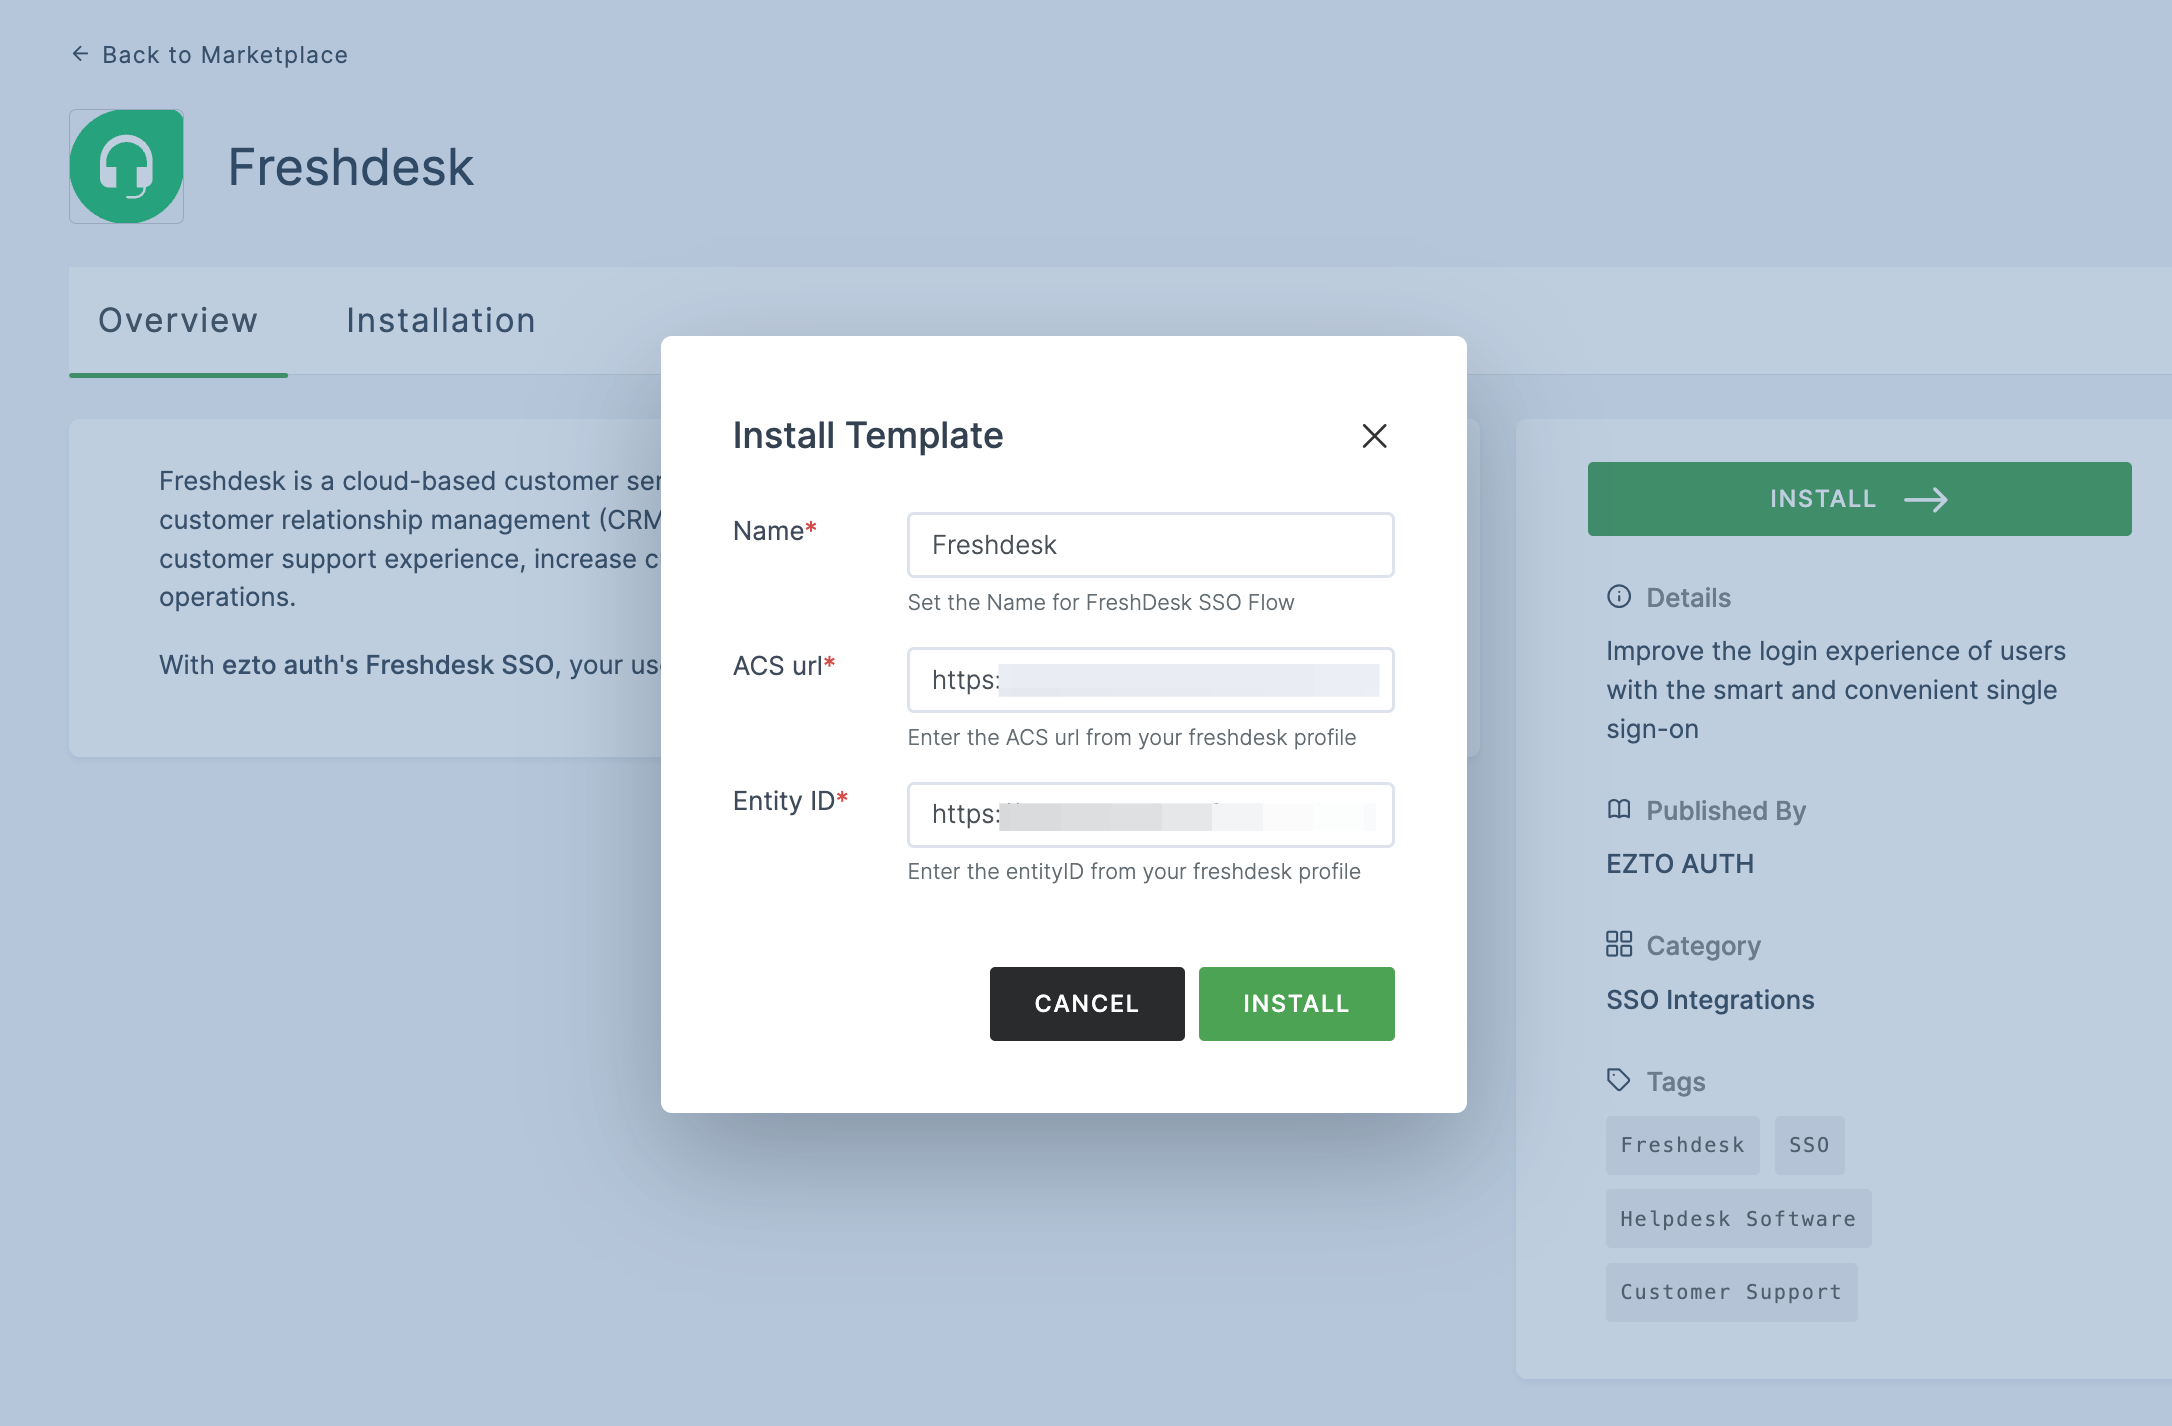
14 Once the configurations are provided, click on INSTALL.
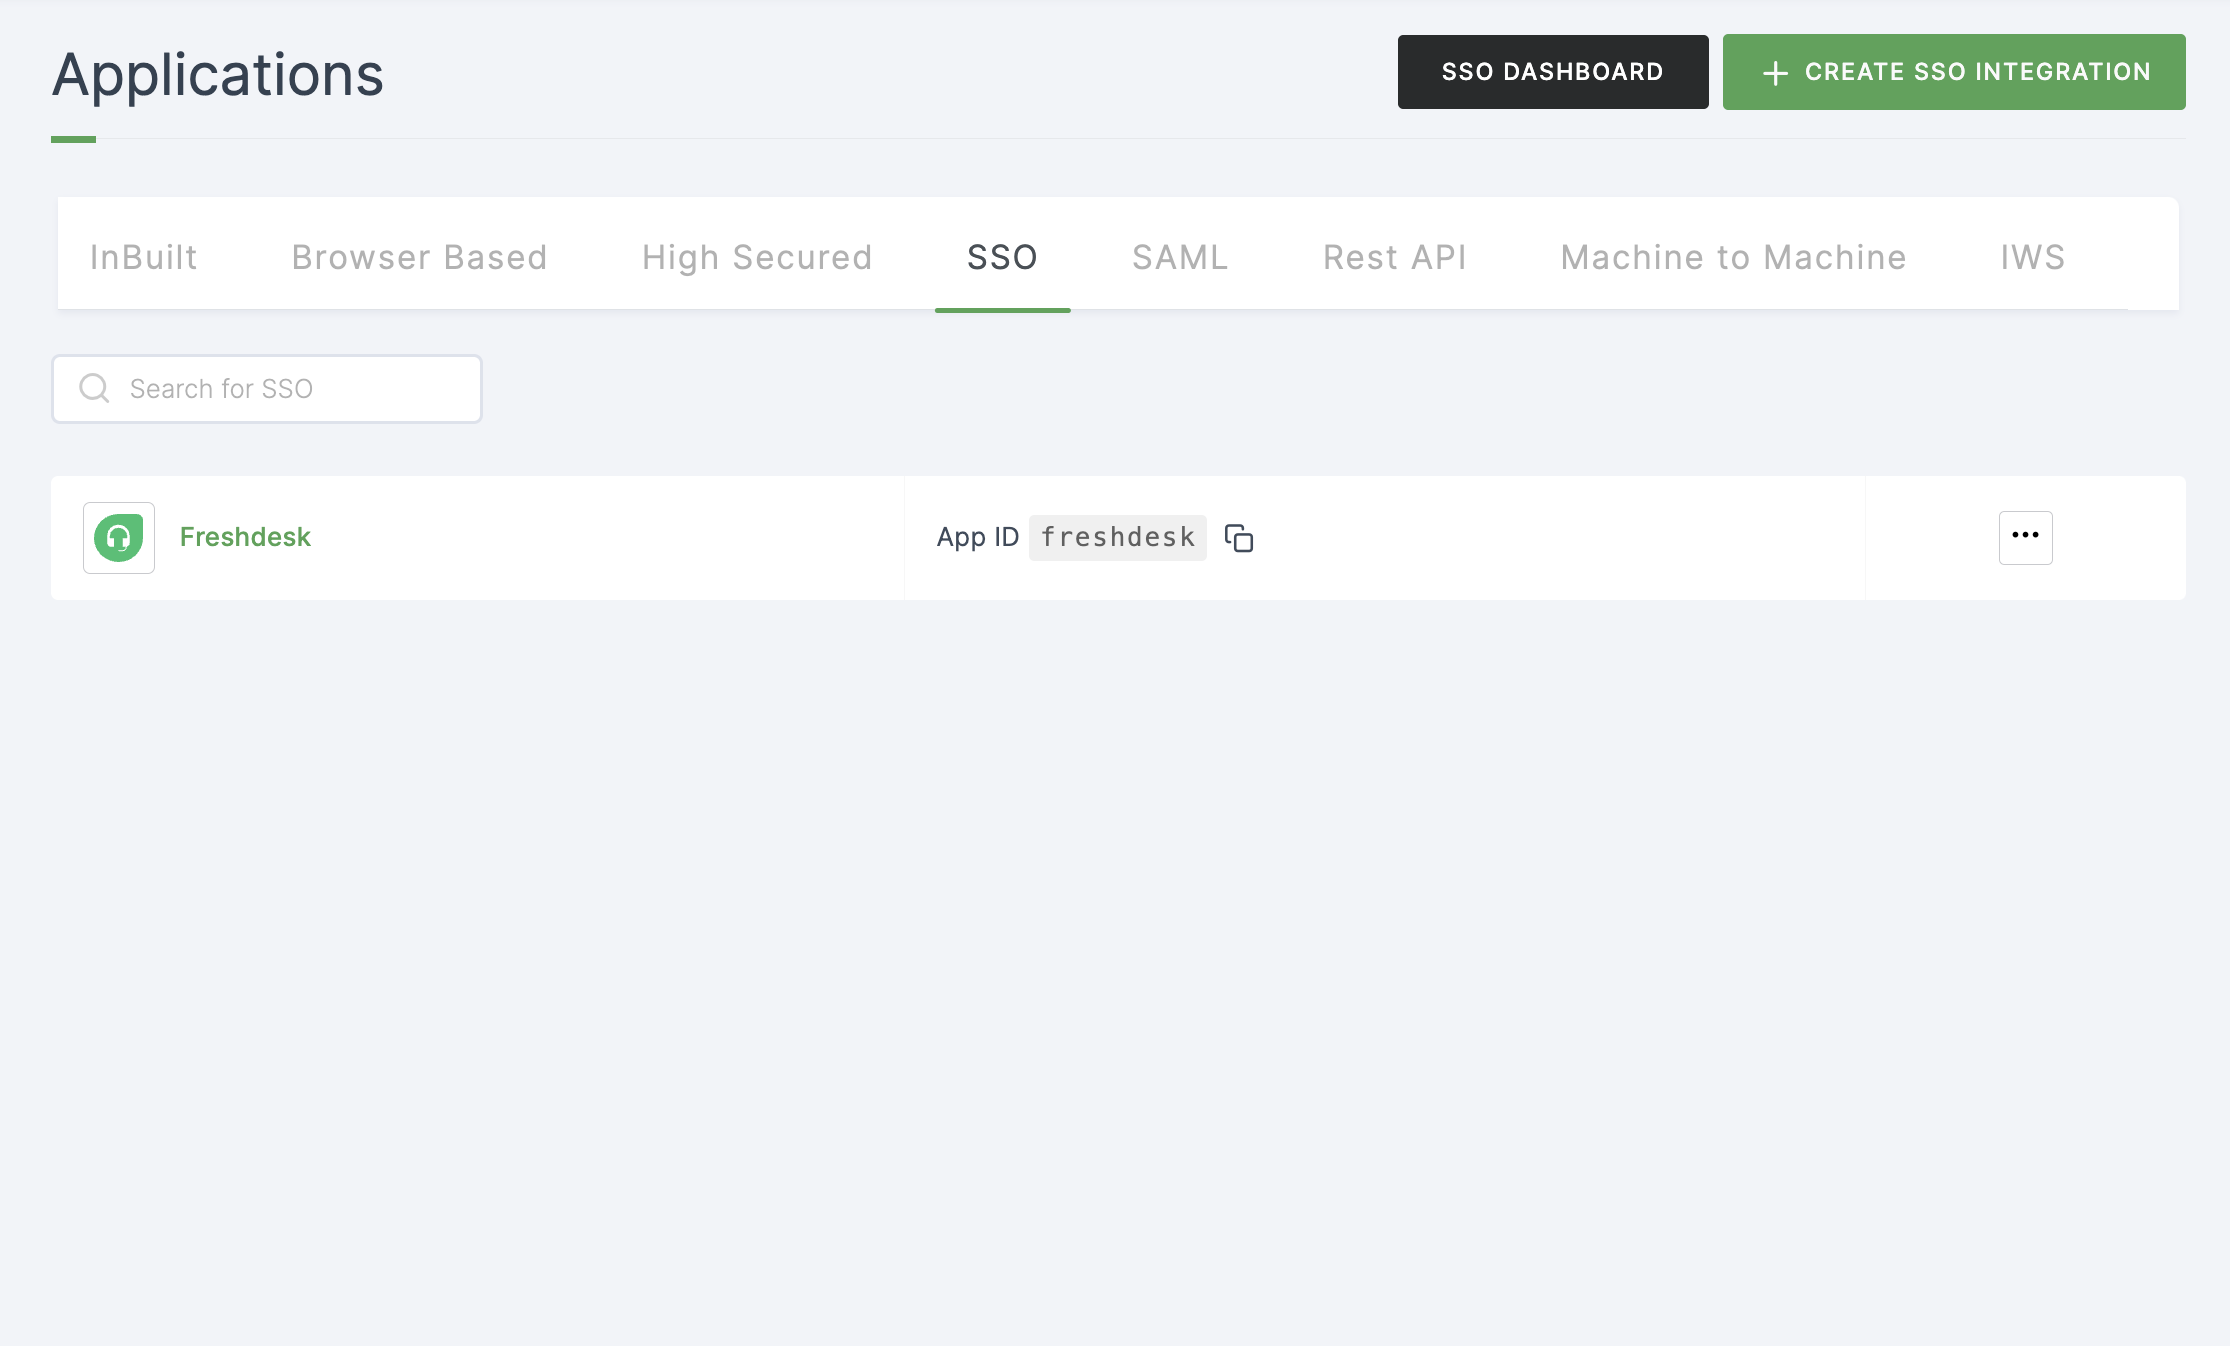
15 To enable Freshdesk SSO login, go to Applications > SSO, and click on the created Freshdesk SSO.
16 Click on Metadata, where the list of endpoints for the particular SSO will be available. Copy the Entity ID.
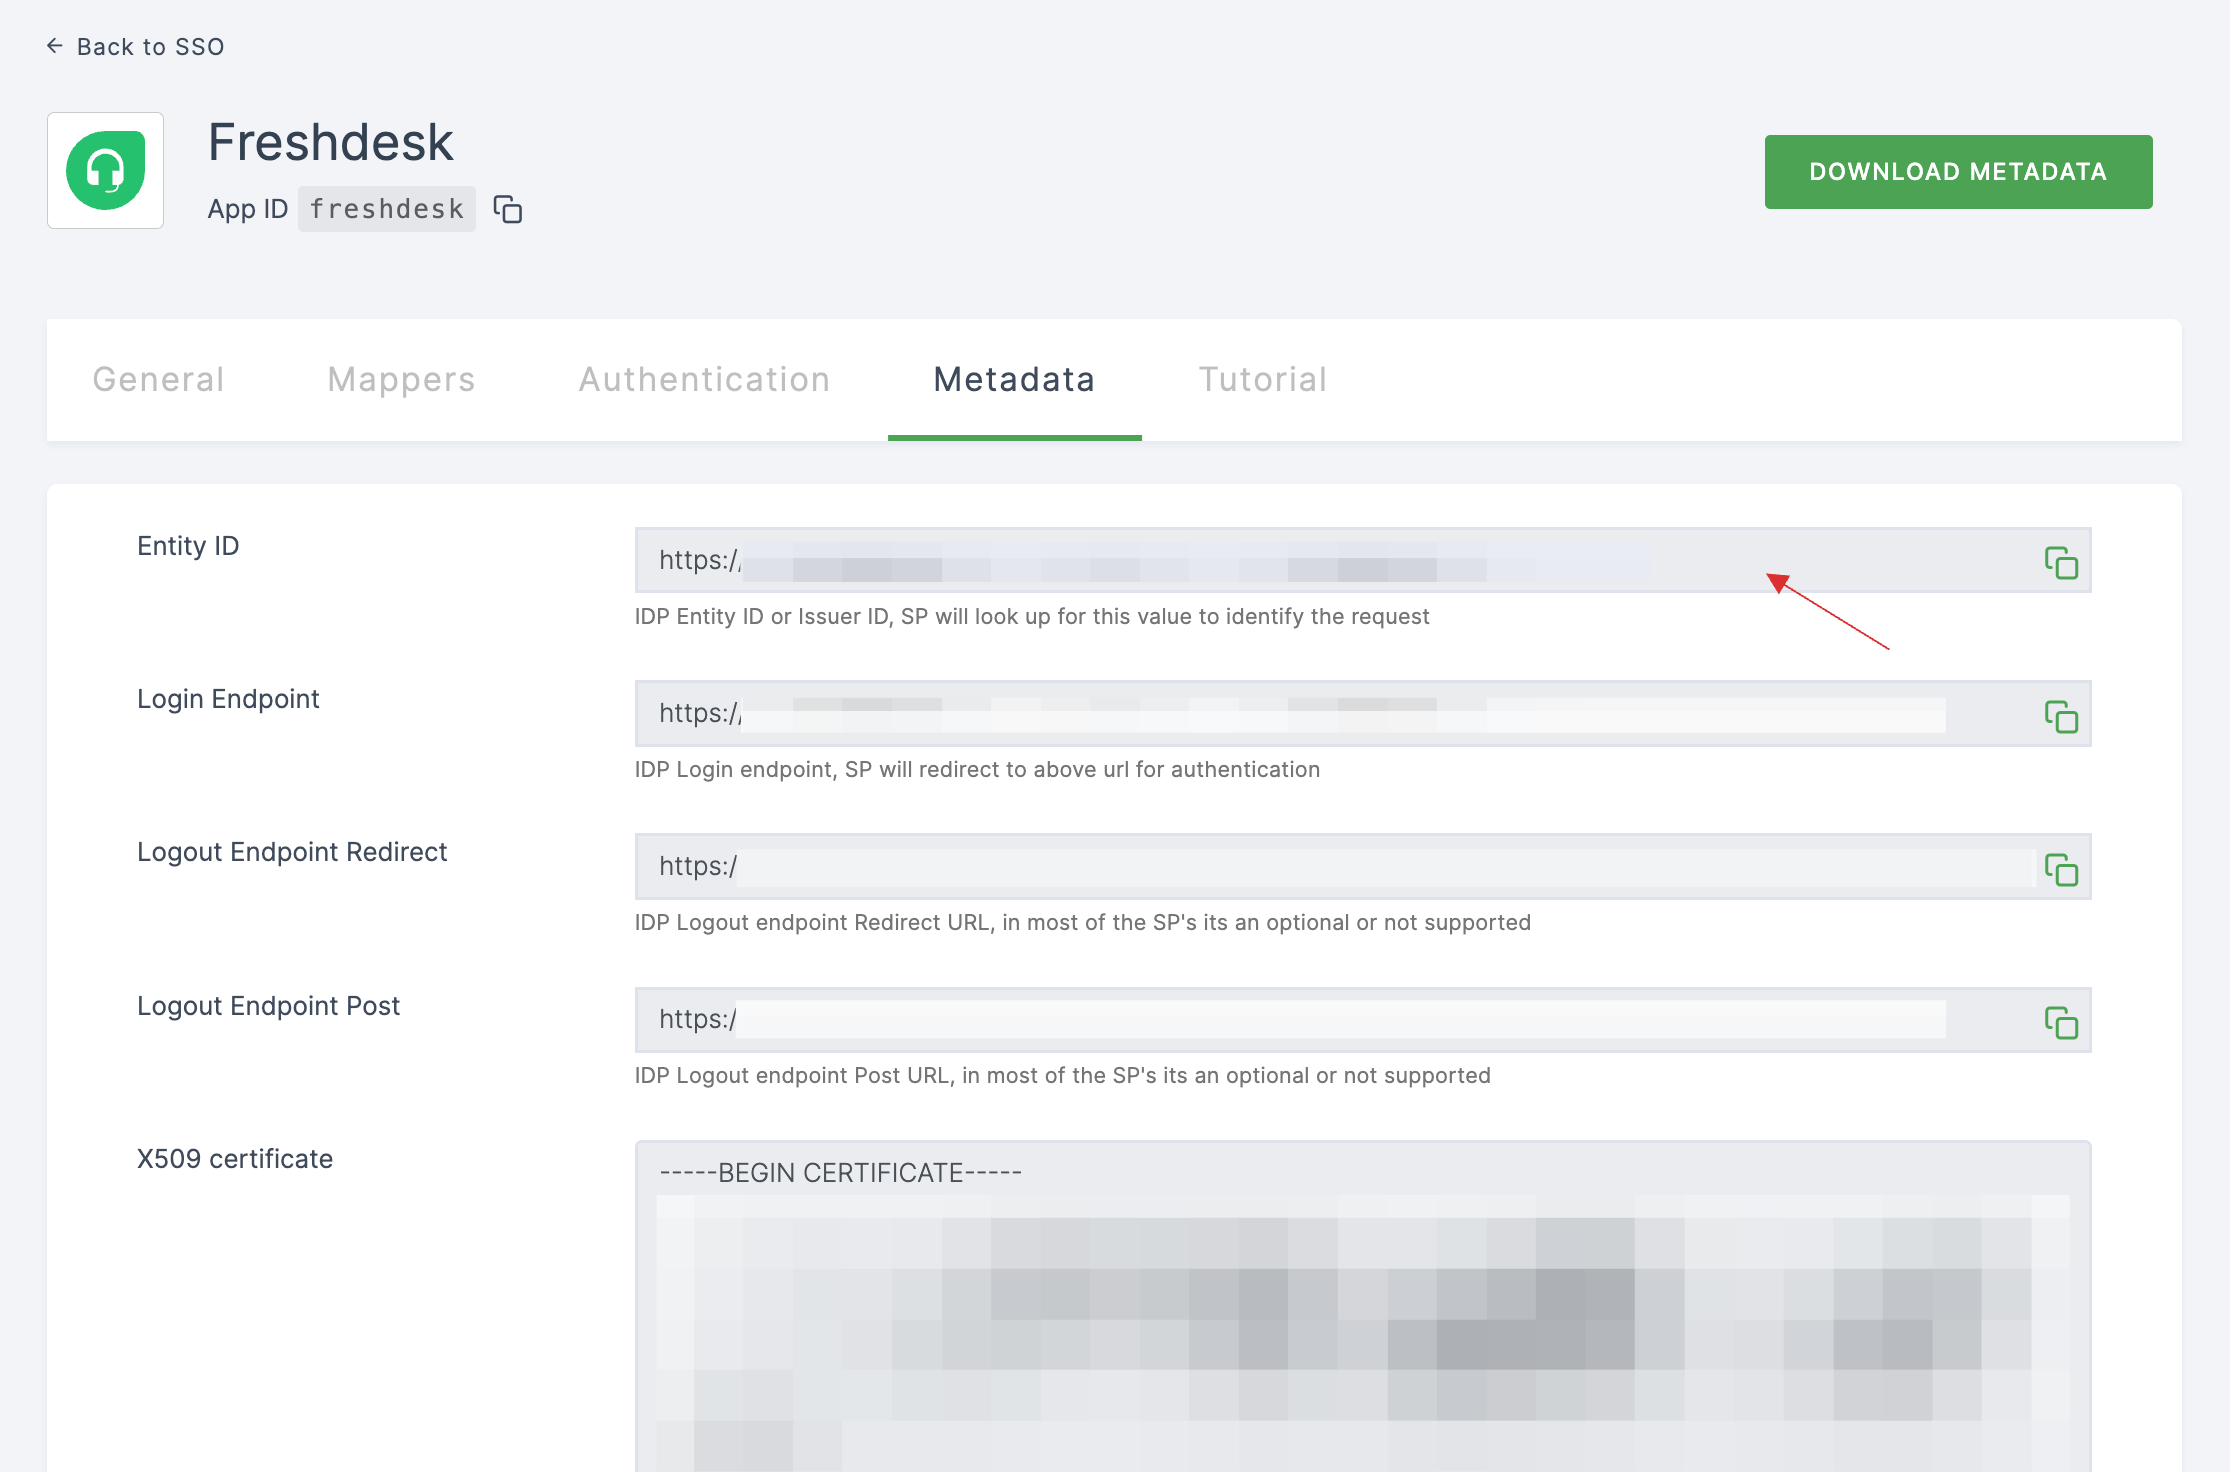
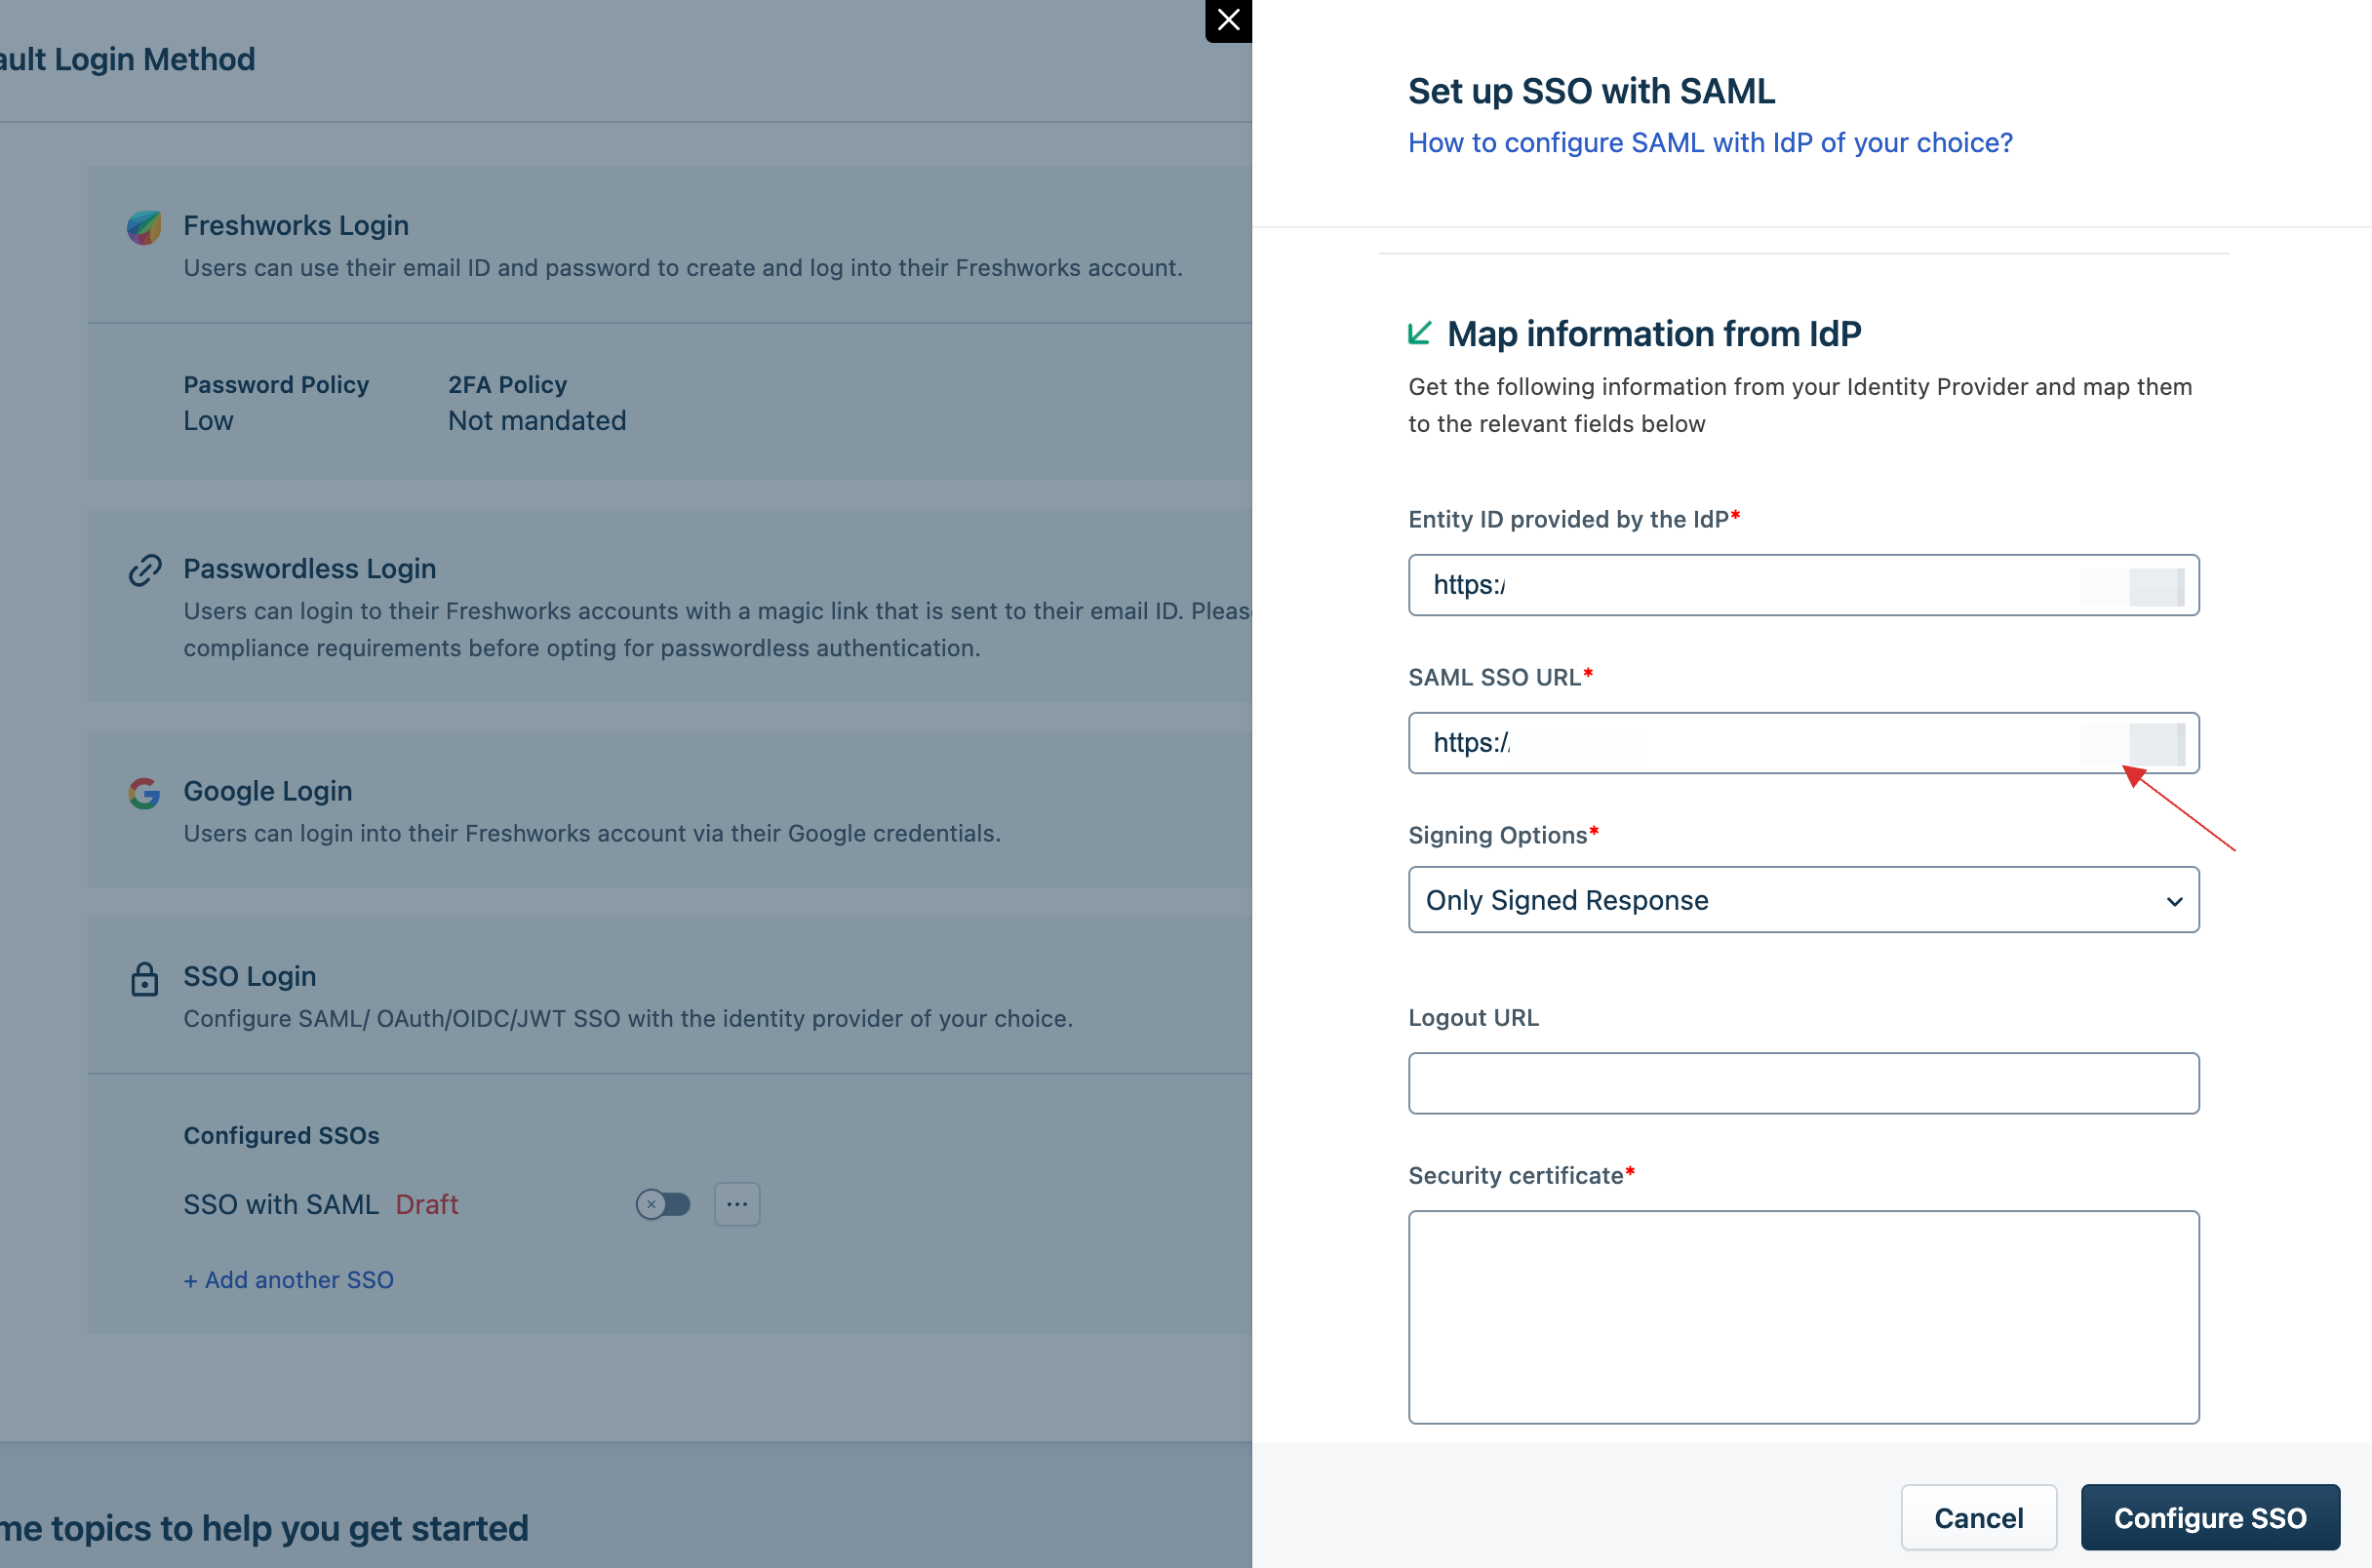
17 Switch to Freshdesk, paste the Entity ID under Map information from IdP
18 Return to your dashboard, copy the Login Endpoint.

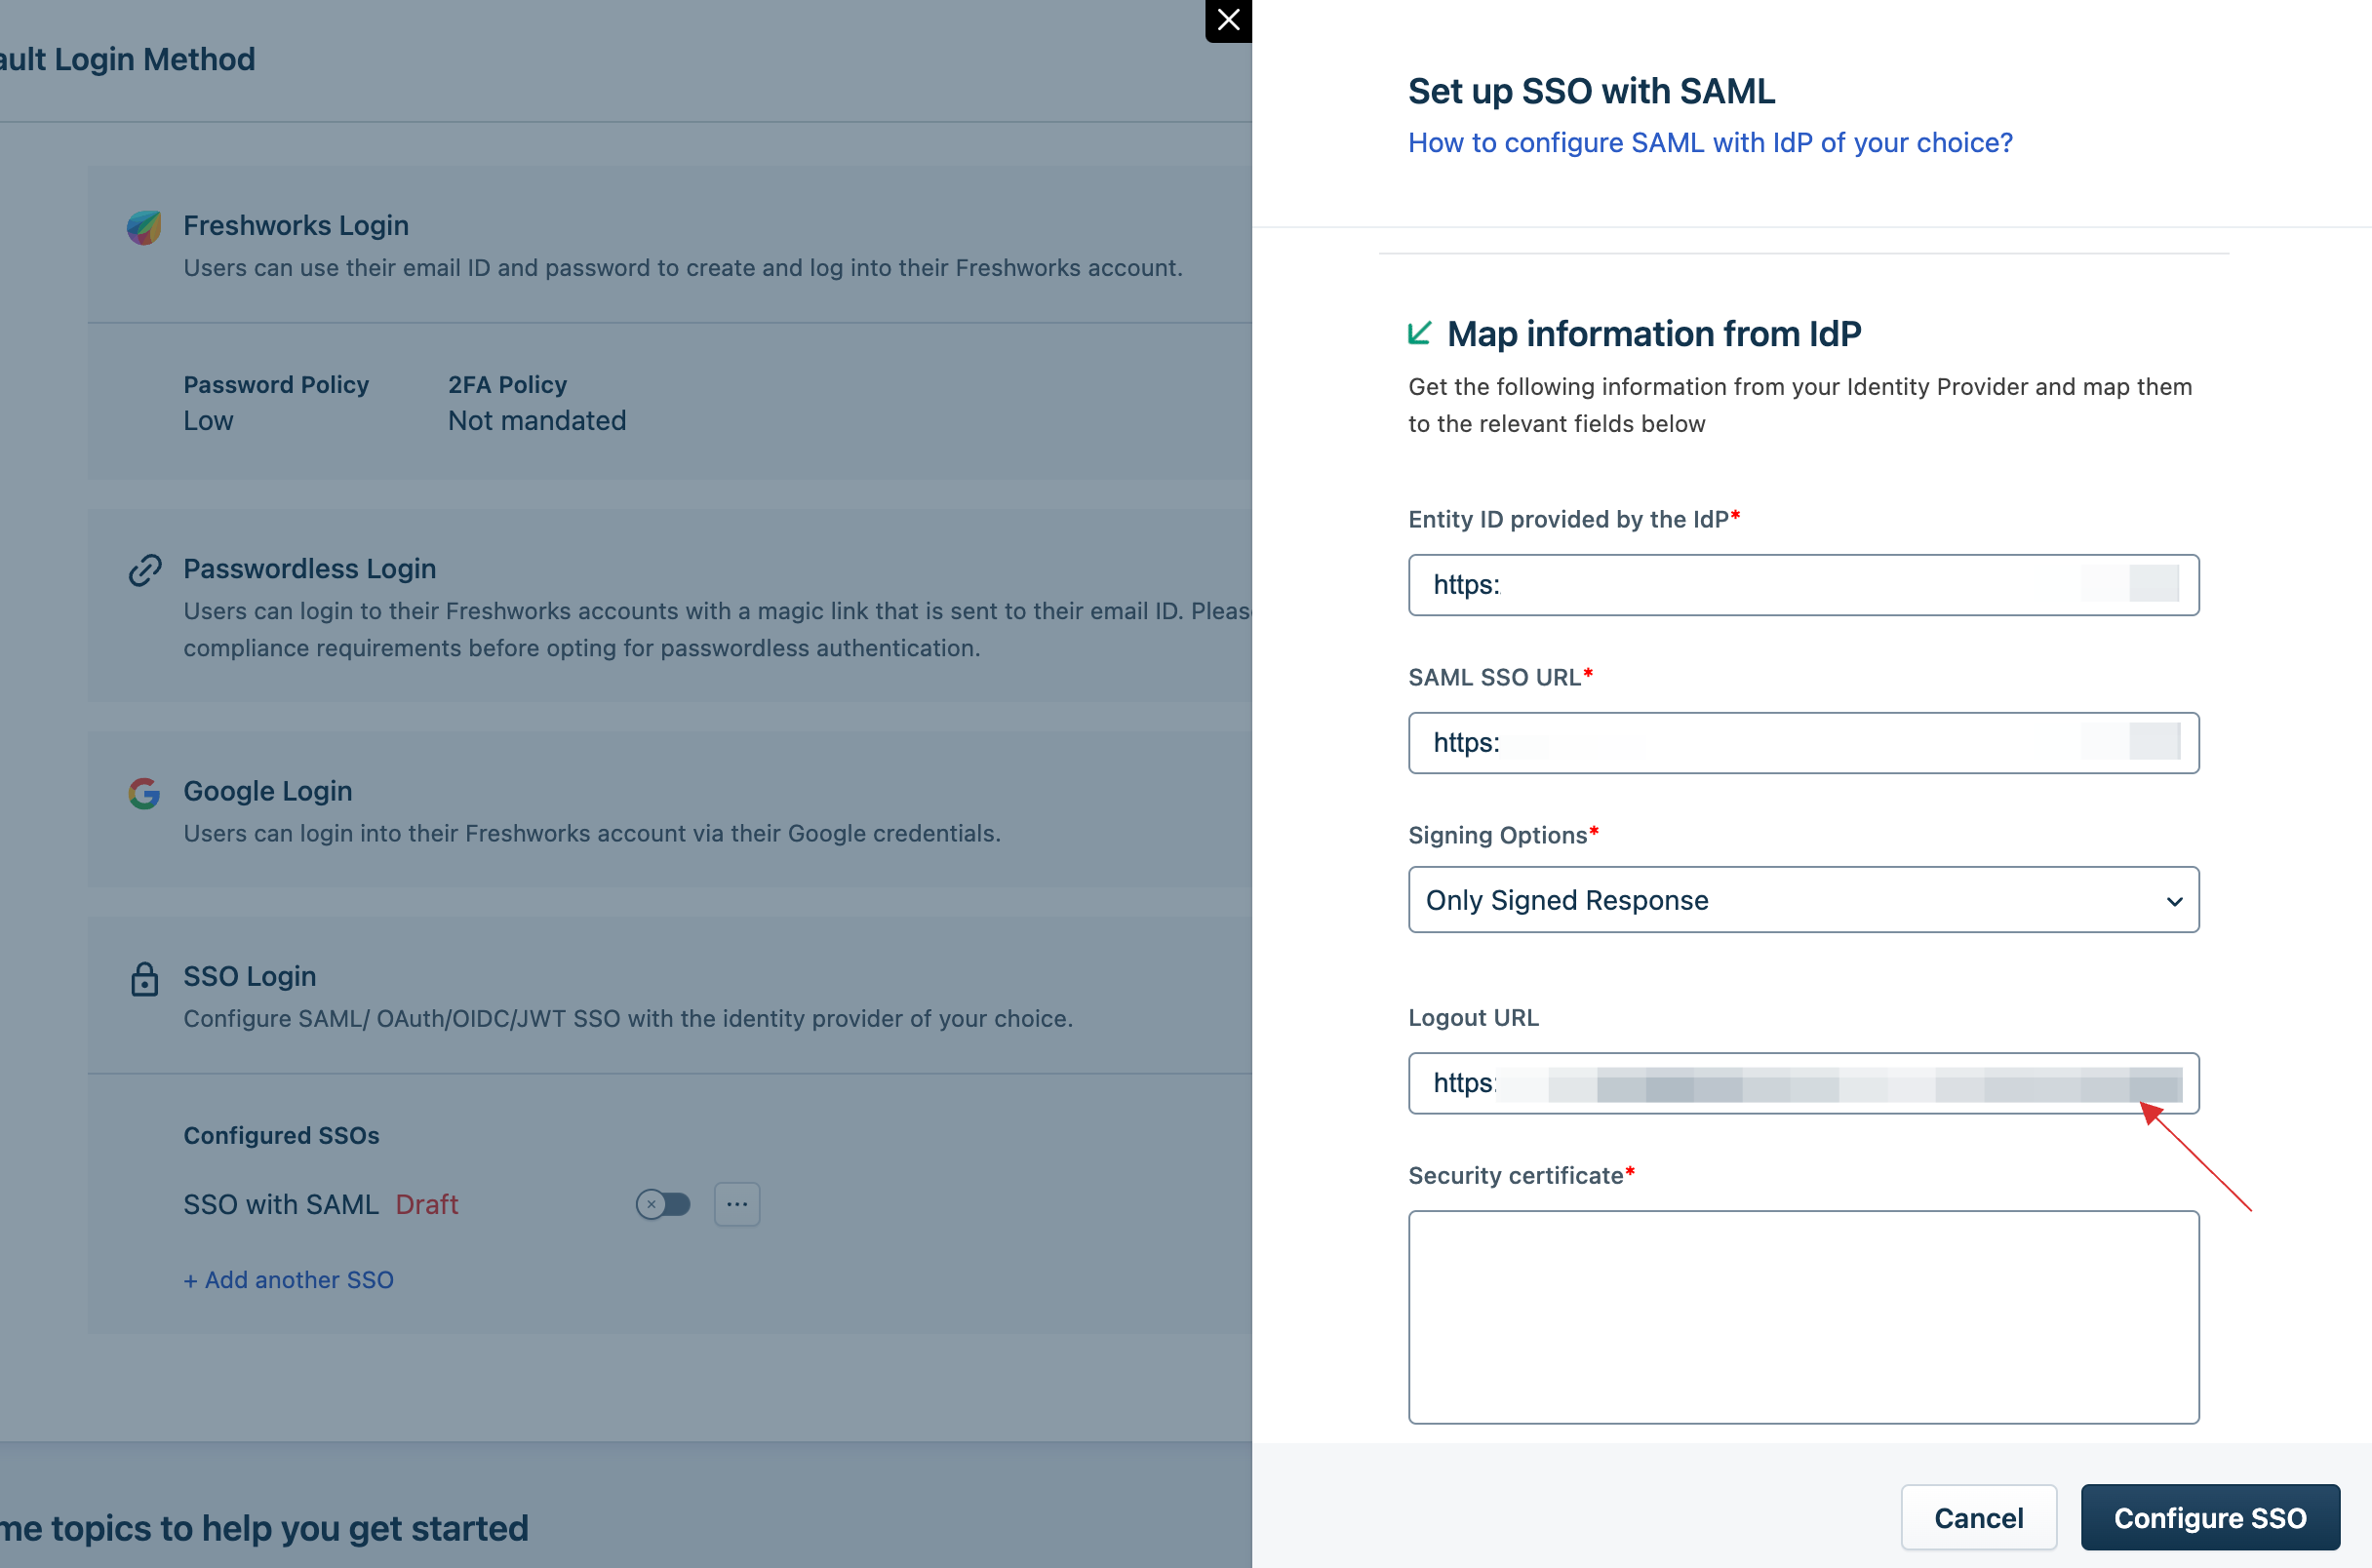
19 Switch to Freshdesk, paste the Login Endpoint in SAML SSO URL.
20 Return to your dashboard, copy the Logout Endpoint Post.

21 Switch to Freshdesk, paste the Logout URL.
22 Return to your dashboard, copy the X509 certificate.
Make sure not to copy the BEGIN CERTIFICATE and END CERTIFICATE.
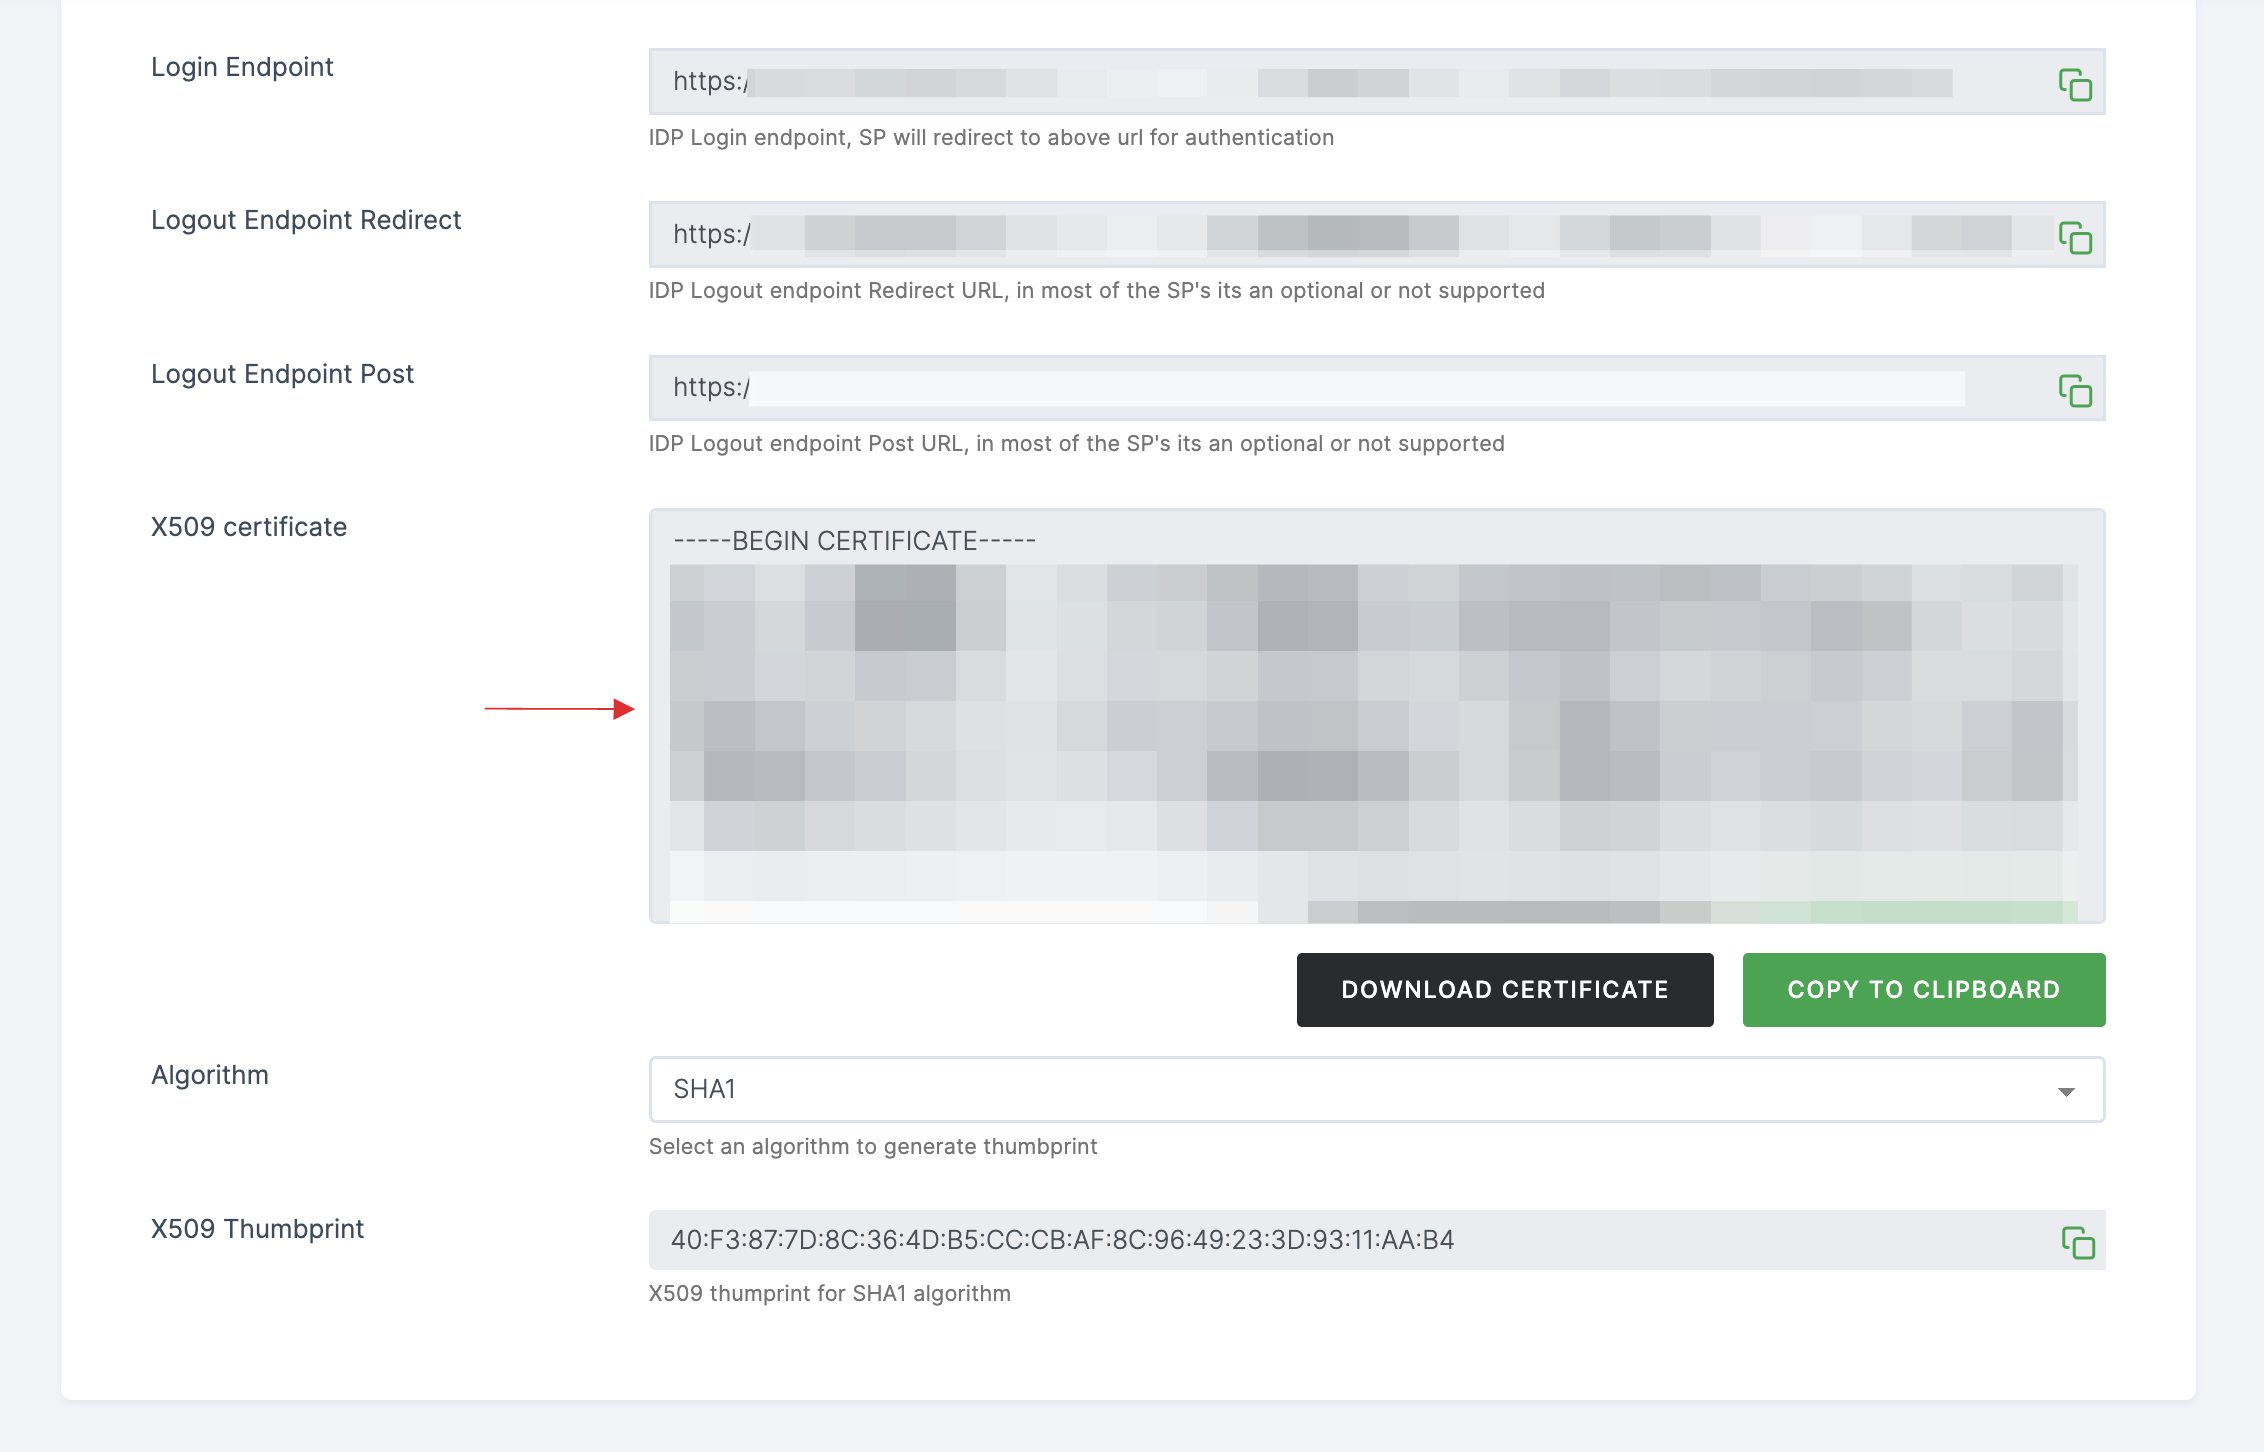
23 Switch to Freshdesk, paste the X509 certificate in Security certificate.
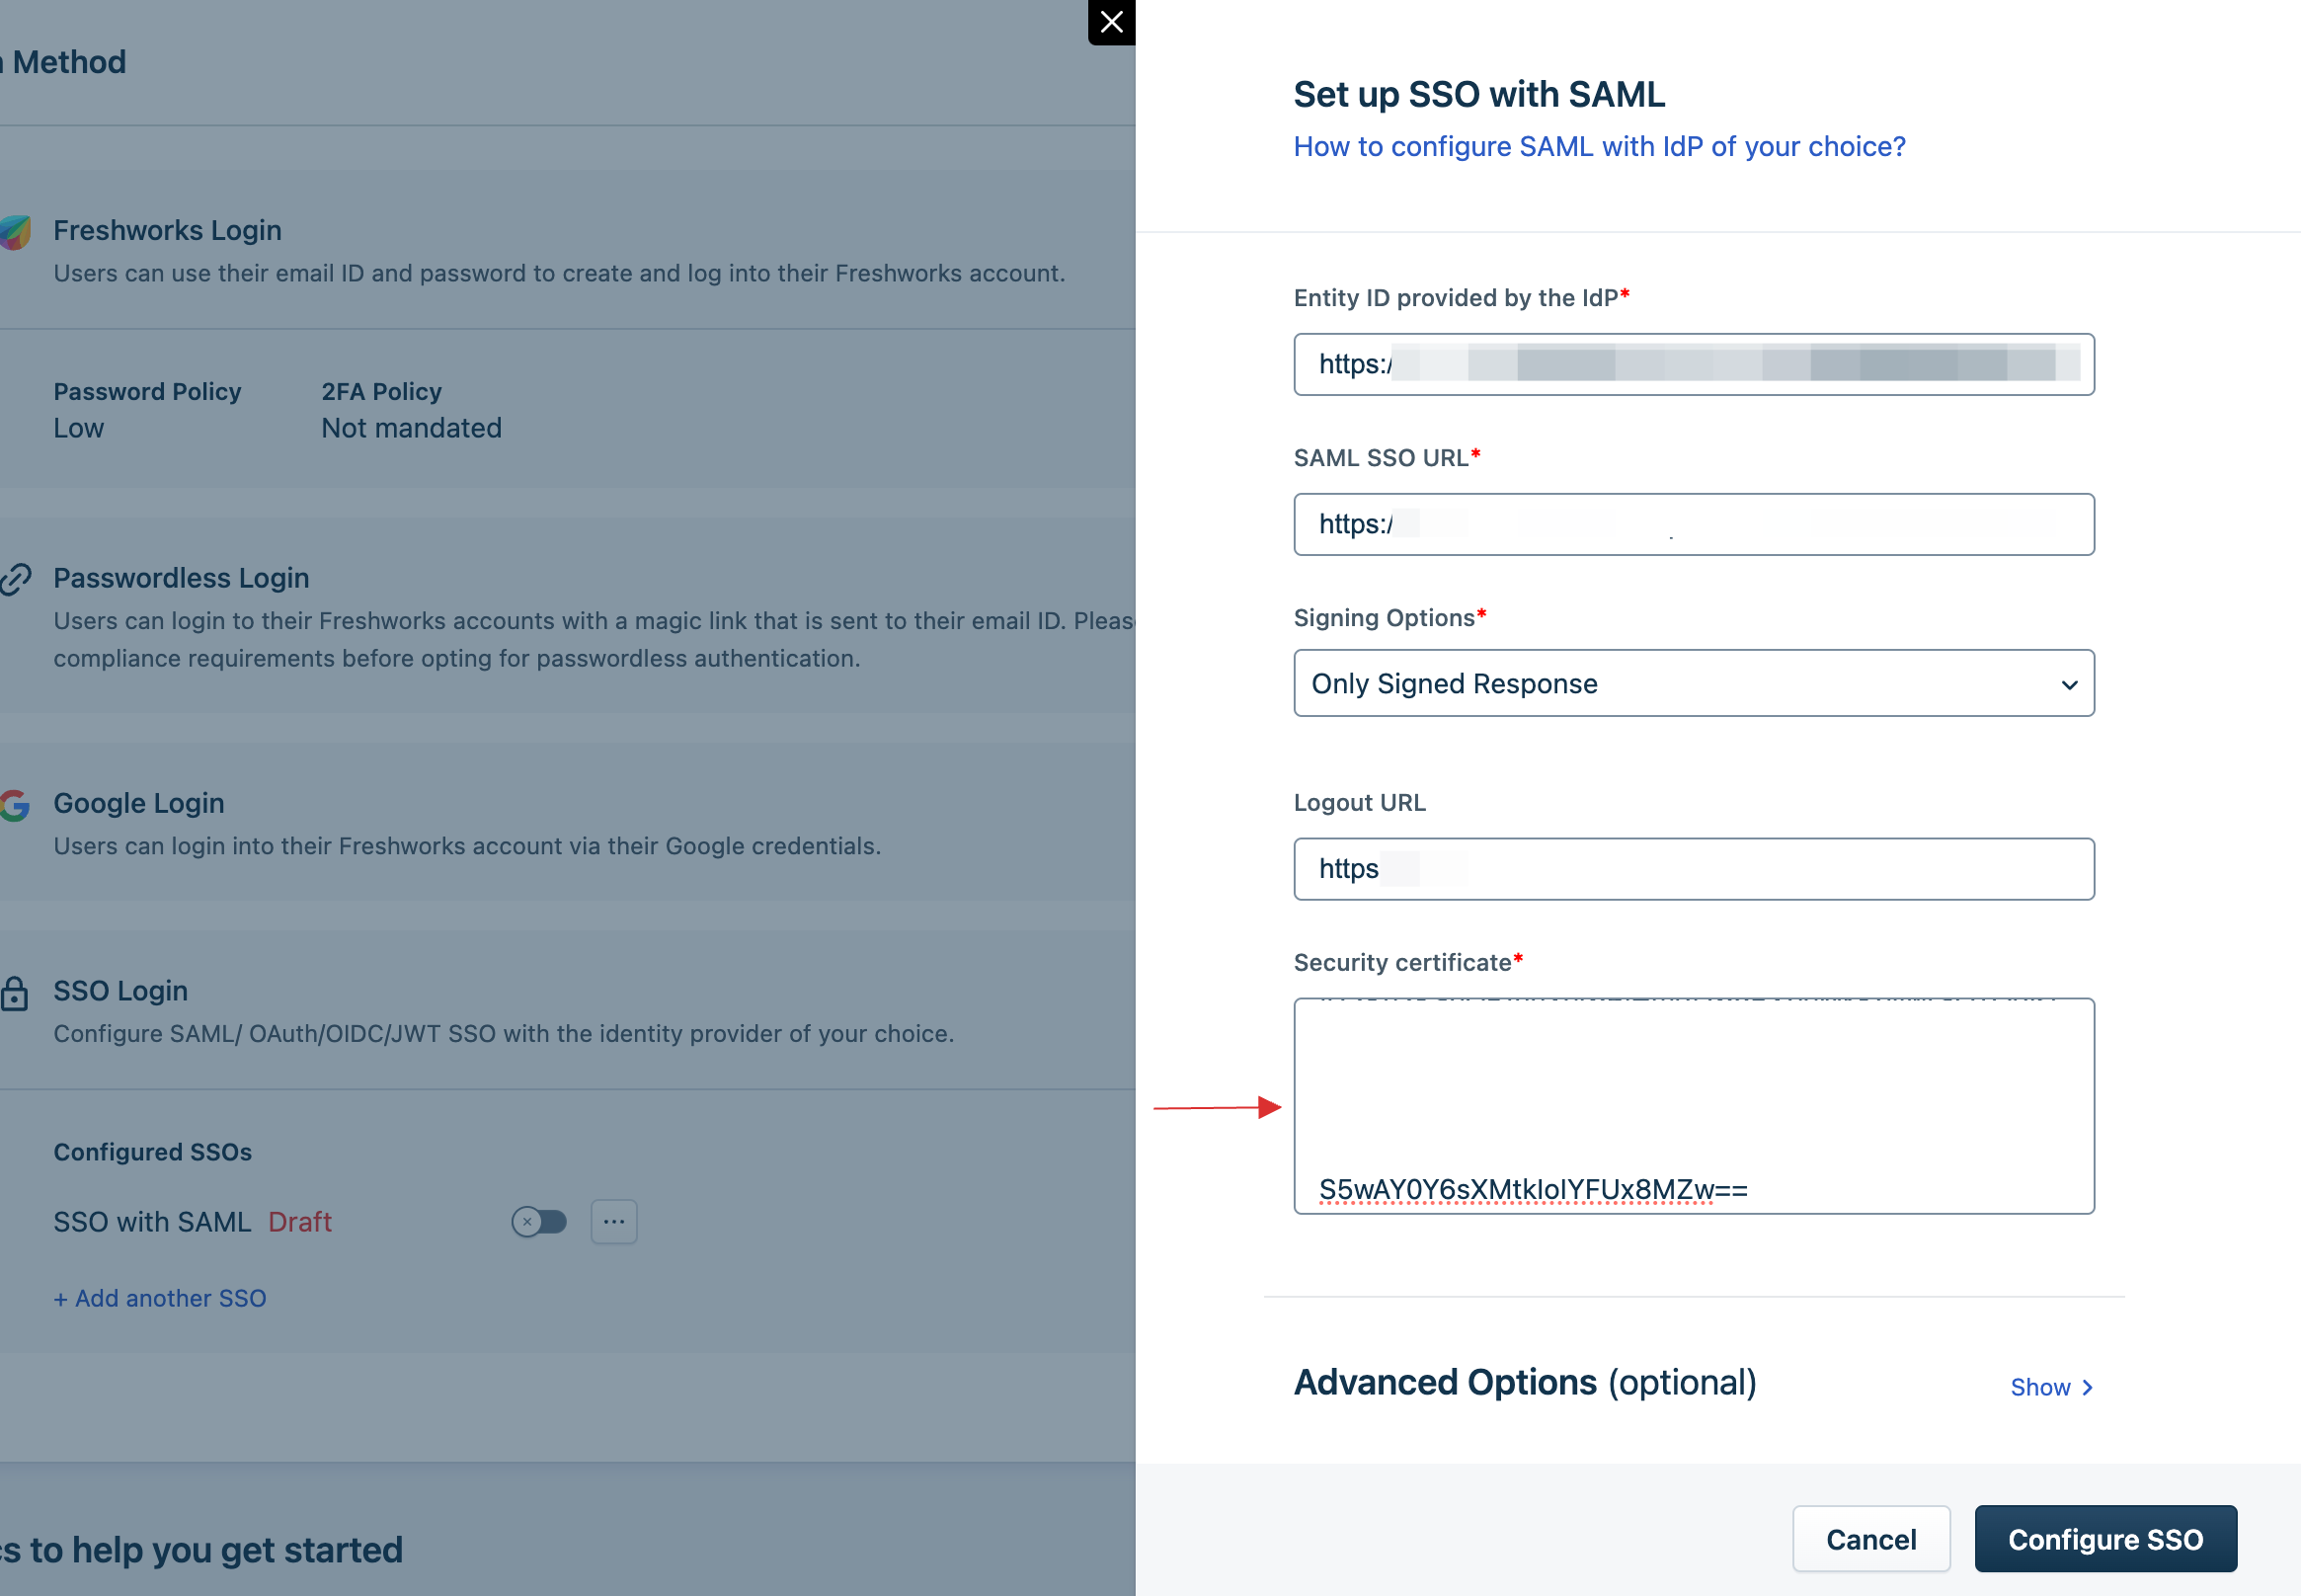
24 Click on Configure SSO.
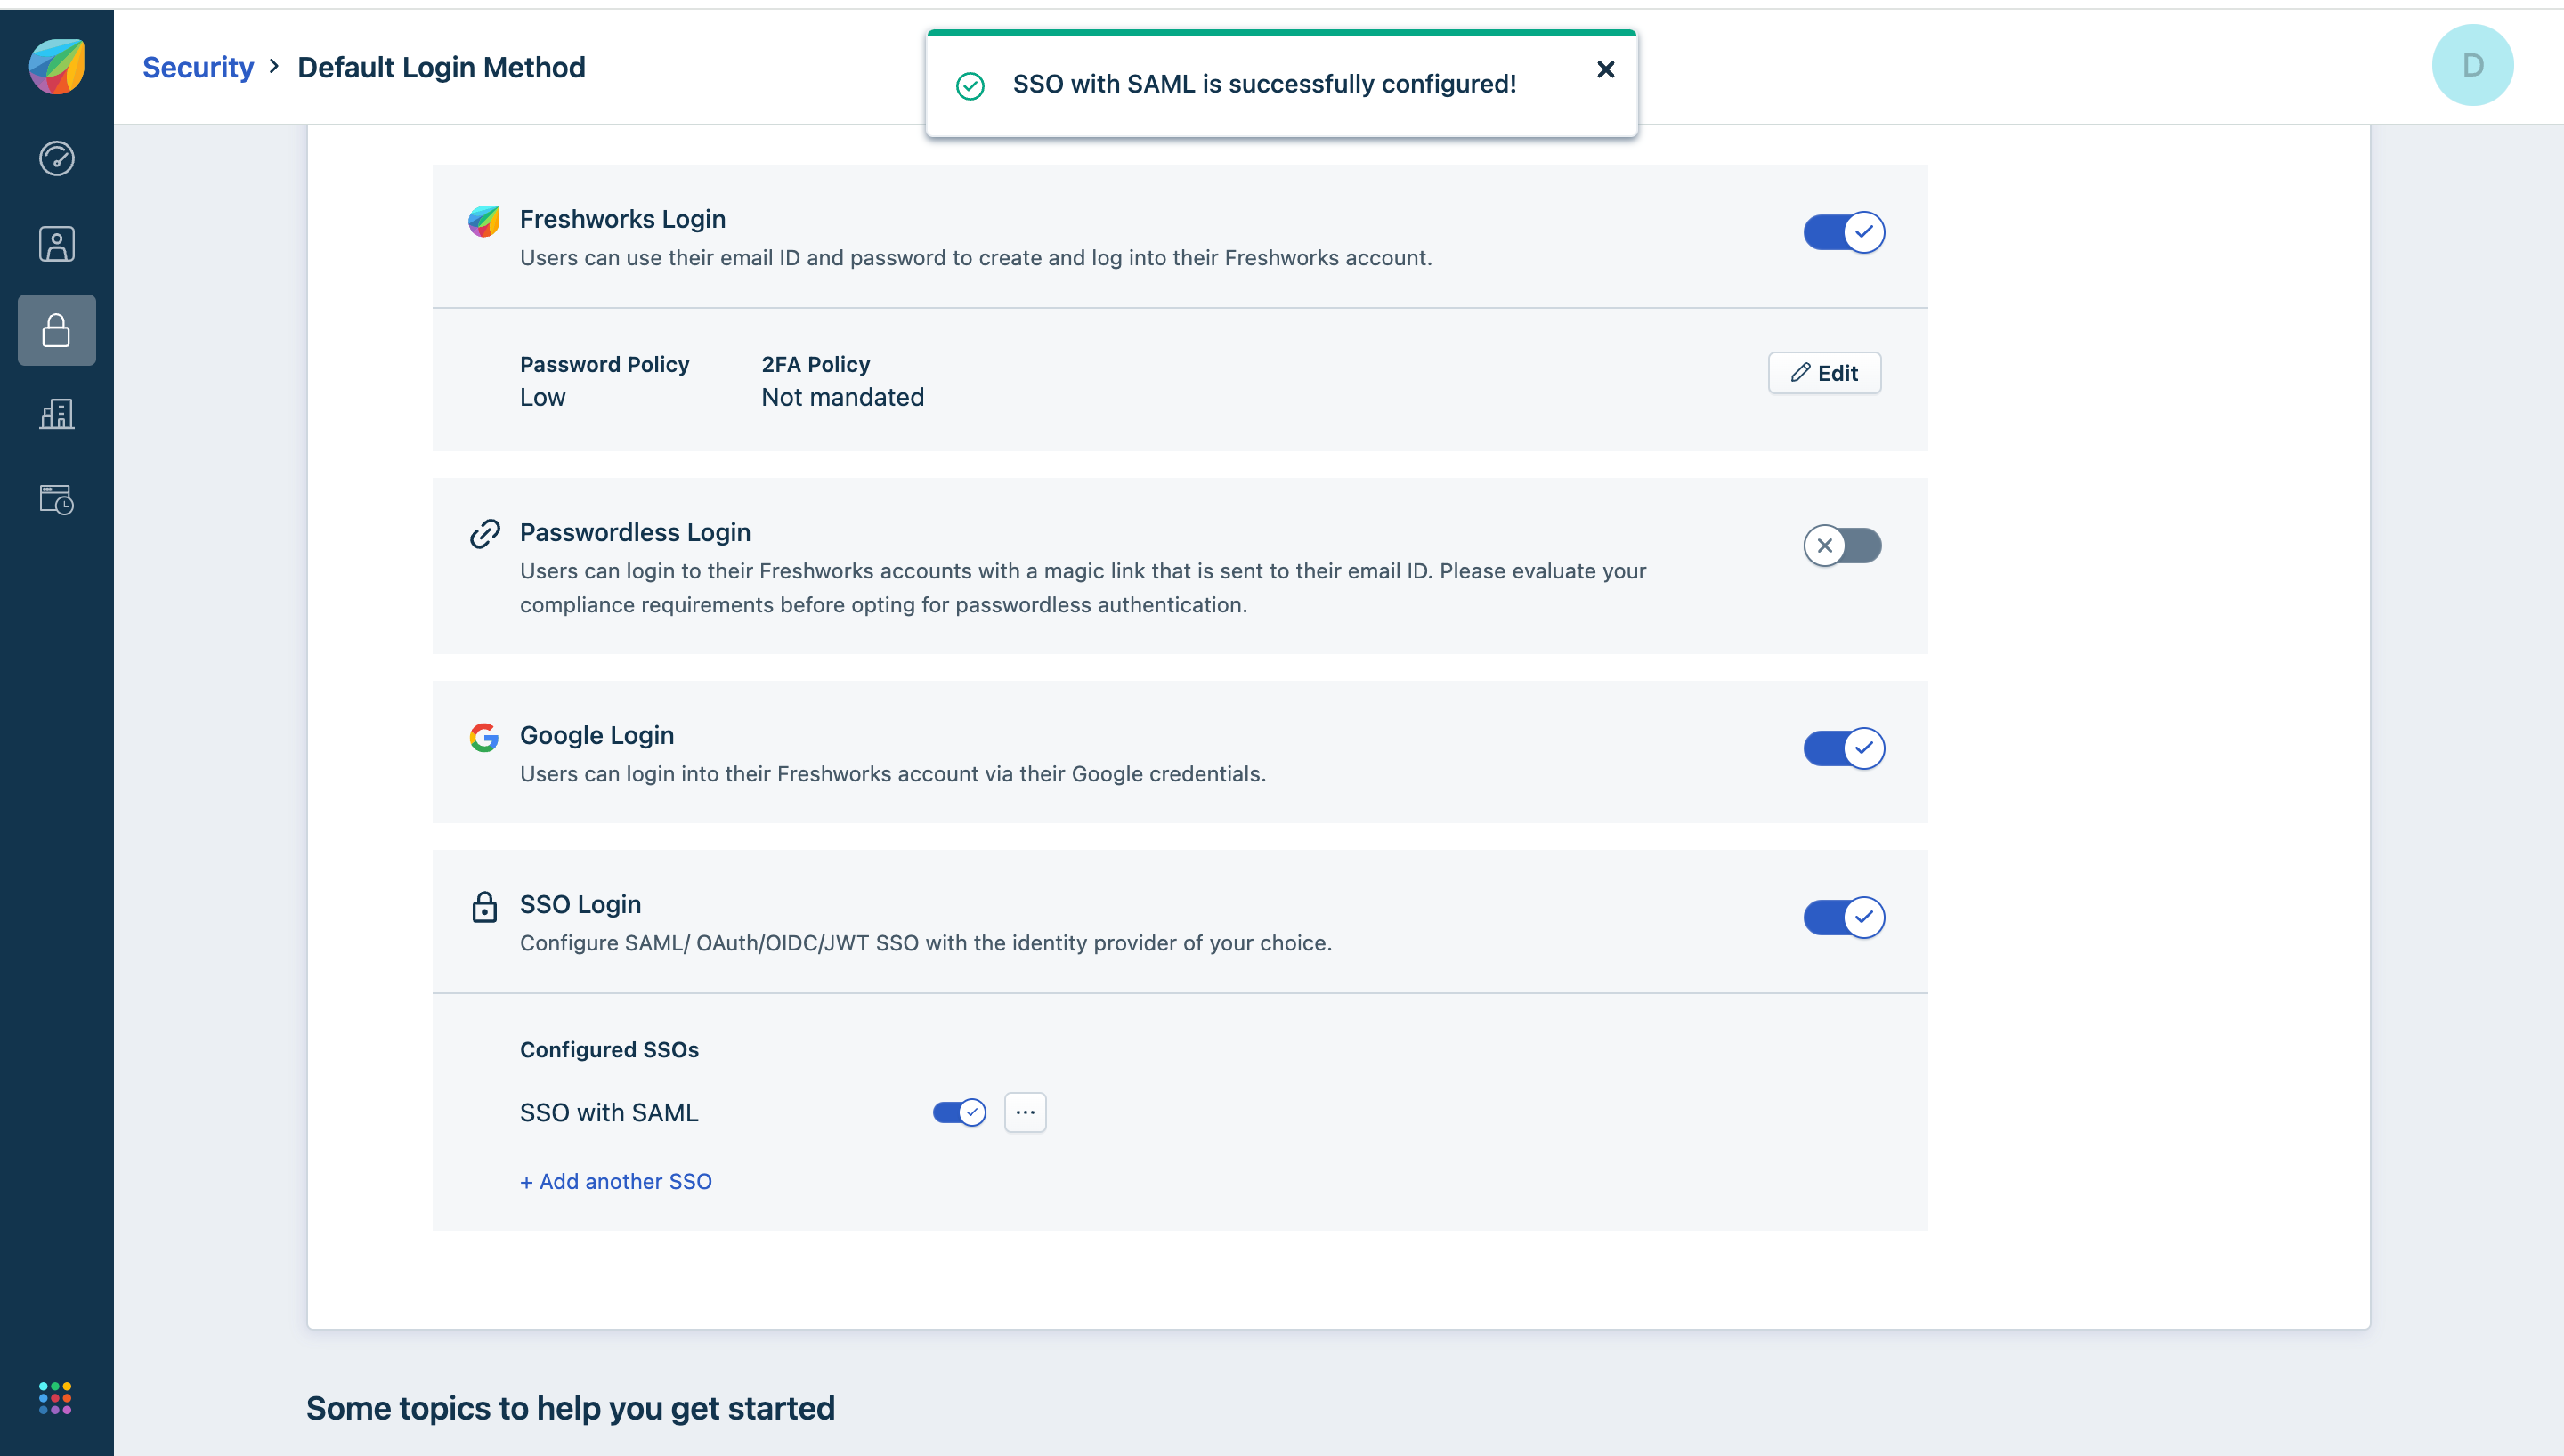
25 SSO with SAML will be successfully configured.
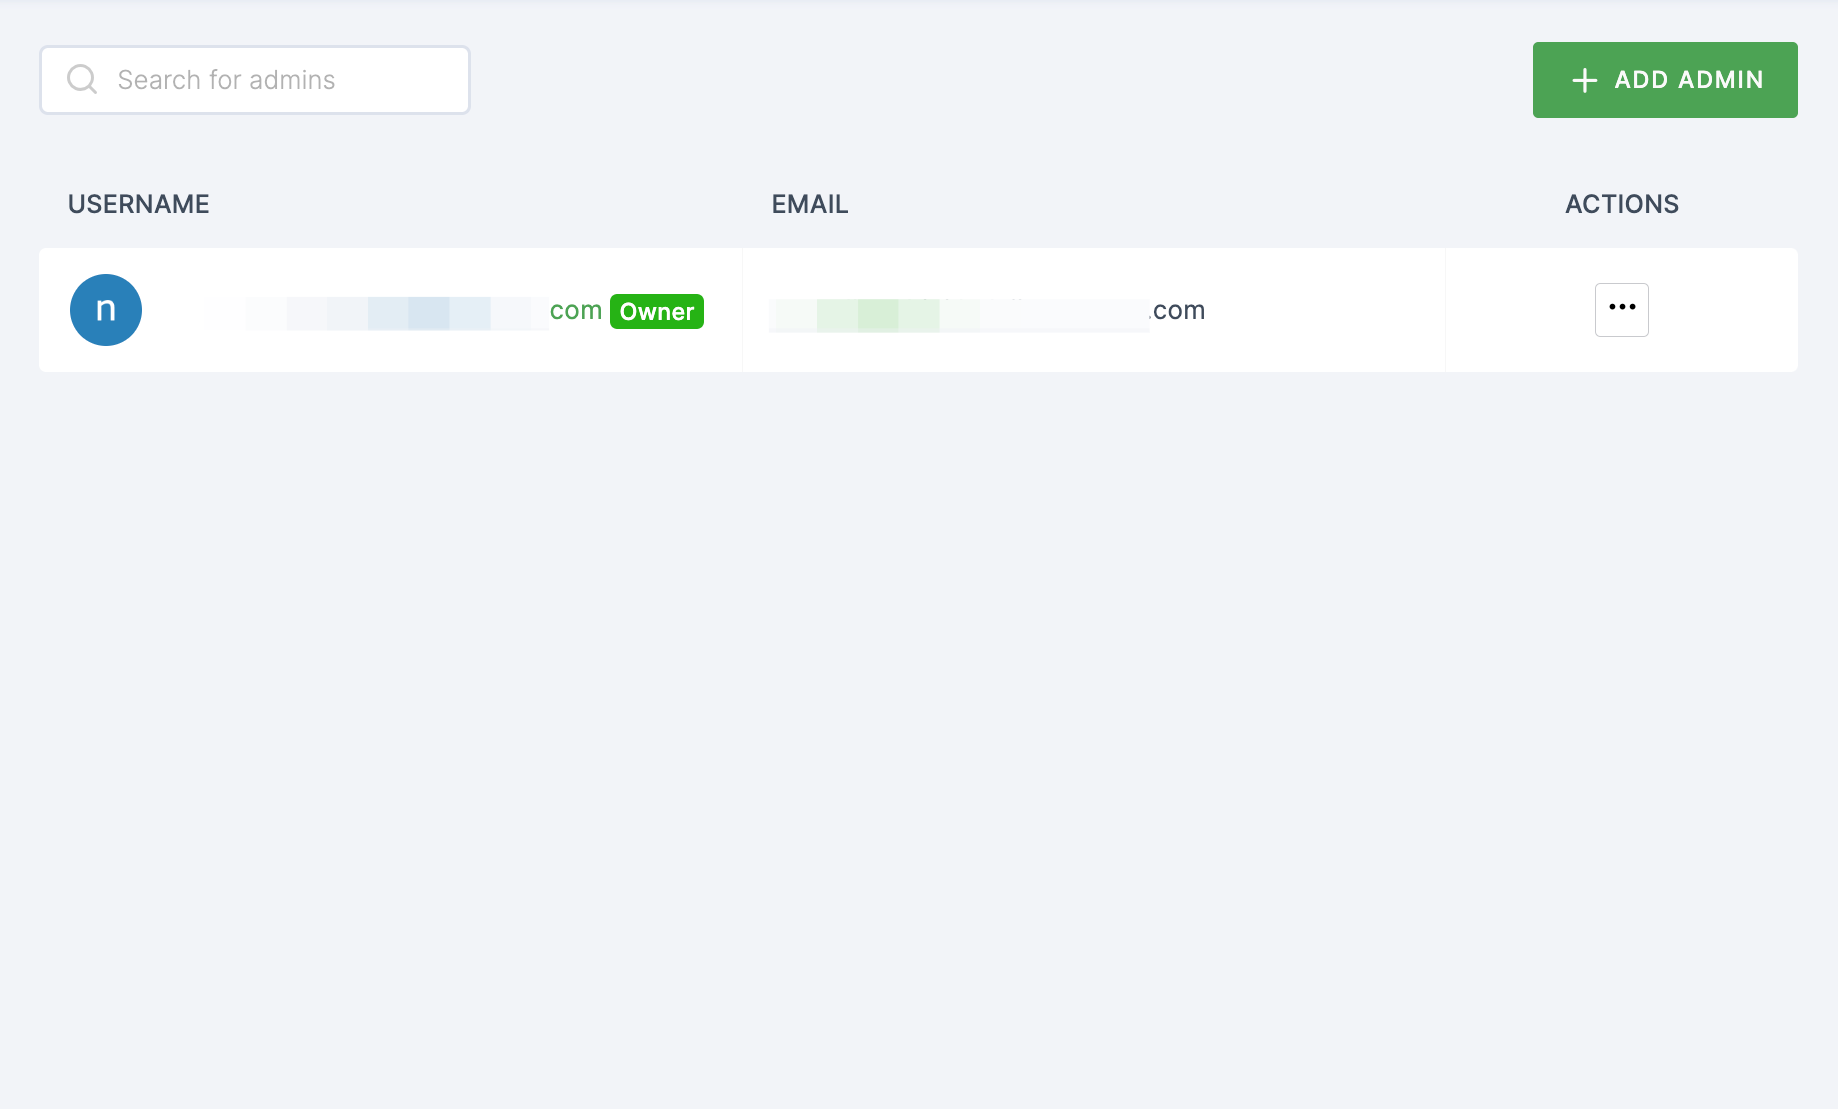
26 Return to your dashboard, assign a user with Freshdesk role. To do so, navigate to Users or Workspace Admins, click on the user you want to assign the role.
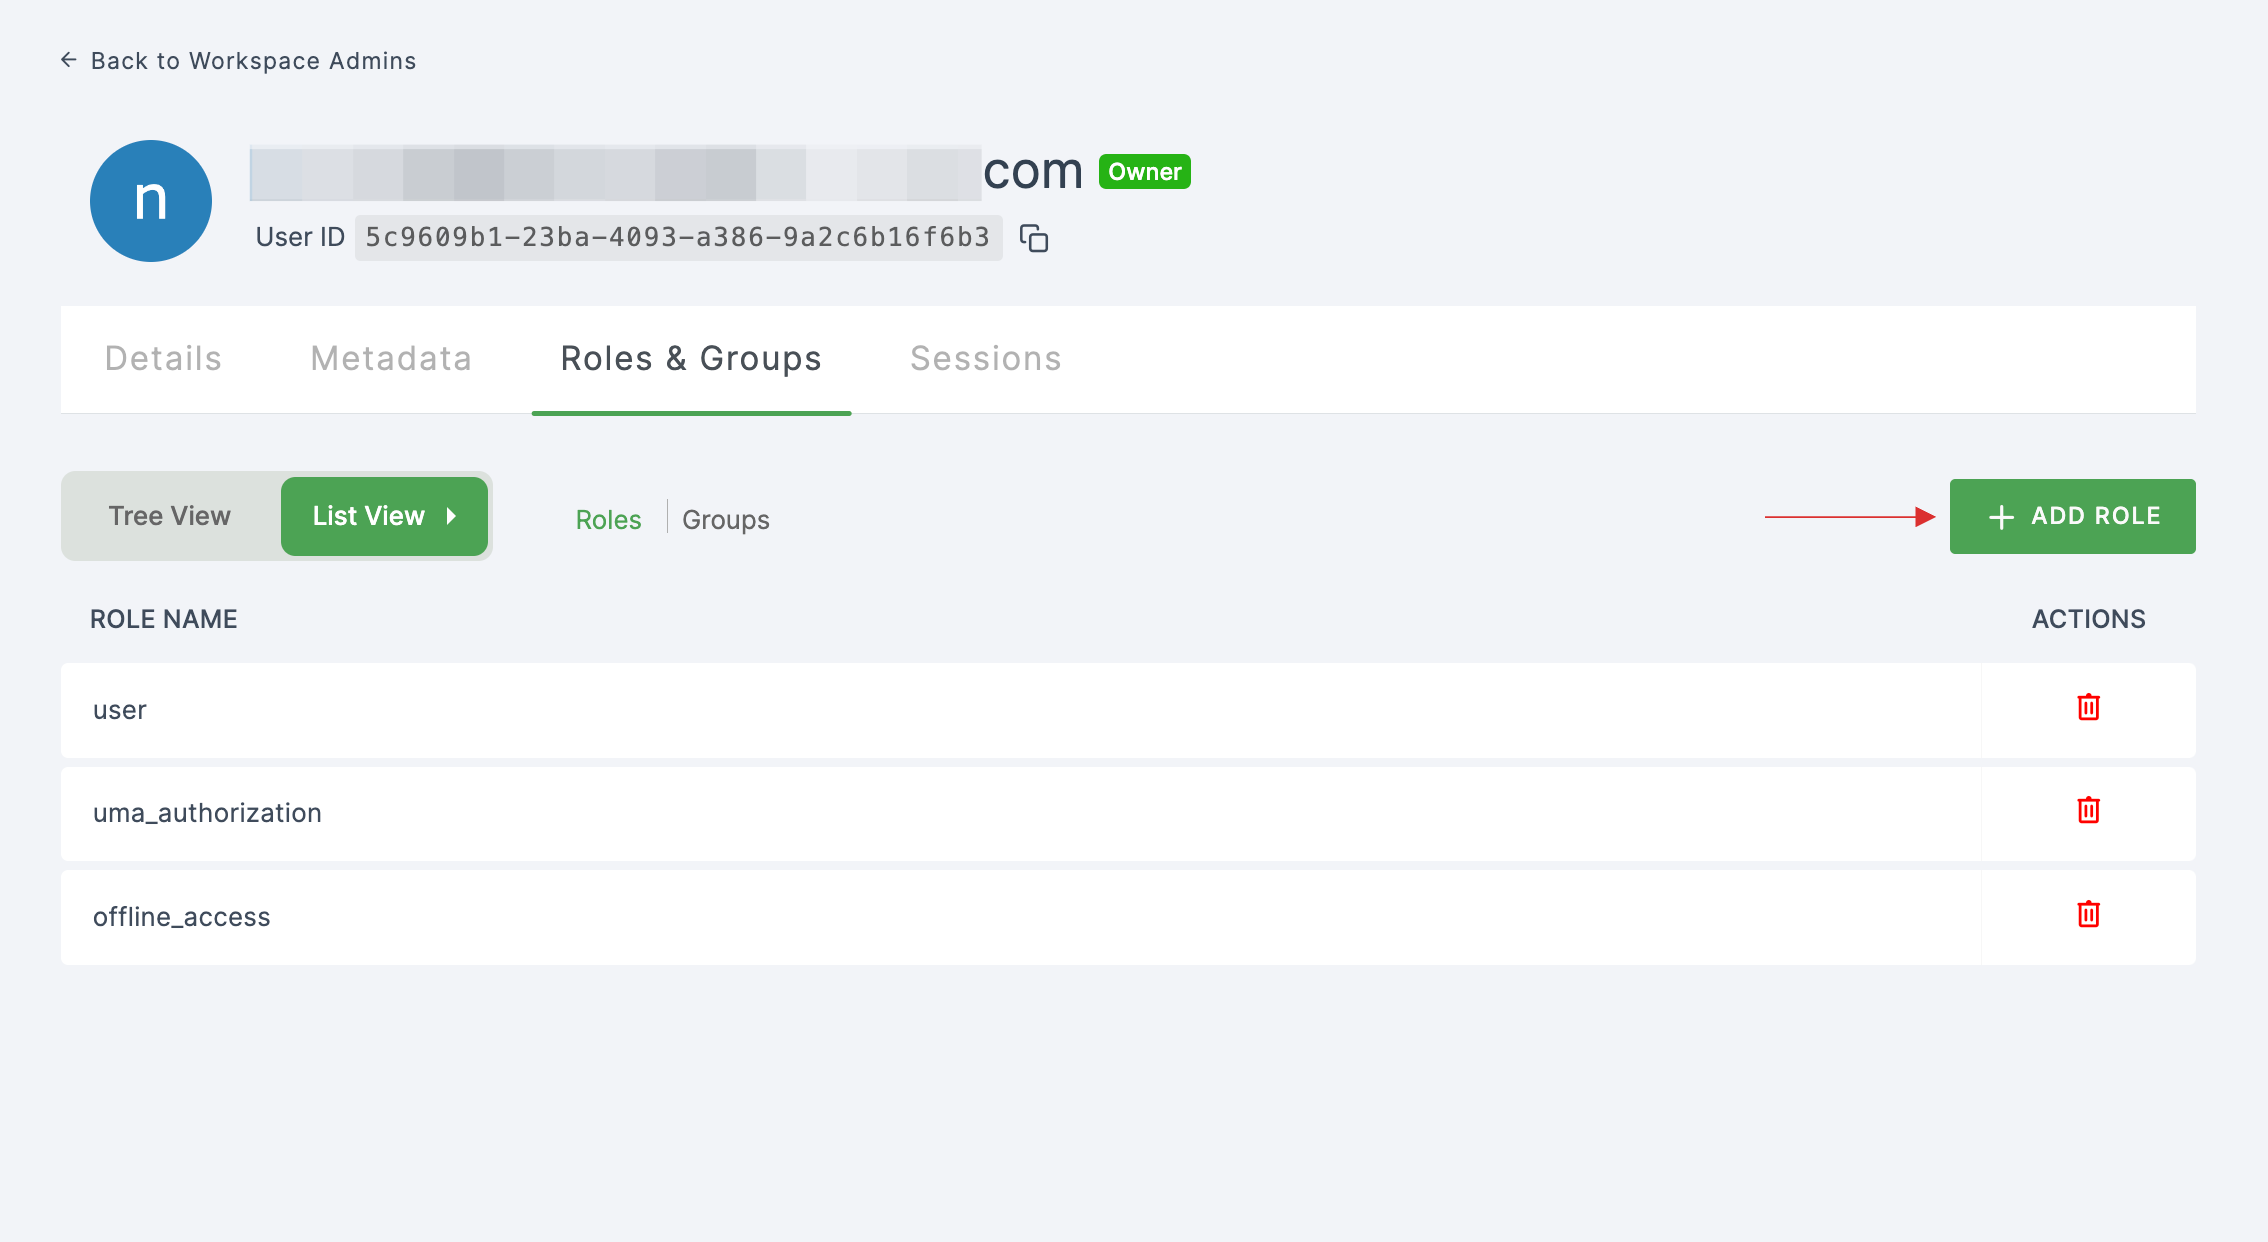
27 You will be taken to the user's Details tab, click on Roles & Groups.
28 Select List View and click on + ADD ROLE.
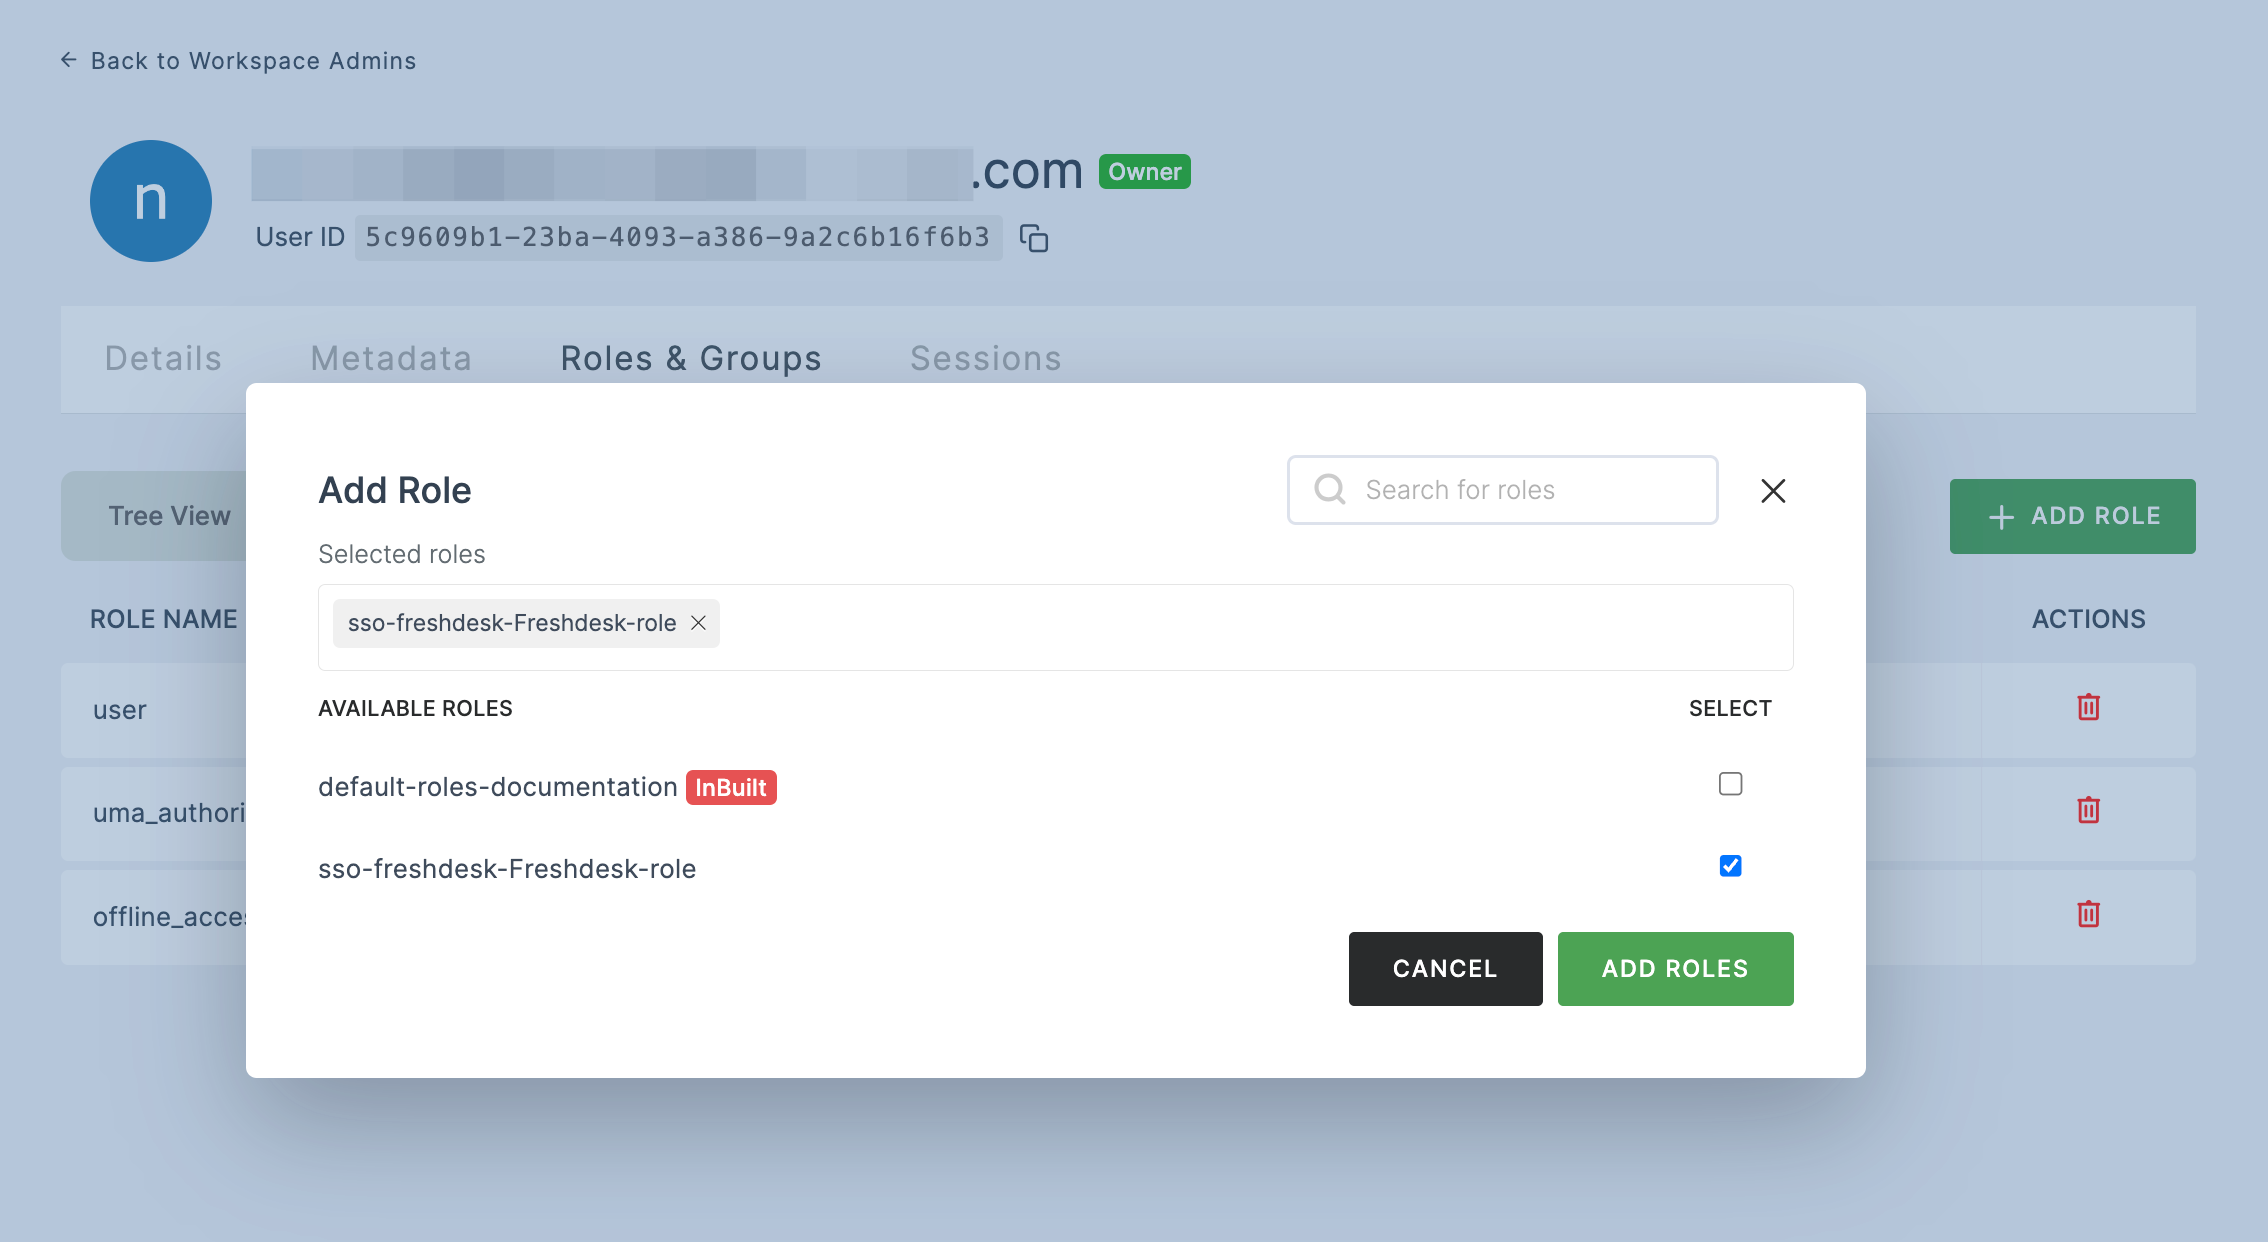
29 The available roles will appear; select sso-freshdesk-Freshdesk-role and click on ADD ROLES.
30 To verify whether SSO has been successfully enabled, go to Applications > SSO, click on SSO DASHBOARD button.

31 The Freshdesk SSO will be enabled successfully.