Atlassian
Atlassian's products are widely used by software development teams, project managers, and businesses of various sizes to enhance collaboration, productivity, and project delivery.
You must have an admin account in Atlassian.
1 Go to Dashboard > Marketplace > SSO Integrations.
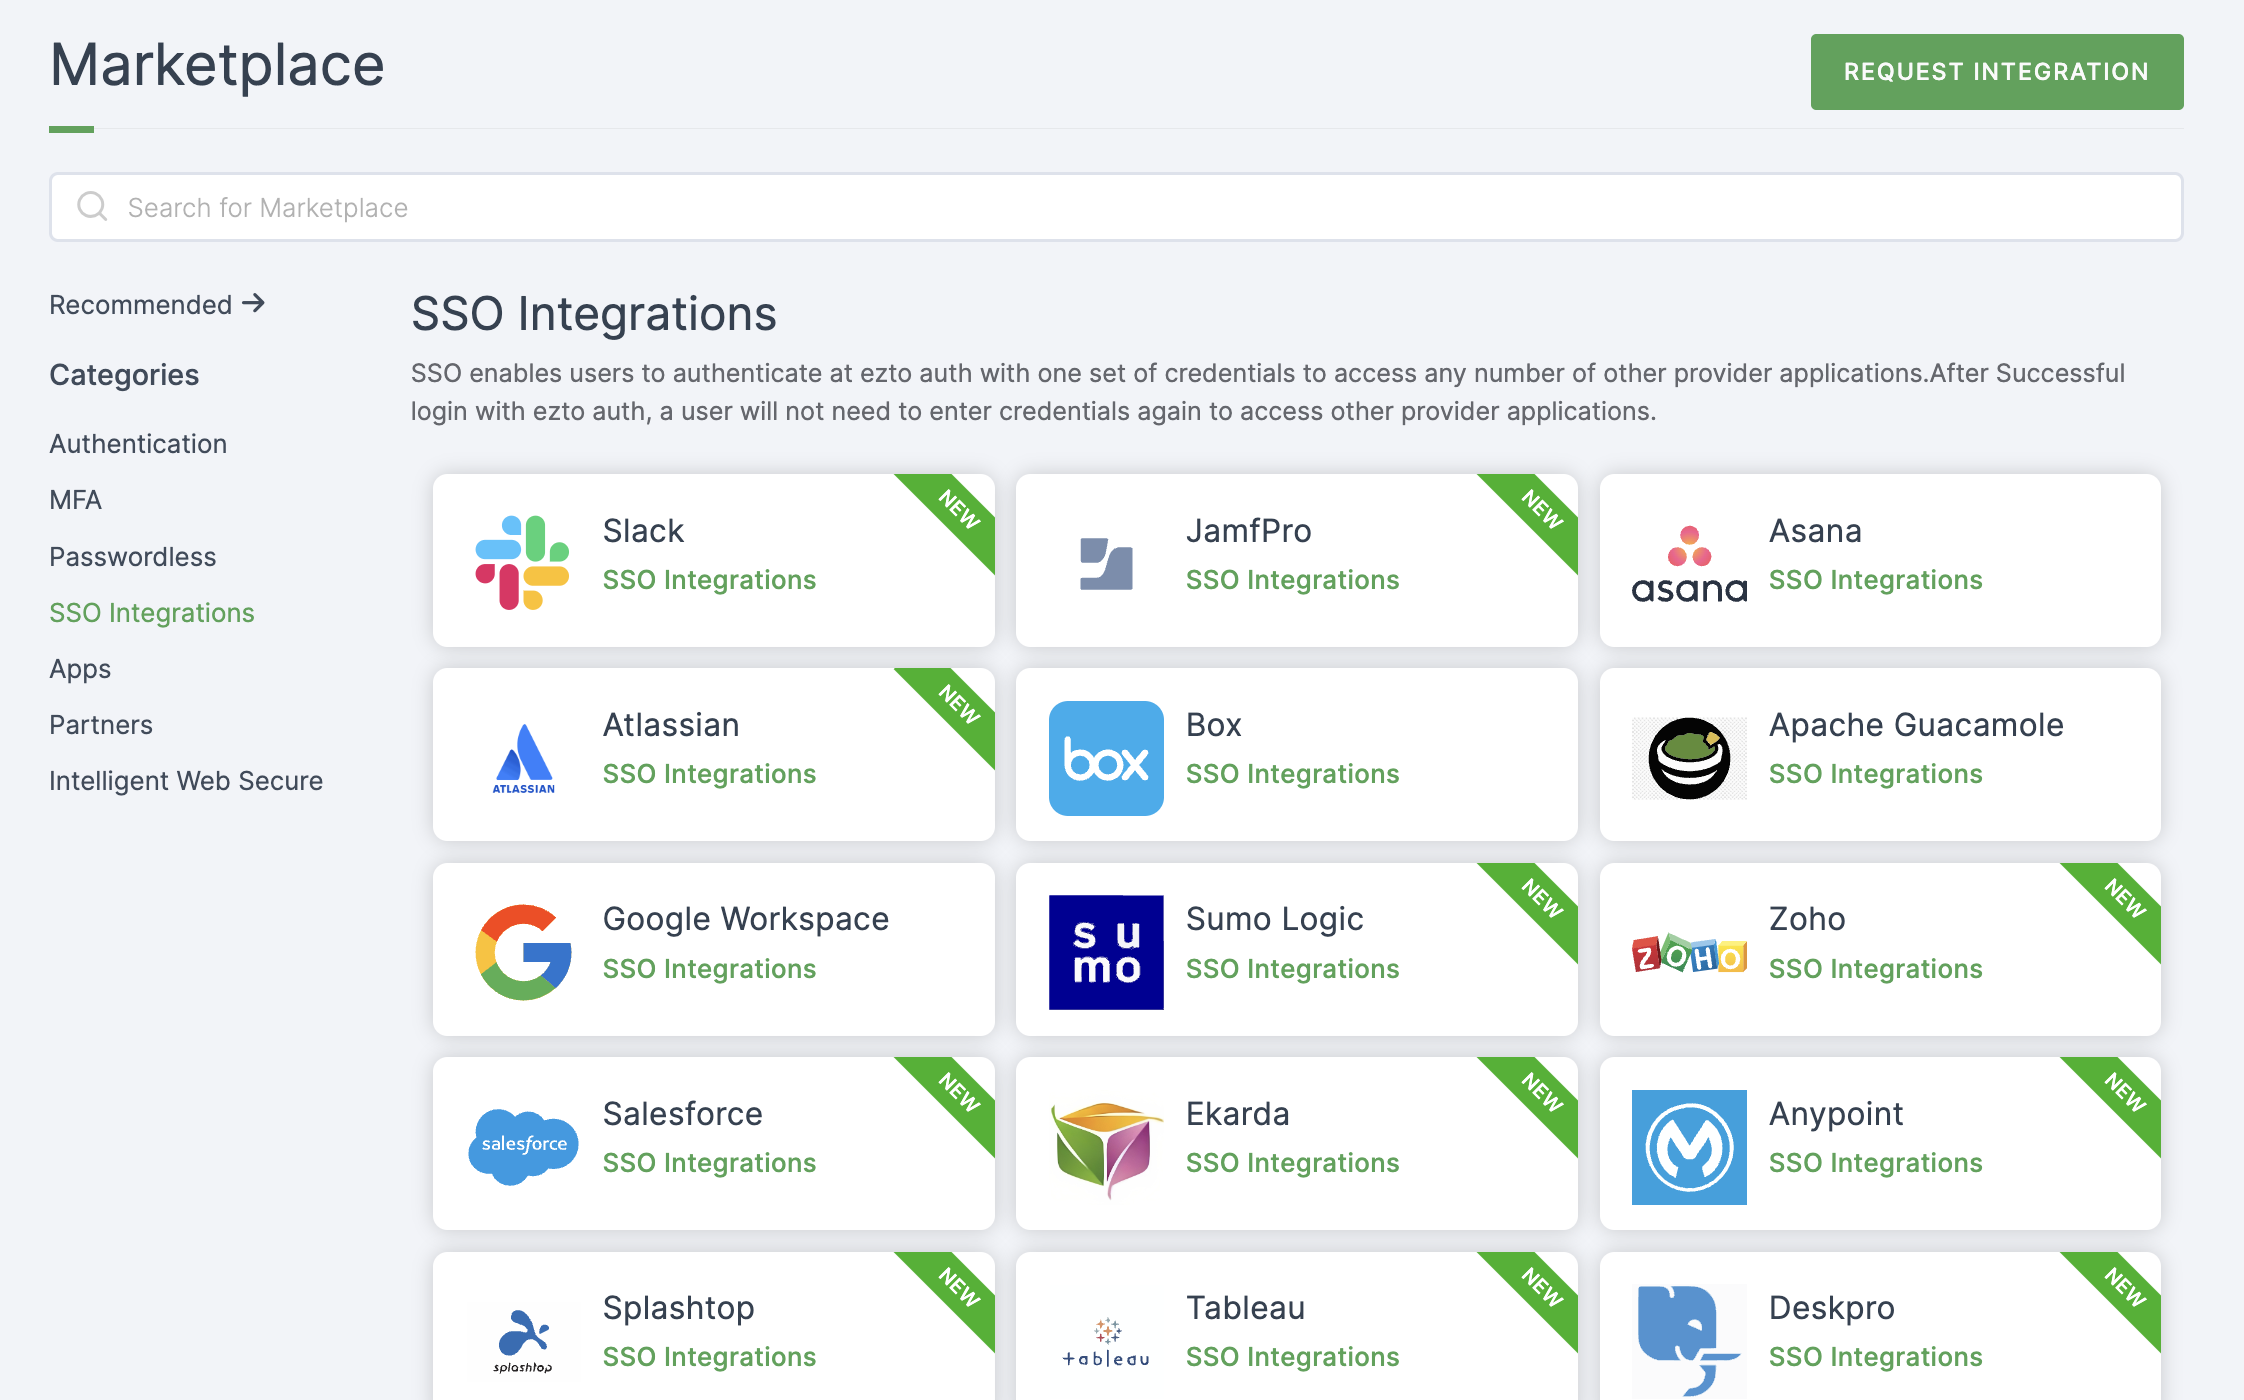
2 Select Atlassian from the list.
3 You'll land on the overview page, with an additional tab: Installation (providing a step-by-step installation guide).
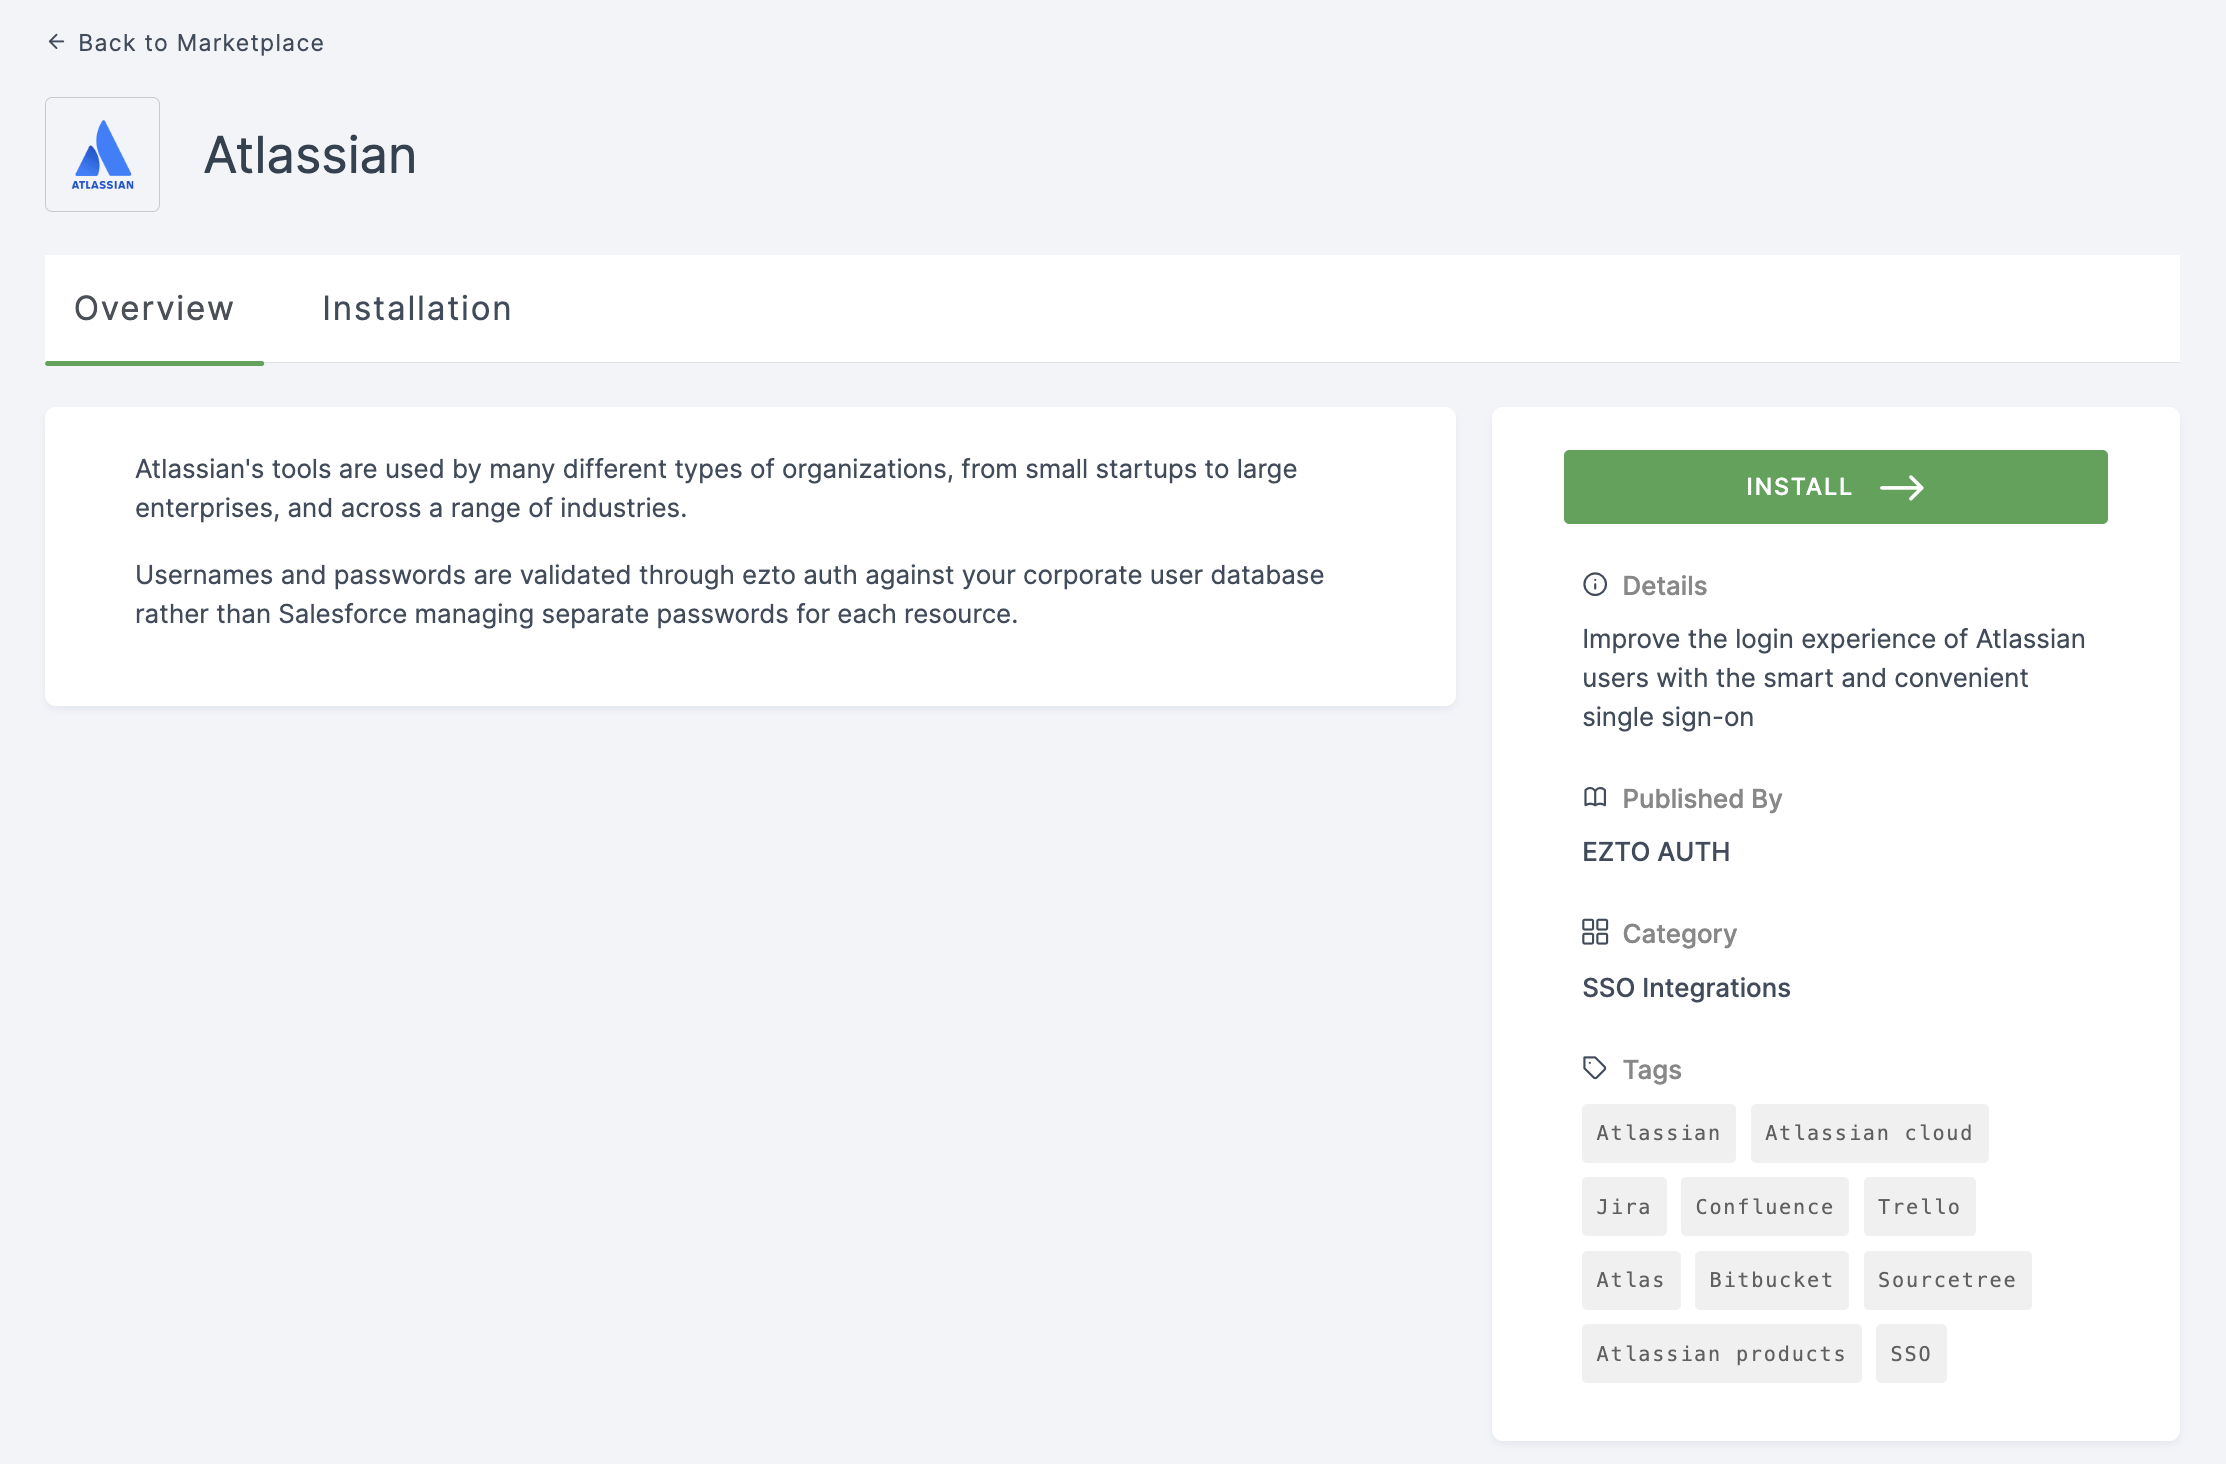
4 Click on INSTALL.
5 Provide a descriptive Name.
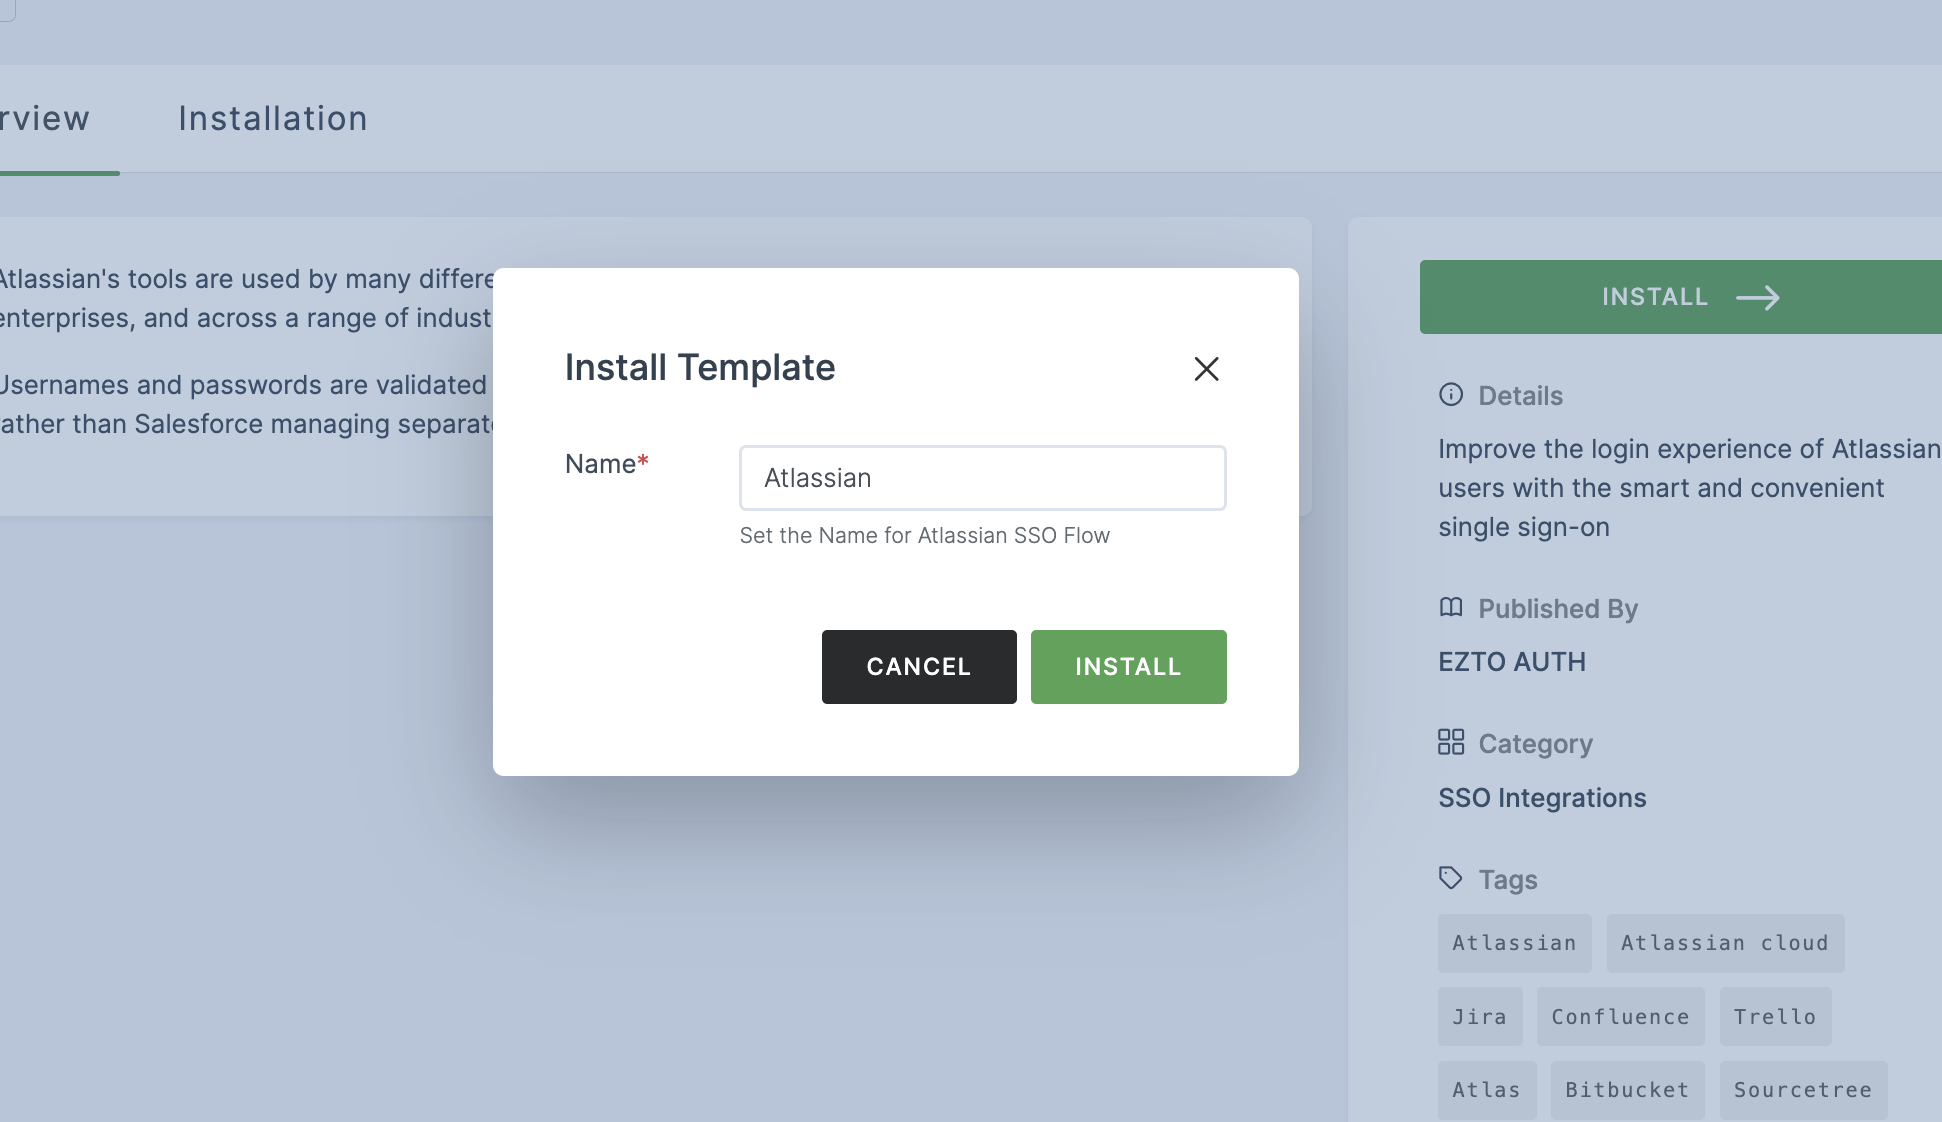
6 Click on INSTALL.
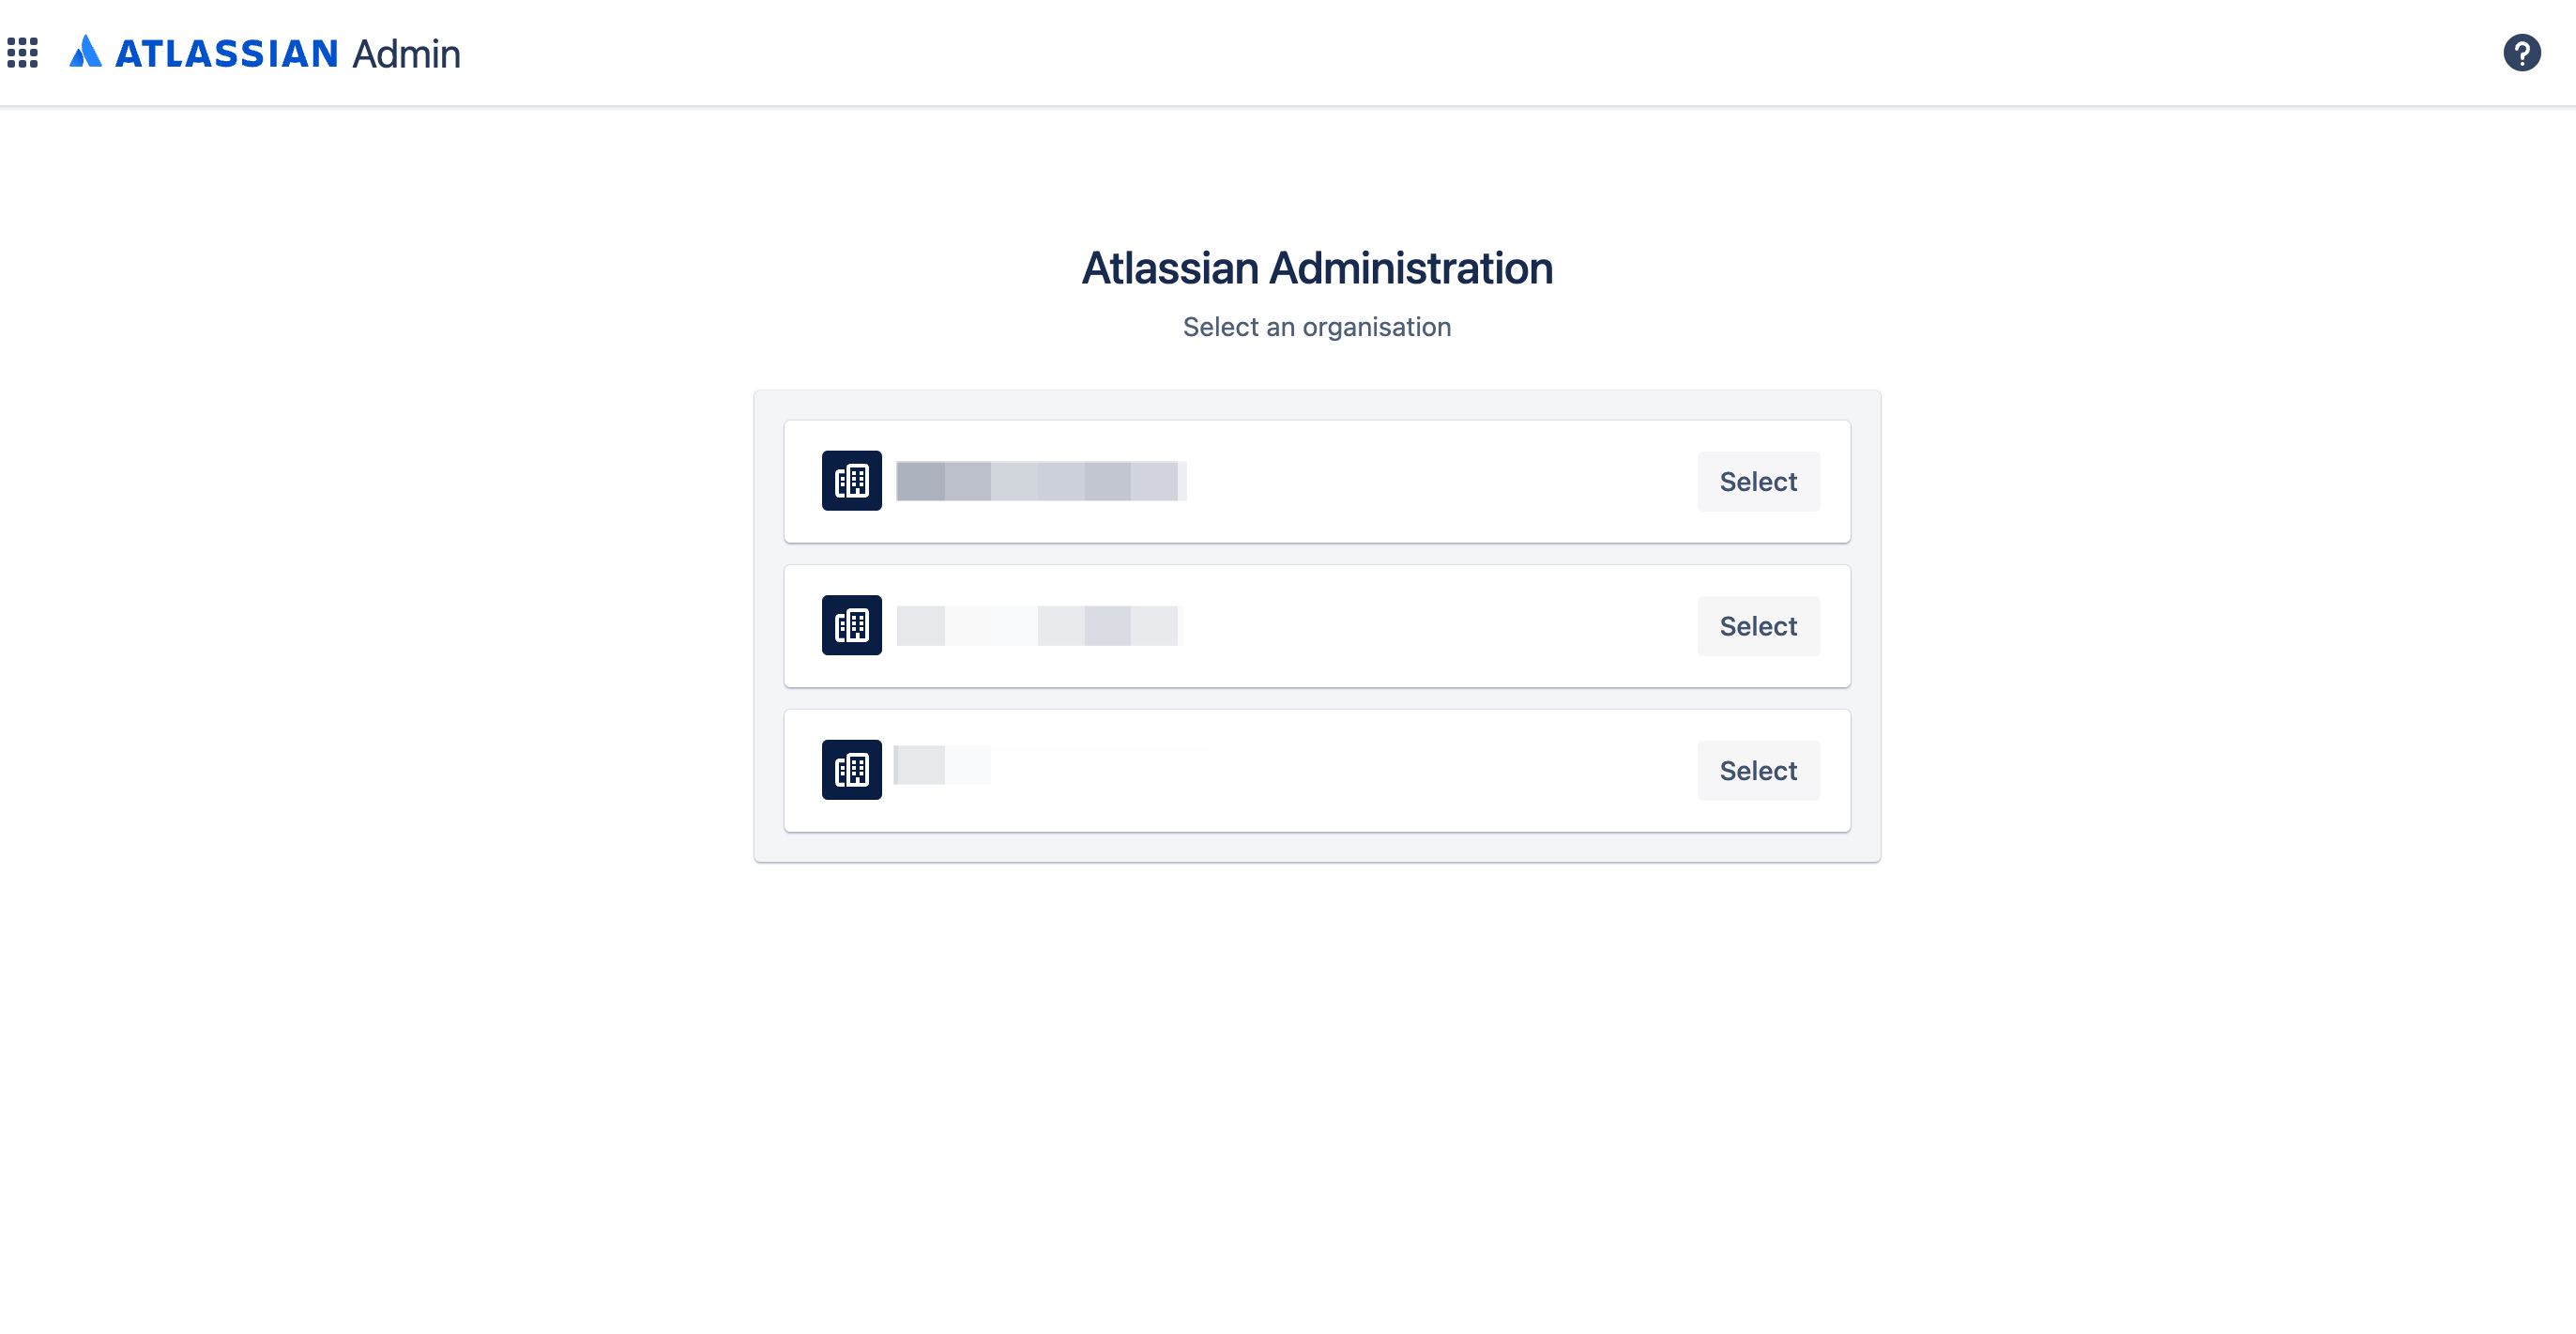
7 Navigate to your Atlassian Administration and select your organisation.
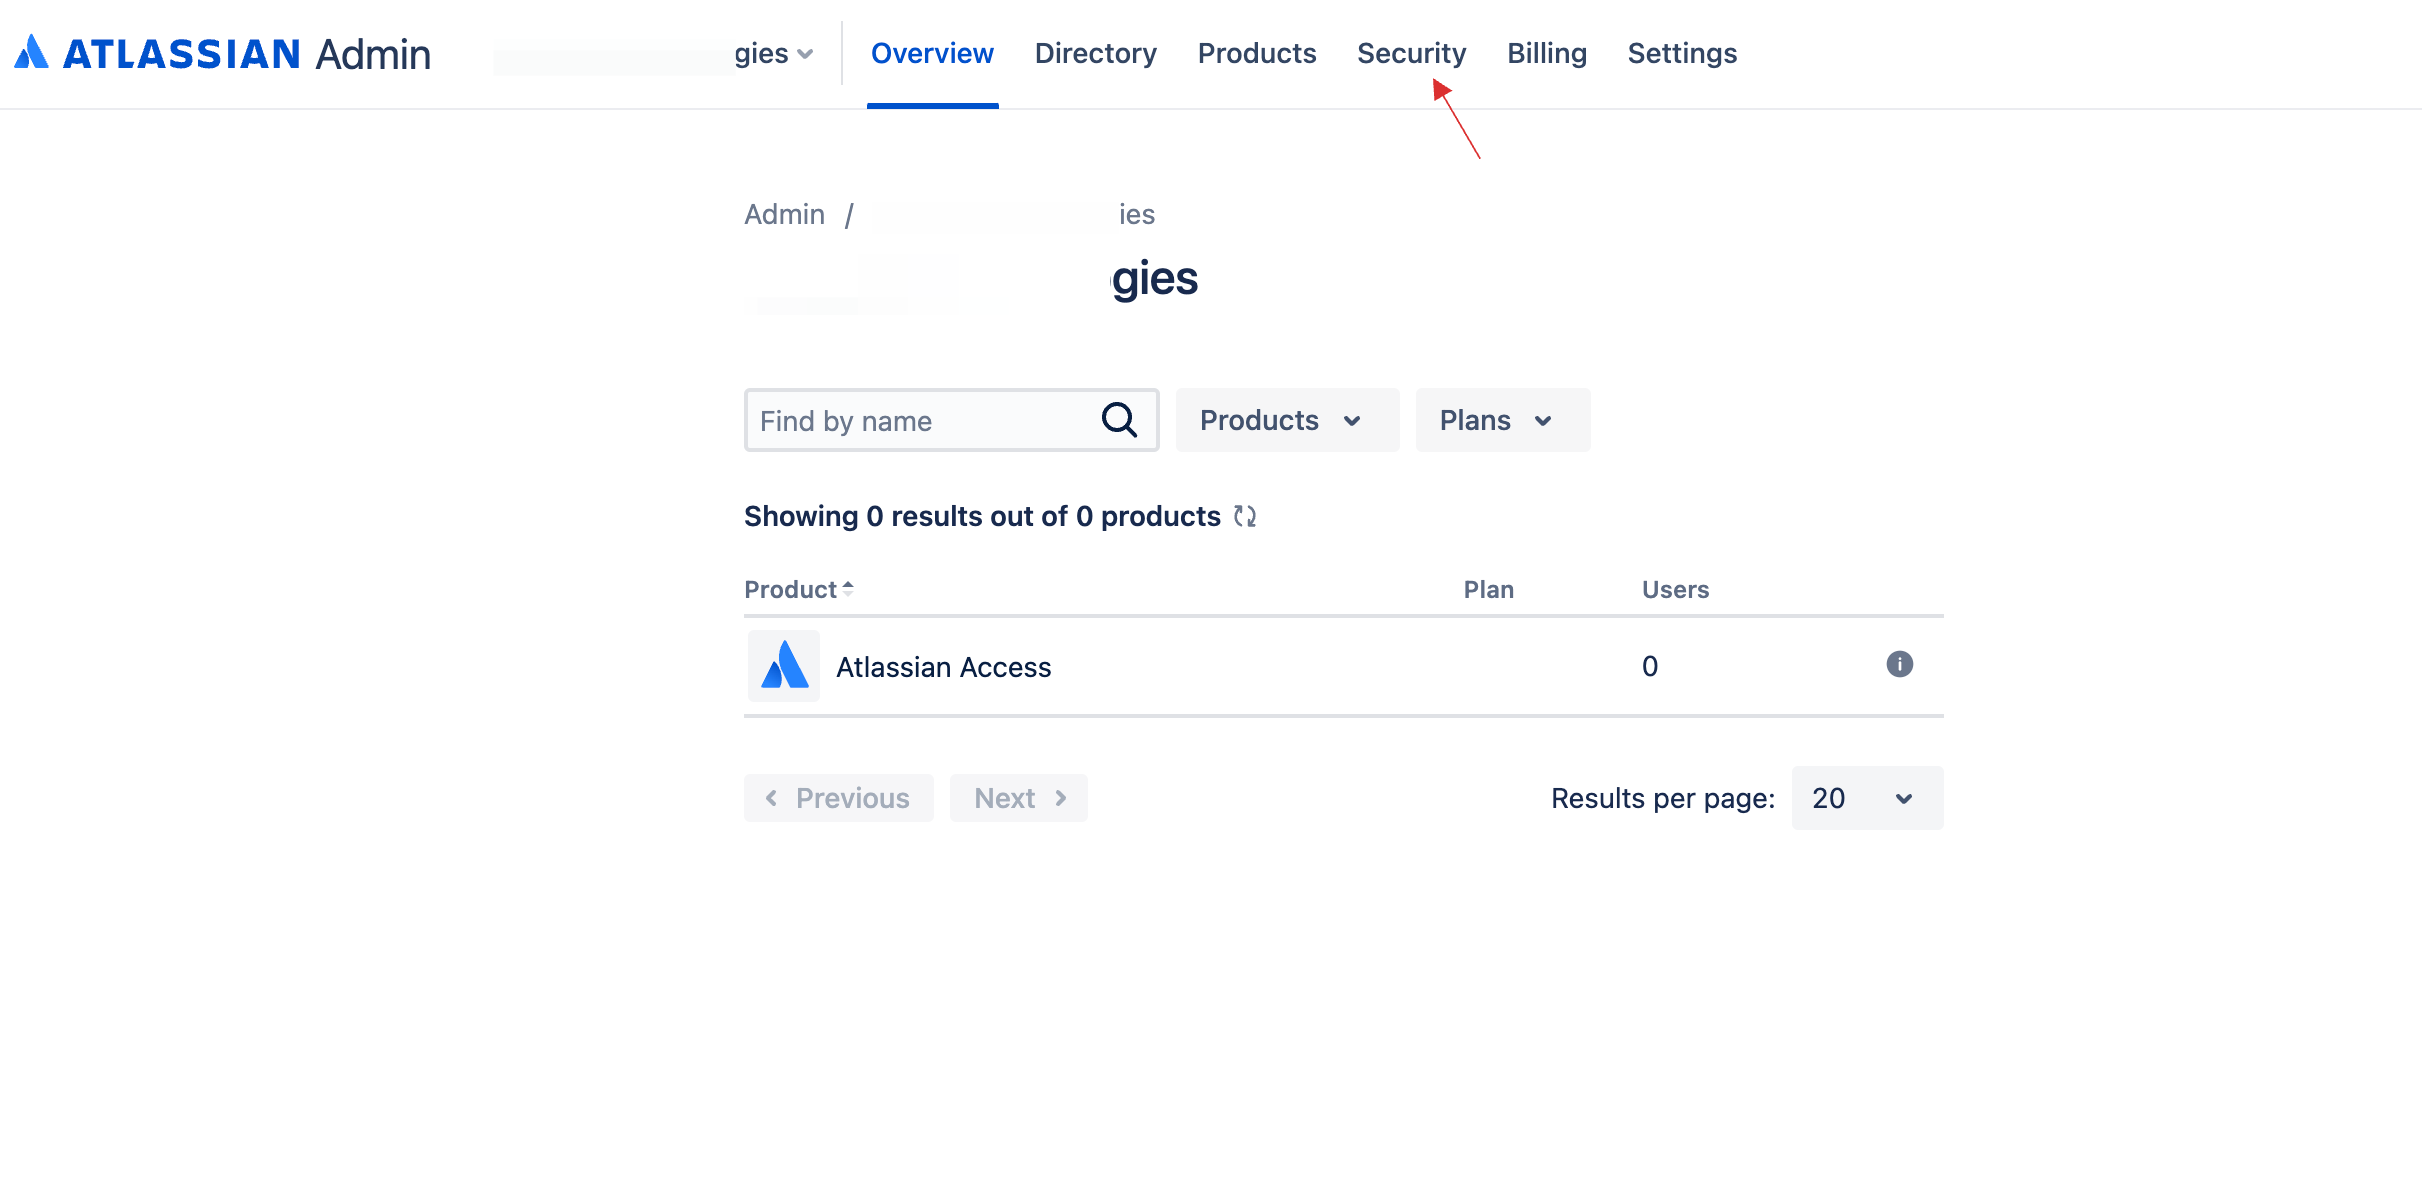
8 Click on Security.
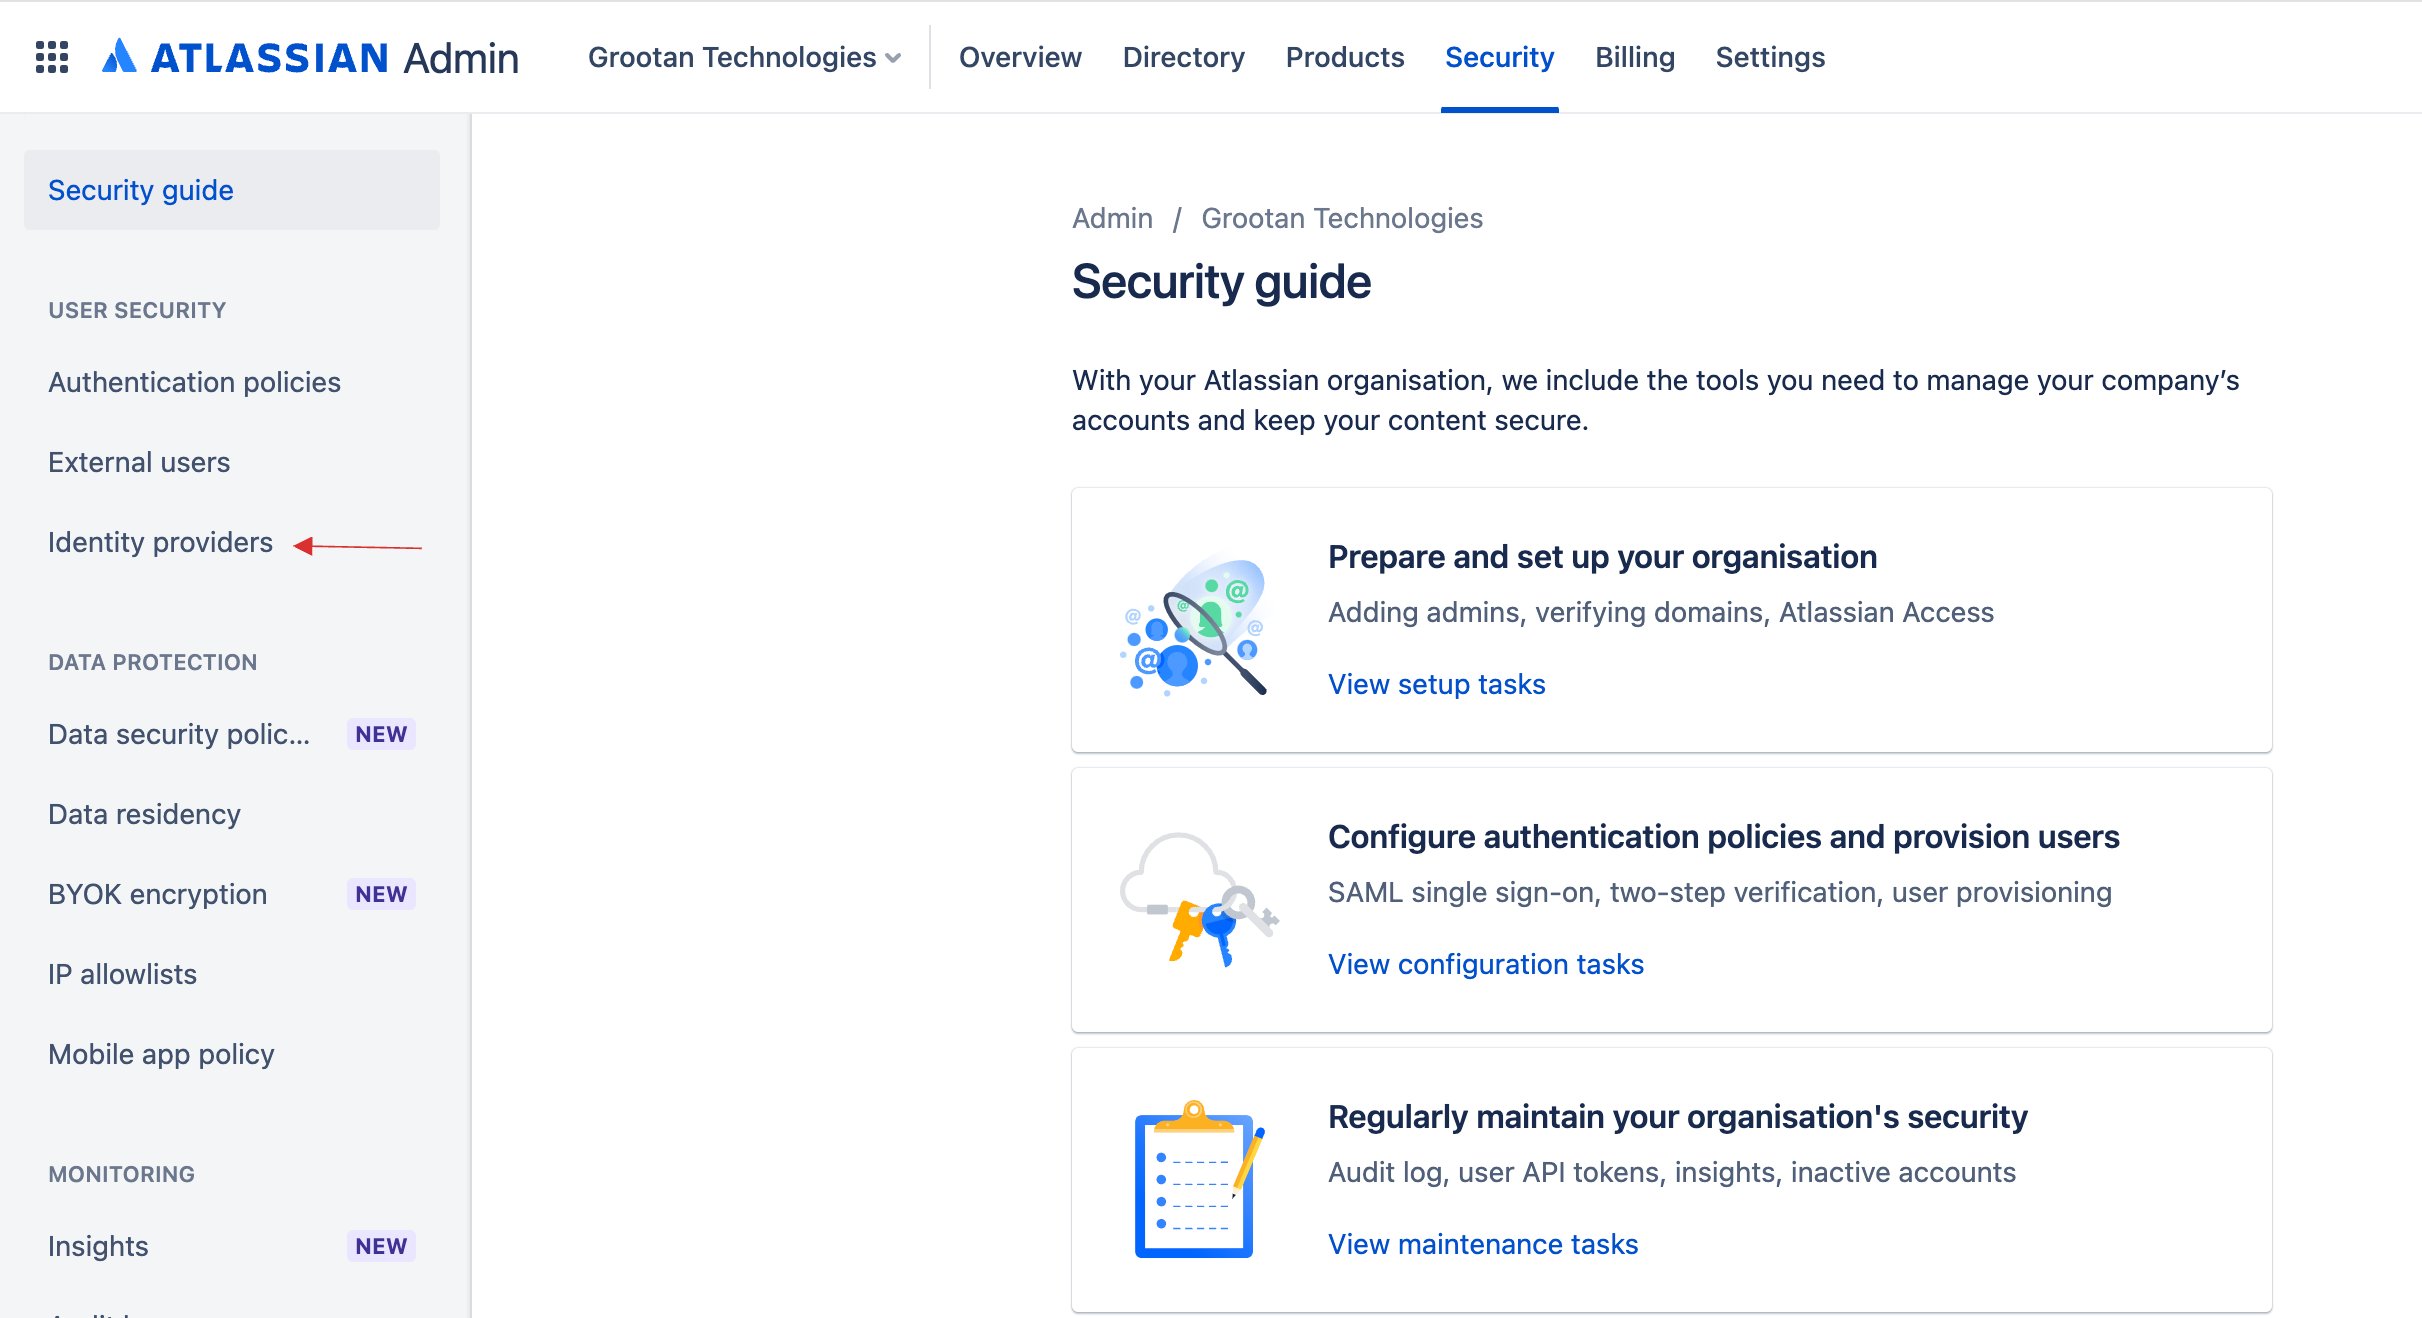
9 Click on Identity providers.
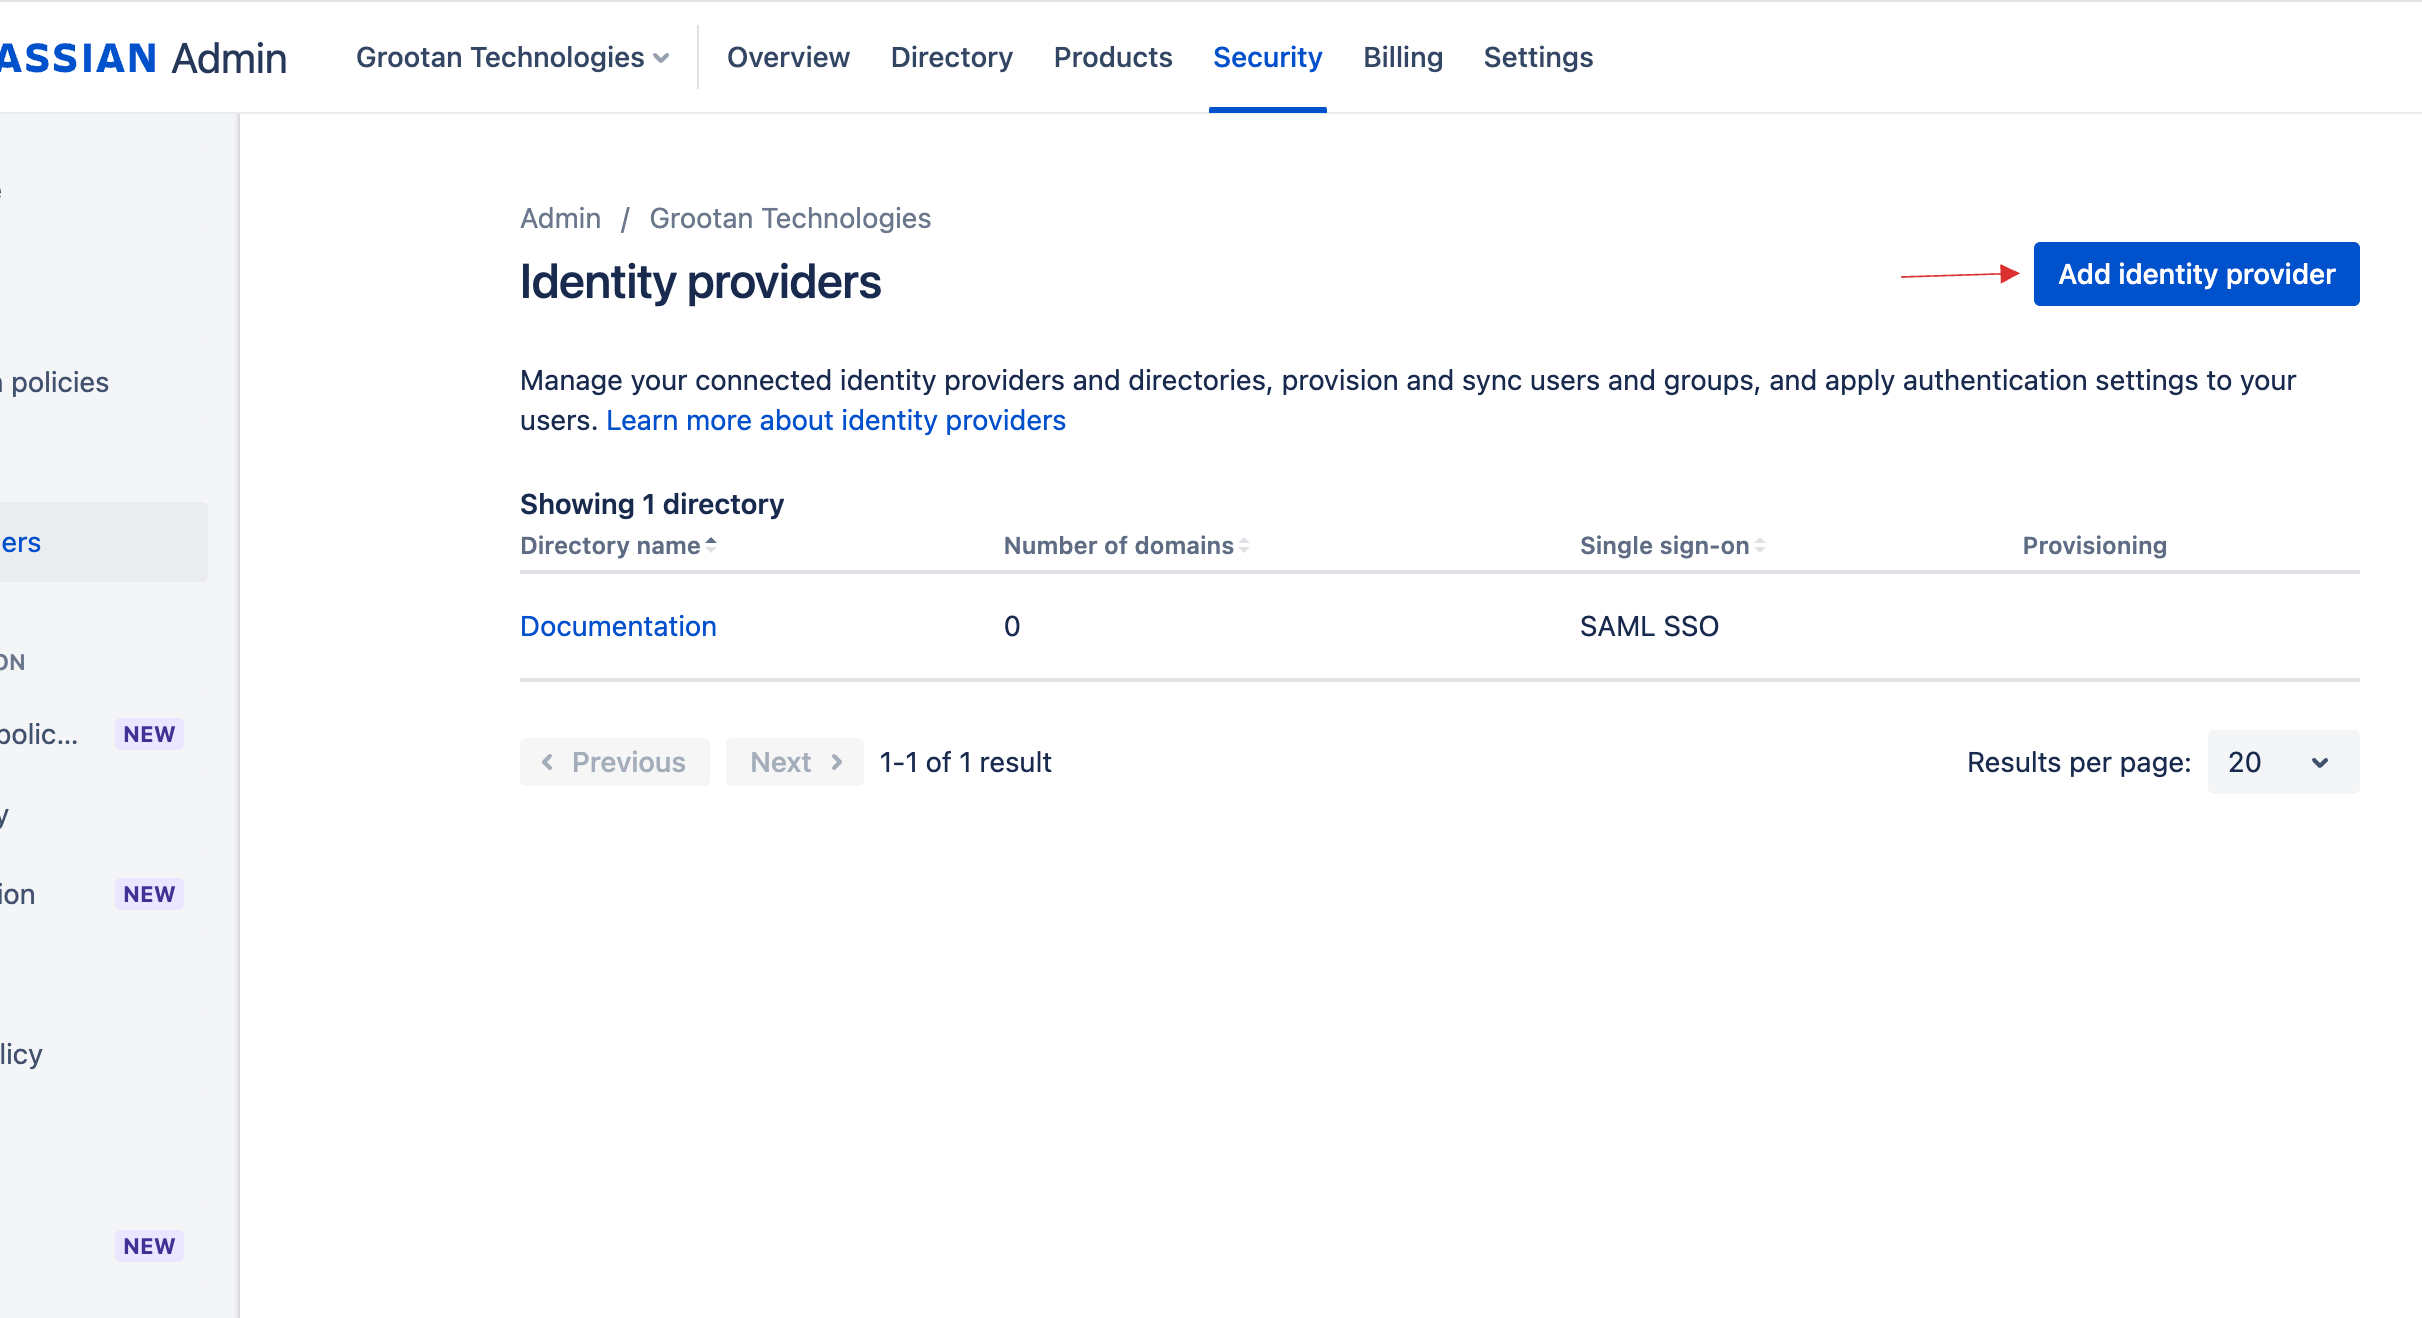
10 Click on Add identity provider.
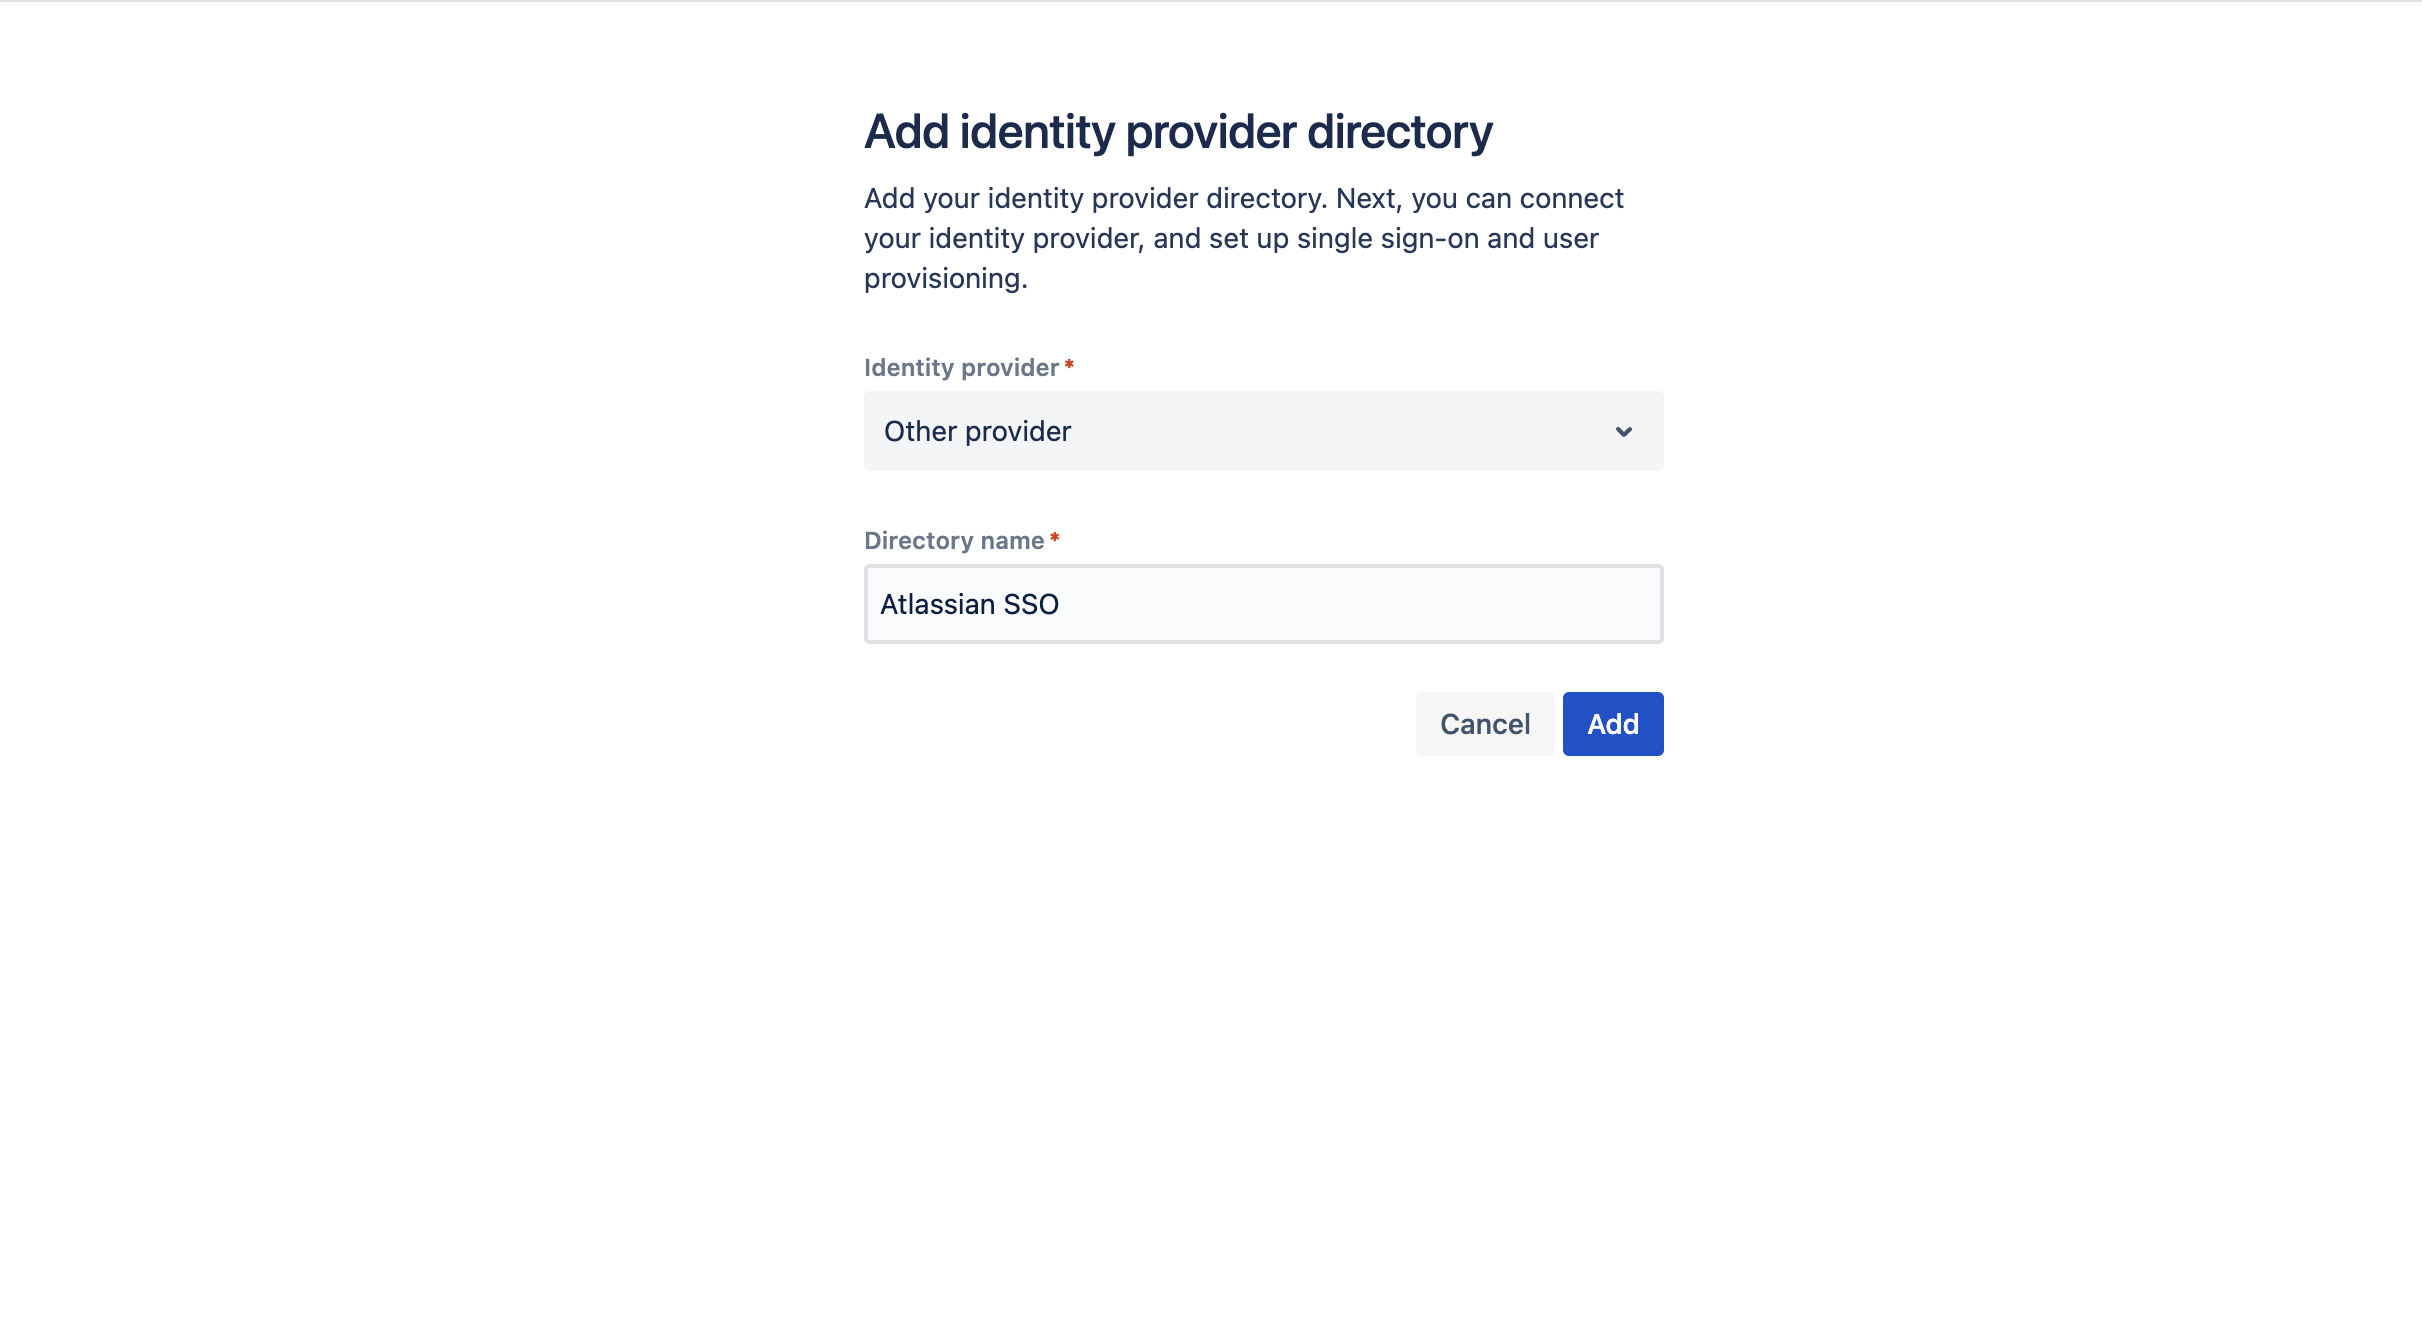
11 Choose Other provider from the drop-down and provide the Directory Name, click on Add.
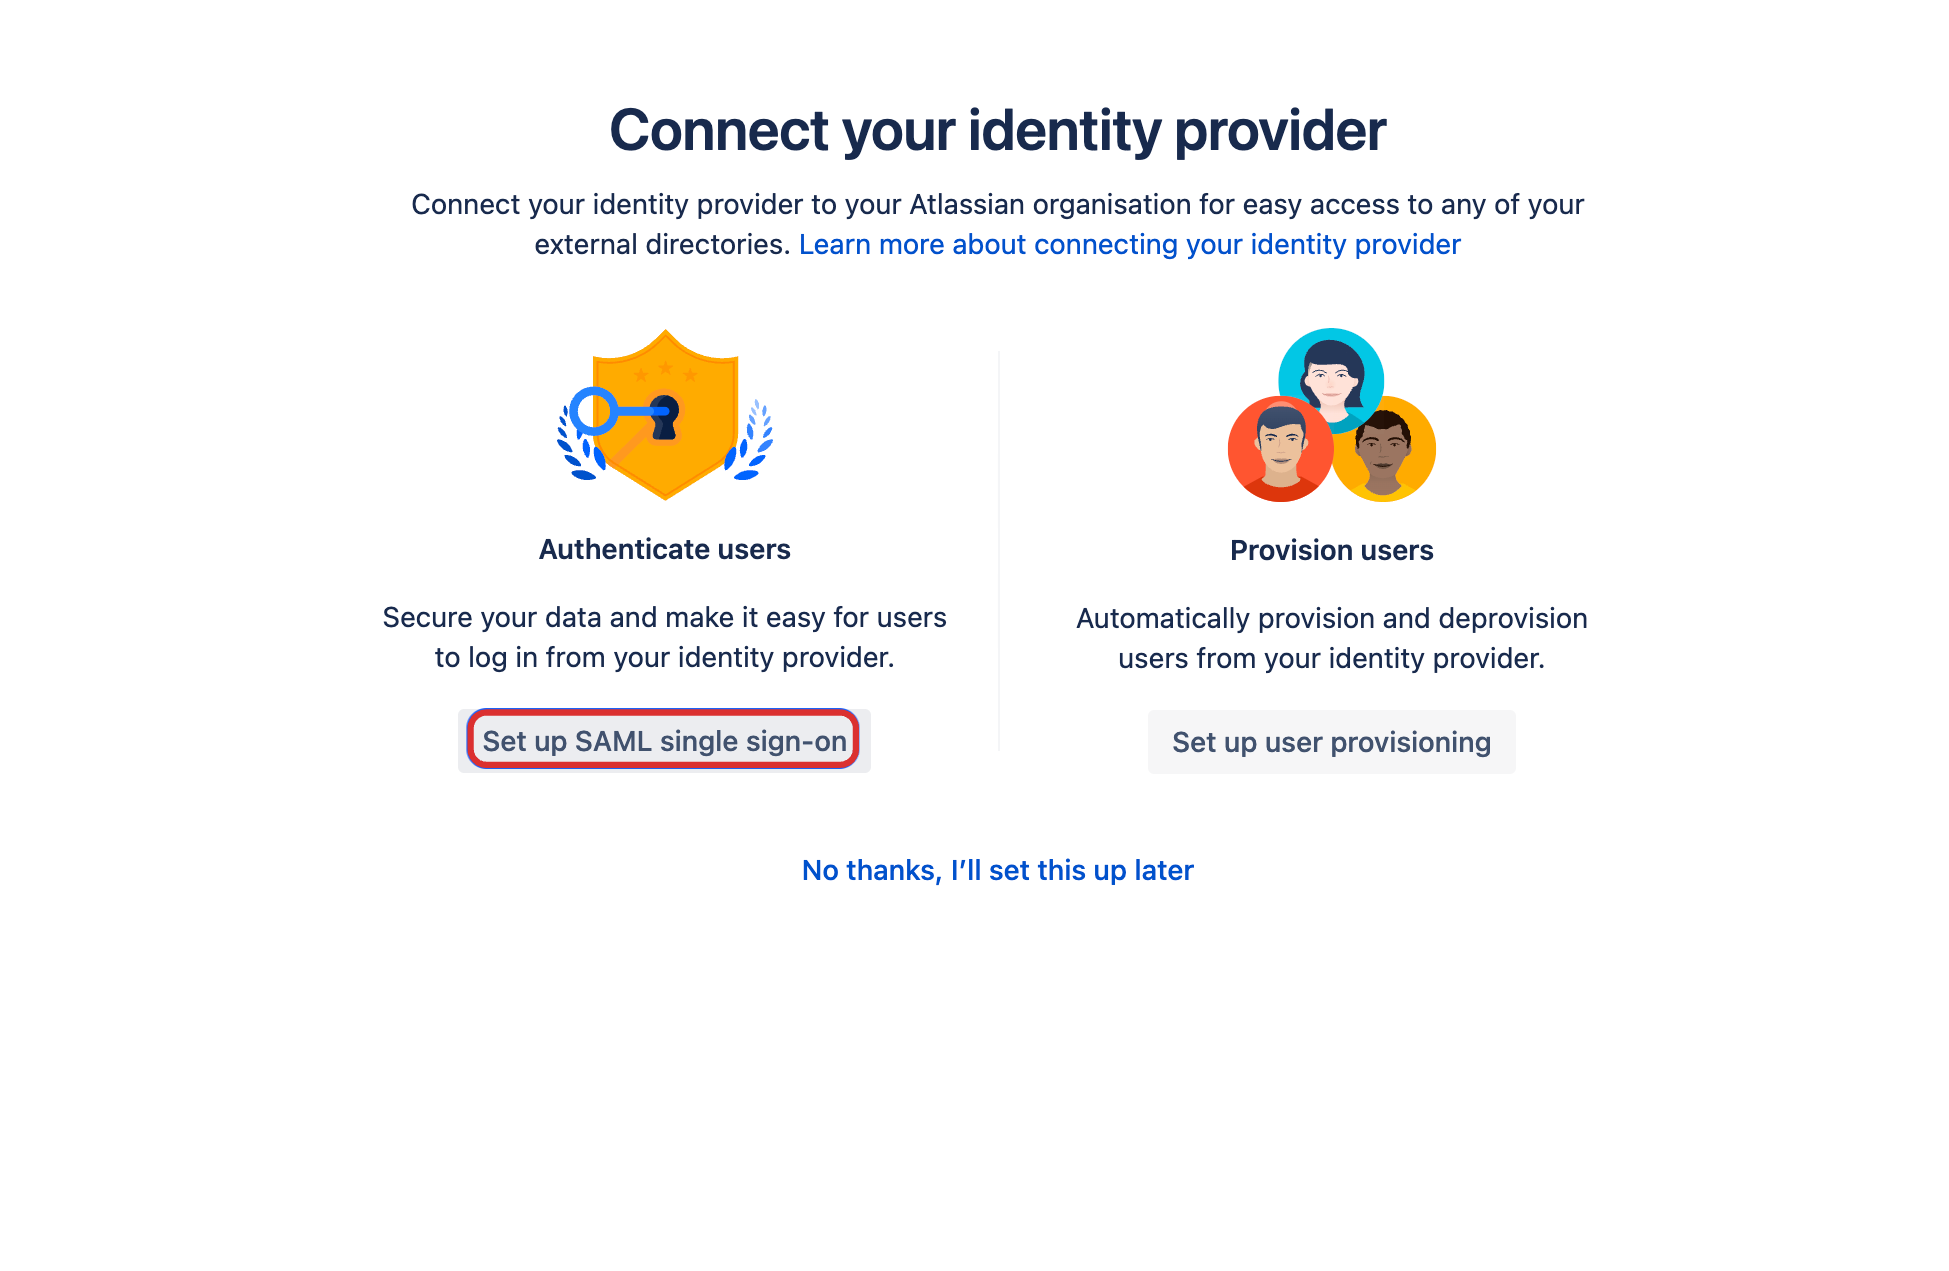
12 Click on Set up SAML single sign-on.
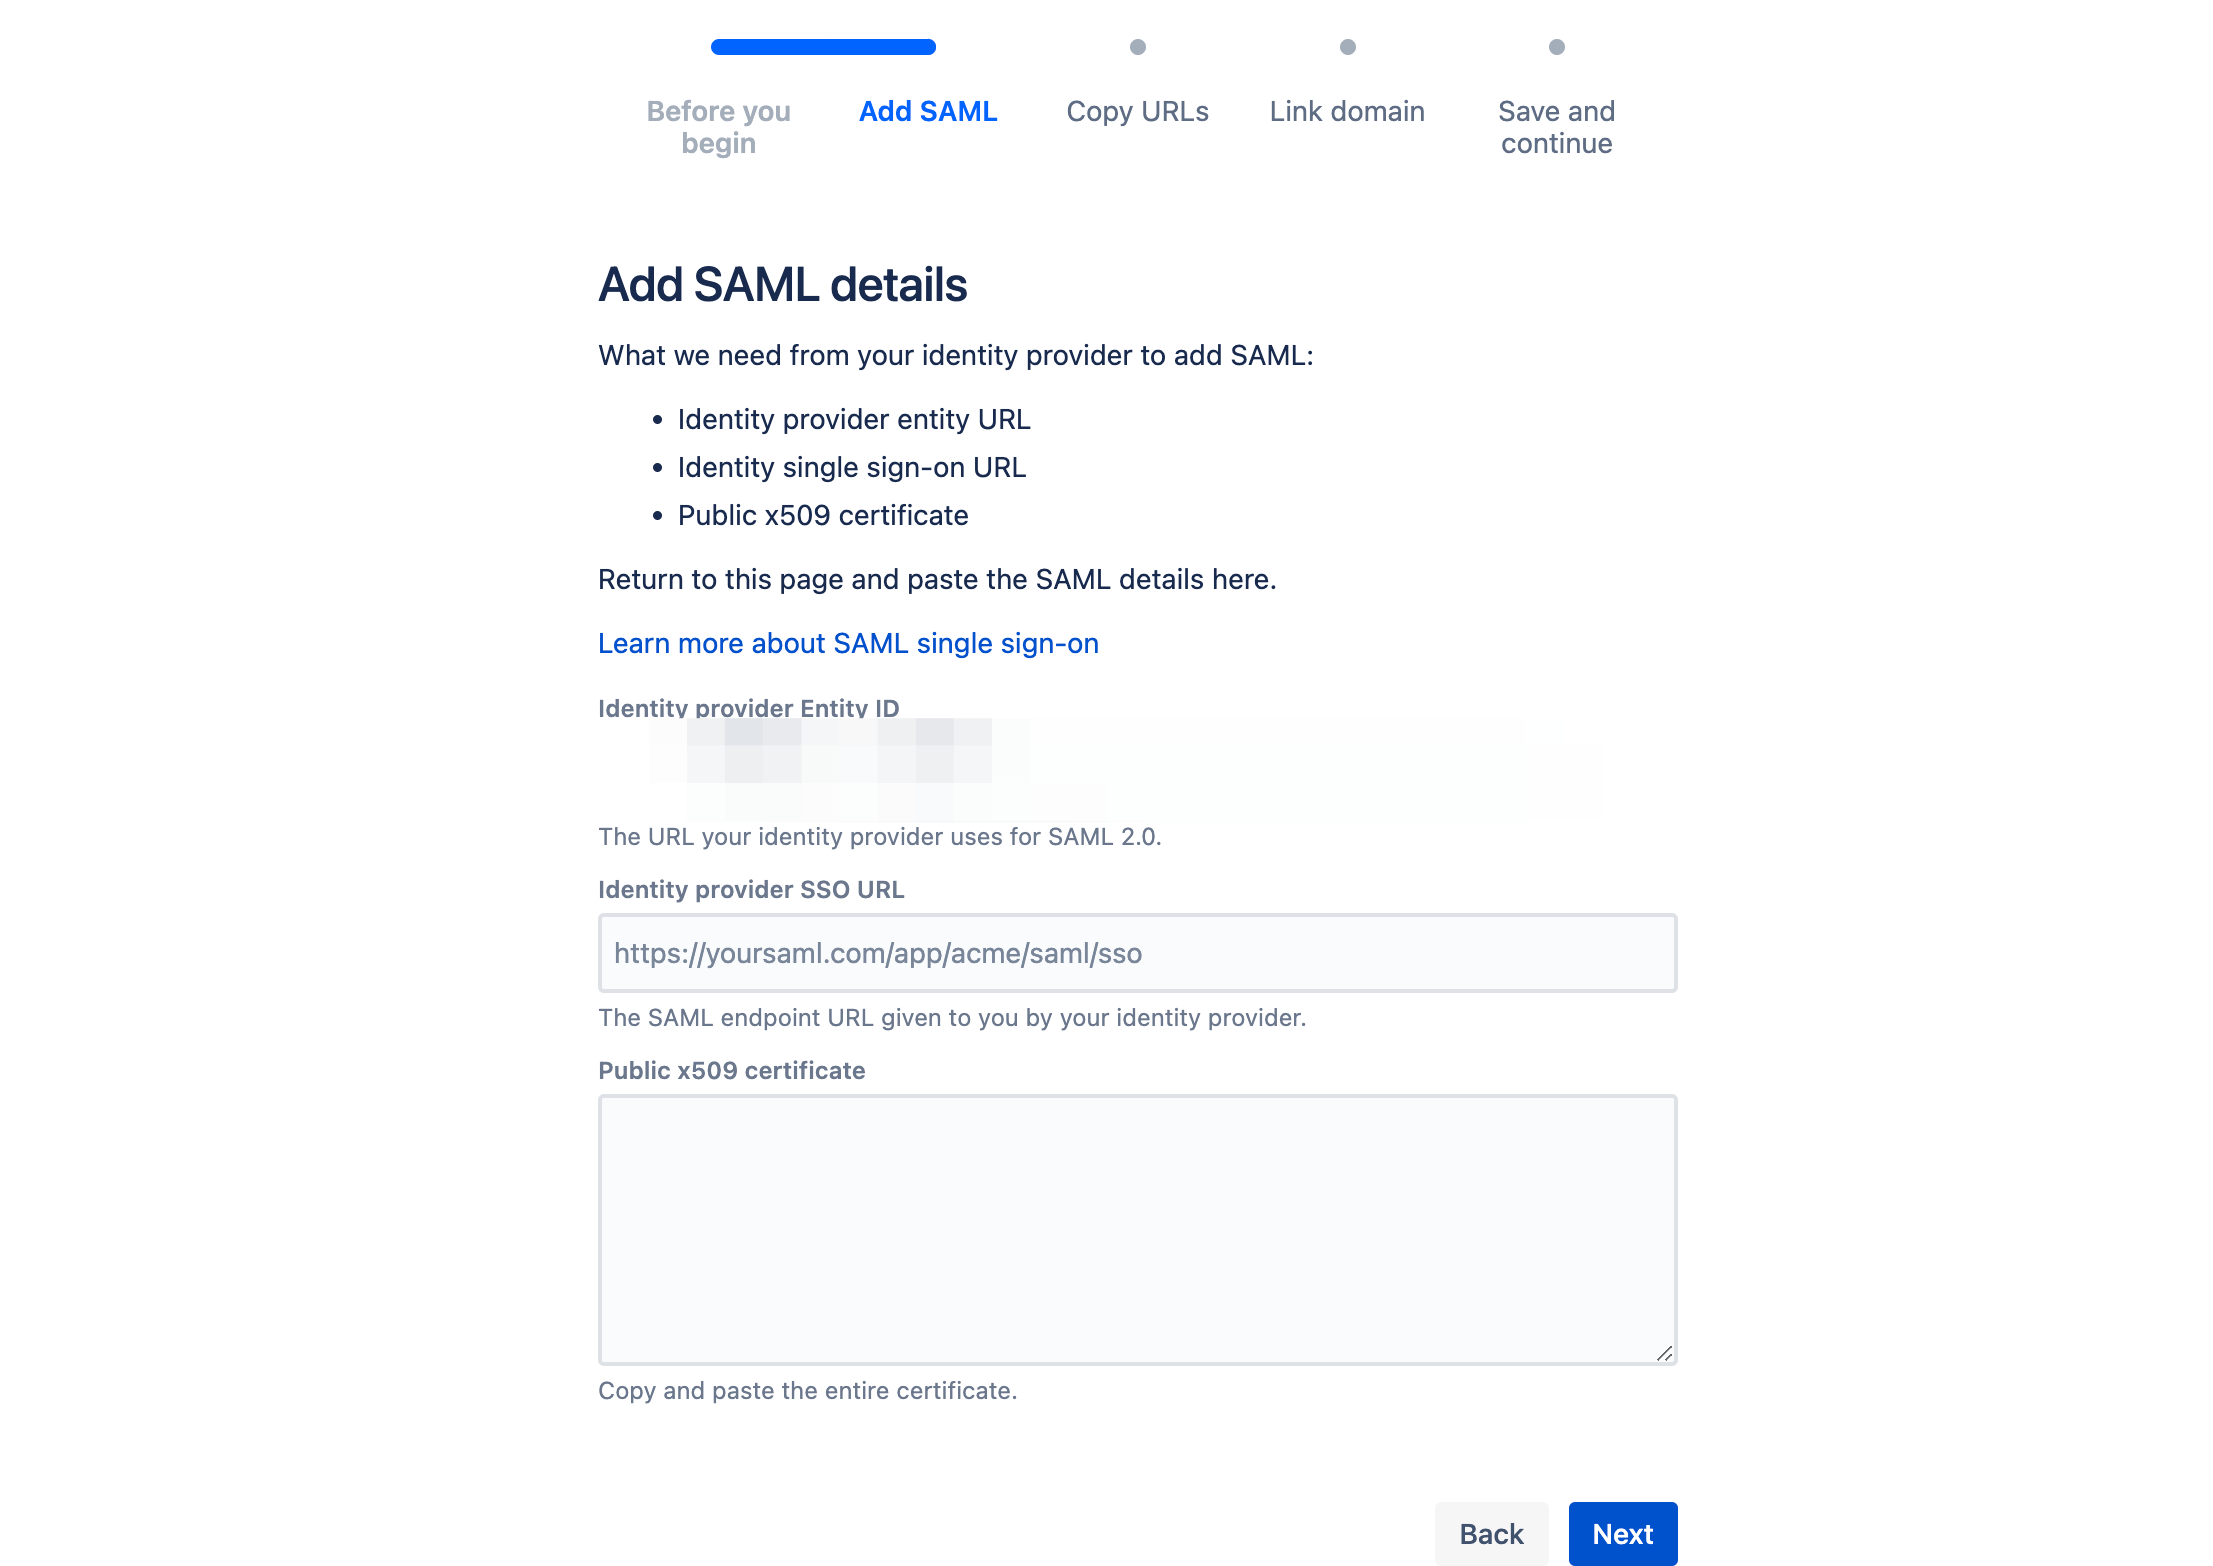
13 Click on Next.
14 SAML details will be displayed.
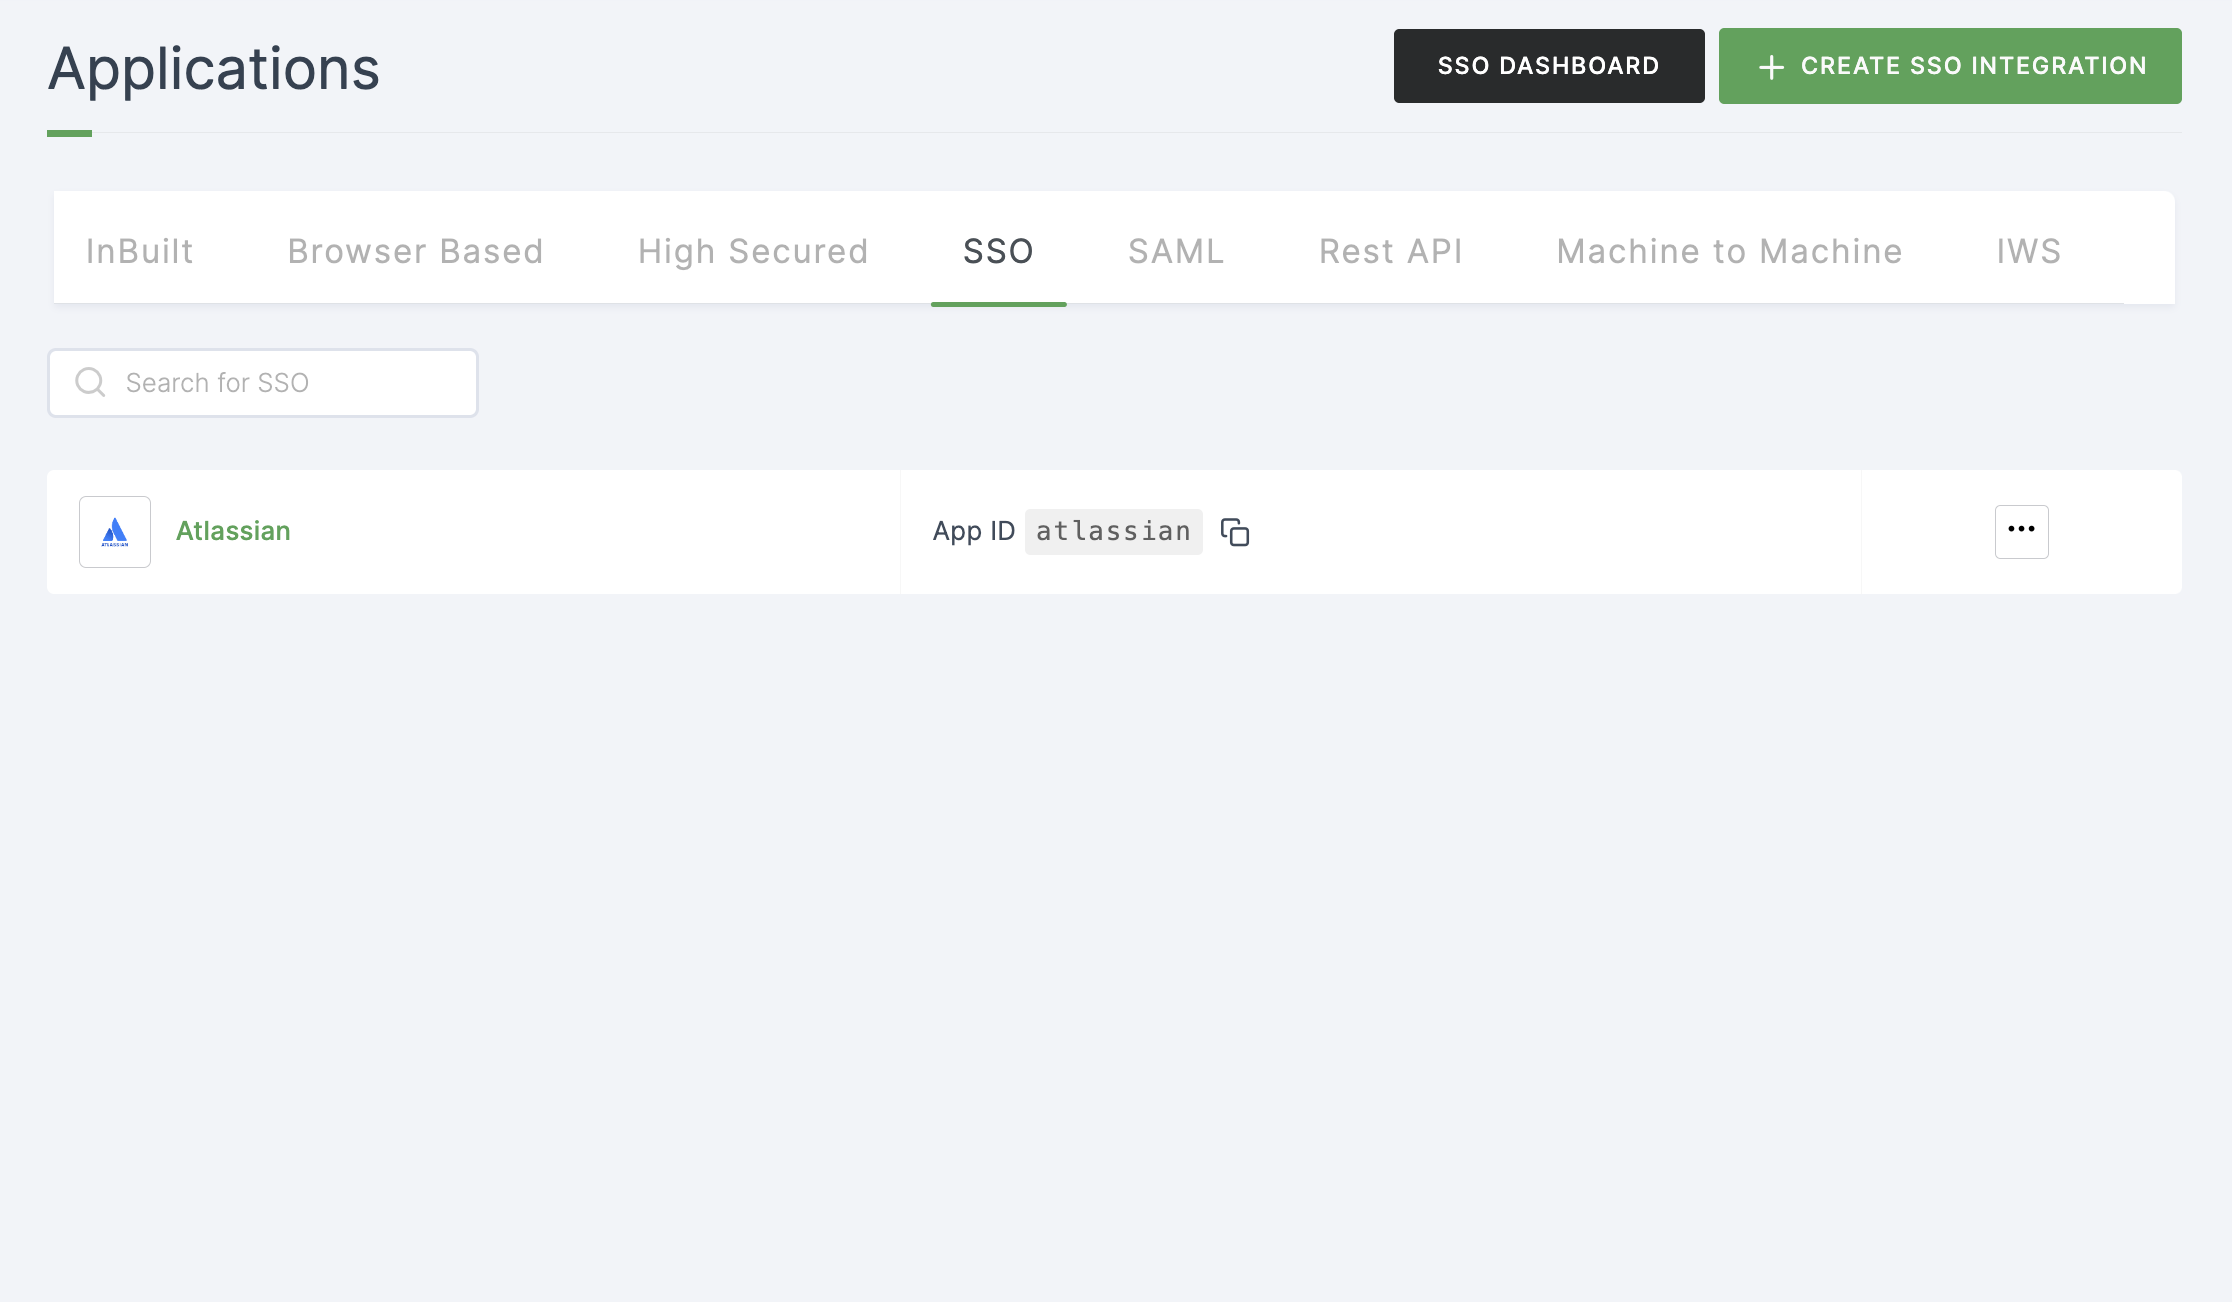
15 Return to your dashboard, go to Applications > SSO, and click on the created Atlassian SSO.
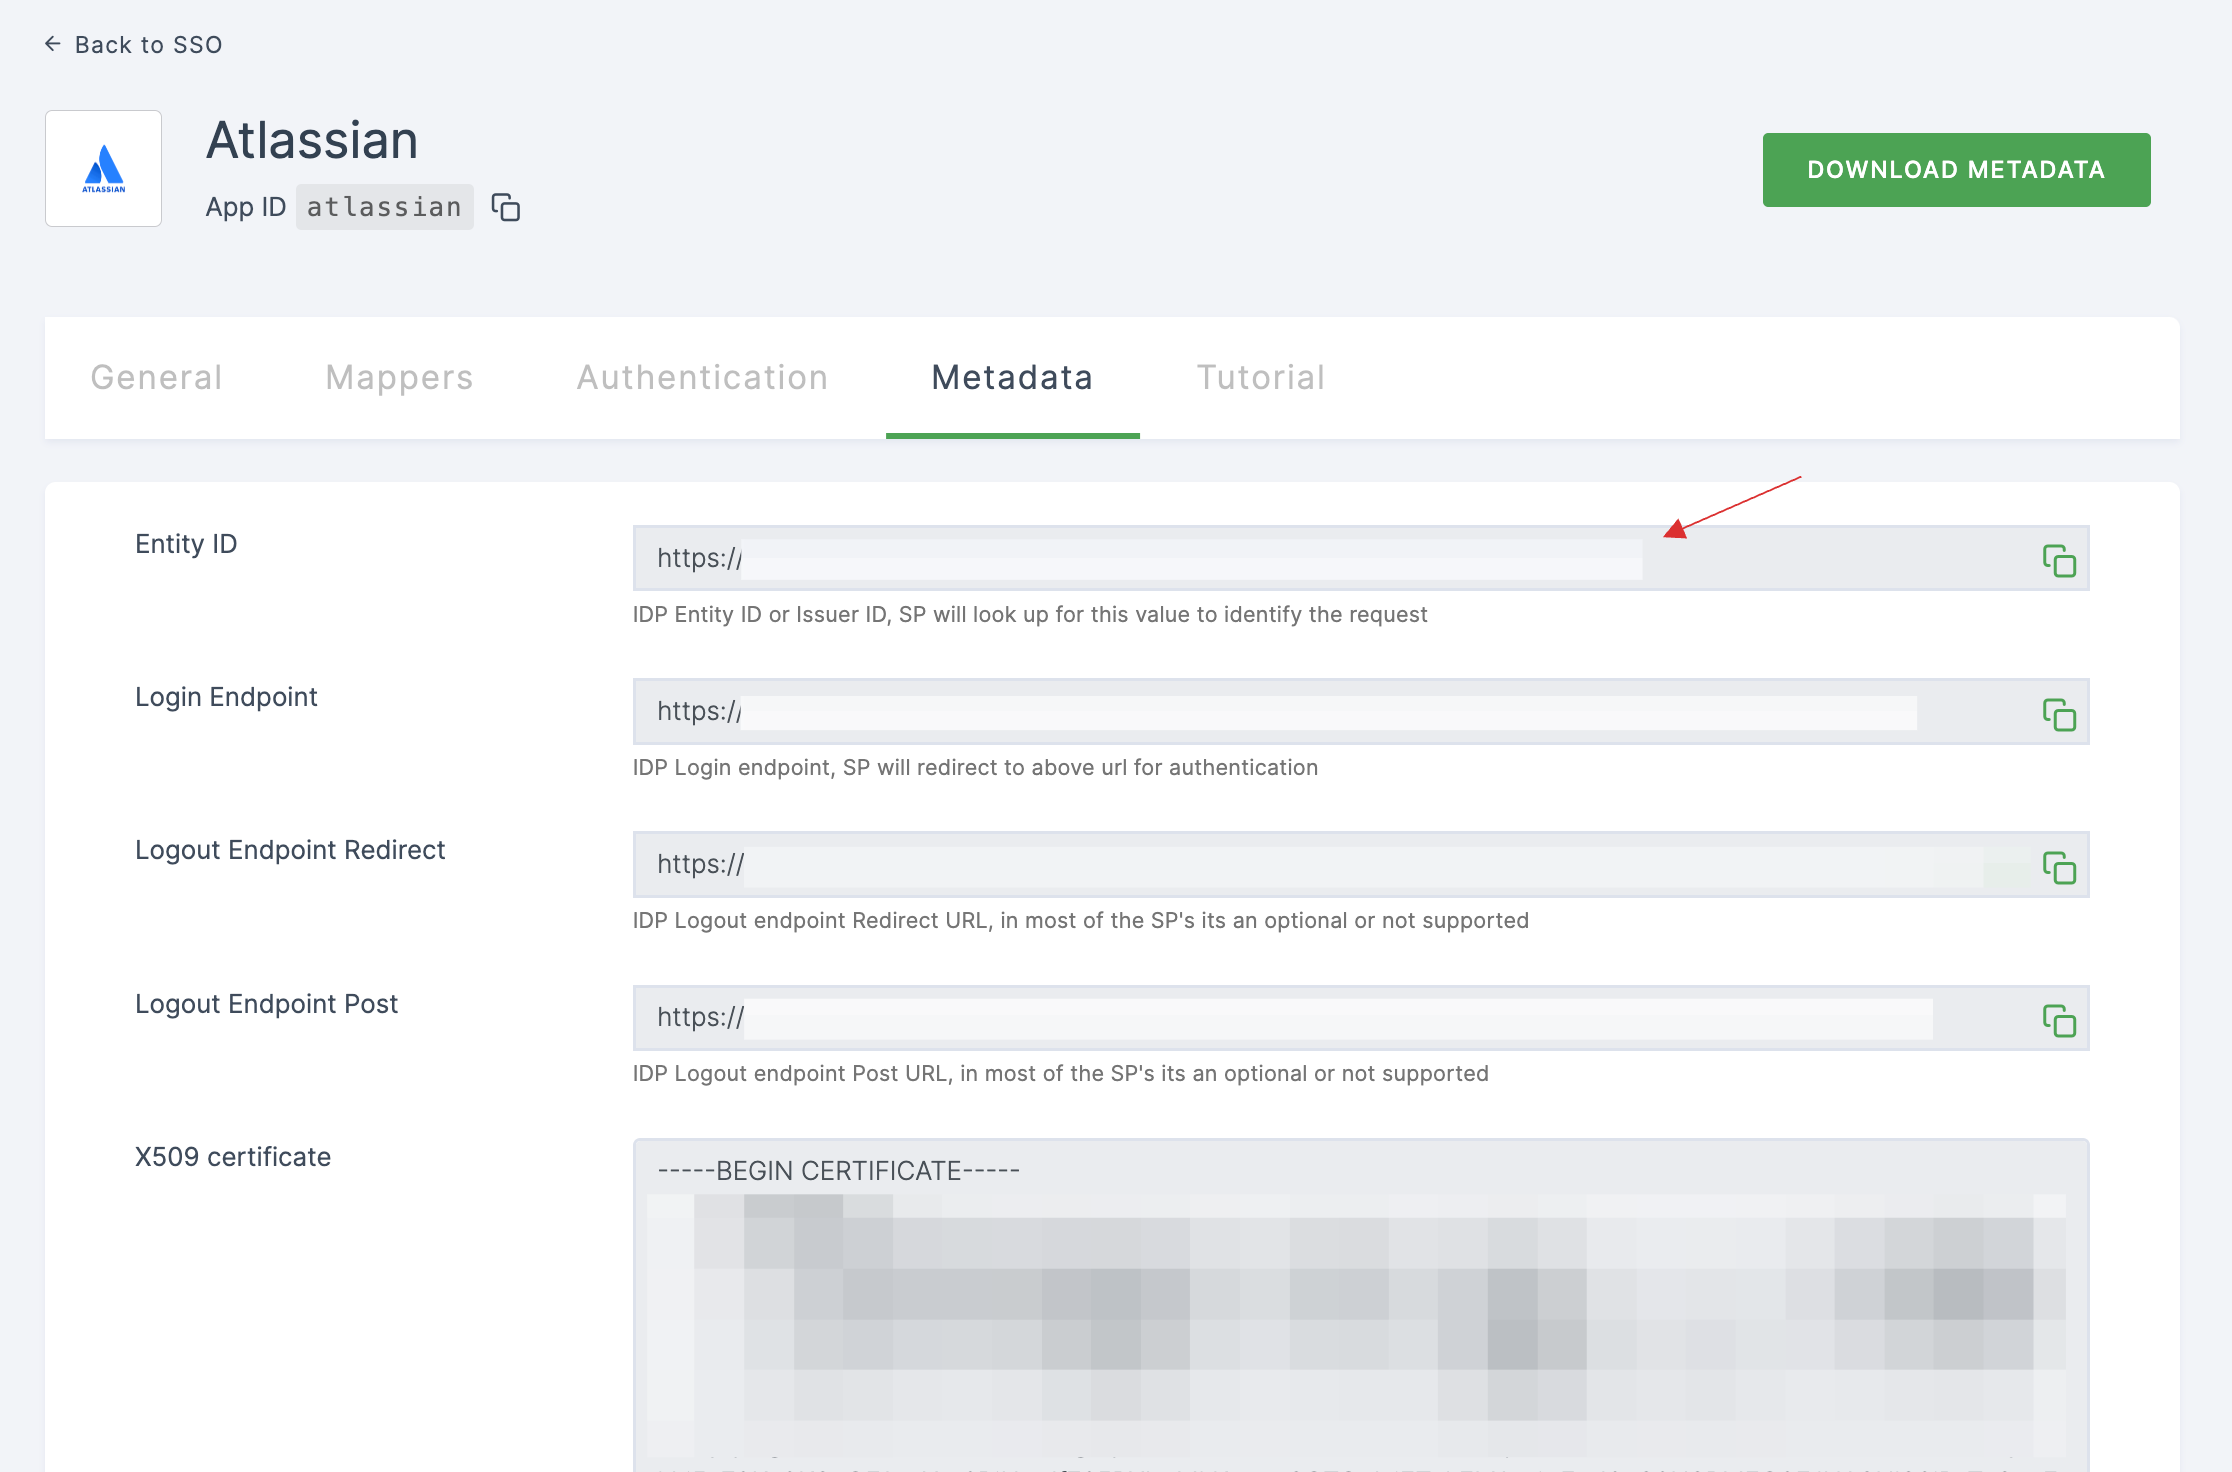
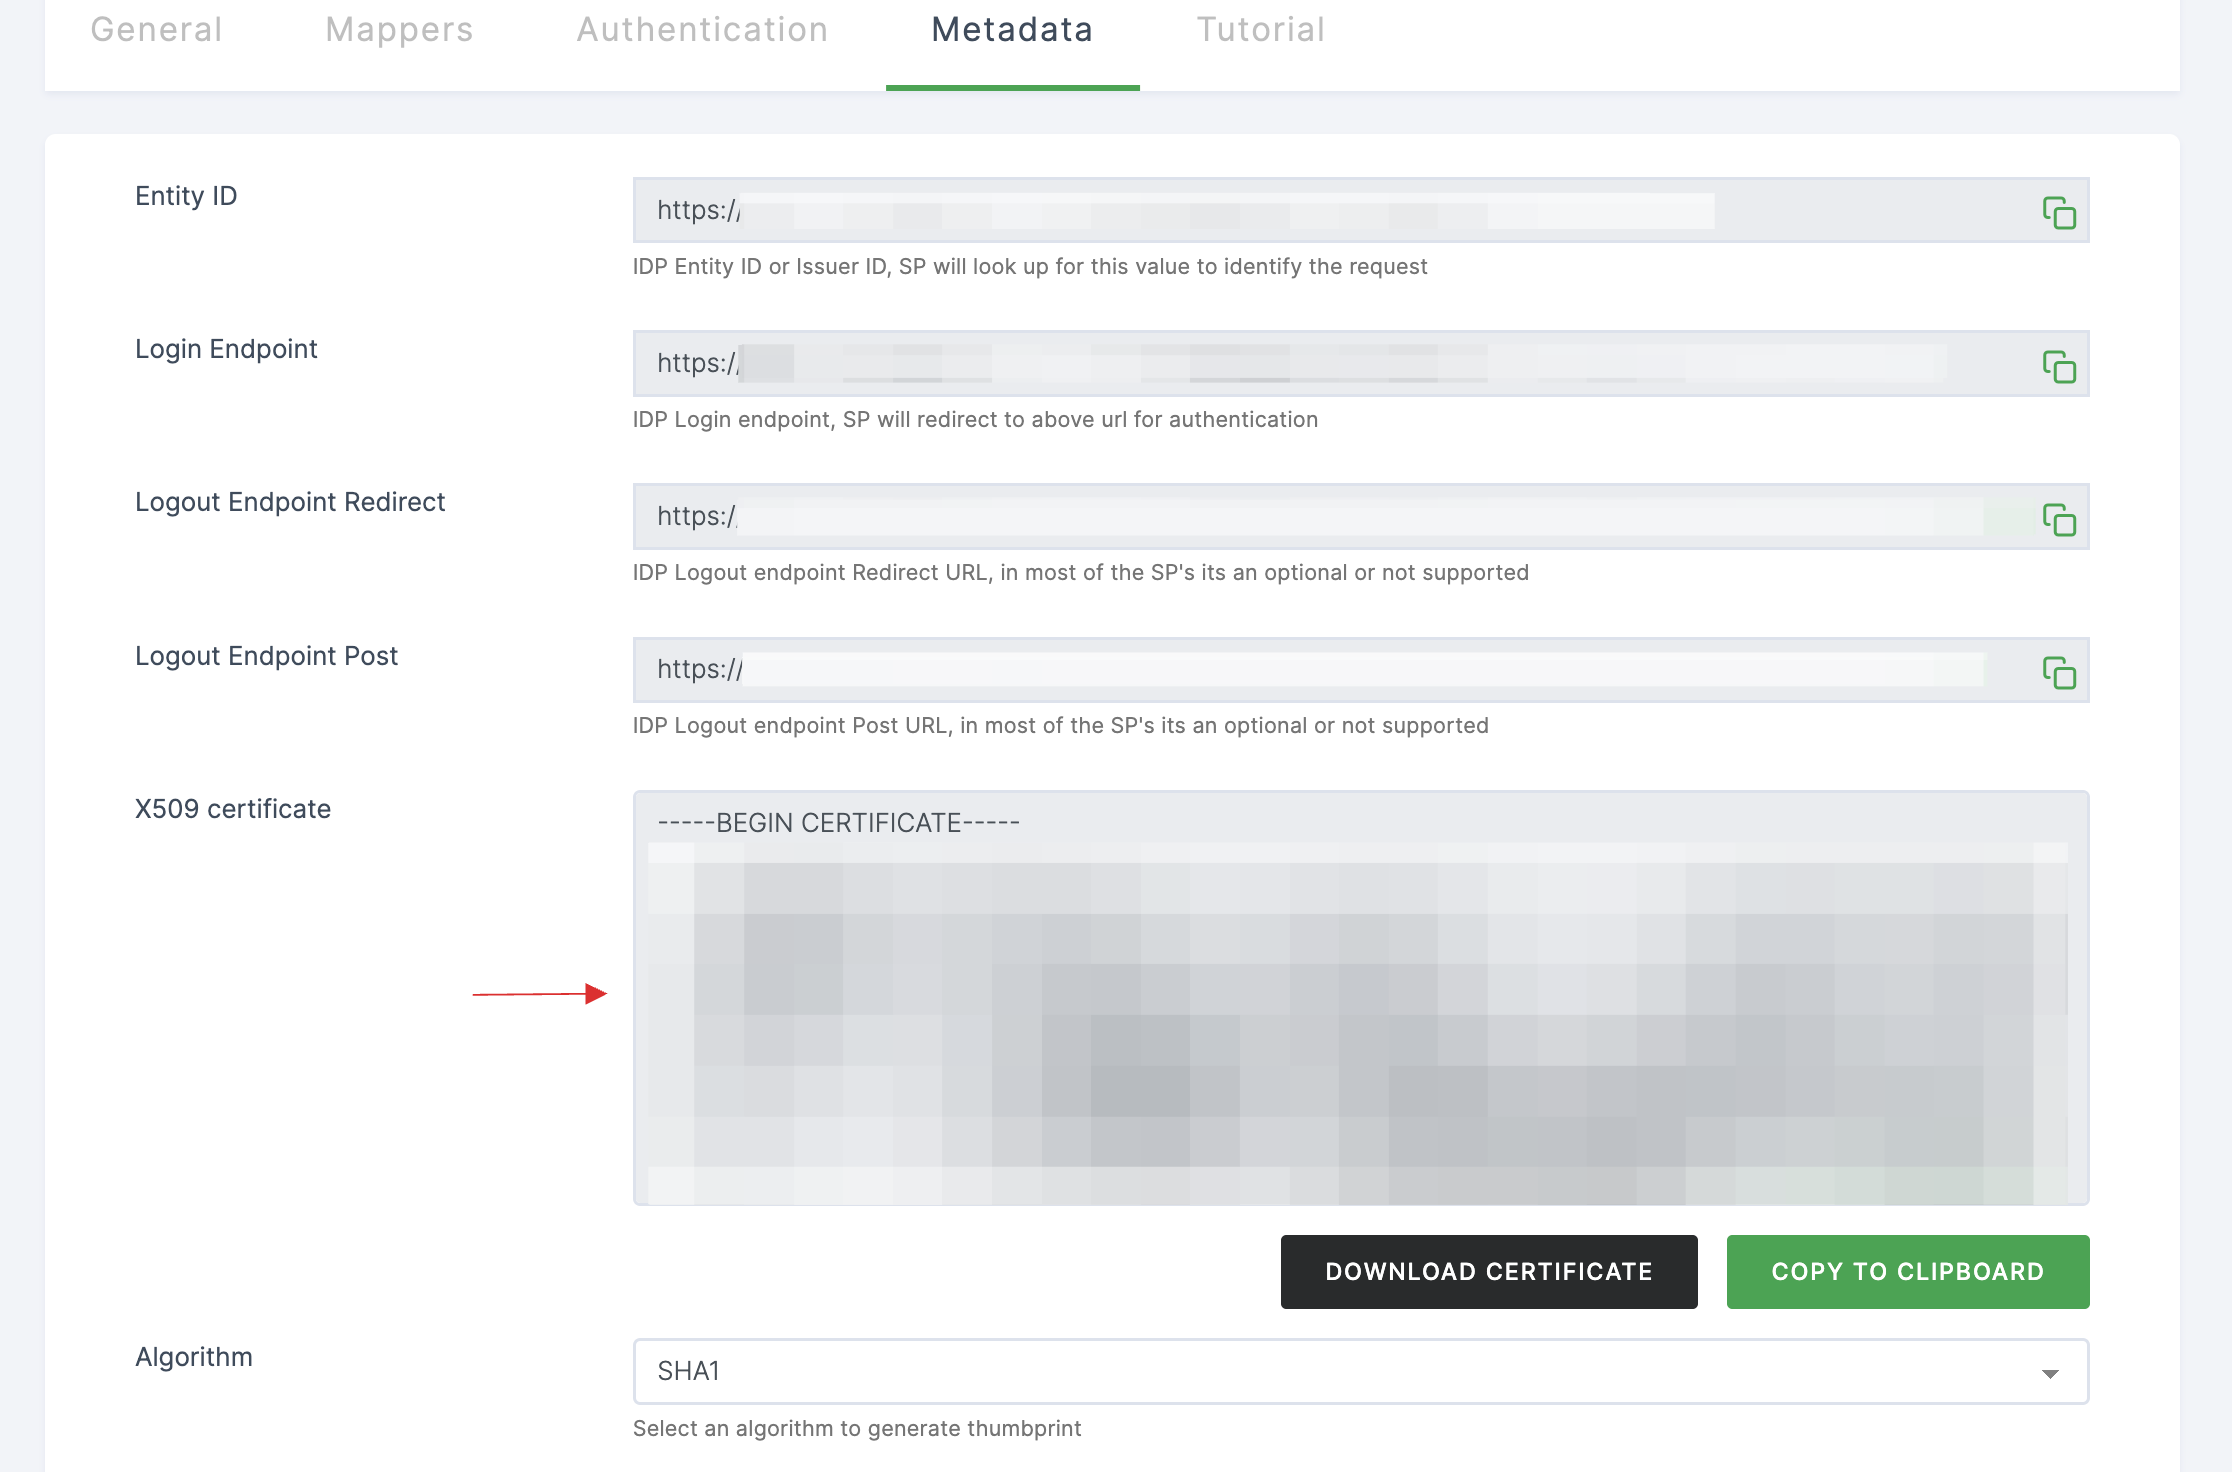
16 Click on Metadata, where the list of endpoints for the particular SSO will be available. Copy the Entity ID.
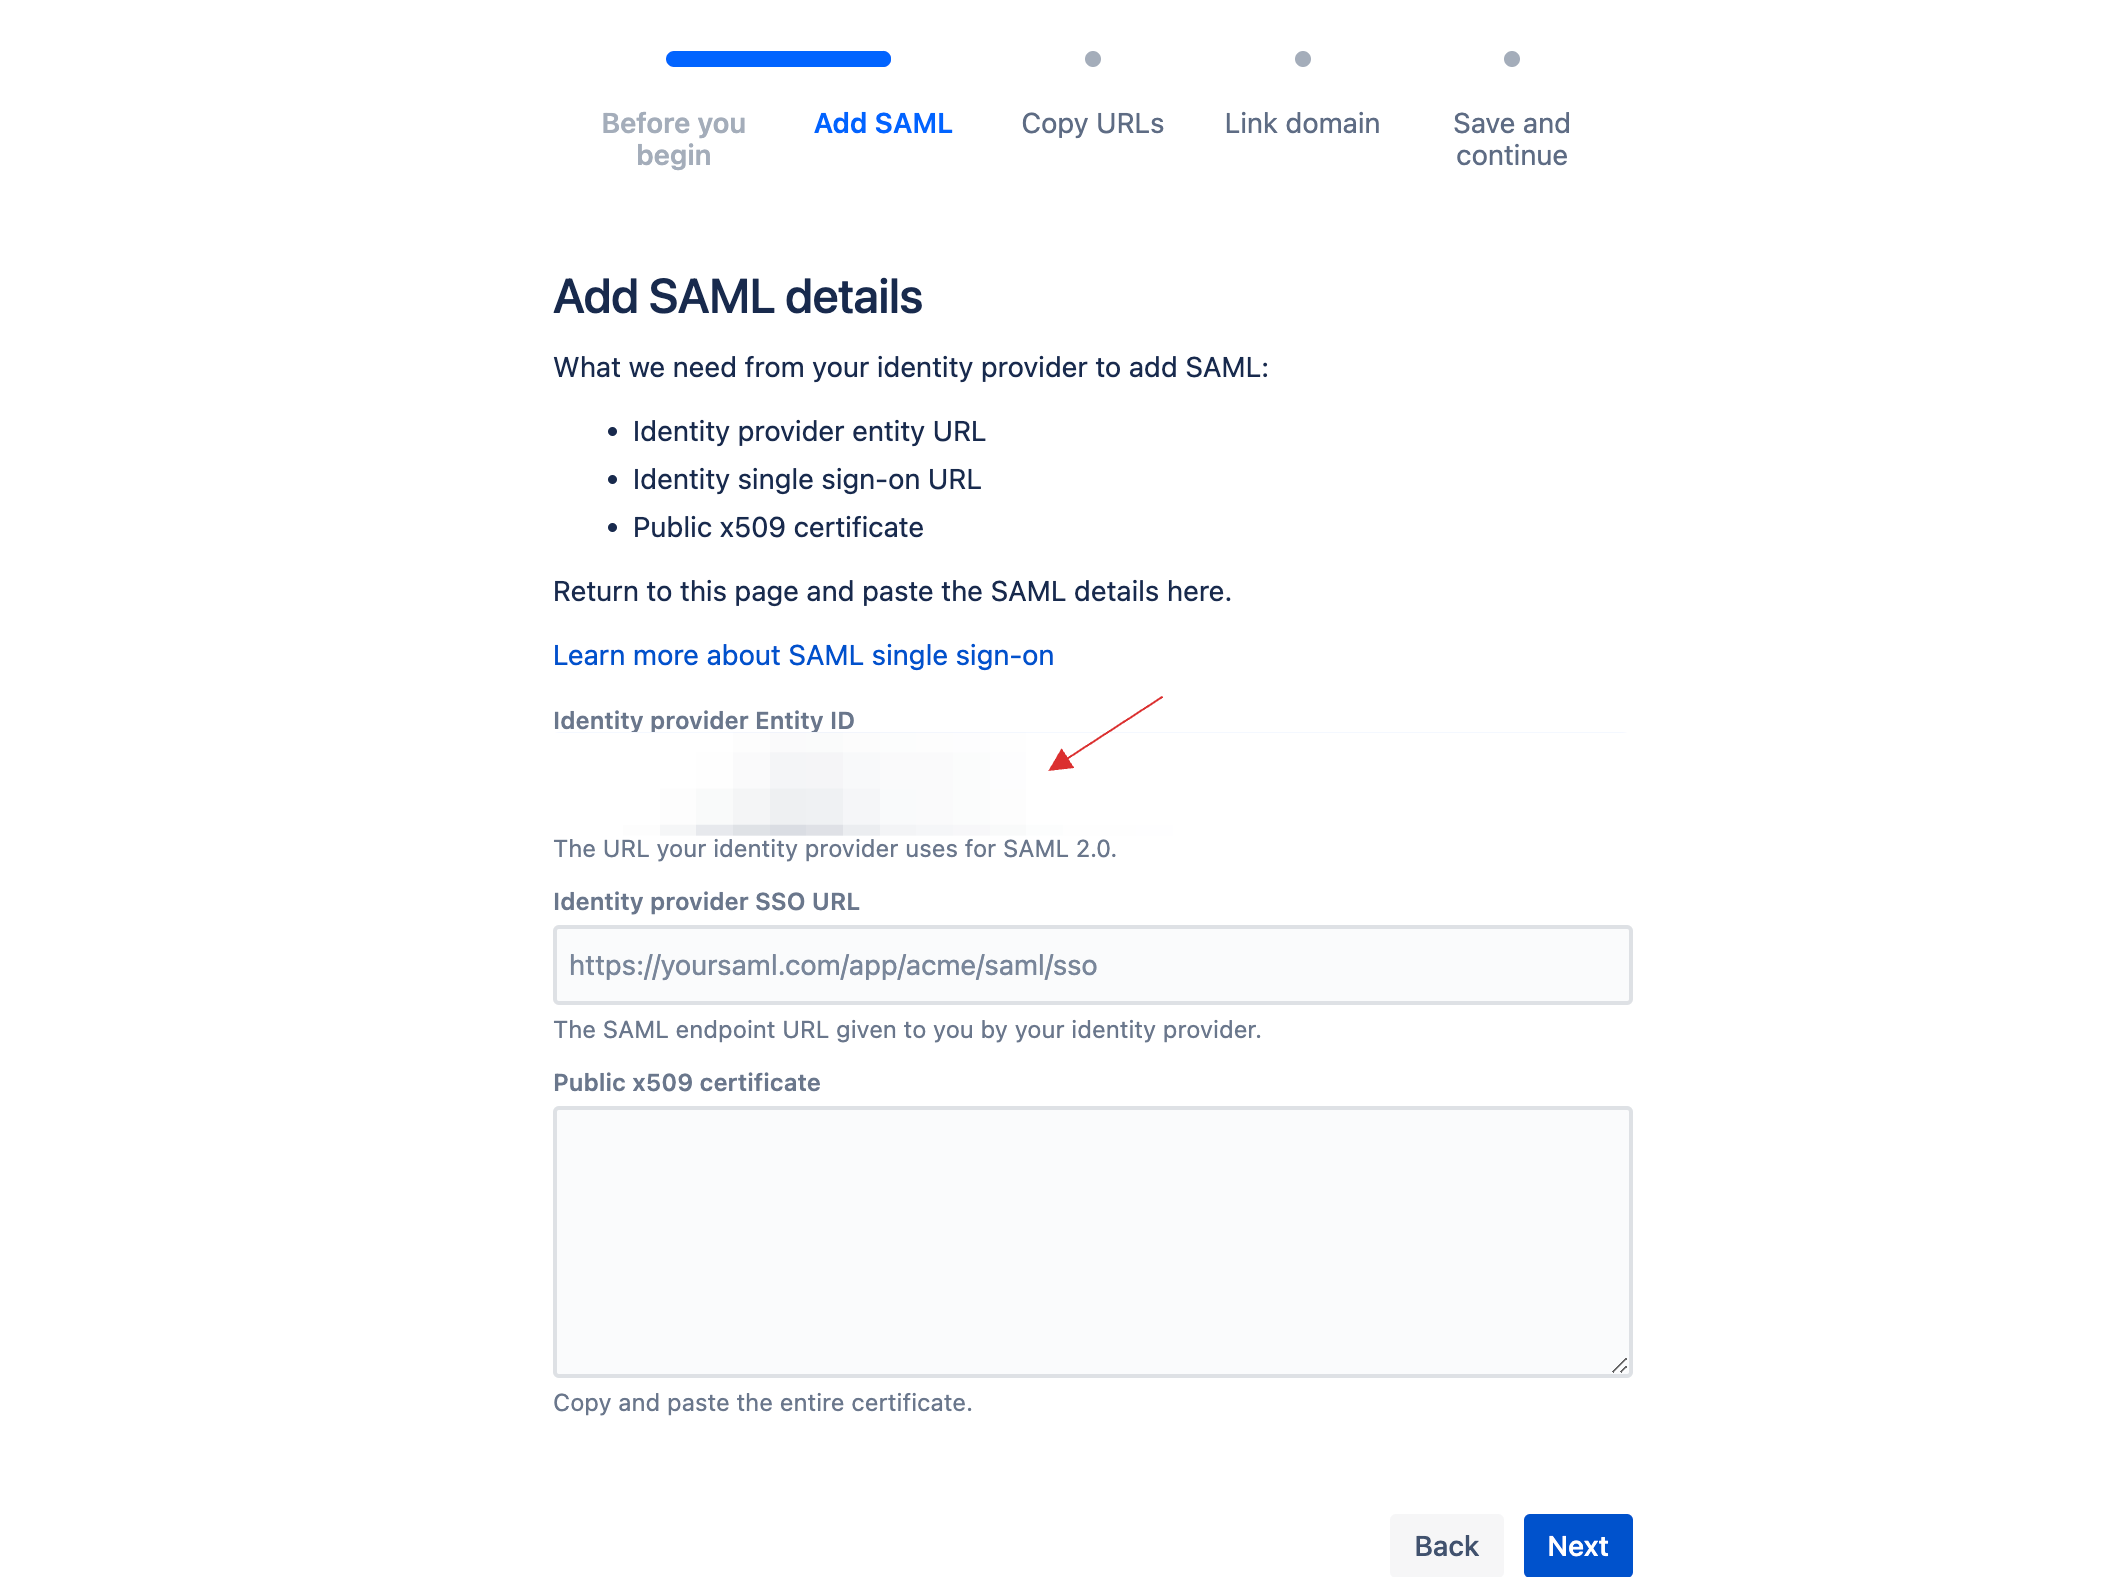
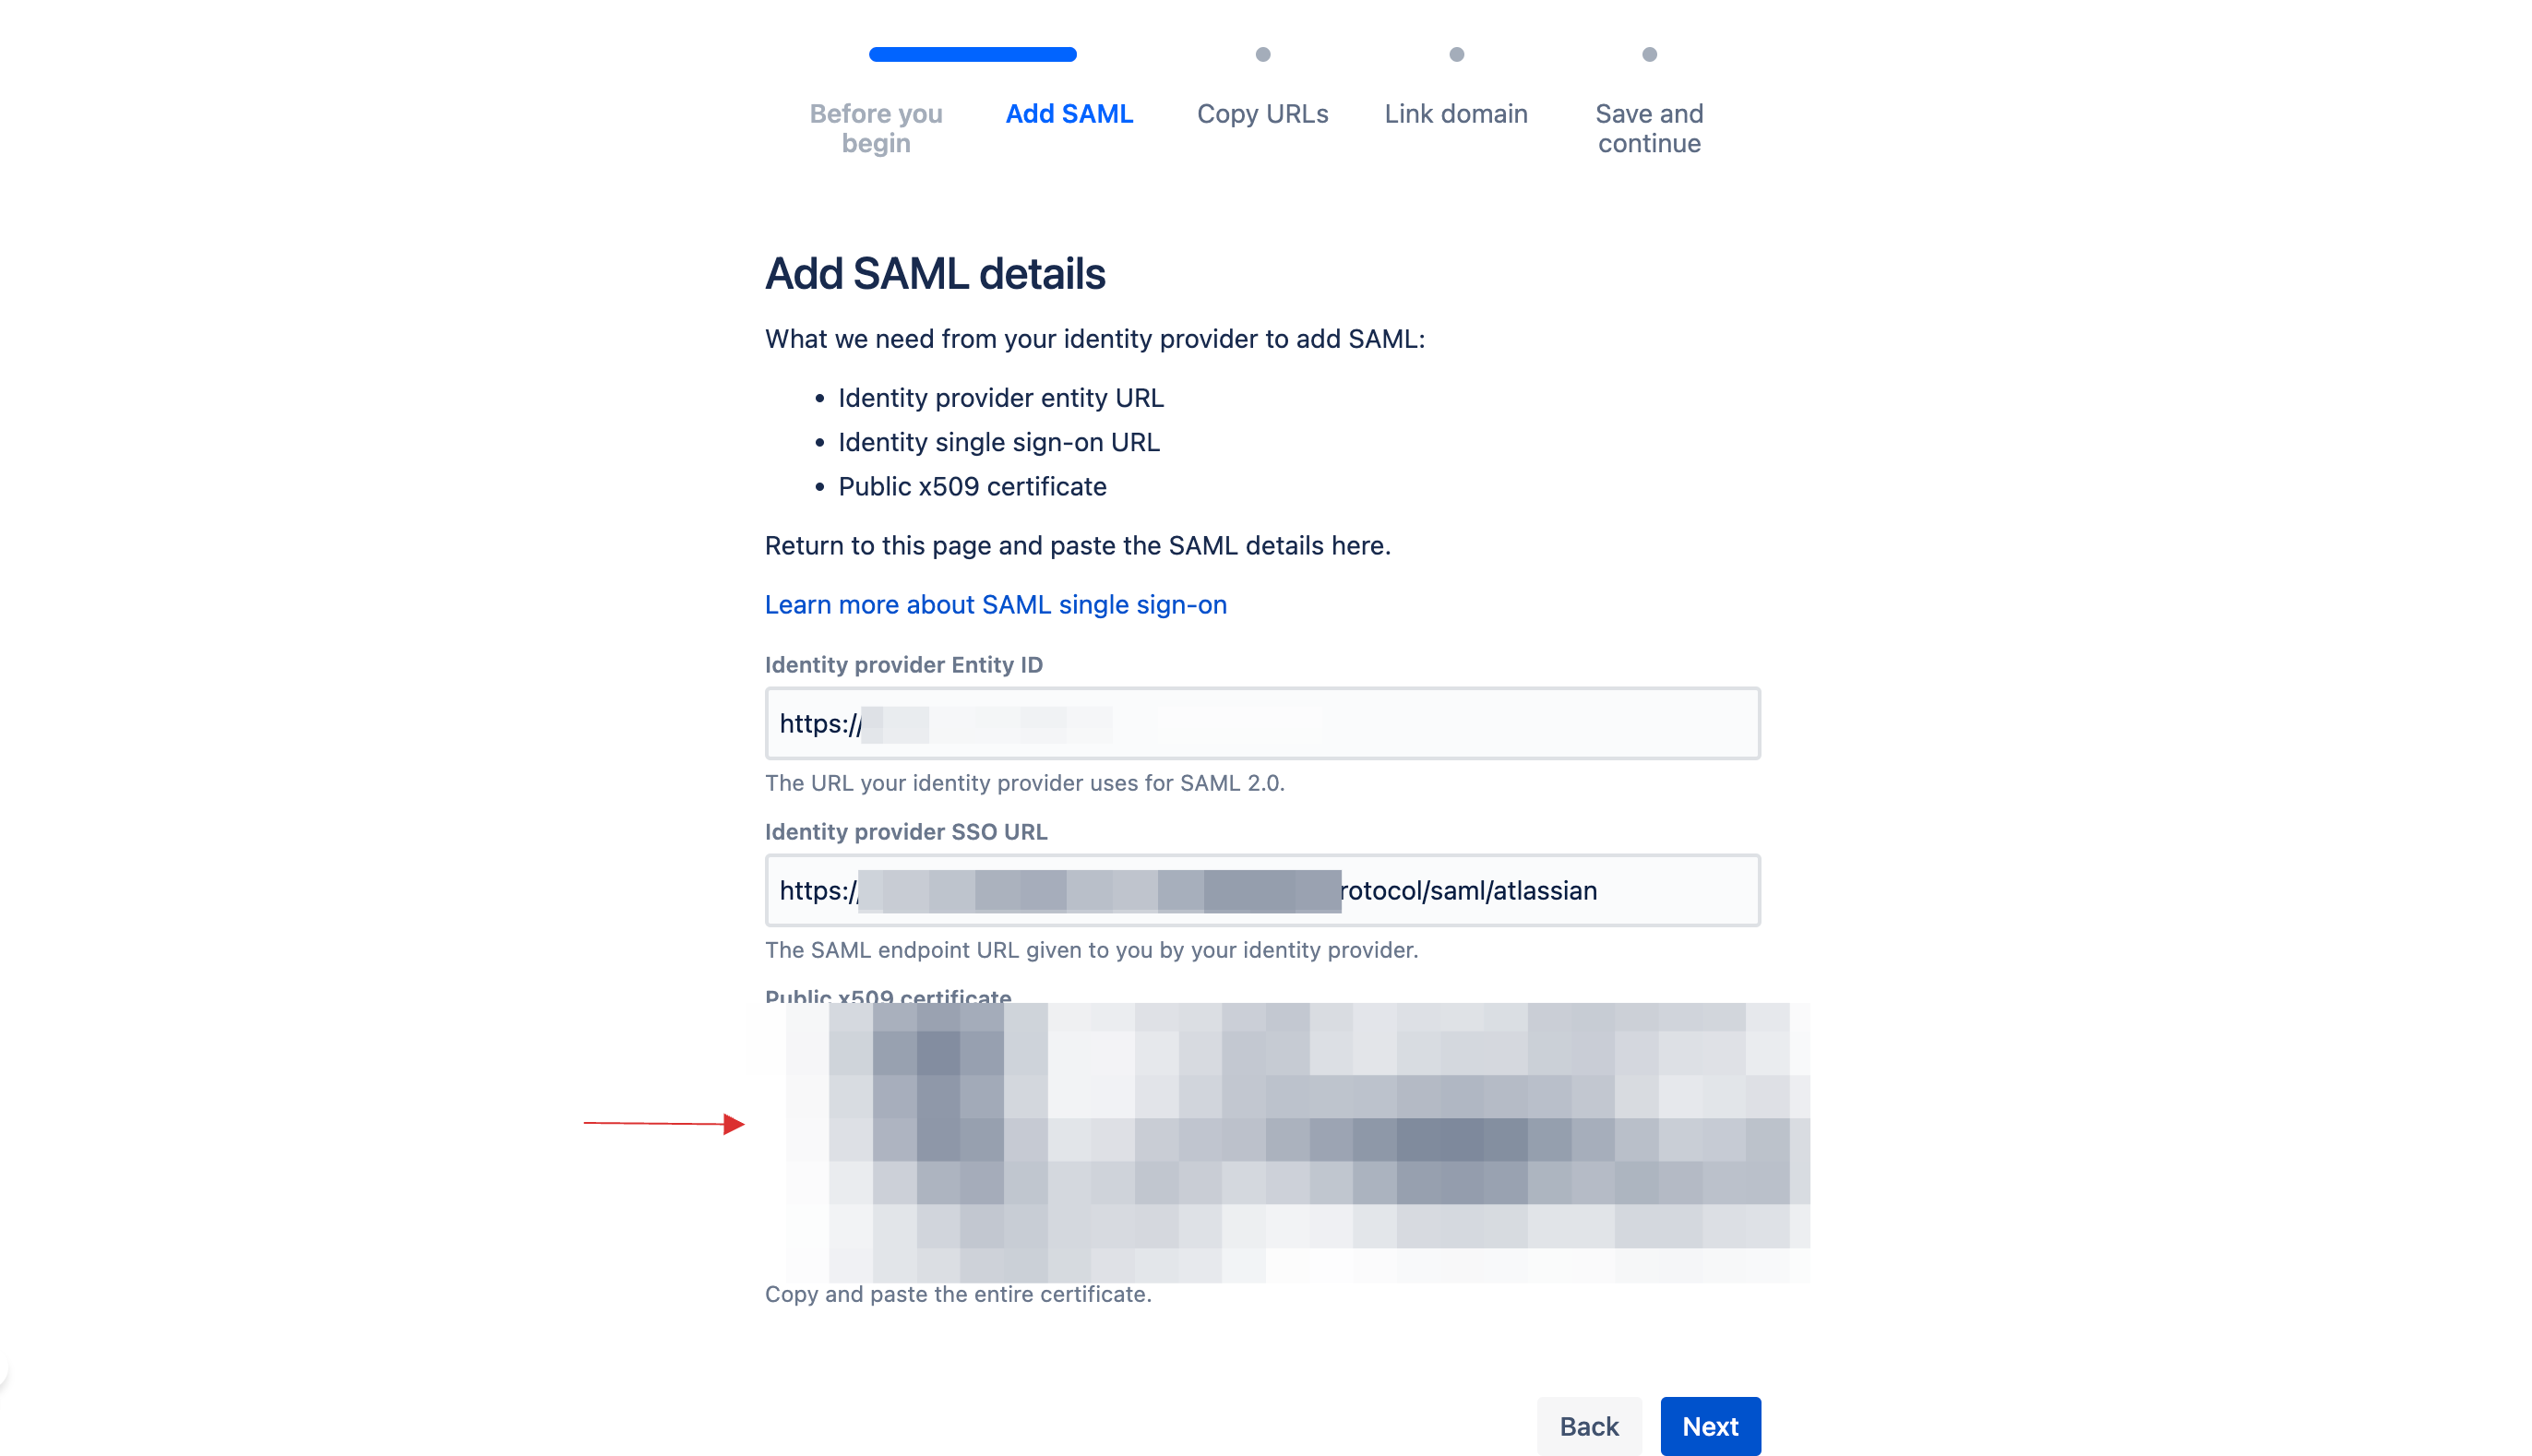
17 Switch to Atlassian, paste the Entity ID in Identity provider Entity ID.
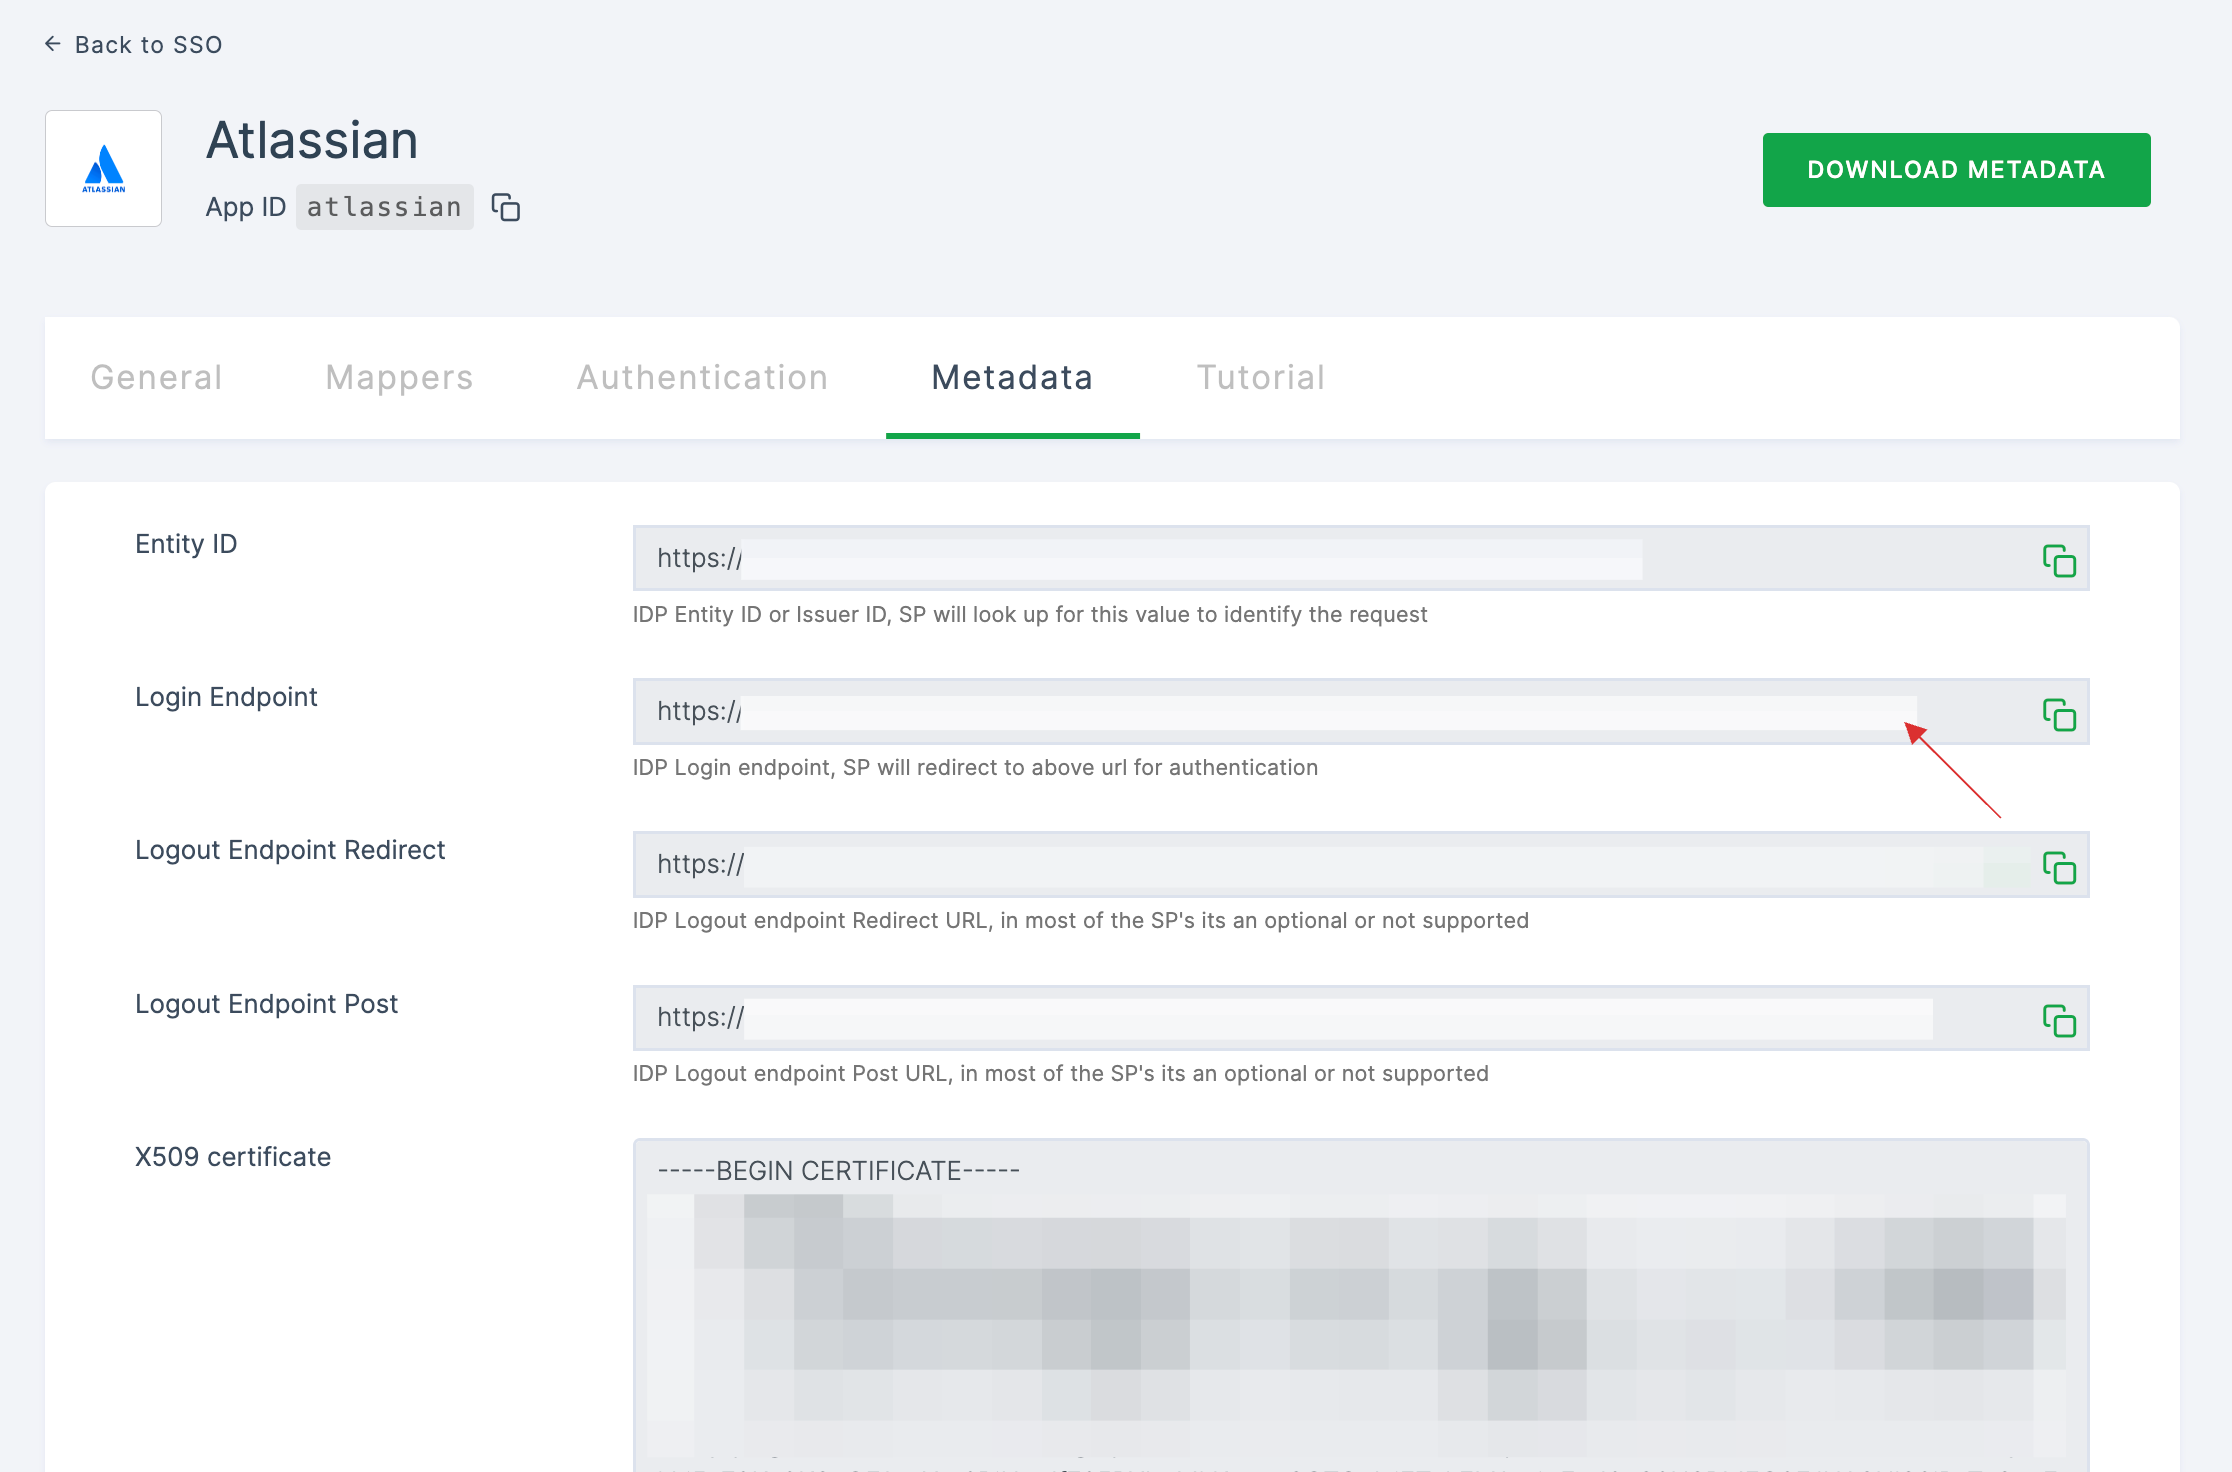
18 Return to your dashboard, copy Login Endpoint.
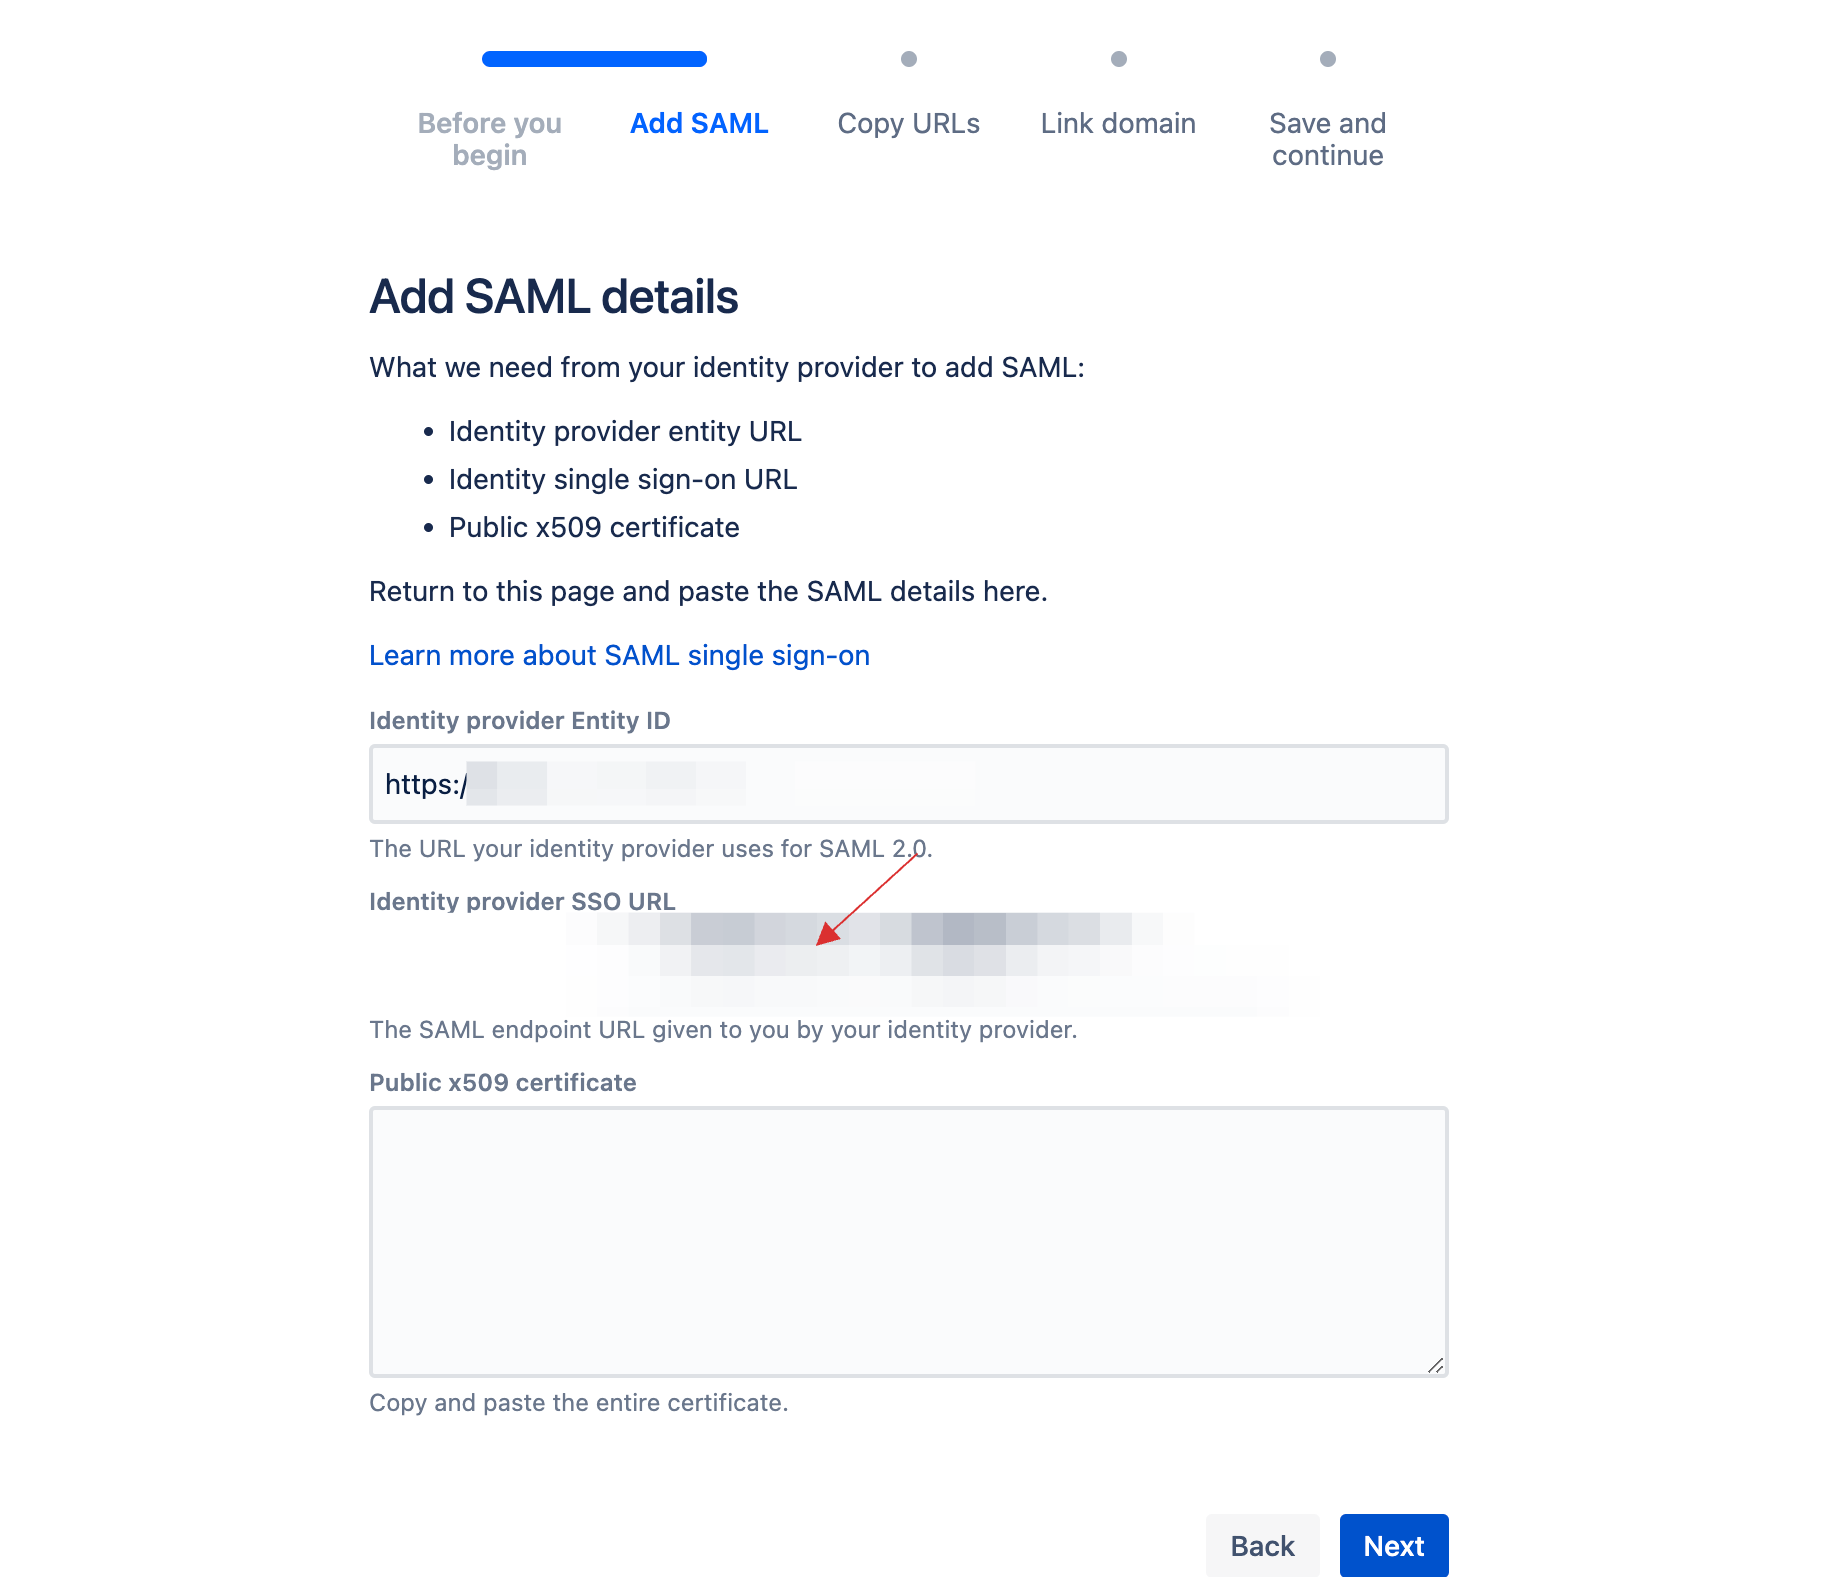
19 Switch to Atlassian, paste the Login Endpoint in Identity provider SSO URL.
20 Return to your dashboard, click on COPY TO CLIPBOARD to copy the X509 certificate.
21 Switch to Atlassian, paste the X509 certificate.
22 Click on Next.
23 Copy the Service provider entity URL and Service provider assertion consumer service URL to your clipboard.

24 Go to Applications > SSO, and click on the created Atlassian SSO.
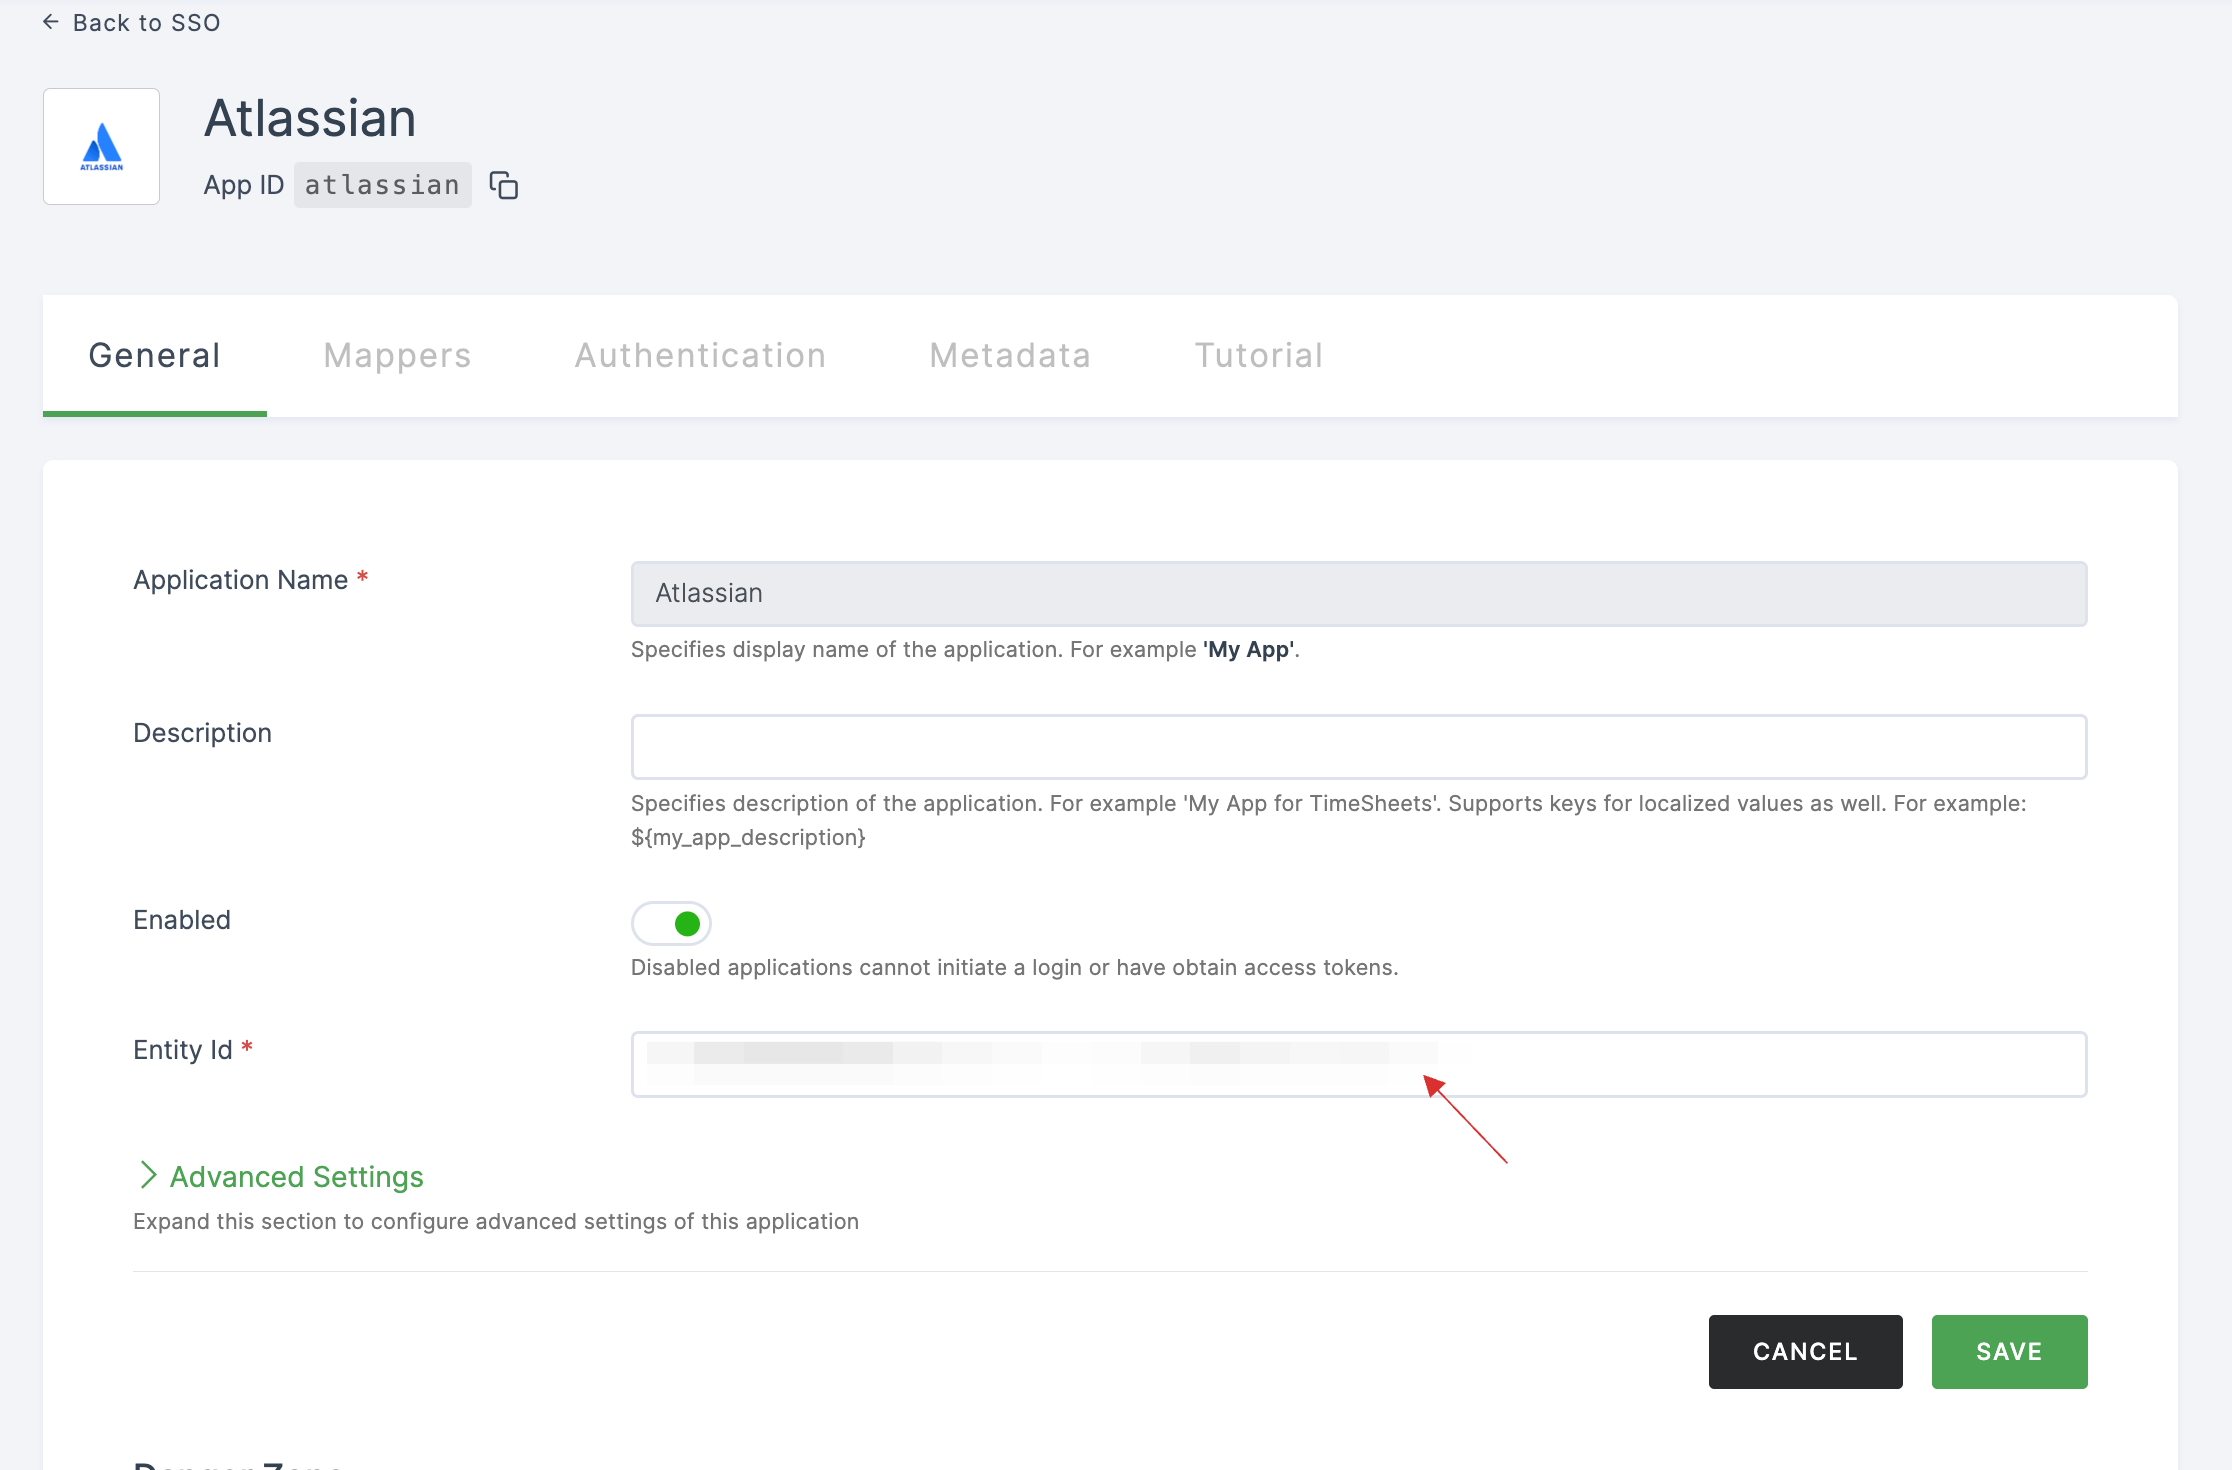
25 You will be taken to the General tab, paste the Service provider entity URL in Entity ID.
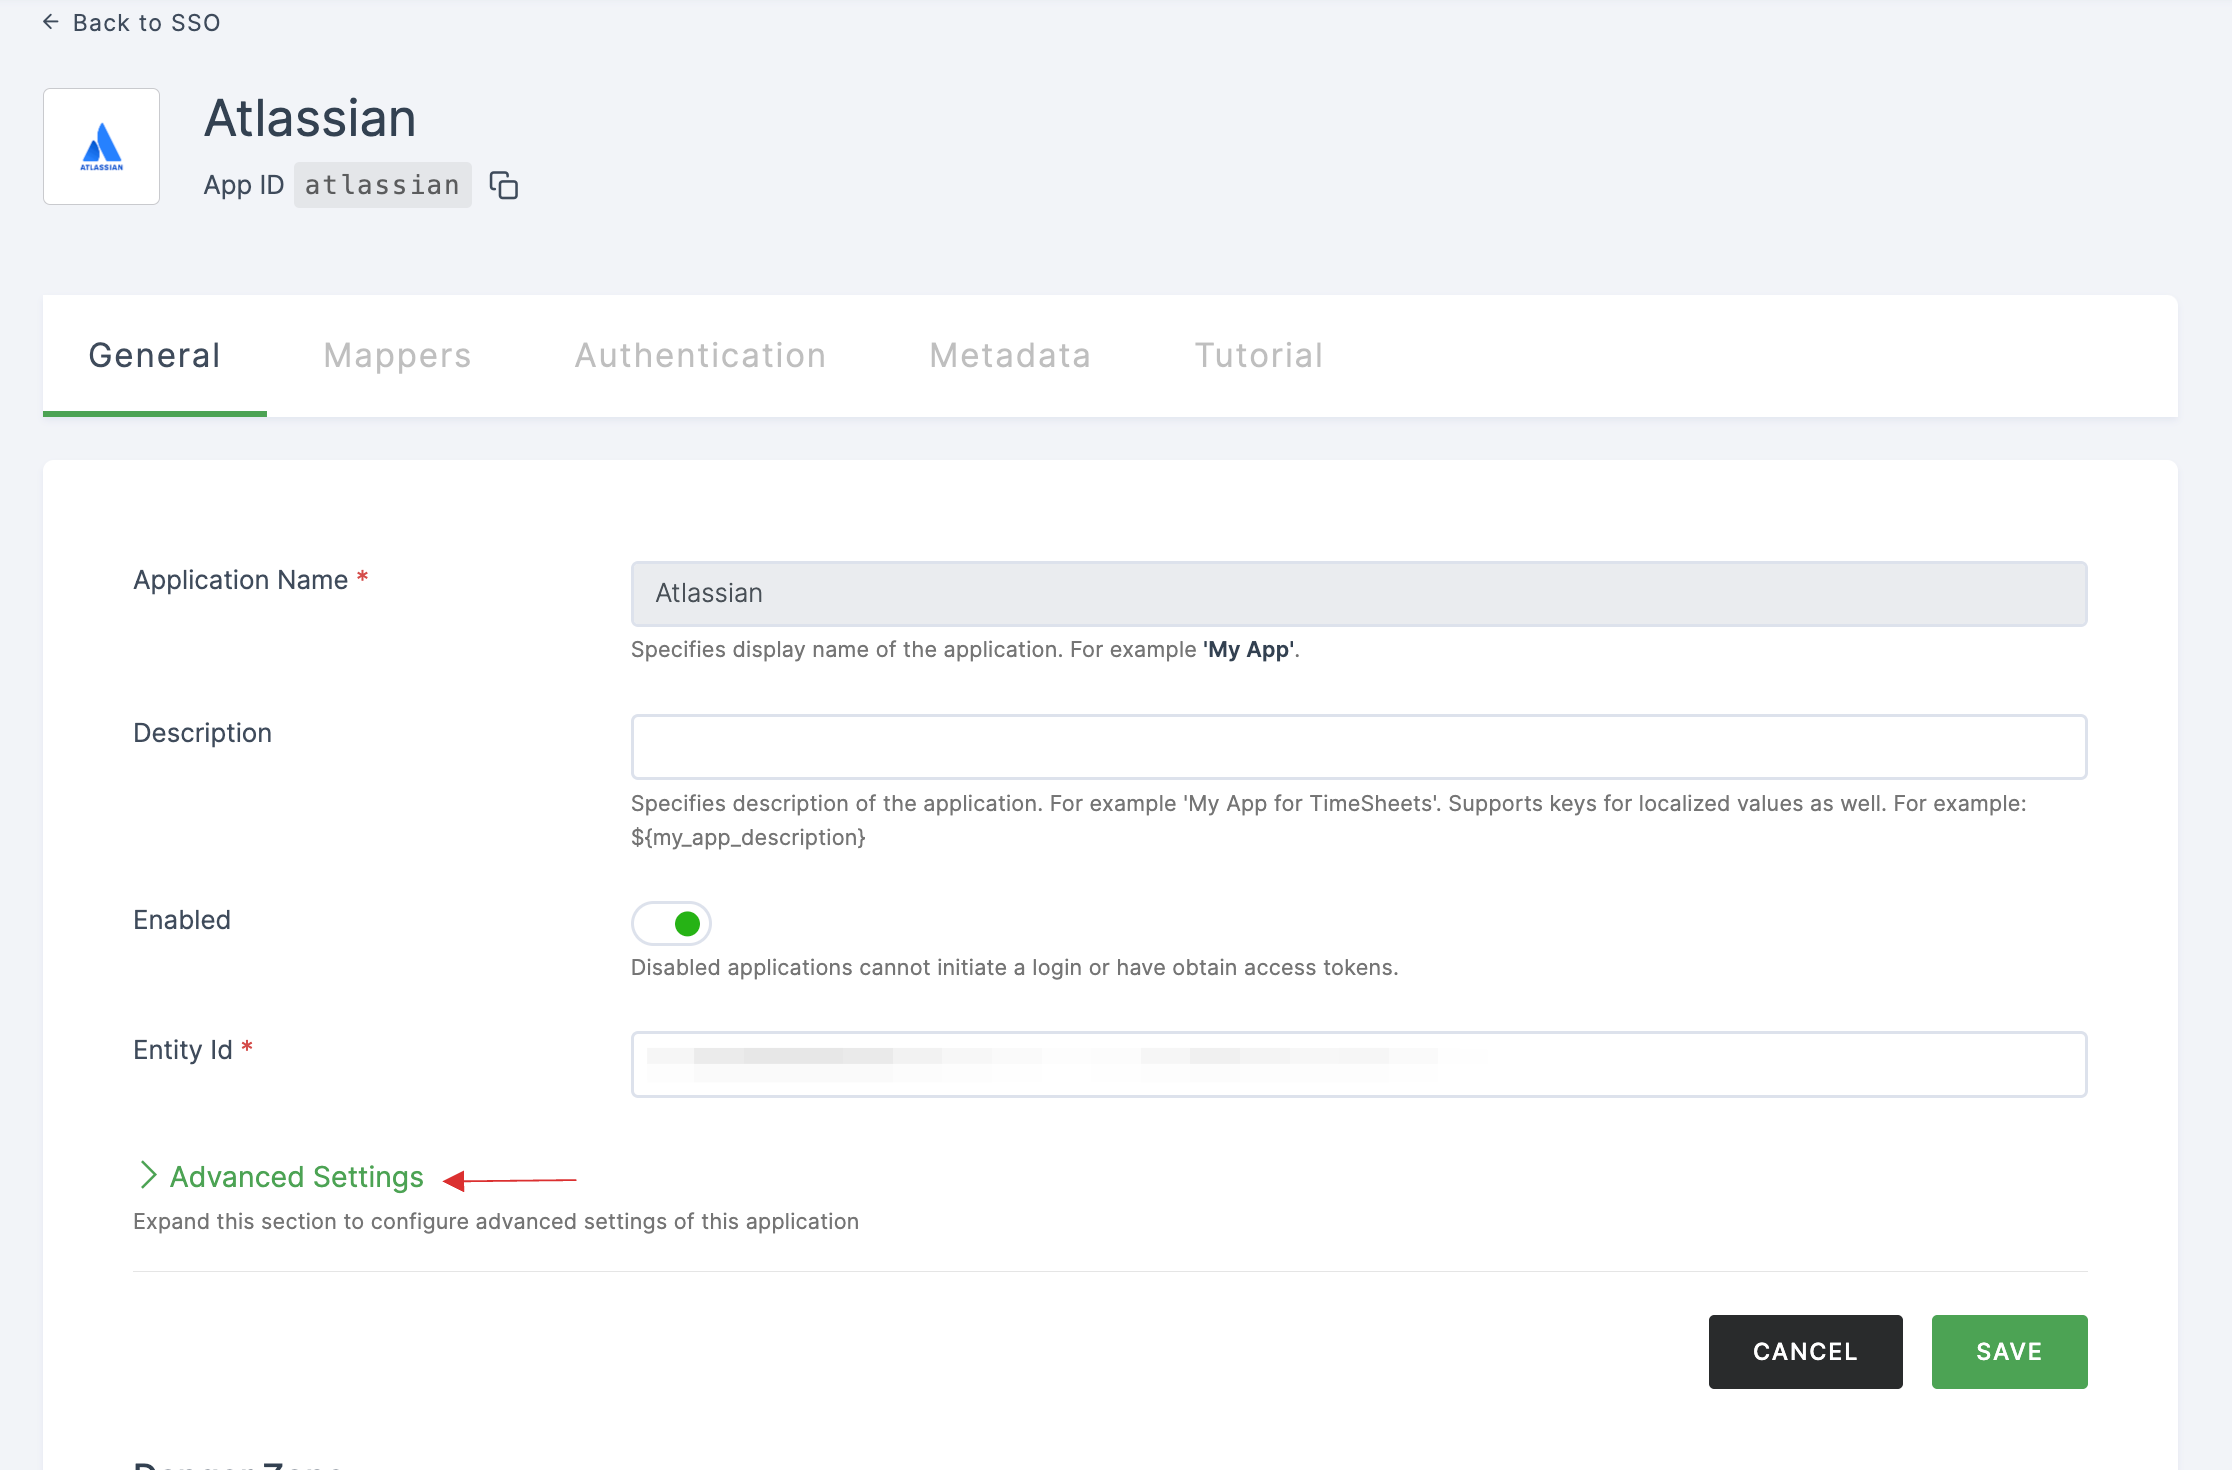
26 Scroll down and click on Advanced Settings.
27 Paste the Service provider assertion consumer service URL in Valid Redirect URLs.

28 Scroll down, click on SAVE.
29 Switch to Atlassian, click on Next.
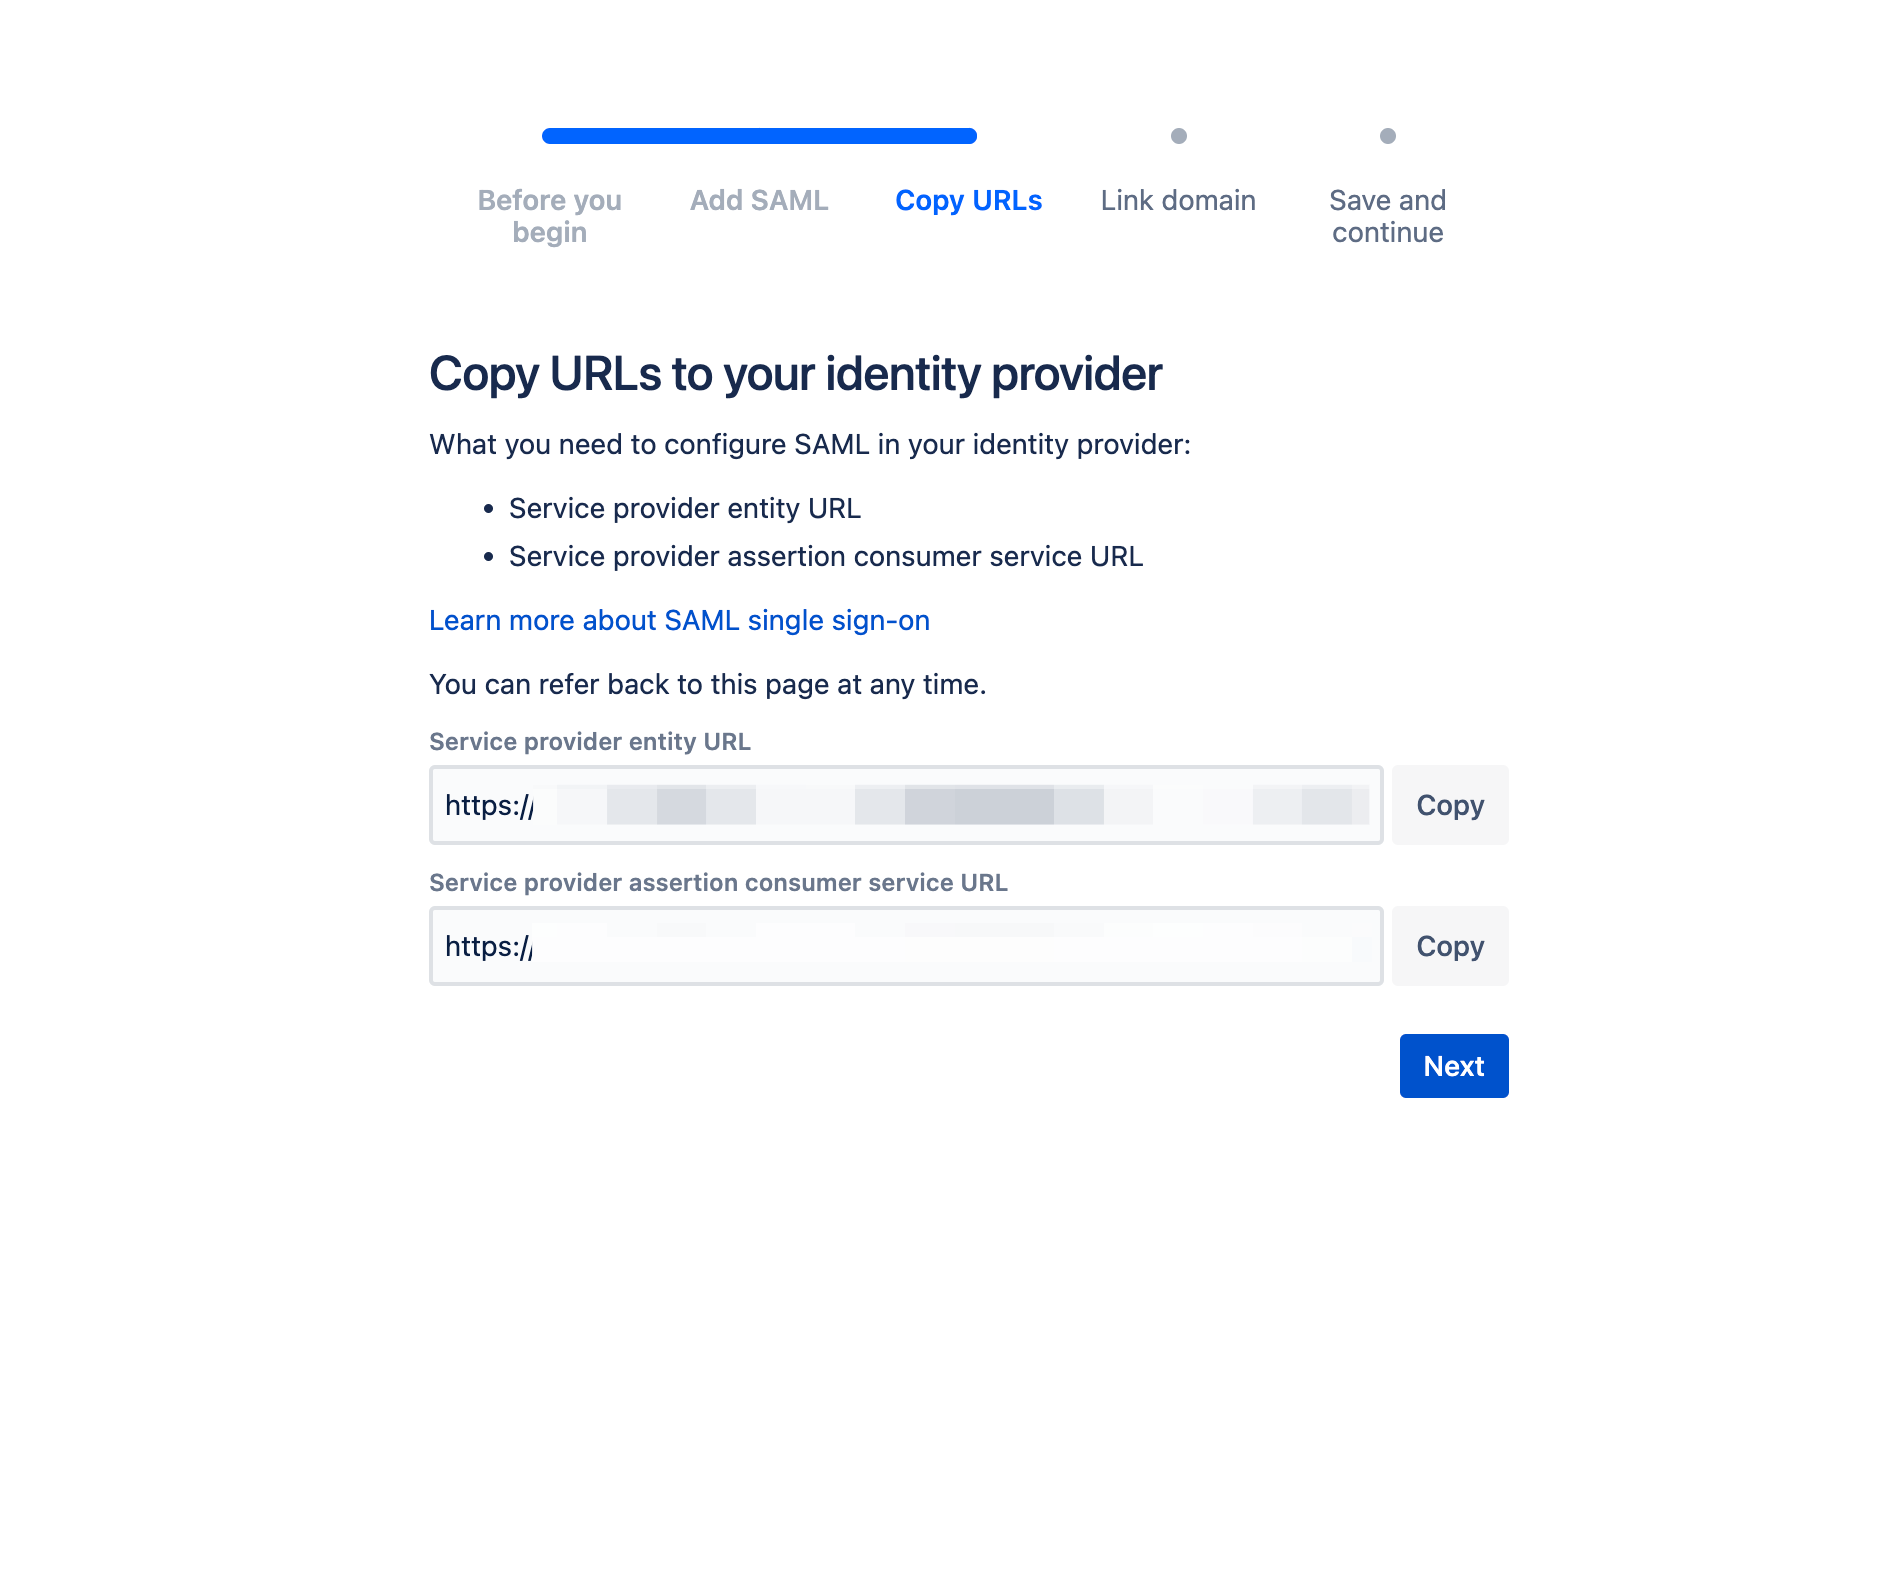
30 Select your domain to link your identity provider directory. Click on Next.

31 Click on Save SAML configuration.
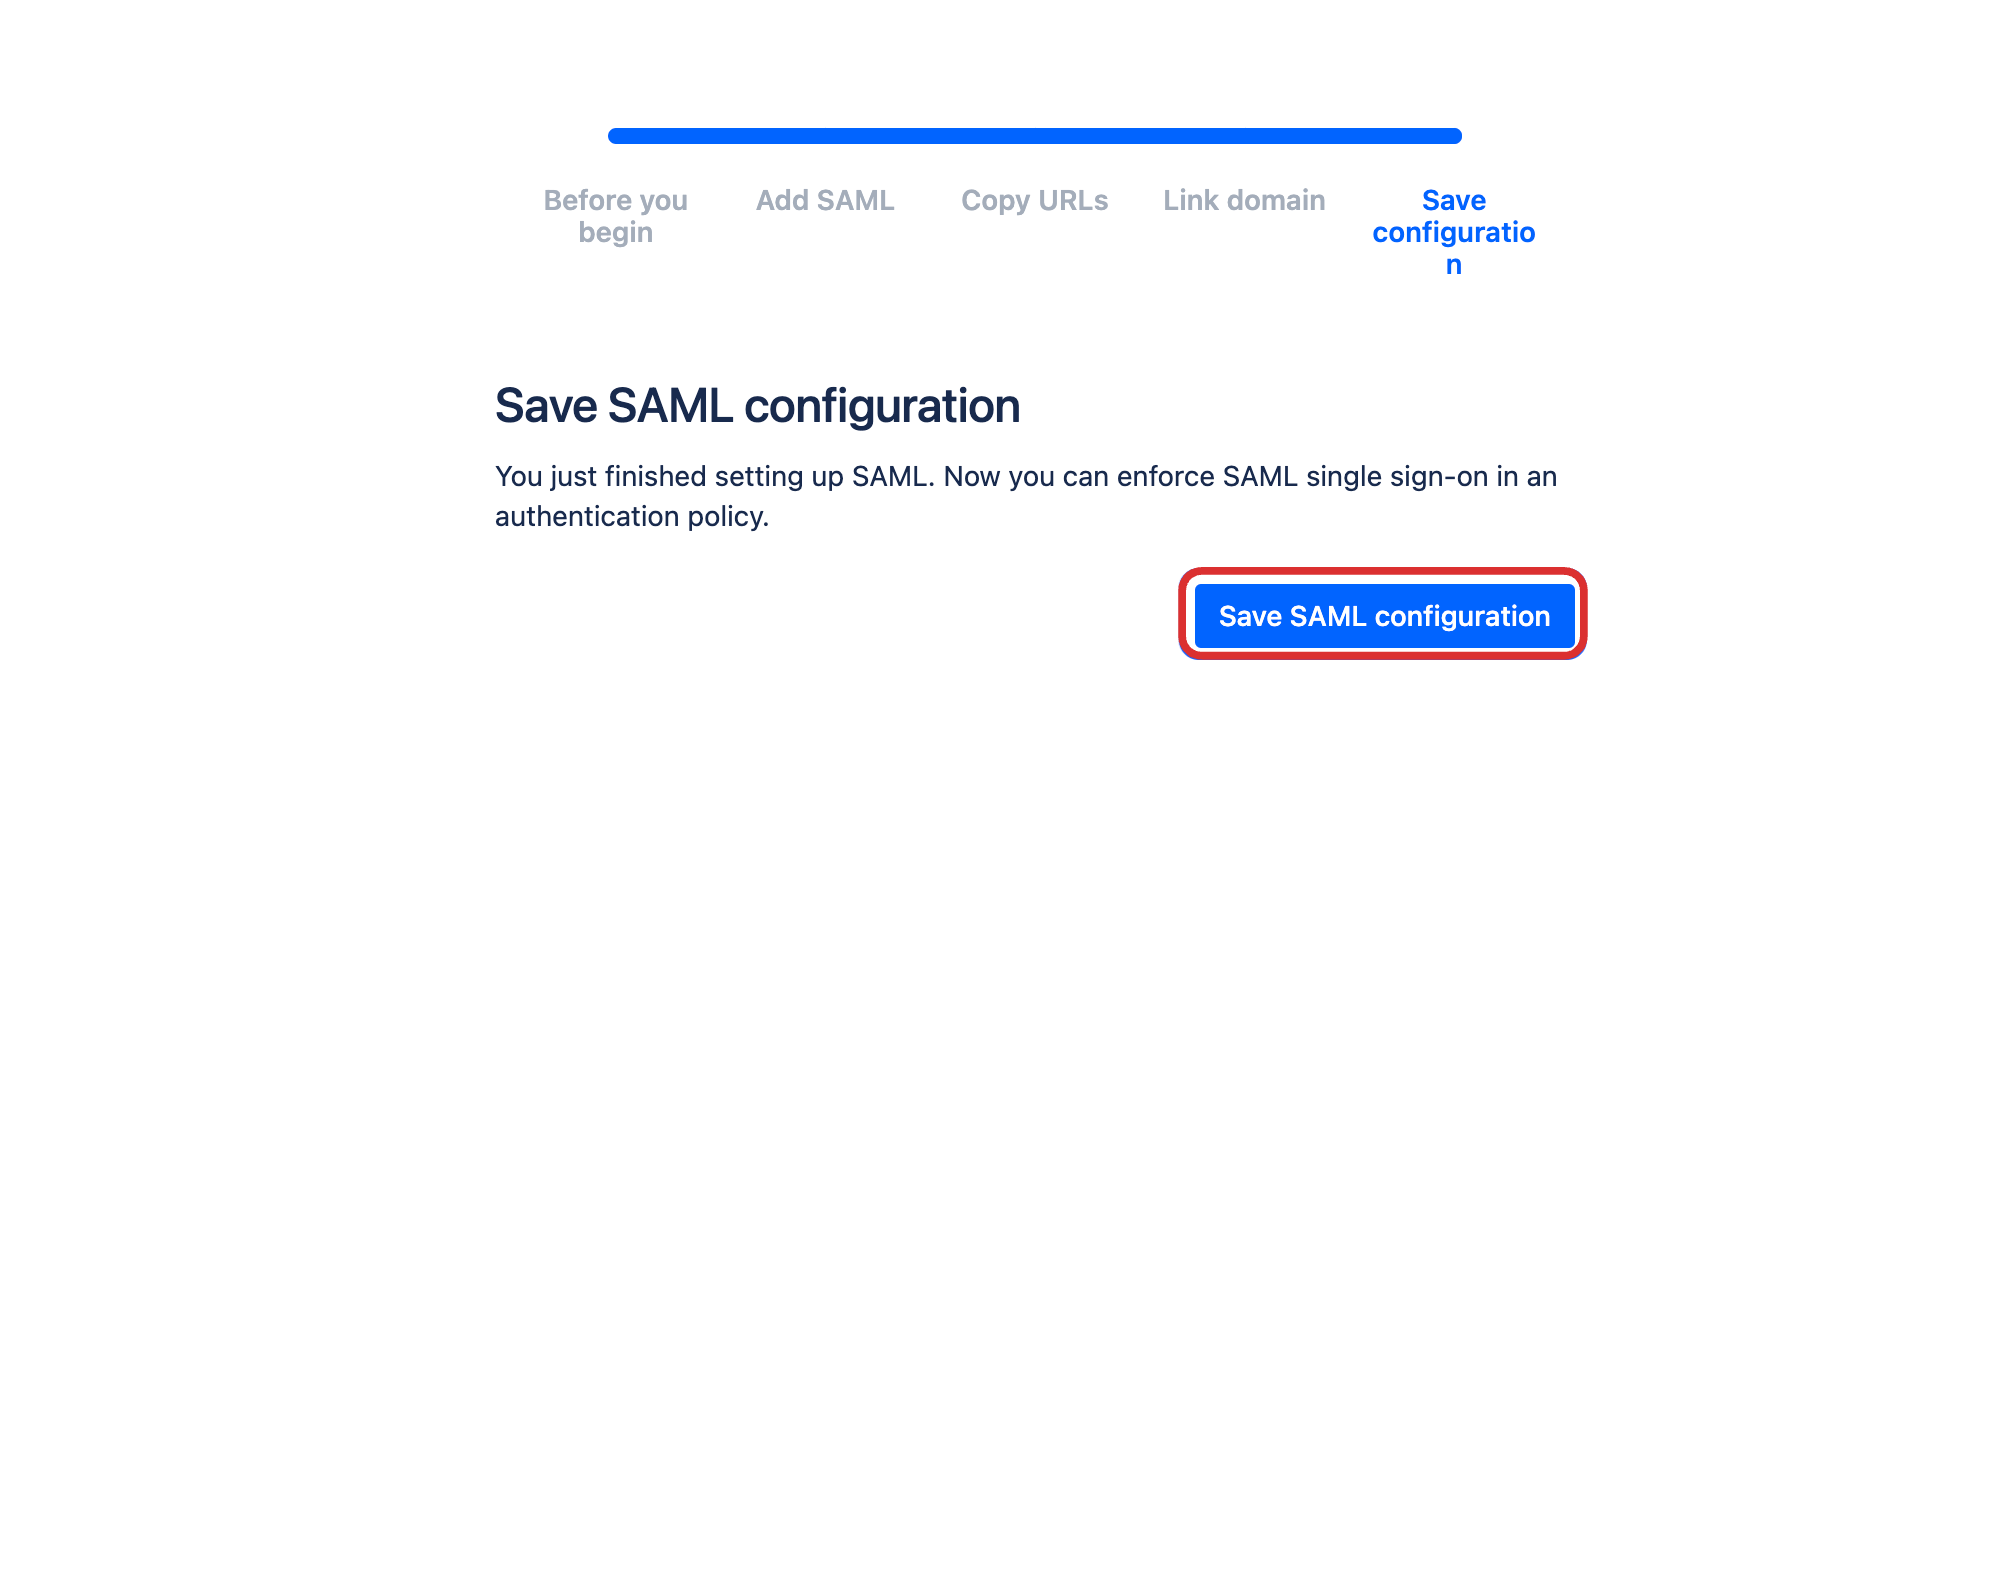
32 Your directory will be created. Click on Authentication policies.

33 Choose the policy you want to configure, click on Edit.

34 Check Enforce single sign-on and click on Update.
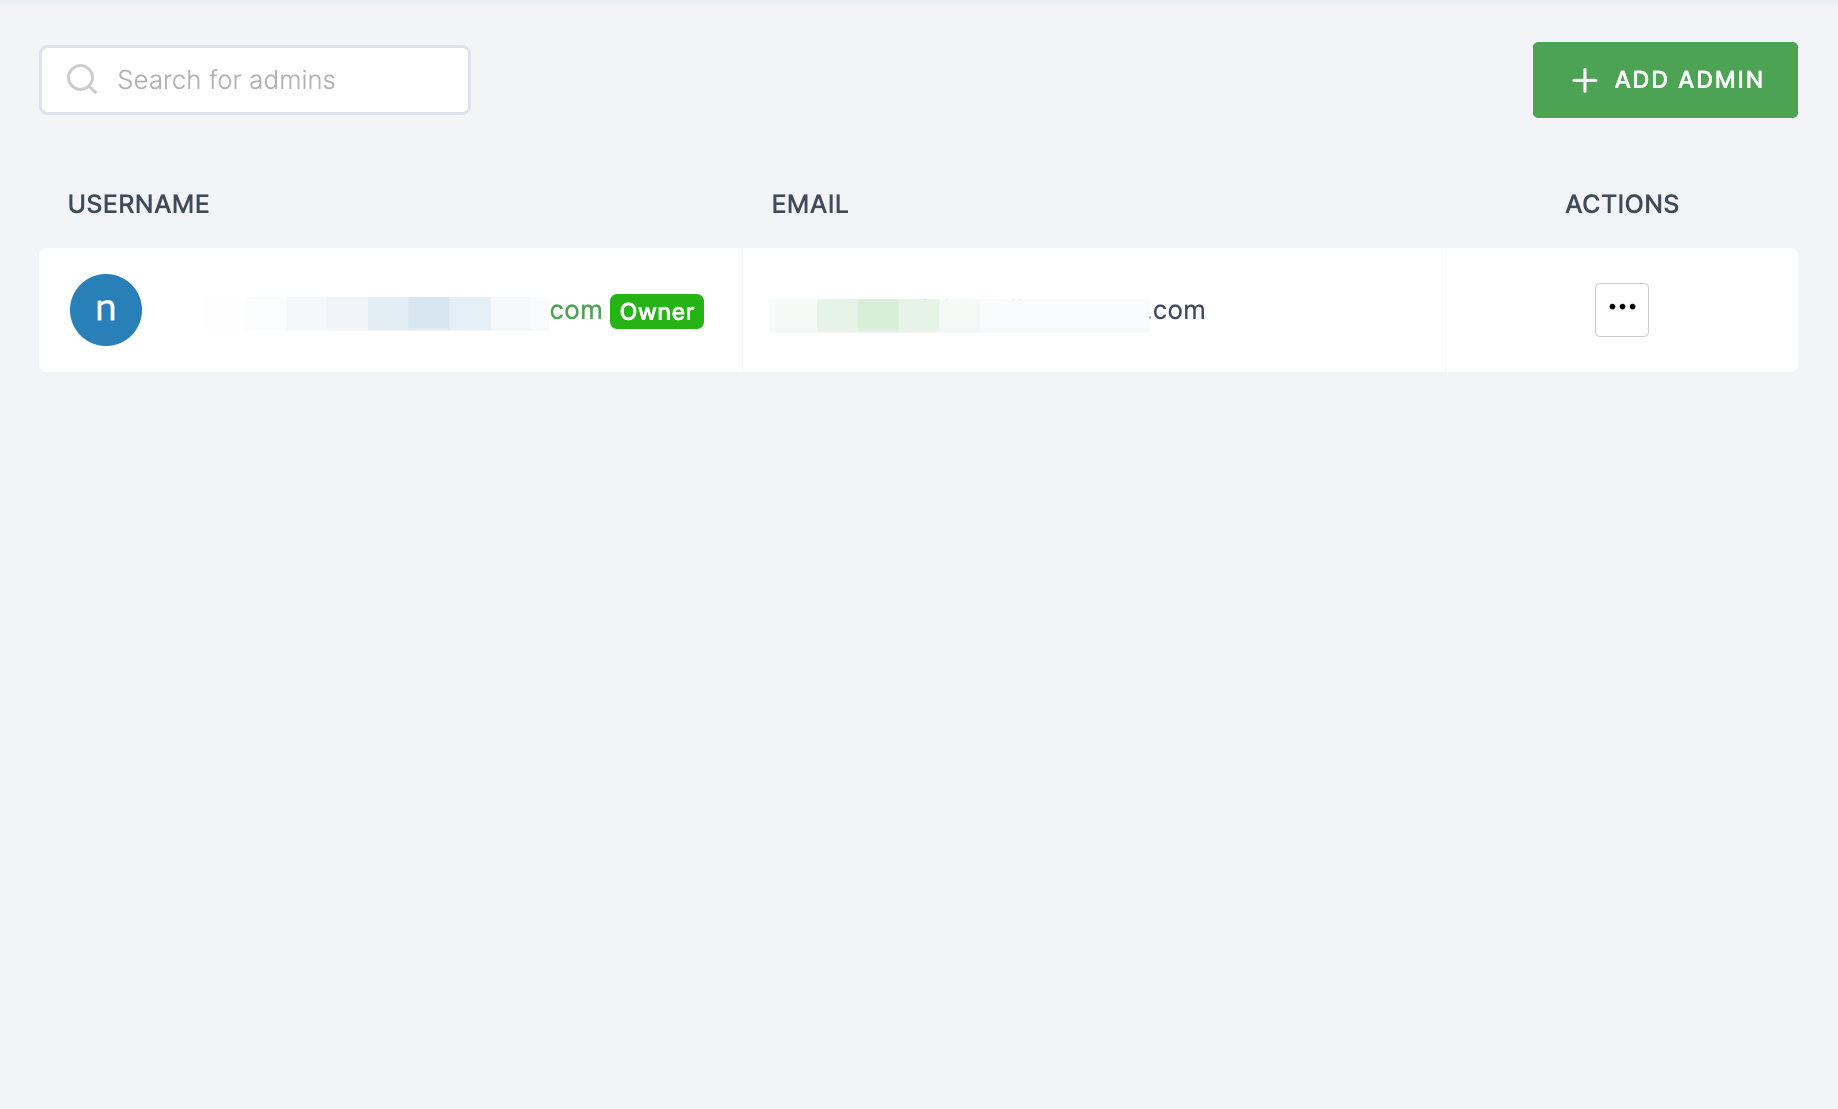
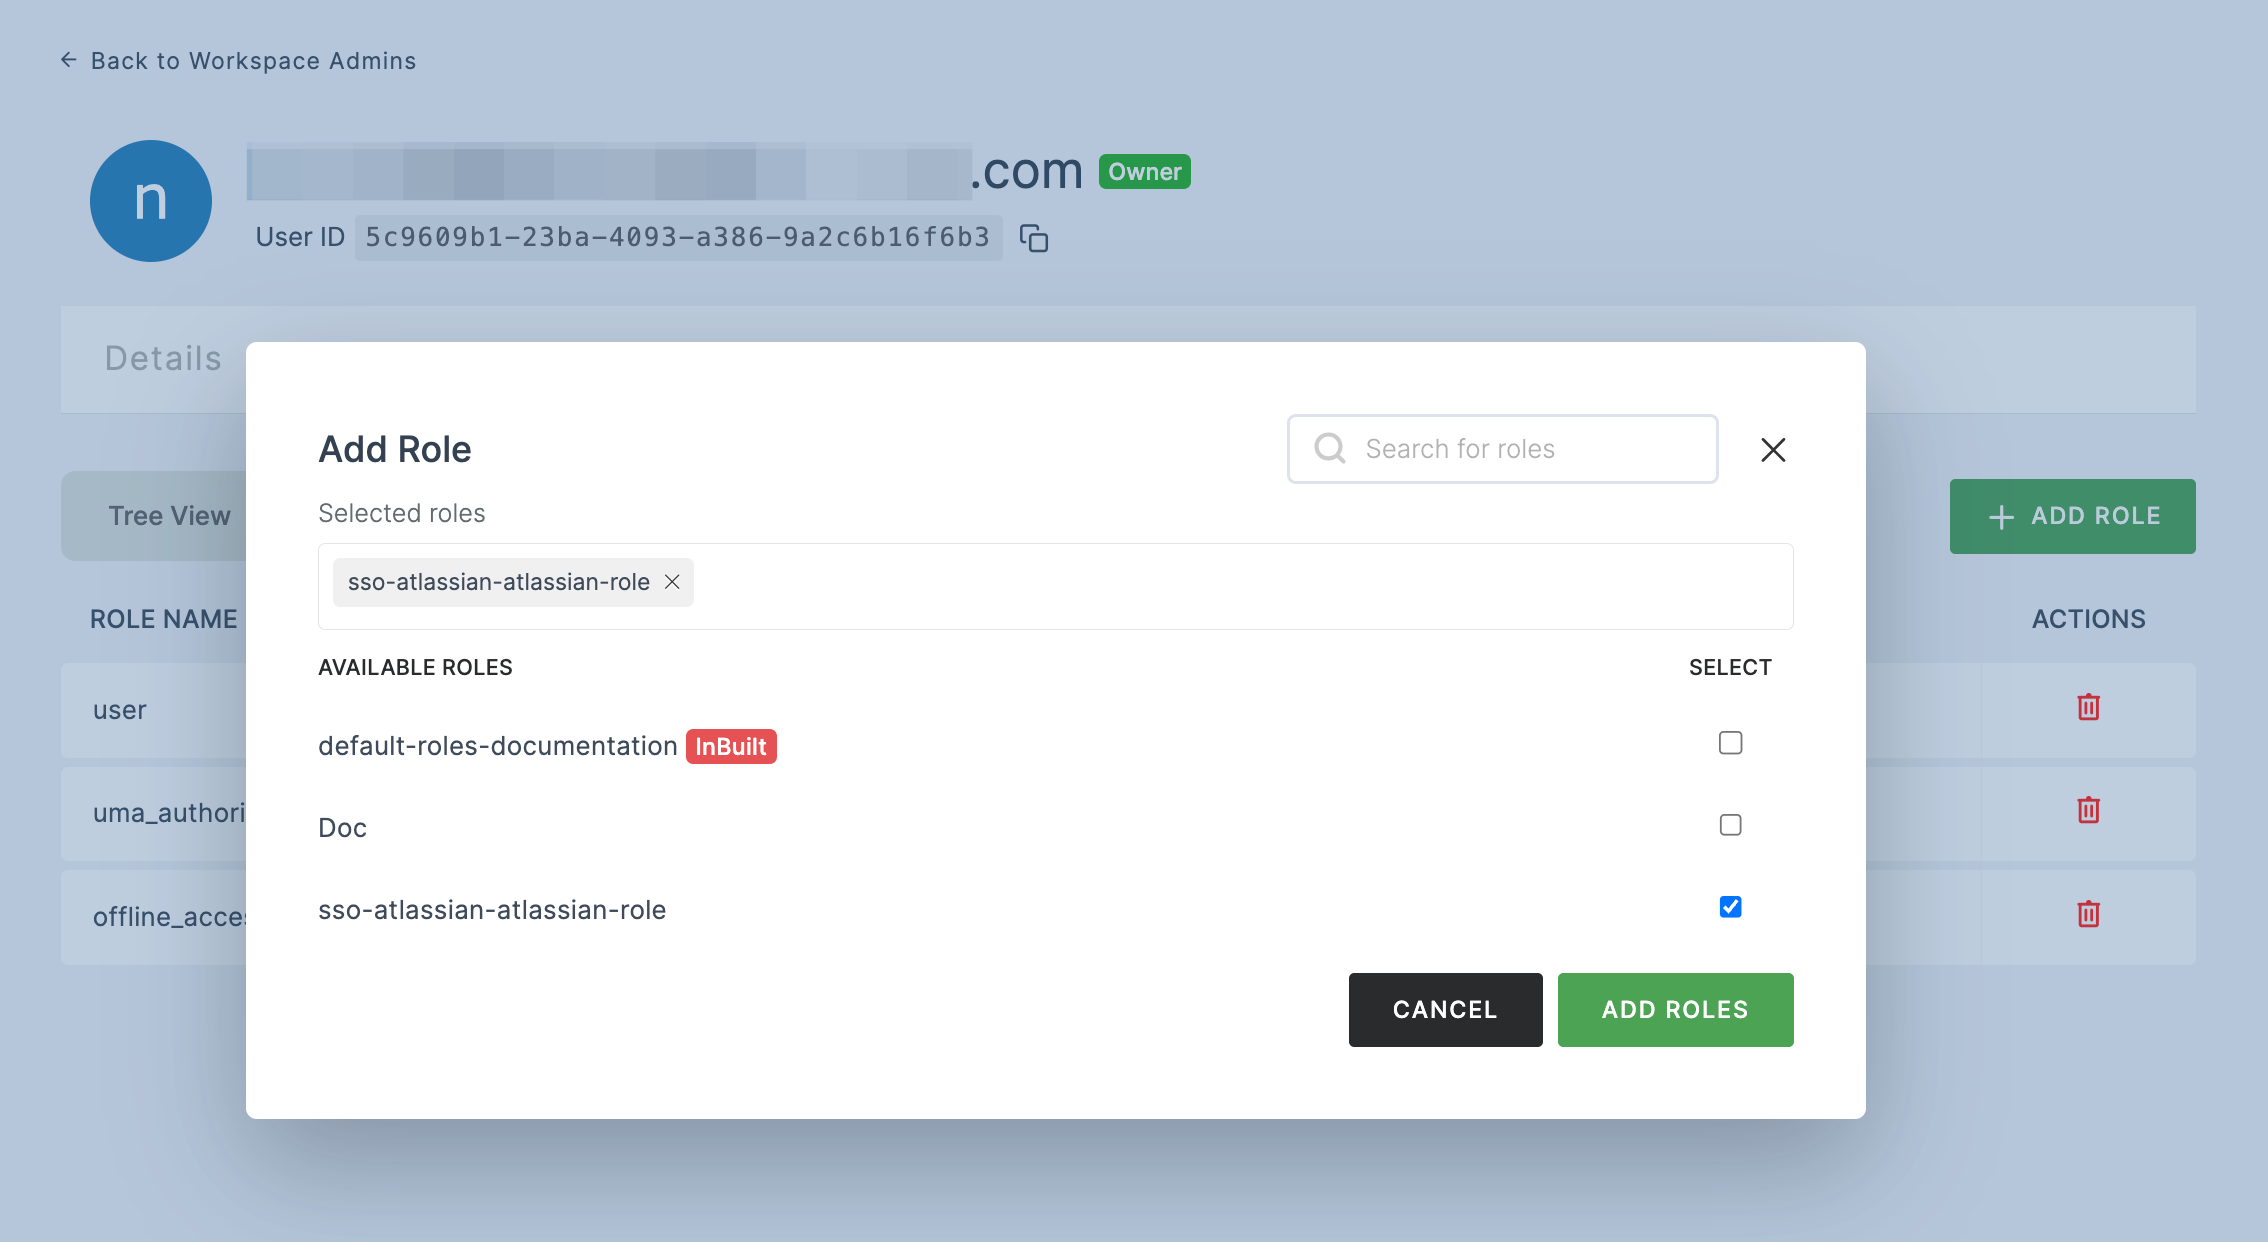
35 Return to your dashboard, assign a user with Atlassian role. To do so, navigate to Users or Workspace Admins, click on the user you want to assign the role.
36 You will be taken to the user's Details tab, click on Roles & Groups.
37 Select List View and click on + ADD ROLE.
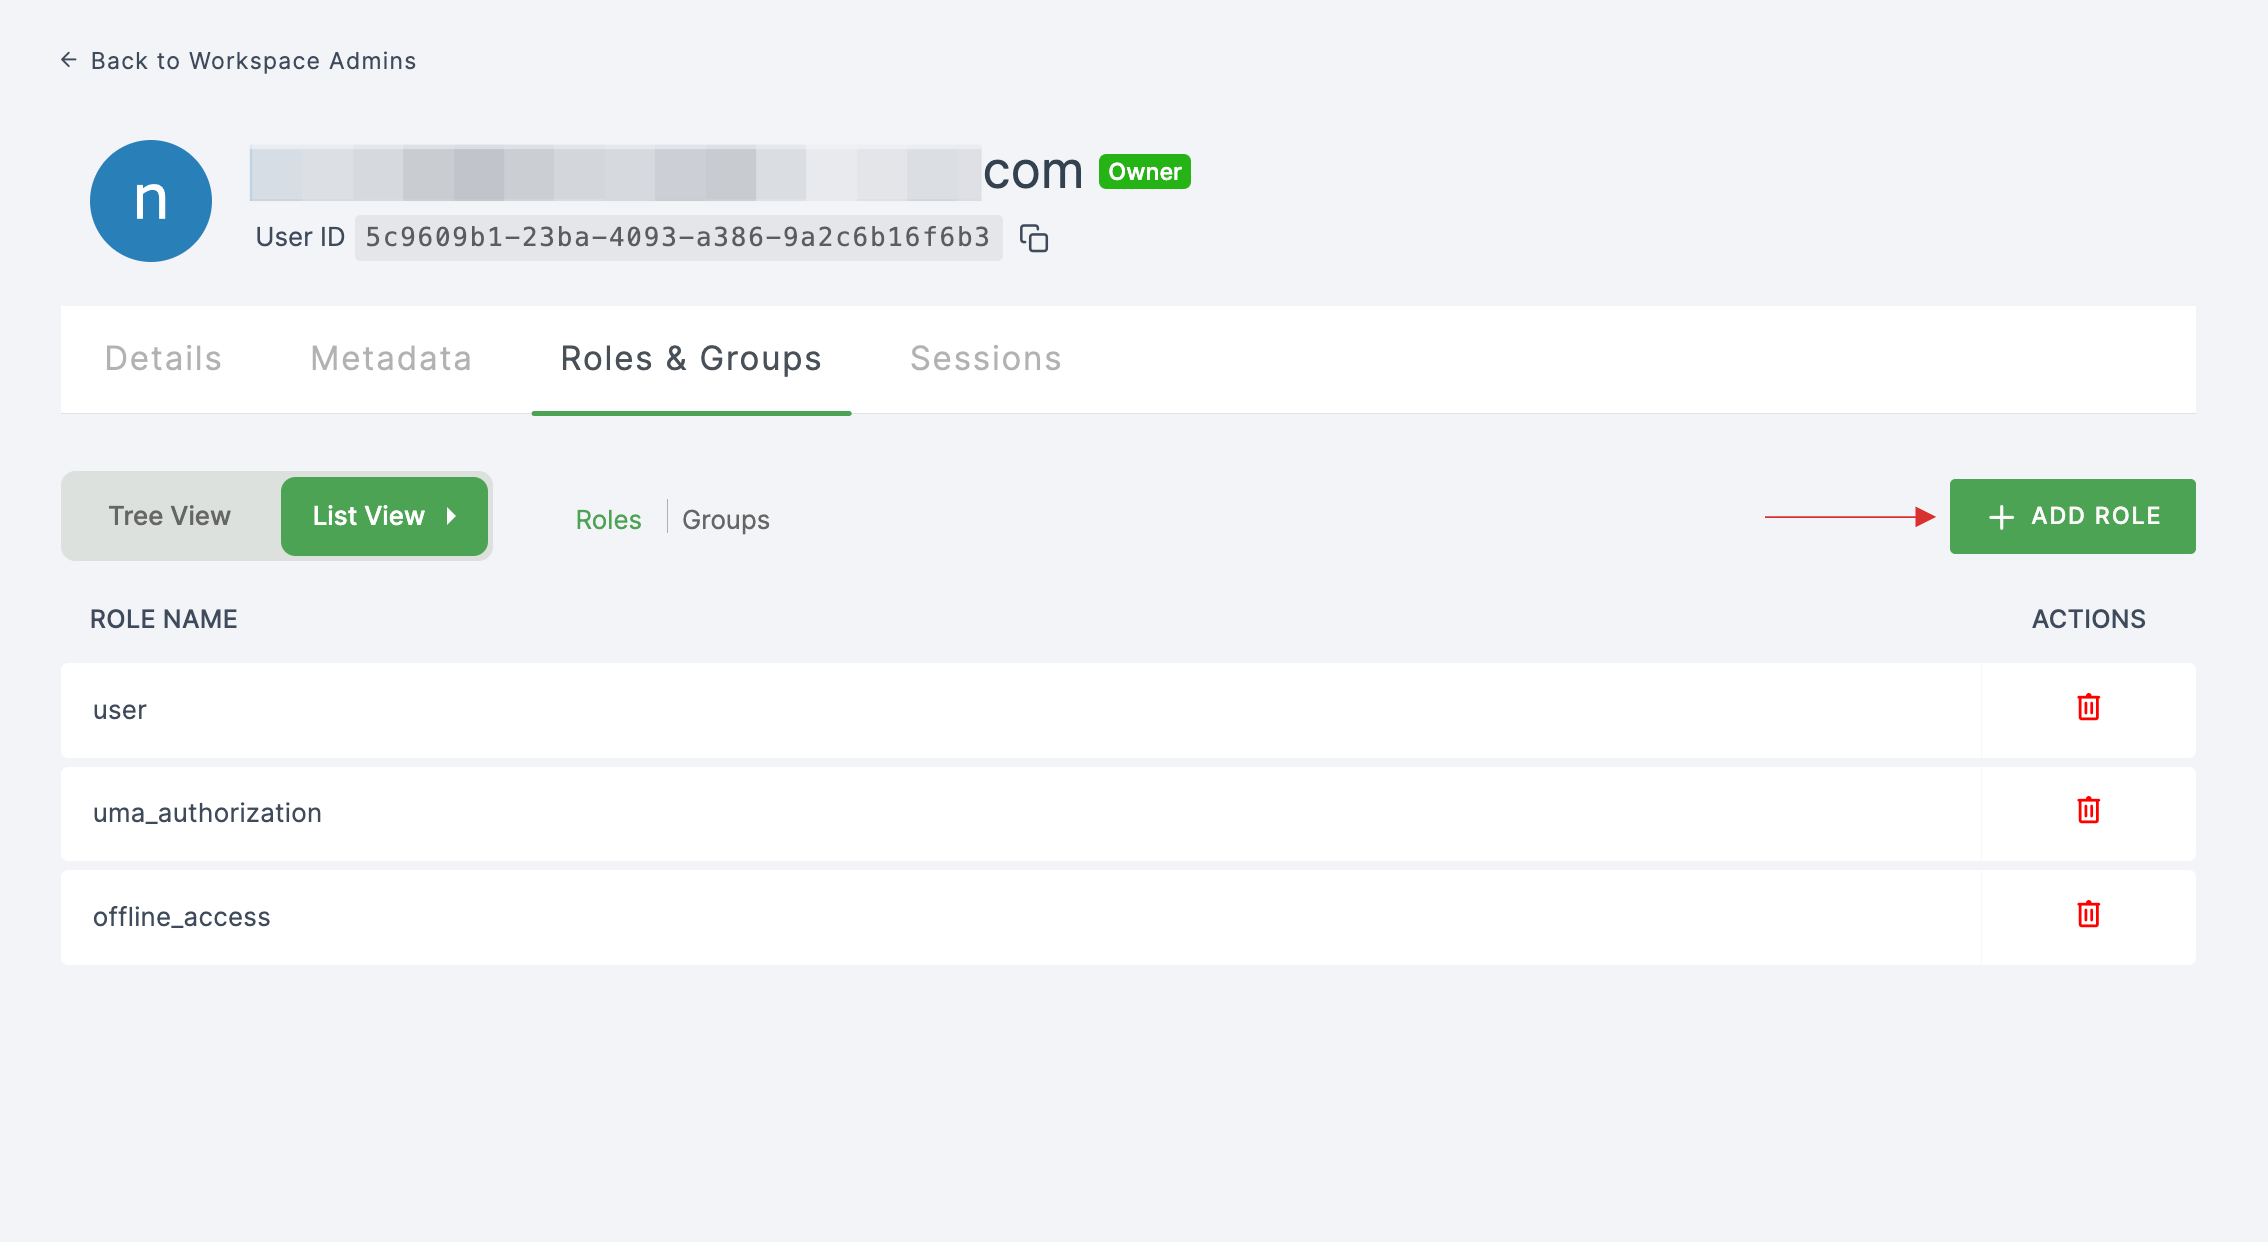
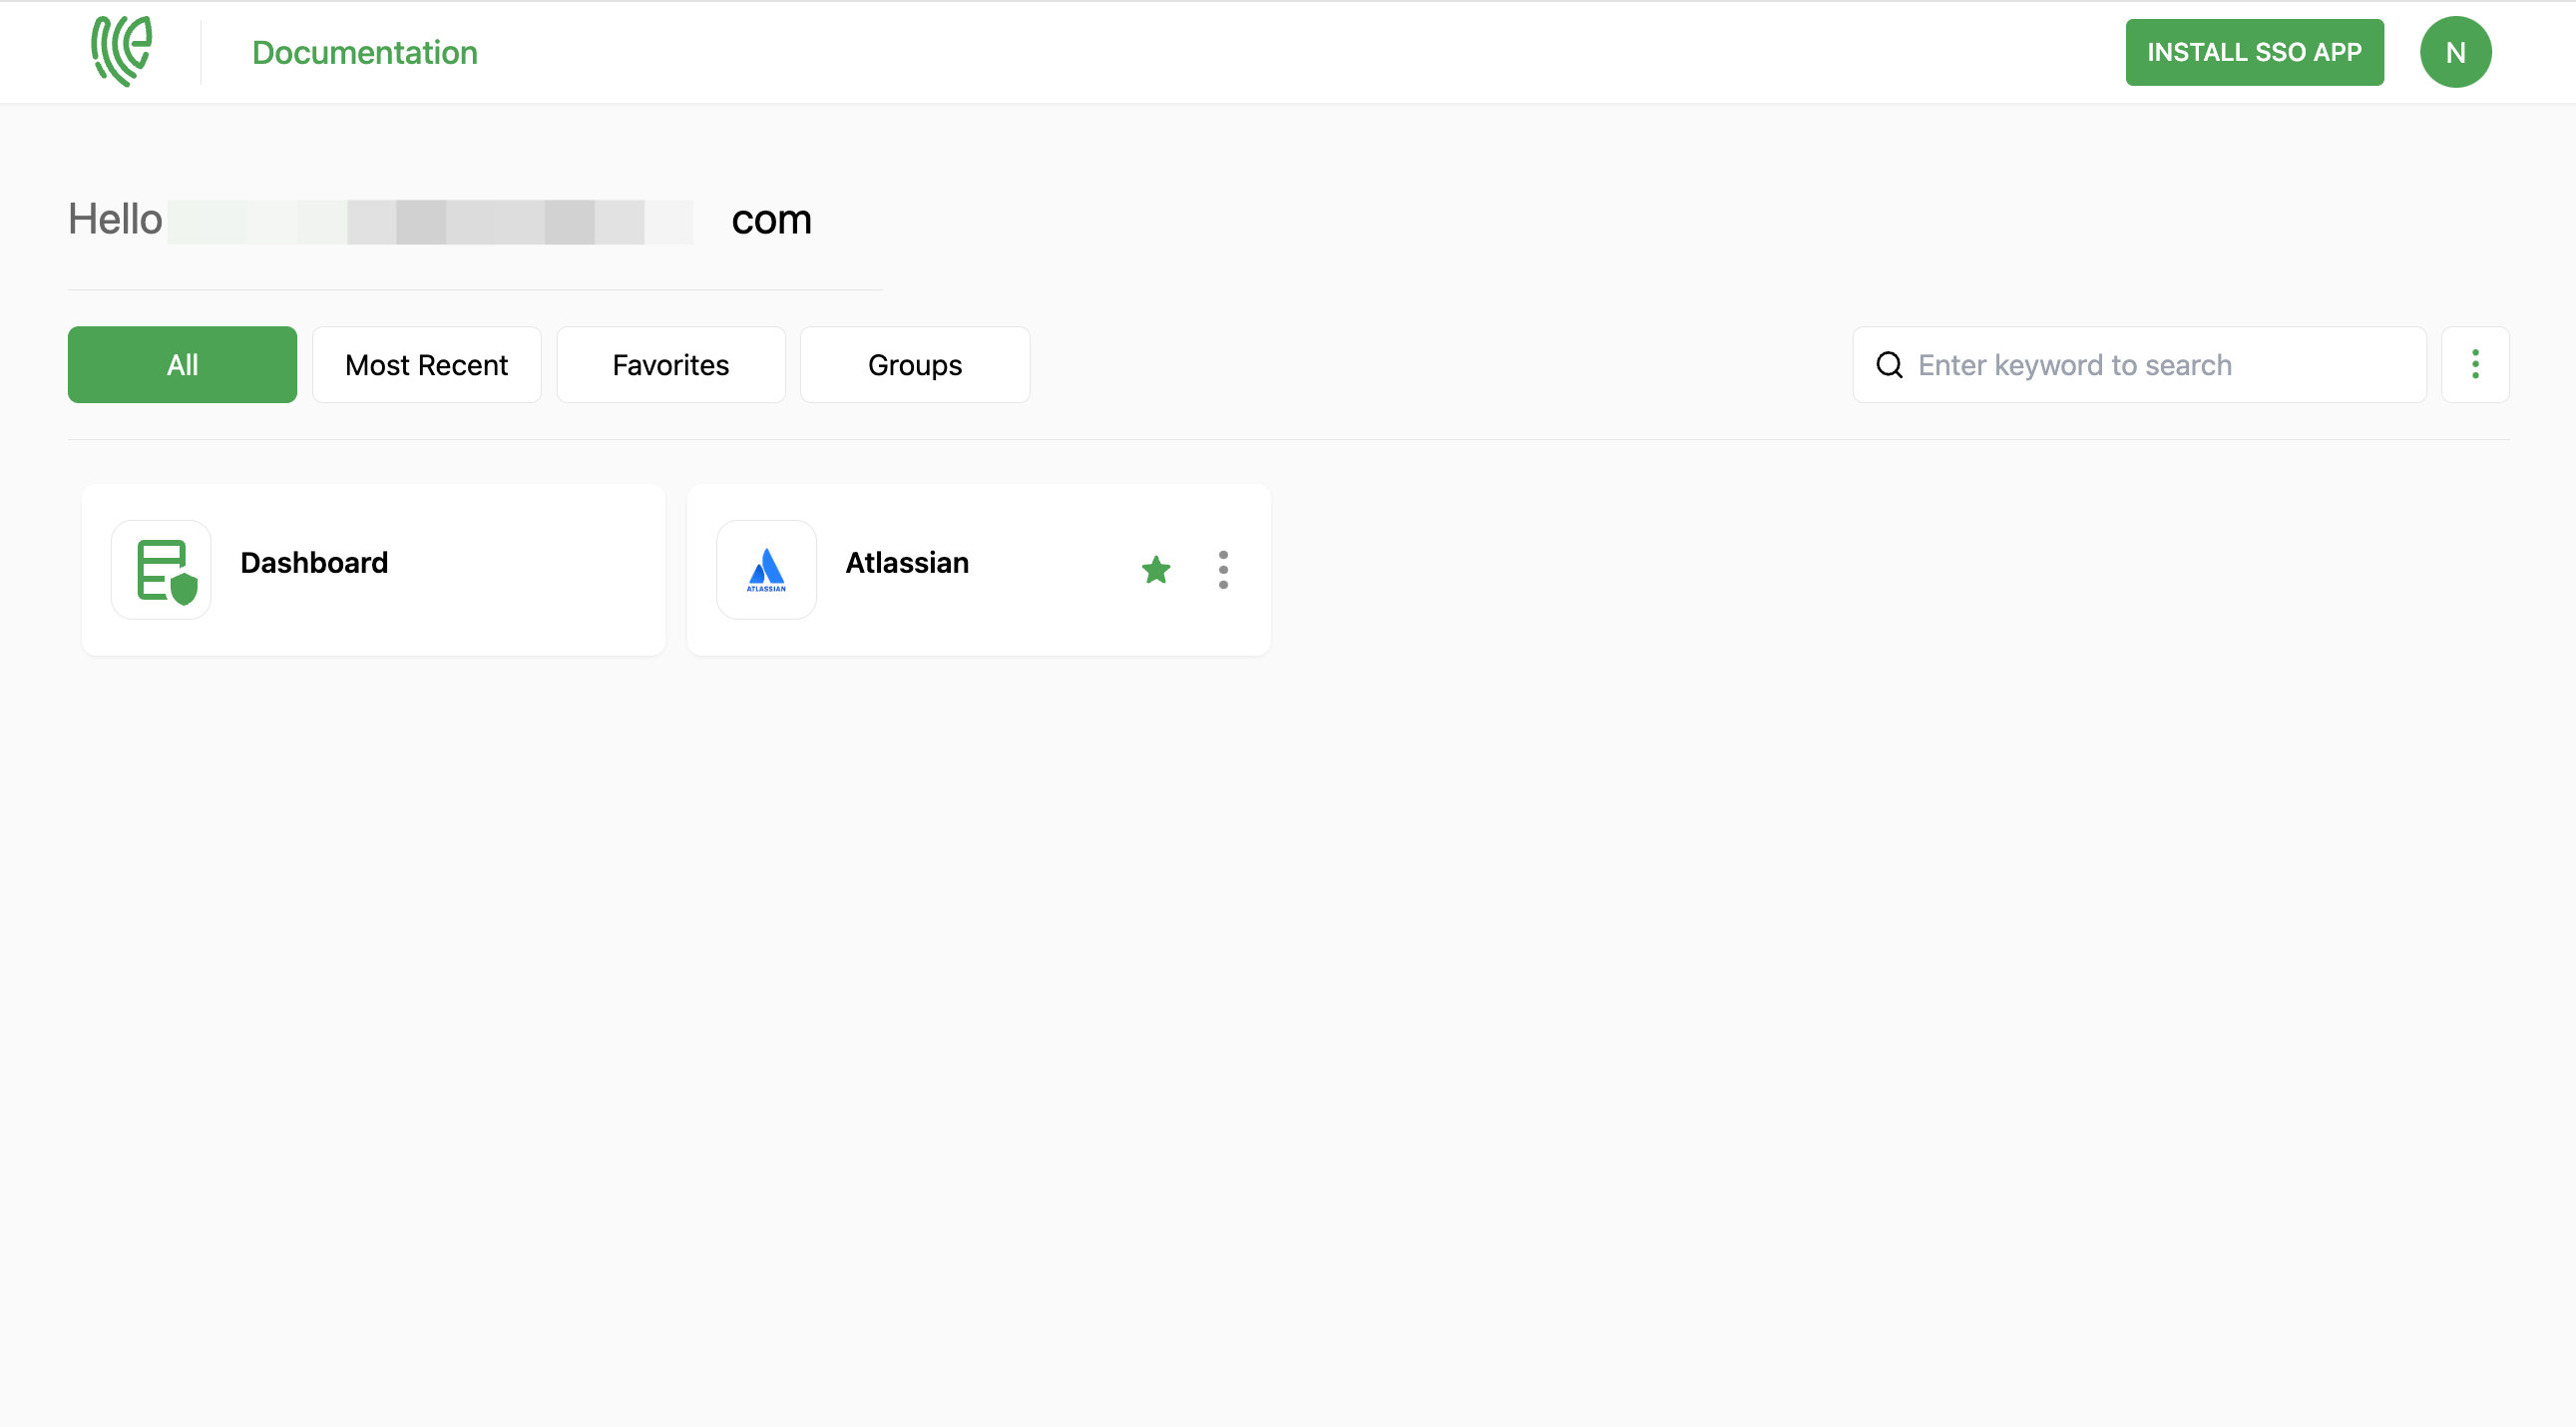
38 The available roles will appear; select sso-atlassian-Atlassian-role and click on ADD ROLES.
39 To verify whether SSO has been successfully enabled, go to Applications > SSO, click on SSO DASHBOARD button.
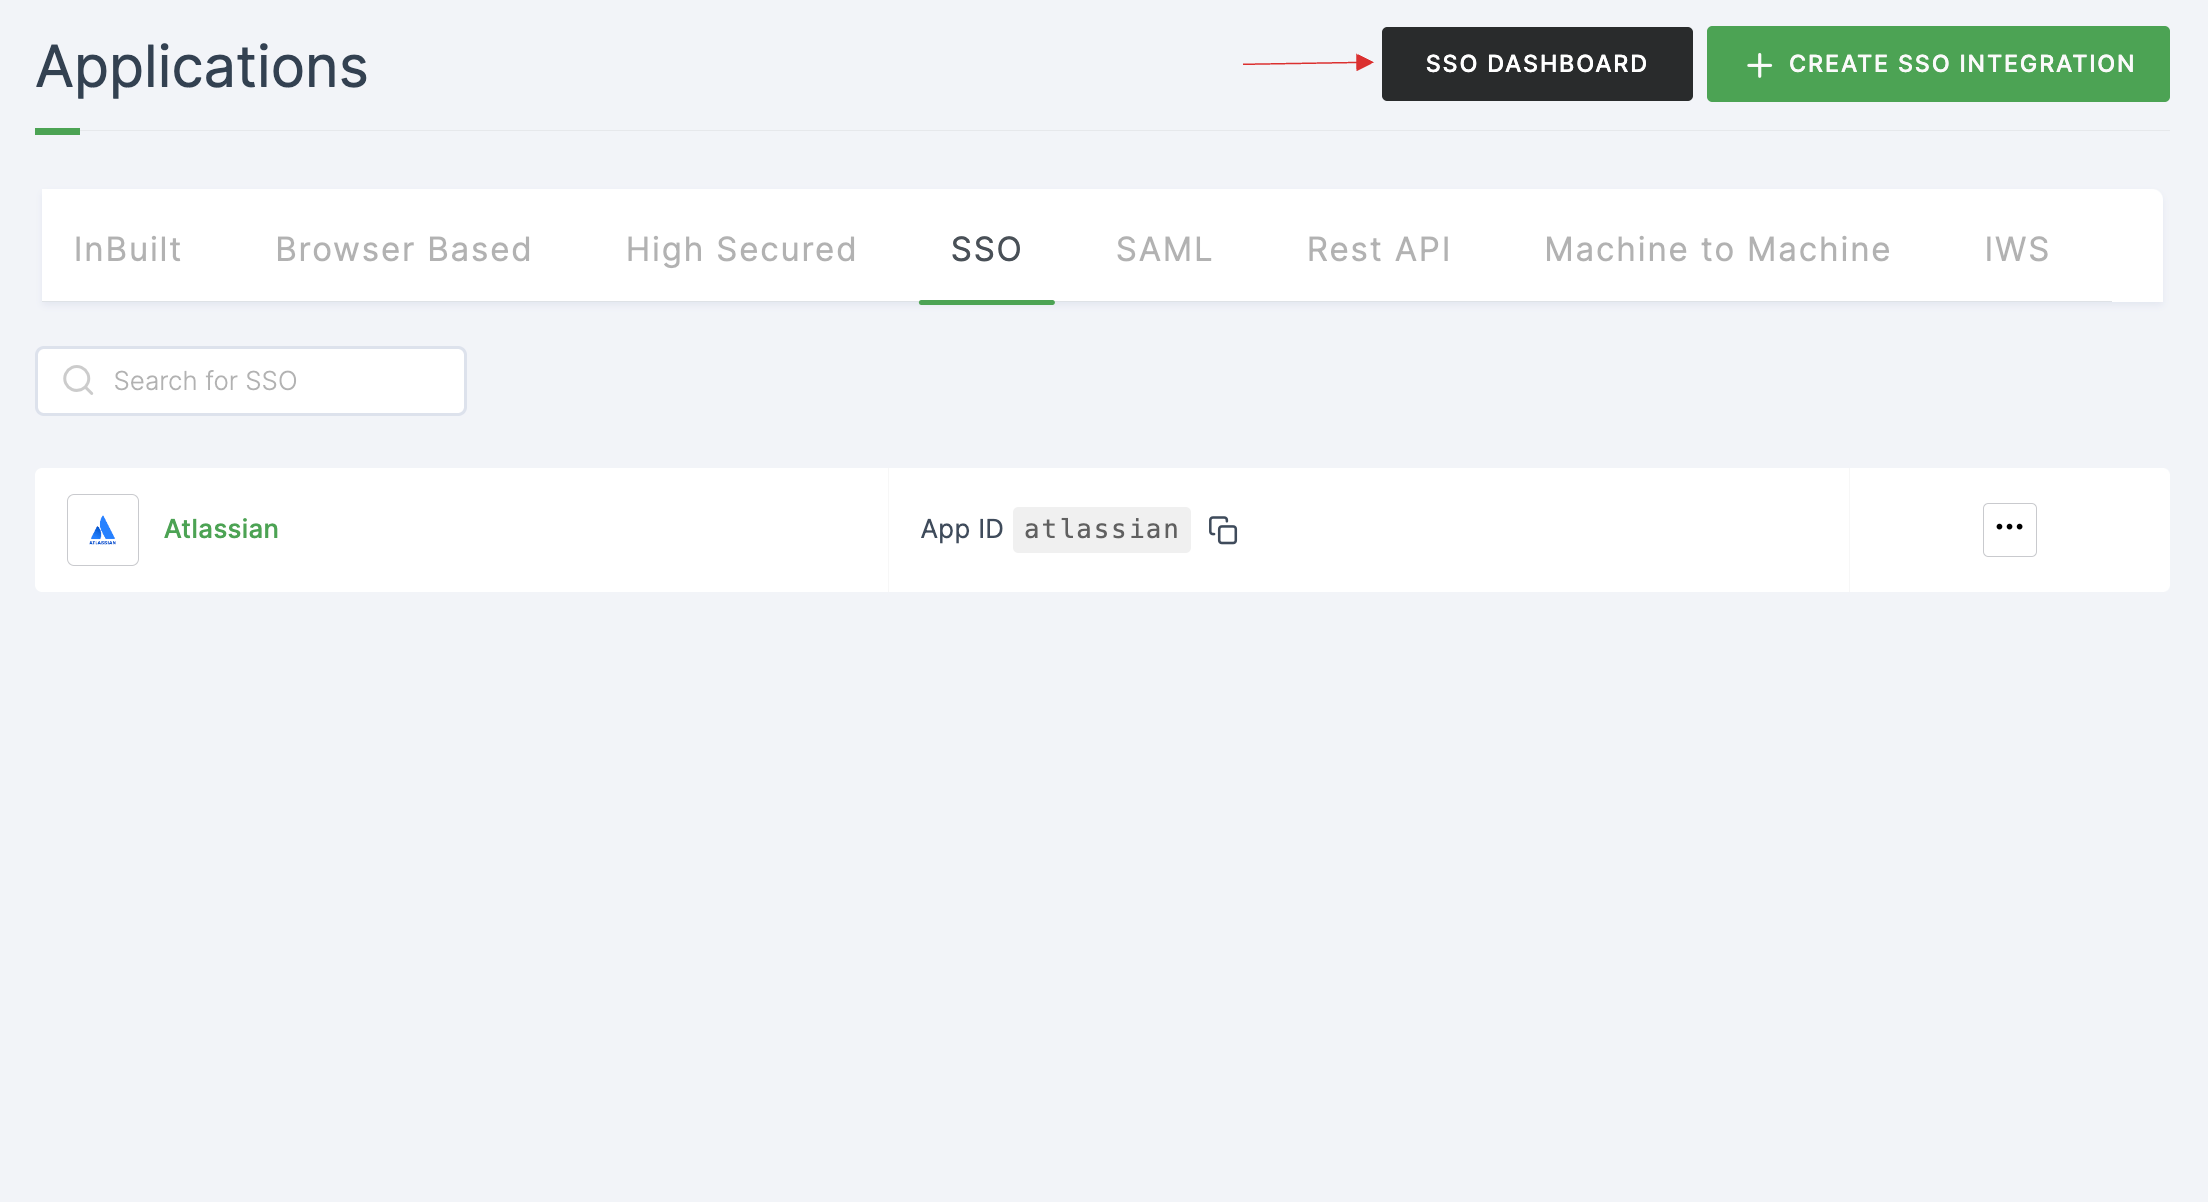
40 The Atlassian SSO will be enabled successfully.
