AssetSonar
AssetSonar is an asset management software designed to streamline the tracking and management of both physical and digital assets for businesses.
You must have an account in AssetSonar.
1 Go to Dashboard > Marketplace > SSO Integrations.
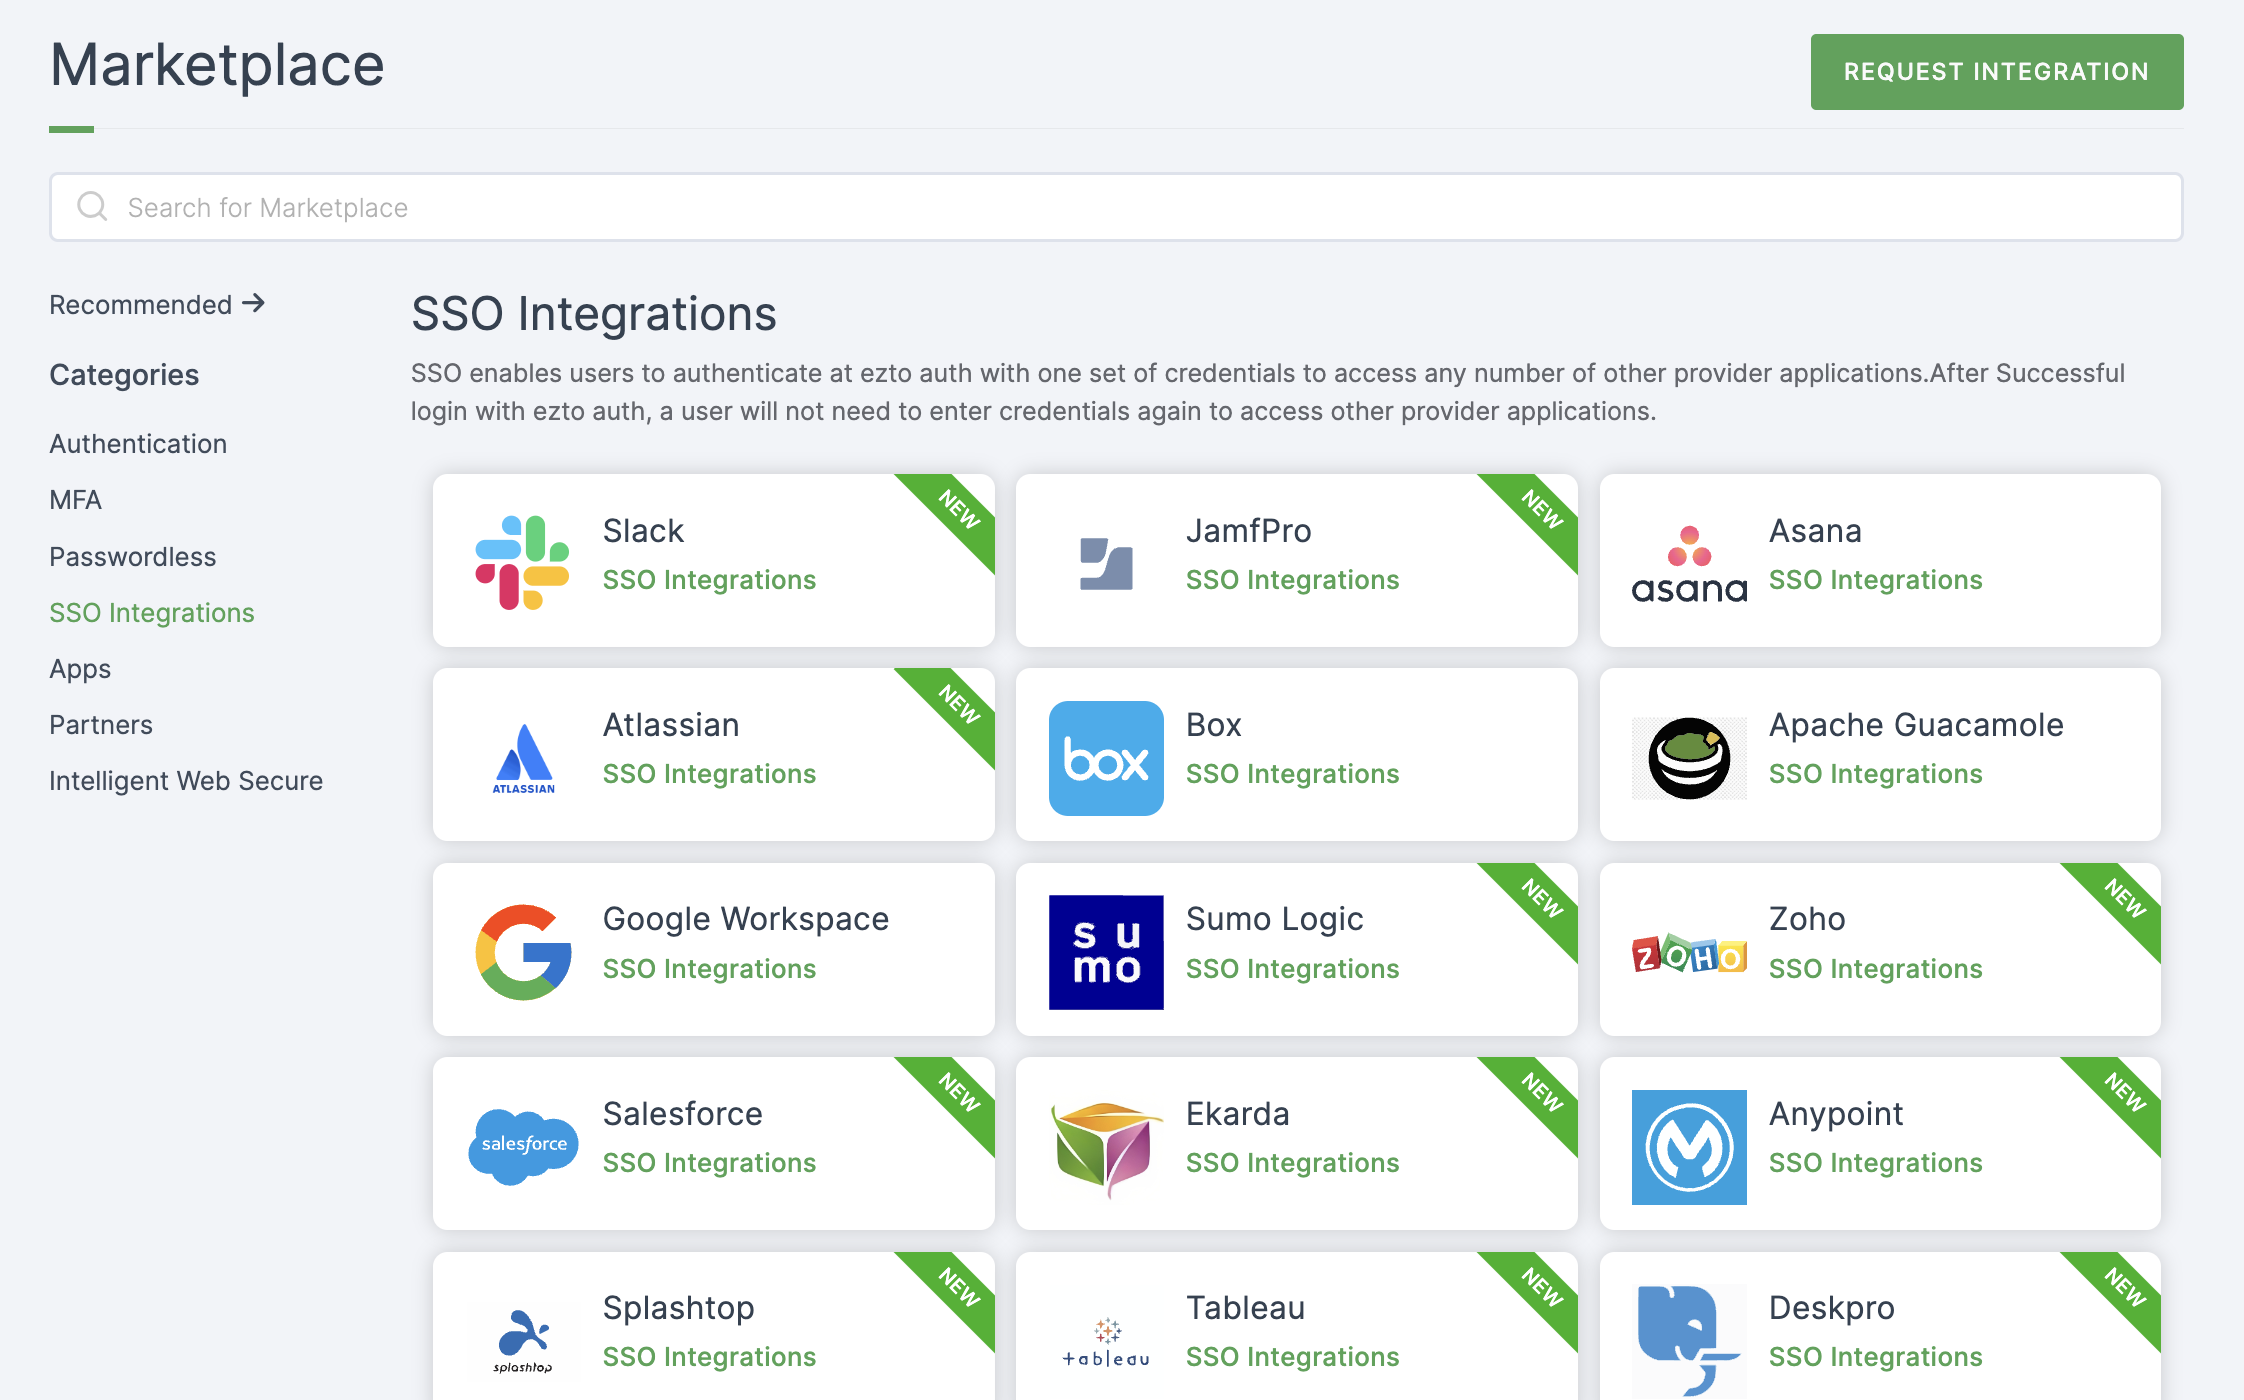
2 Select AssetSonar from the list.
3 You'll land on the overview page, with an additional tab: Installation (providing a step-by-step installation guide).
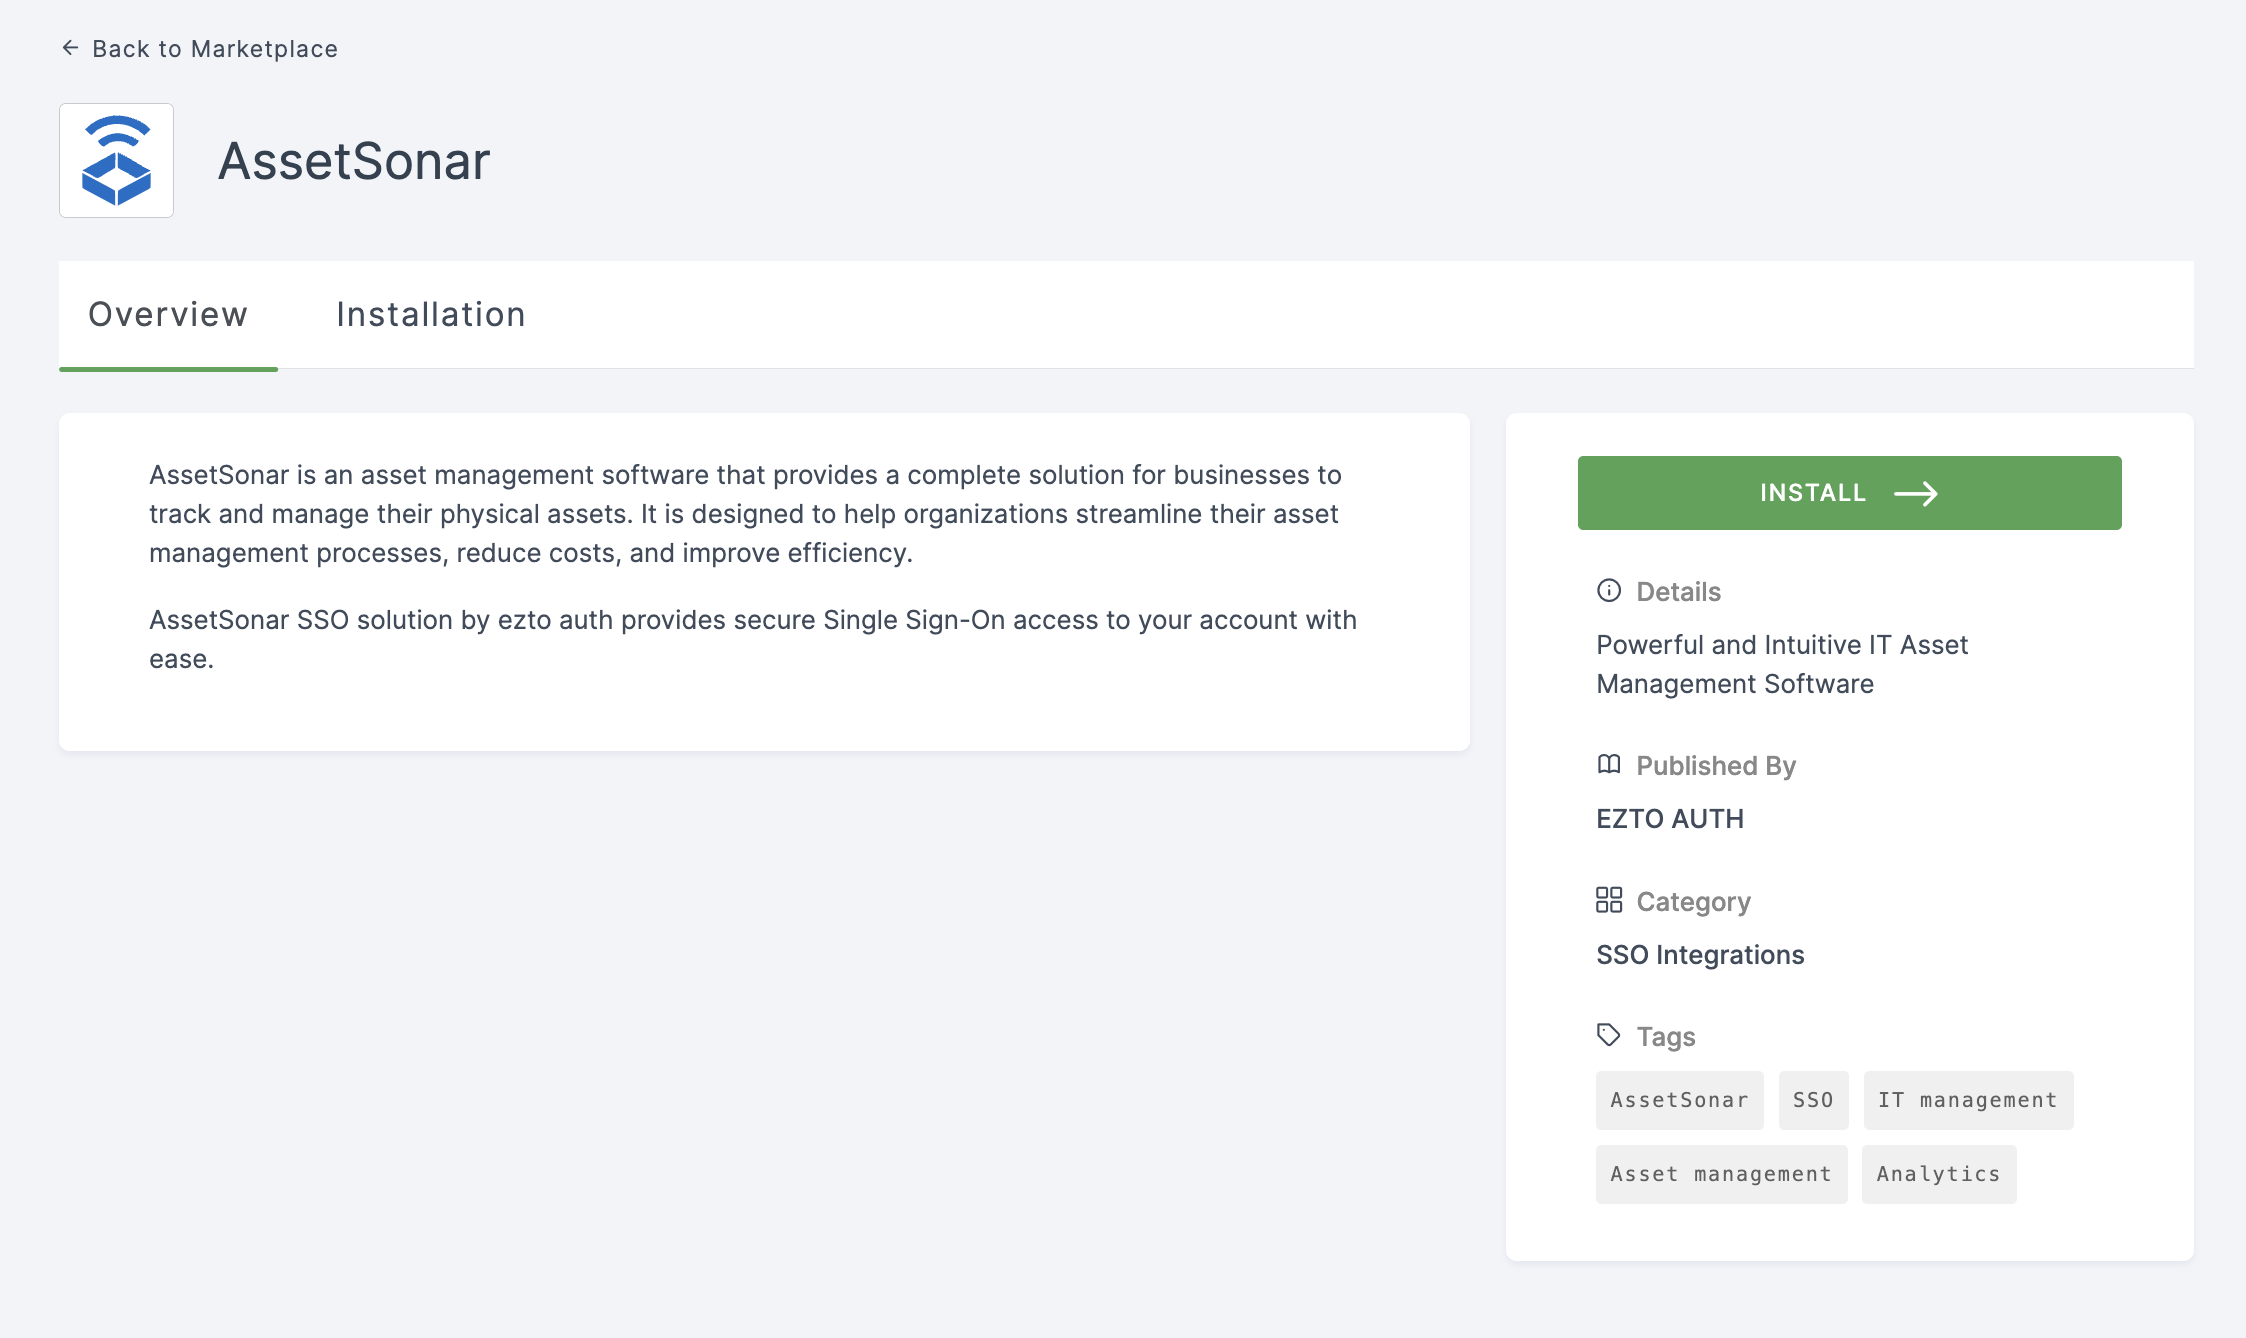
4 Click on INSTALL.
5 Provide a Name, and for the Entity ID, go to your AssetSonar Dashboard.
6 Click on Settings.
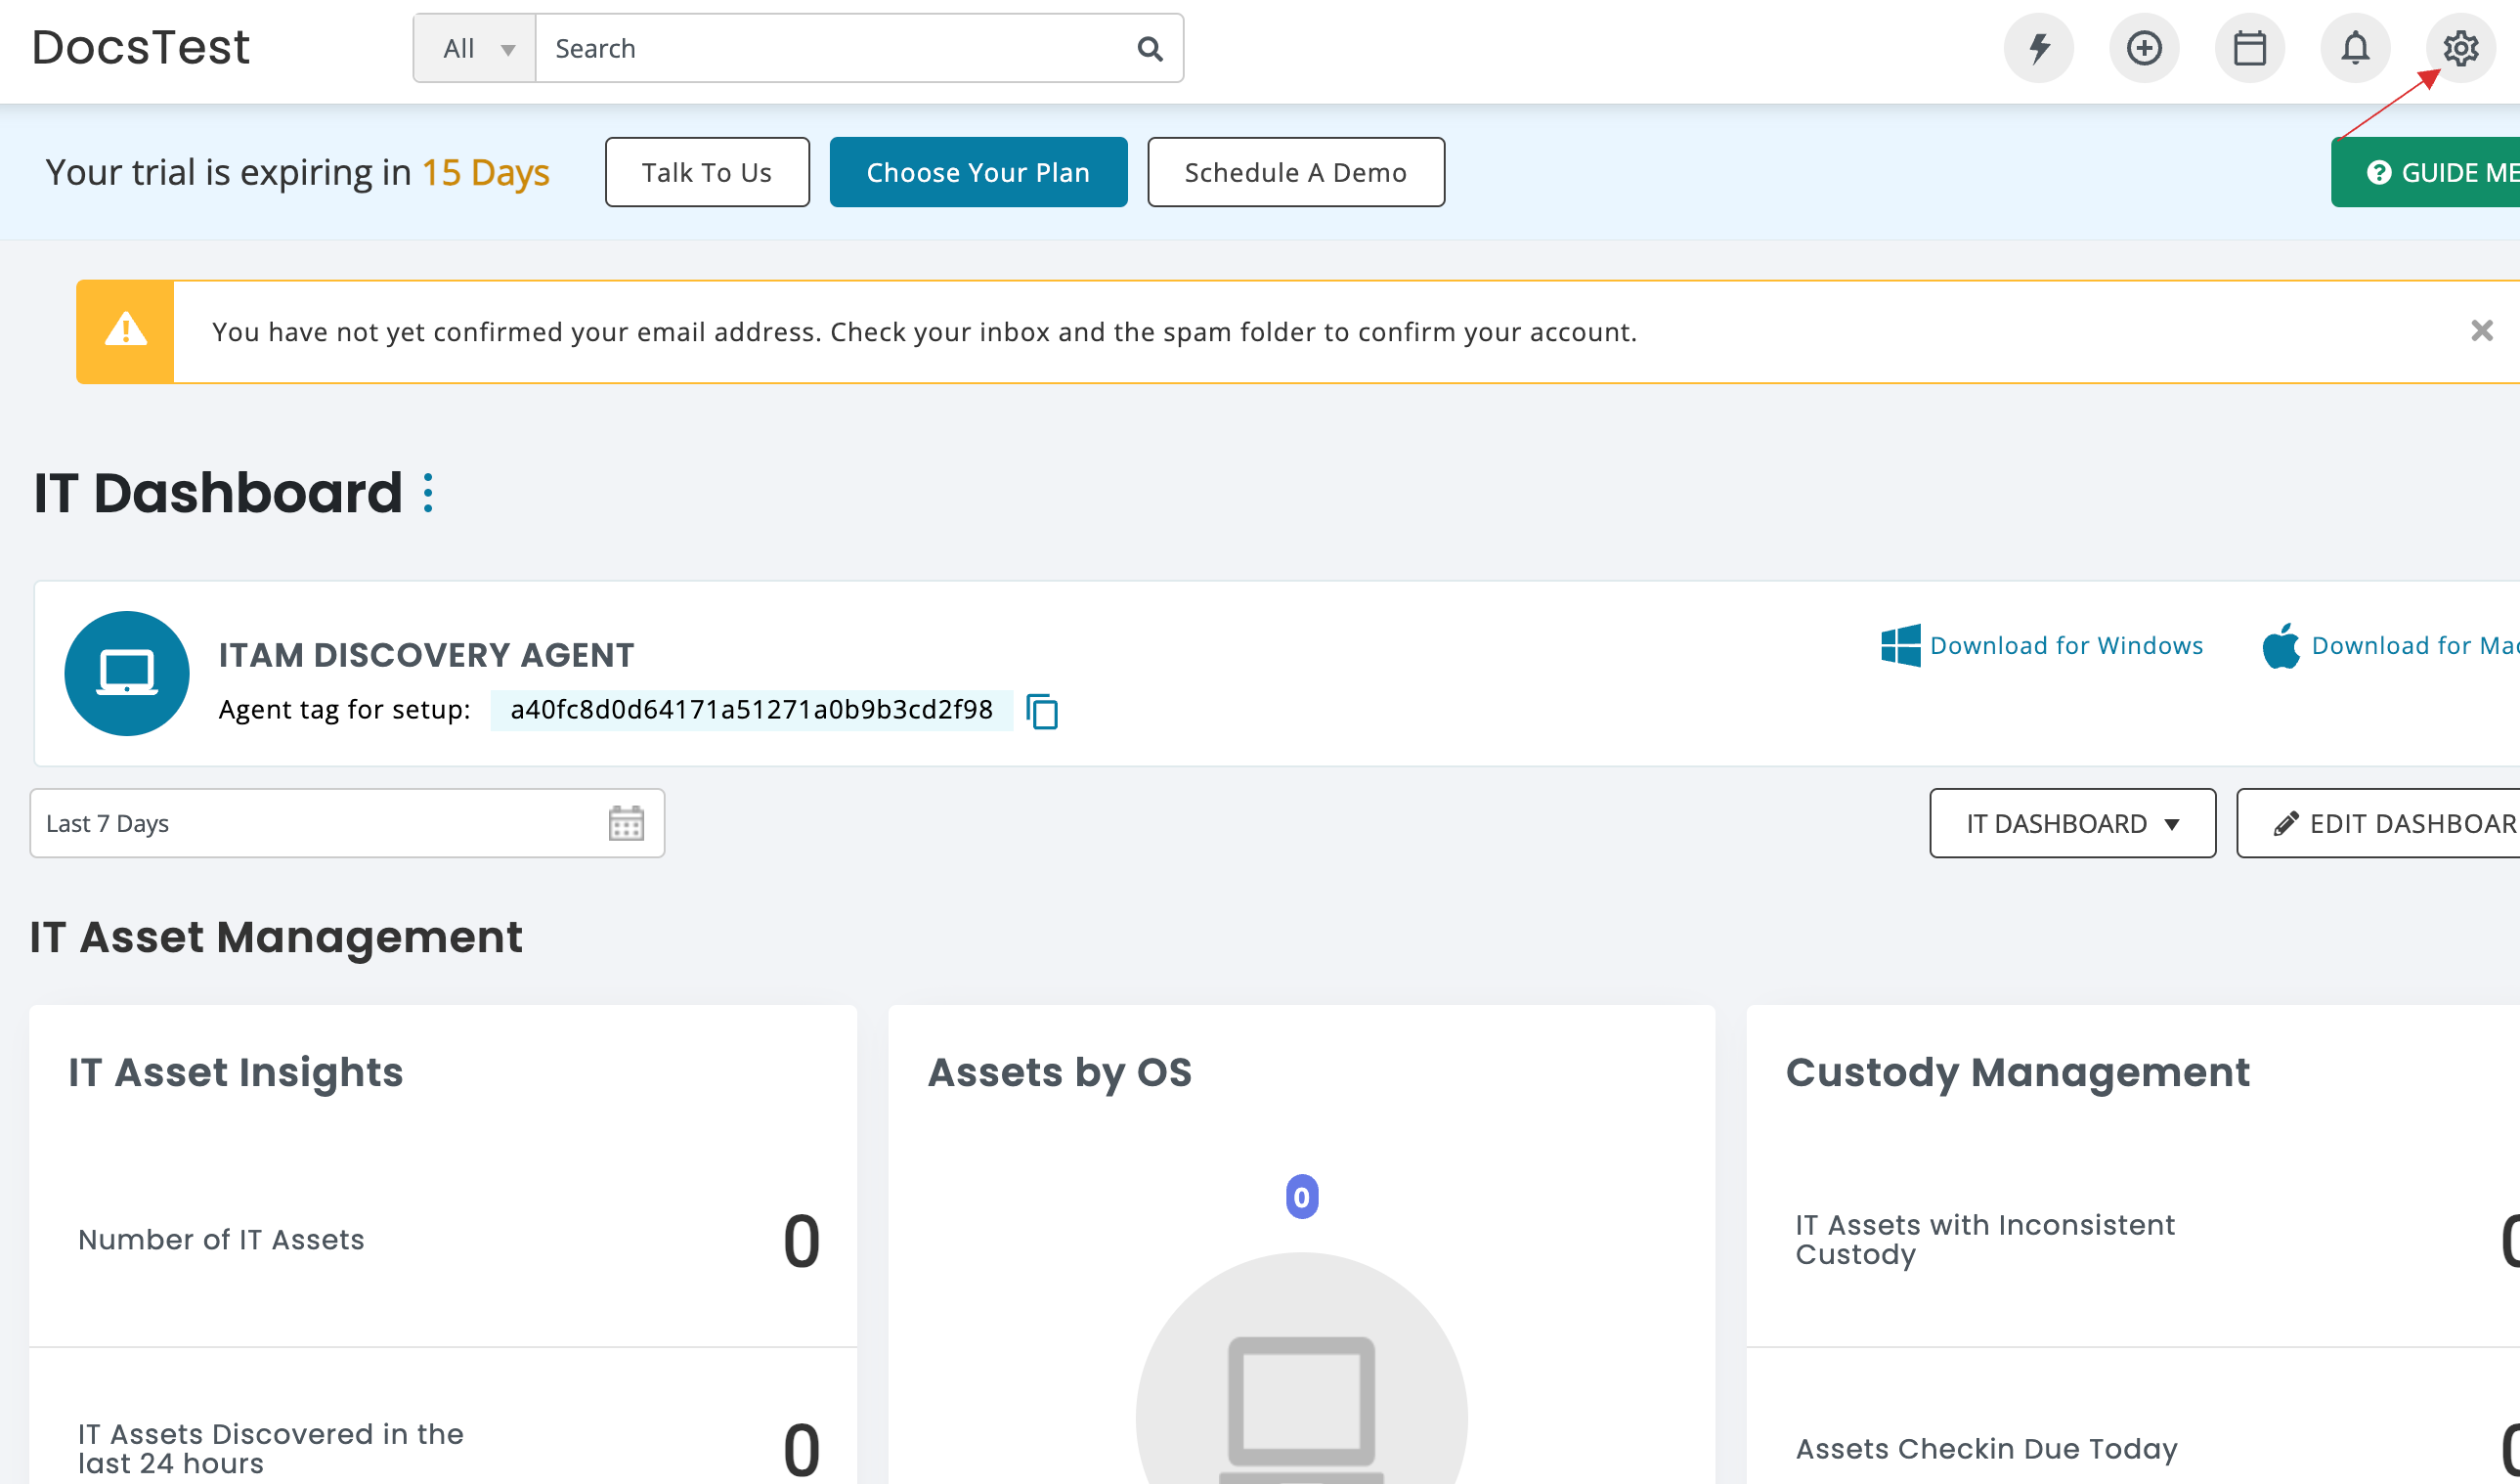
7 Click on INTEGRATIONS and search for SAML Integration.
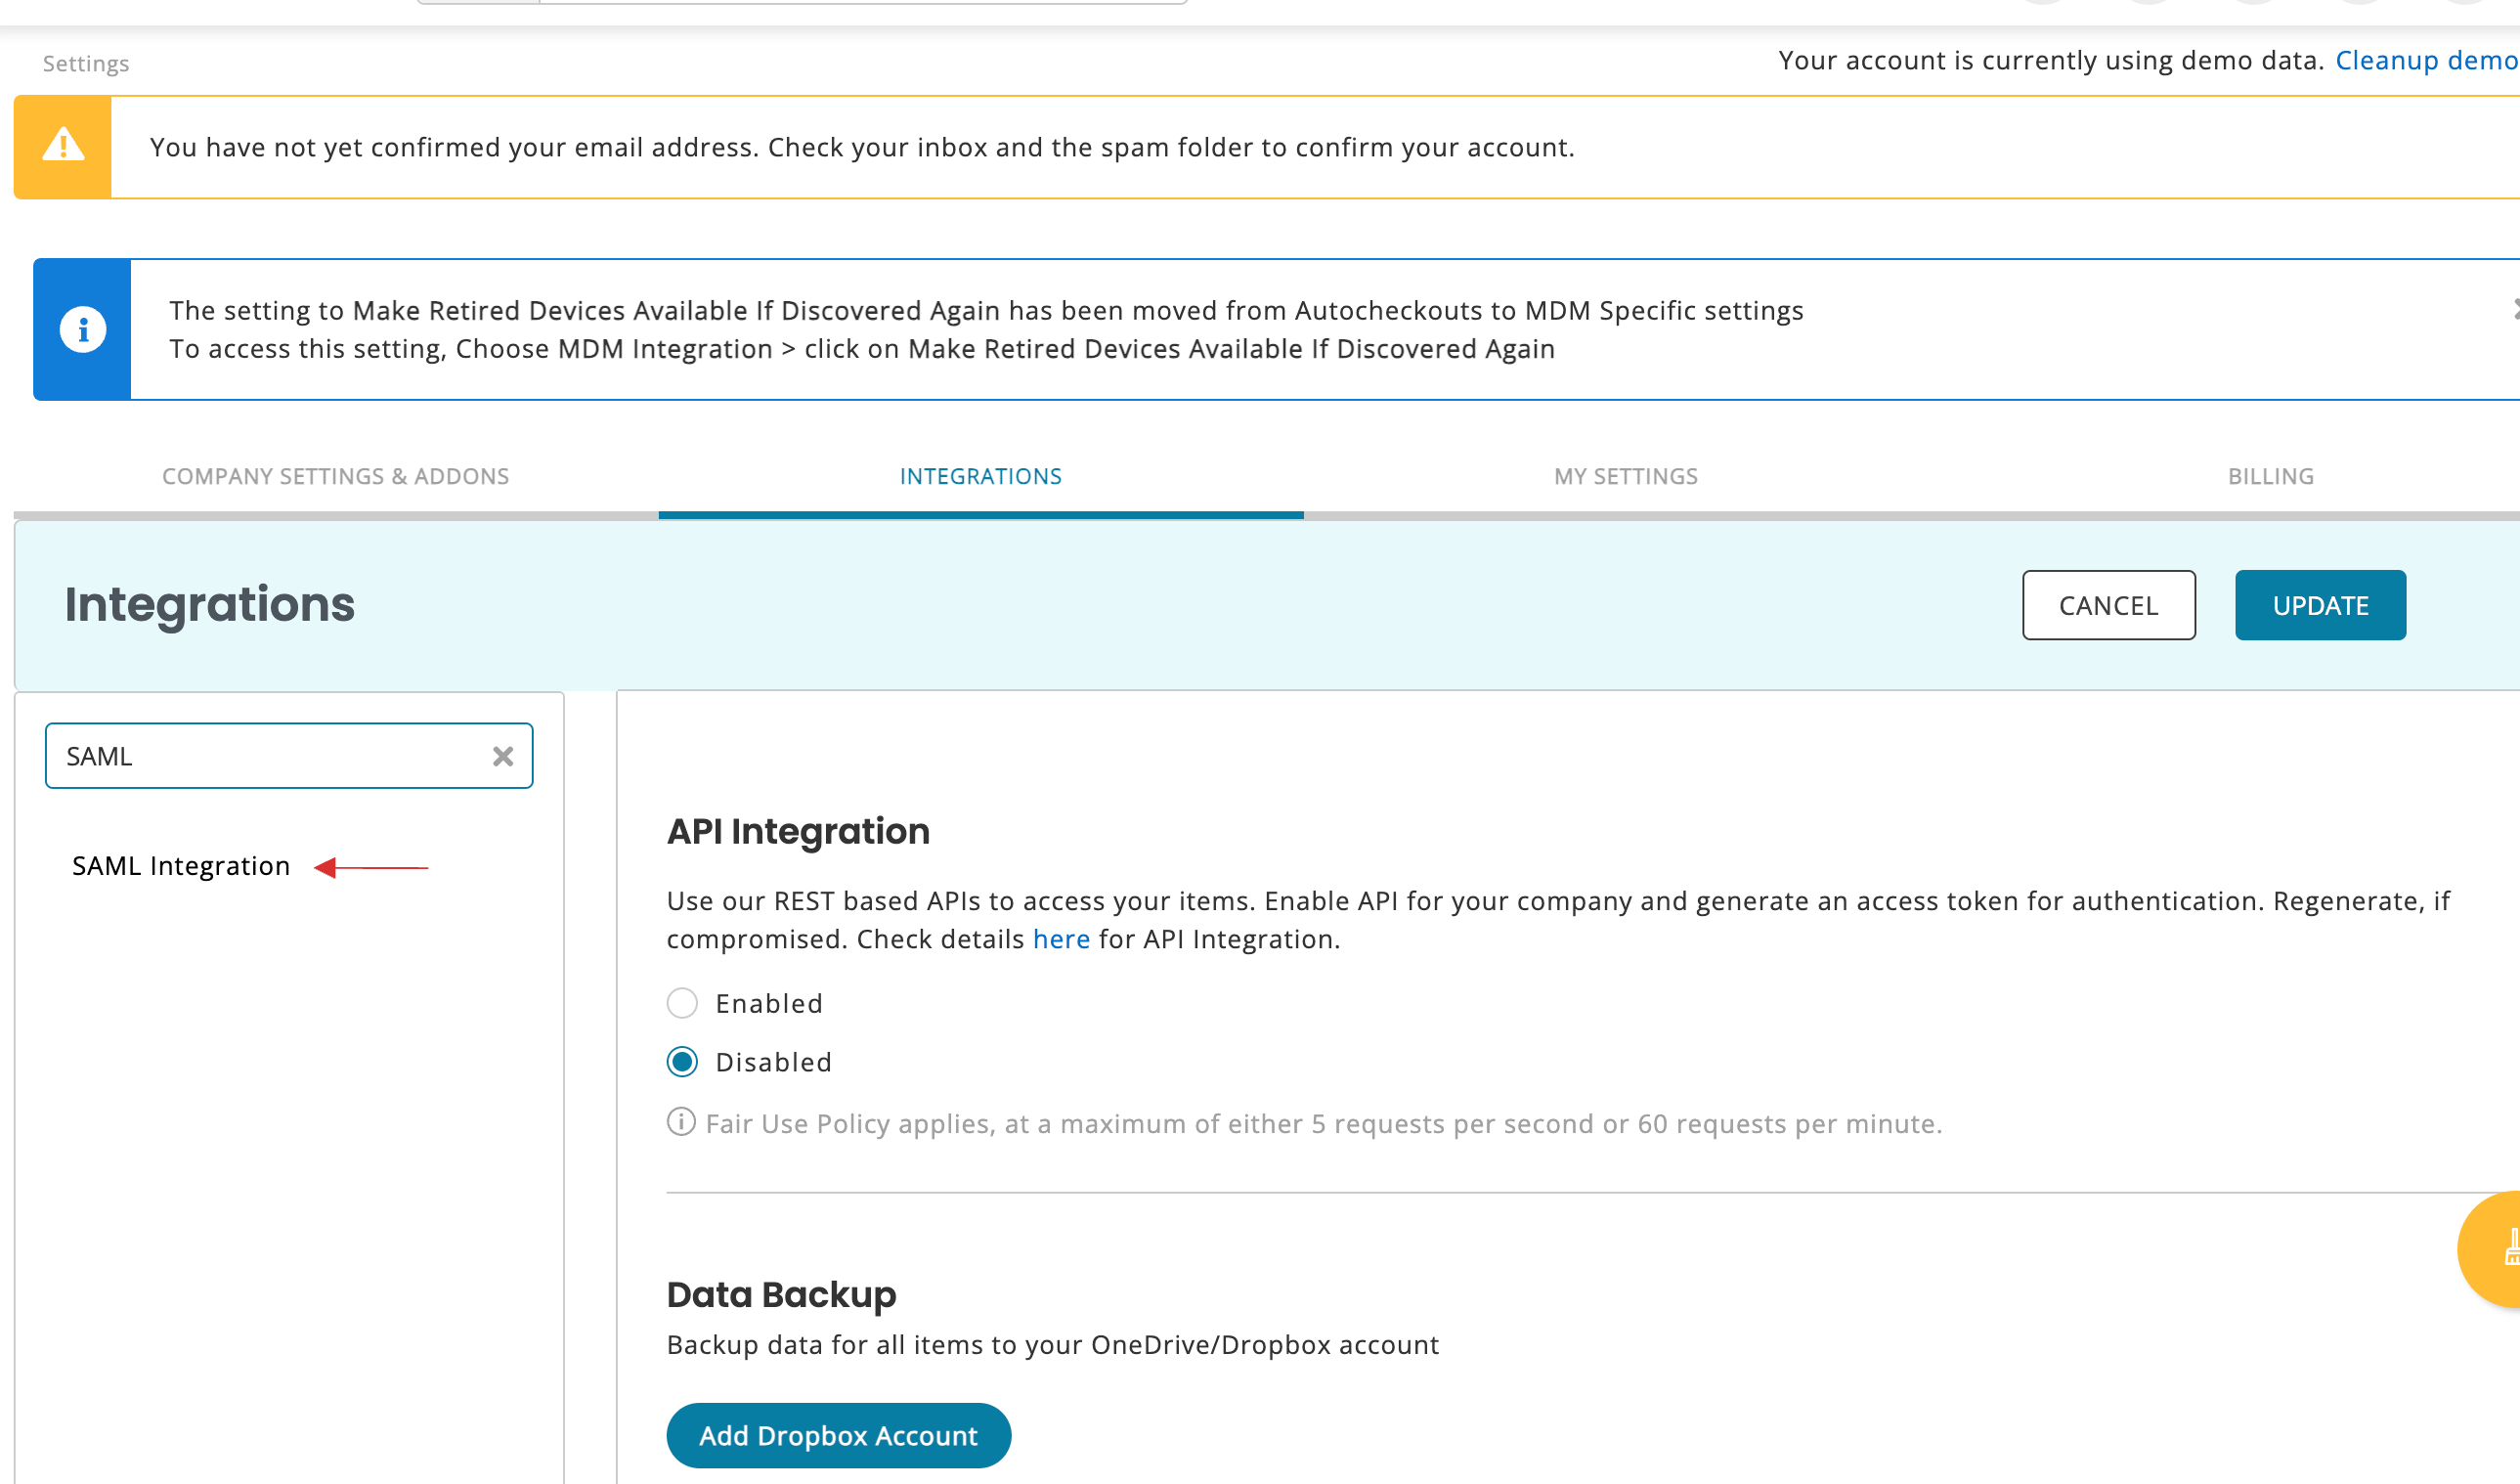
8 Click on SAML Integration. A set of configurations will be displayed.
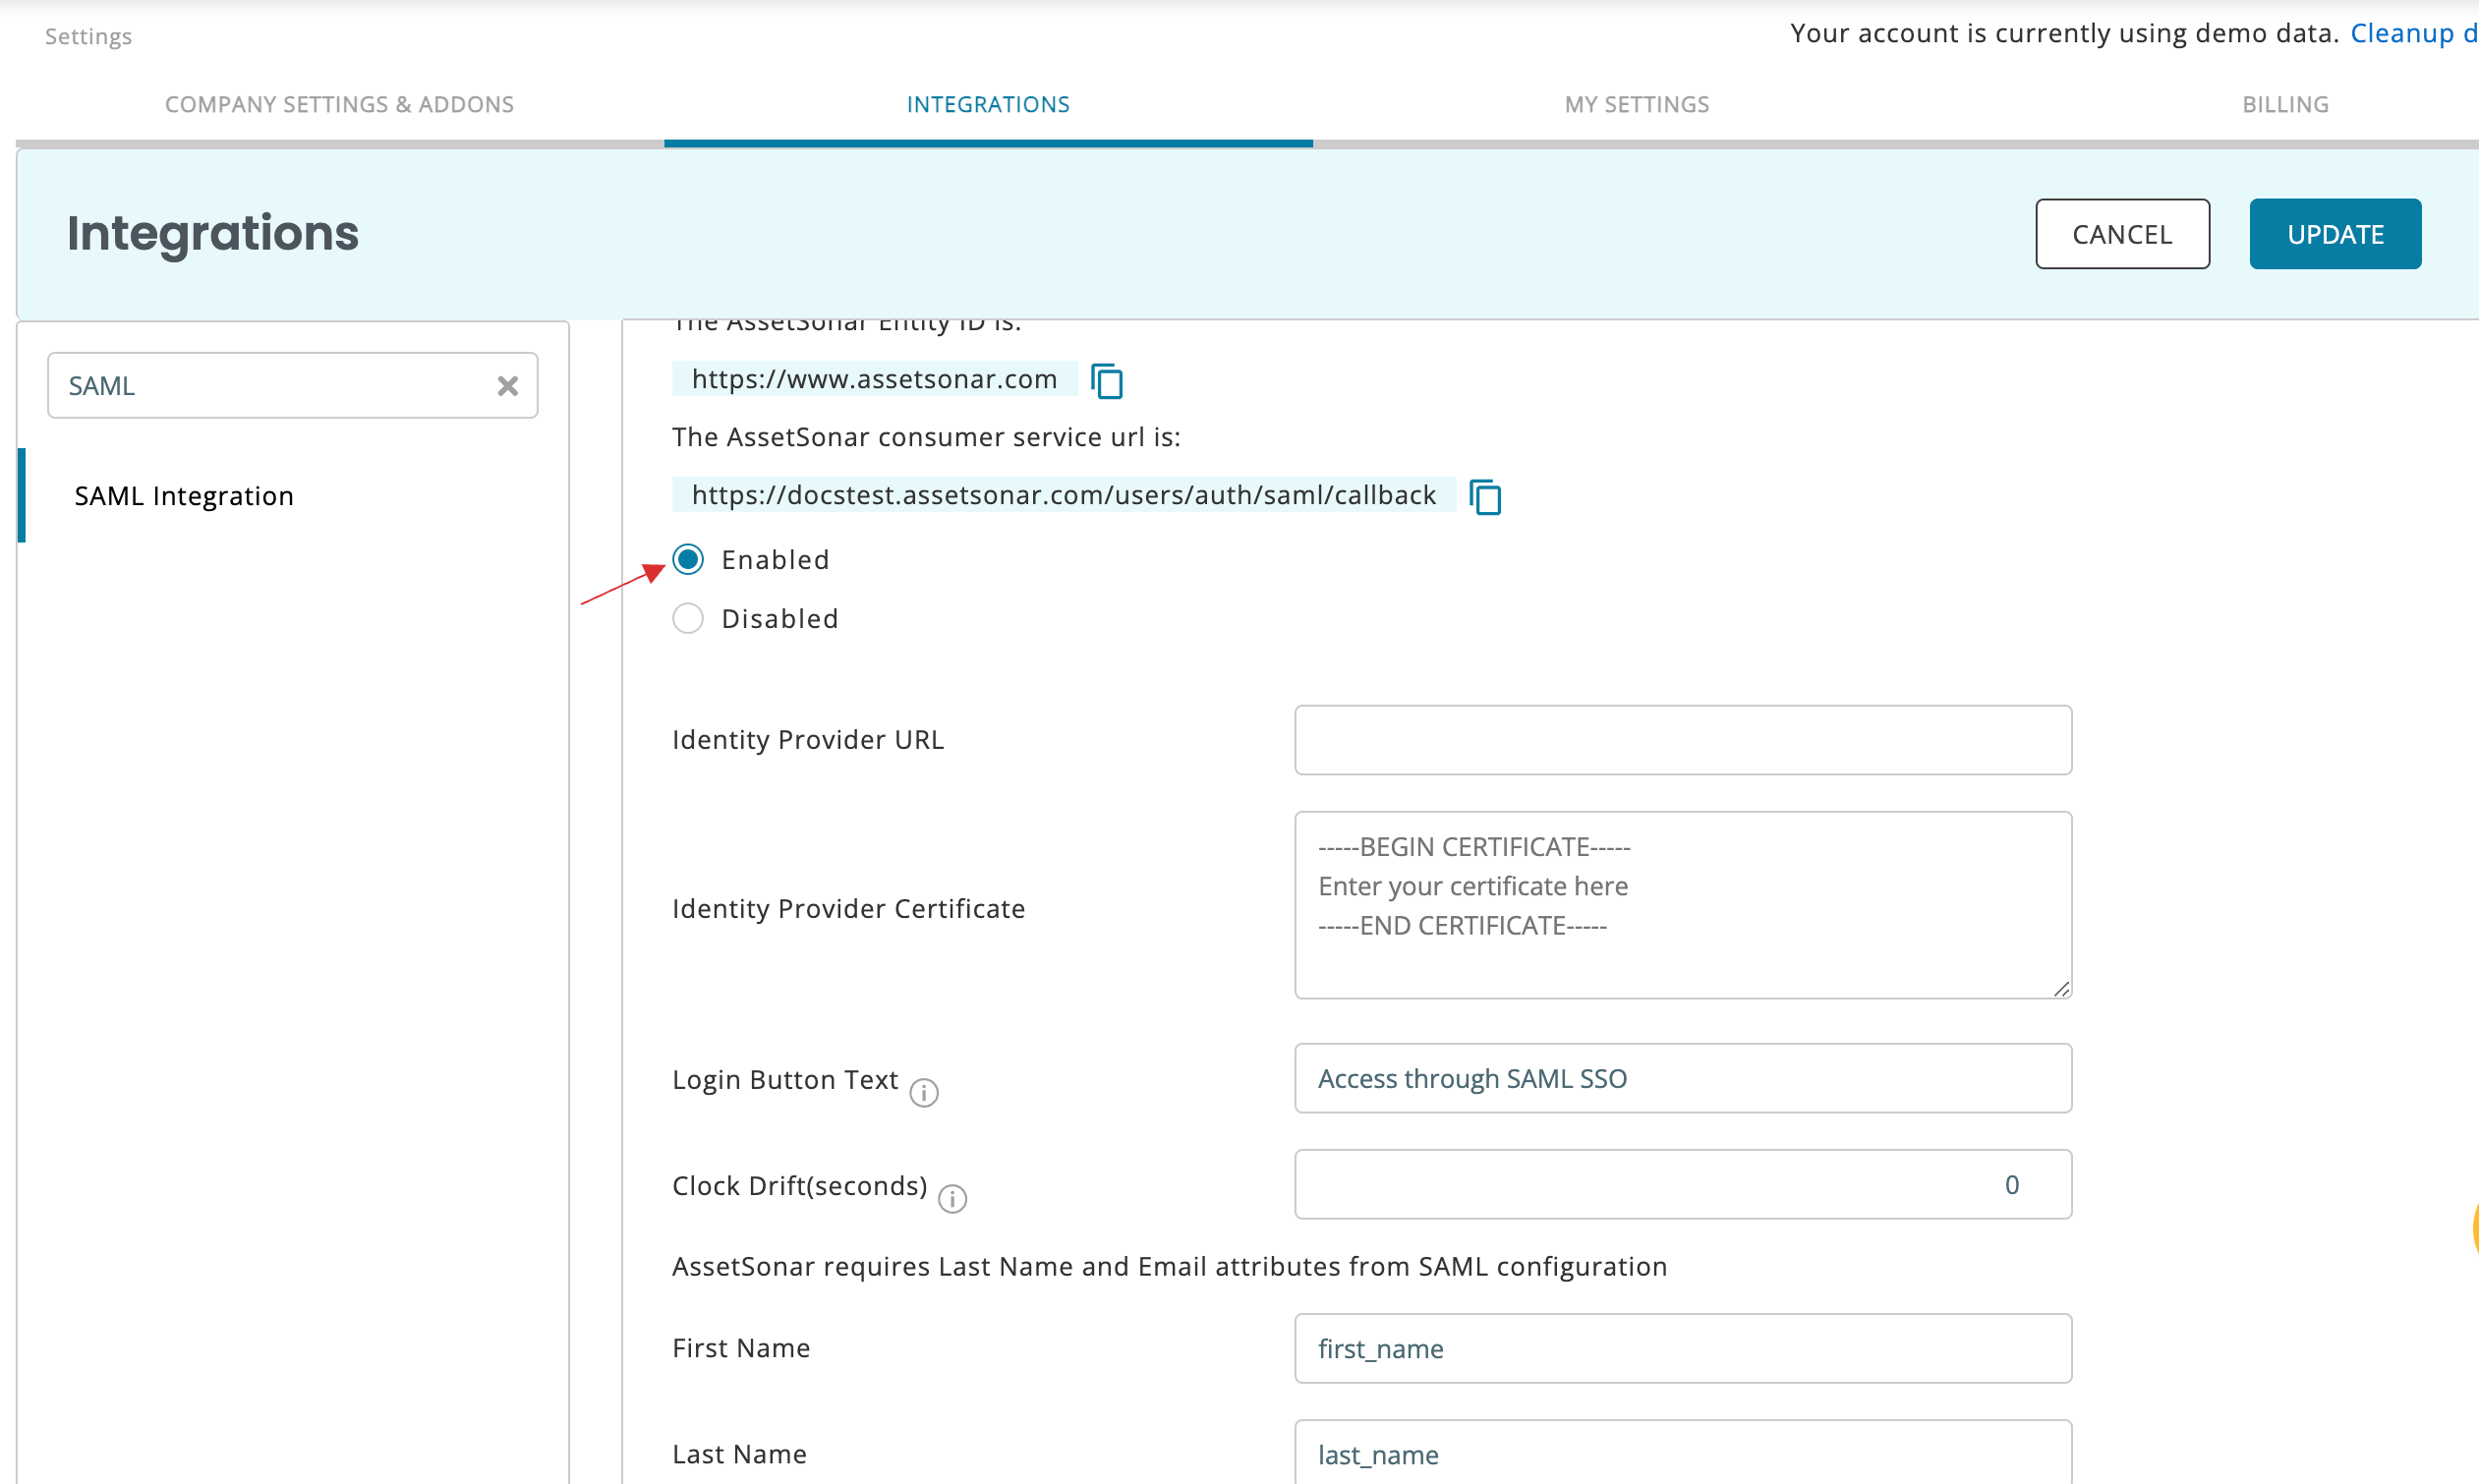
9 Copy the Entity ID and Consumer service url.

10 Return to your dashboard, paste the Entity ID and Consumer service in ACS URL.
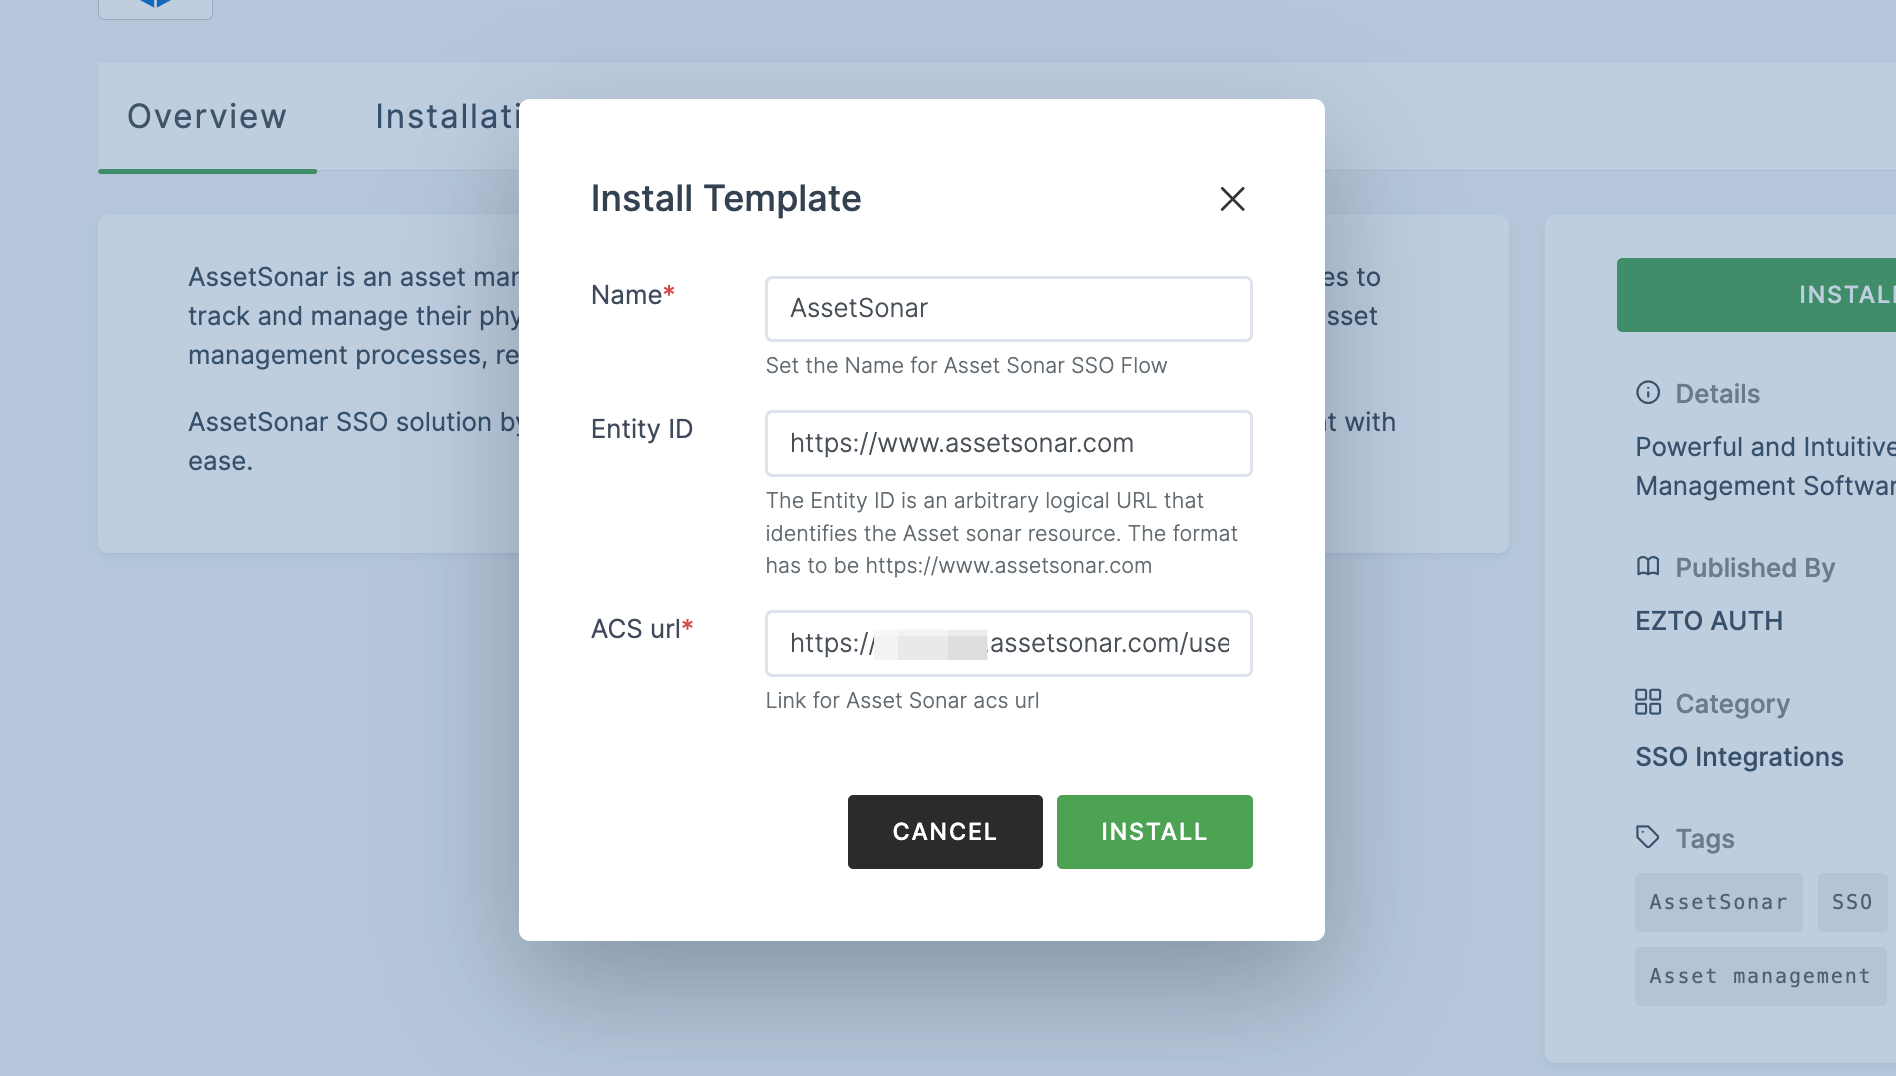
11 Once the configurations are provided, click on INSTALL.
12 Switch to AssetSonar, check on Enabled.
13 Return to your dashboard, go to Applications > SSO, and click on the created AssetSonar SSO.
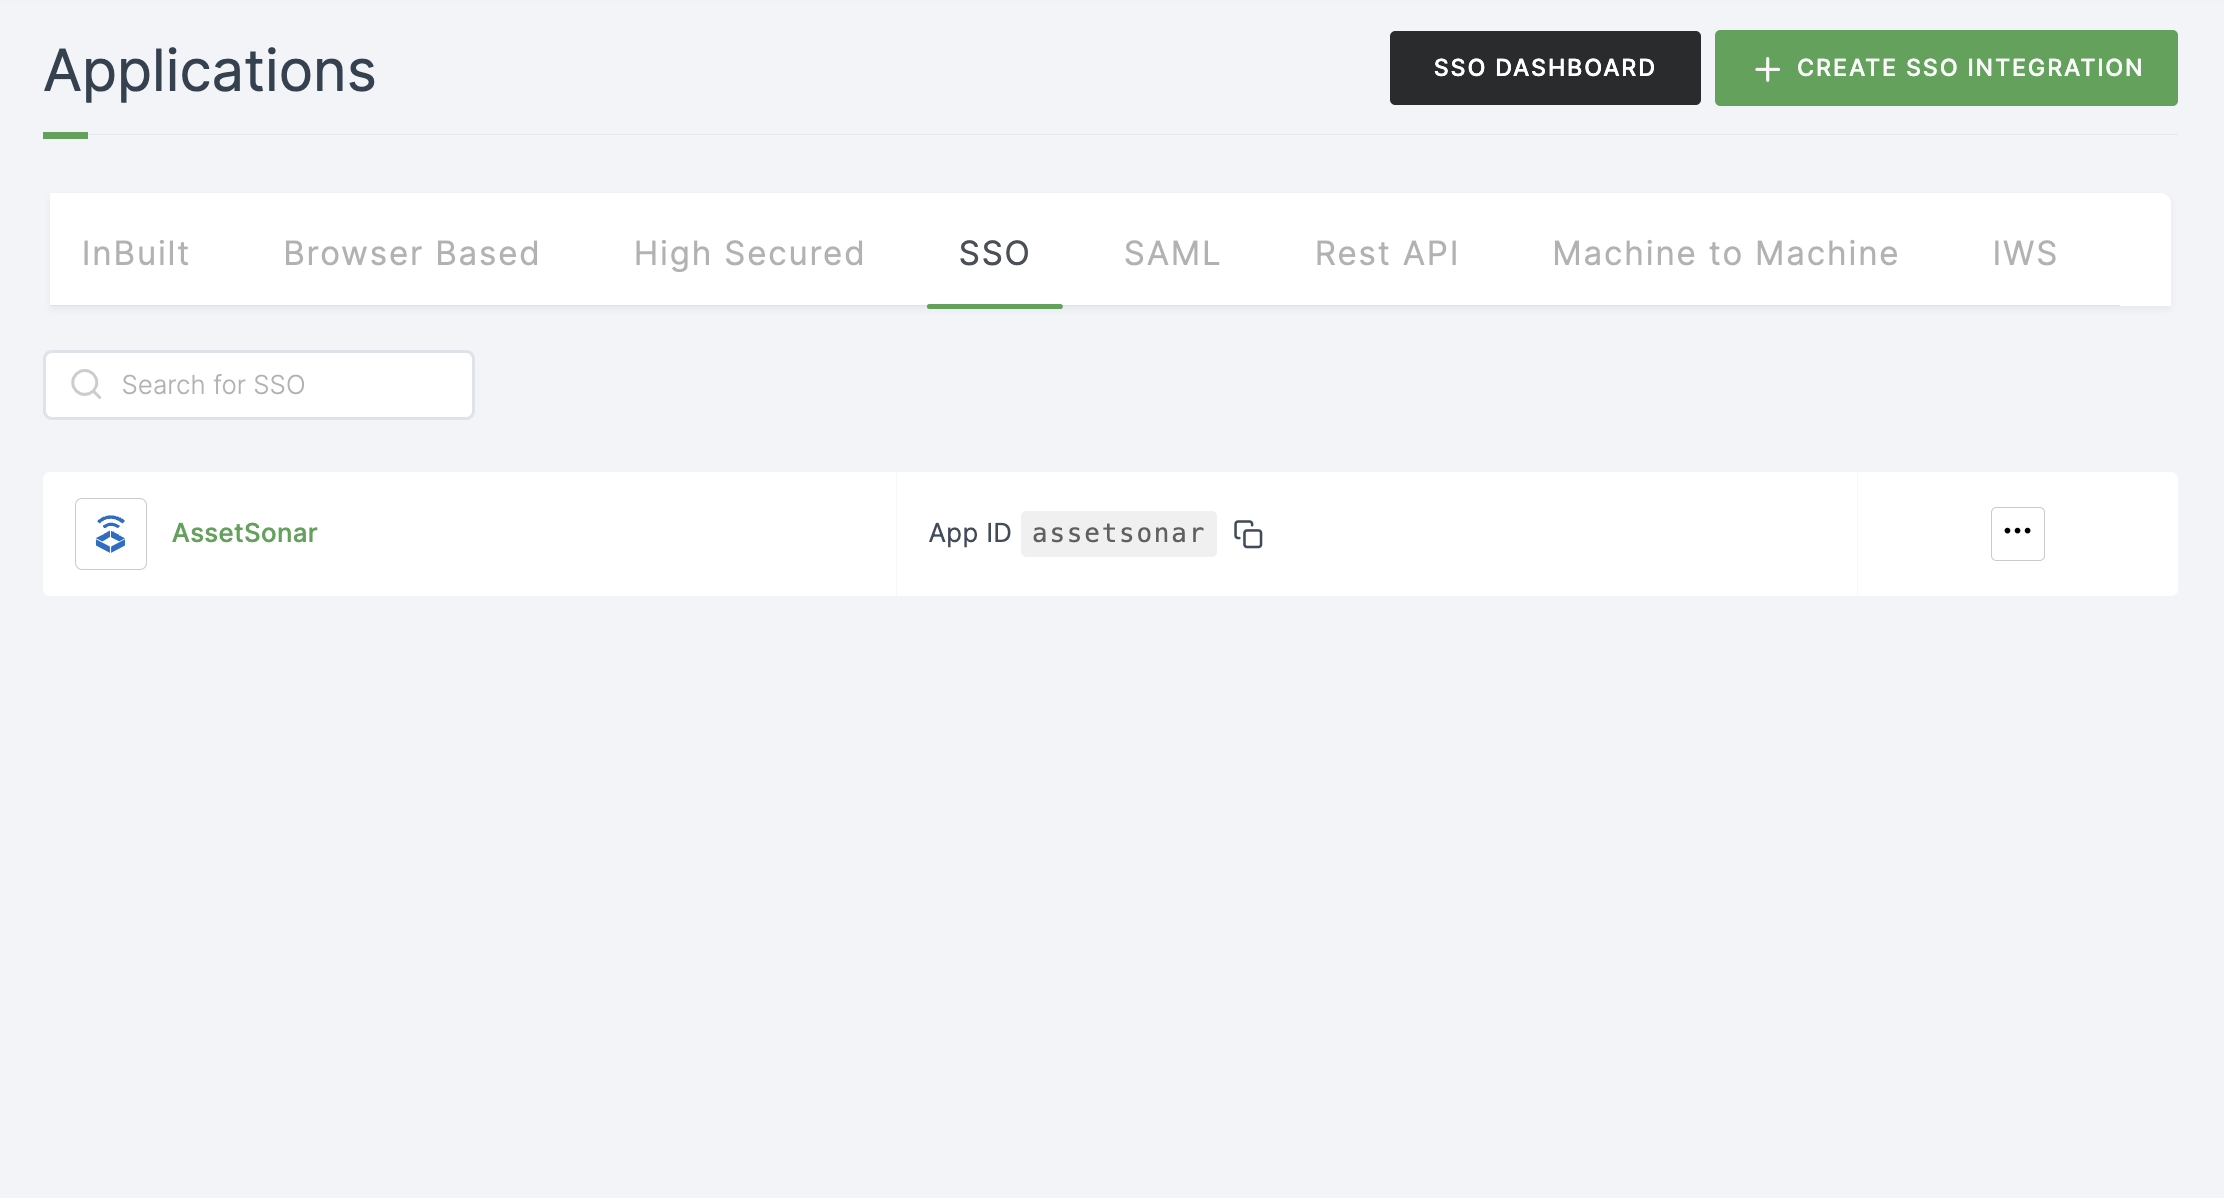
14 Click on Metadata, where the list of endpoints for the particular SSO will be available. Copy the Login Endpoint.
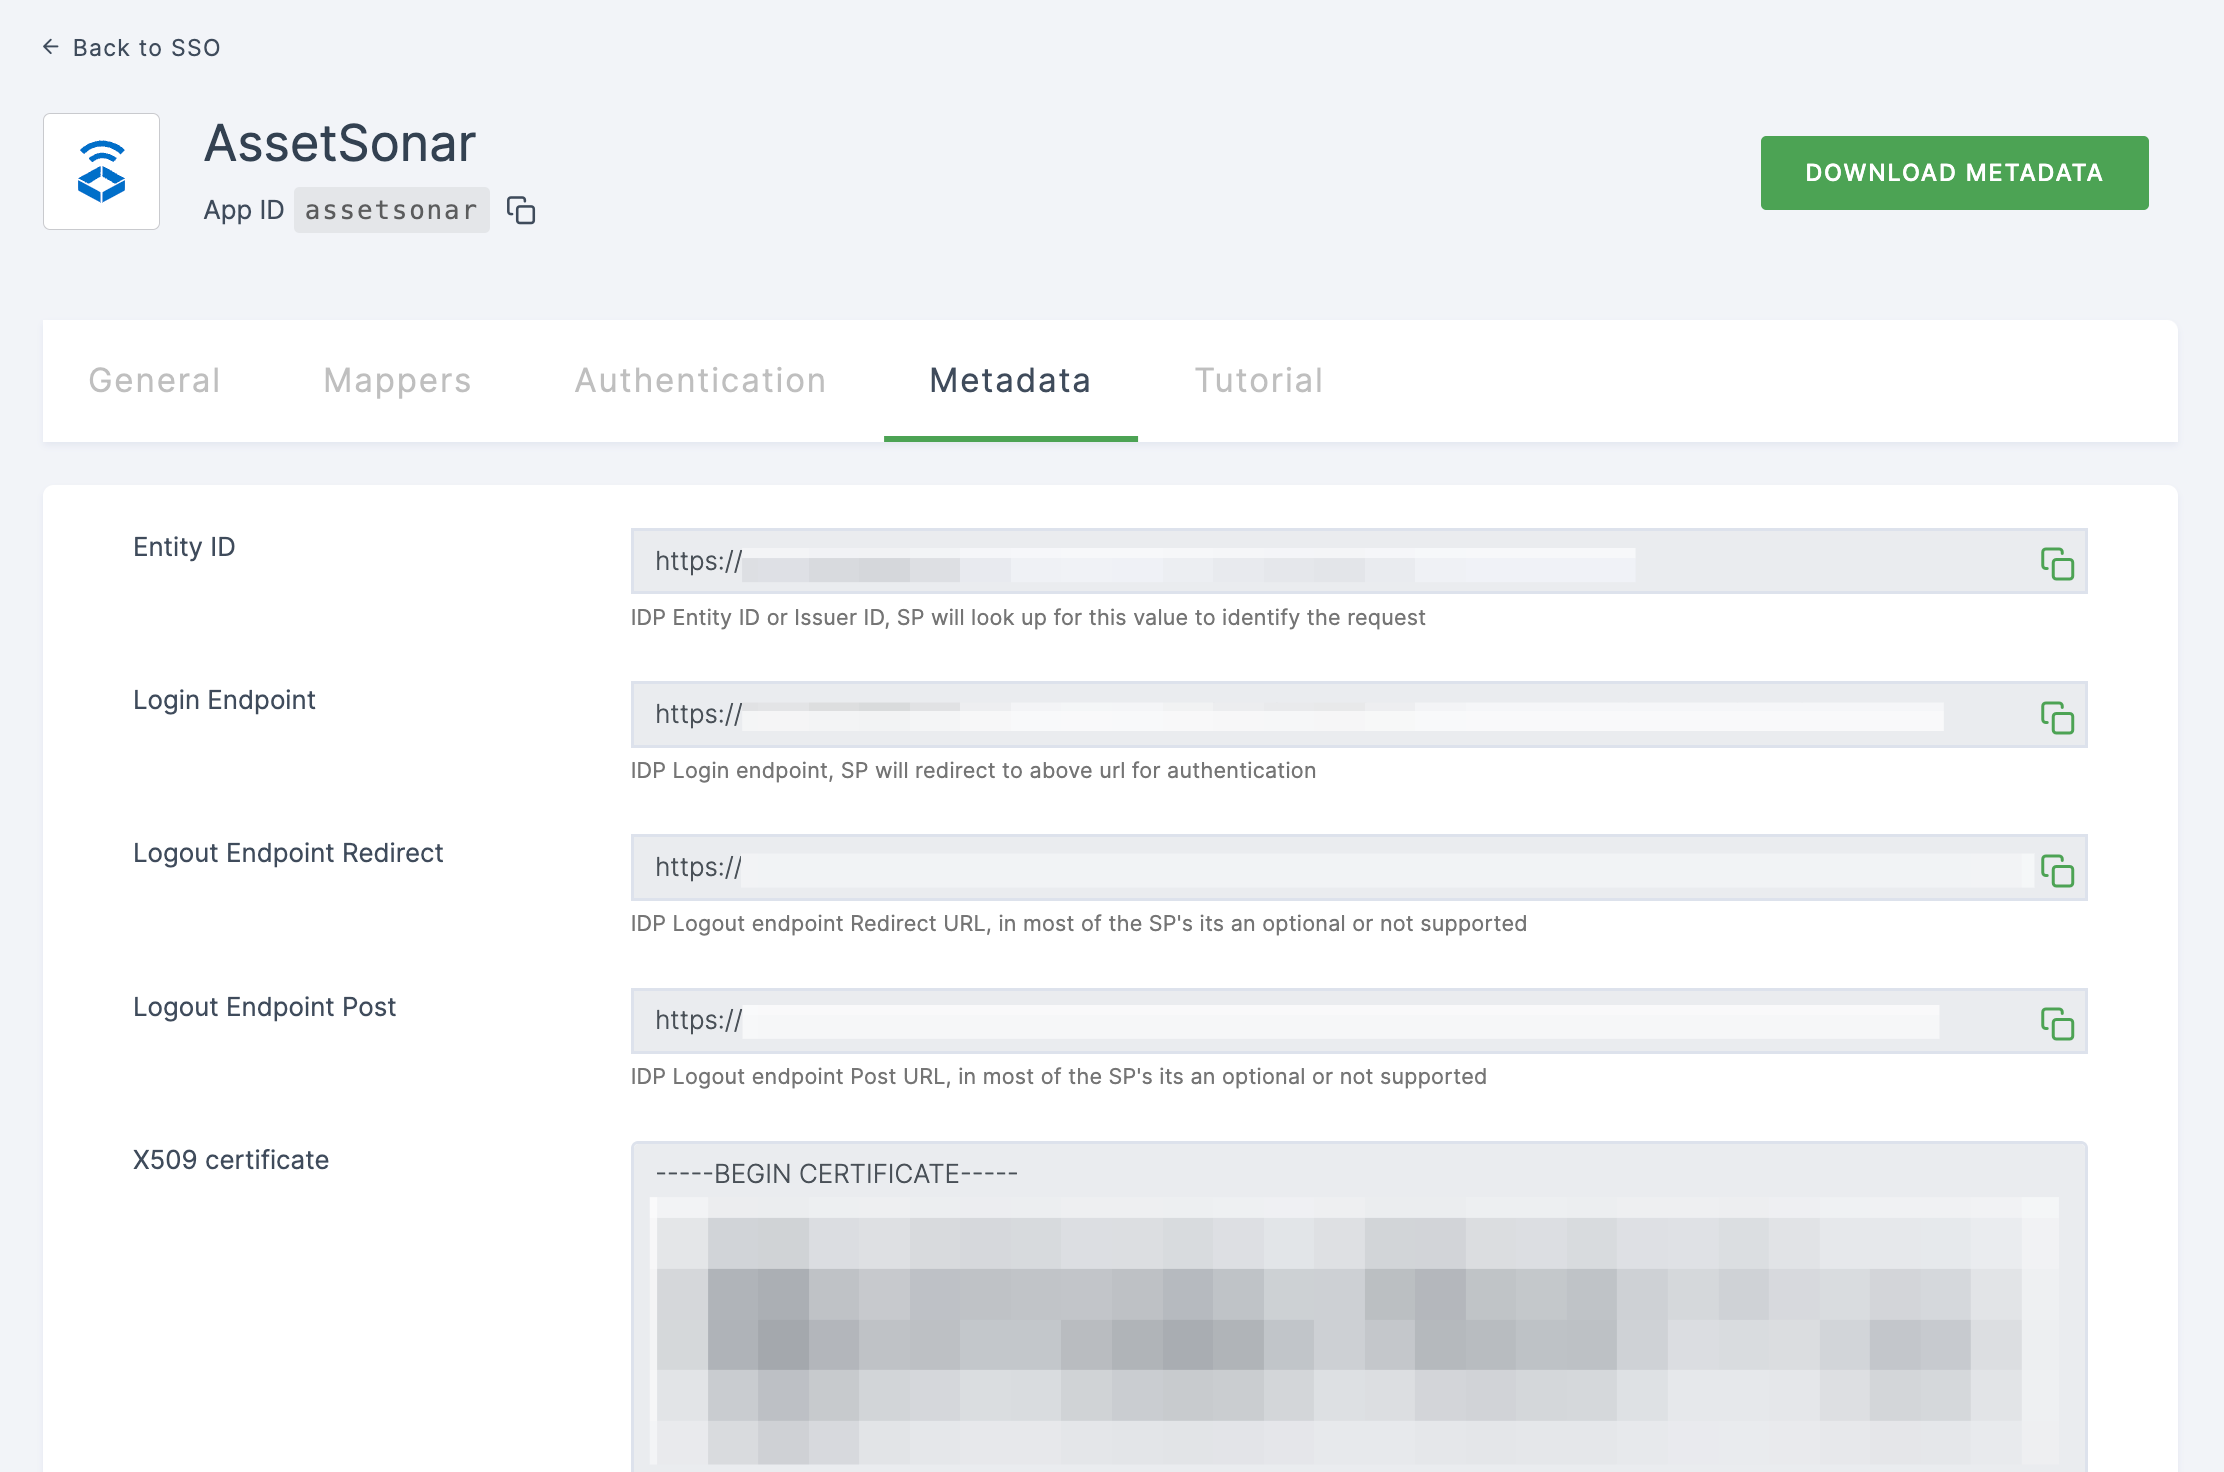
15 Switch to AssetSonar, paste the copied Login Endpoint in Identity Provider URL.
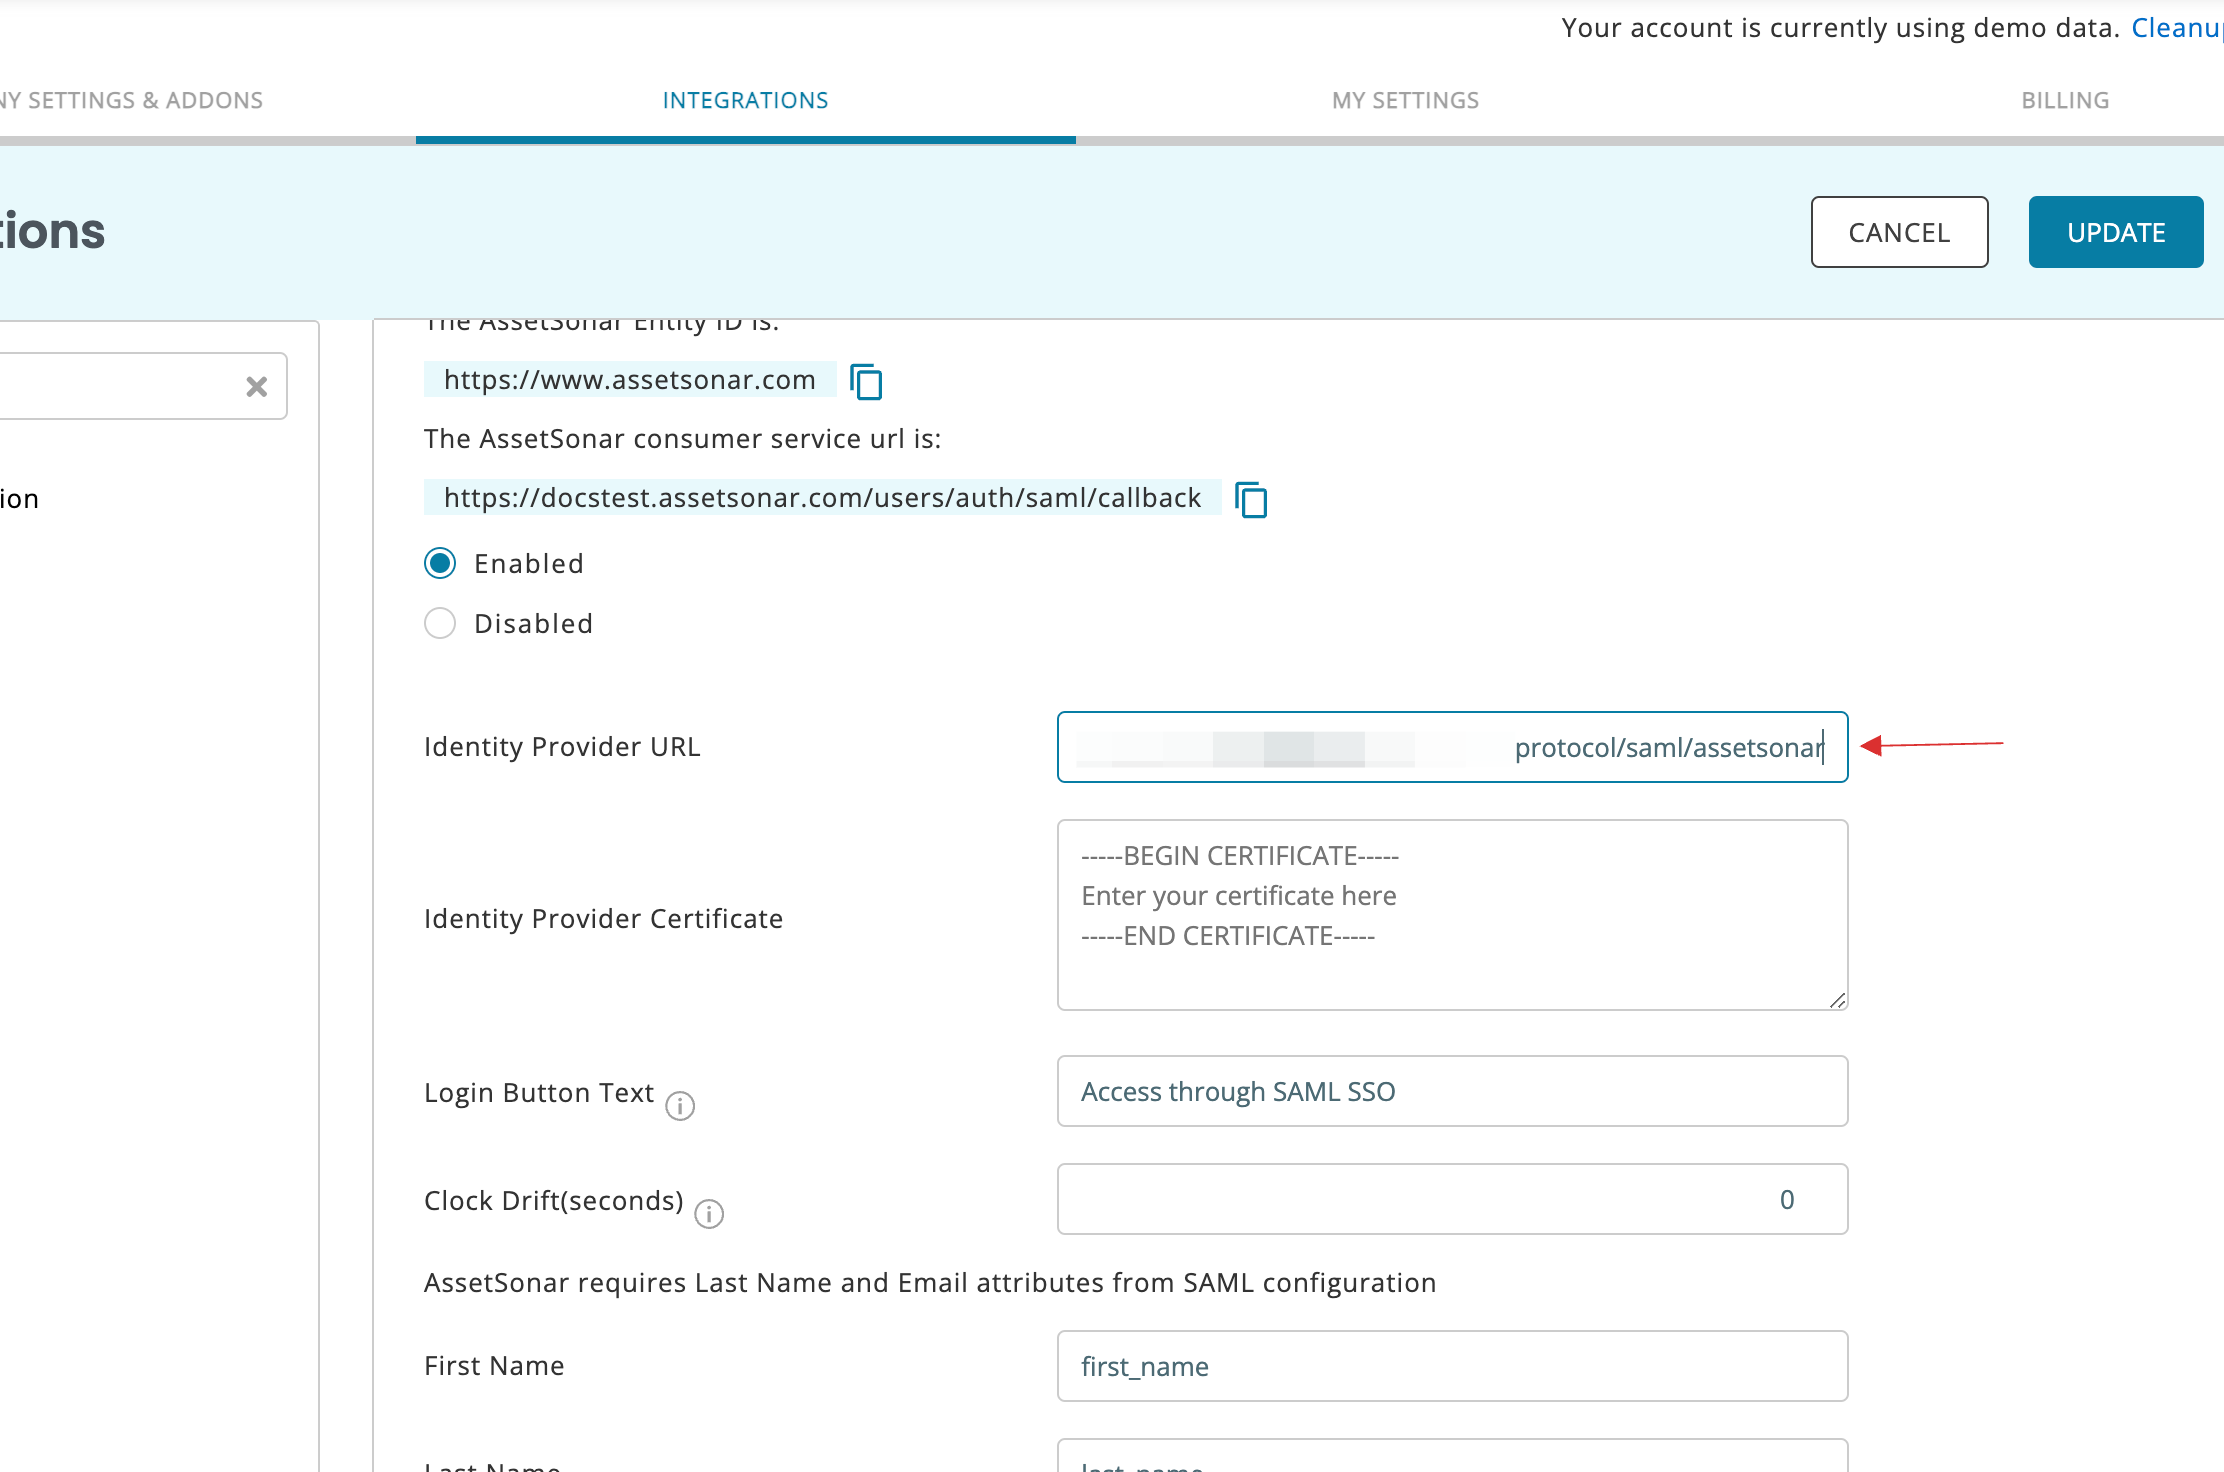
16 Return to your dashboard, copy X509 certificate.
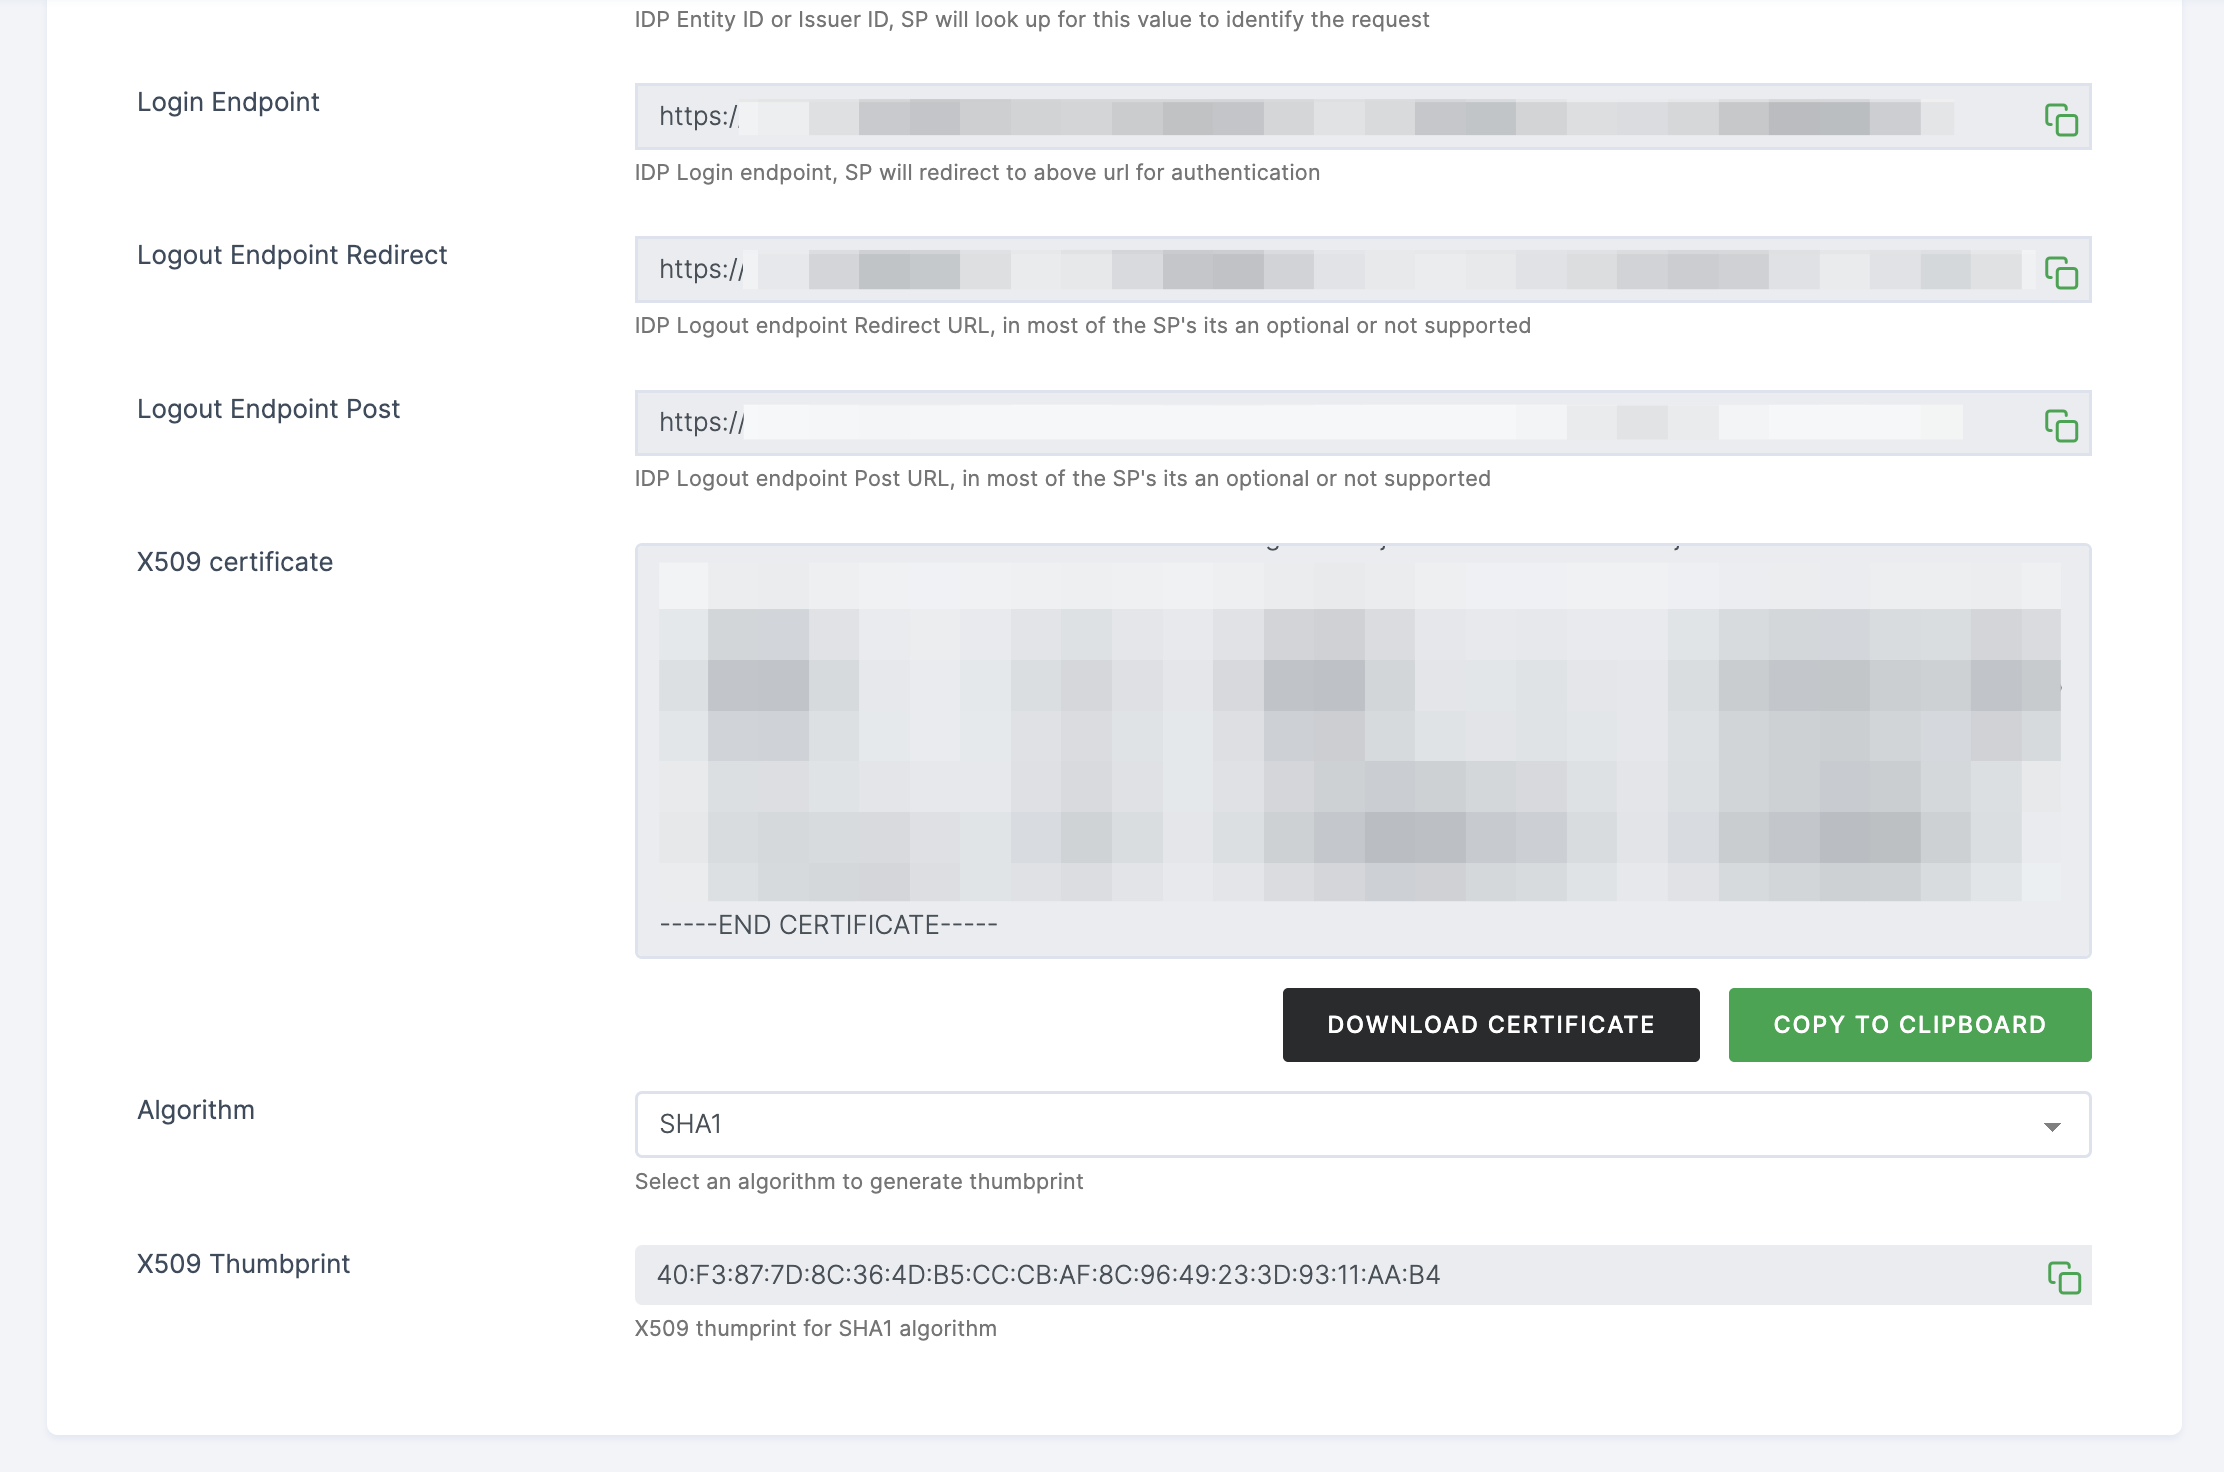
17 Switch to AssetSonar, paste the copied X509 certificate in Identity Provider Certificate.
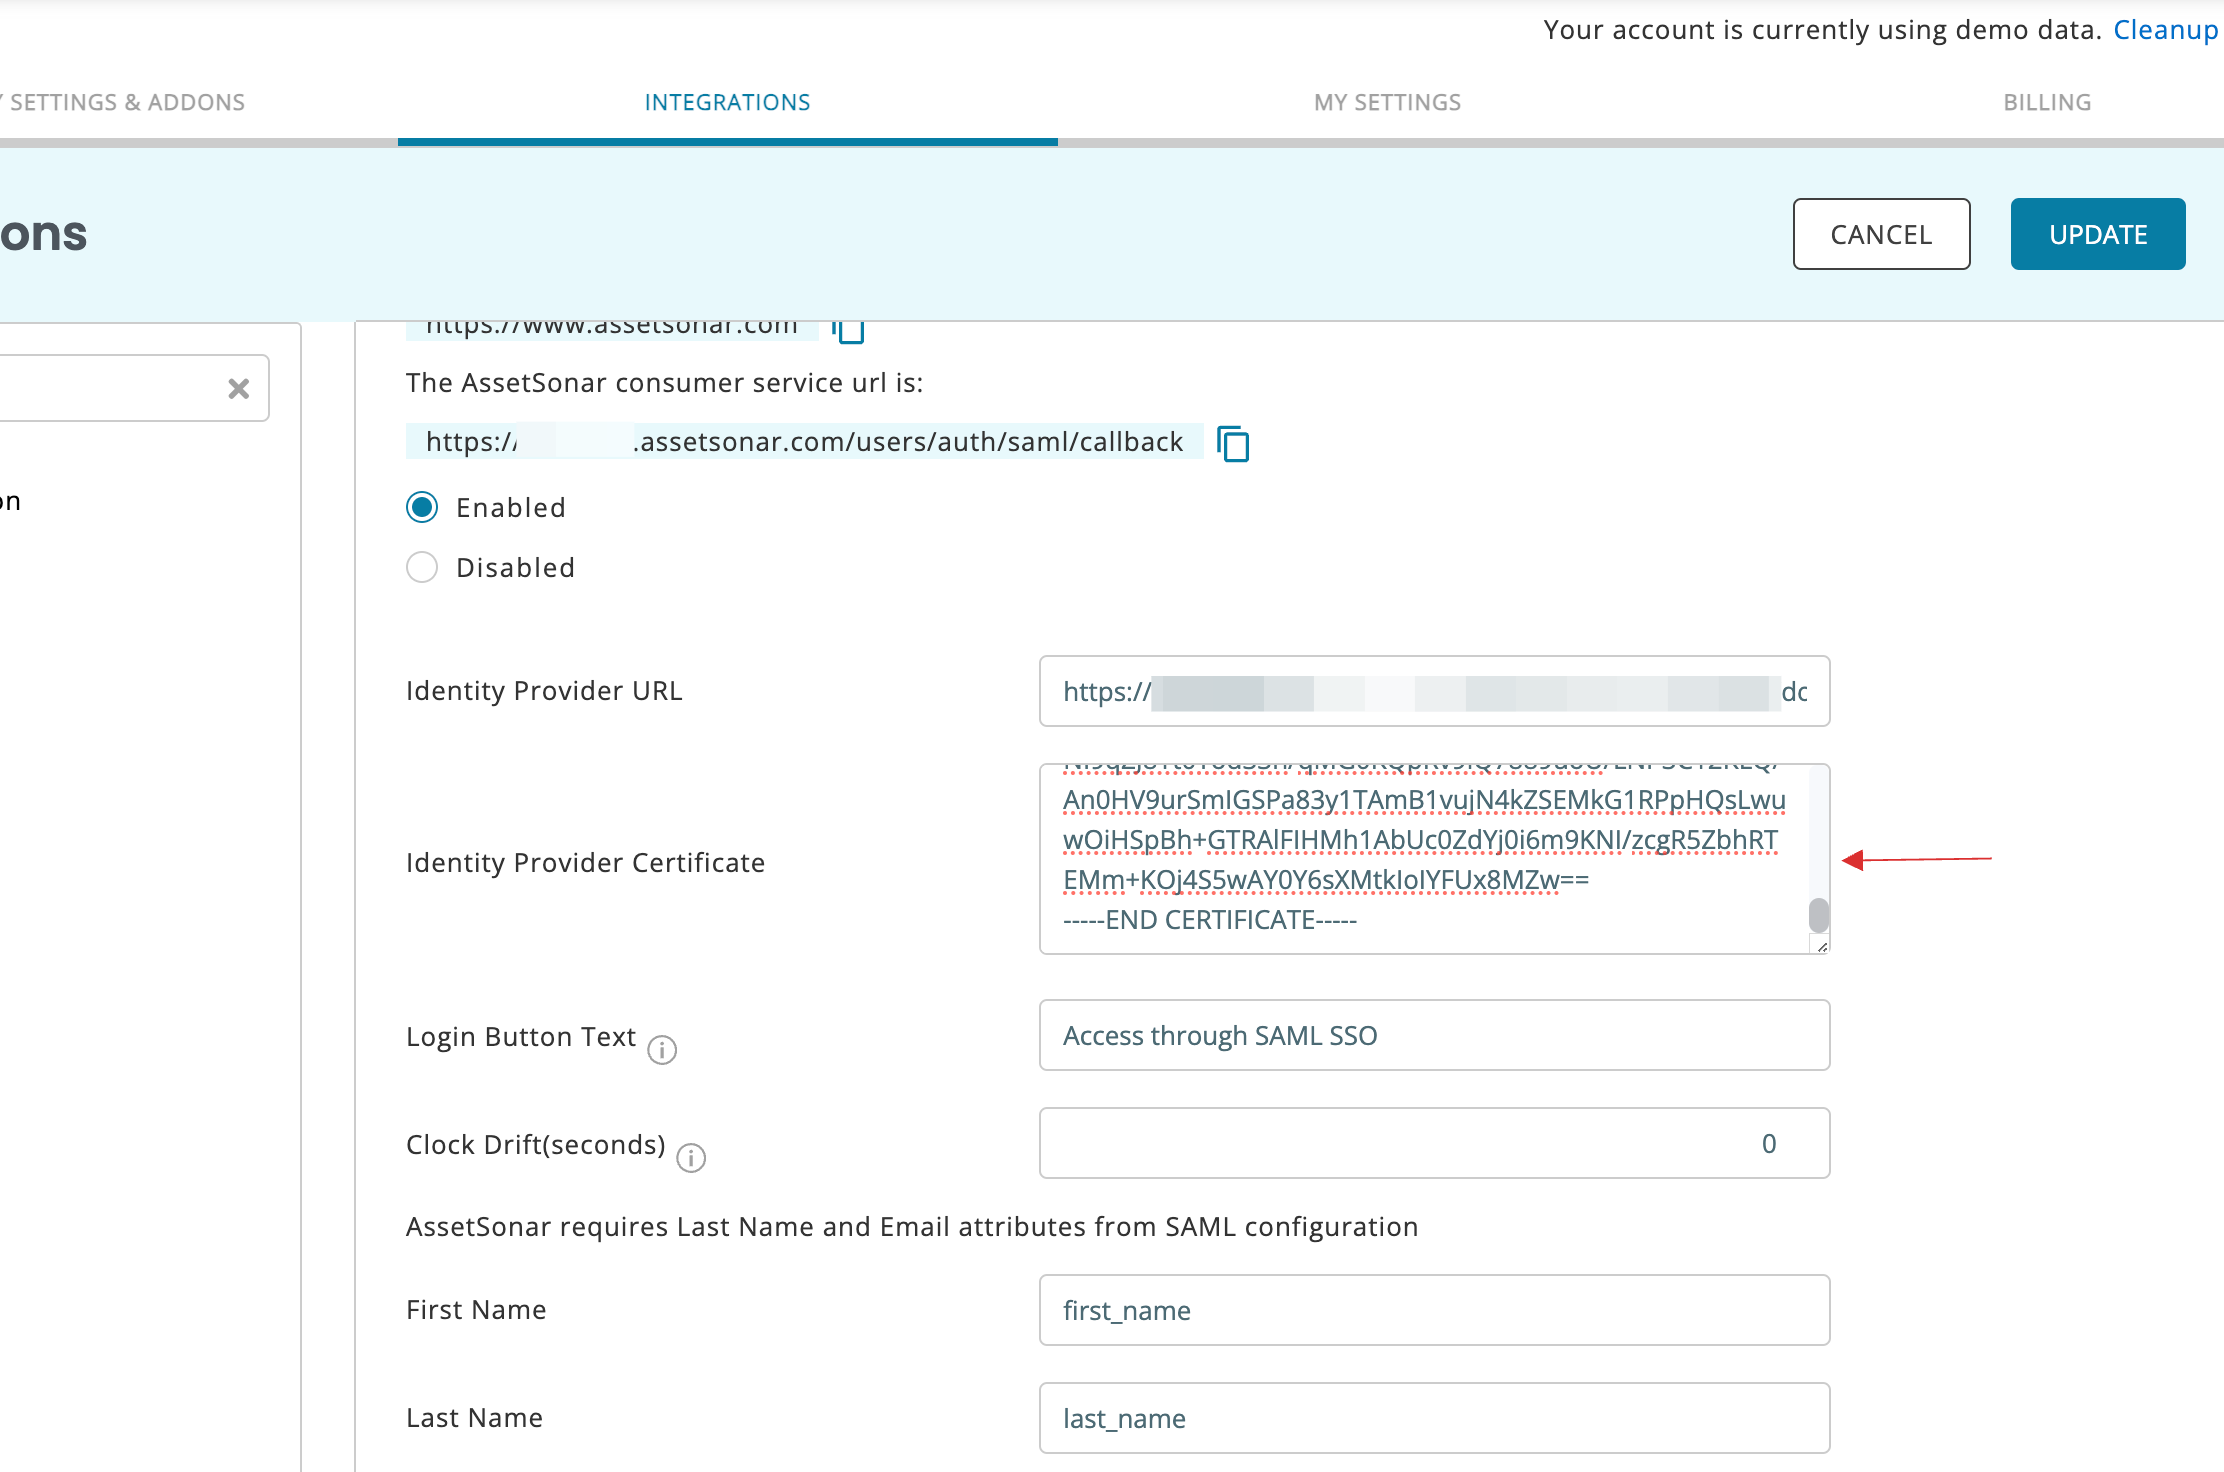
18 Click on UPDATE.
19 Return to your dashboard, assign a user with AssetSonar role. To do so, navigate to Users or Workspace Admins, click on the user you want to assign the role.
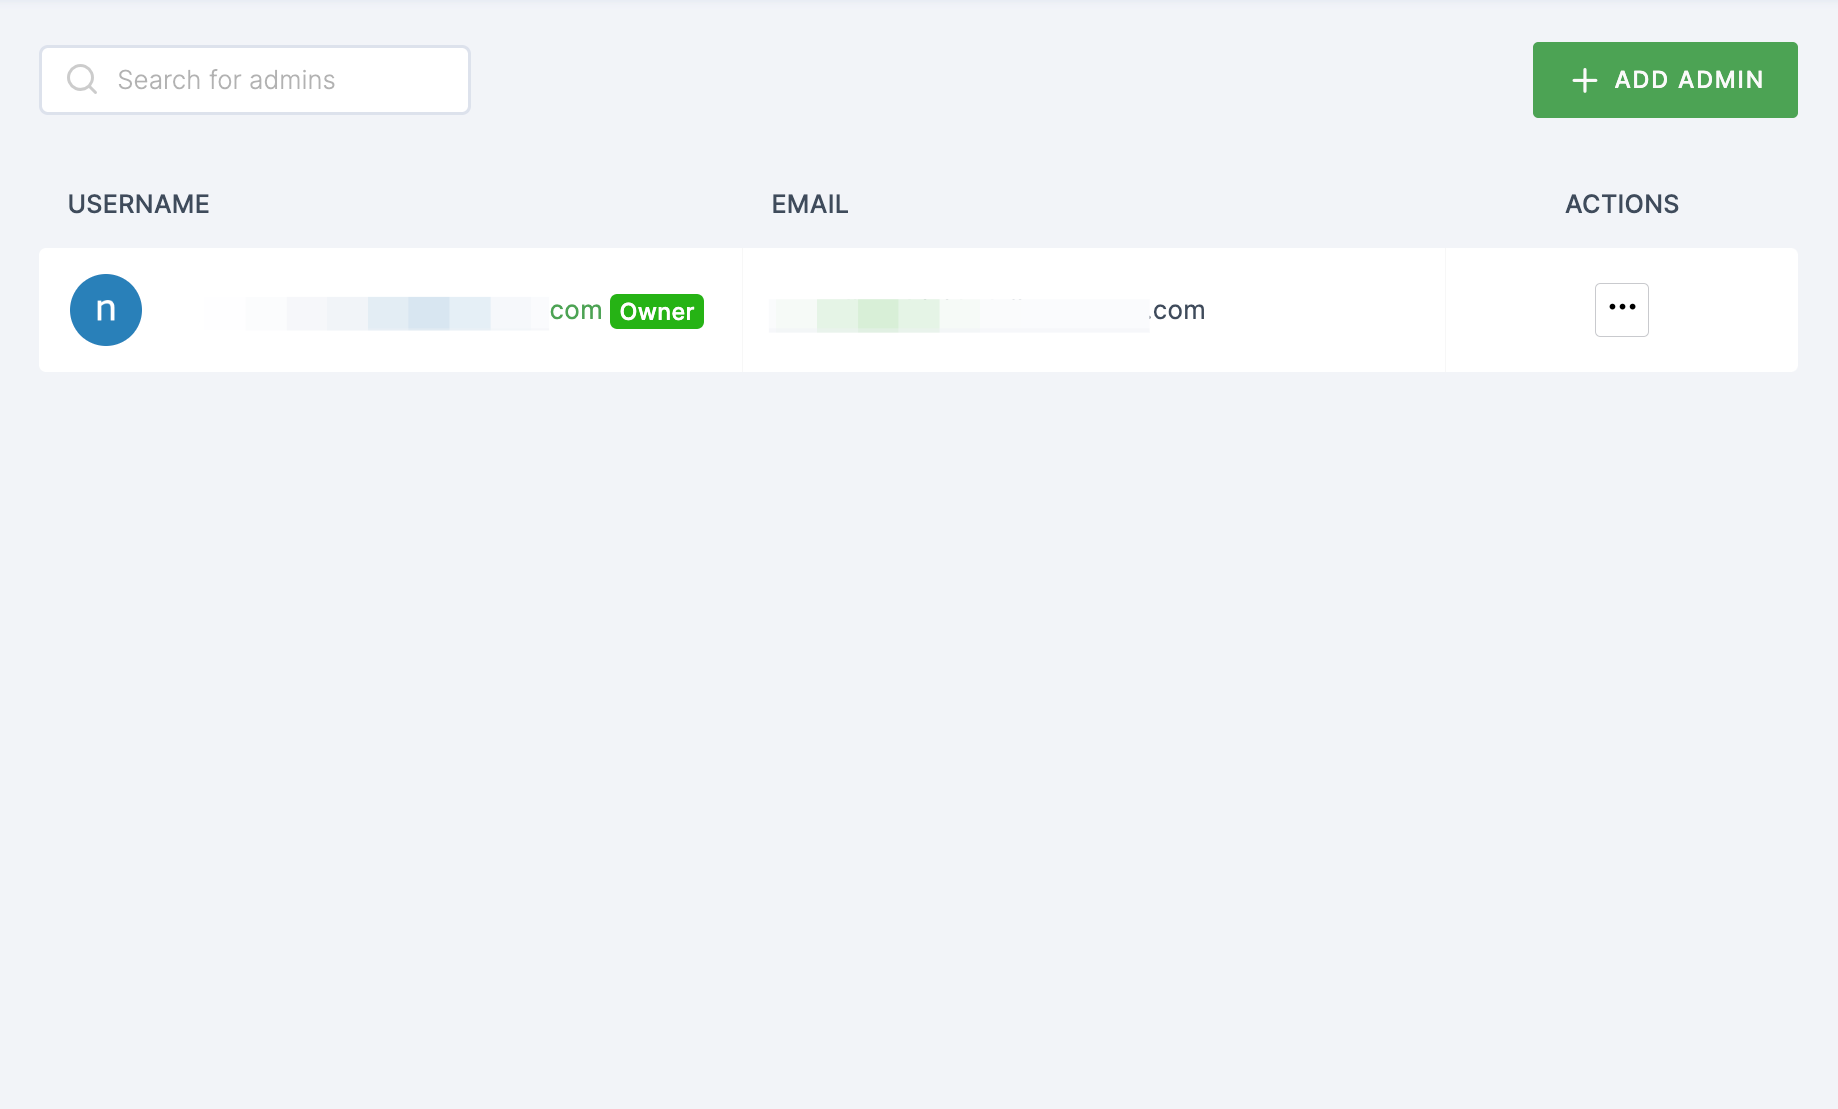
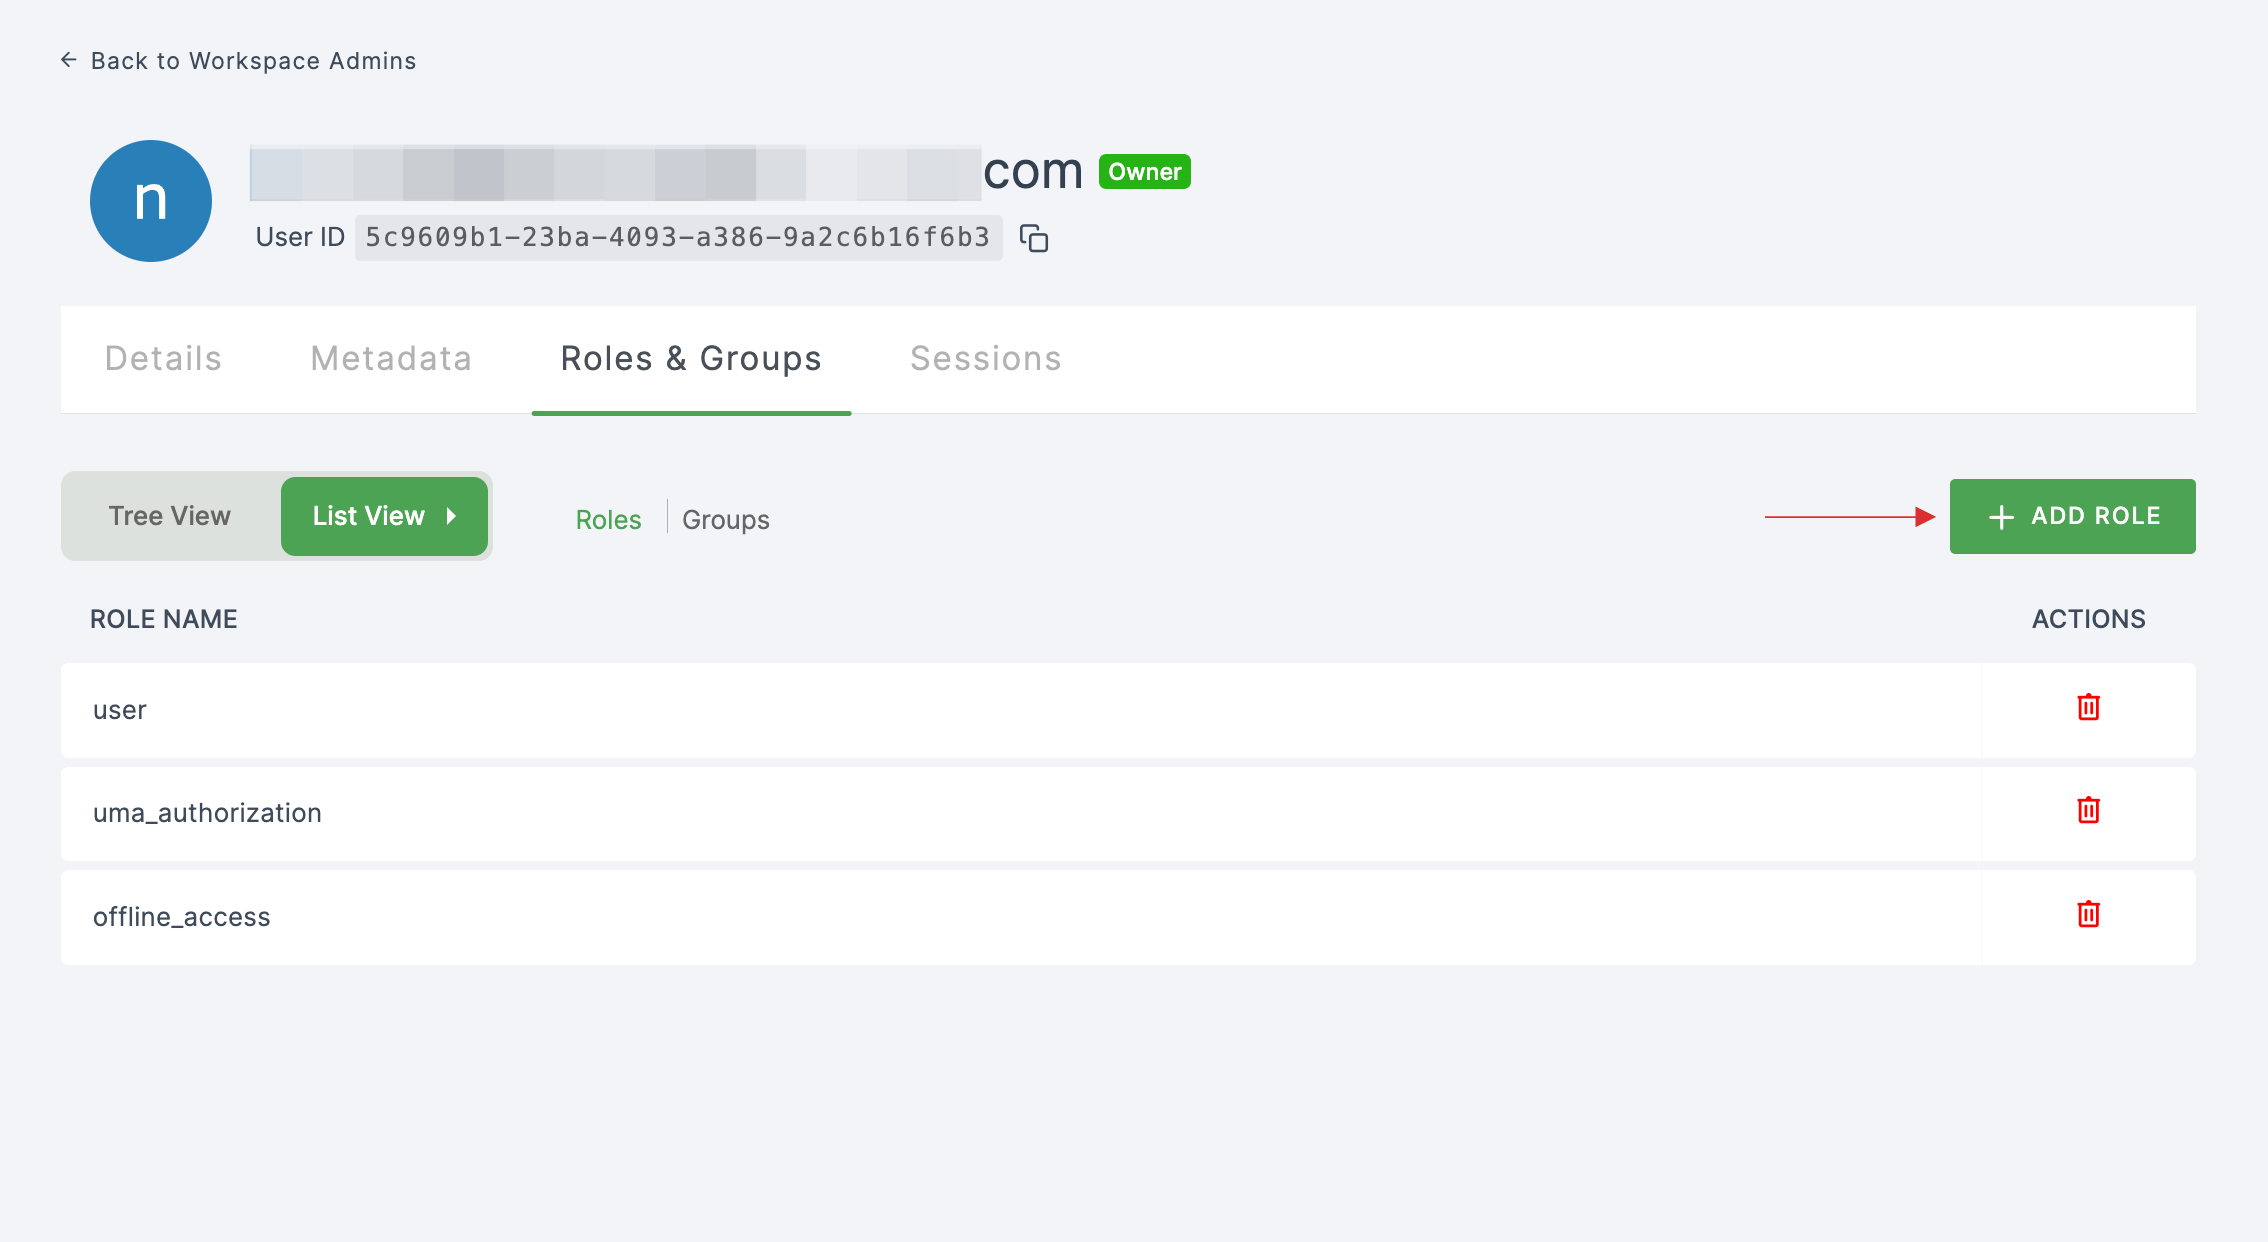
20 You will be taken to the user's Details tab, click on Roles & Groups.
21 Select List View and click on + ADD ROLE.
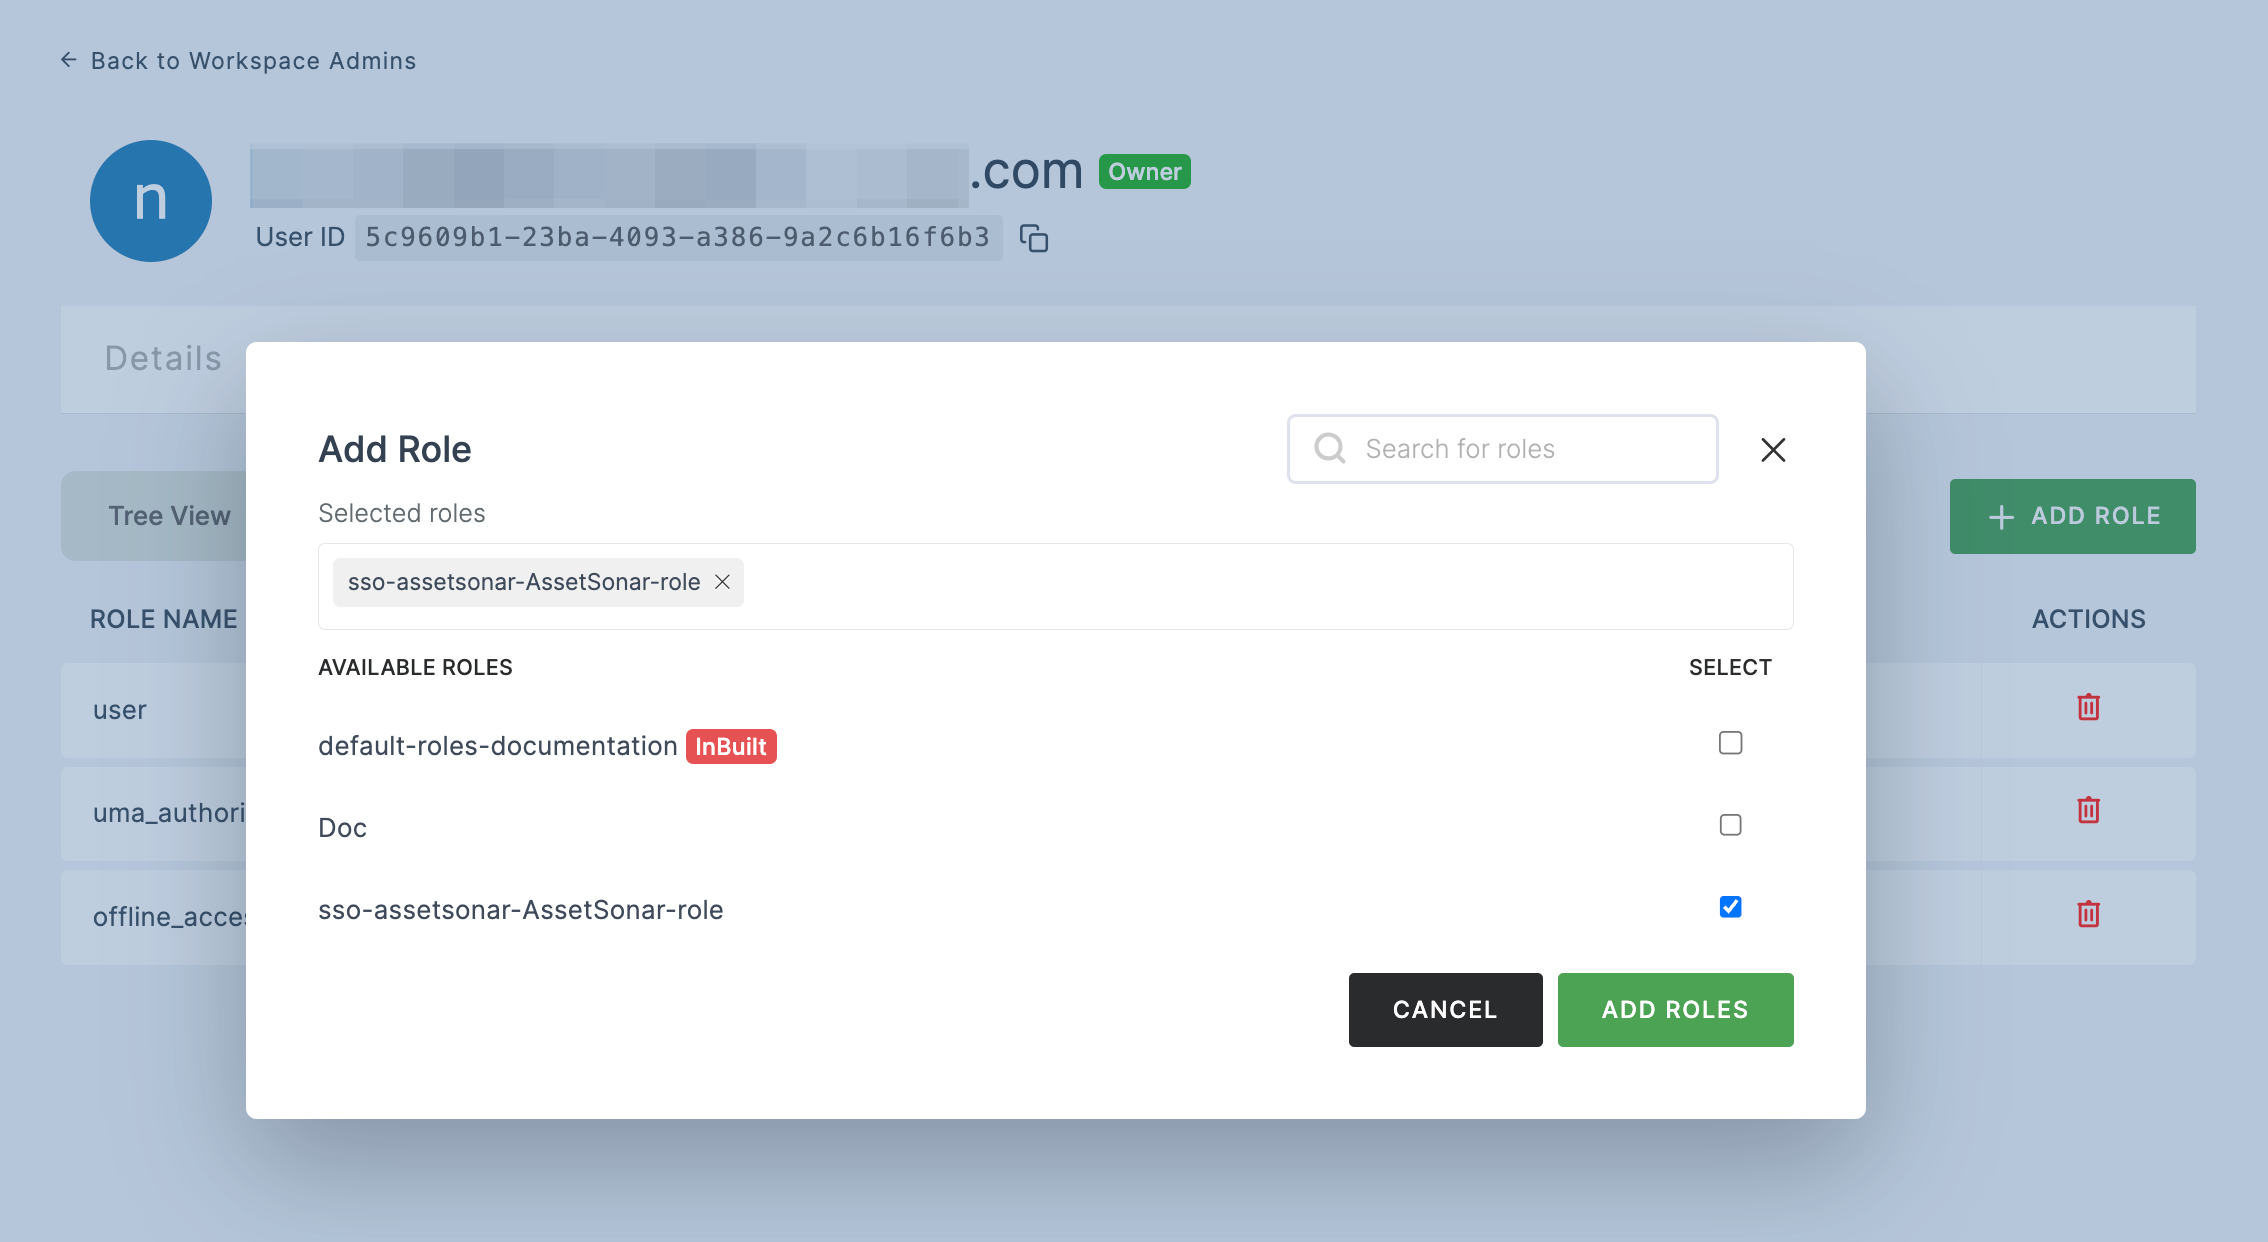
22 The available roles will appear; select sso-assetsonar-AssetSonar-role and click on ADD ROLES.
23 To verify whether SSO has been successfully enabled, go to Applications > SSO, click on SSO DASHBOARD button.
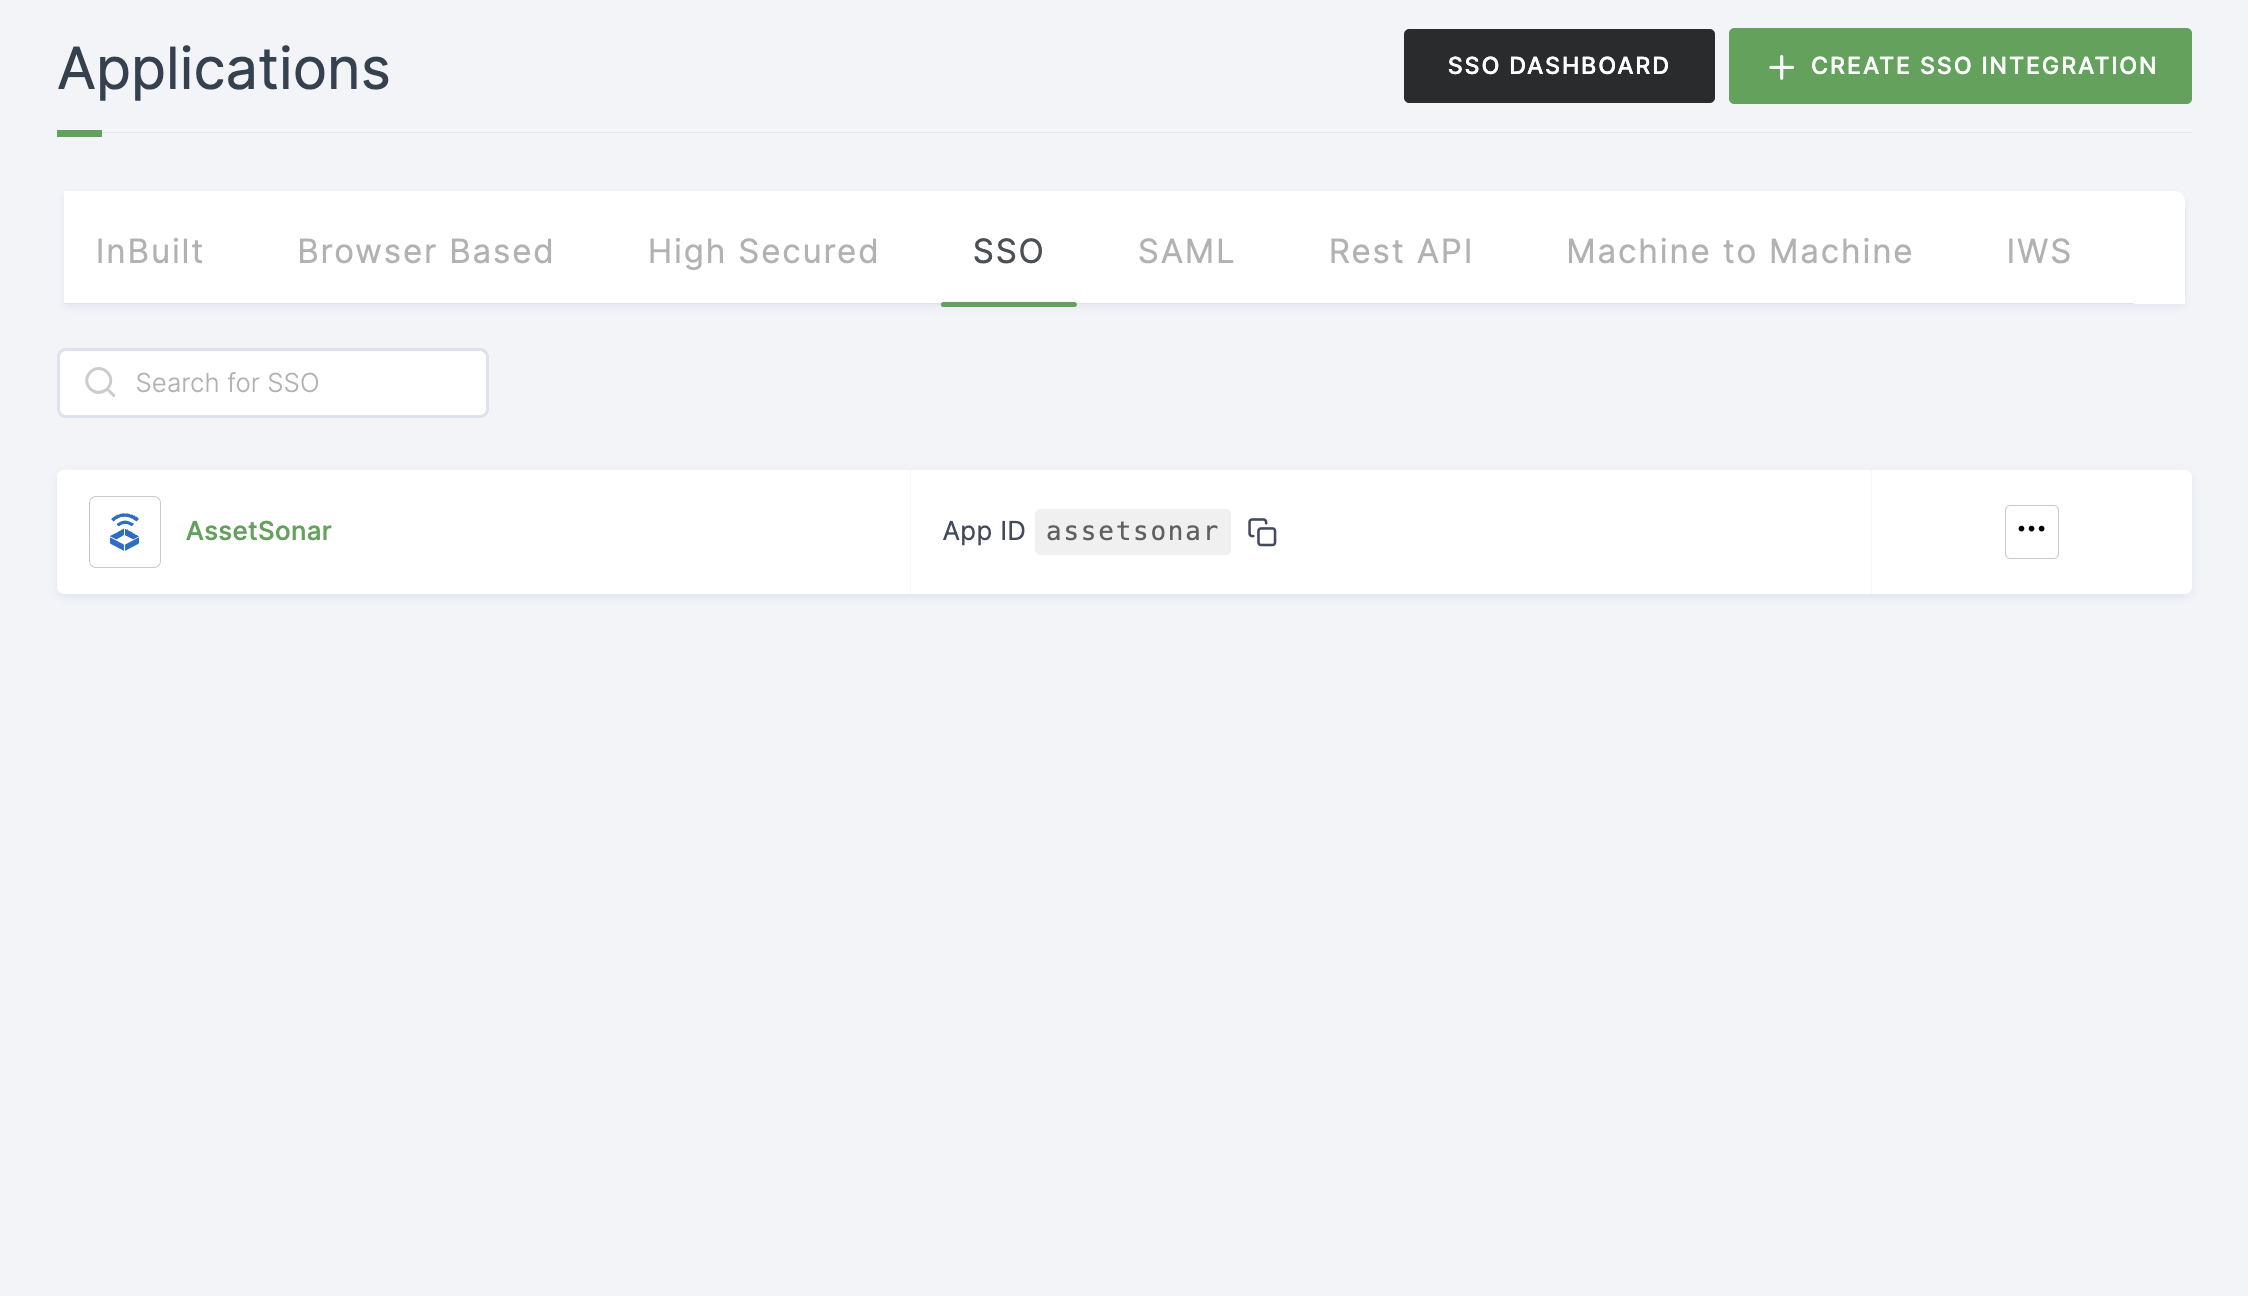
24 The AssetSonar SSO will be enabled successfully.
