CyLock
CyLock has a simple self-enrollment tool based on QR codes. Your users are immediately enrolled in and protected by CyLock with a short scan of a custom-generated QR Code and a few taps.
Here's the step-by-step process
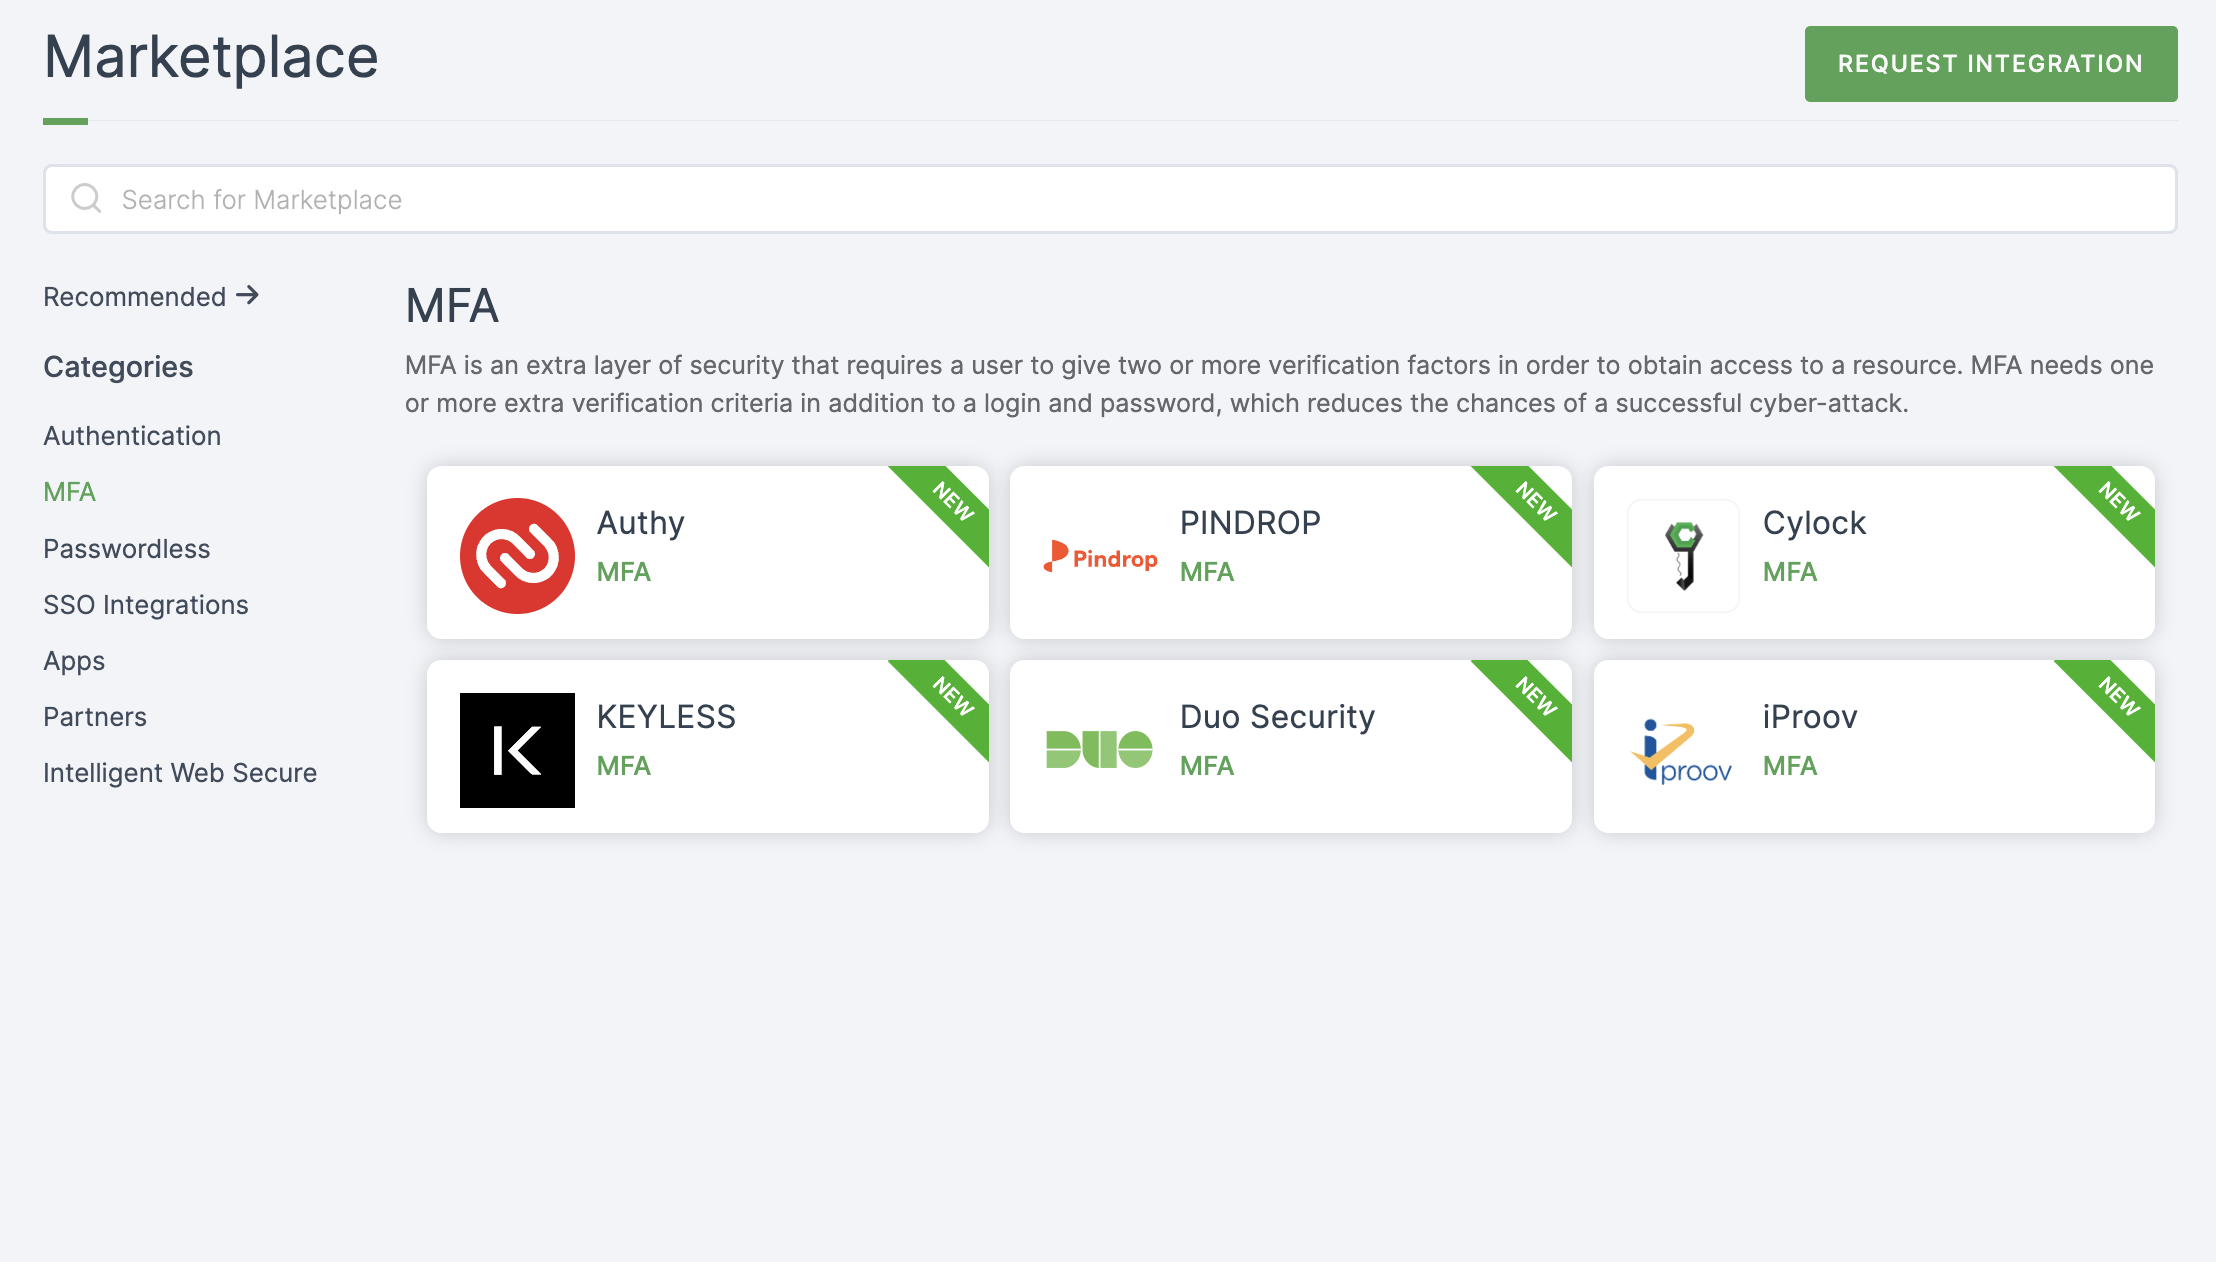
1 Go to Dashboard > Marketplace > MFA.

2 Select CyLock.
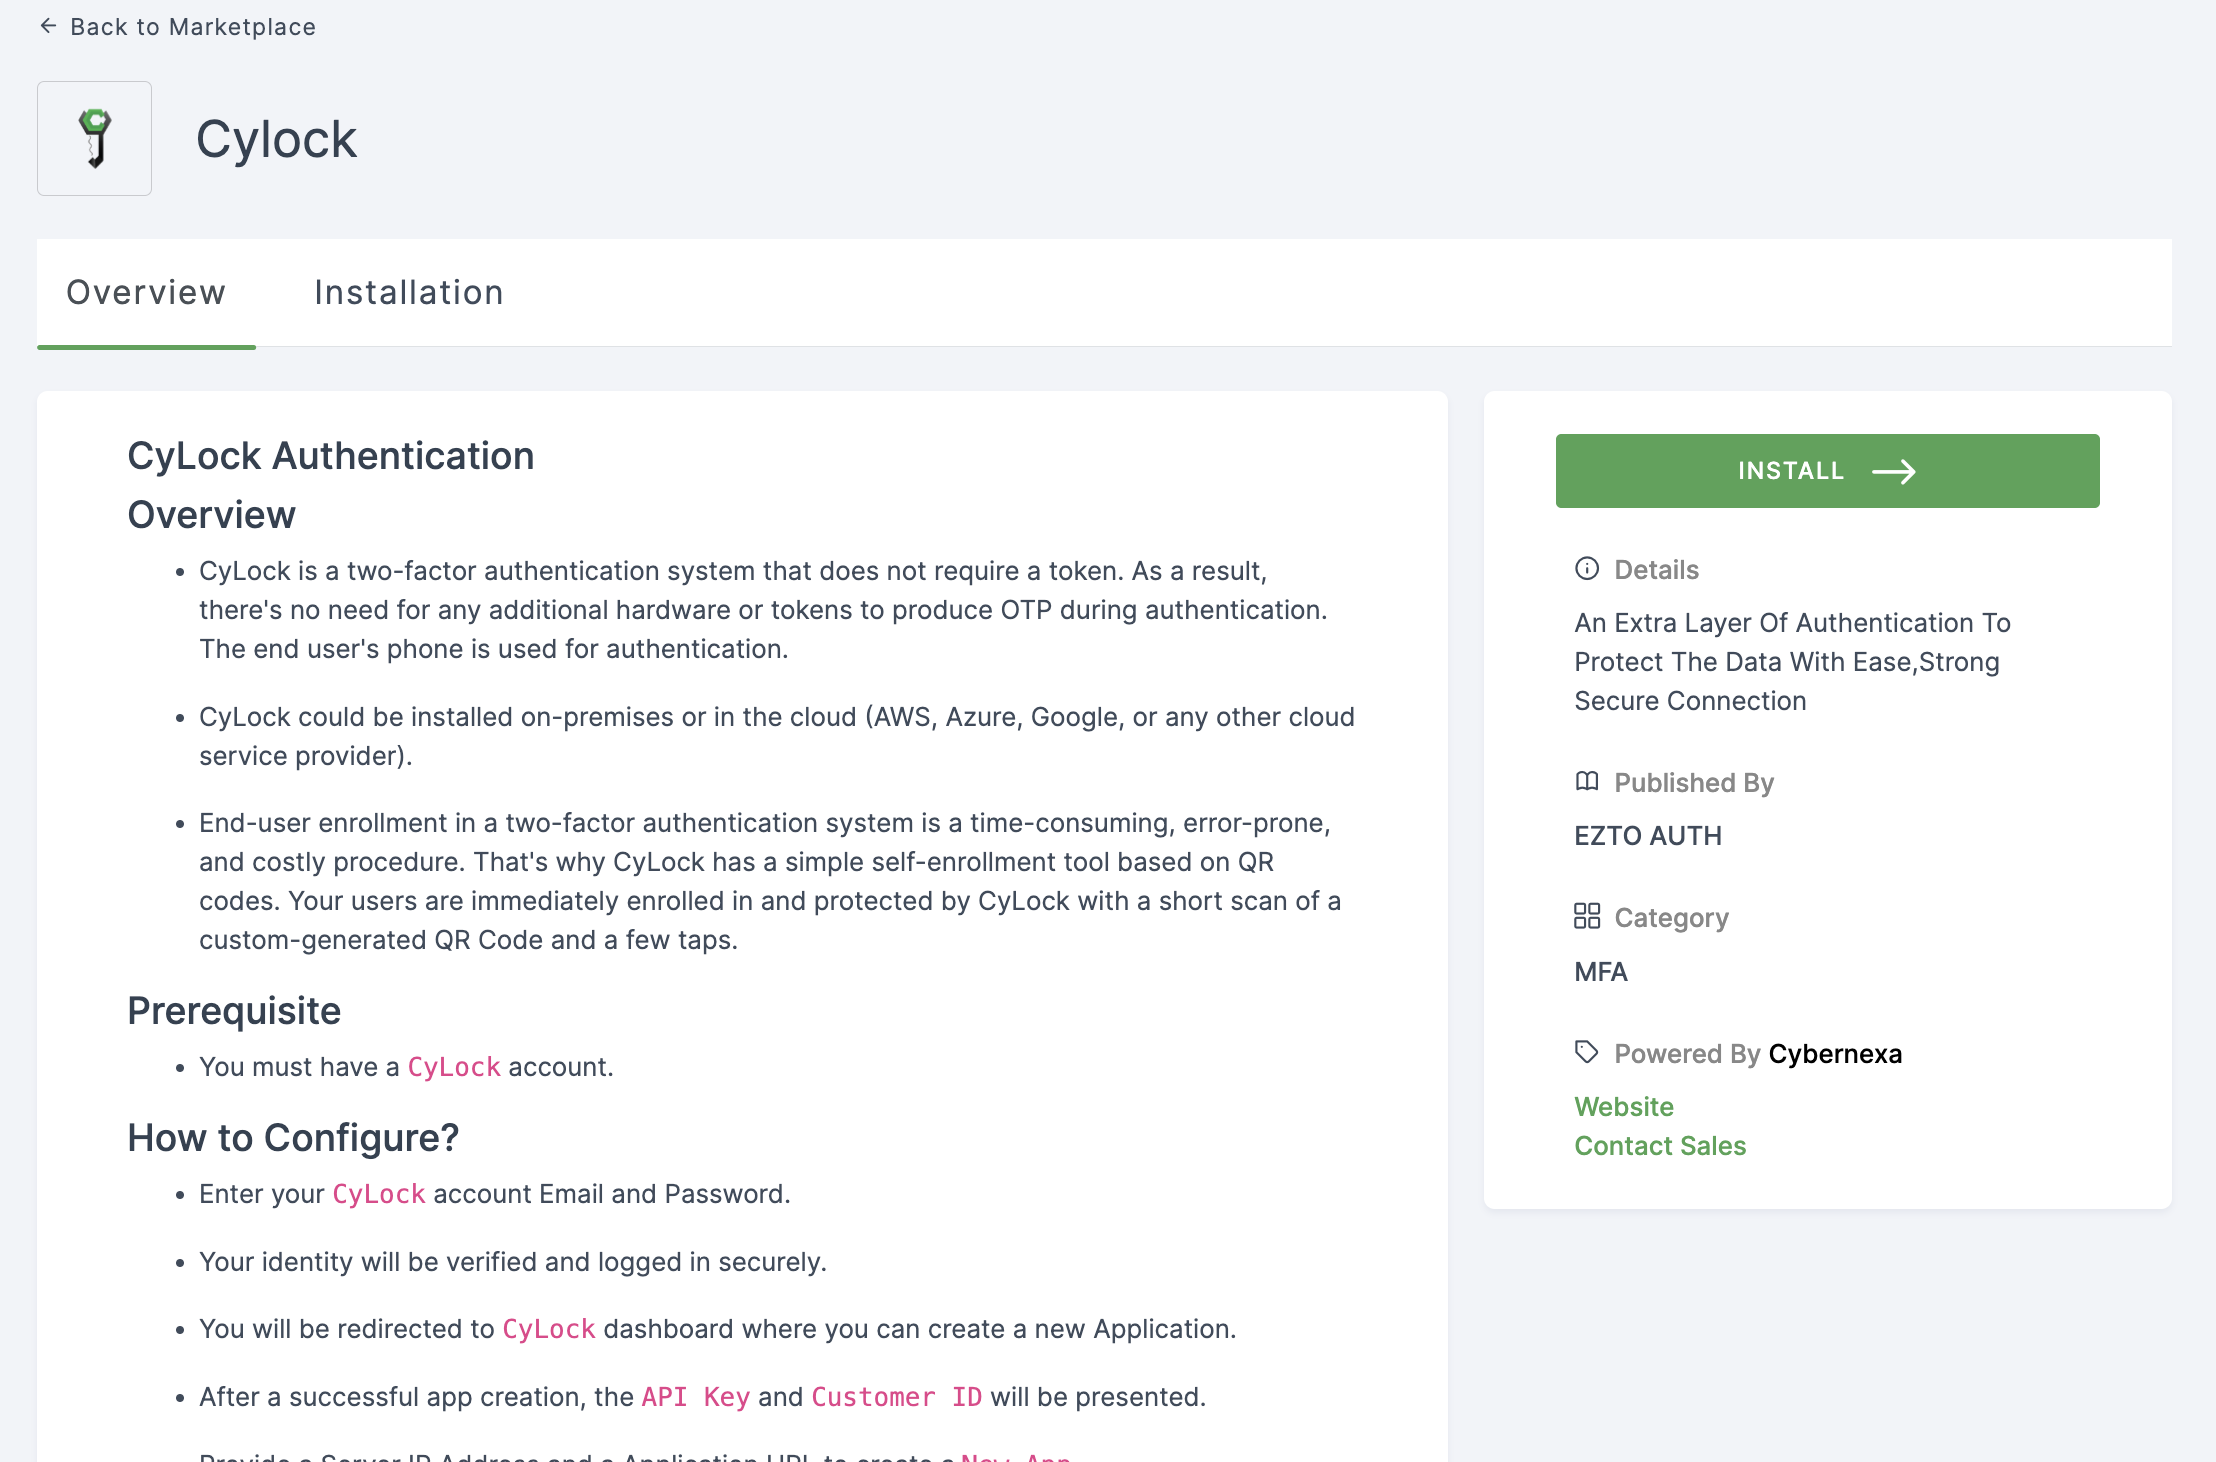
3 You'll land on the overview page, with an additional tab: Installation (providing a step-by-step installation guide).

4 Click on INSTALL.
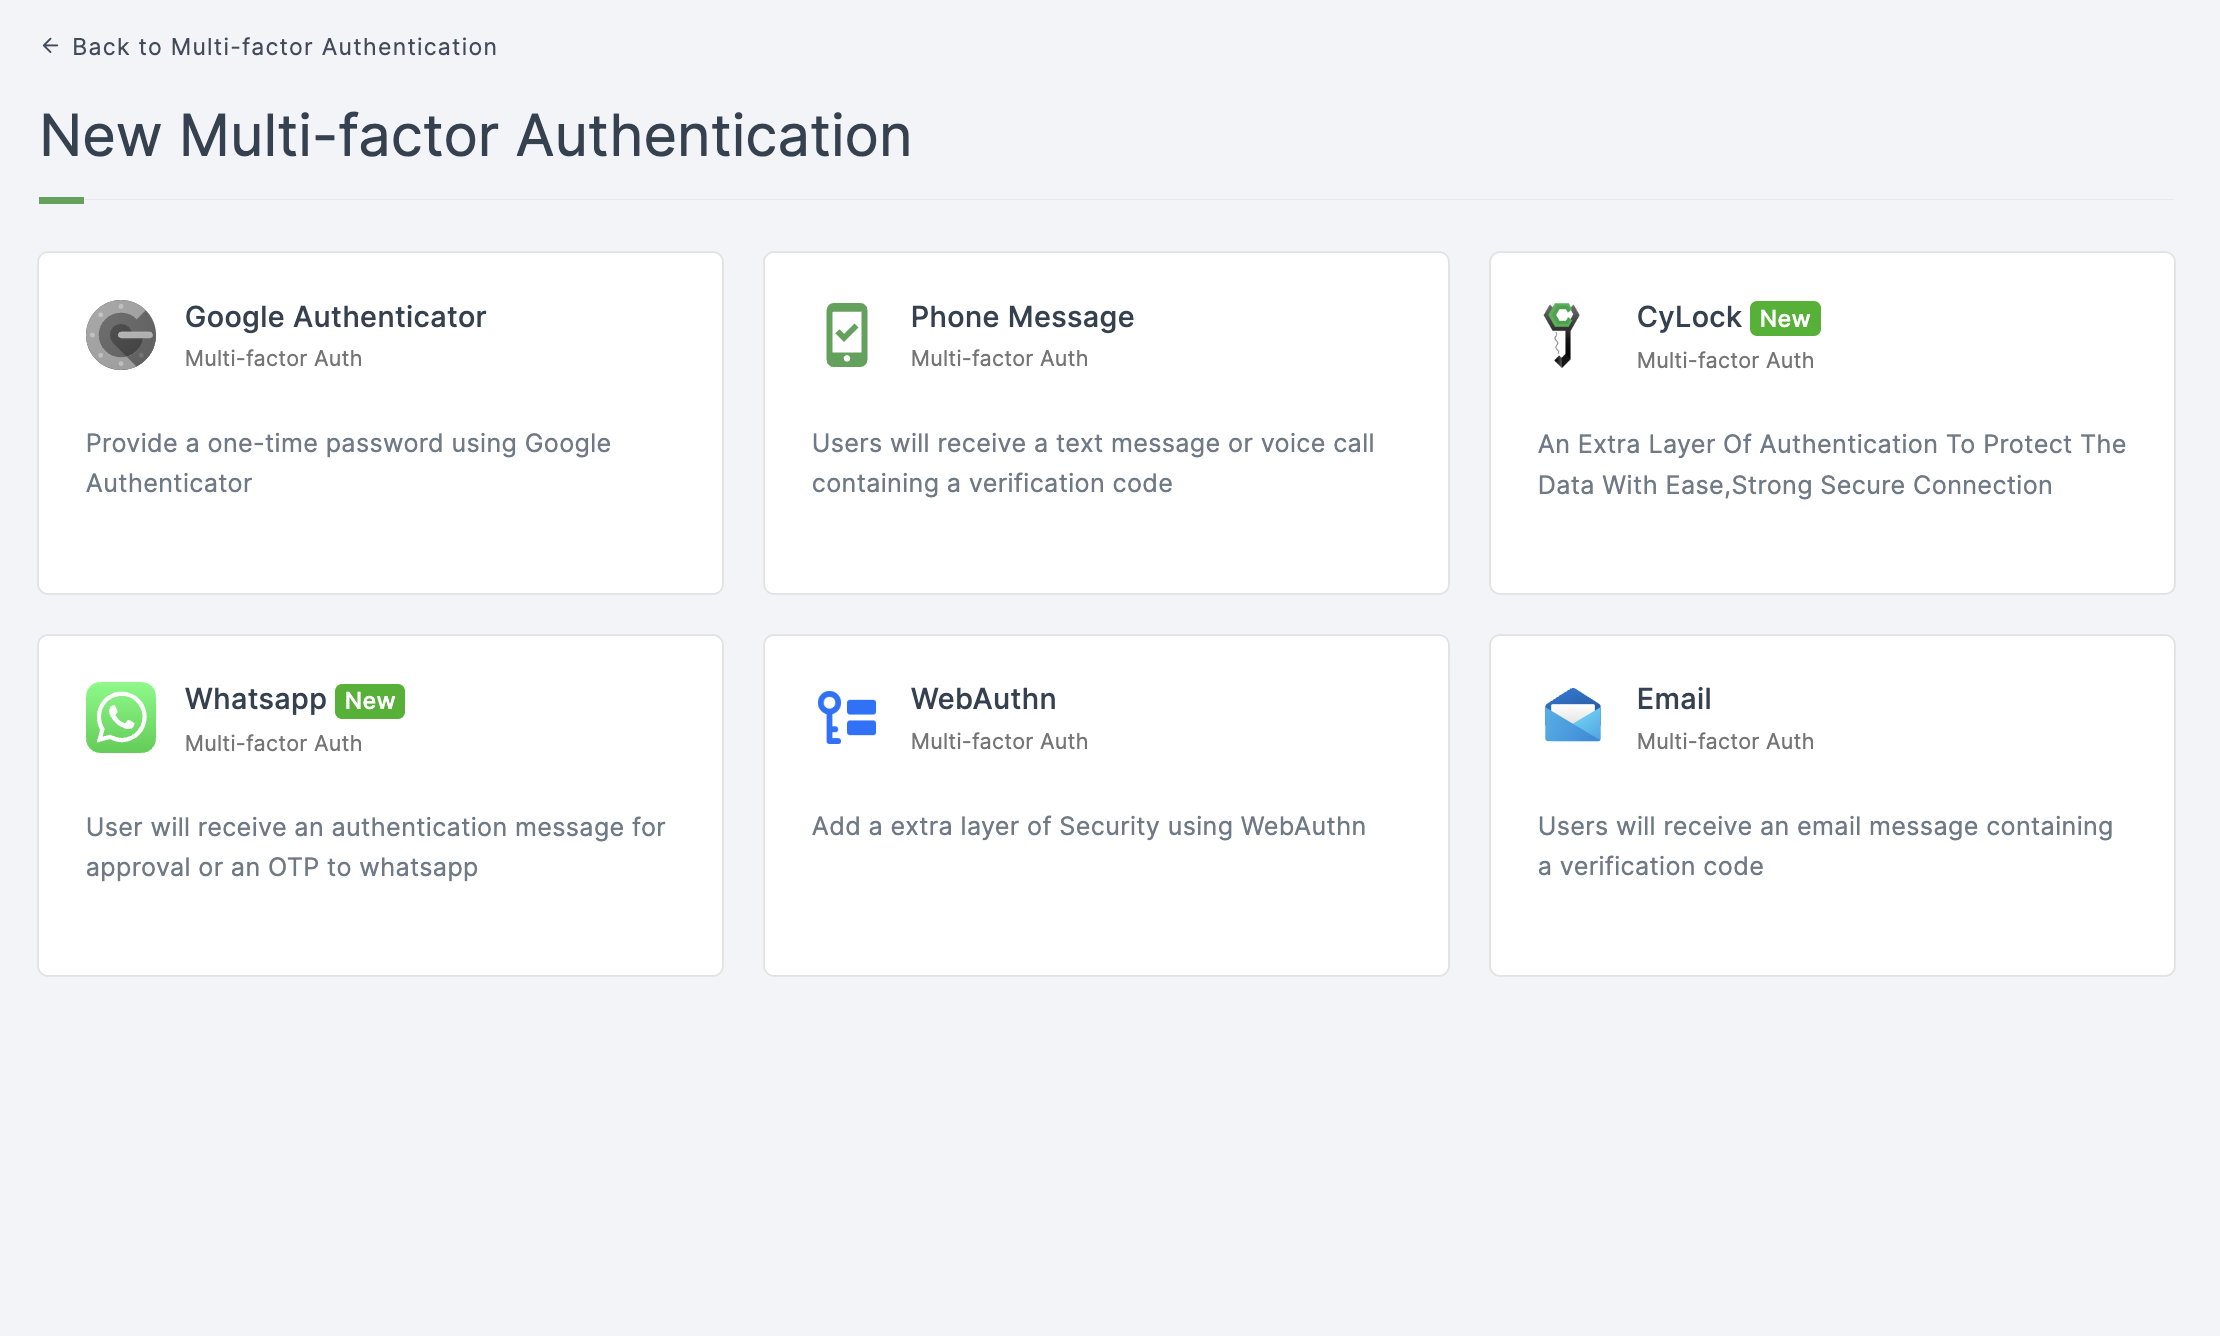
5 CyLock will be installed, and you will be moved to the MFA Authentication providers page.

6 Click on CyLock.
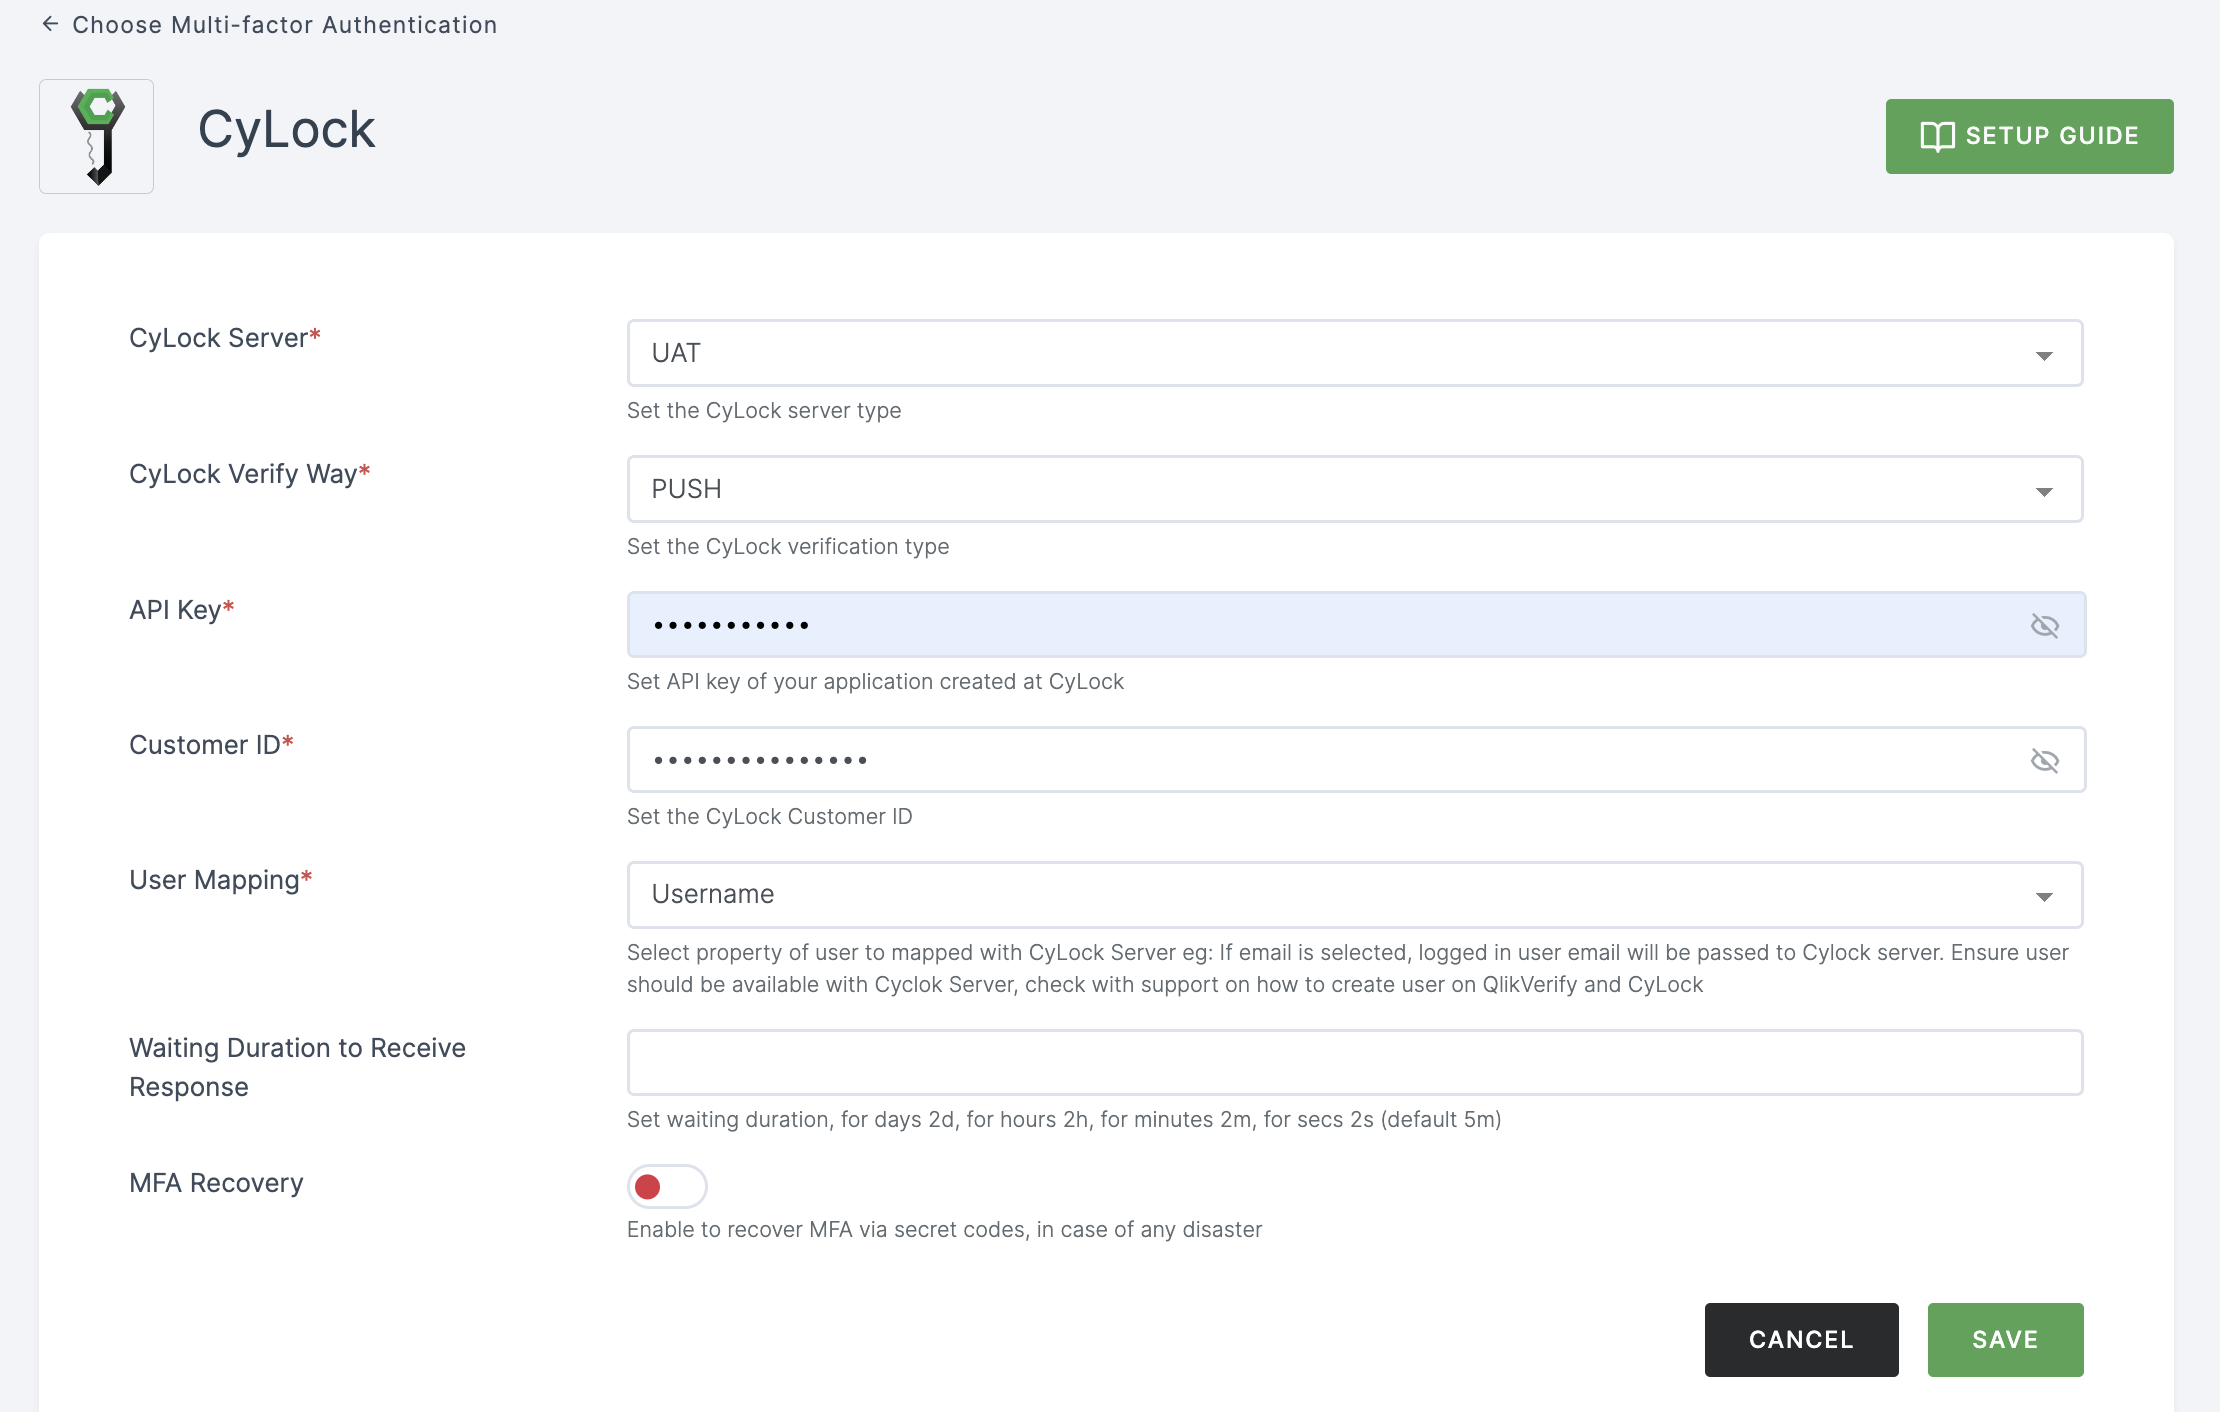
7 You will be directed to the configuration page for the chosen MFA method.

Configuration
(*) Indicates that the action is mandatory.
| Attribute | Description |
|---|---|
| *CyLock Serve | Specifies the CyLock server type, such as UAT or LIVE. |
| *CyLock Verify Way | Specifies the CyLock verification type, including PUSH, CROTP, and POTP. |
| *API Key | Provide the API key for your application created at CyLock. |
| *Customer ID | Set the CyLock Customer ID. |
| *User Mapping | Selects the user property to be mapped with the CyLock Server (e.g., if email is selected, the logged-in user's email will be passed to the CyLock server). Ensure the user is available on both ezto auth and CyLock. Options include Username, Email, and Phone. |
| Waiting Duration to Receive Response | Specifies the waiting duration, which can be expressed in days (d), hours (h), minutes (m), or seconds (s) with a default setting of 5 minutes. |
| MFA Recovery | Enabling this option allows you to recover multi-factor authentication (MFA) using secret codes, which can help you regain access to your account in the event of a disaster or account lockout. |
8 Provide the necessary configurations and click on SAVE.
9 Moving forward, the subsequent step involves associating the google authenticator MFA flow with the application for execution. If you're looking to understand how to attach an authenticator to an application, see here.
10 To know how to execute an authentication flow, see here.