Strapi
Strapi is an open-source headless content management system (CMS) that enables developers to build powerful and customizable APIs quickly. It provides a flexible and secure way to manage and distribute content, making it a popular choice for developers building websites, applications, or any digital experiences that require structured content management.
1 Go to Dashboard > Marketplace > Intelligent Web Secure.

2 Select Strapi from the list.
3 You'll land on the overview page, with an additional tab: Installation (providing a step-by-step installation guide).
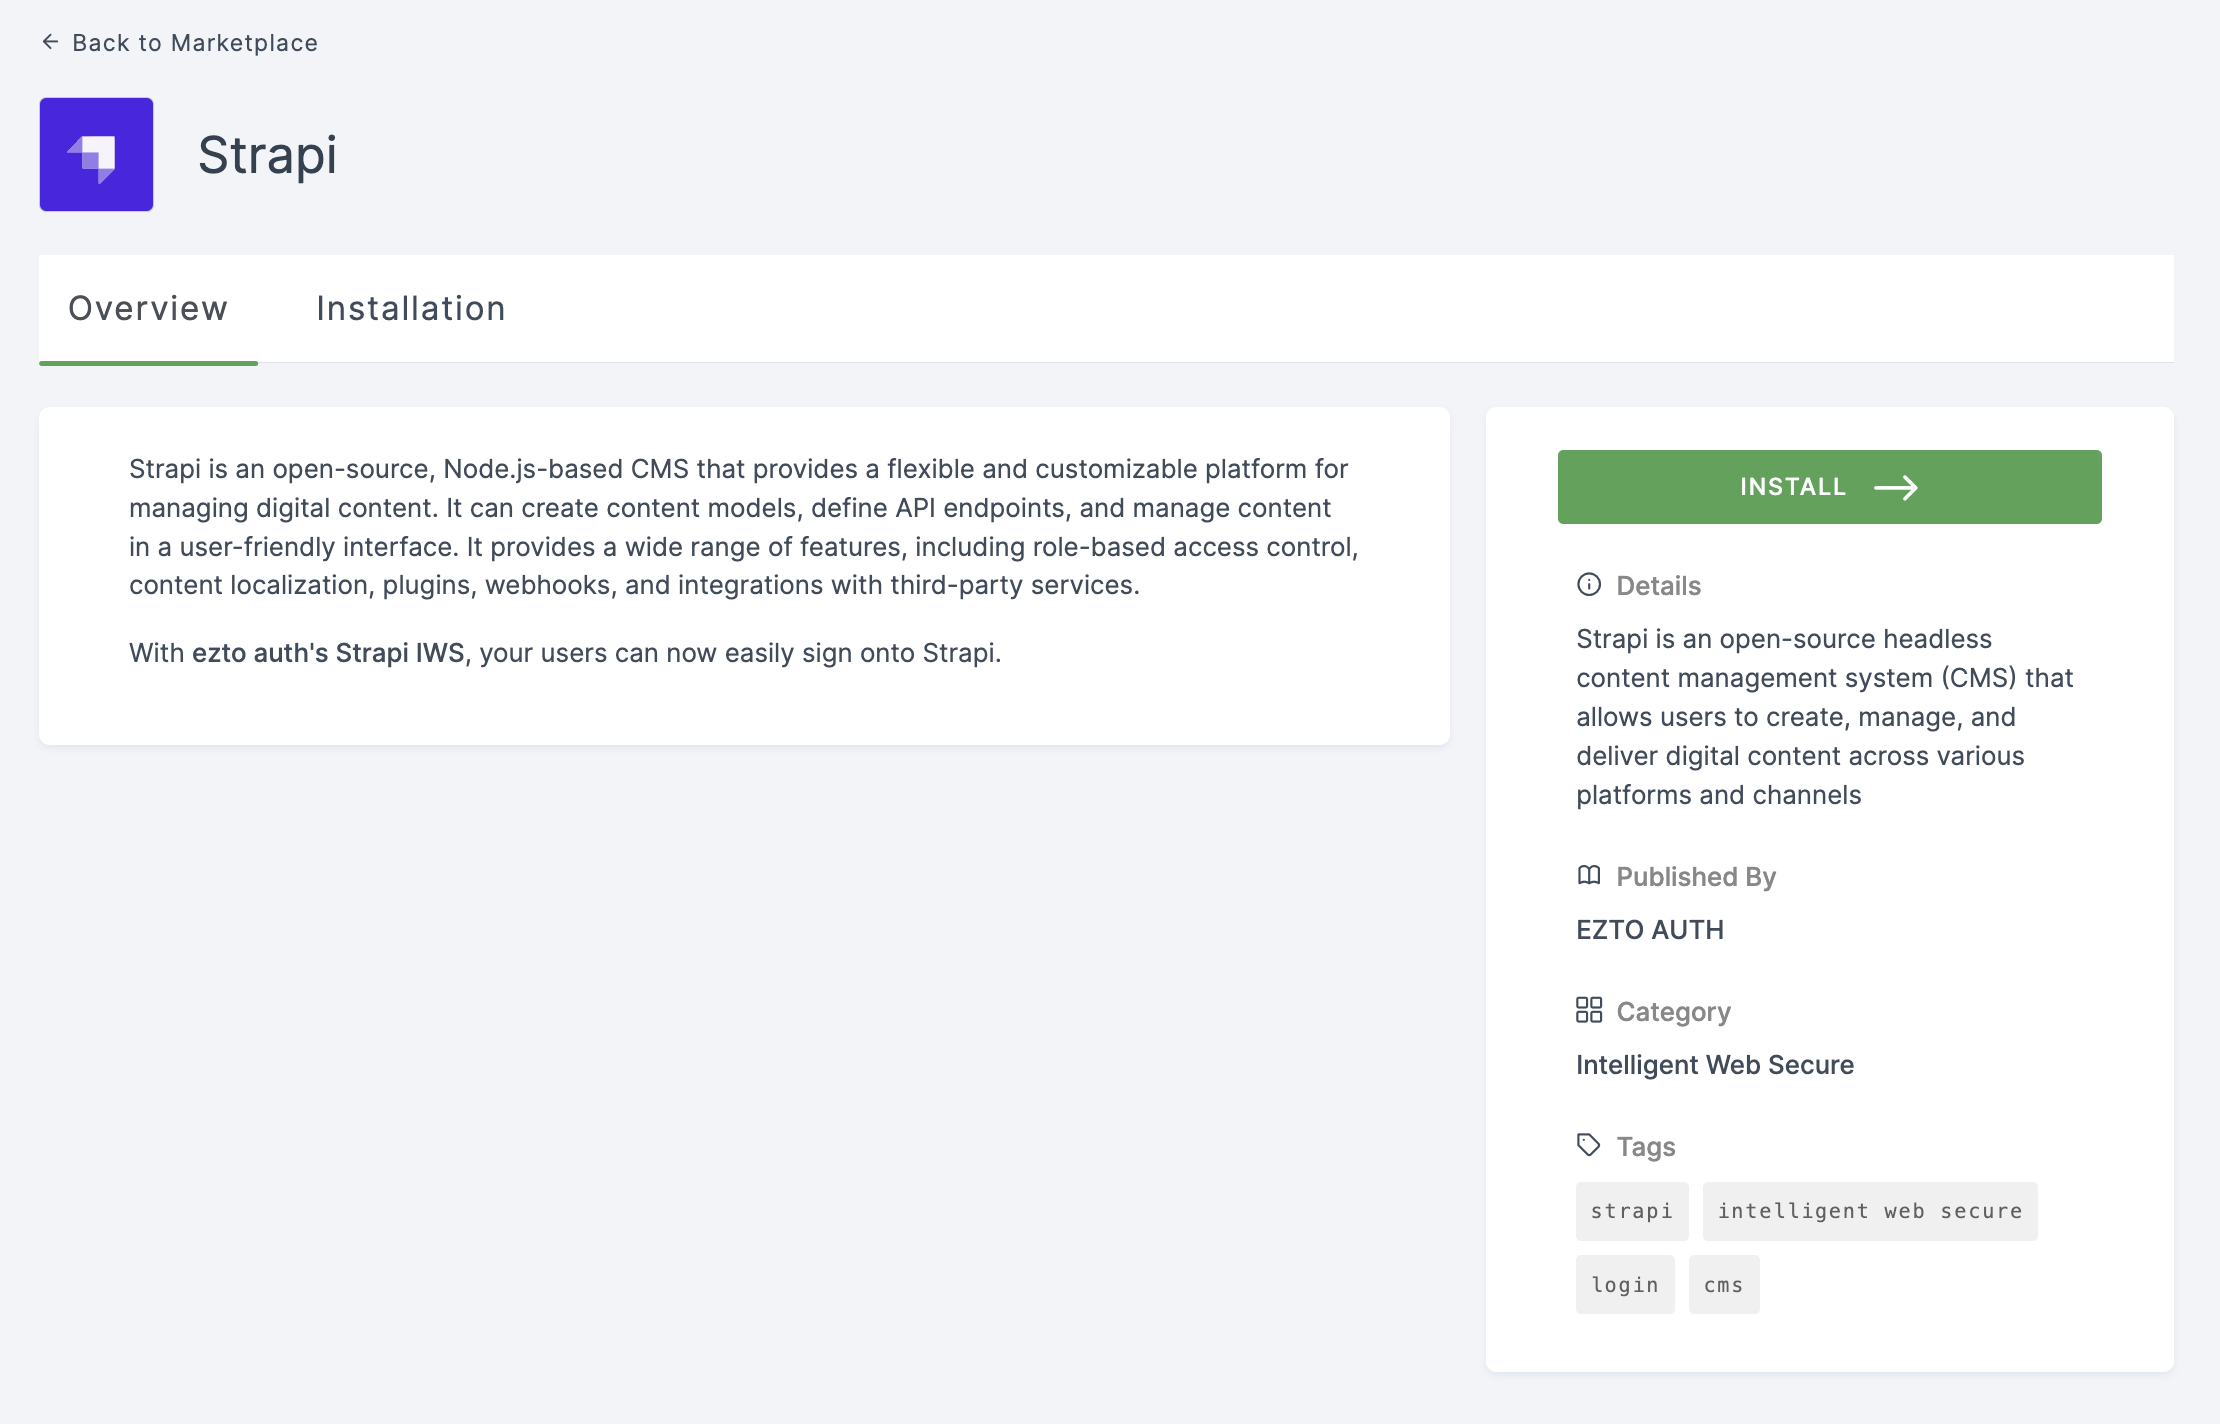
4 Click on INSTALL.
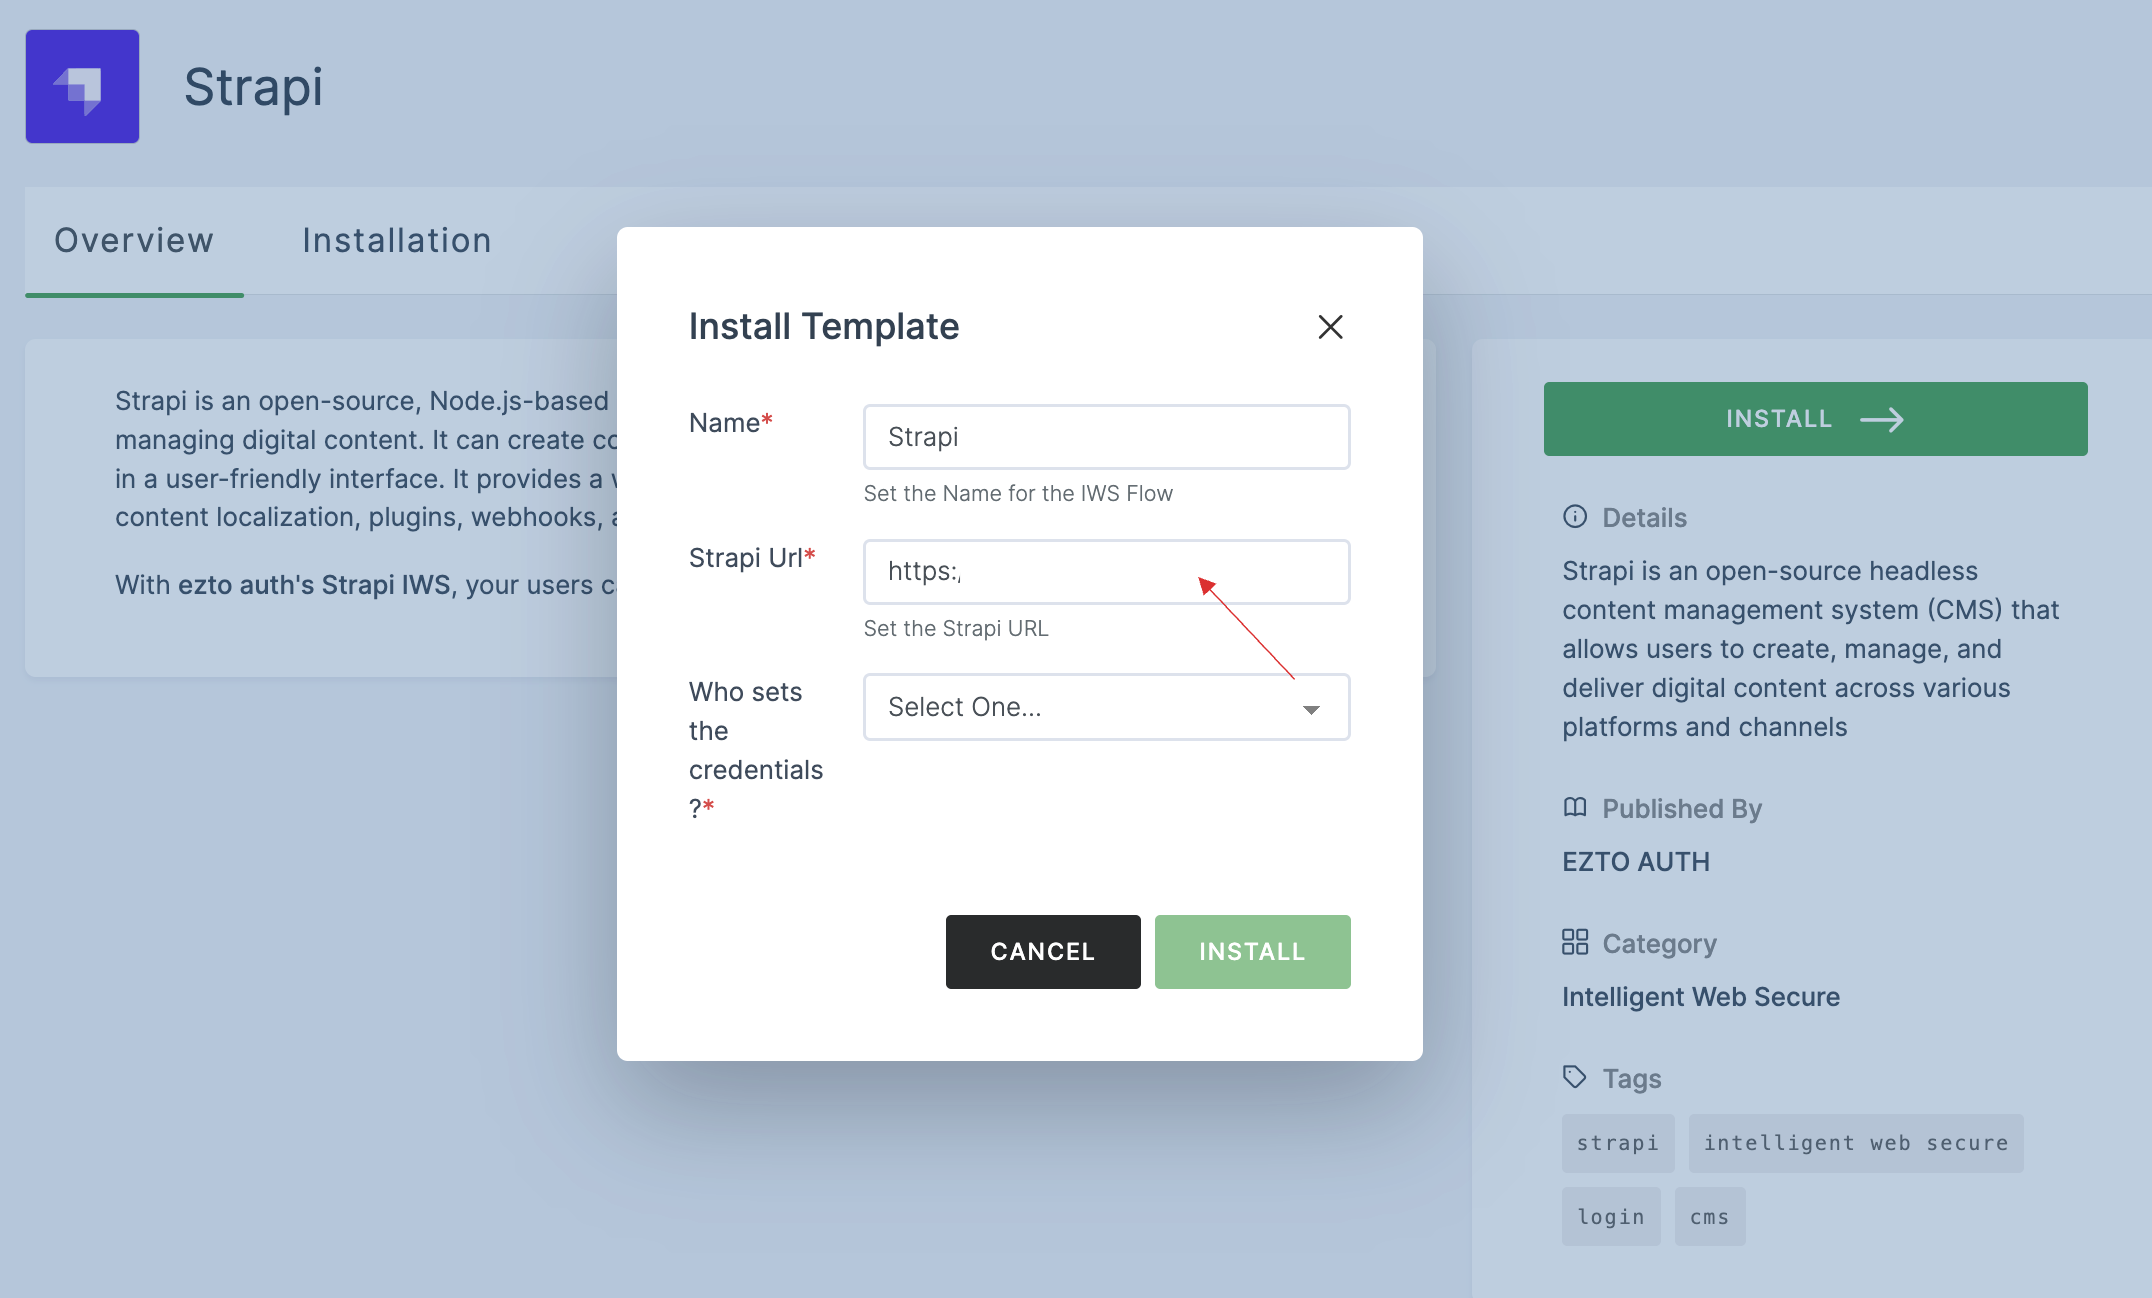
5 Provide a Name.
6 For Strapi Url, input your Strapi domain URL.
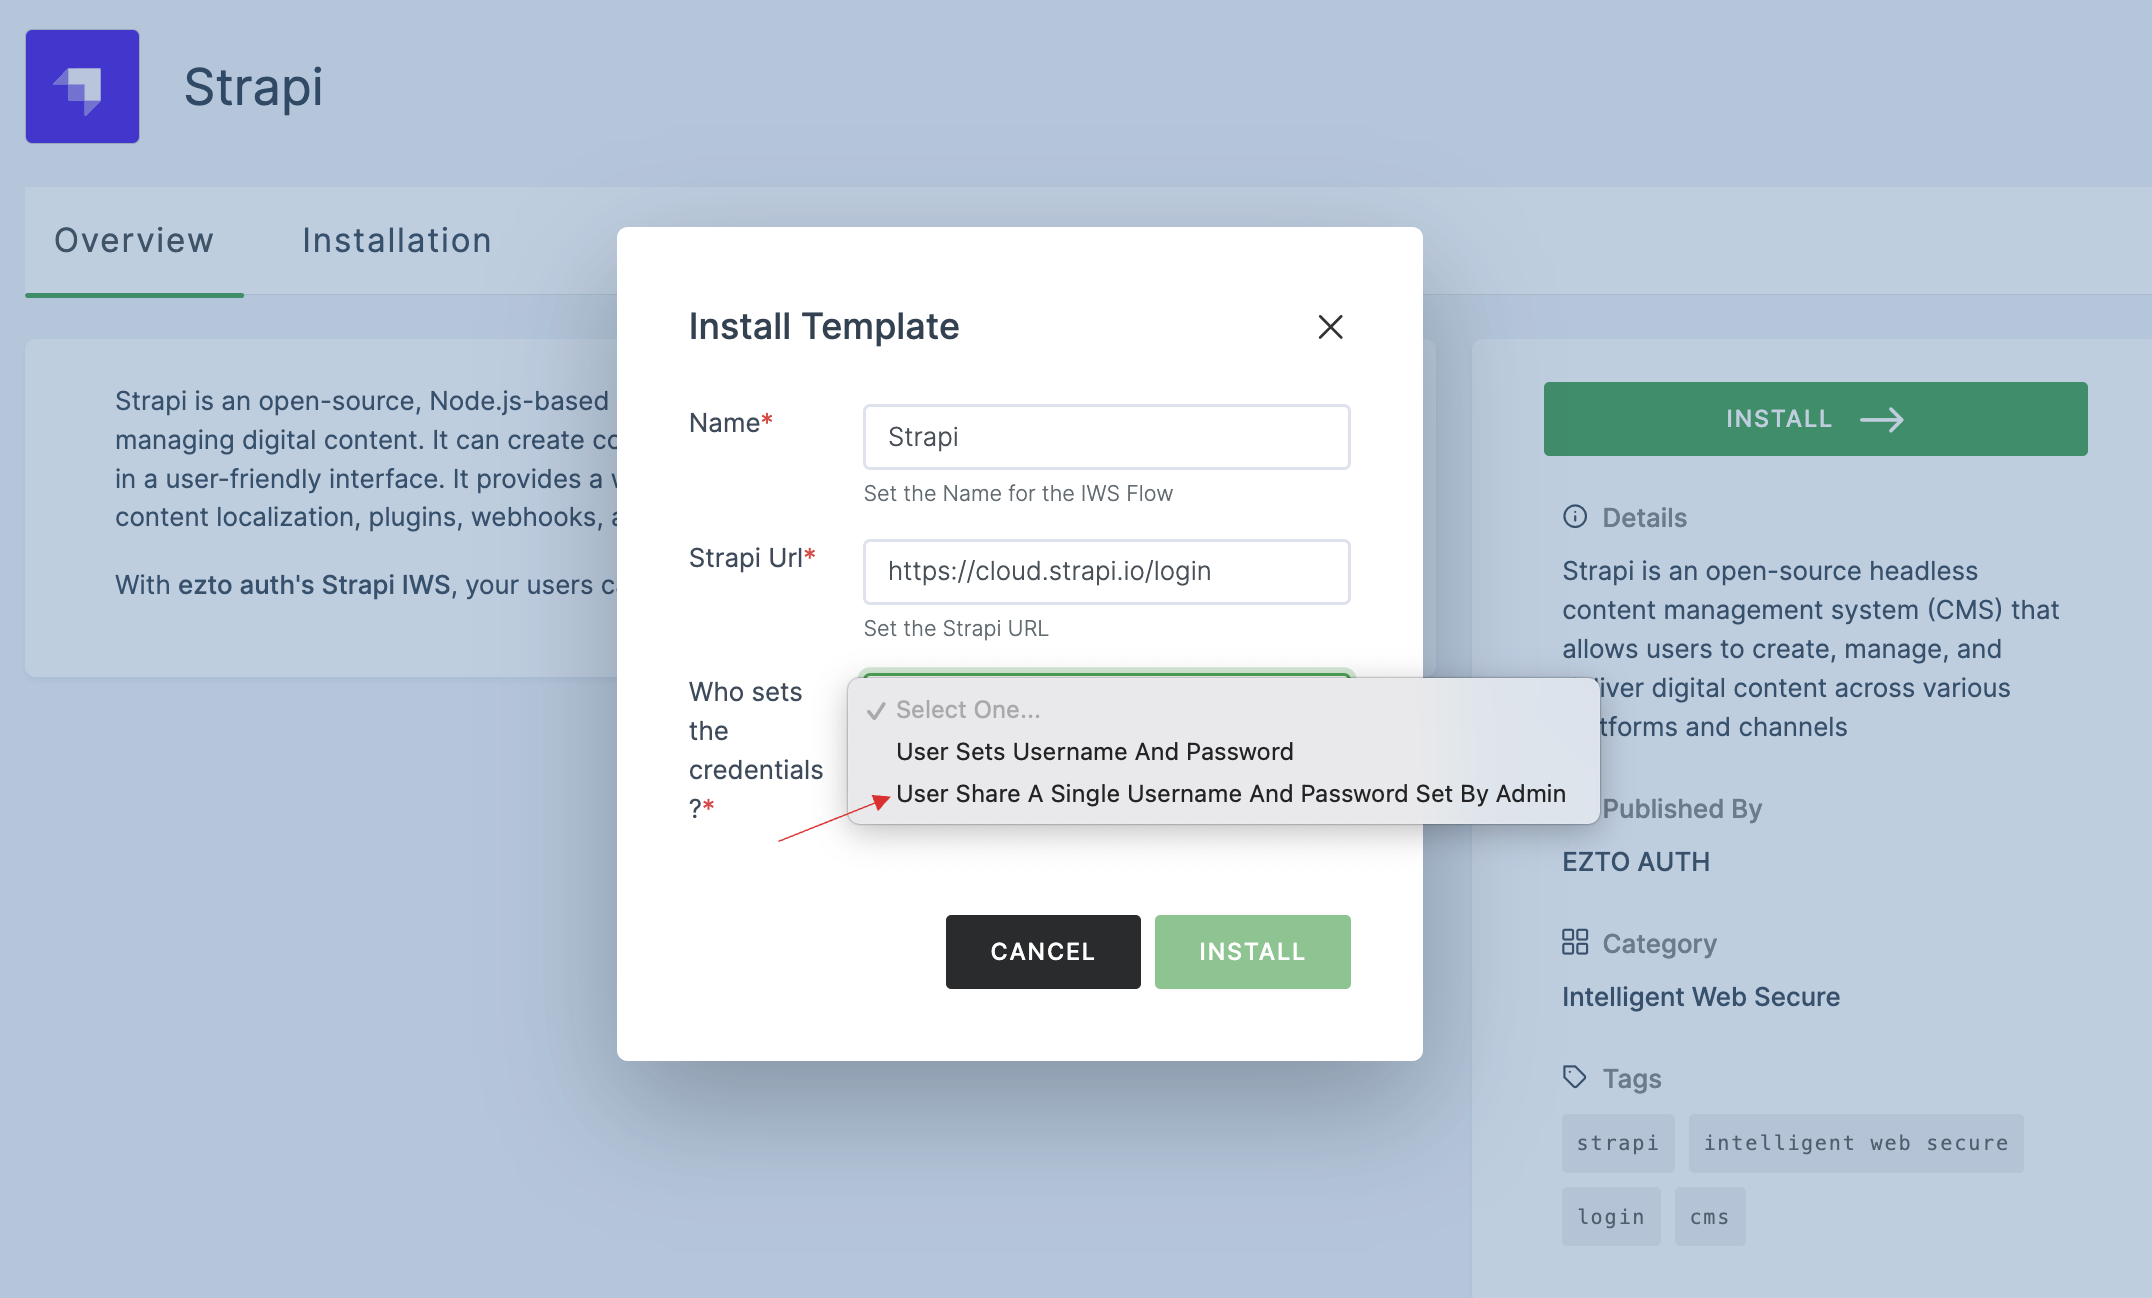
7 Select User Share A Single Username And Password Set By Admin for Who sets the credentials?
If you want to configure with "User Sets Username And Password," refer here.
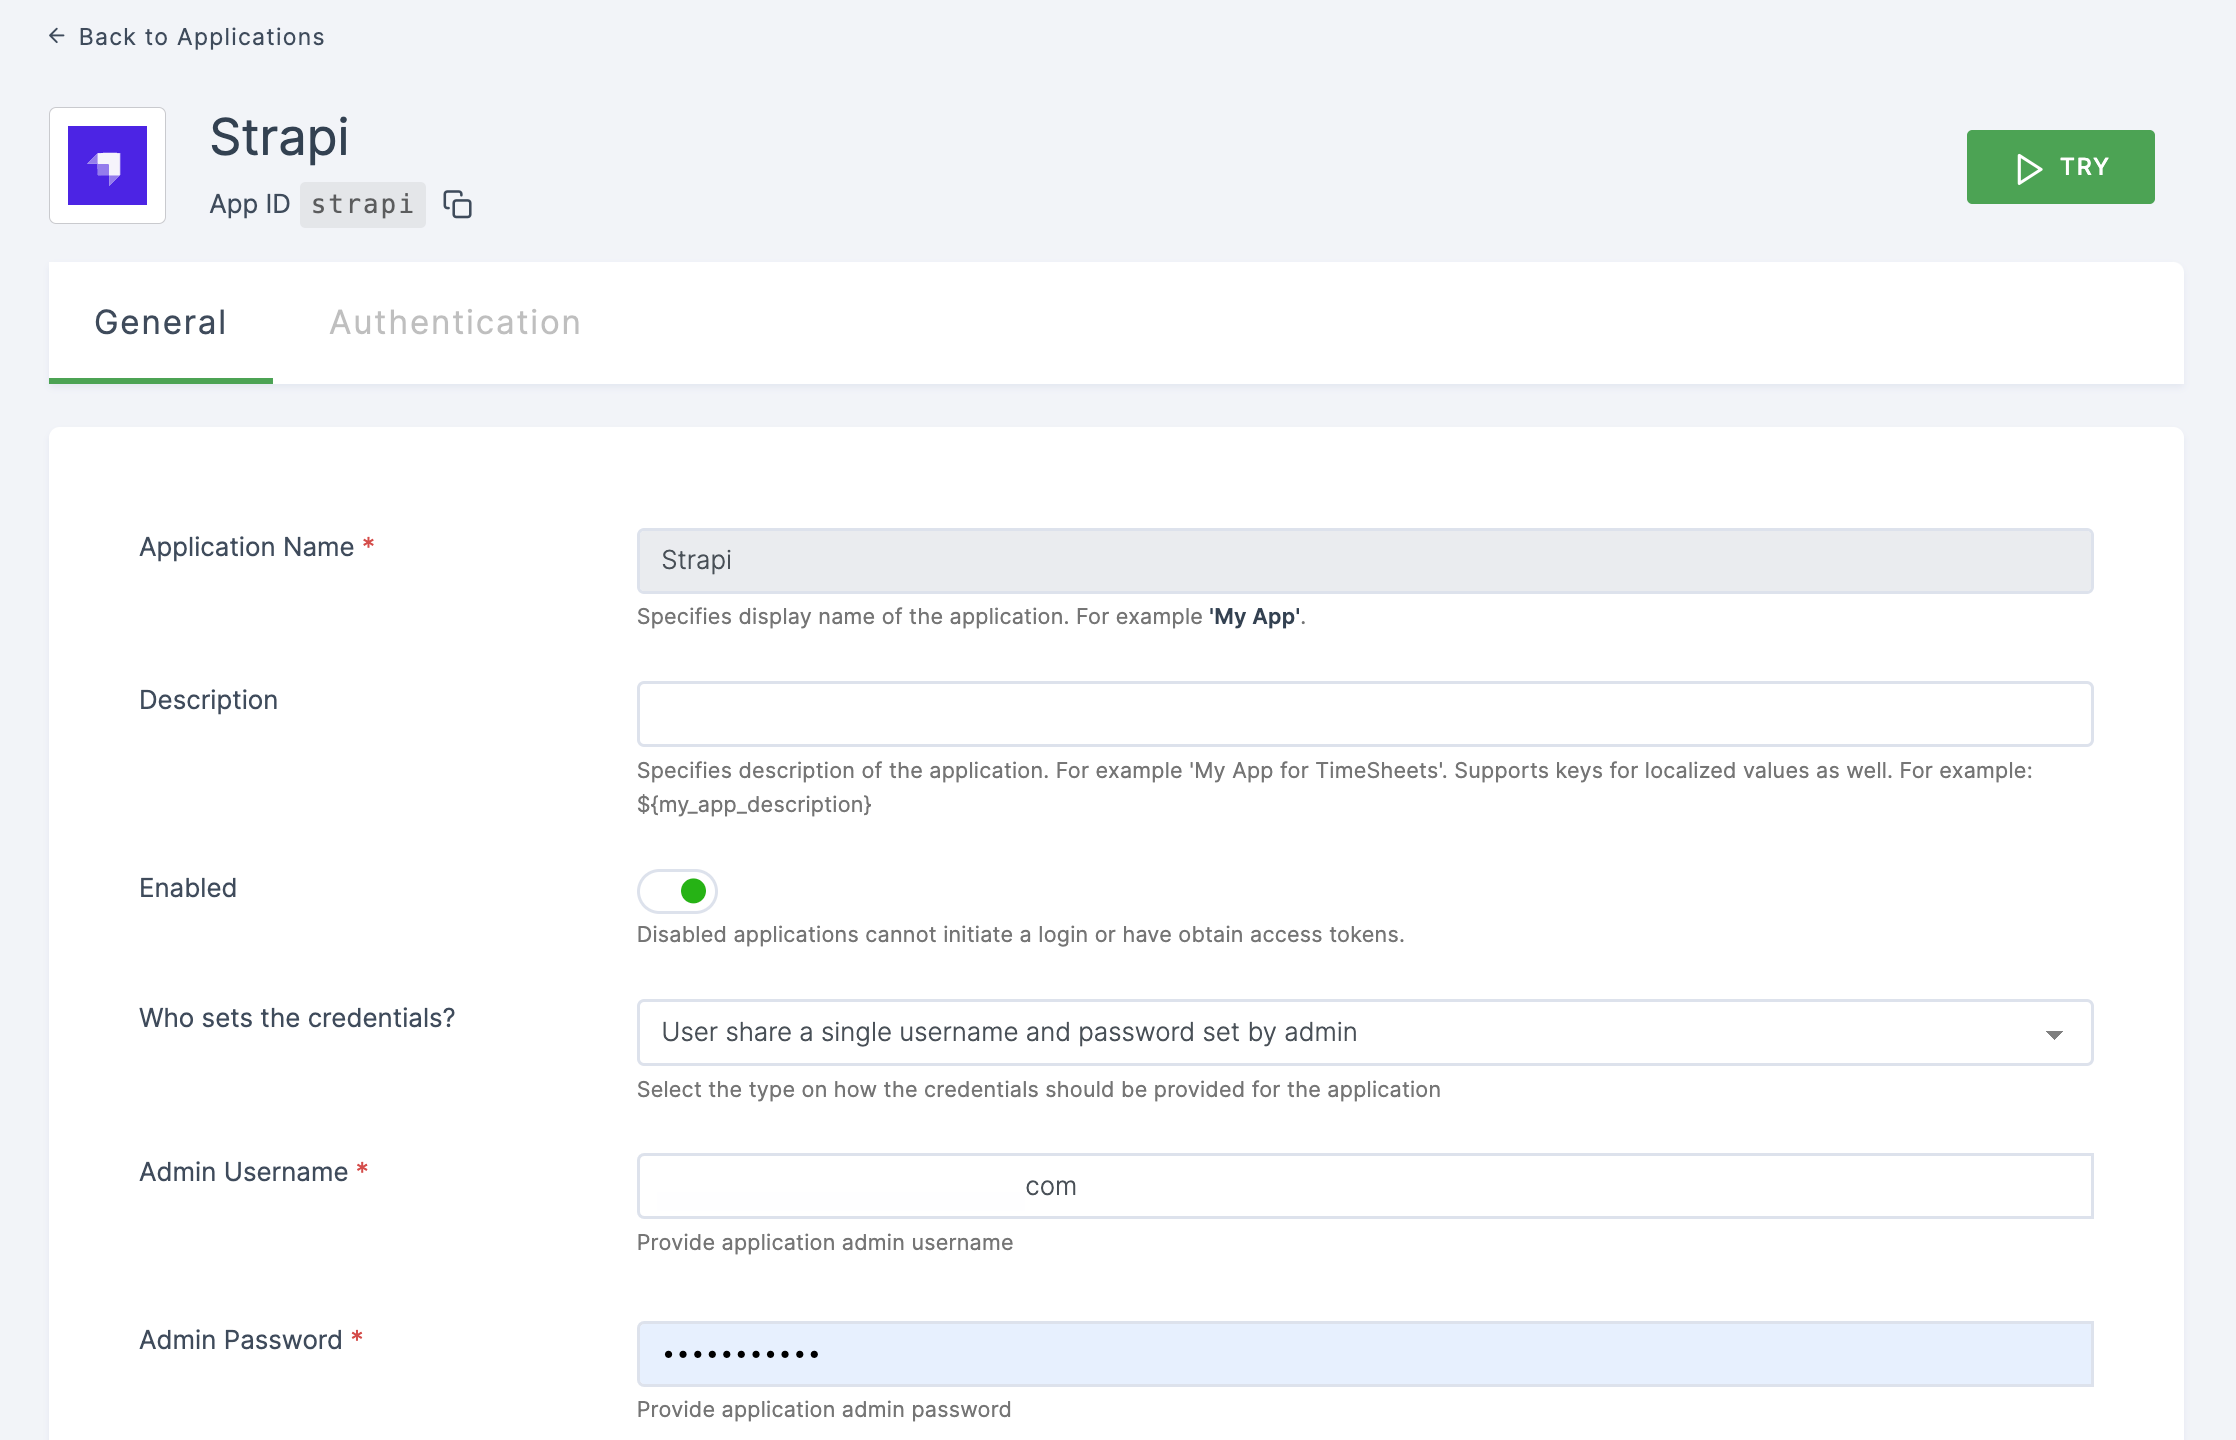
8 Provide the Strapi's username and password in Admin Username and Admin Password fields.

9 Once the configurations are provided, click on INSTALL.
10 The Strapi IWS application will be installed.
11 Assign a user with the created Strapi role. To do so, navigate to Users or Workspace Admins, click on the user you want to assign the role.

12 You will be taken to the user's Details tab, click on Roles & Groups.
13 Select List View and click on + ADD ROLE.

14 The available roles will appear; select iws-strapi-role and click on ADD ROLES.

15 The Strapi IWS will be enabled successfully.
16 As the next step, add the IWS extension to your application. For instance, Chrome extension is chosen here.
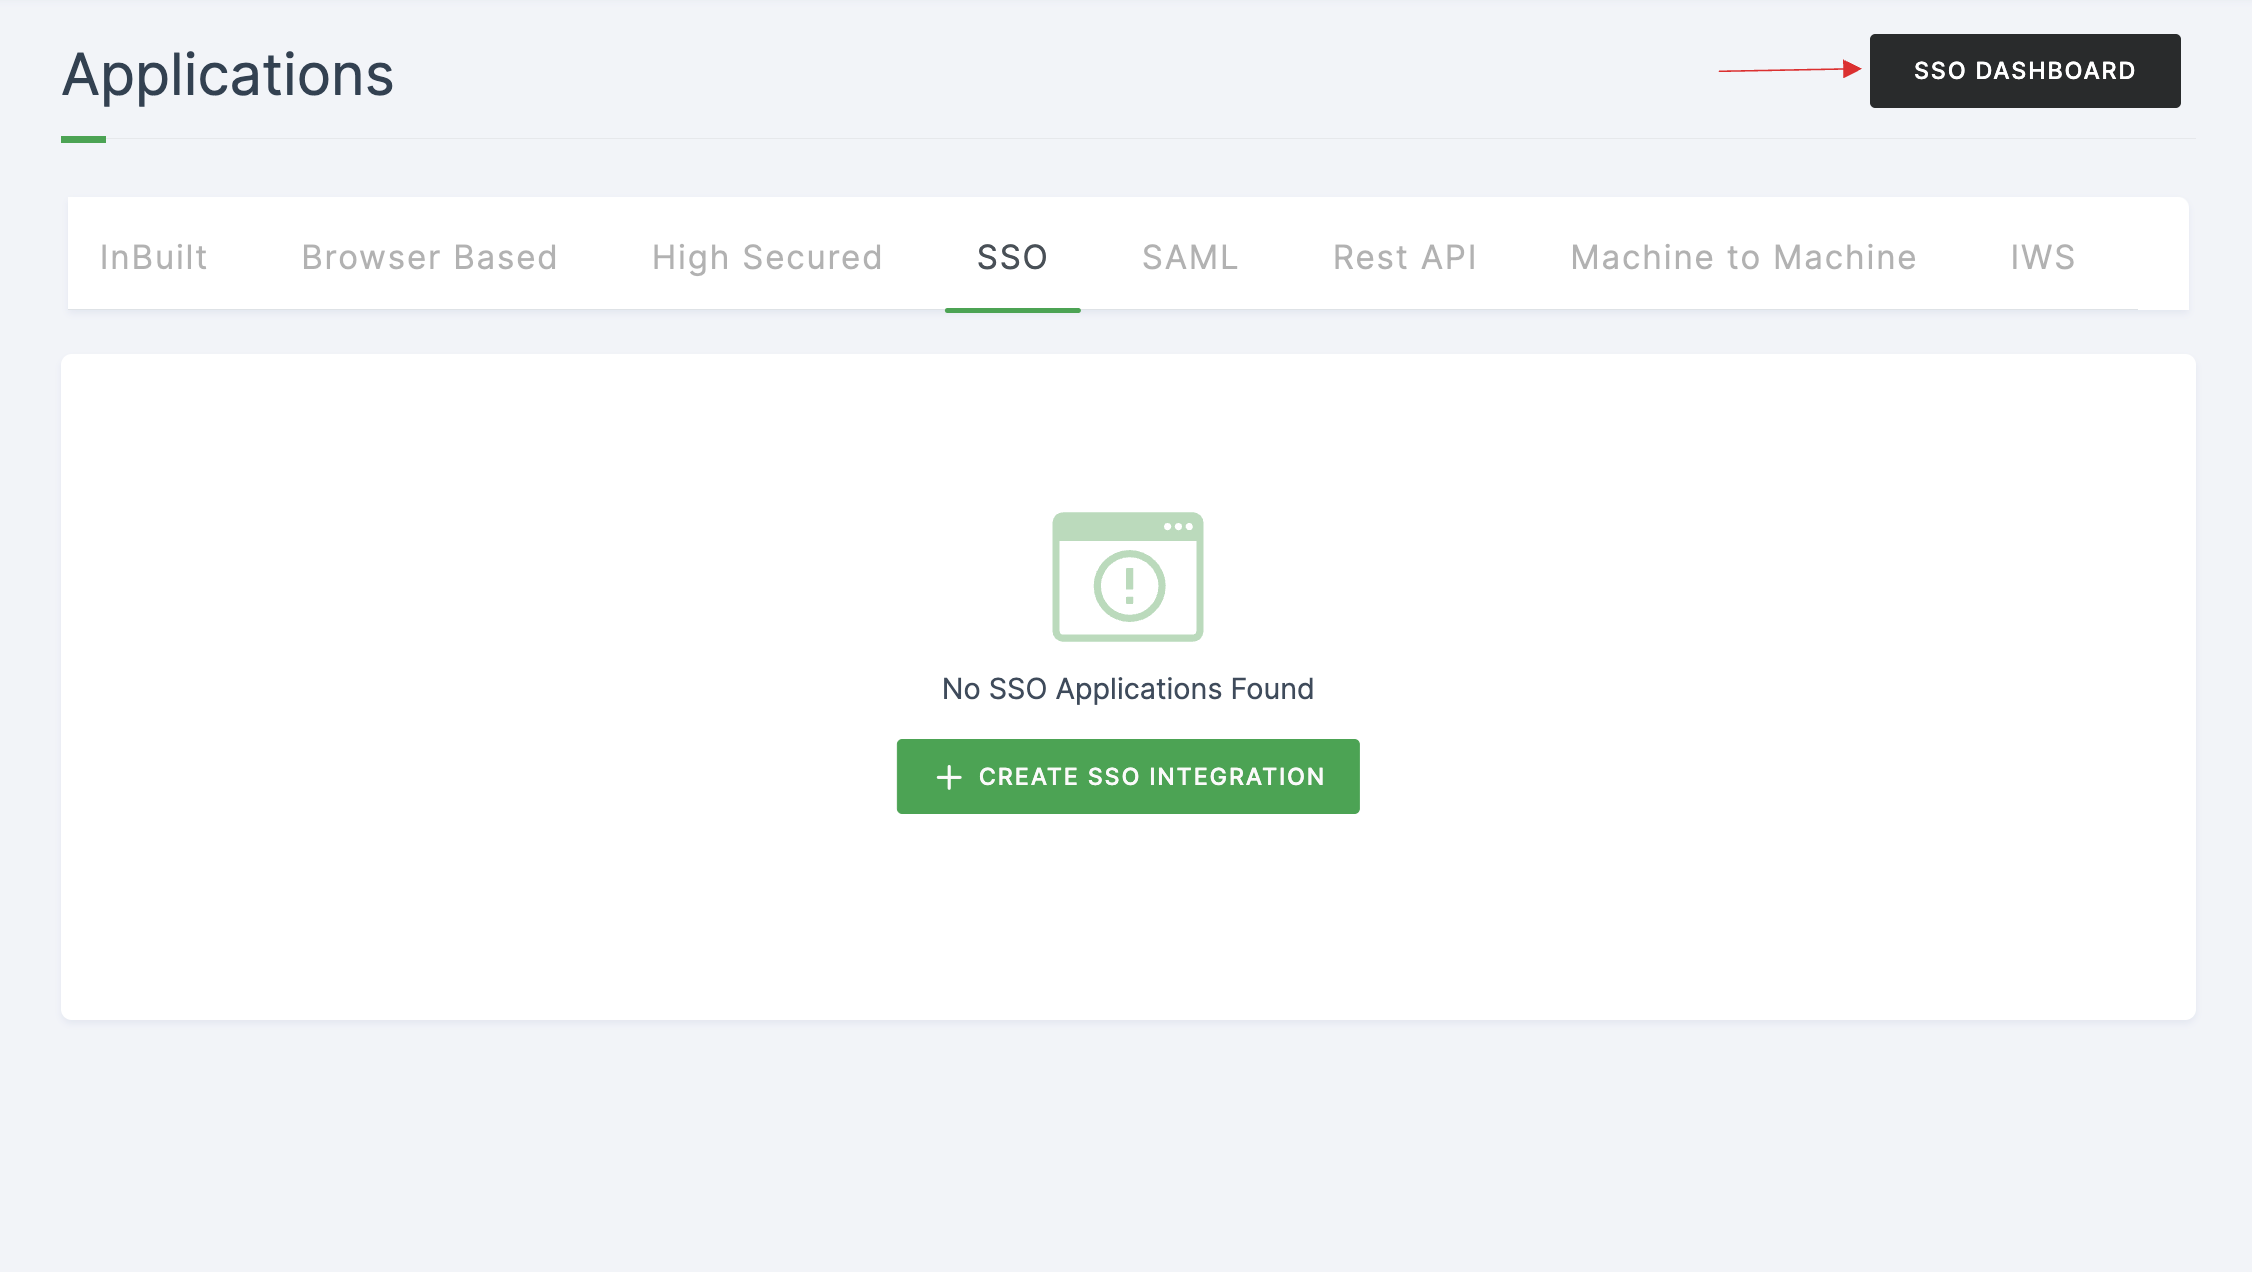
17 Direct to the SSO dashboard page by going to Applications > SSO, click on SSO DASHBOARD button.
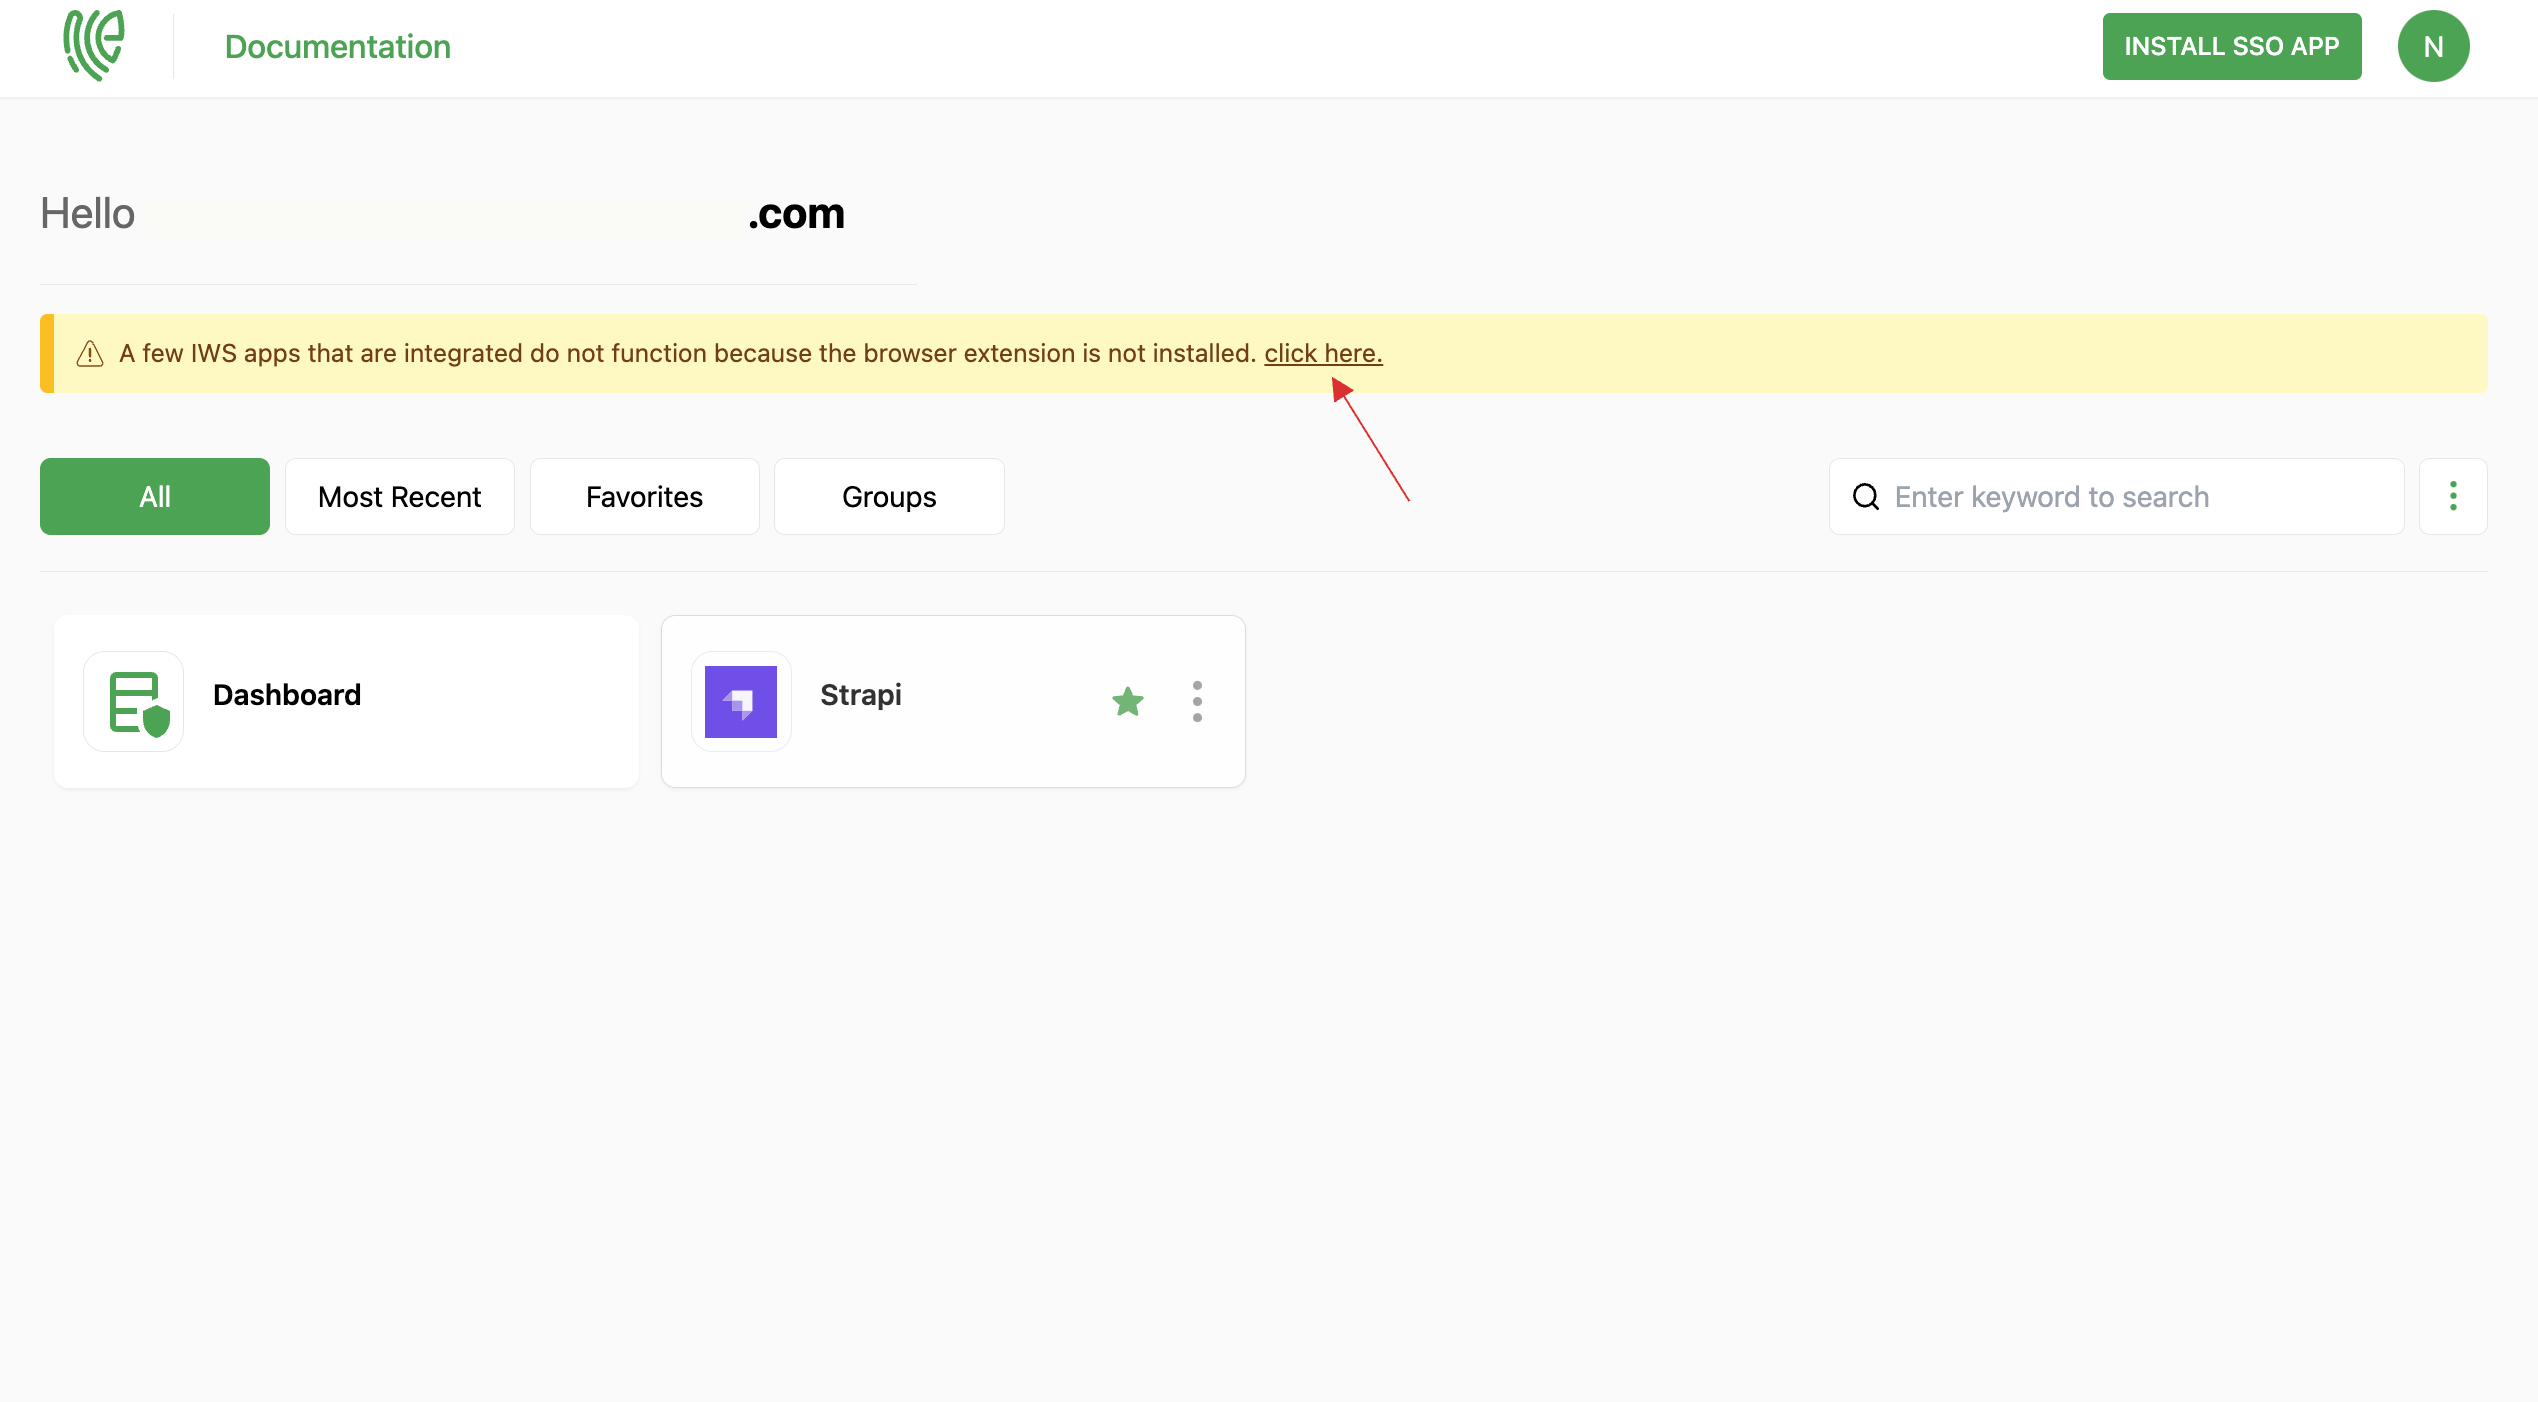
18 To install the extension, click on click here.
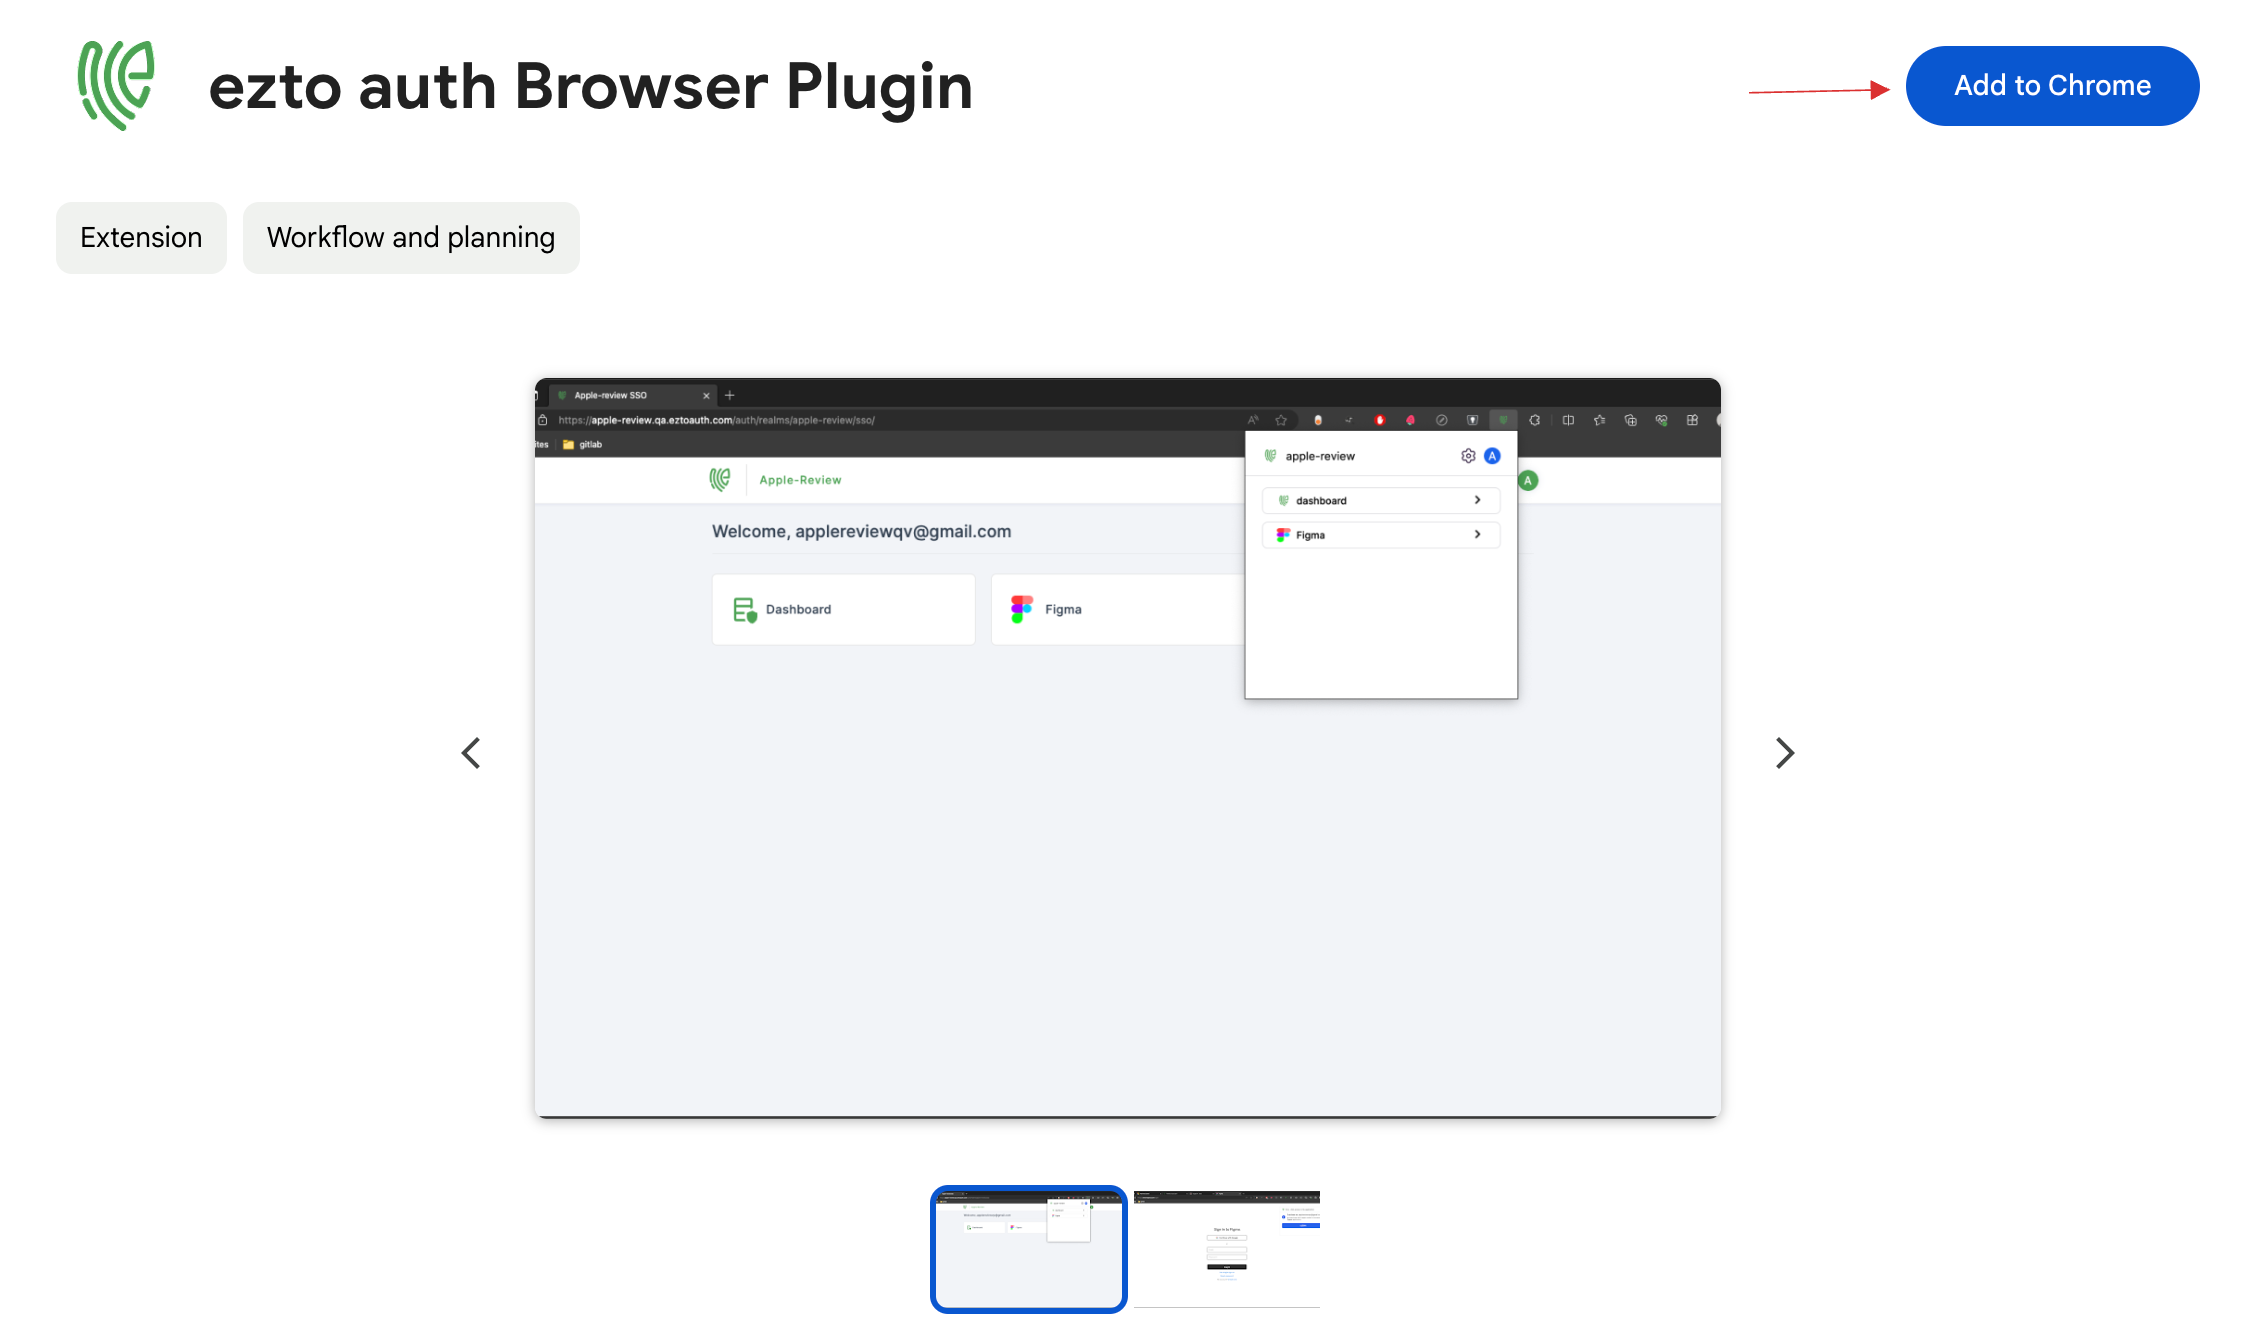
19 You'll be directed to the extension. Click Add to Chrome.
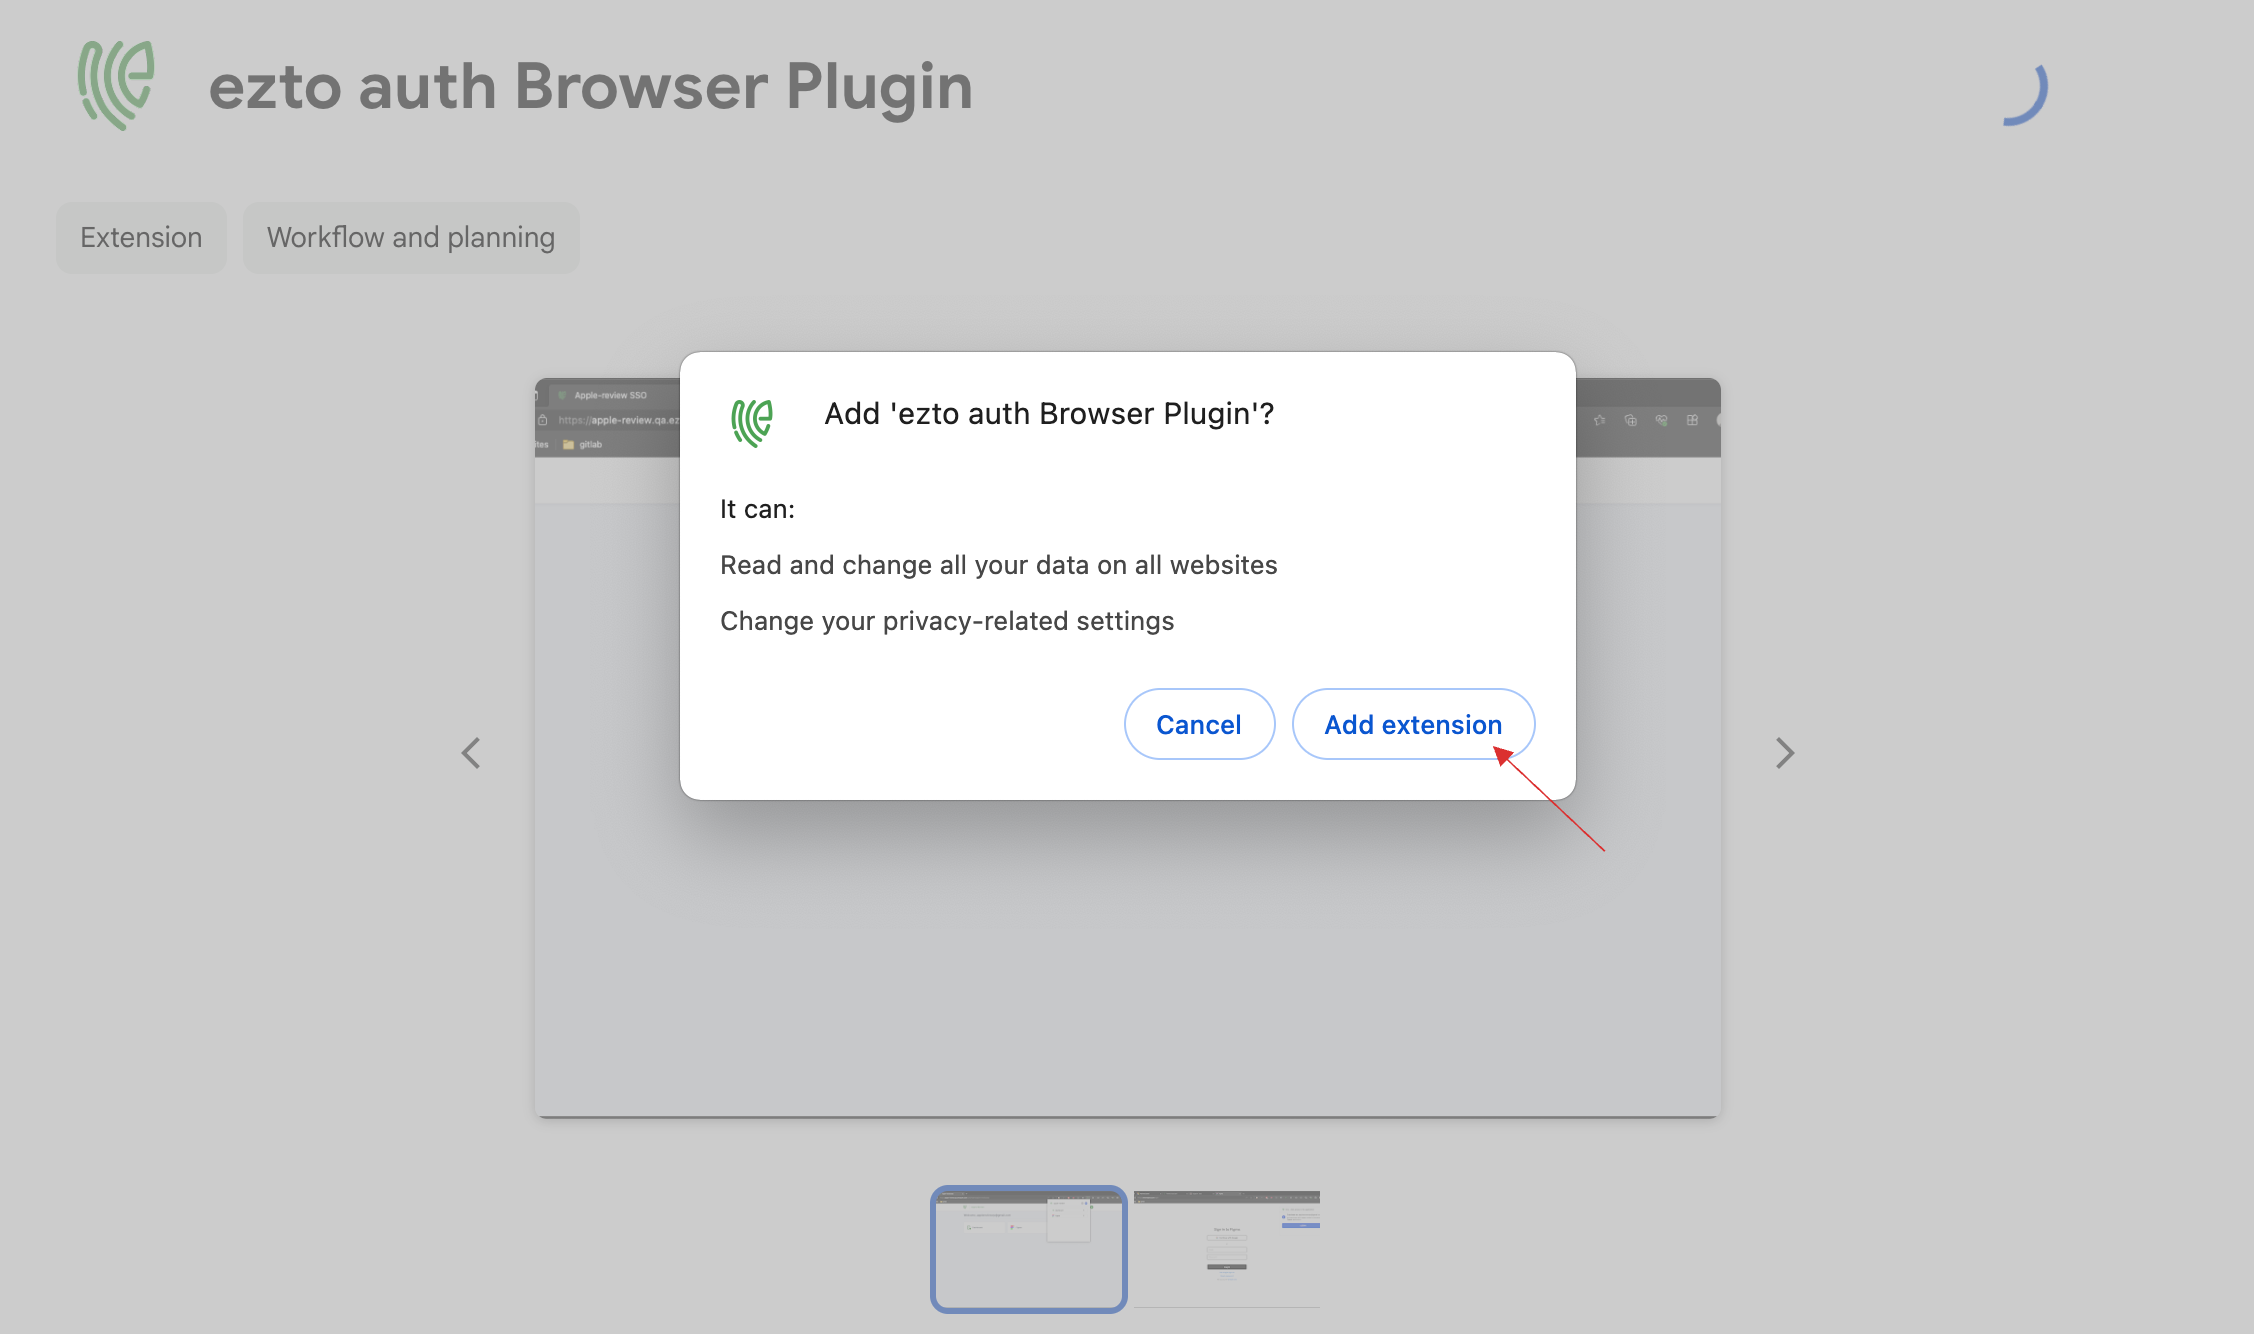
20 Click Add extension.
21 The extension will be added successfully.
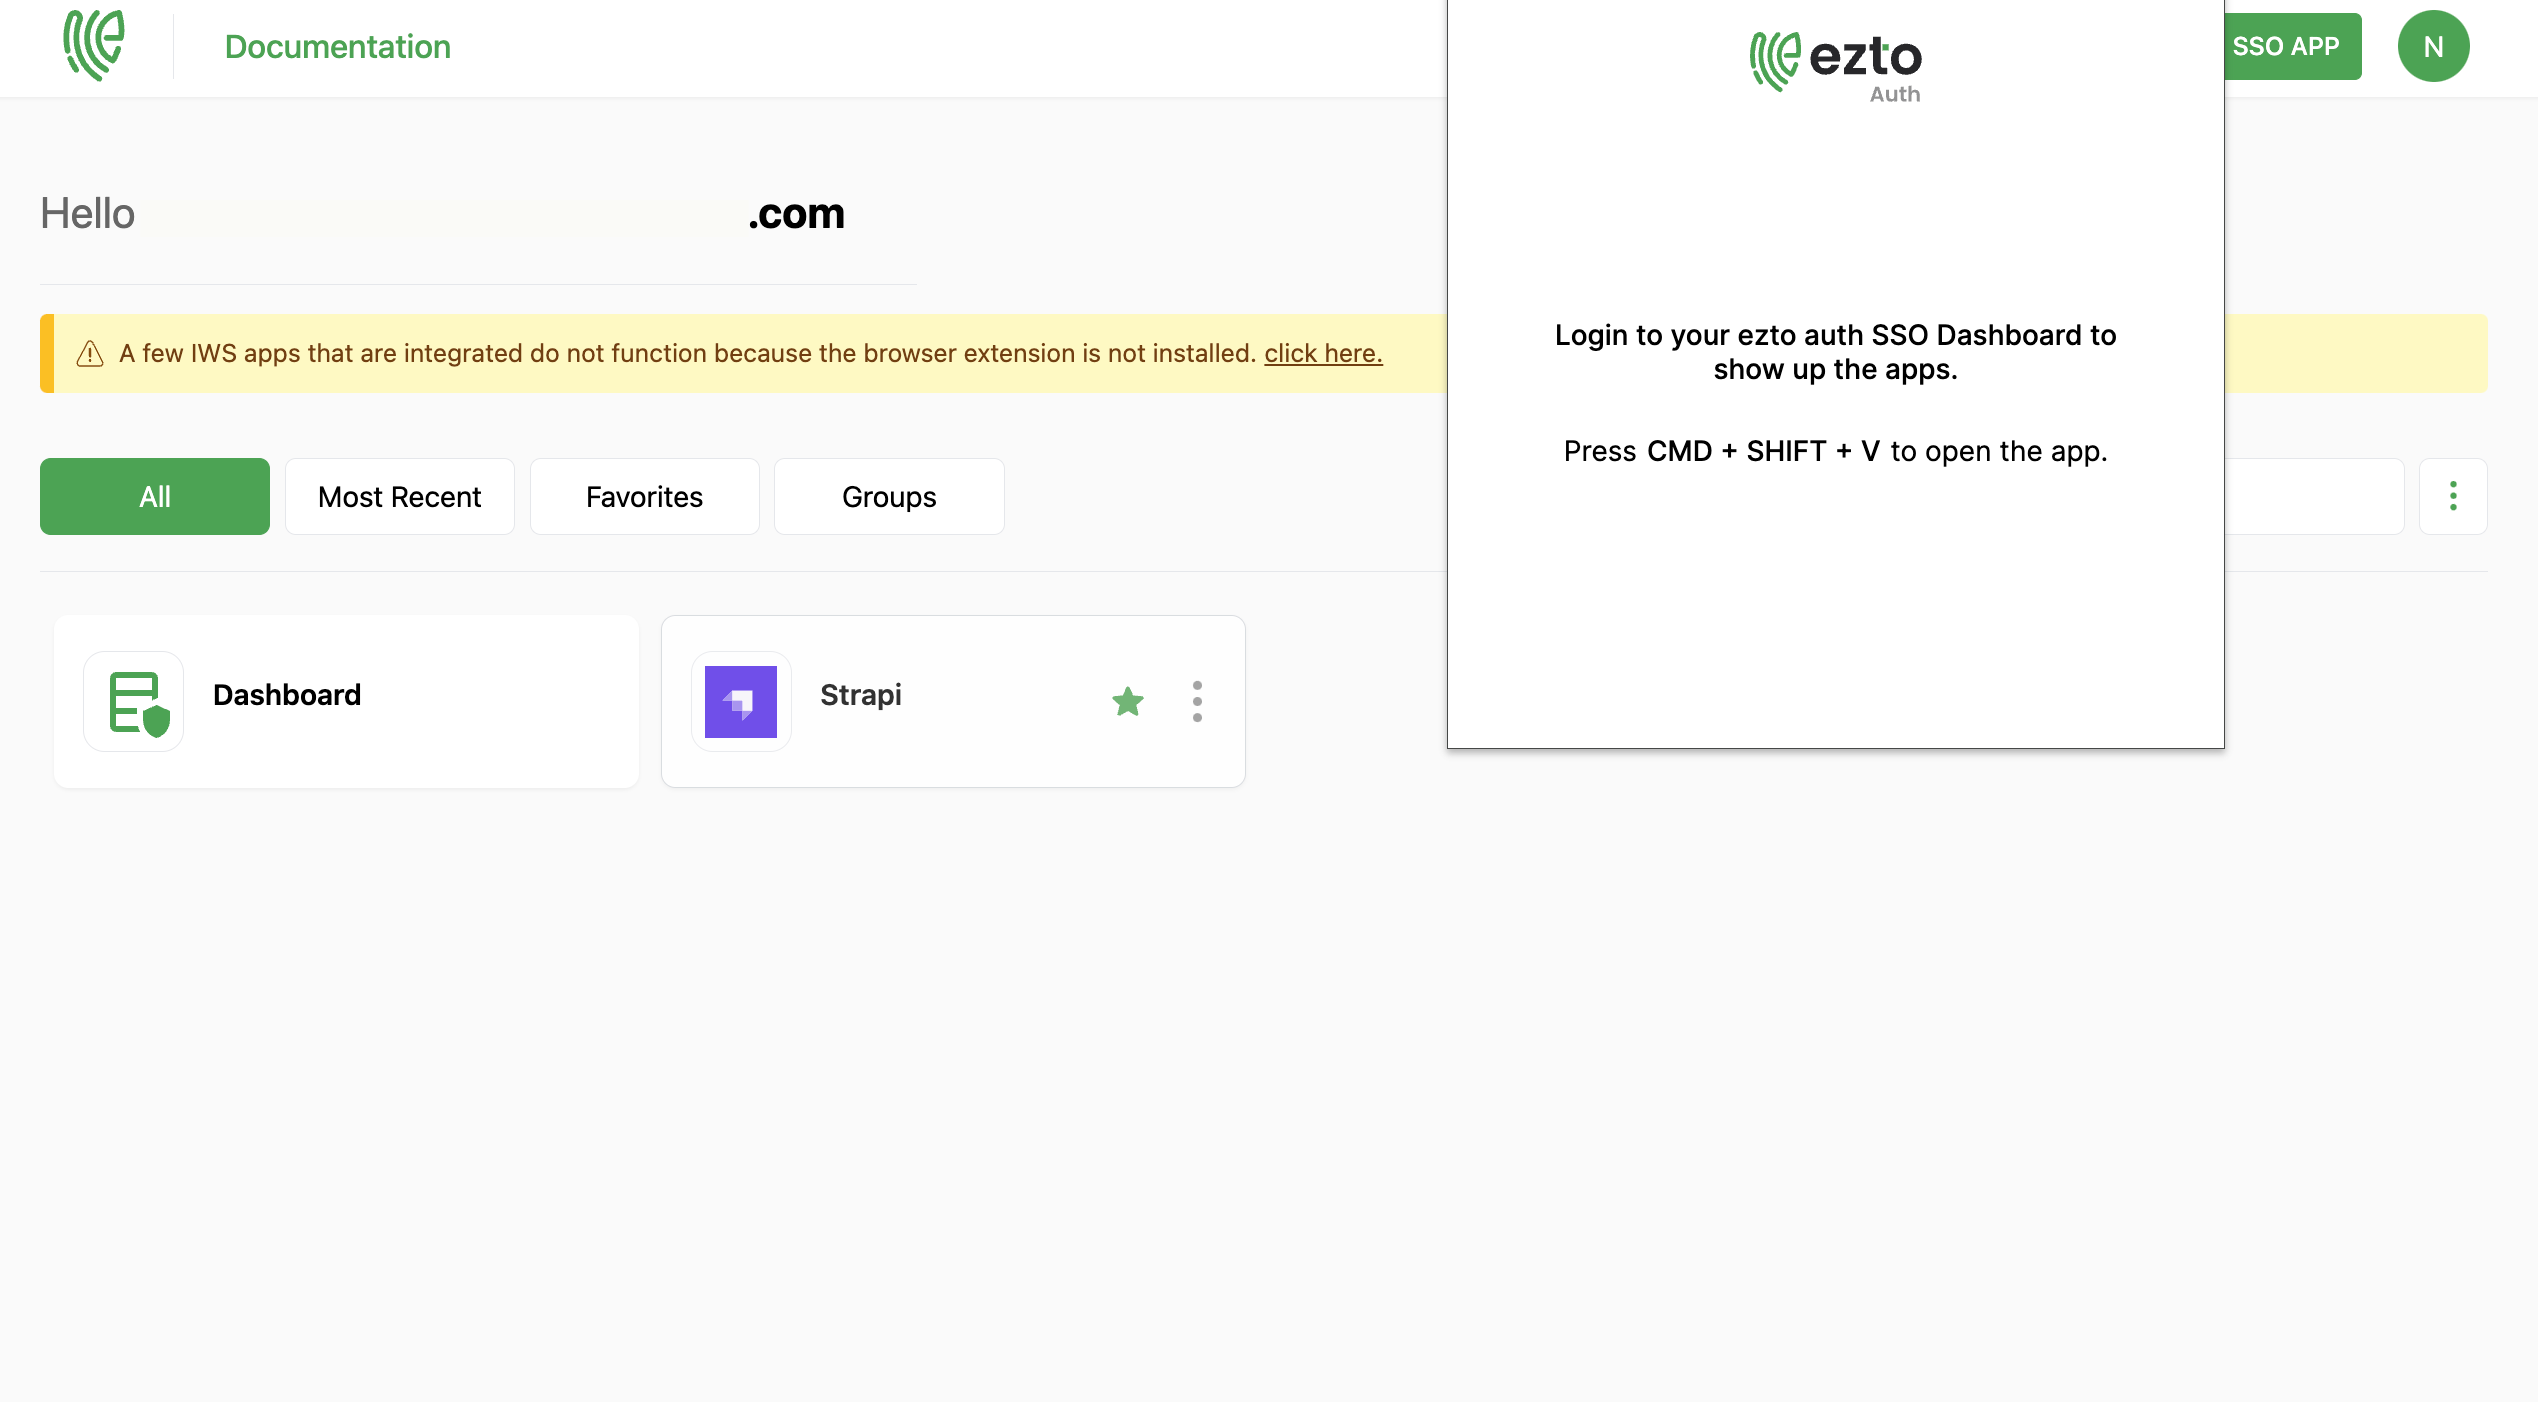
22 Refresh the page if you are already logged in.
On reloading, the IWS Applications, Dashboard and Profile will be updated in the extension.
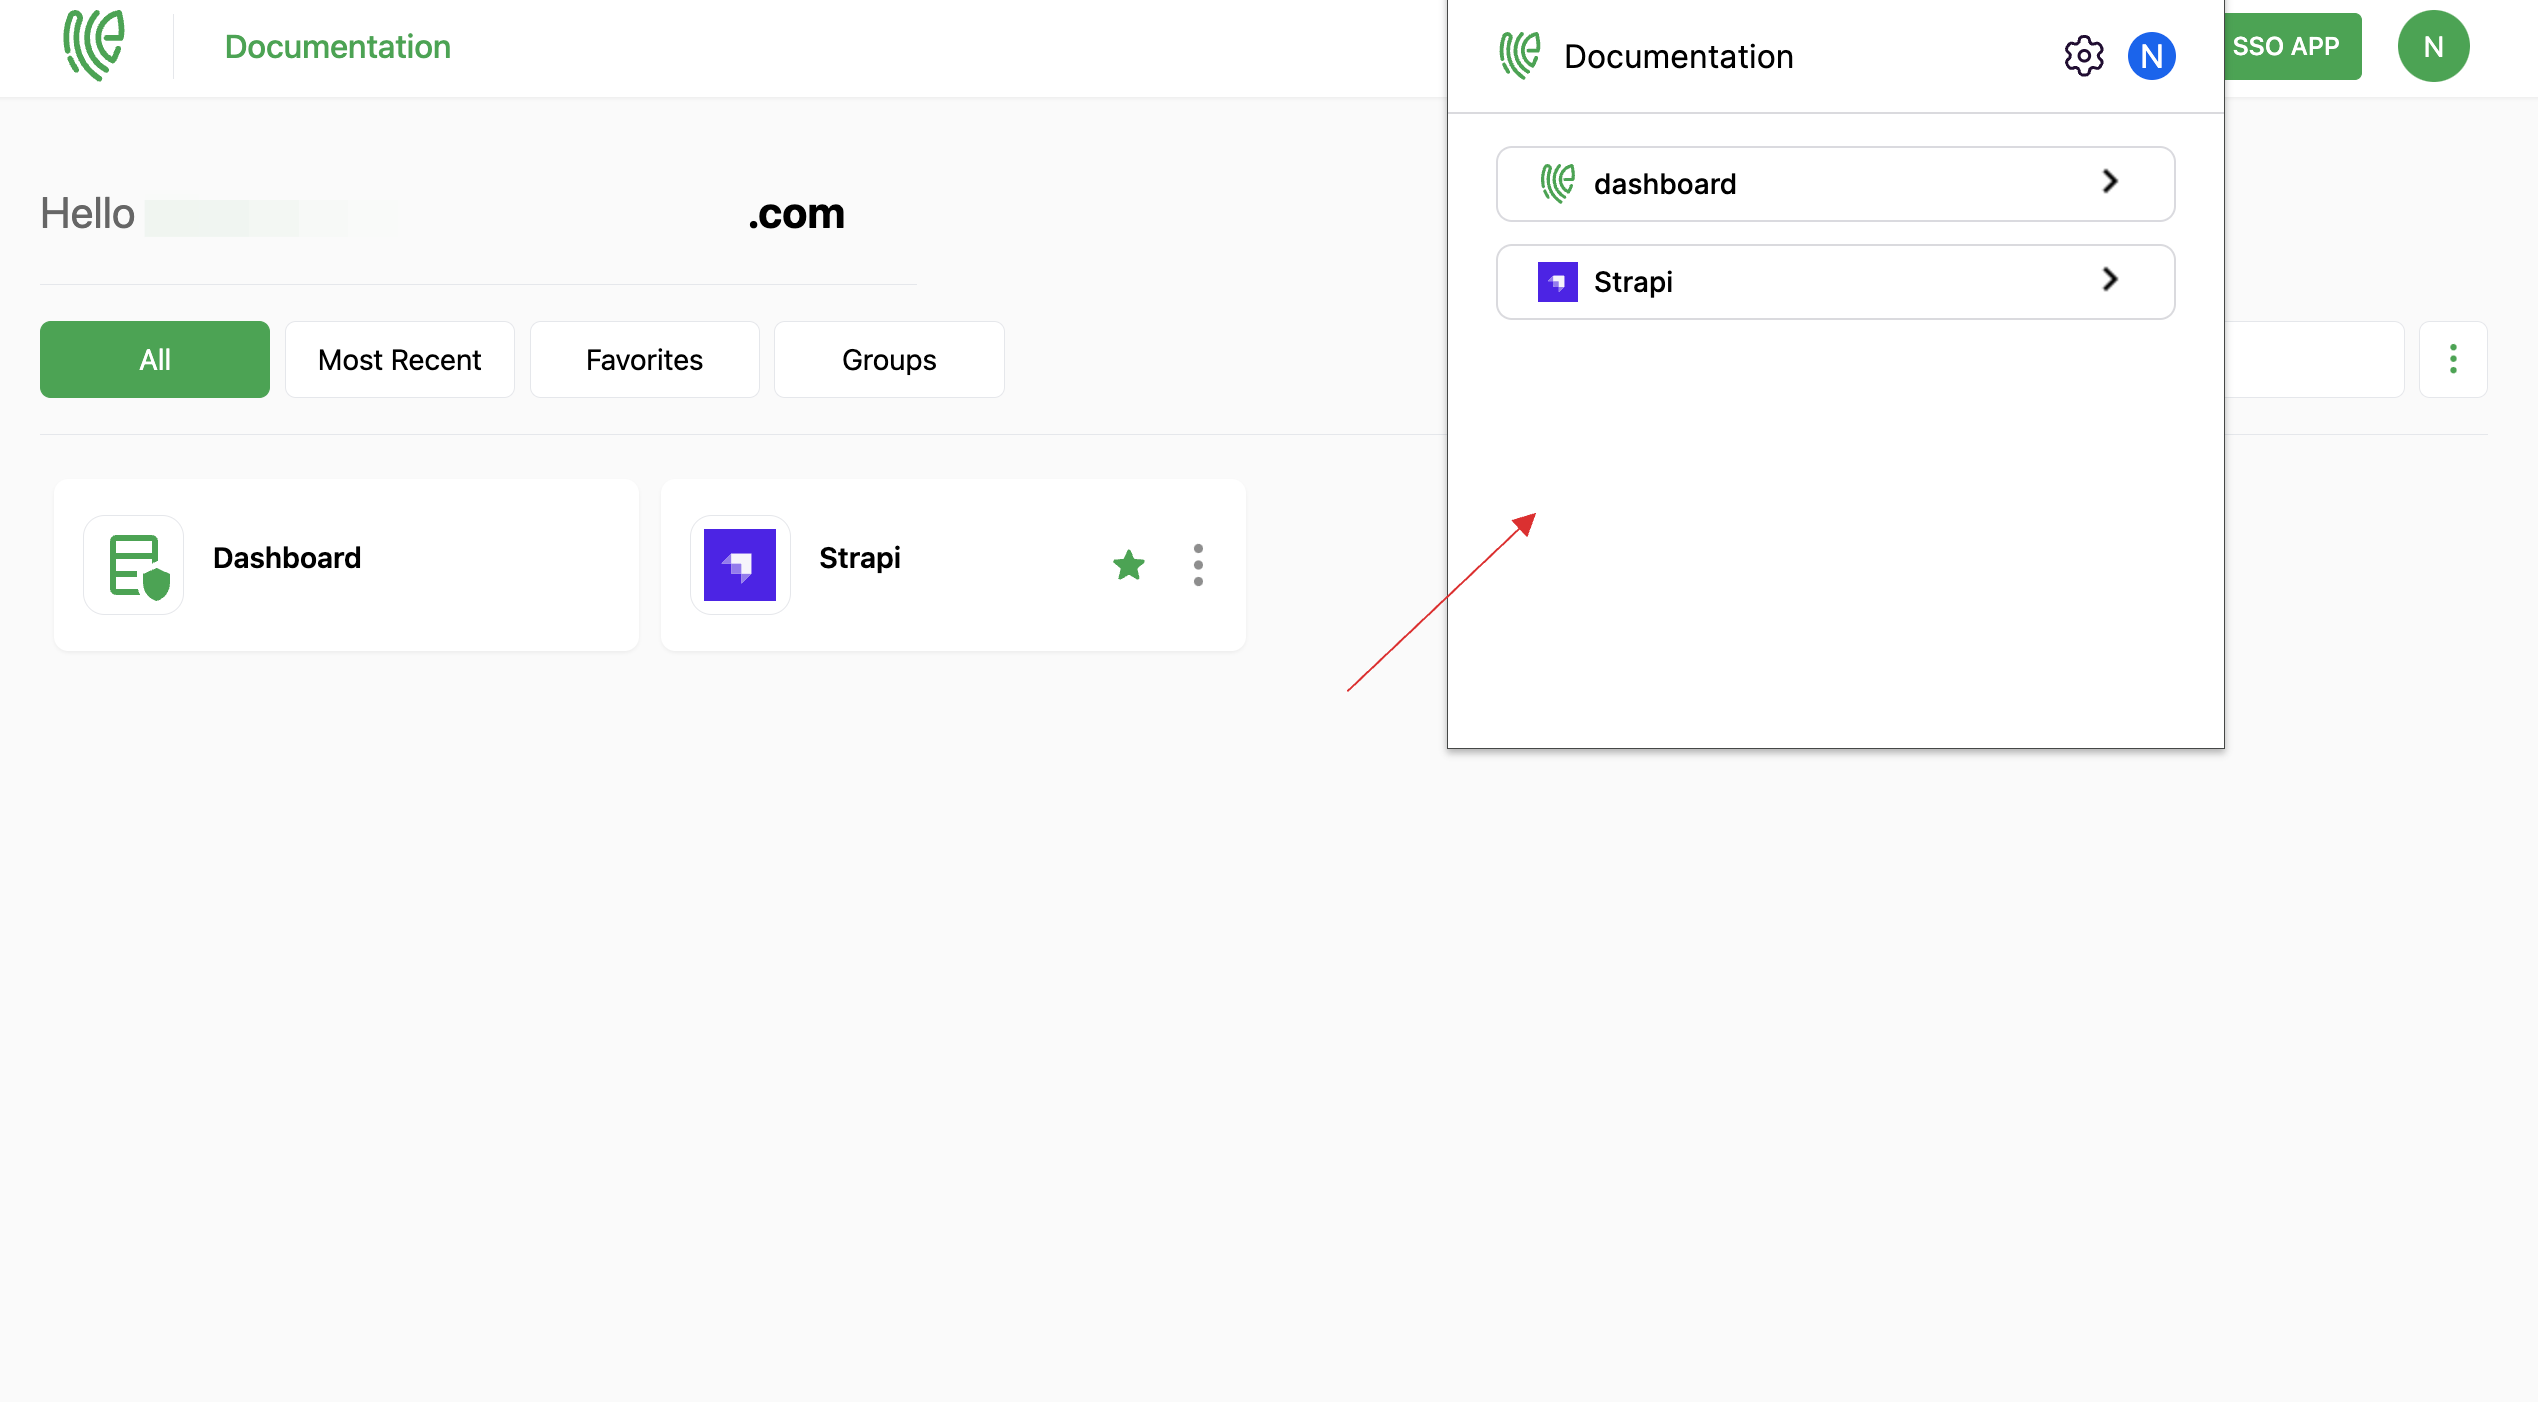
23 Click on Strapi to log in with the extension.
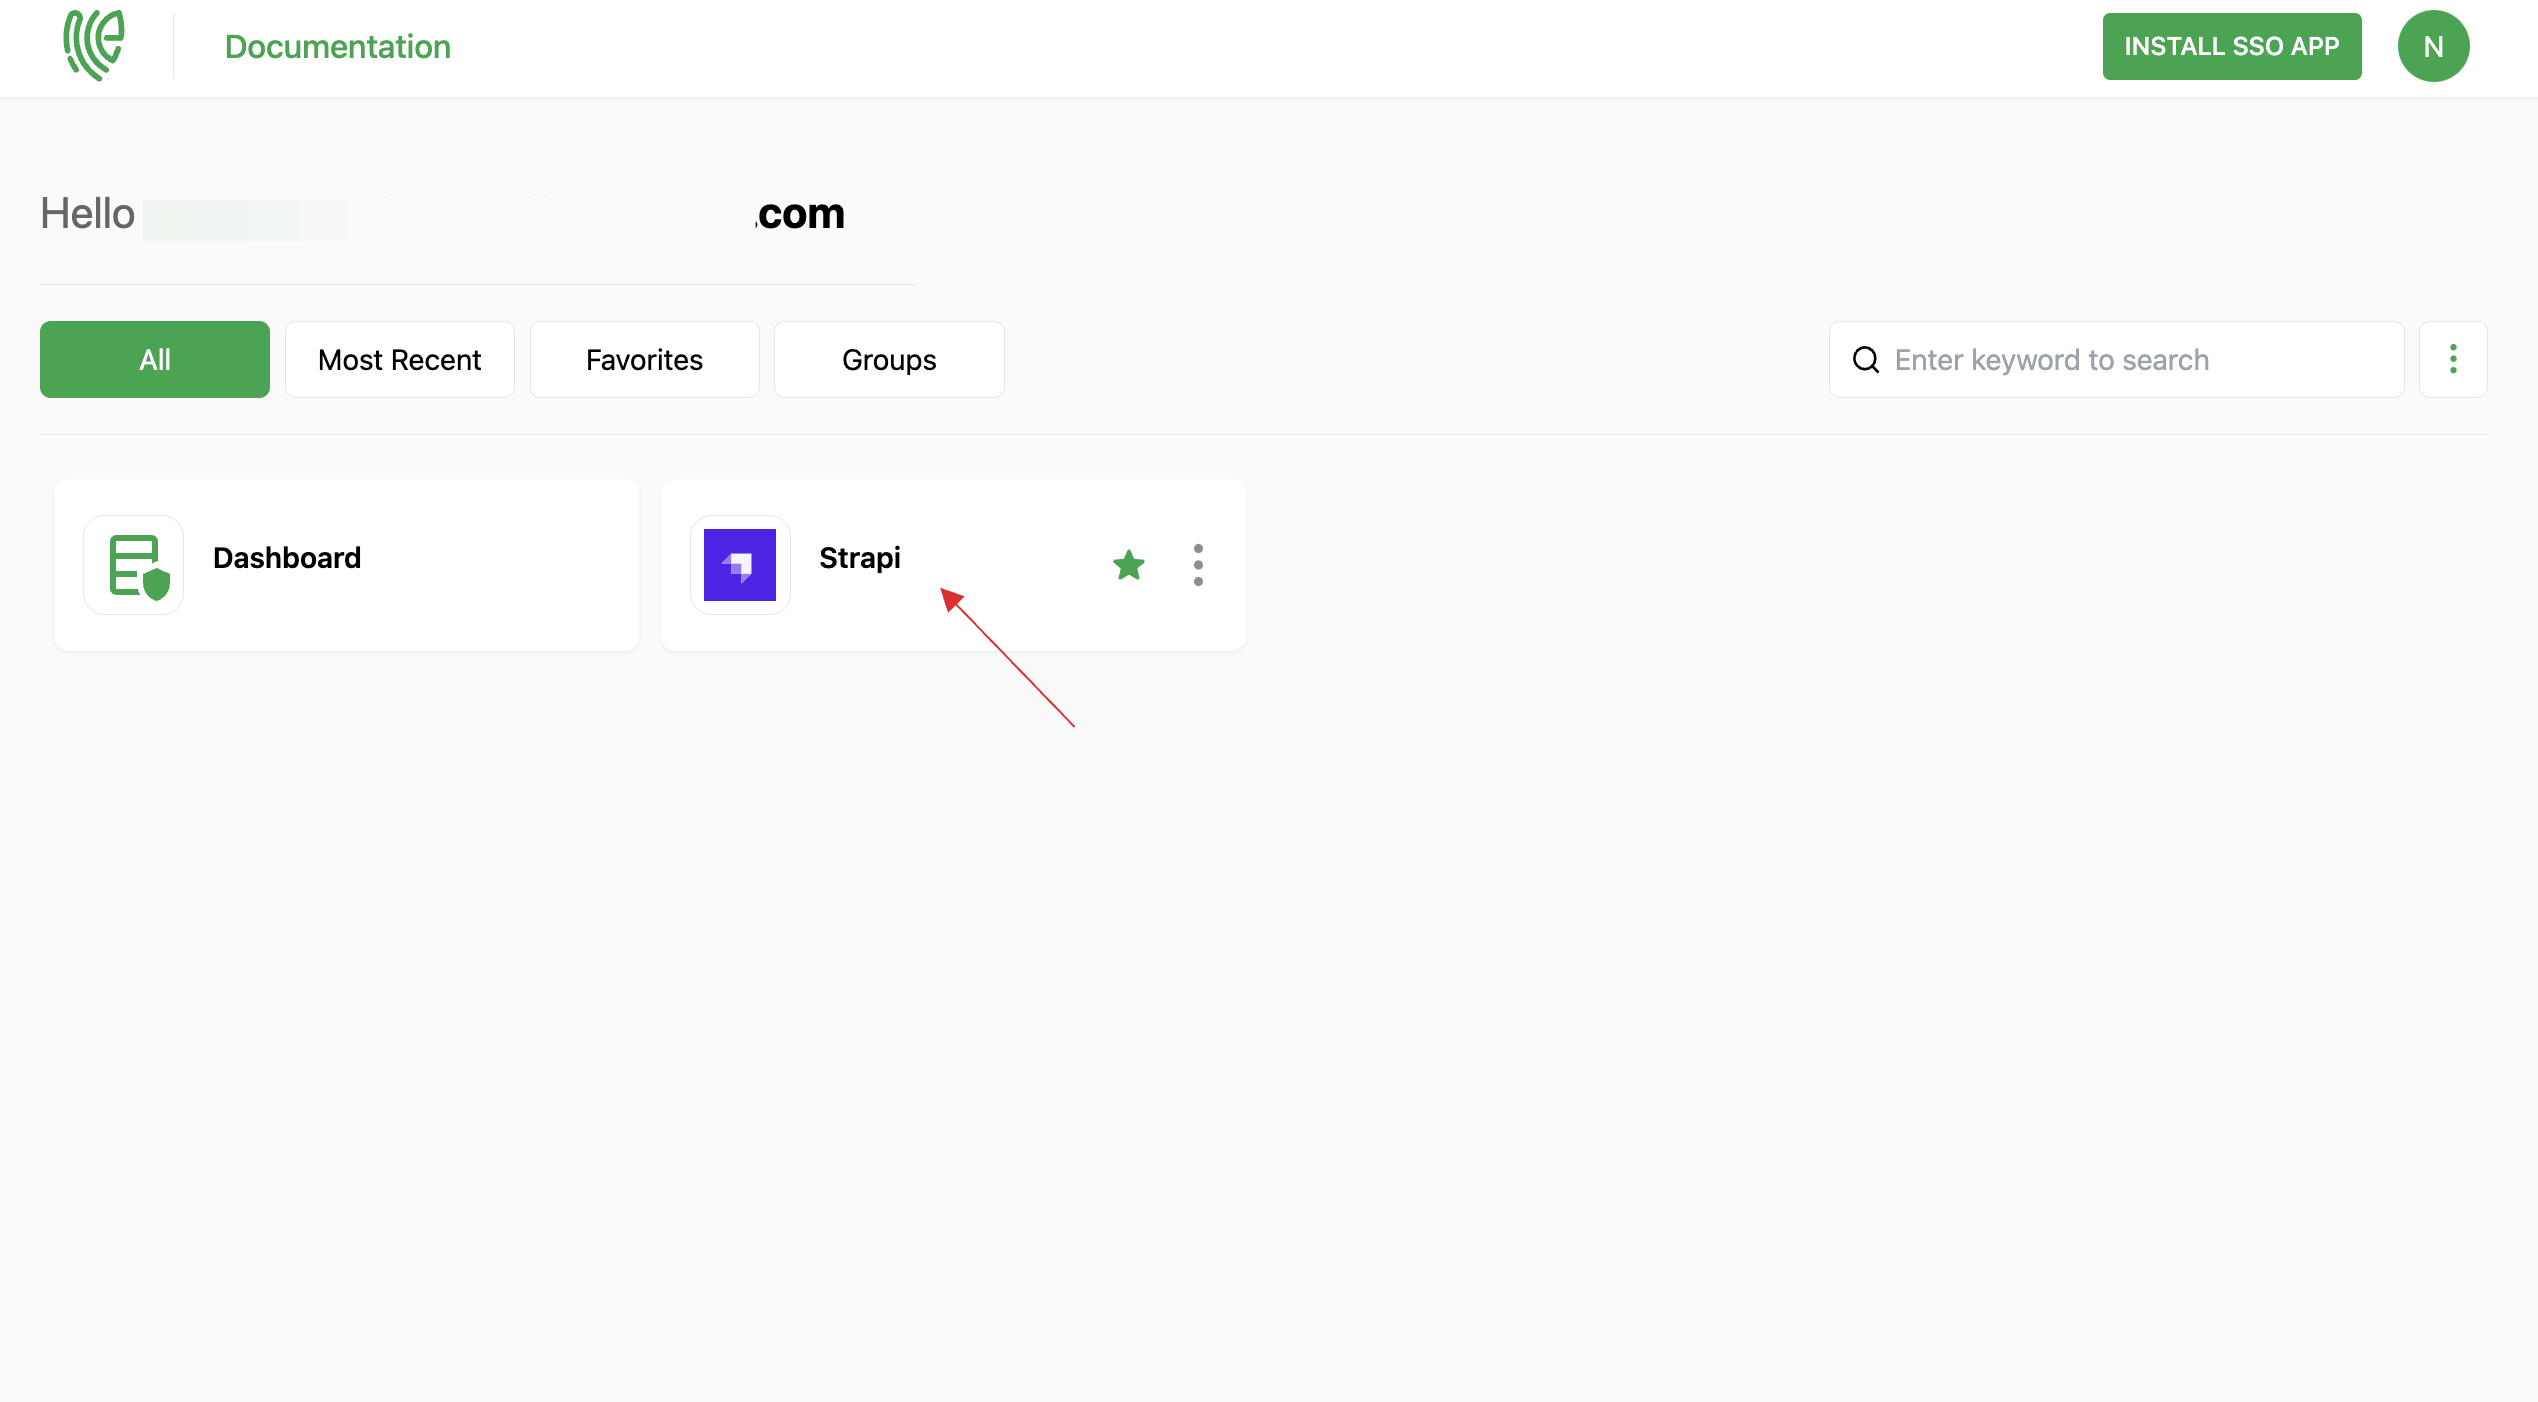
24 You will be successfully logged into Strapi.
