IEC Verification
IEC Verification involves thoroughly examining and confirming the authenticity and accuracy of an IEC License Number.
How to Setup
1 Navigate to Workspace > Workflows, and click on the flow created for IEC Verification. If you need understanding in creating a workflow, refer to the step-by-step guide here.
2 Hover over the plus (+) symbol and select Workflow. From the list, click IEC Verification to add it.
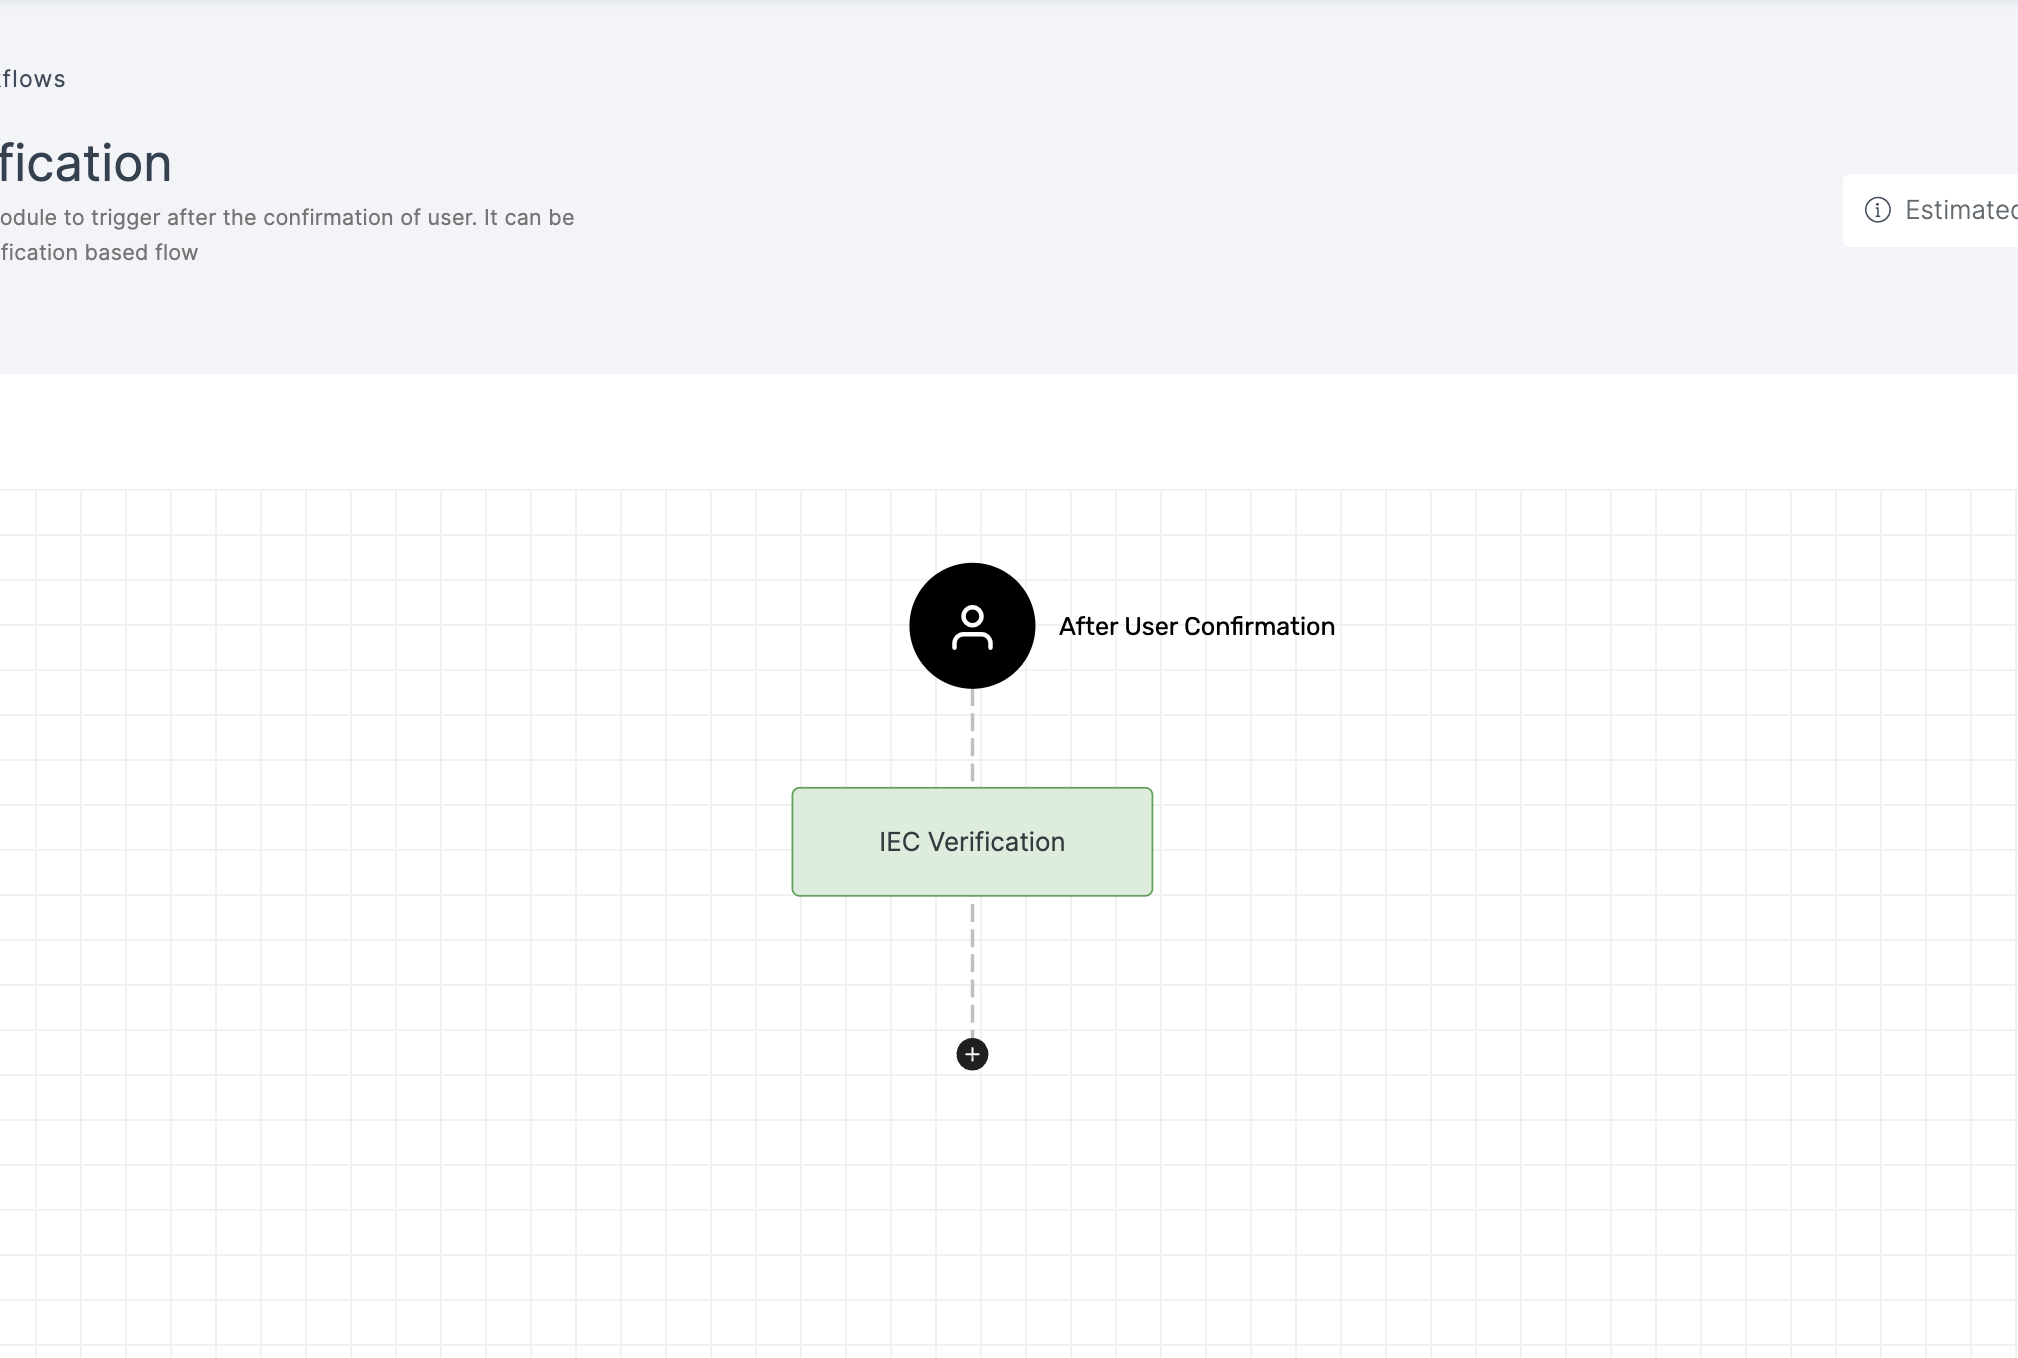
3 Click on the newly added workflow, then select the General tab to customize your preferences.
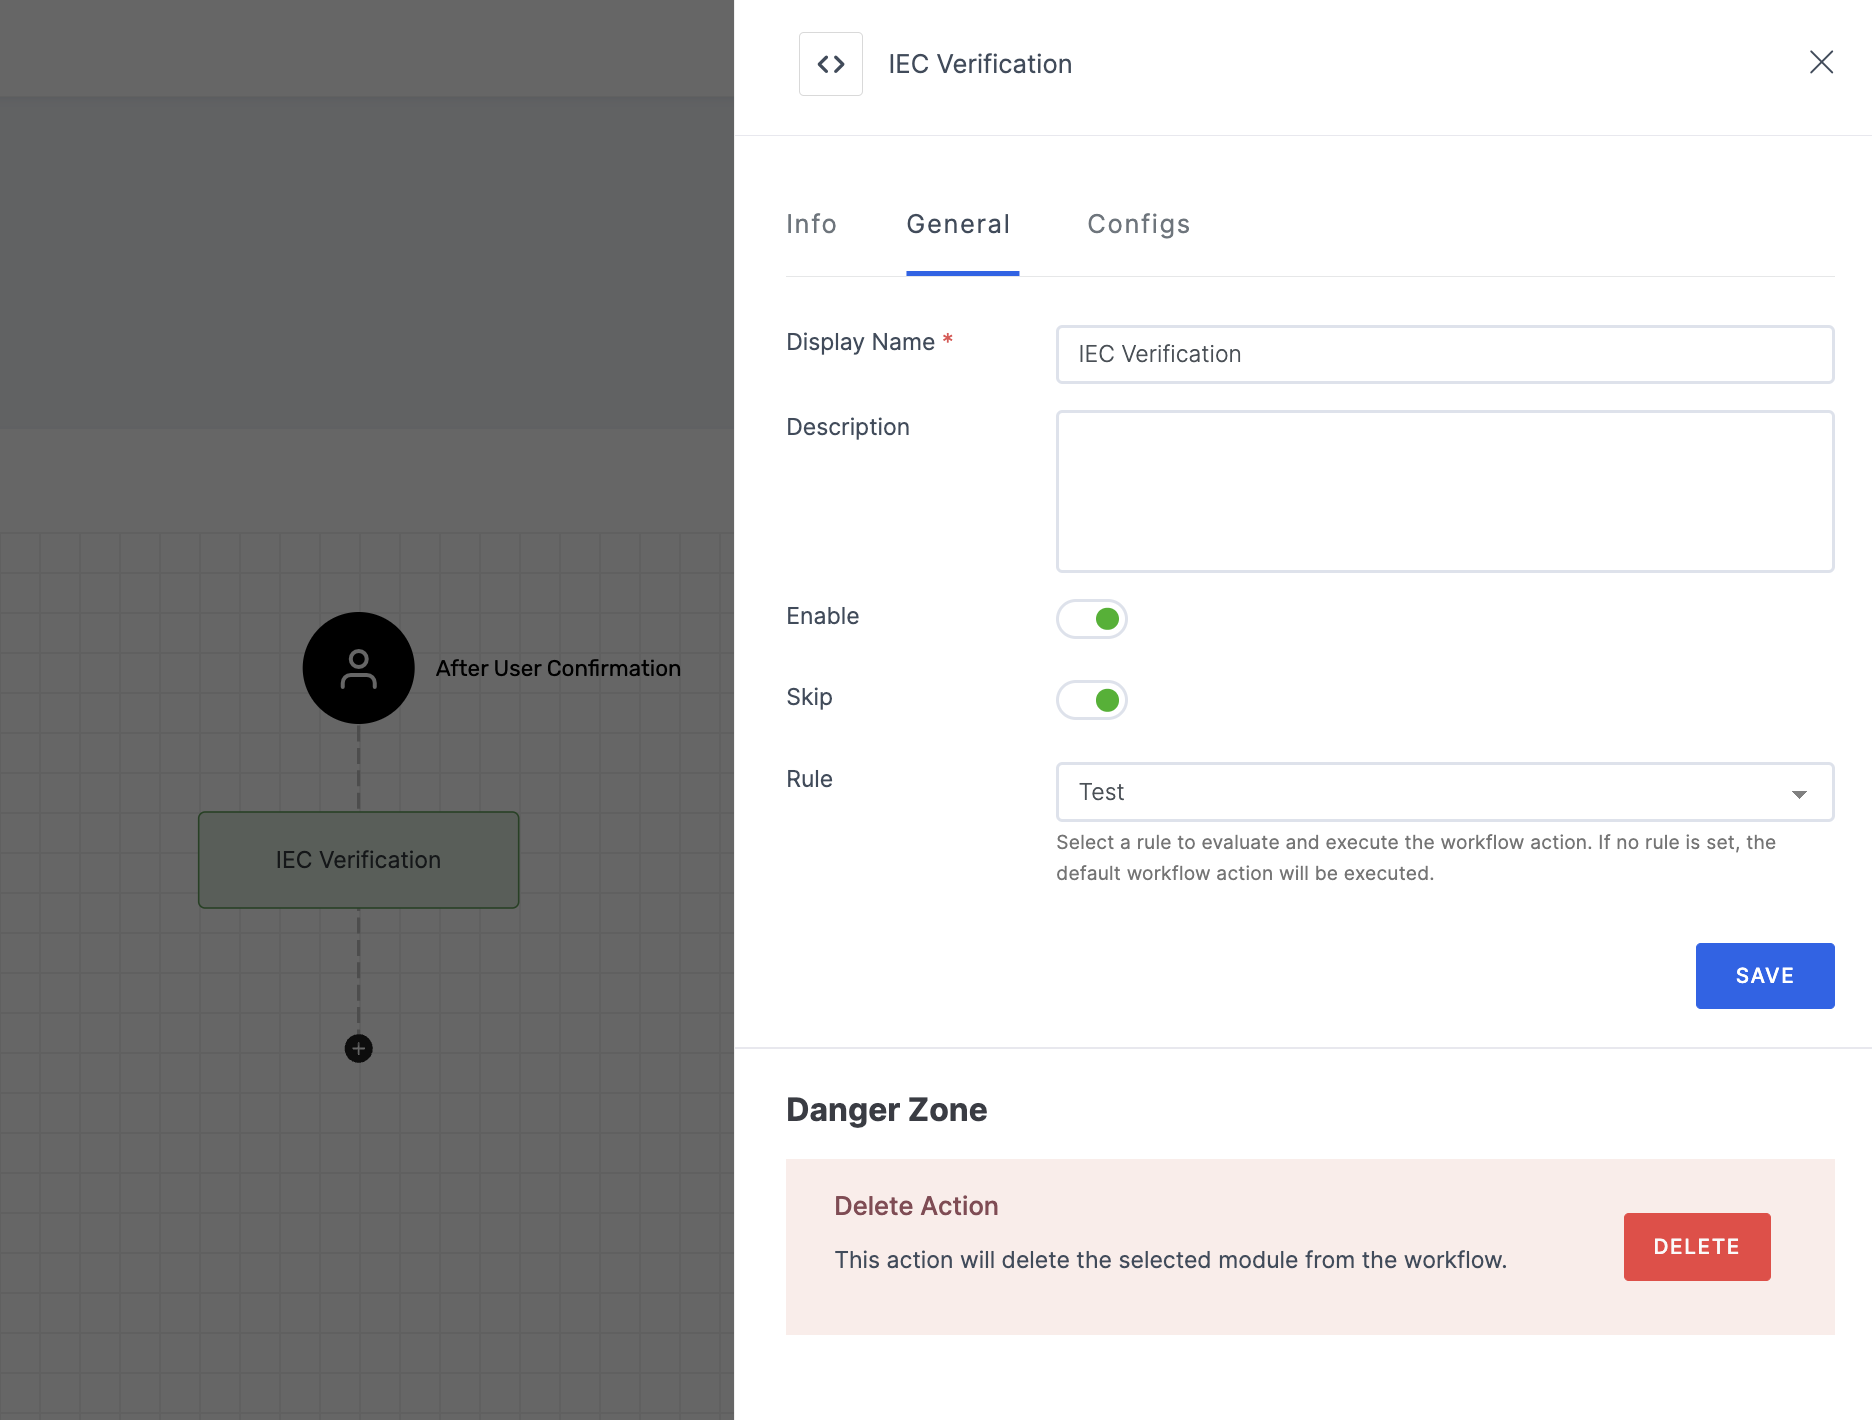
Manage General
(*) Indicates an action to be mandatory.
| Name | Description |
|---|---|
| Display Name* | Set a name to the workflow for easy identification. |
| Description | Summarize the purpose and functionality of this workflow module. |
| Enable | This toggle is enabled by default. When enabled, the particular workflow module begins its execution. Conversely, if disabled, the workflow module remains inactive and won't proceed. |
| Skip | Allows the user to skip this specific workflow module during execution. When selected, it provides an option to bypass the particular workflow without affecting other modules in the sequence. |
| Rule | This determines the criteria for triggering the particular workflow module. When the selected rule is evaluated, and is satisfied, the workflow proceeds as provided. If not, the workflow will not be executed. Note: If no rules are set, the workflow defaults to its standard action without any rule. For more information about the rules, refer here. |
4 Then, click on the Configs tab to set the necessary configurations.
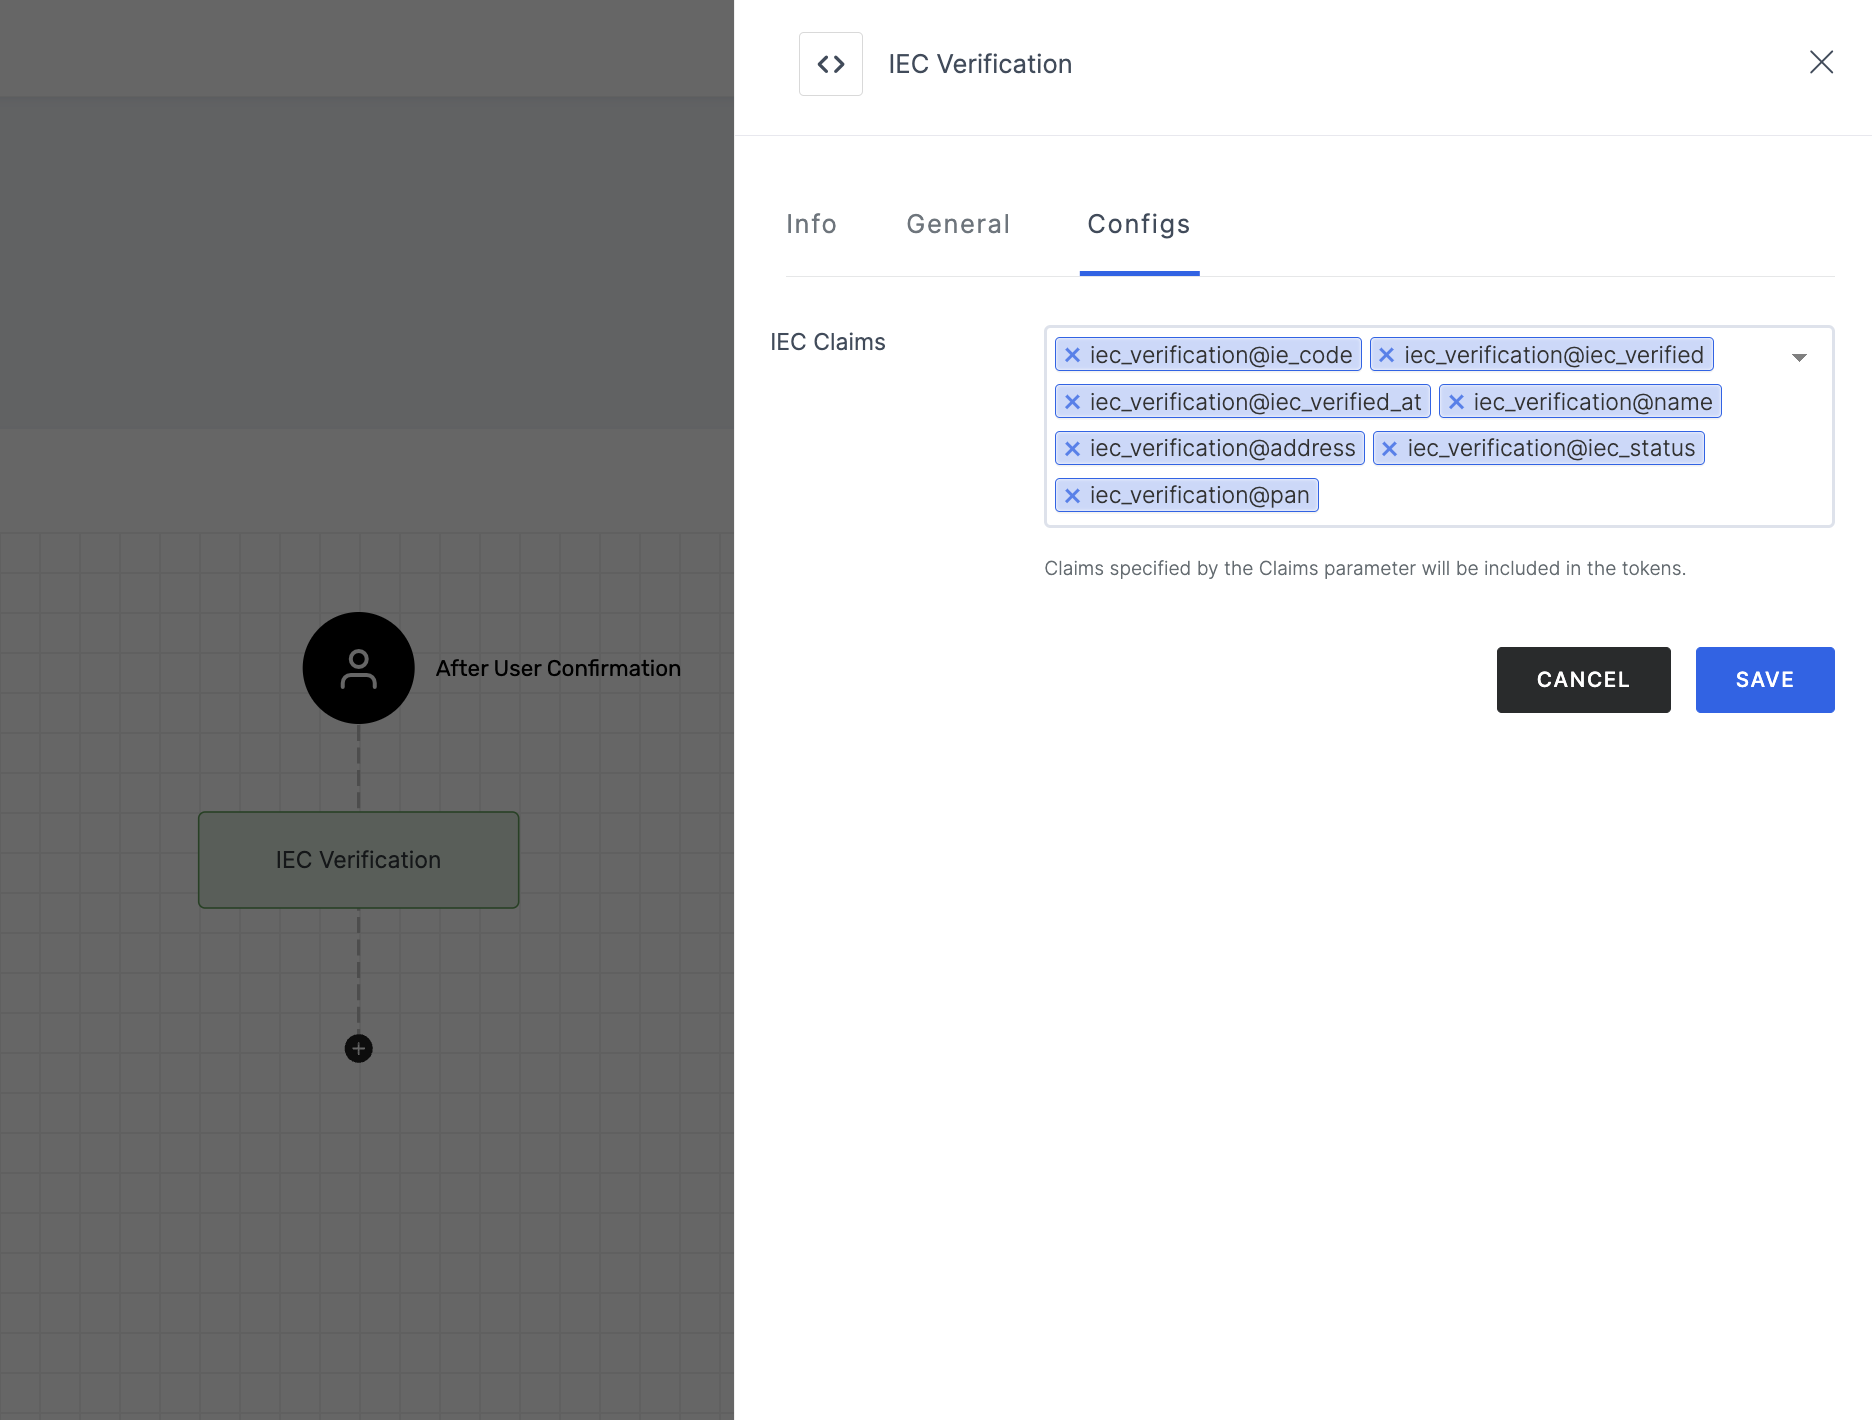
Manage Configs
| Name | Description |
|---|---|
| IEC Claims | Claims specify the information that should appear in the generated response. Note that only the selected claims will appear in the final response. The claims for IEC Verification are, |
5 After you've configured everything needed, click on SAVE.
6 Proceed to attach the workflow to the relevant application for execution. Refer to the instructions on how to attach a workflow to an application here.
How it Works
1 Launch Postman or your preferred API tool and execute the flow by configuring the suitable Method, URL, and Body settings. If you're seeking guidance on how to perform these actions, see here.
2 Upon initiating the API call, a verification request will be sent to your configured Verification Way settings.
3 Based on the request, execute the flow in an incognito browser and follow the prompts to complete the verification process.
4 Begin by providing the IEC License Number, and click on Submit.
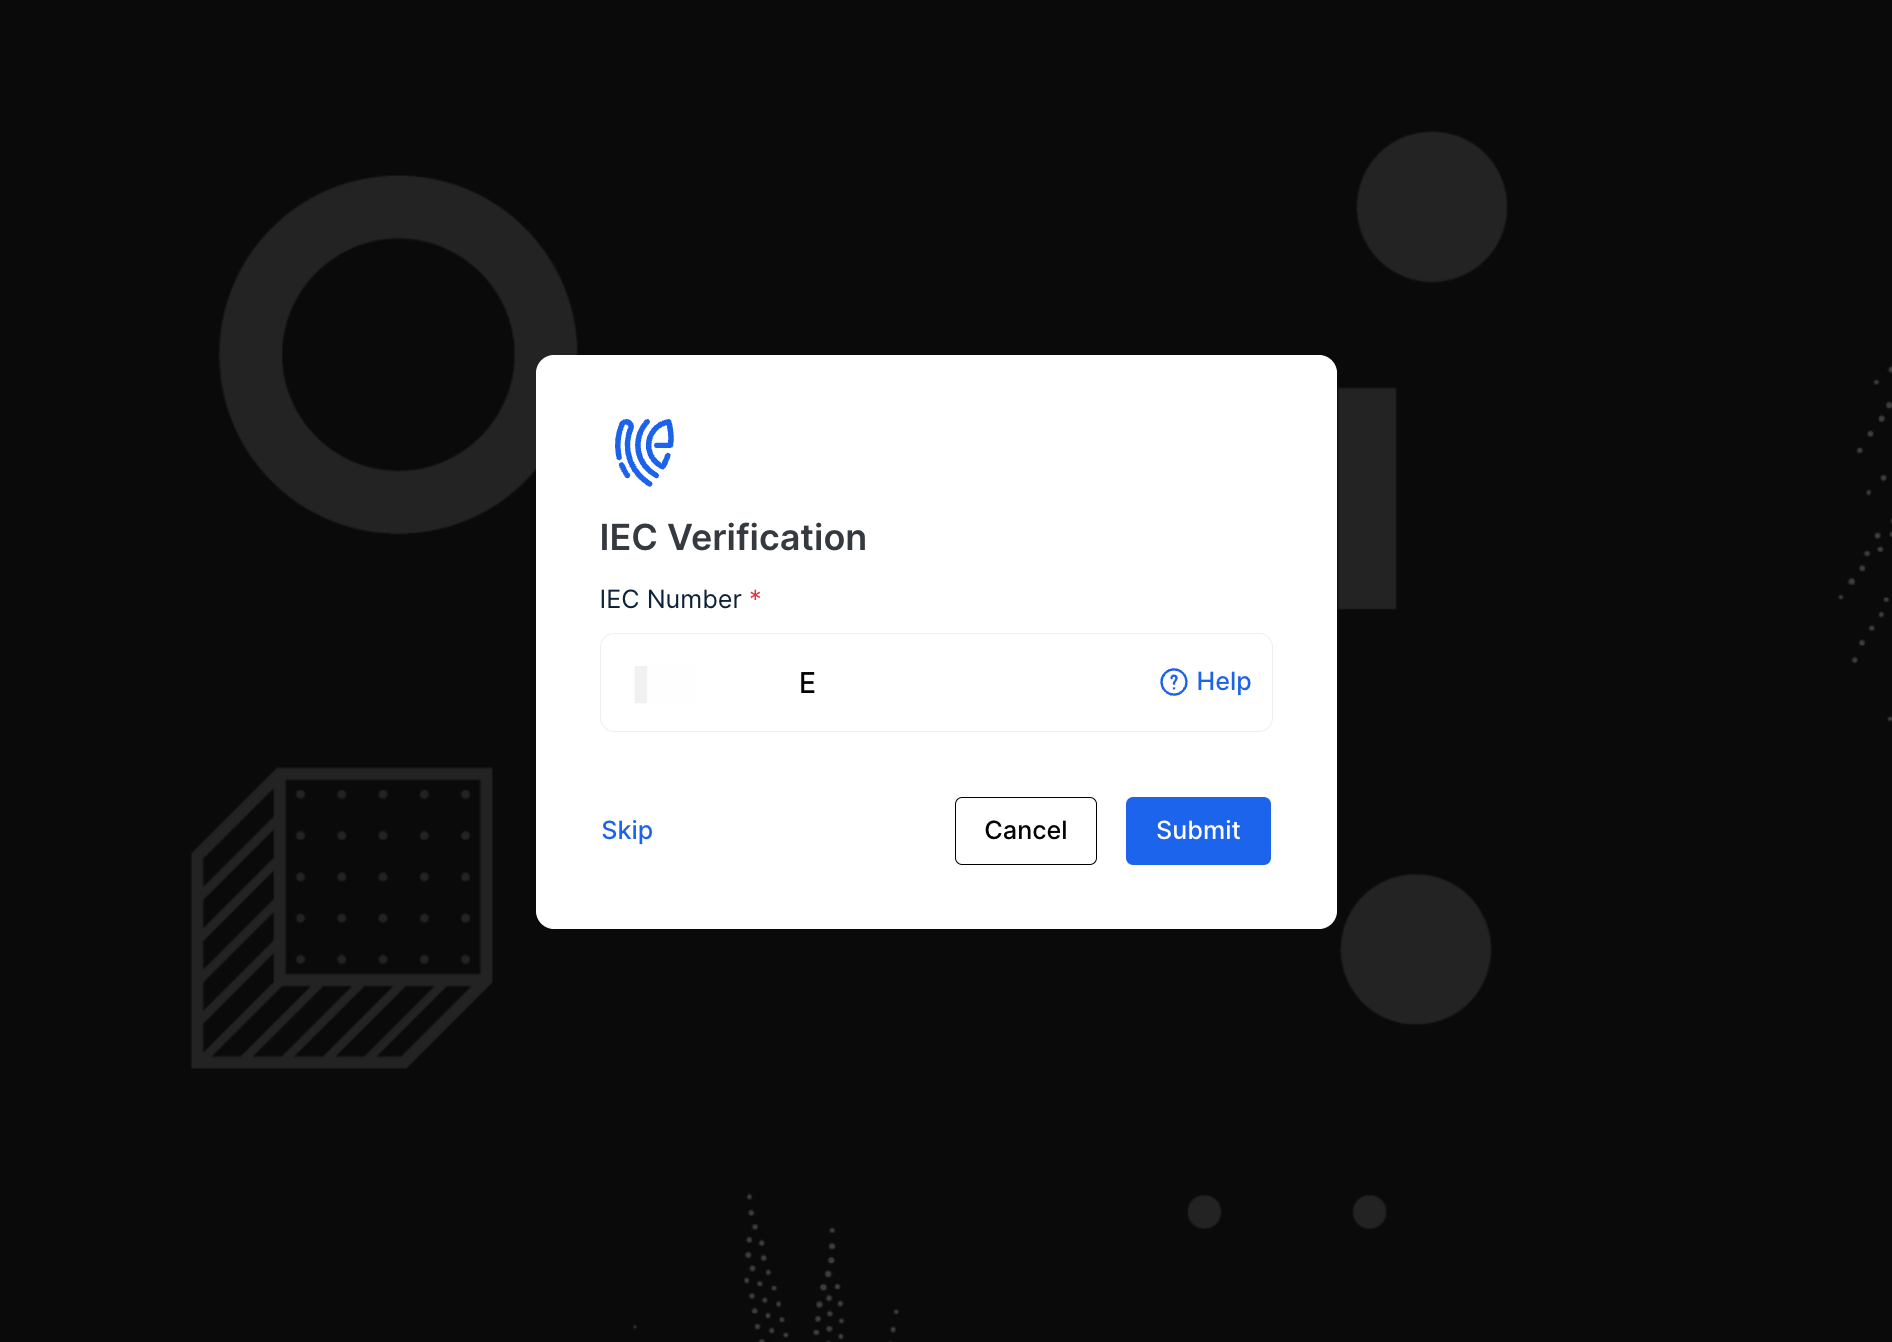
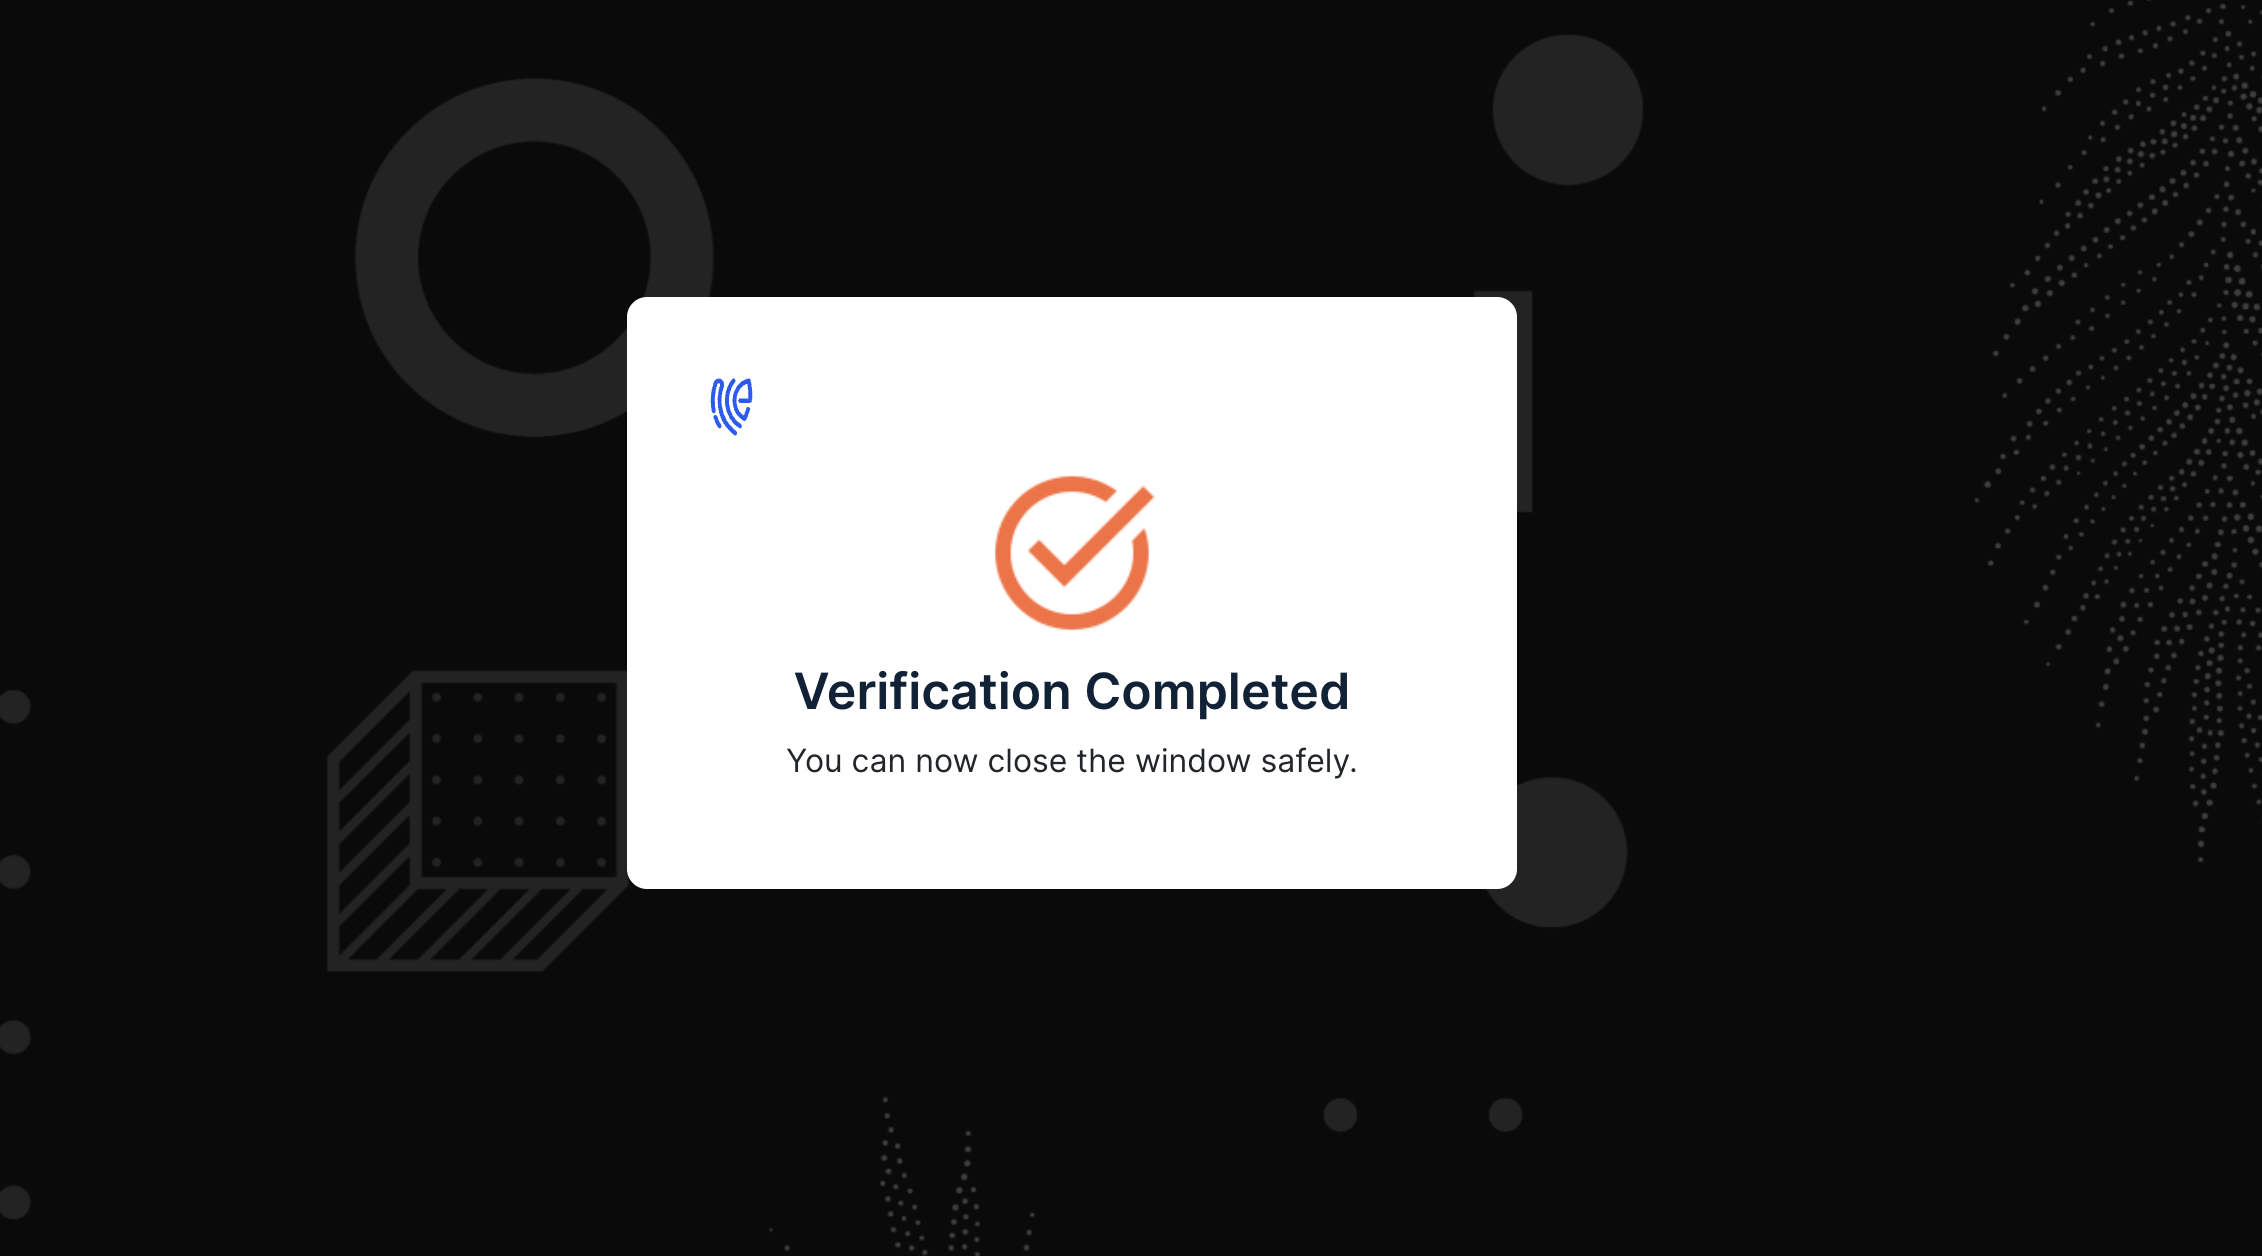
5 The verification process will be completed if the entered data is valid.
If "force onboarding" is enabled in the API request, all users, regardless of status, will be directed to the onboarding flow first, followed by the verification flow if configured.
6 The response can differ depending on the chosen Verification Way and Notification Way configurations. To know more, see here.
7 Here is a sample response for IEC Verification:
{
   "workflow": "verification",
   "user_id": "mark@gmail.com",
   "request_id": "xxxxxxxx-xxxx-xxxx-xxxx-xxxxxxxx",
   "ie_code": "AAxxxxxxxx",
   "iec_verified": "true/false",
   "address": "xxxxxxxxxxxxxxxxxx",
   "iec_verified_at": "1719569072",
   "name": "xxxxxxxxxxxxxxx",
   "iec_status": "Valid",
   "pan": "AWxxxxxxxx"
}