Proximity Verification Beta
Currently in Beta, Proximity Verification is designed for Web to Device interactions.
During the verification process, the web interface prompts users to provide their location, storing the latitude and longitude. Subsequently, when the process transitions to mobile, it captures the mobile device's latitude and longitude, comparing it with the web data. If the distance between the two points falls within the predefined threshold set in the configuration, verification succeeds; otherwise, it fails.
This flow supports only Mobile applications.
Prerequisites
- Download the ezto verify mobile app before proceeding with the flow.
- Ensure an additional verification workflow accompanies the Proximity Verification workflow. In this case Web to Device flow serves as the initial part of verification, and the second workflow triggers another part of the verification that is configured.
- Have two different applications in the Workspace, each designated for a specific workflow.
- The second workflow must include the Proximity along with any other verification workflows. Ensure that the application incorporating Proximity Verification has "Proximity" enabled in Mobile configuration and location enabled in the web browser.
- Device registration should be completed for the user before executing the following flow. To know how to, refer here.
How to Setup
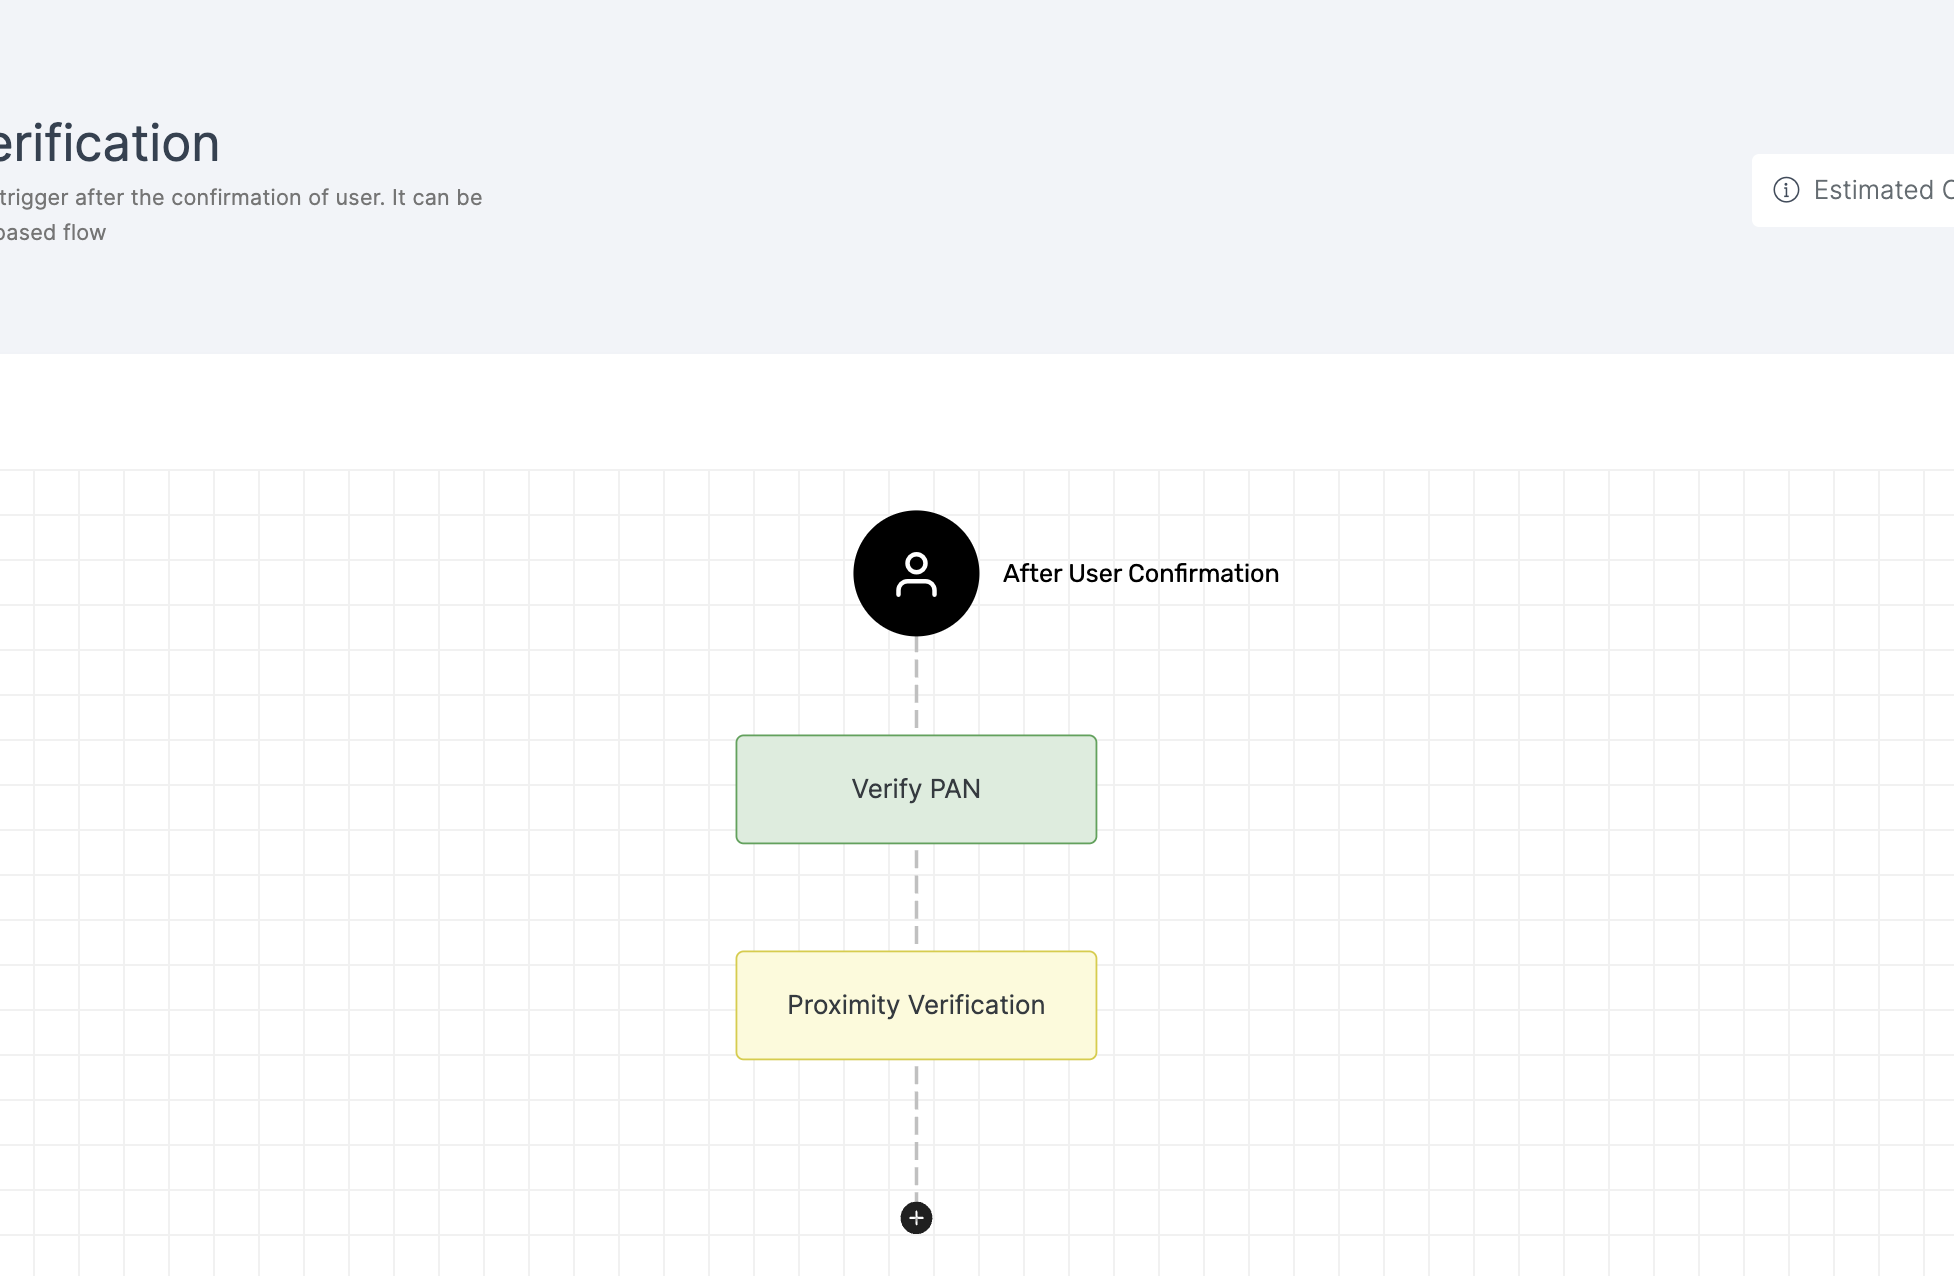
1 Navigate to Workspace > Workflows, and click on the flow created for Proximity Verification. If you need understanding in creating a workflow, refer to the step-by-step guide here.
2 Hover over the plus (+) symbol and select Workflow. From the list, click Proximity Verification to add it.
This workflow only works with Web to Device. So, make sure to add an application consisting of Web to Device in order for the Proximity Verification to execute.
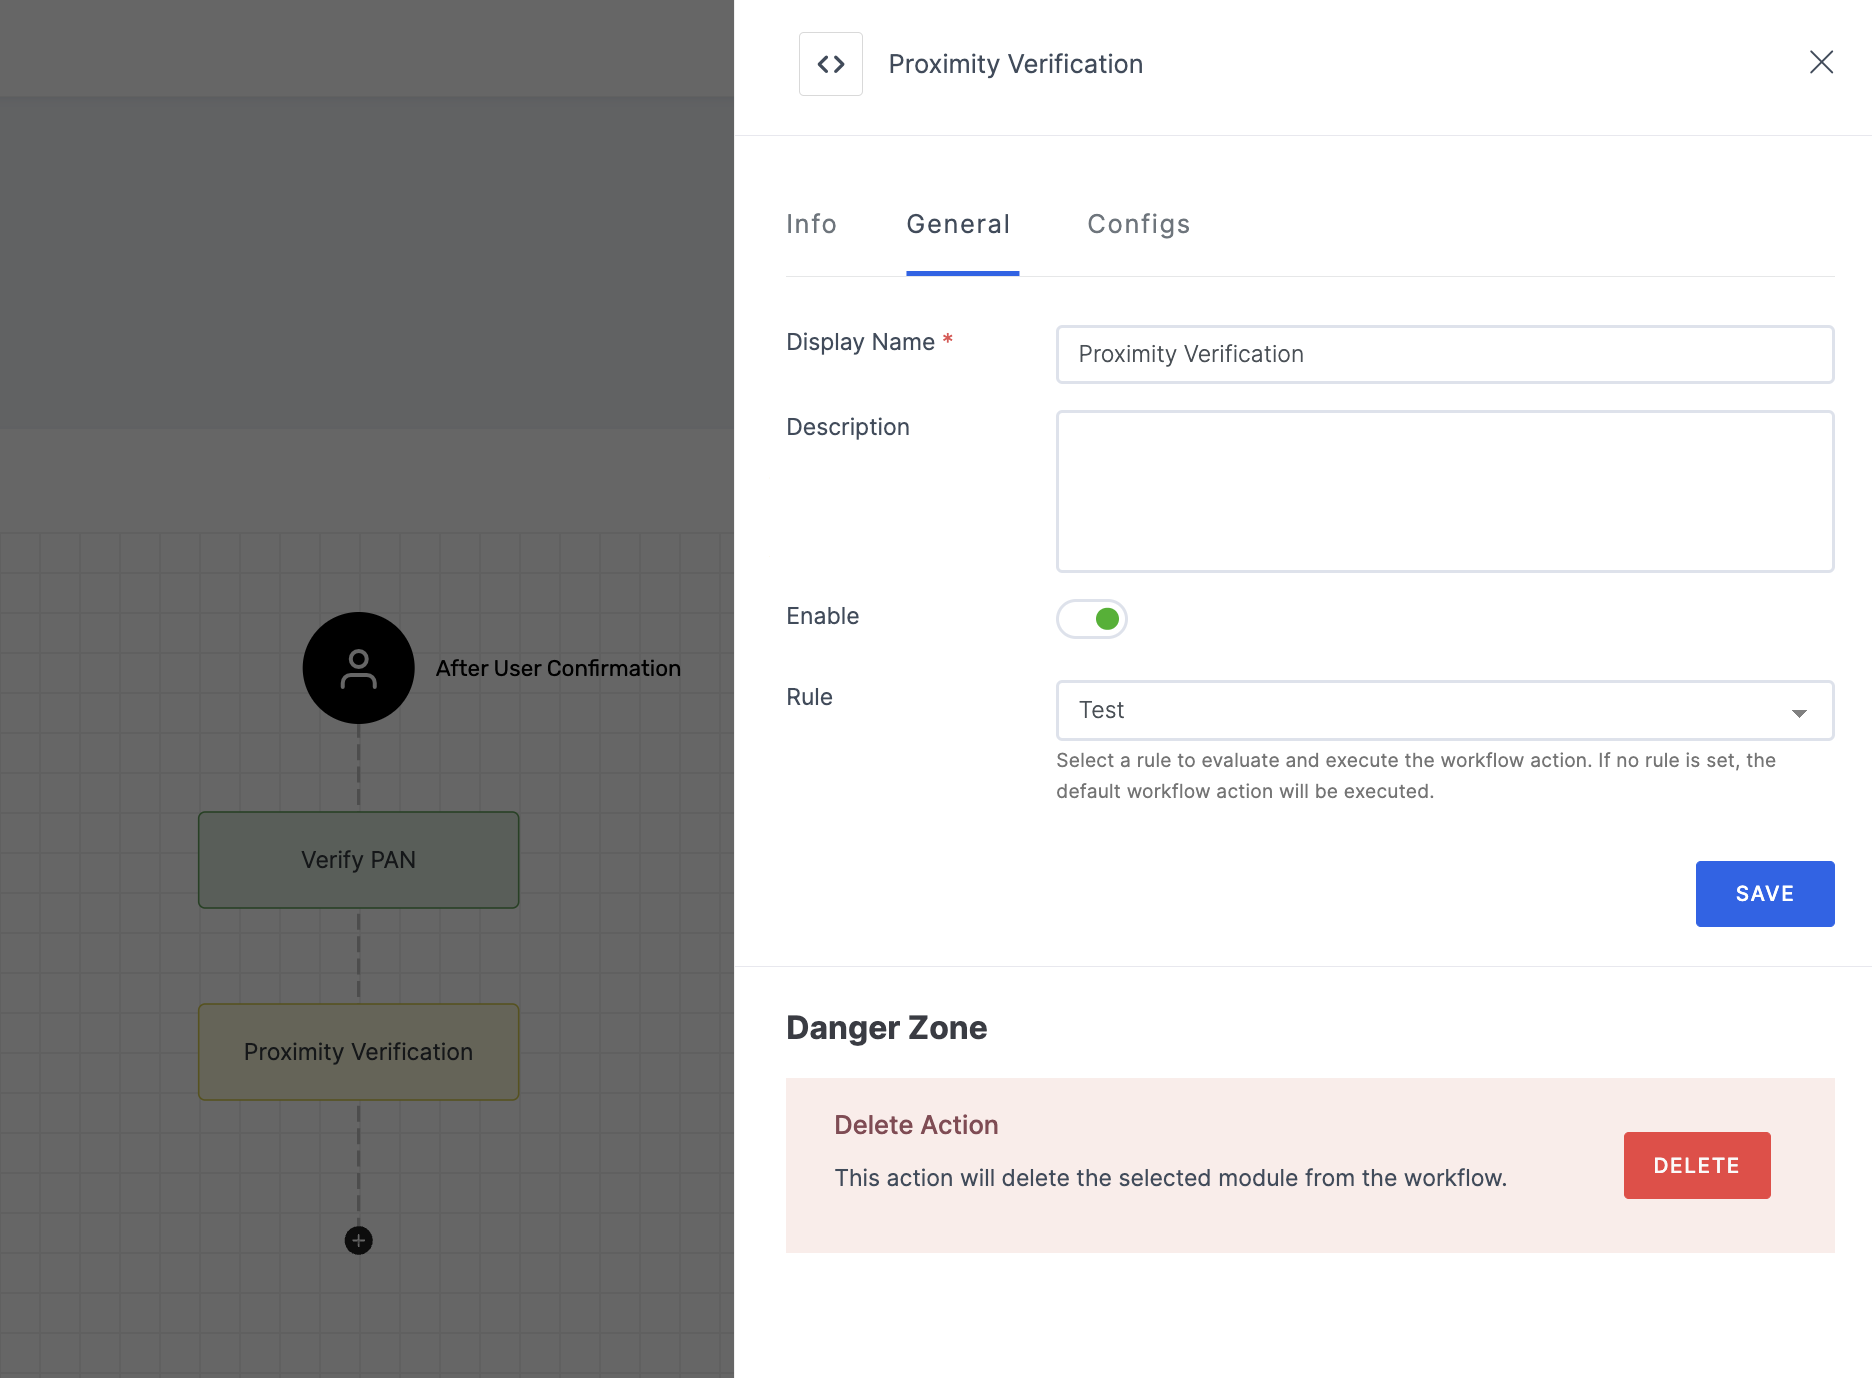
3 Click on the newly added workflow, then select the General tab to customize your preferences.
Manage General
(*) Indicates an action to be mandatory.
| Name | Description |
|---|---|
| Display Name* | Set a name to the workflow for easy identification. |
| Description | Summarize the purpose and functionality of this workflow module. |
| Enable | This toggle is enabled by default. When enabled, the particular workflow module begins its execution. Conversely, if disabled, the workflow module remains inactive and won't proceed. |
| Rule | This determines the criteria for triggering the particular workflow module. When the selected rule is evaluated, and is satisfied, the workflow proceeds as provided. If not, the workflow will not be executed. Note: If no rules are set, the workflow defaults to its standard action without any rule. For more information about the rules, refer here. |
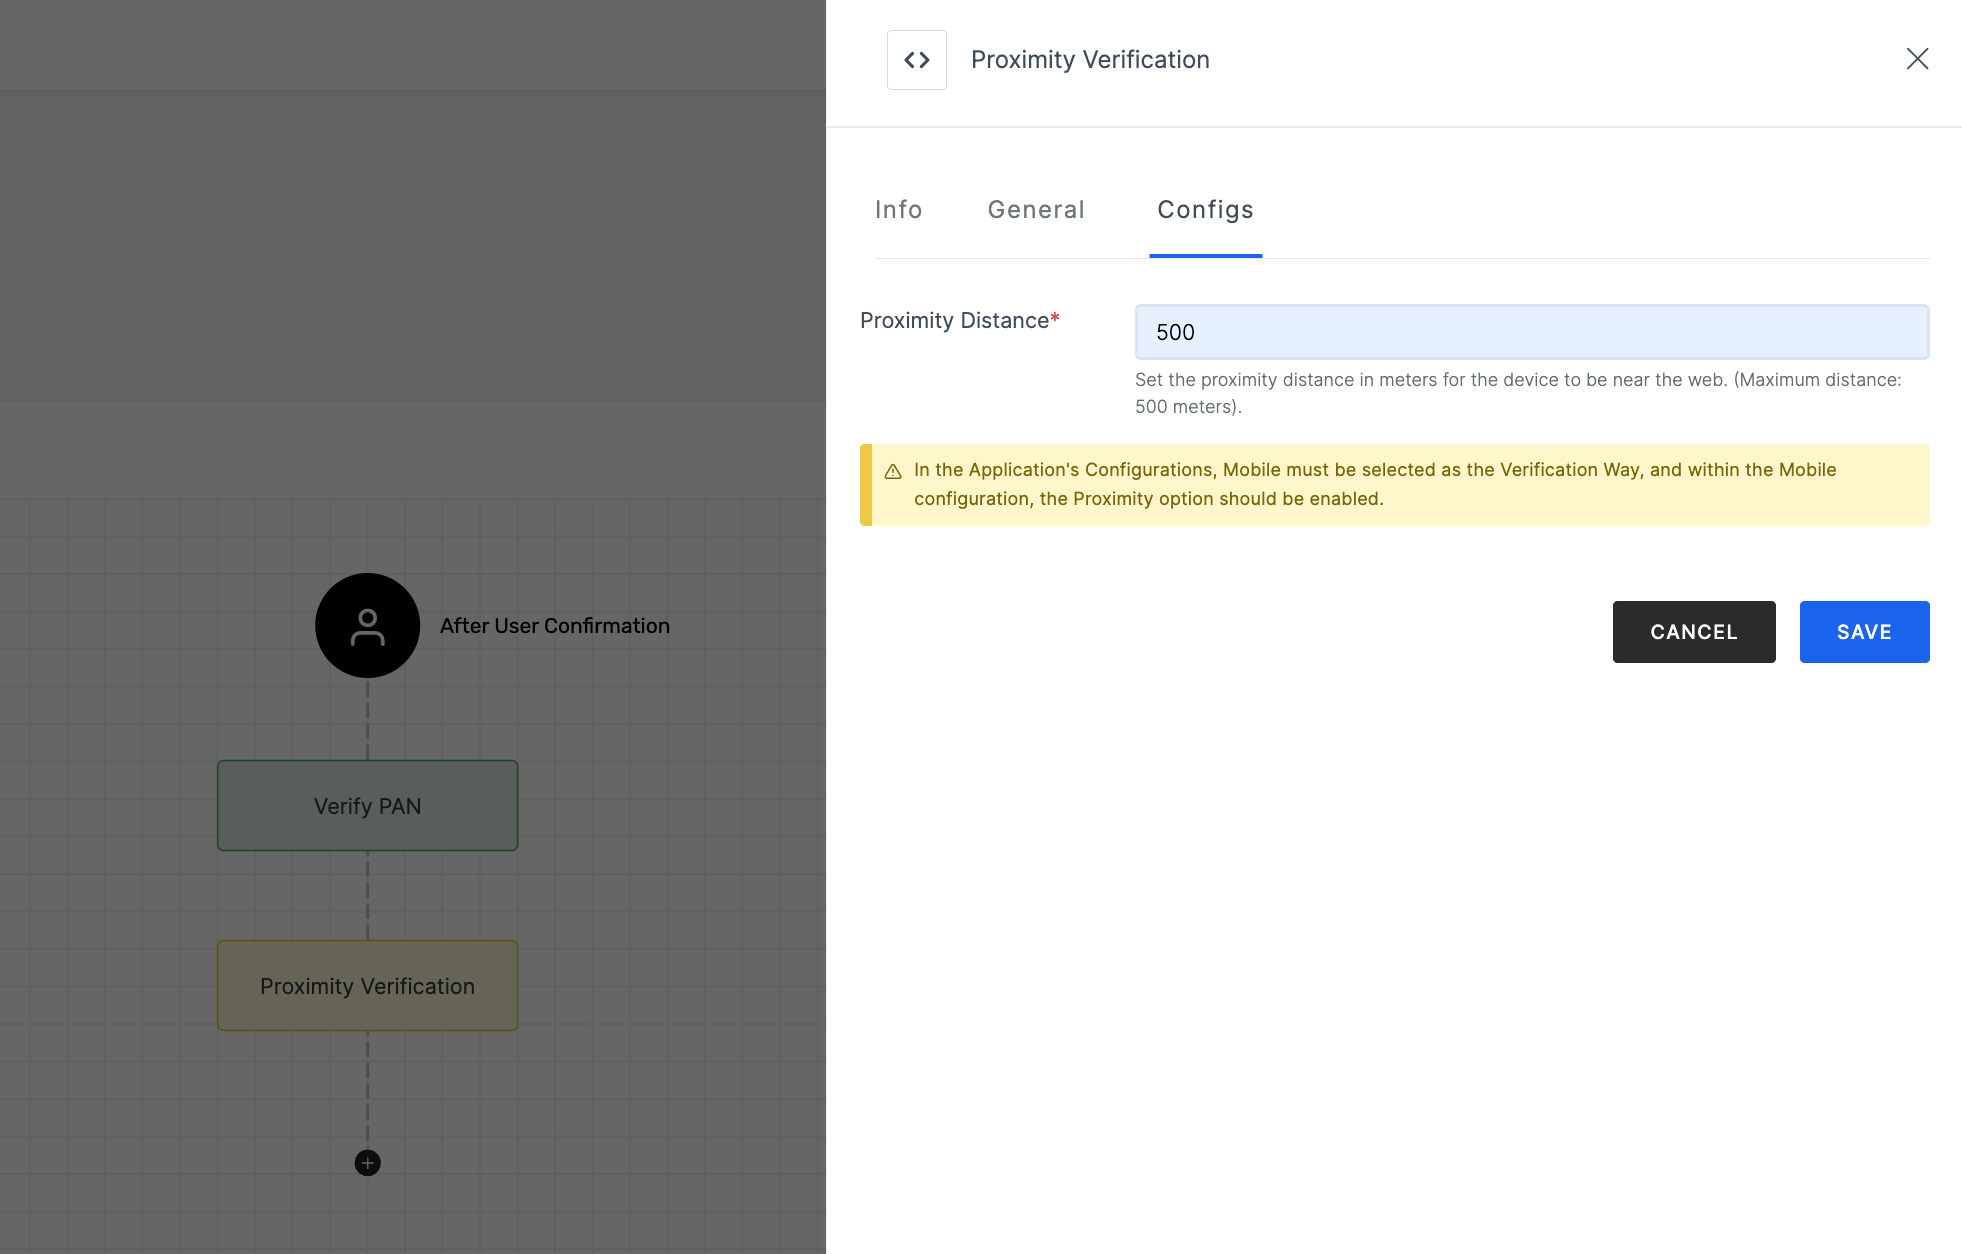
4 Then, click on the Configs tab to set the necessary configurations.
Manage Configs
(*) Indicates an action to be mandatory.
| Name | Description |
|---|---|
| Proximity Distance* | Specify the proximity range in meters that the device should be within from the web. The maximum allowable range is 500 meters. This means the device must be located within the specified distance to ensure accurate verification and connectivity. |
5 After you've configured everything needed, click on the SAVE button.
6 Proceed to attach the workflow to the relevant application for execution. Refer to the instructions on how to attach a workflow to an application here.
Expected Result
Based on the provided configuration, the information that will be fetched for Proximity Verification includes the following parameters:
| Name | Description |
|---|---|
mob_lat | Specifies the latitude of the mobile device location. |
proximity_verified | This indicates whether proximity verification has been completed. The value will be "True" if the verification is successfully completed and "False" if it is not. |
web_to_device | Status indicating the outcome of communication between the web platform and the device. |
web_lat | Latitude of the web-based device used in the verification flow. |
web_geo_acc | Accuracy of the geographical location for the web-based device. |
mob_long | Longitude of the mobile device's location. |
web_long | Longitude of the web-based device location. |
push_type | Type of push notification. |
web_2_device_cred_id | Credential ID associated with web-to-device communication. |
proximity_verified_at | Timestamp (in Unix epoch format) indicating when the proximity verification was done. |
allow_new_device | Indicates whether a user is permitted to access the service or application from a new or unrecognized device. If set to true, the user can use a new device; if false, the user may be restricted to previously authorized devices. |
prx_read_at | Timestamp indicating when proximity data was last read. |
web_mob_dist | Distance between the web-based device and the mobile device. |
push_token | Token used for push notifications or communication with the device. |
web_ip | IP address associated with the web-based device. |
The response received will include the accurate information mentioned above. Note that, the response values can vary depending on the specific workflow modules.
How it Works
1 Launch Postman or your preferred API tool and execute the flow by configuring the suitable Method, URL, and Body settings. If you're seeking guidance on how to perform these actions, see here.
Make sure to configure the
"allow_new_device": truein the body of the respective API.
2 Upon initiating the API call, a verification request will be sent to your configured Verification Way settings.
3 Based on the request, execute the flow in an incognito browser and follow the prompts to complete the verification process.
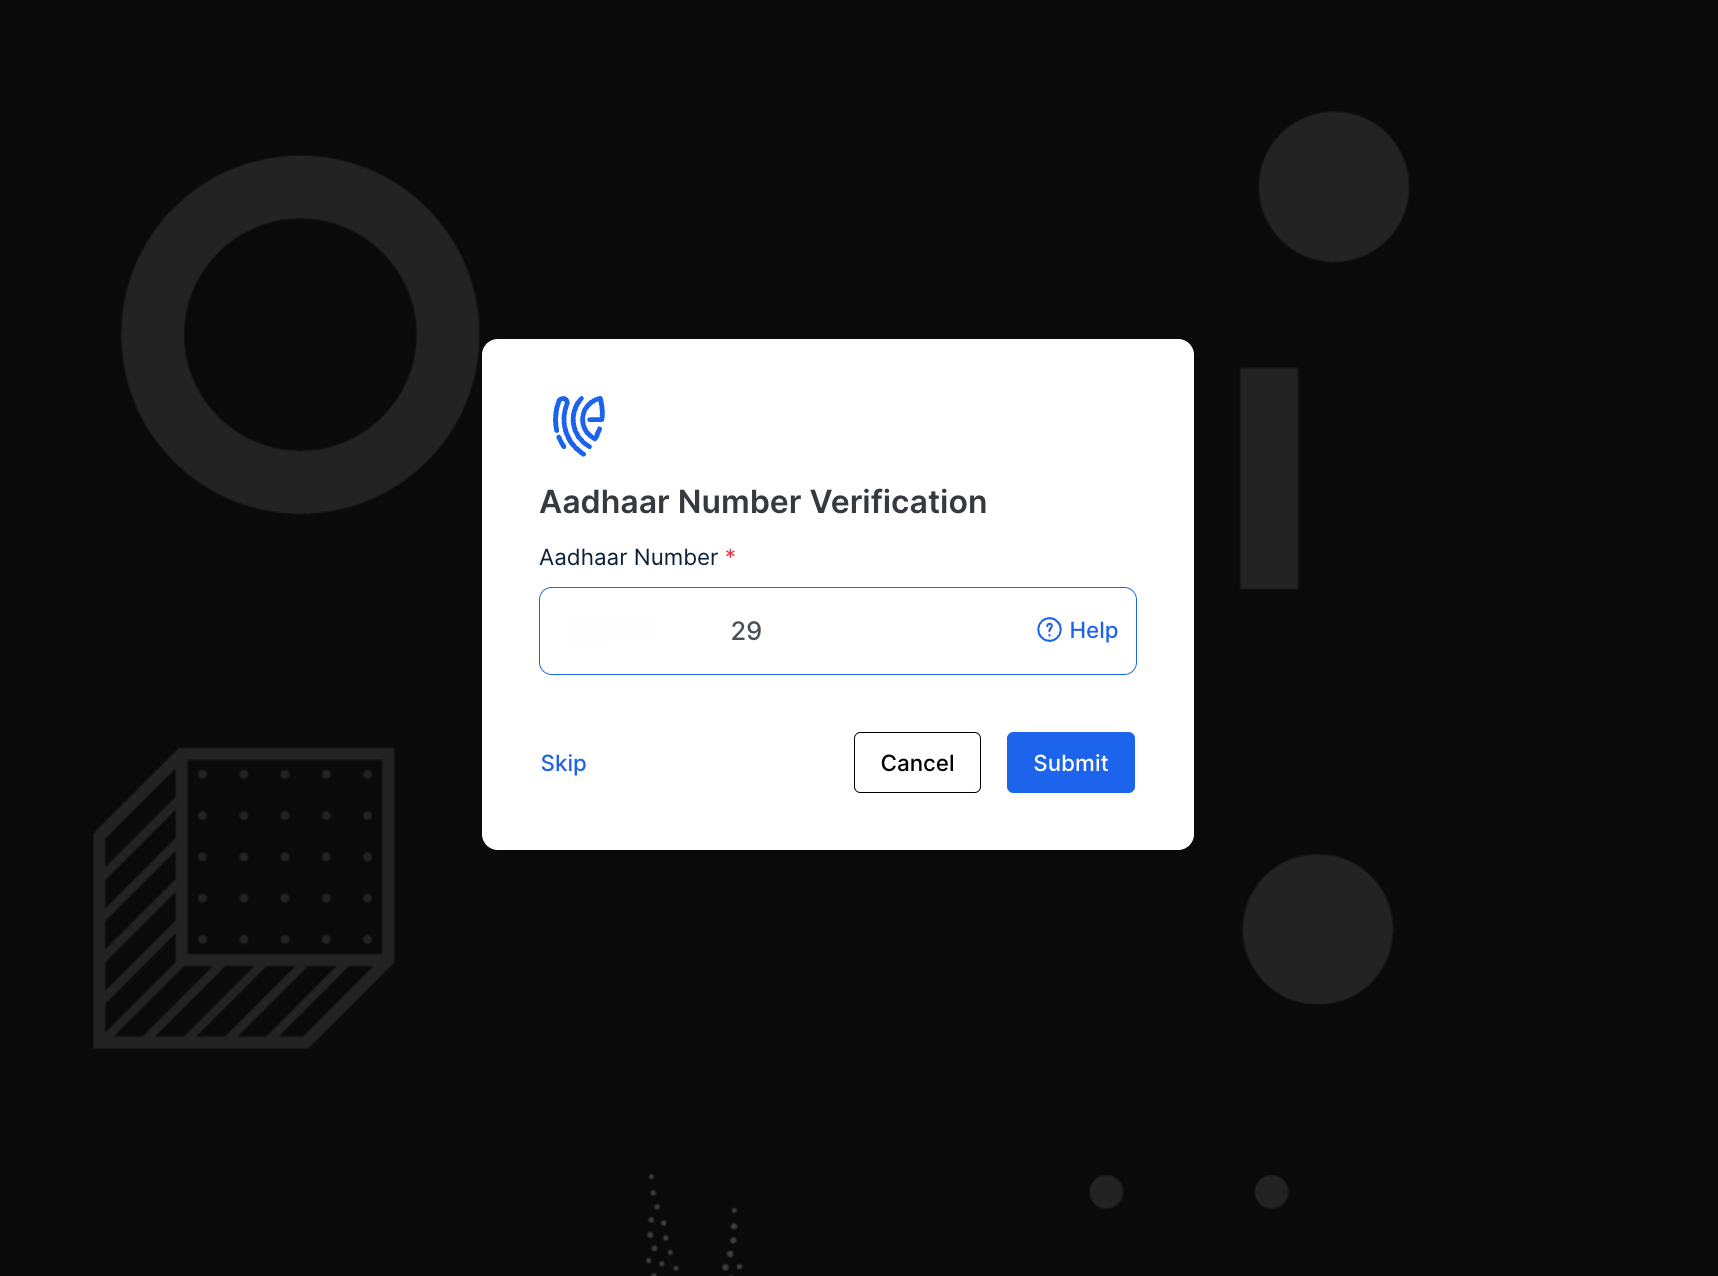
This is the initial verification process configured; as an example, Verify Aadhaar is used here.
4 Begin by providing the Aadhaar Number and click Submit.
5 To initiate Proximity Verification flow, you will be prompted to scan the QR code with the ezto verify mobile app.
This depends on what you have configured for the mobile notification way, i.e, QR code or Push integration. To know the difference between QR code or Push, refer here.
6 Once you've scanned the code, the verification process will begin. To complete it, you'll be prompted to allow access to the device's location.

7 Upon granting the location access, the Proximity Verification flow will proceed.
8 Once it succeeds, you will be taken to the second part of the verification flow. Since Verify PAN is configured for the second workflow, you will be prompted to provide your PAN number and click on Submit.
9 The verification process will be completed successfully.
10 Here is a sample response for Proximity Verification:
{
   "request_id": "xxxxxxxx-xxxx-xxxx-xxxx-xxxxxxxx",
   "workflow": "verification",
   "user_id": "mark@gmail.com",
   "mob_lat": "12.94741",
   "proximity_verified": "true/false",
   "web_to_device": "true/false",
   "web_lat": "12.94739",
   "web_geo_acc": "18.082",
   "mob_long": "80.24211",
   "web_long": "80.24207",
   "push_type": "fcm",
   "web_2_device_cred_id": "9e9c96fxxxxxxxxxxxxxxxxxxxxxxxxxxx",
   "proximity_verified_at": "1719569072",
   "allow_new_device": "true/false",
   "prx_read_at": "1719569050",
   "web_mob_dist": "x",
   "push_token": "cIeSFhRDQoxxxxxxxxxxxxxxxxxxxxxxxxxxxxxxxxxxxxxx",
   "web_ip": "000.000.000.000"
}