Setup Workflow
Imagine having the ability to design and personalize your own verification Workflow modules, ensuring seamless user access to your application. This is where ezto verify comes in, offering pre-defined, ready-to-use workflows. These are highly secure, advanced verification methods that securely execute your transactions.
ezto verify's Workflow modules are designed to enhance your verification process, making it effortless to set up secure and user-friendly access to your application.
Based on the country chosen, the list of available workflow modules will vary.
Create Workflow
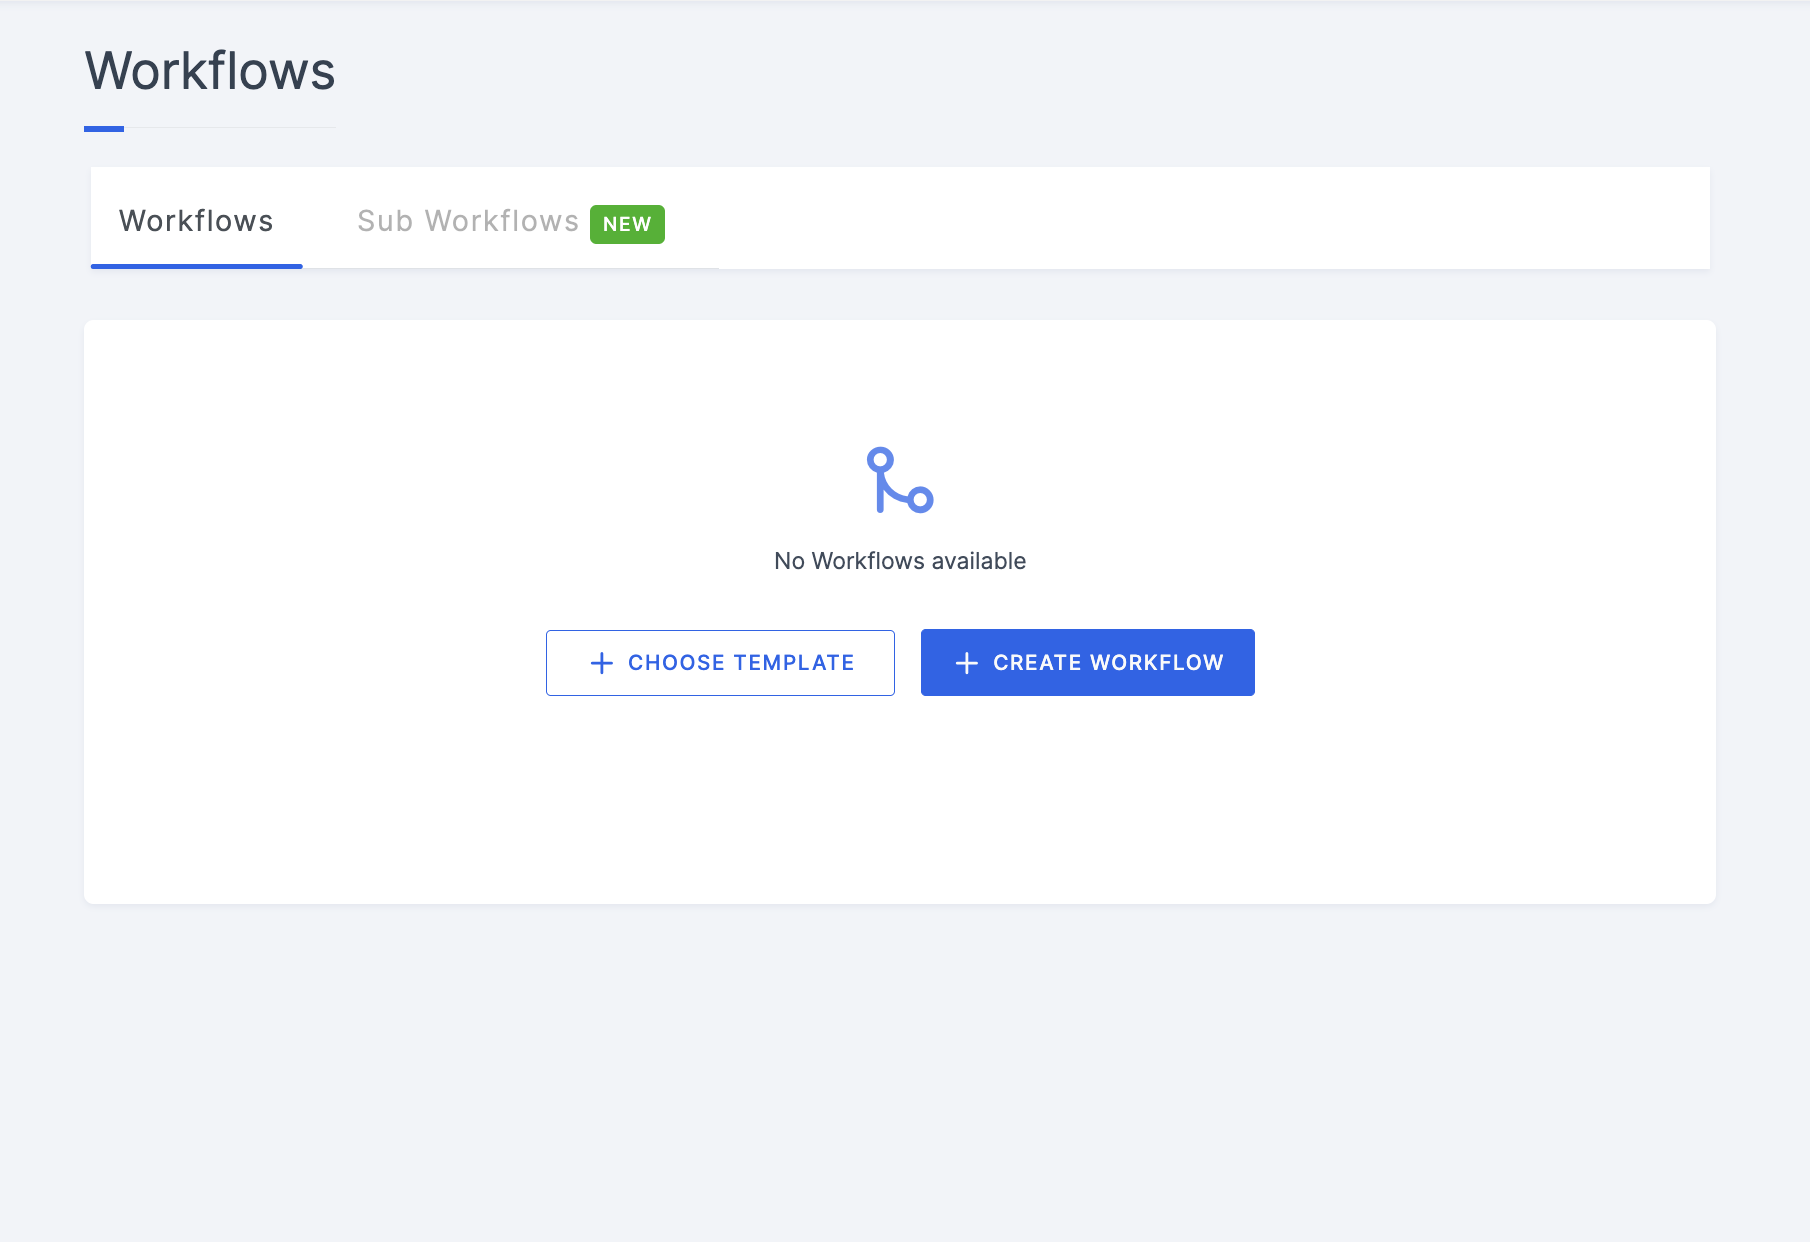
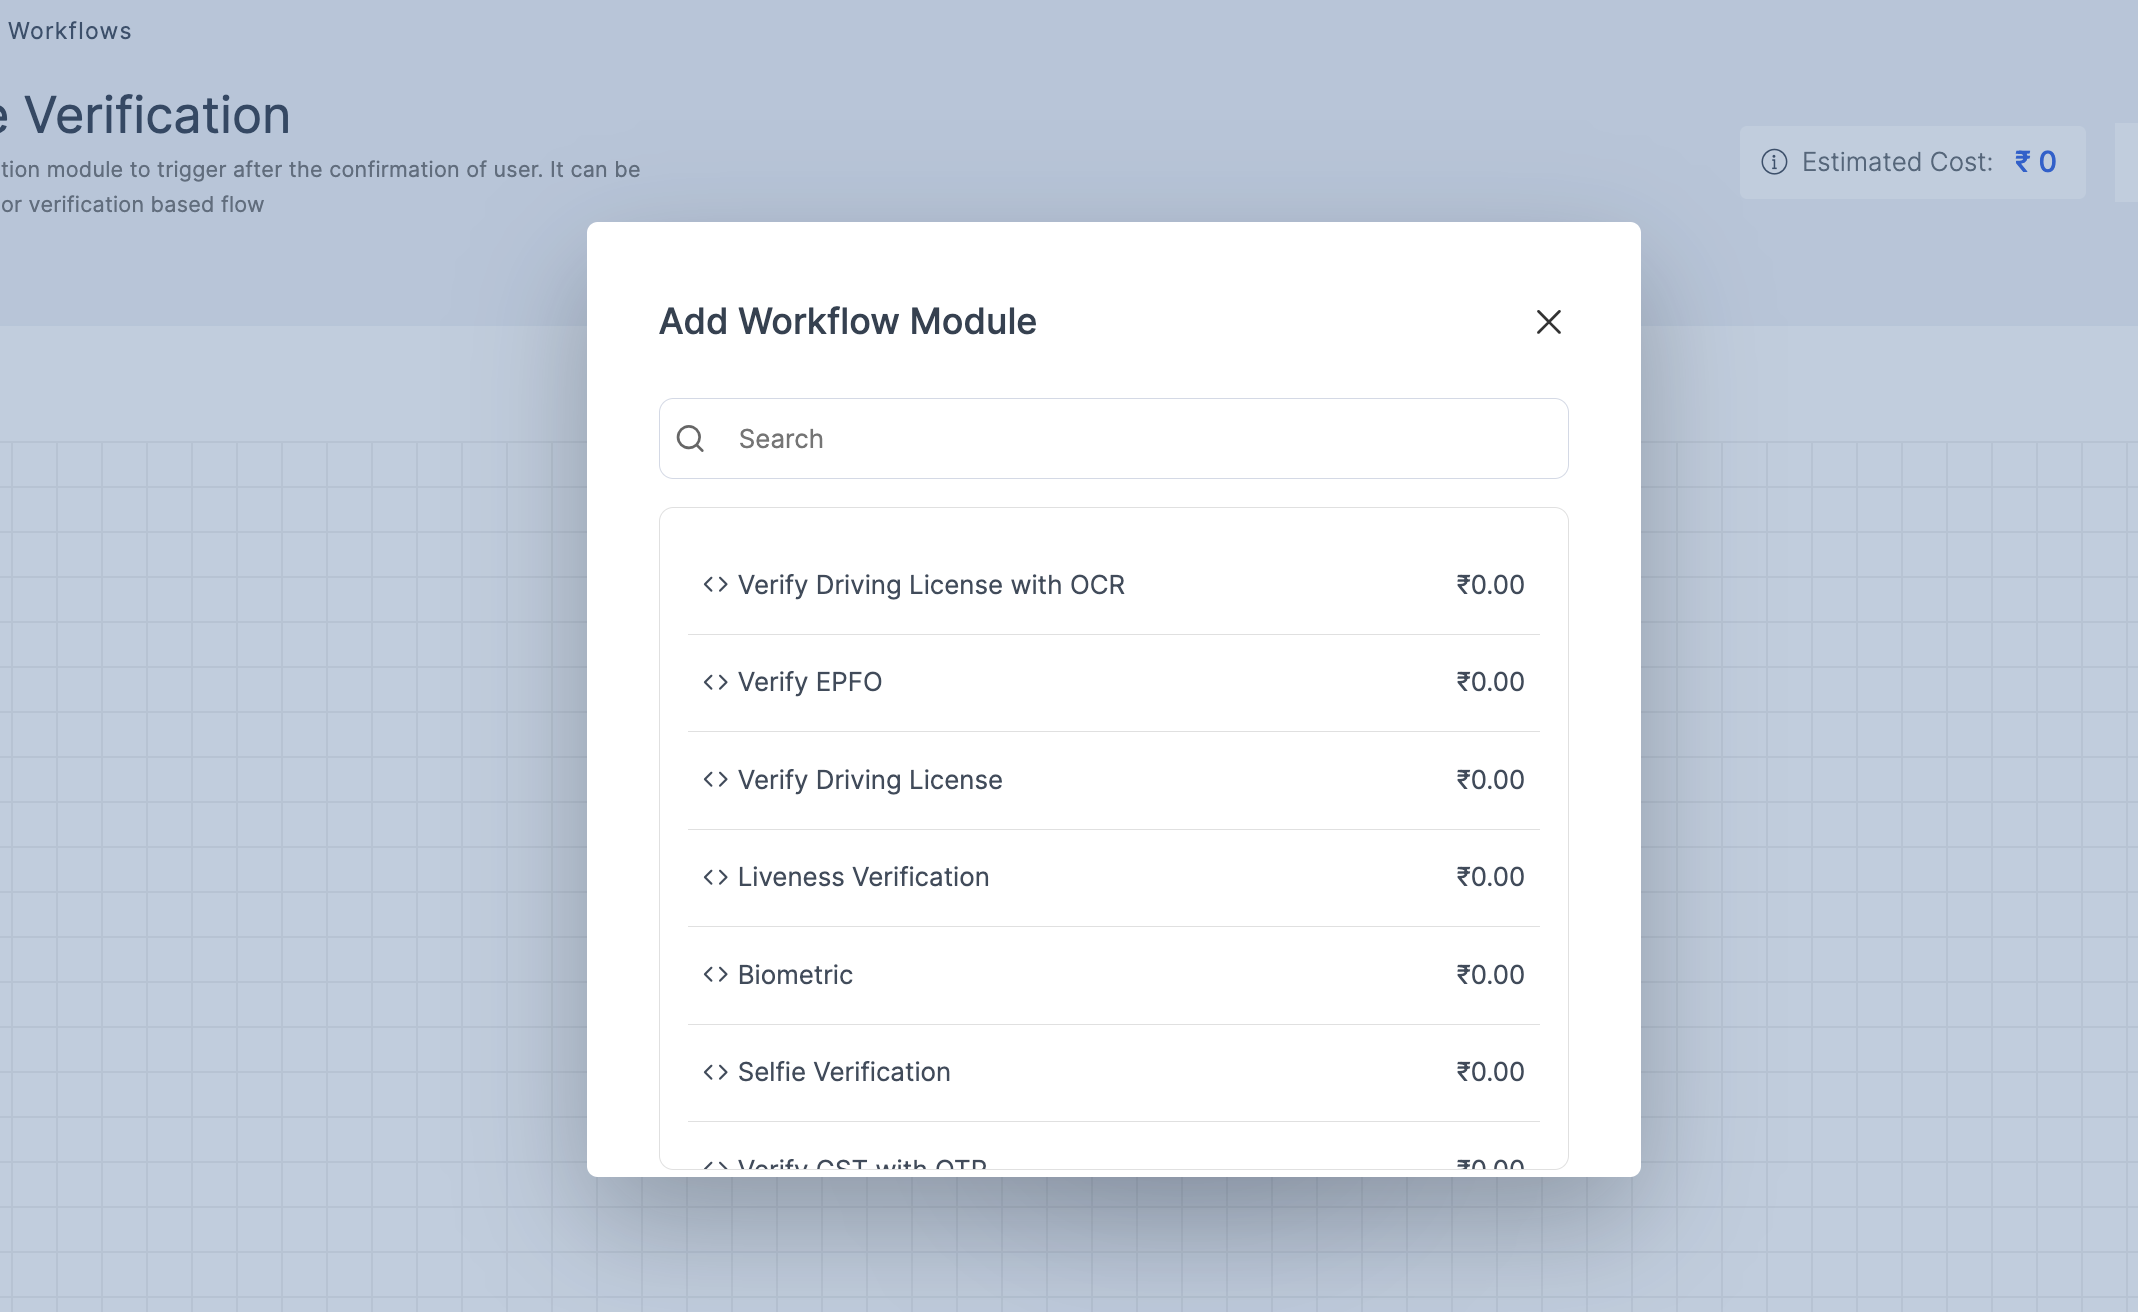
1 Navigate to Workspace, and click on Workflows.
2 To create a workflow, click the + CREATE WORKFLOW button. To install a predefined template from the Marketplace, click the + CHOOSE TEMPLATE button.
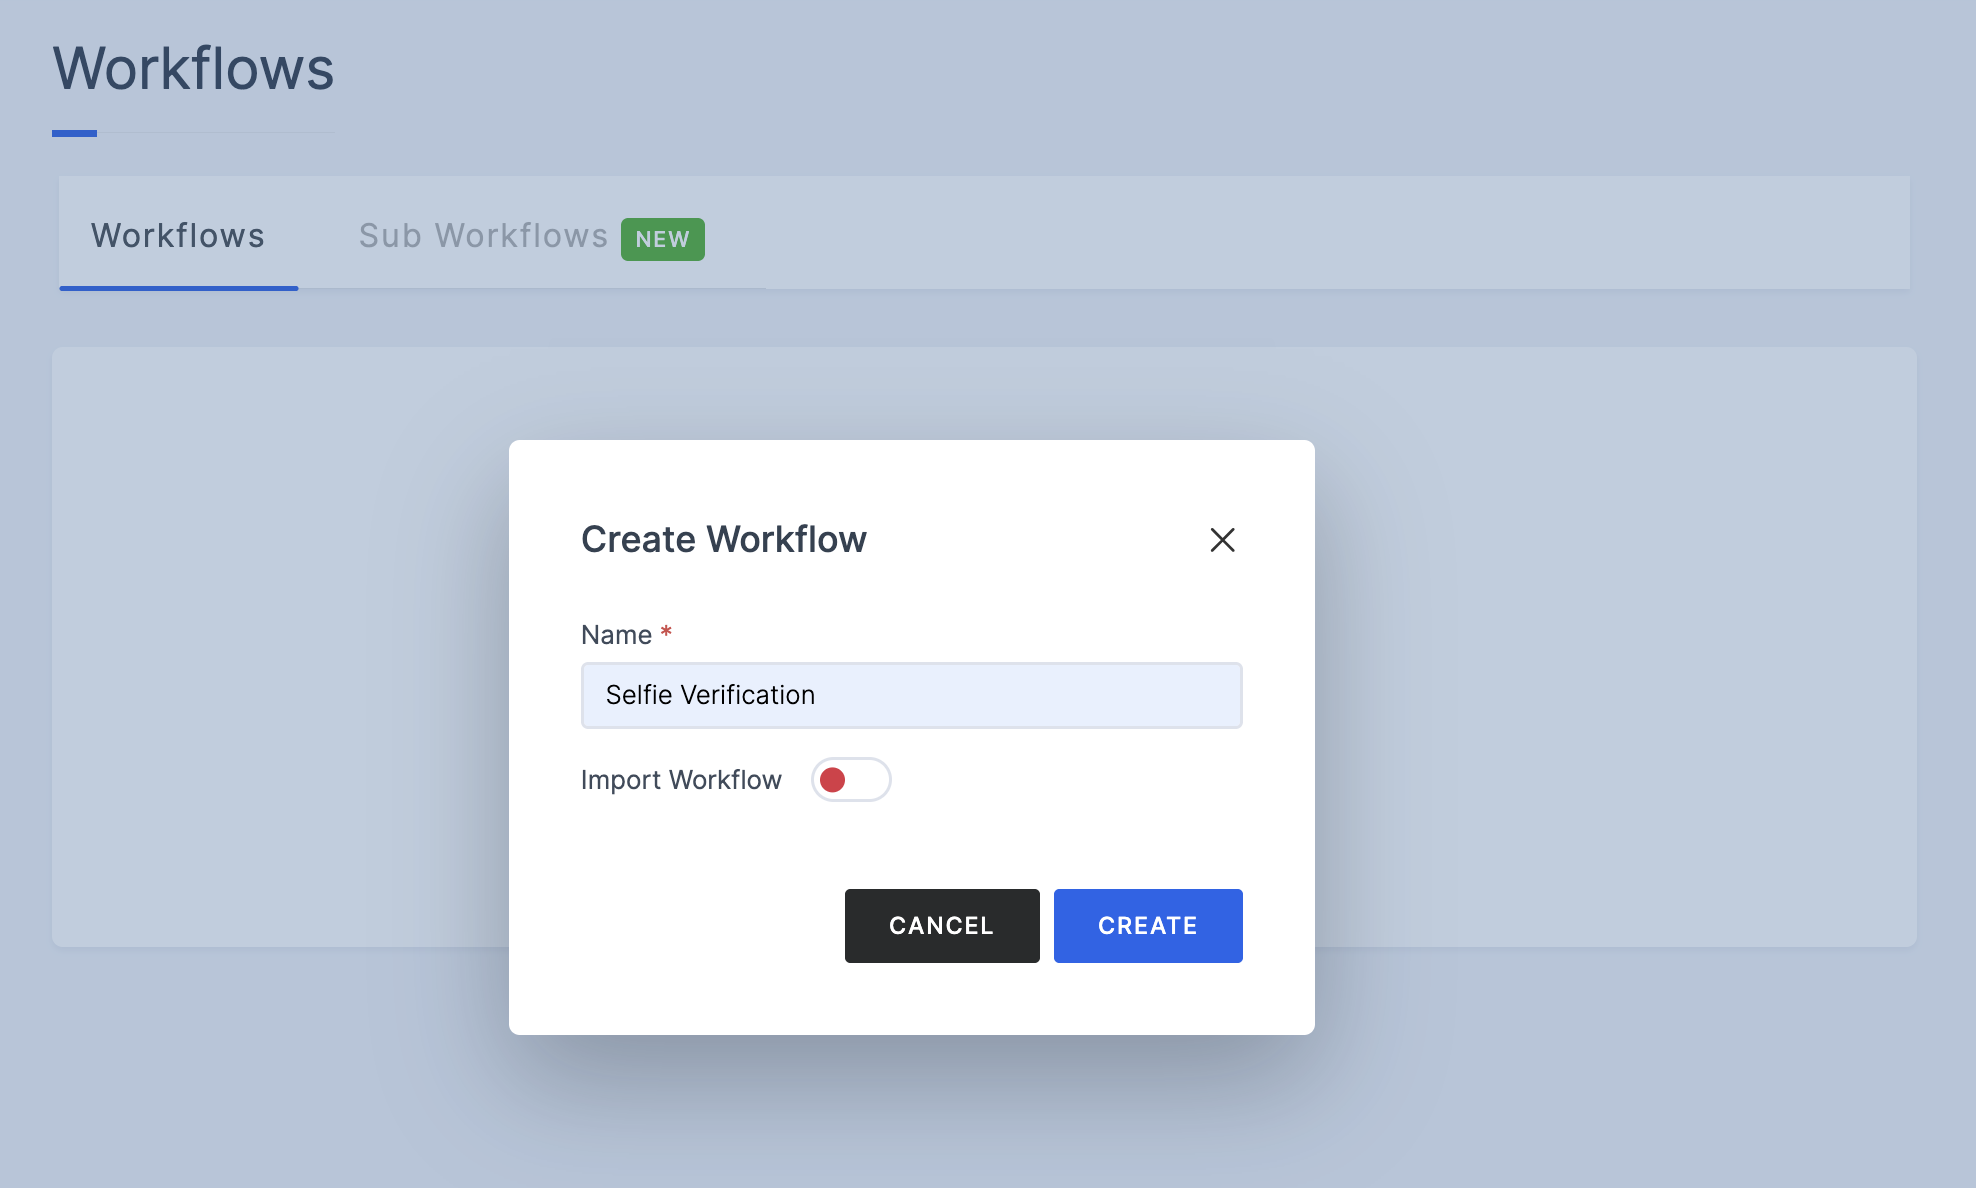
3 Provide a descriptive name and click on the CREATE button.
Importing Workflows
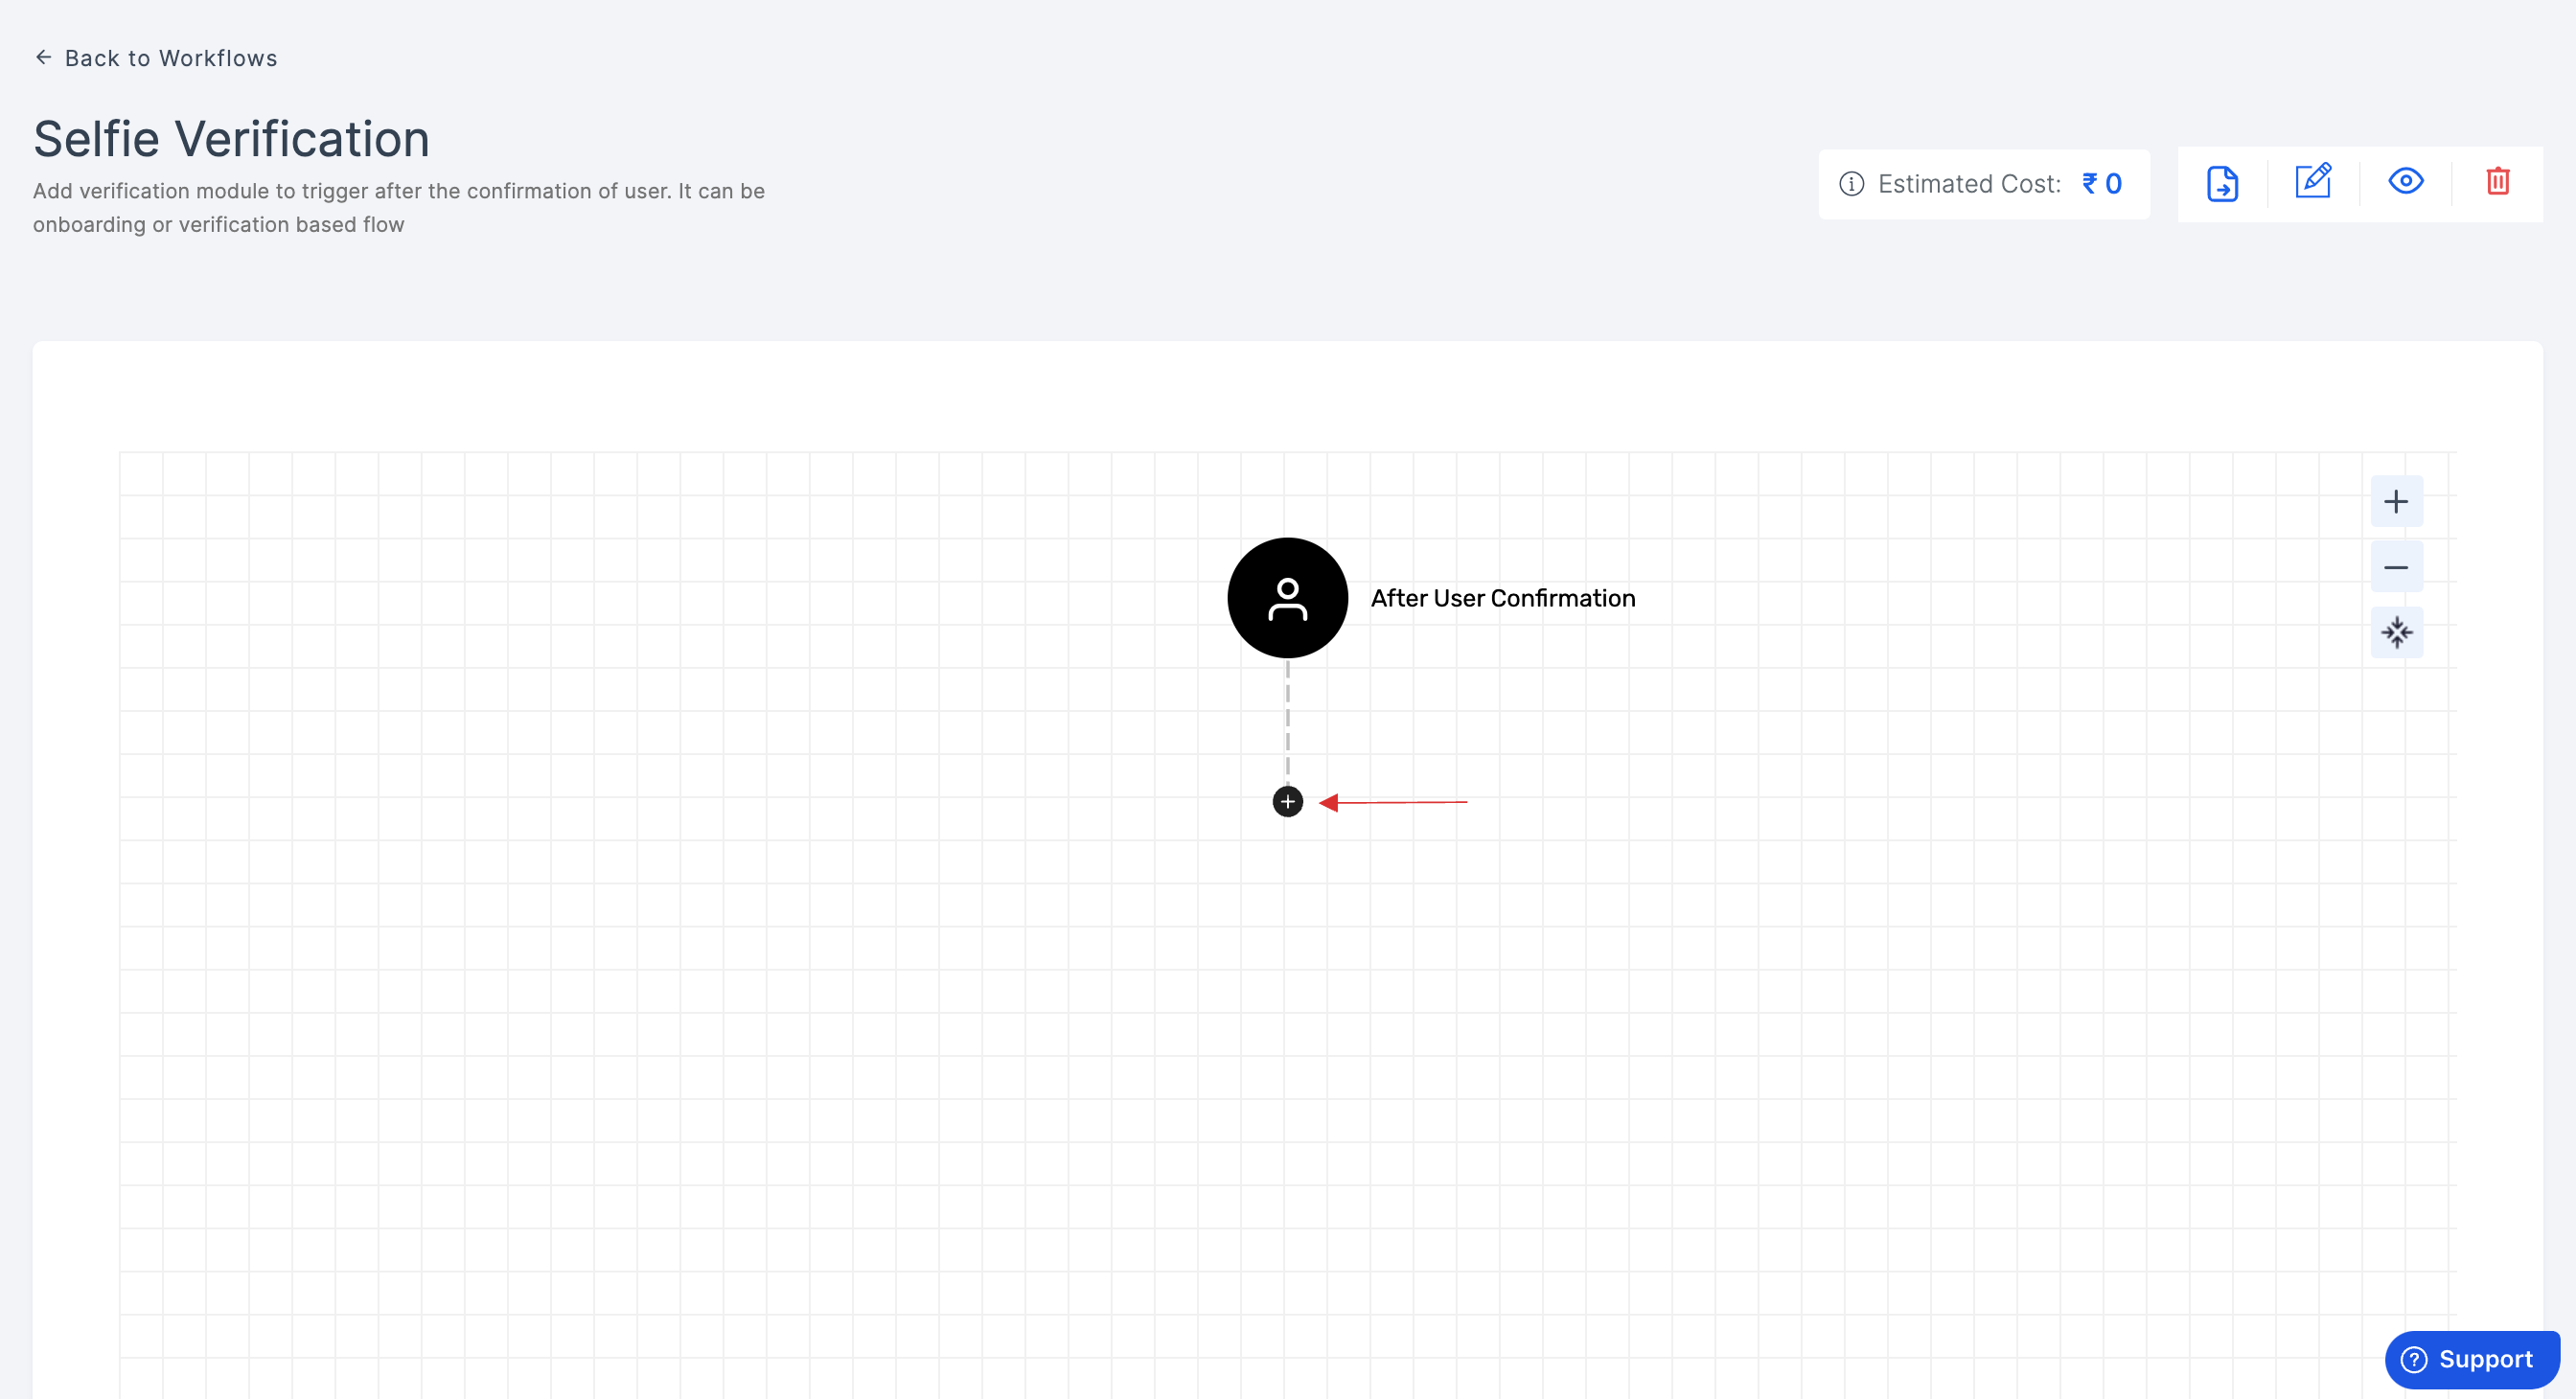
4 To incorporate the available verification module(s) for execution, hover over the plus (+) symbol.
5 You will be presented with options to select, such as Workflow or Validator.
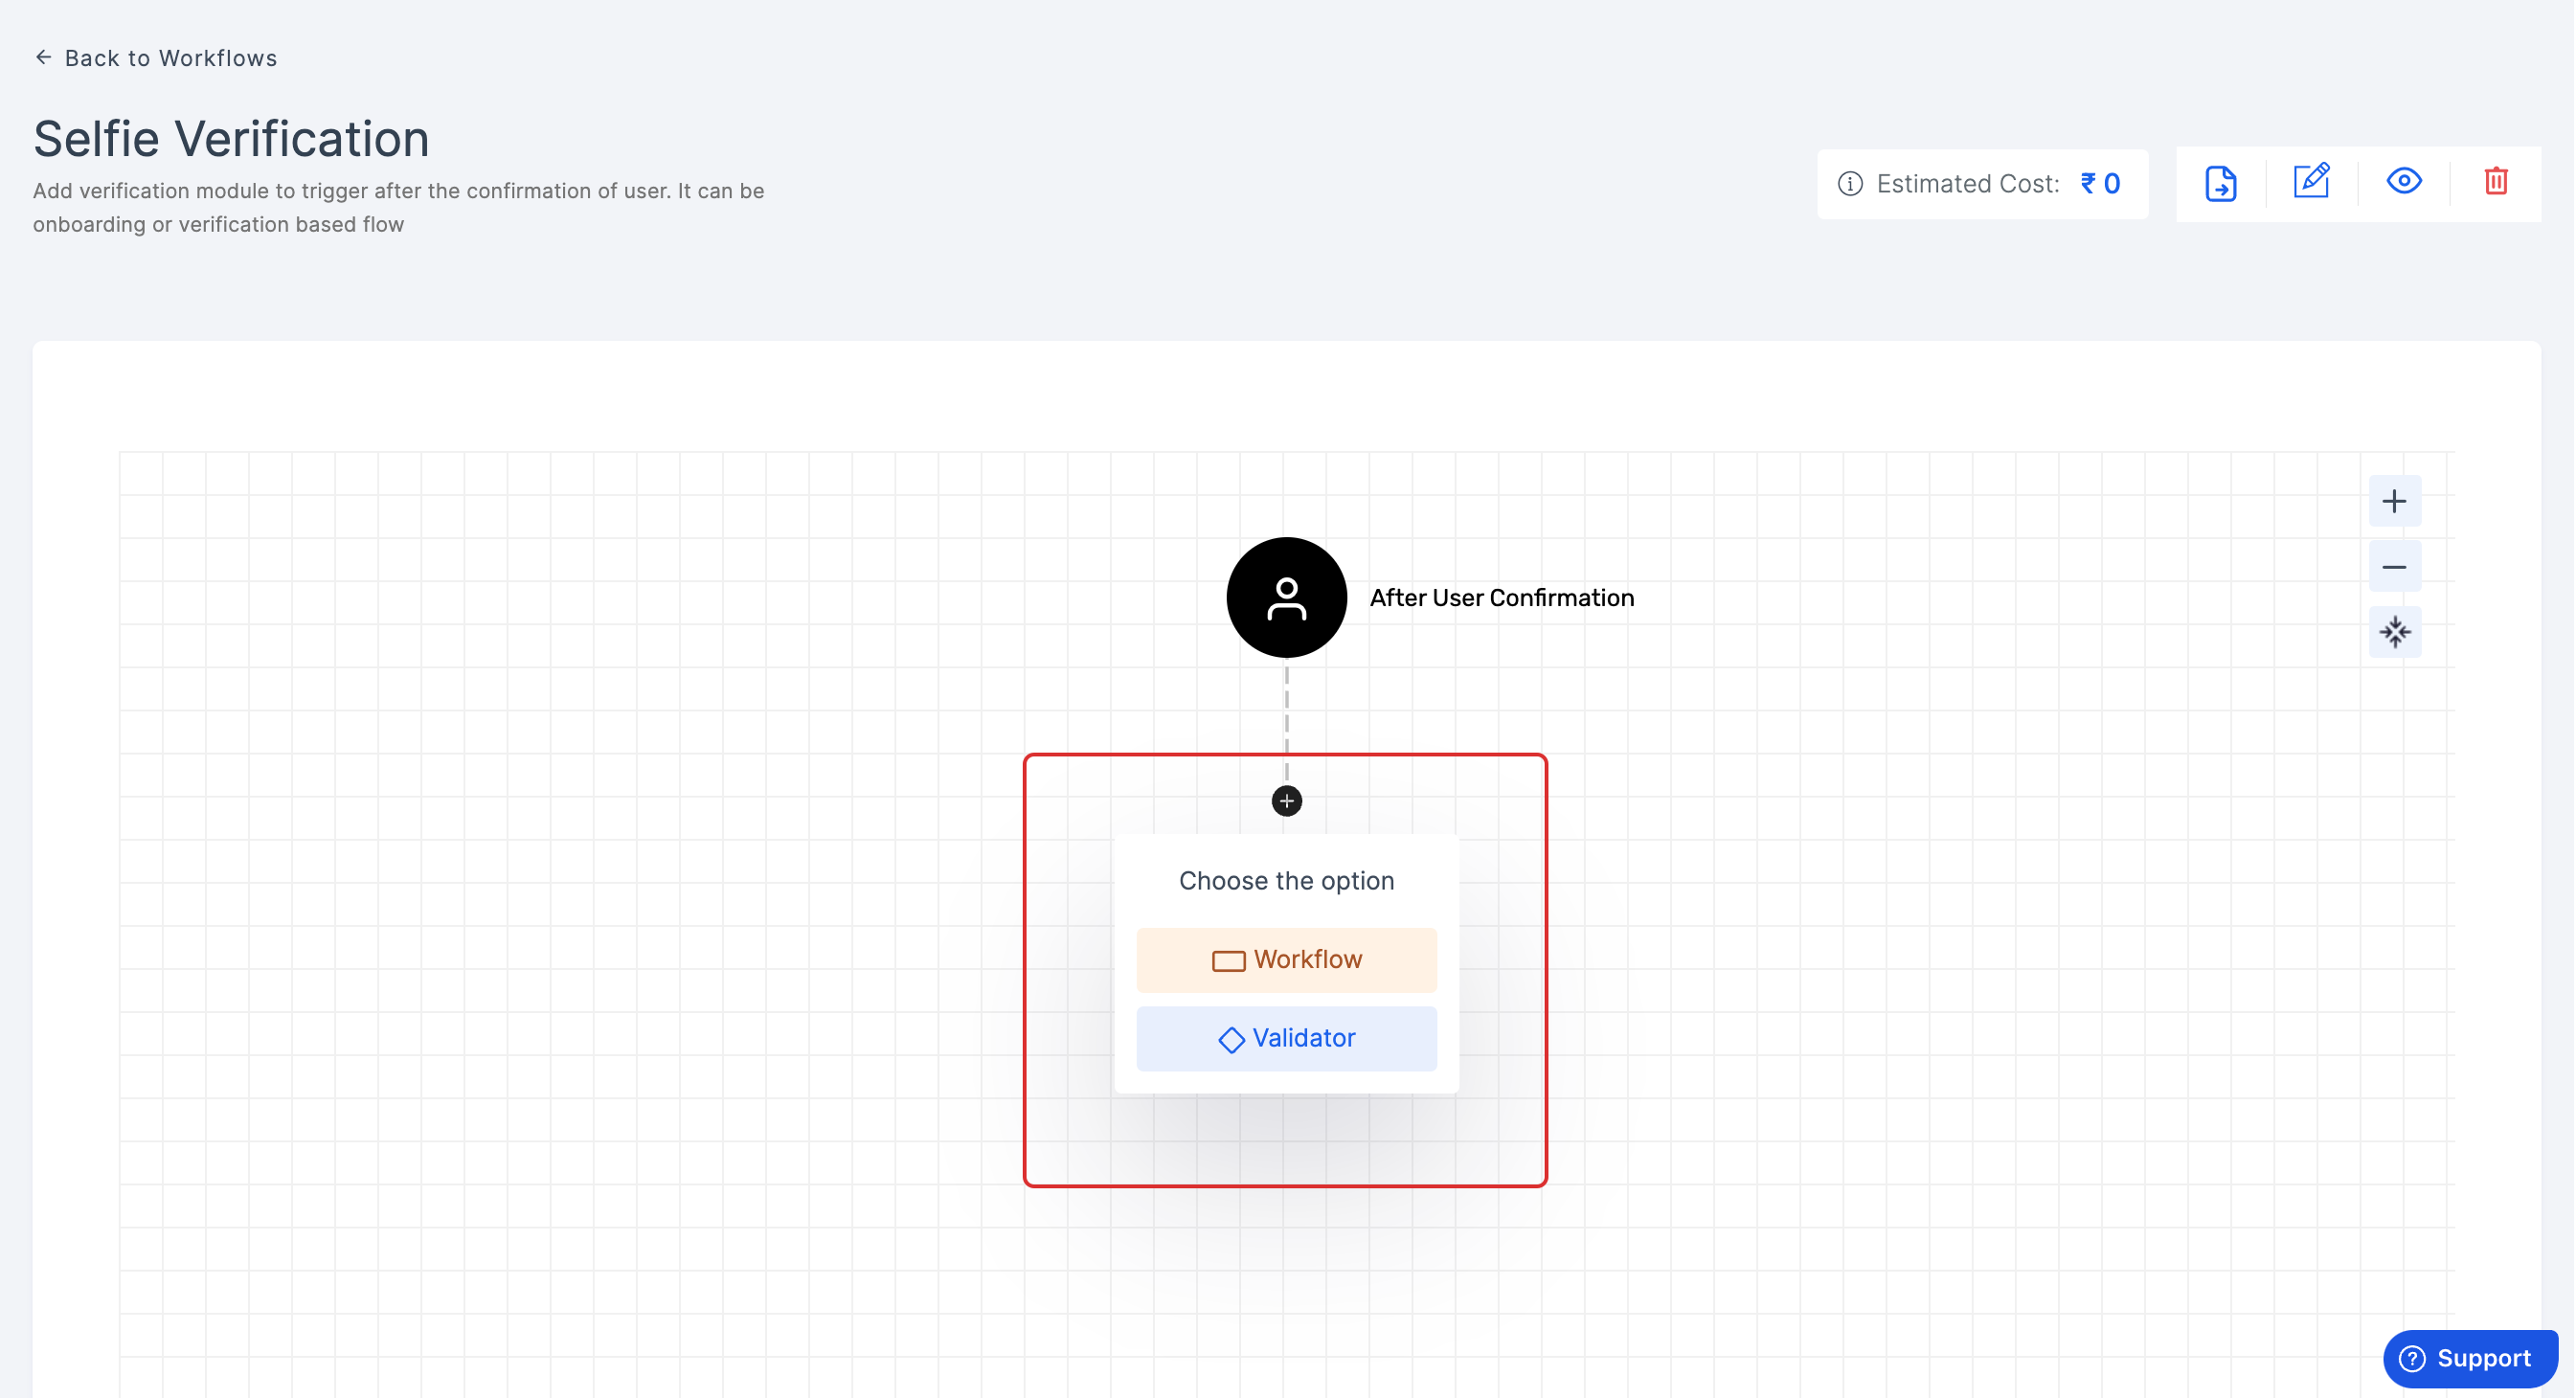
6 Click on Workflow and choose the required.
You can include a suitable number of workflows, ensure it is compatible and effective with the verification process.
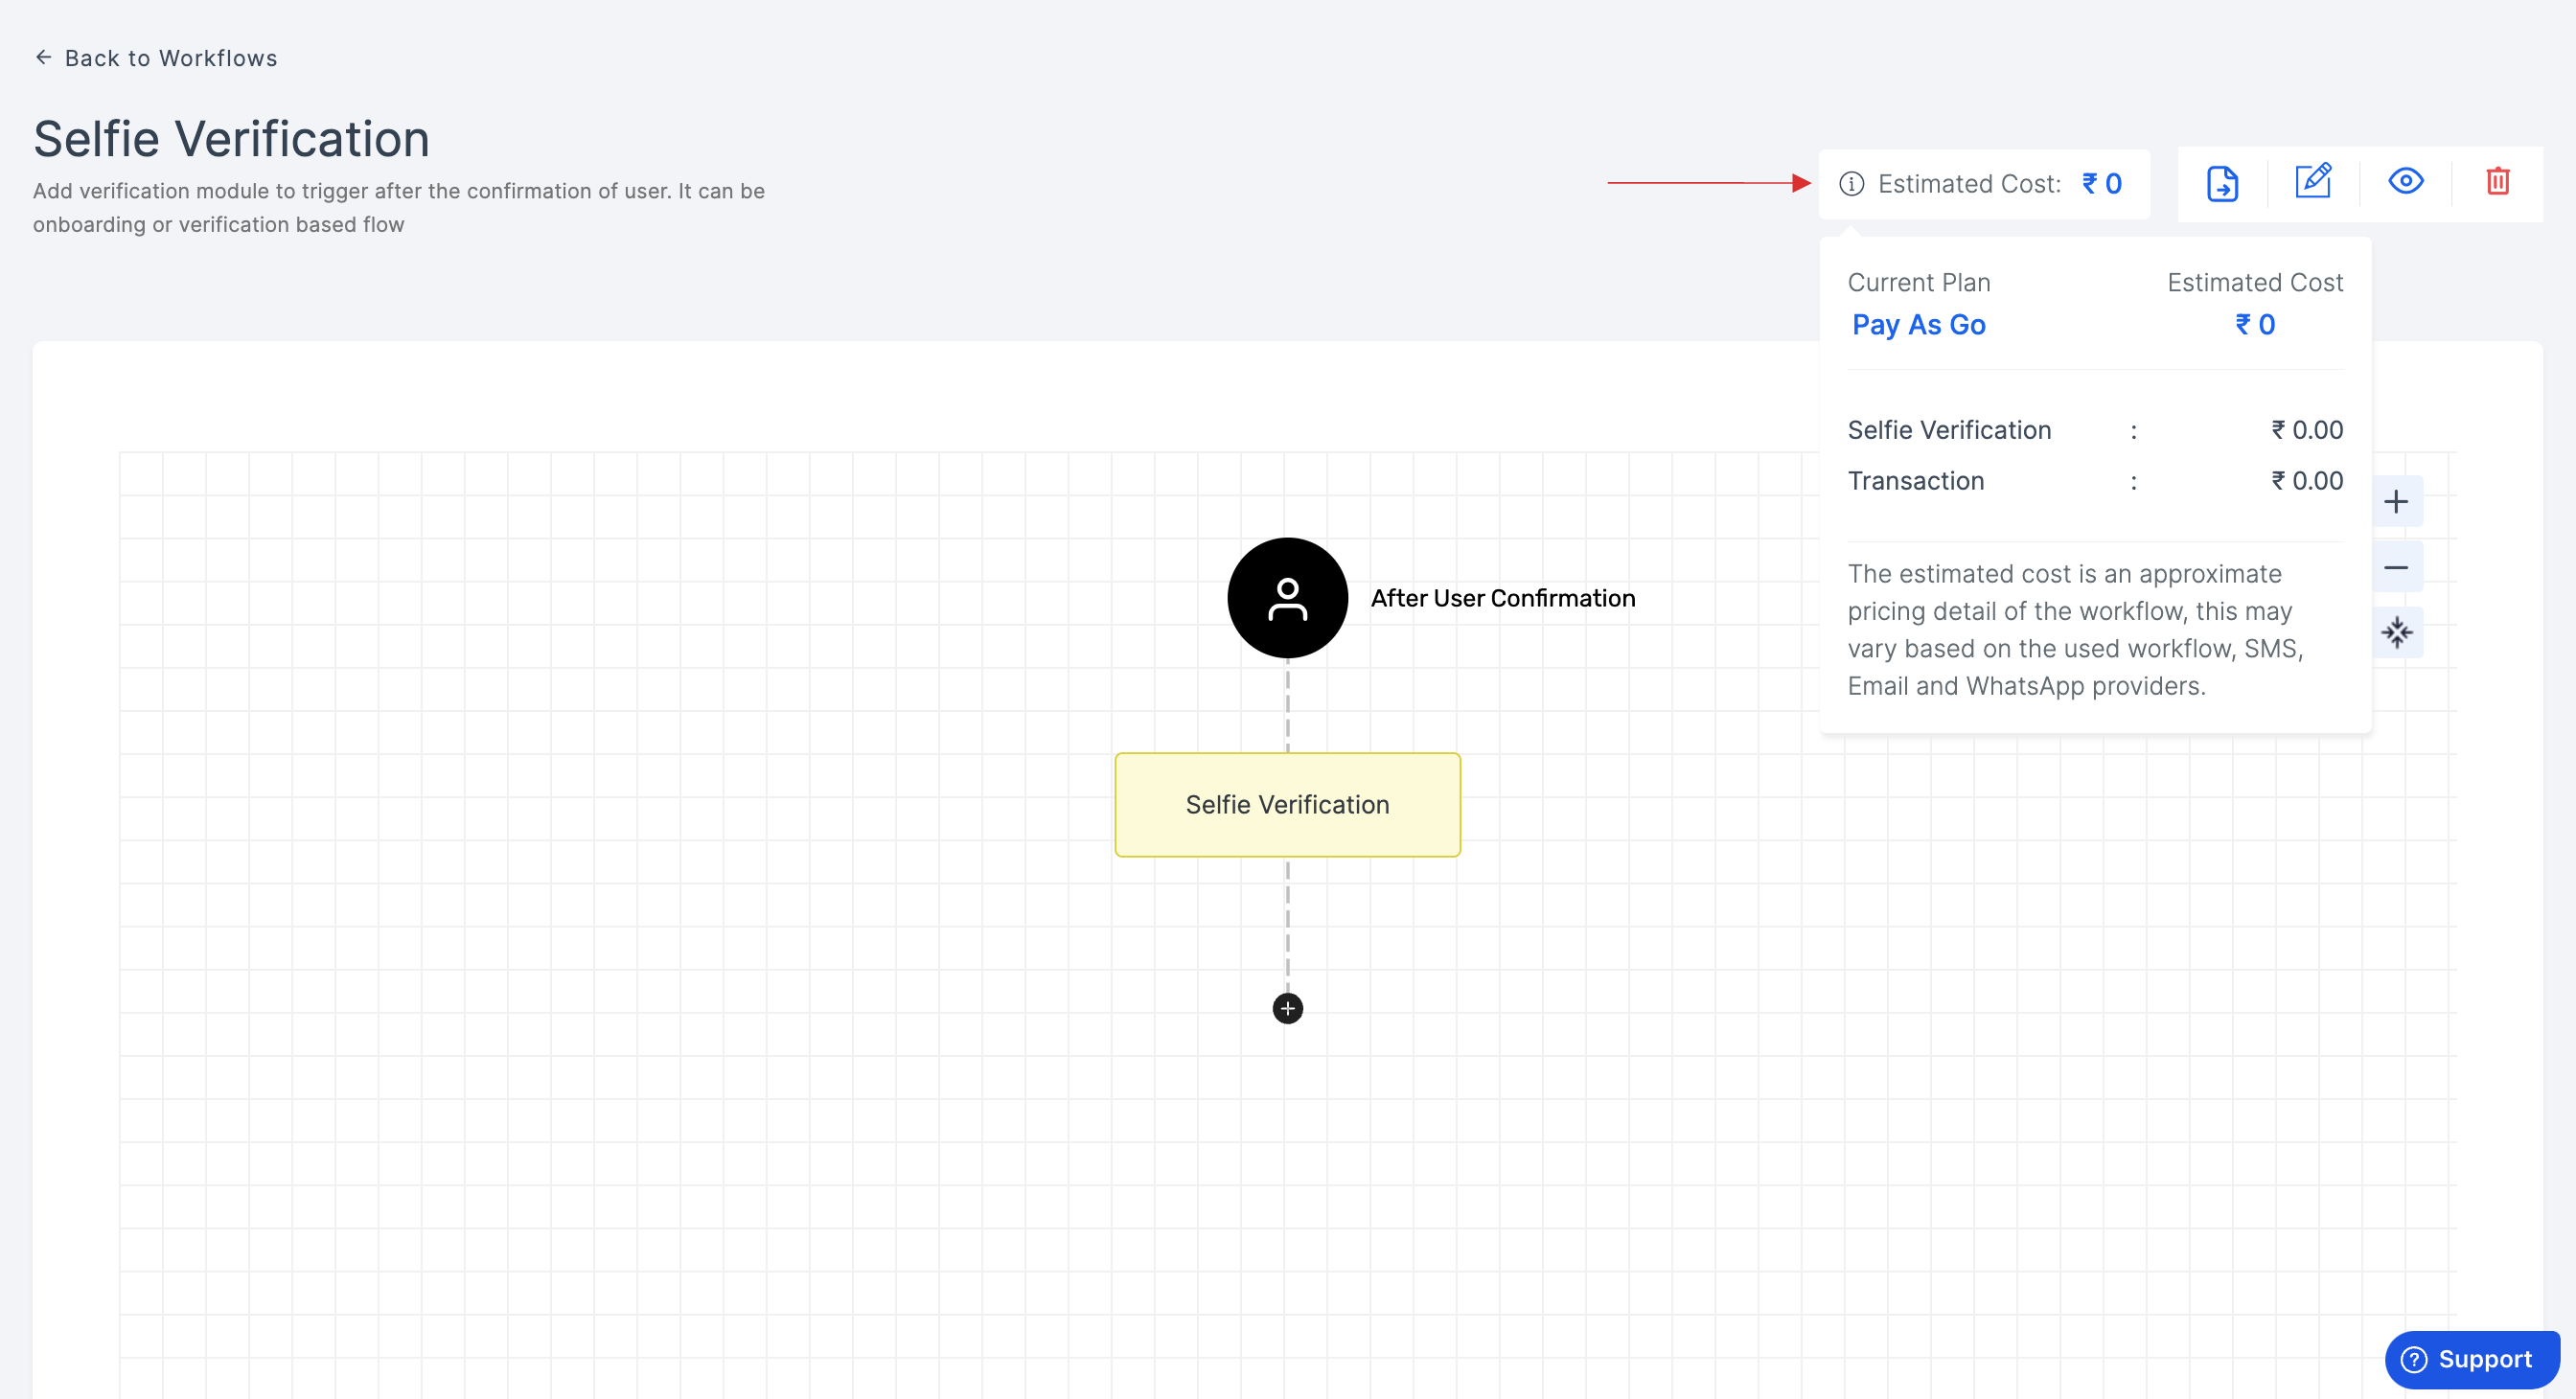
7 Once you add the needed workflow(s), you can see the estimated cost of the workflow transaction by hovering over the Estimated Cost label.
8 To export a workflow, click the export icon. Enter a name for the exported file, then click Create. The workflow will be saved as a JSON file on your device, which can later be imported when creating a new workflow.

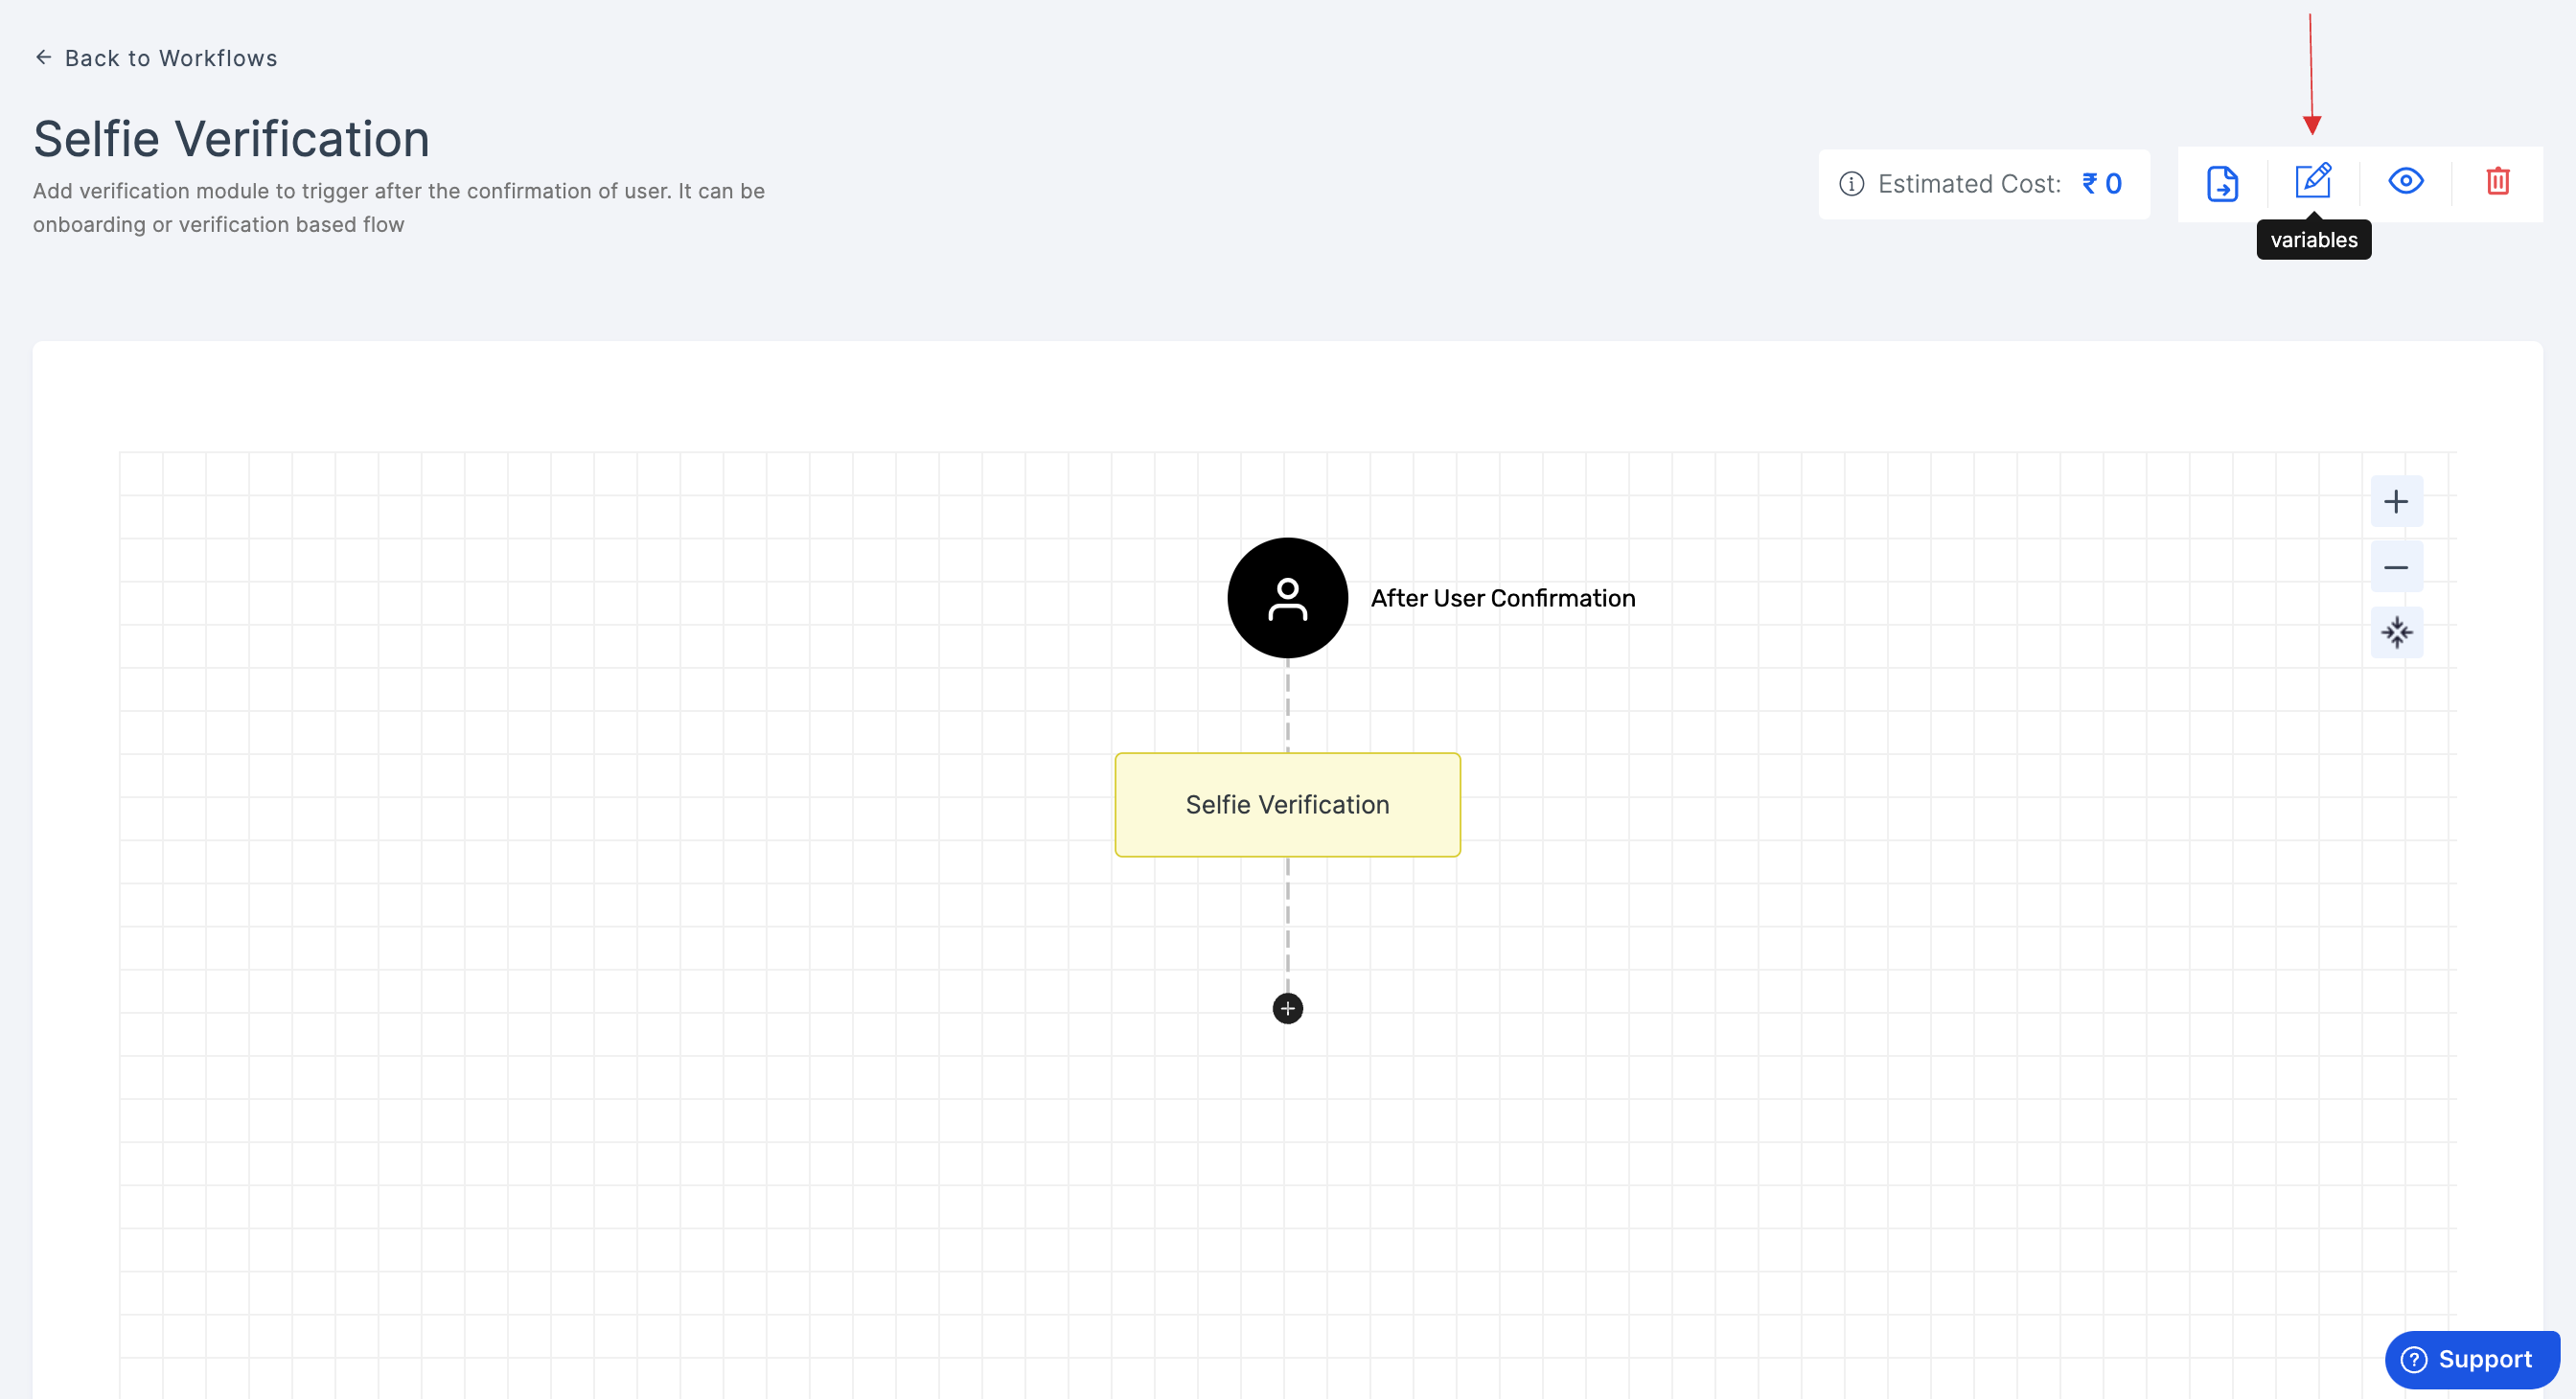
9 Add predefined variables to dynamically adjust configurations of the environment variables, which only apply to API Request, Validator, Custom Response, and Dynamic Form workflow modules.
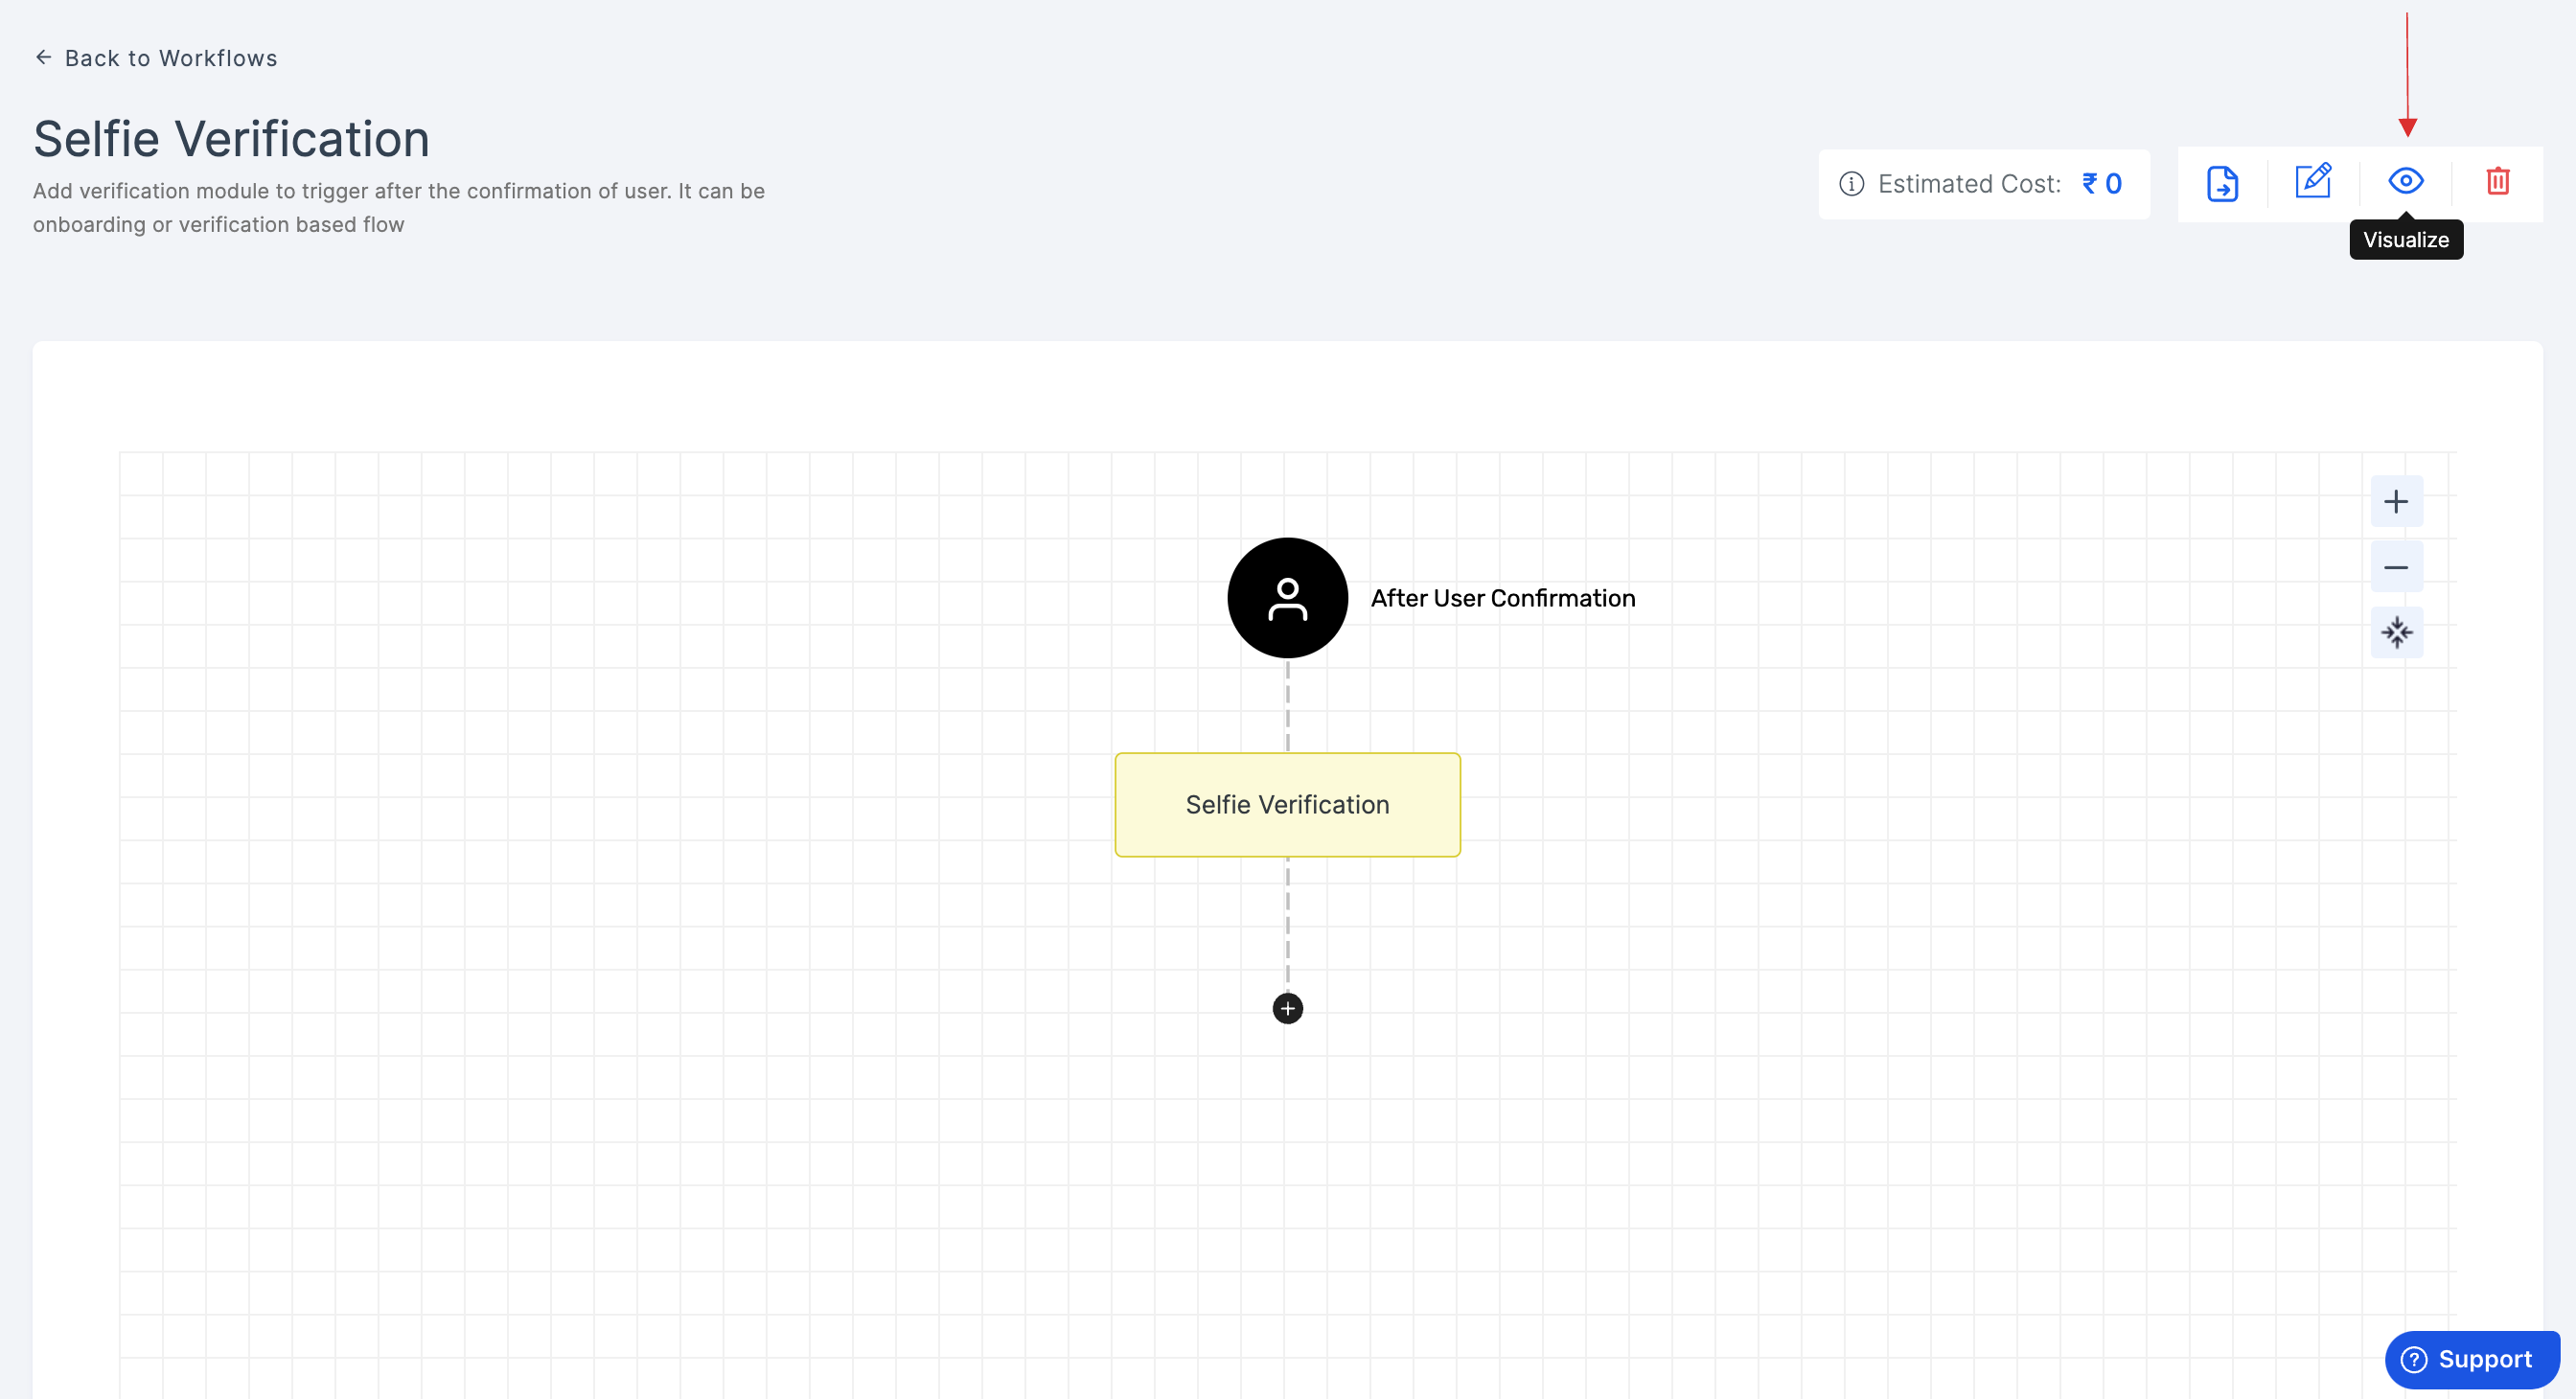
10 You can also view a visual representation of the selected workflow module(s) to understand how it works by clicking the Visualize button (the eye icon).
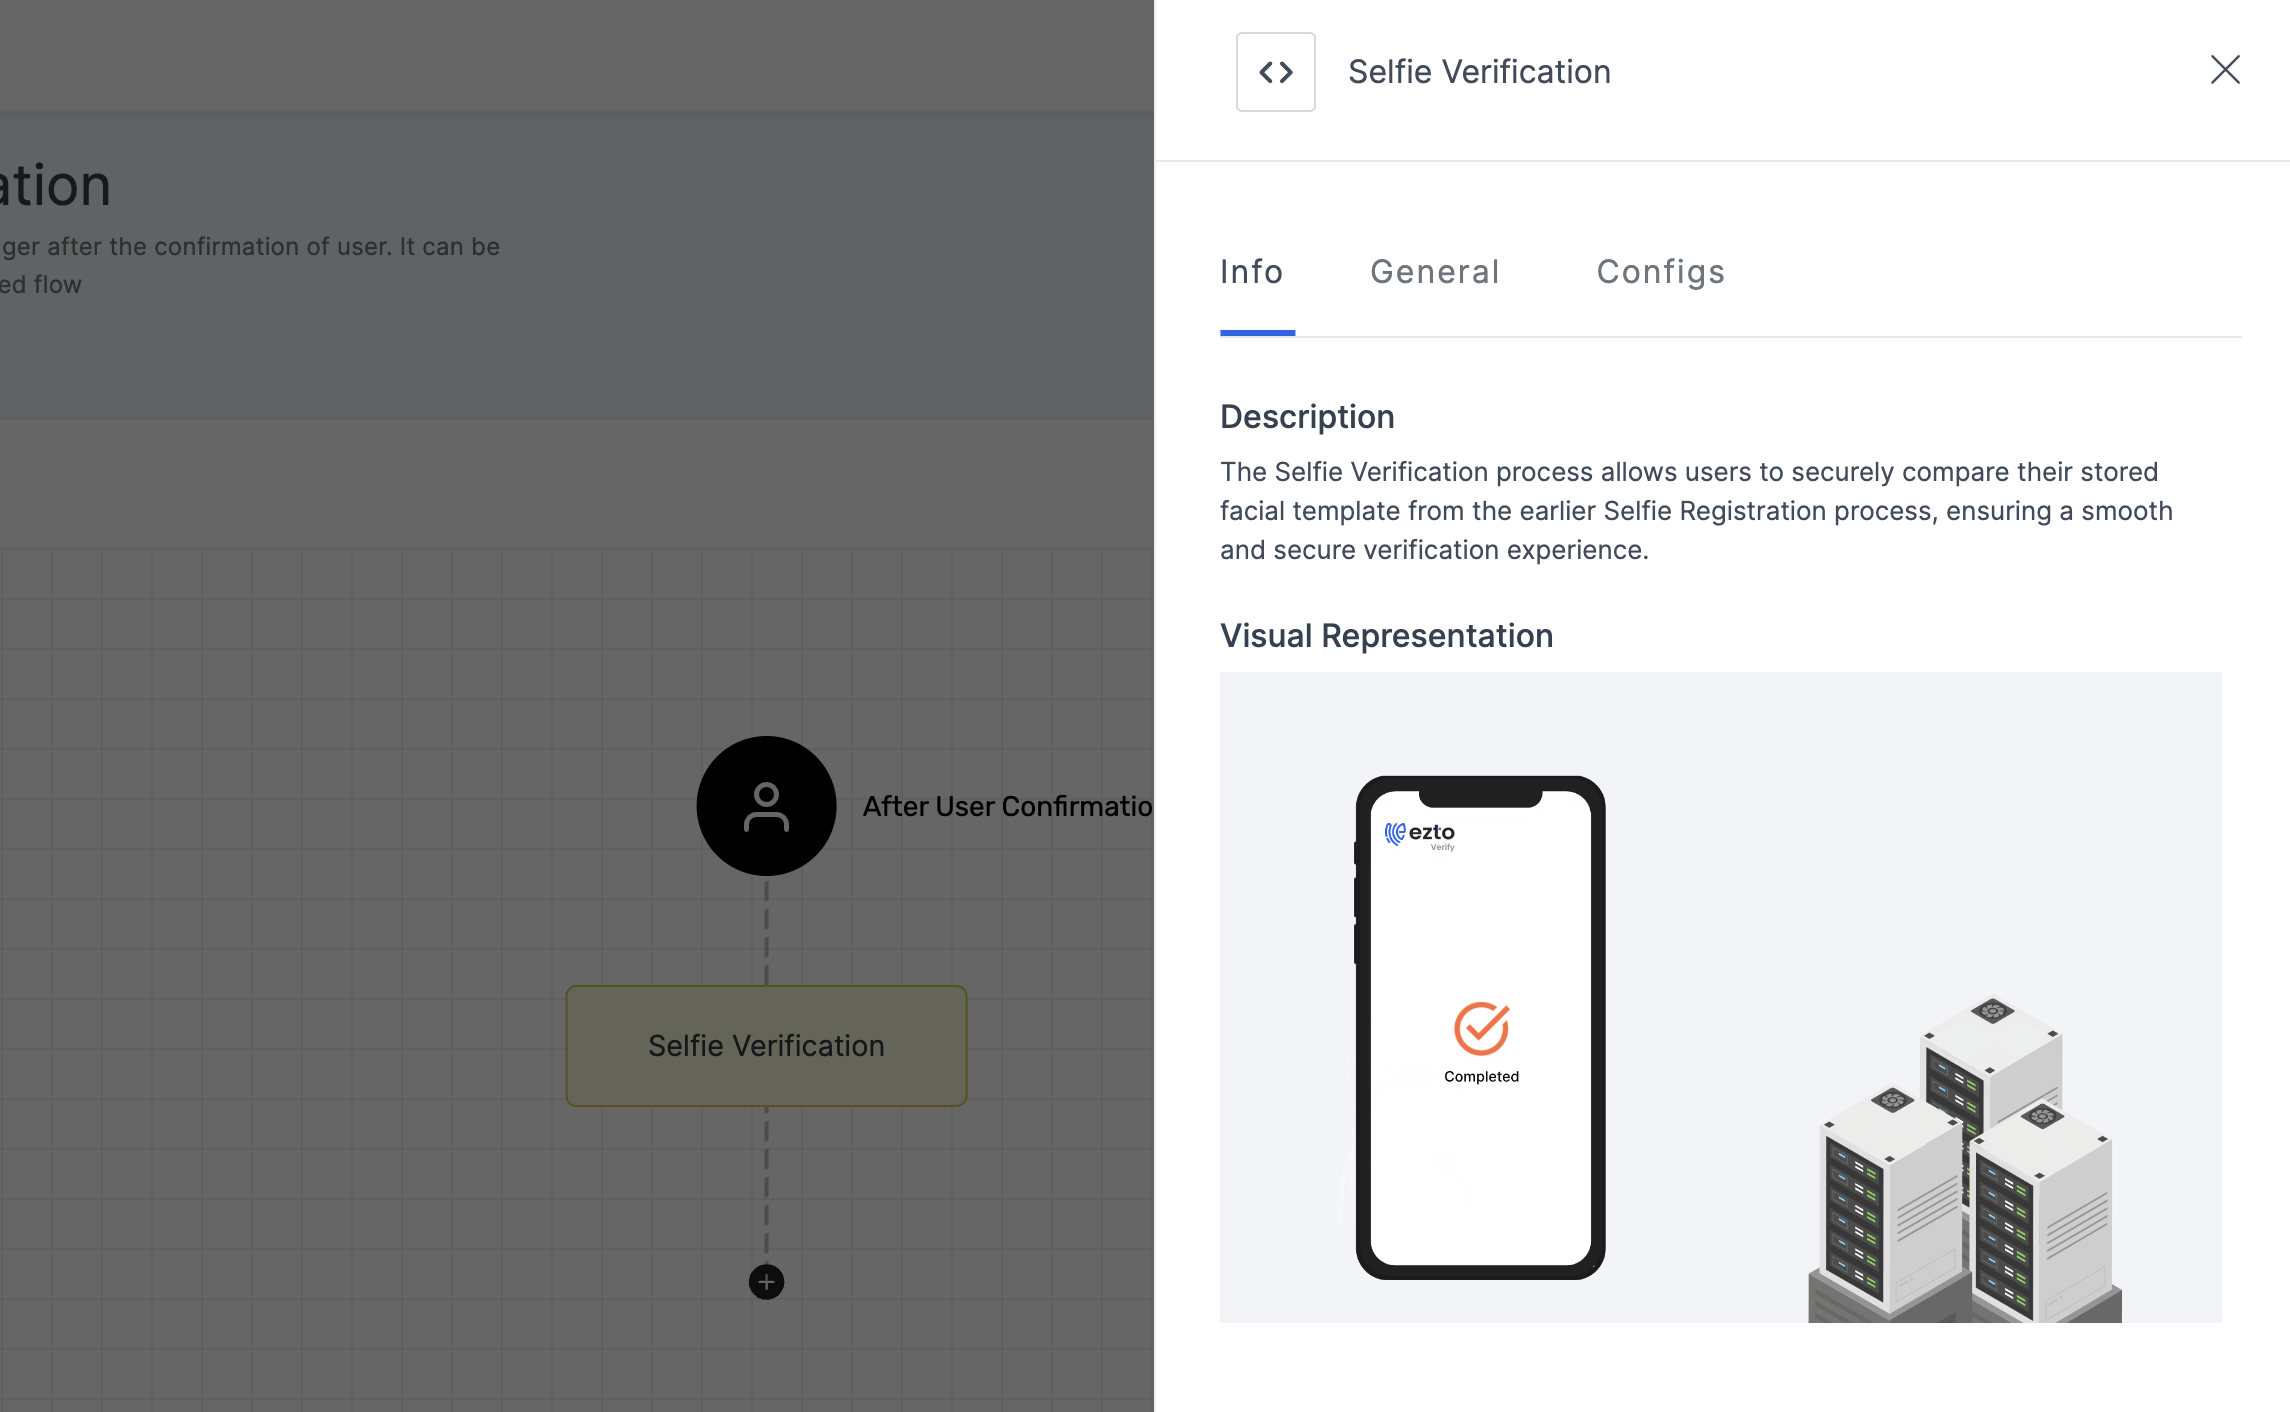
11 Now, give a click to the newly added workflow in order to set up your preferences. The workflow's Info will be displayed, giving you a clear and detailed overview.
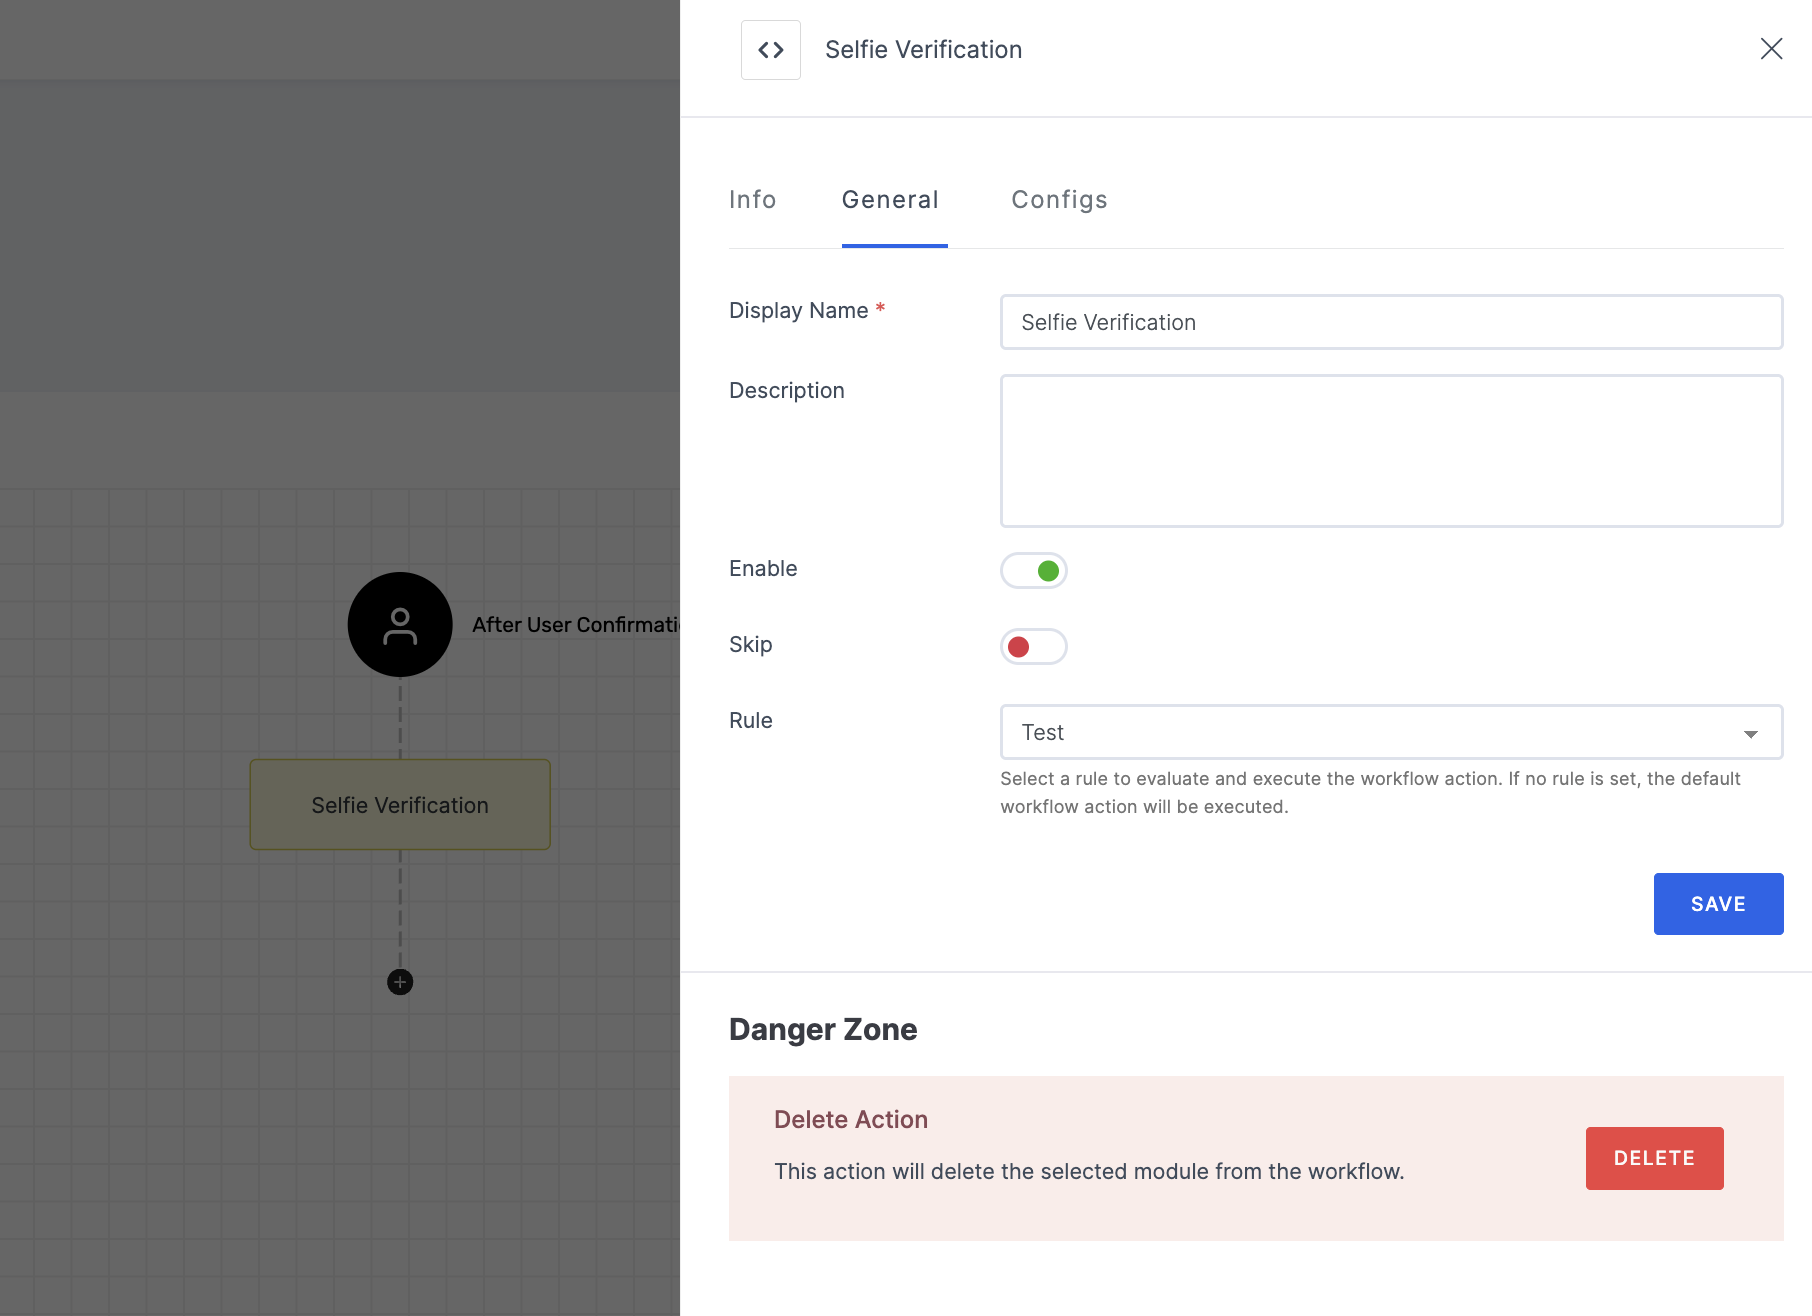
12 Then, click on the General tab to display the settings and provide the required configurations.
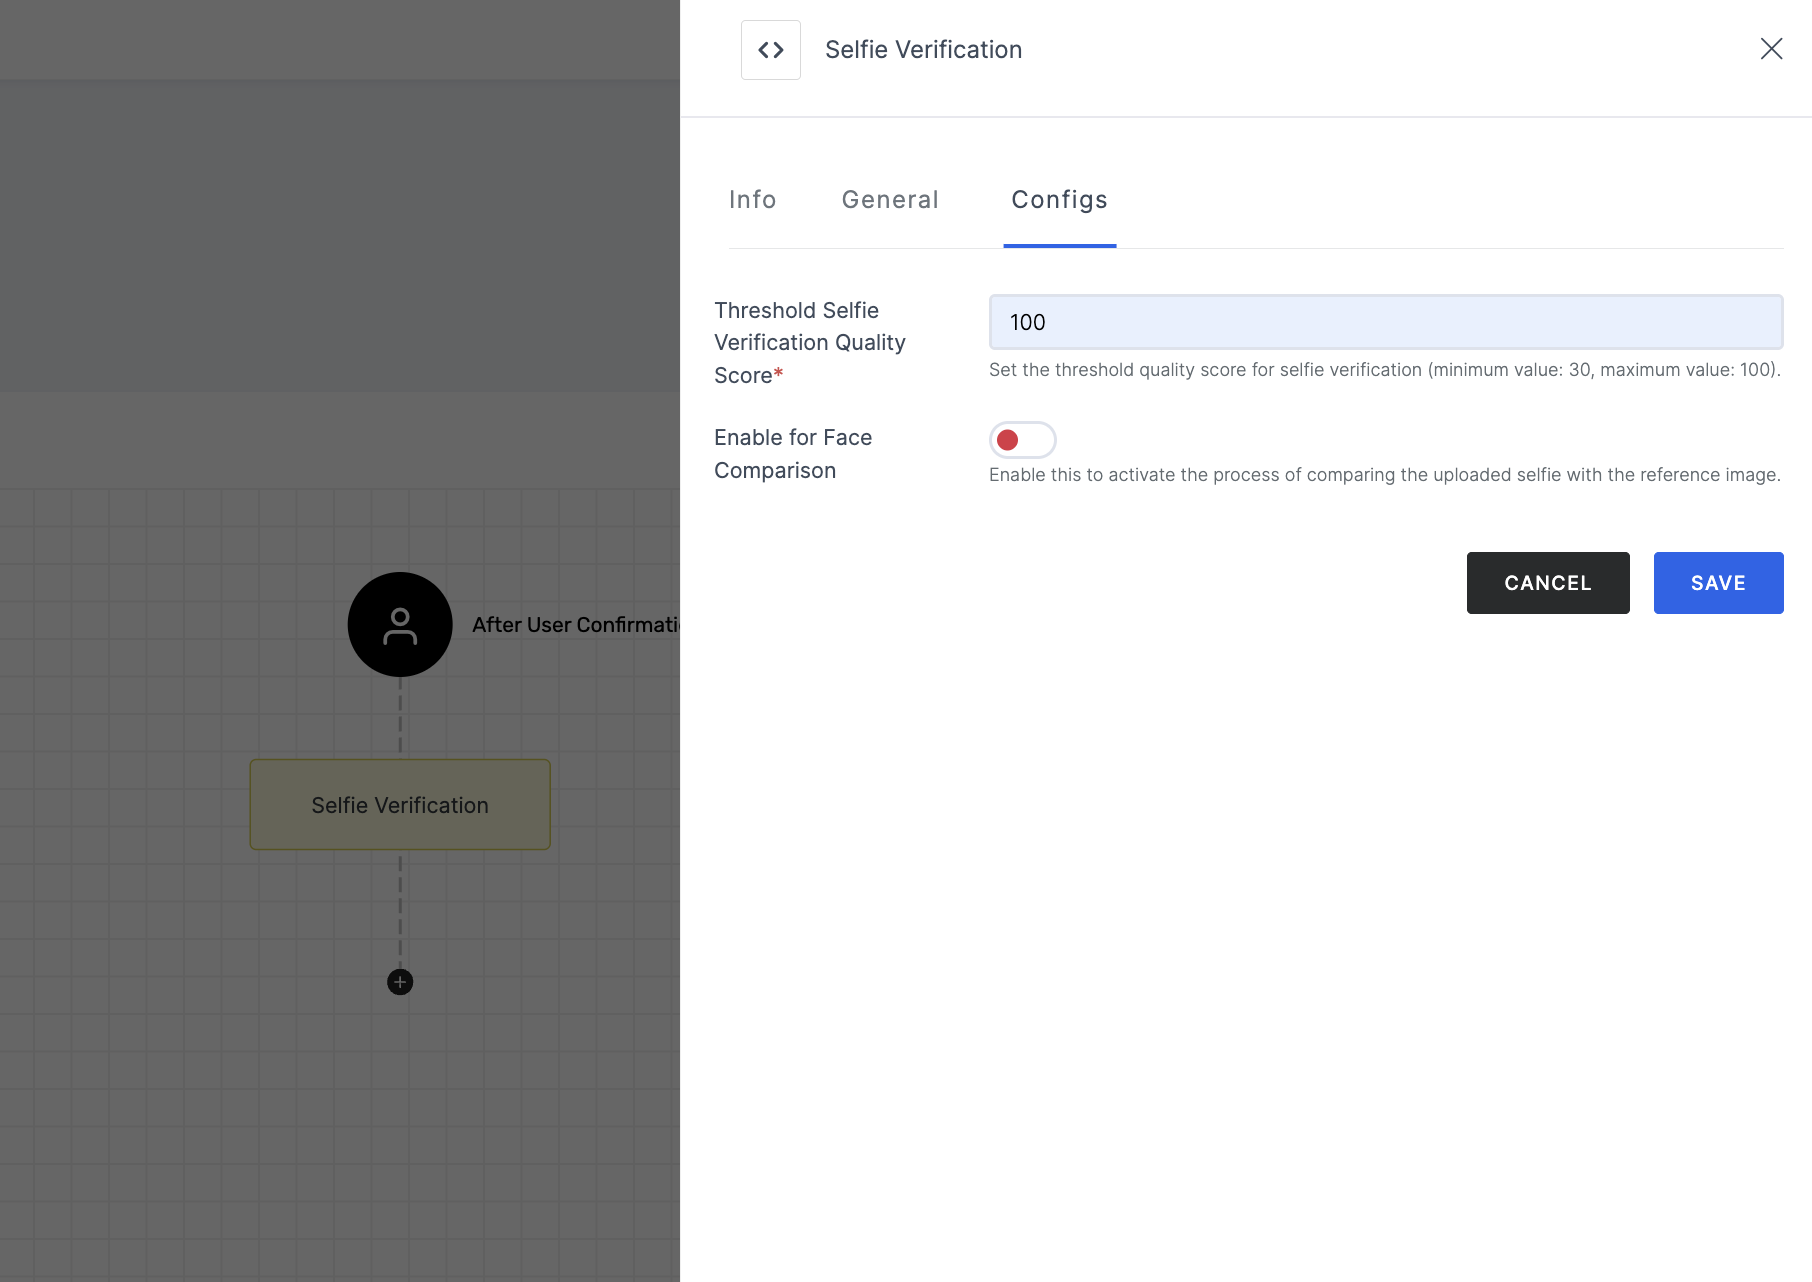
13 Click on the Configs tab to proceed with filling in the necessary configurations.
When you pick any of the workflow modules, you'll see the corresponding settings config panel for you to customize and configure.
14 Once all the settings are configured, click on the SAVE button.
For further assistance or related topics, you may explore the following resources
Attach Workflows to an Application
Optional Removing Workflow