Send Grid
SendGrid is a leading cloud-based email delivery and marketing platform, equipping businesses with the means to effectively oversee their email communications.
Prerequisites
- You need to update own email provider in your subscription.
- You must have an active SendGrid account.
Access your SendGrid
- Log in to your Sendgrid account.
- Configure your domain to enable sending emails from SendGrid using your domain.
- To add your domain, go to Settings > Sender Authentication > Domain Authentication, add a whitelabel domain here.
- Navigate to Settings, click on API Keys, create a new API and copy to clipboard. (Enable Email Messaging.)
Configure SendGrid
1 Navigate to Workspace, click on Notification, and choose Email.
2 Click on +ADD PROVIDER
3 You will be directed to the New Email Provider page, where all available providers will be displayed.
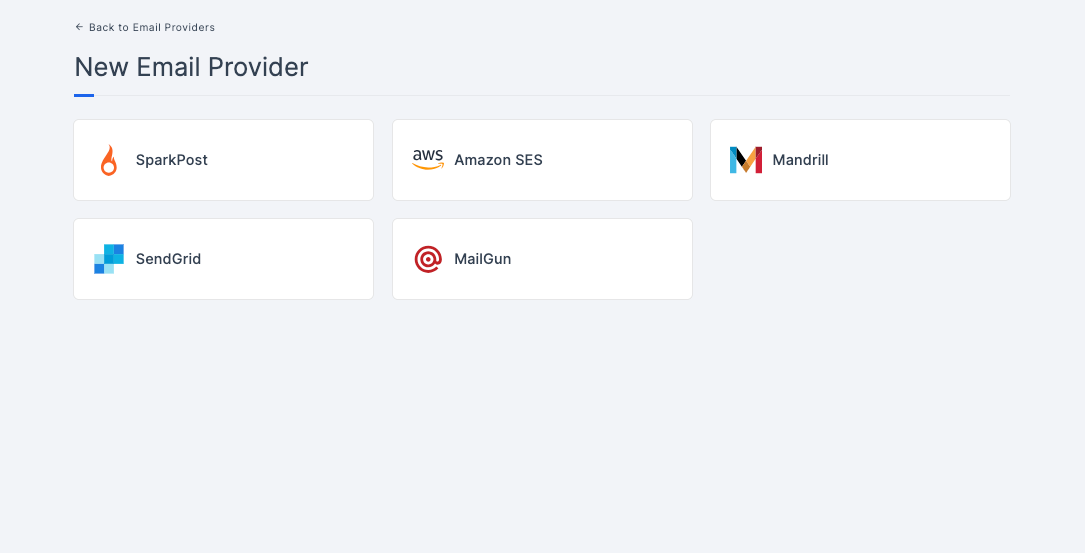
4 Choose the SendGrid.
5 You will be taken to the SendGrid provider configs page. To obtain the necessary configs, log into SendGrid. Refer to the prerequisites on how to do it.
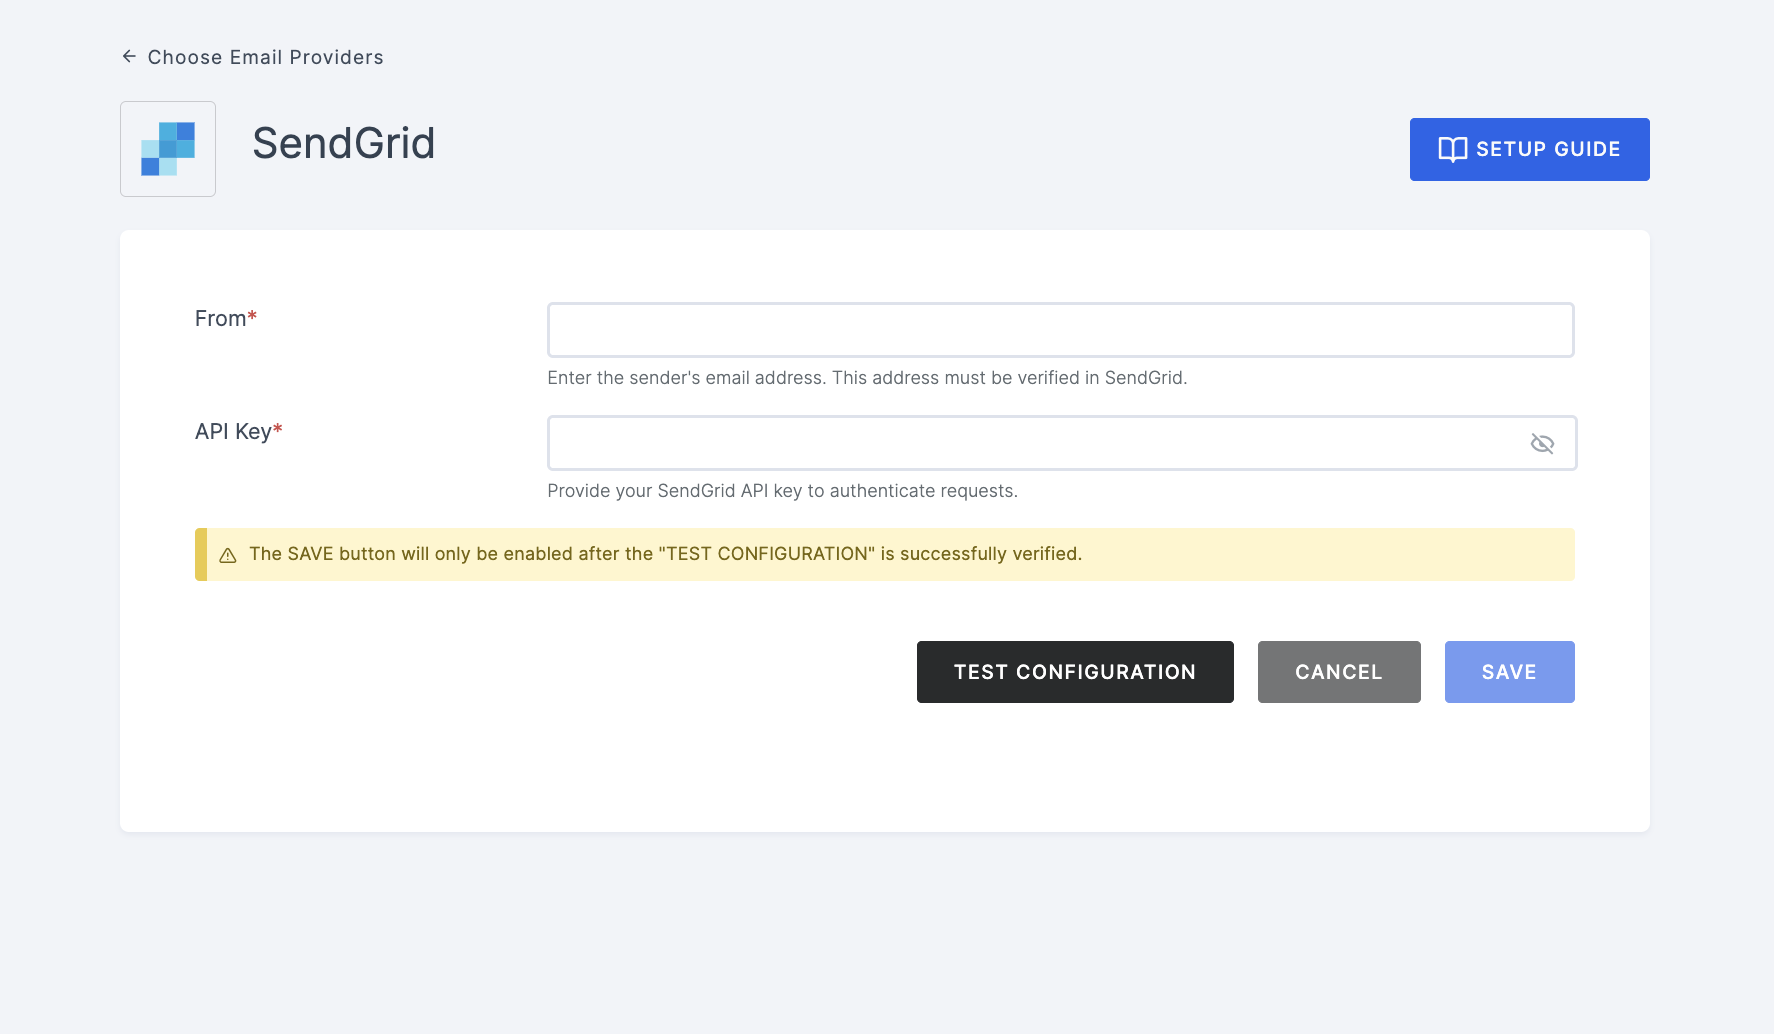
6 Navigate back to your Workspace and input the API.
7 After providing the necessary configurations.
8 Click on TEST CONFIGURATION to ensure the configuration looks good.
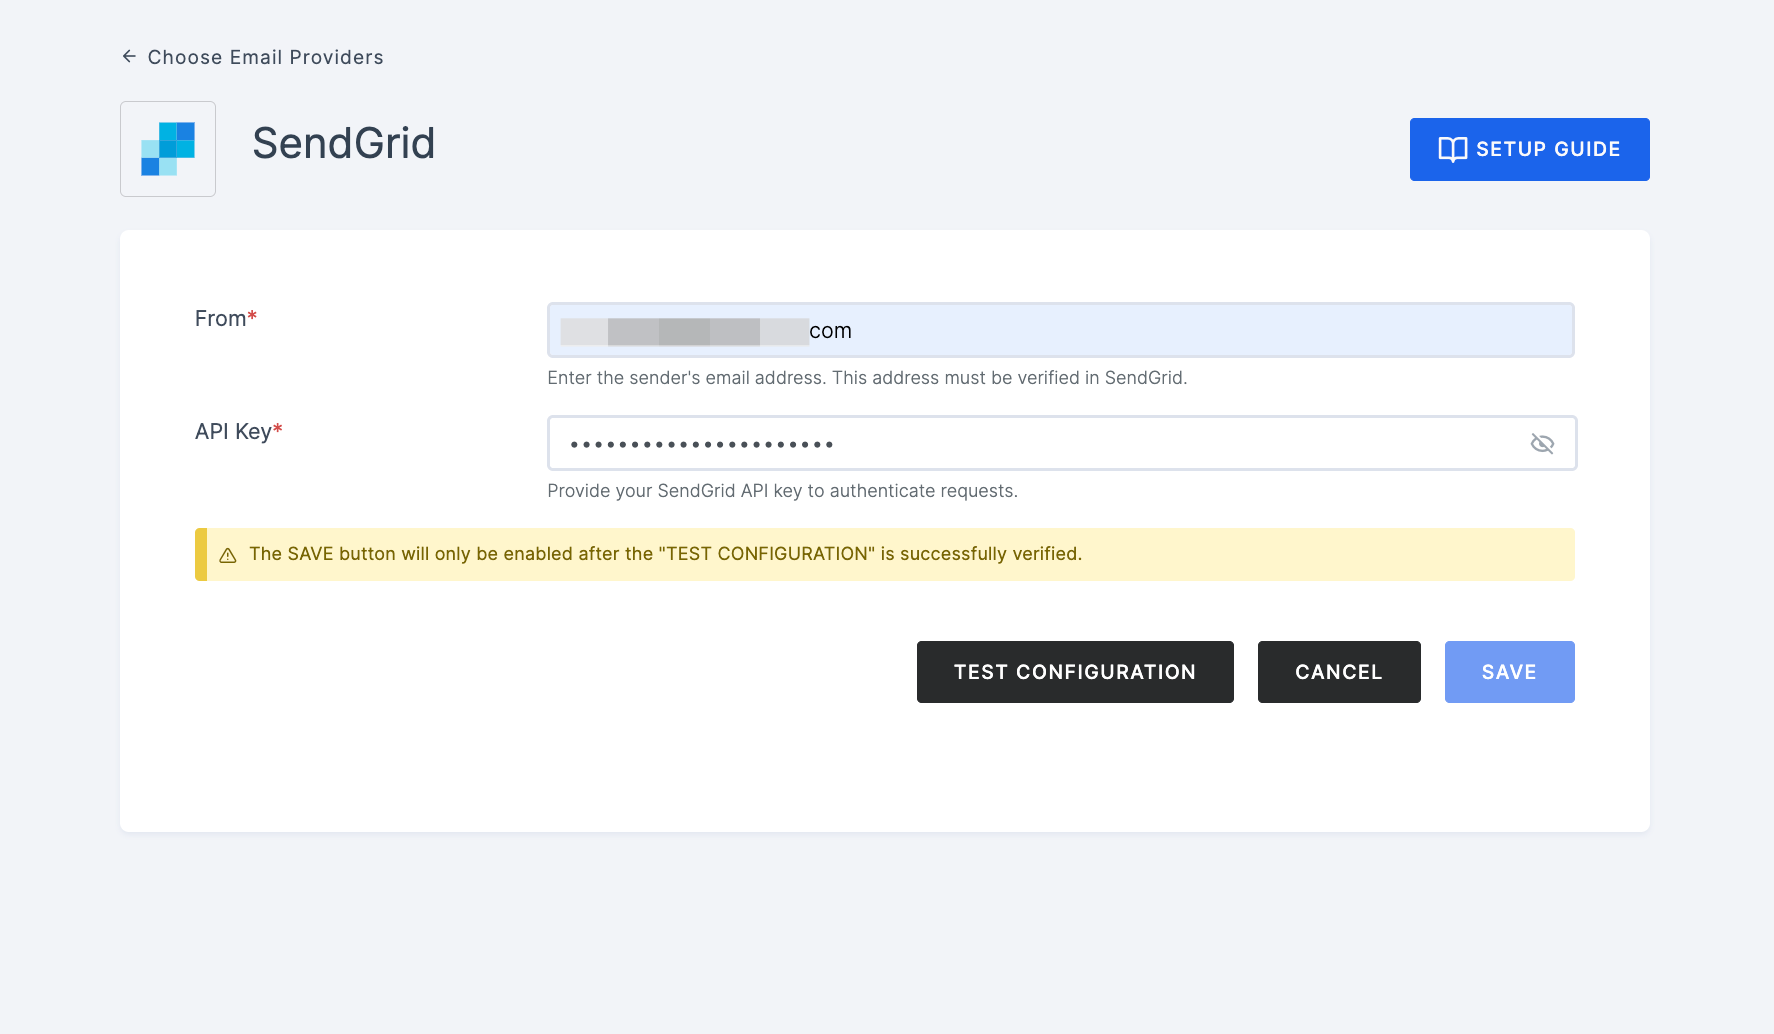
9 Provide email address and click on SUBMIT.
10 If everything is set up correctly, a test success email will be sent to the email address you provided earlier. Click on the SAVE button.