MailGun
MailGun serves as a reputable email automation and delivery service crafted to aid businesses in effectively sending transactional and marketing emails. It provides an intuitive platform for crafting and overseeing email campaigns, guaranteeing the dependable delivery of messages to recipients' inboxes.
Prerequisites
- You need to update own email provider in your subscription.
- You must have an active MailGun account.
Access your MailGun
- Log in to your MailGun account.
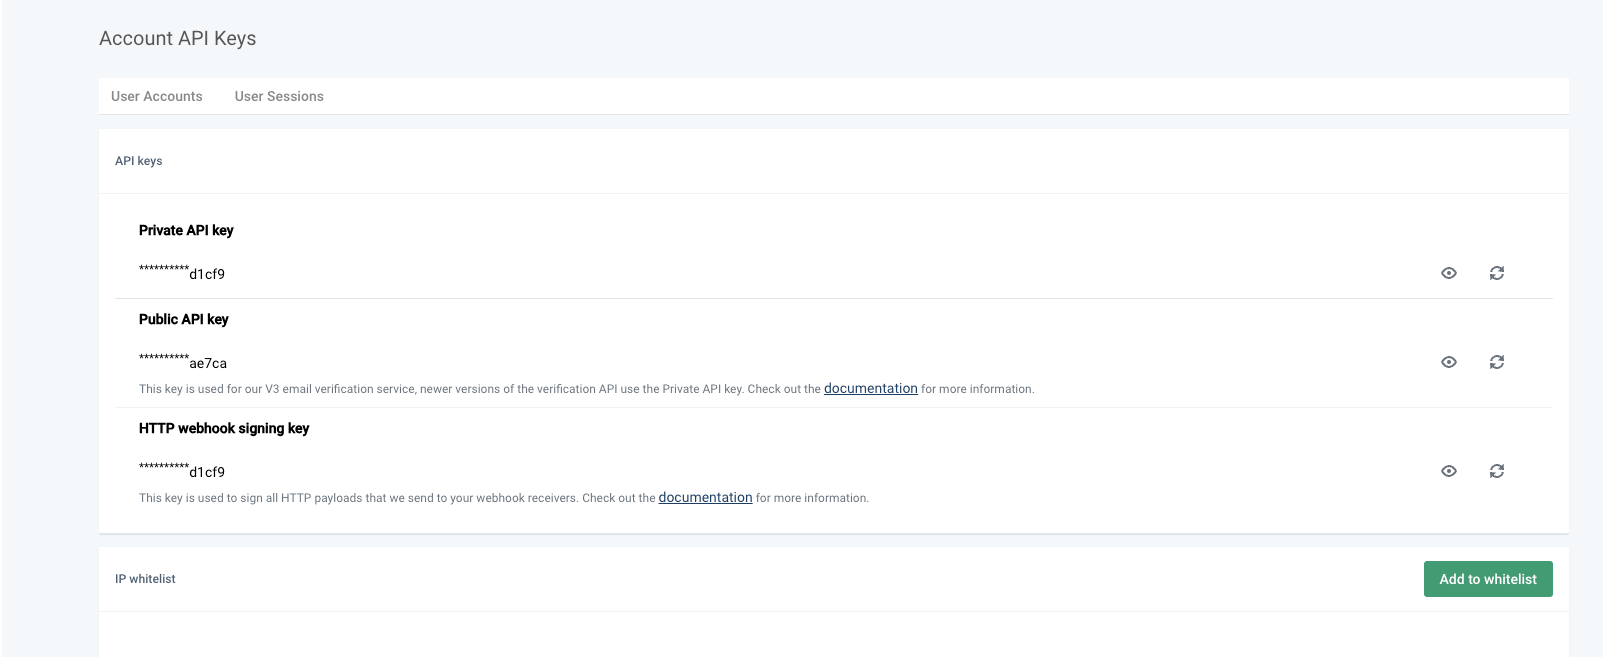
- Begin by obtaining a new API as your first step.
- Go to API Security tab, copy the Private API Key to the clipboard.
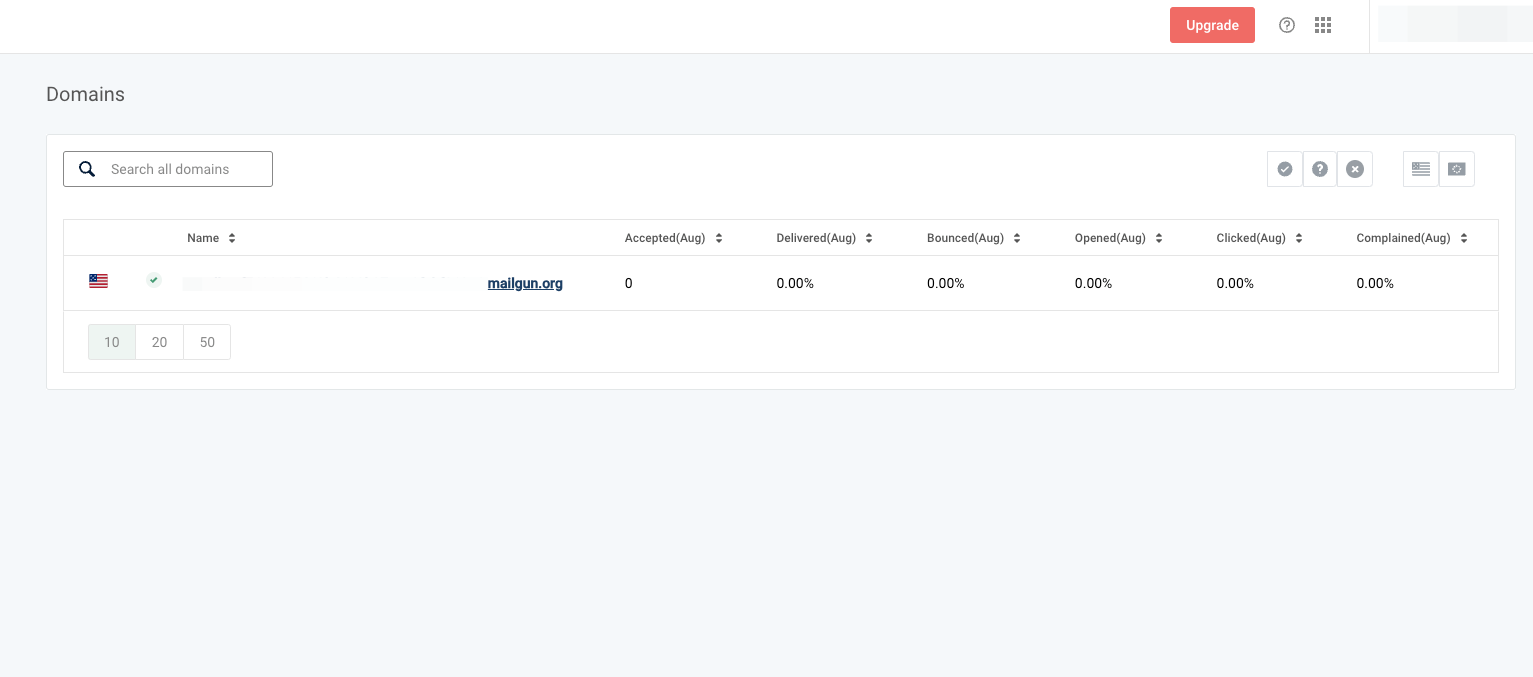
- Expand the Sending option from side menu, and then surf to Domain section. Copy the Sandbox url from this section to the clipboard.
If you are utilizing a MailGun Free Sandbox account, it's necessary to register your email addresses with the mailbox sandbox account in order to receive emails from MailGun.
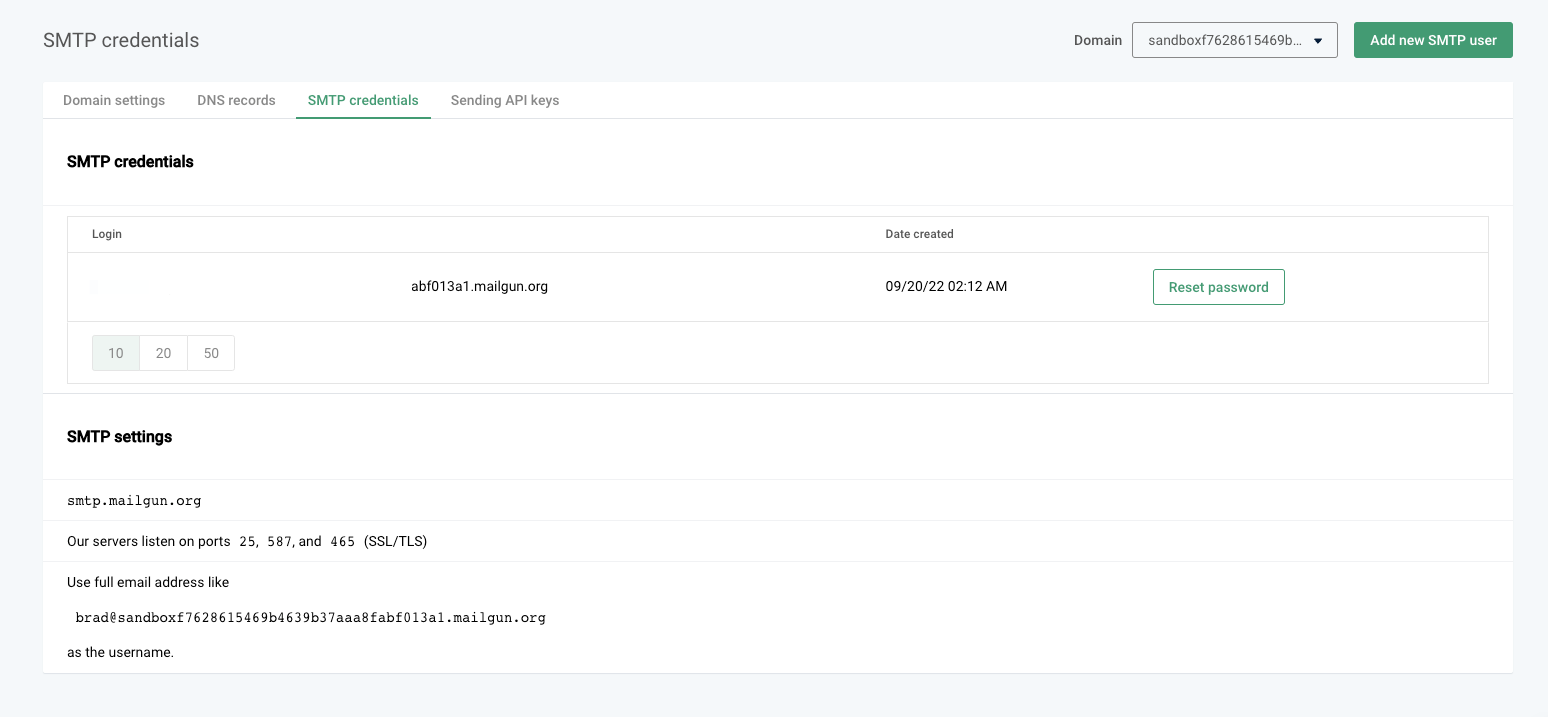
- Go to Sending section, click on Domain setting, and copy the From email address under SMTP Credentials section. If it's a premium account, use the registered from email address.
Configure MailGun
1 Navigate to Workspace, click on Notification, and choose Email.
2 Click on +ADD PROVIDER
3 You will be directed to the New Email Provider page, where all available providers will be displayed.
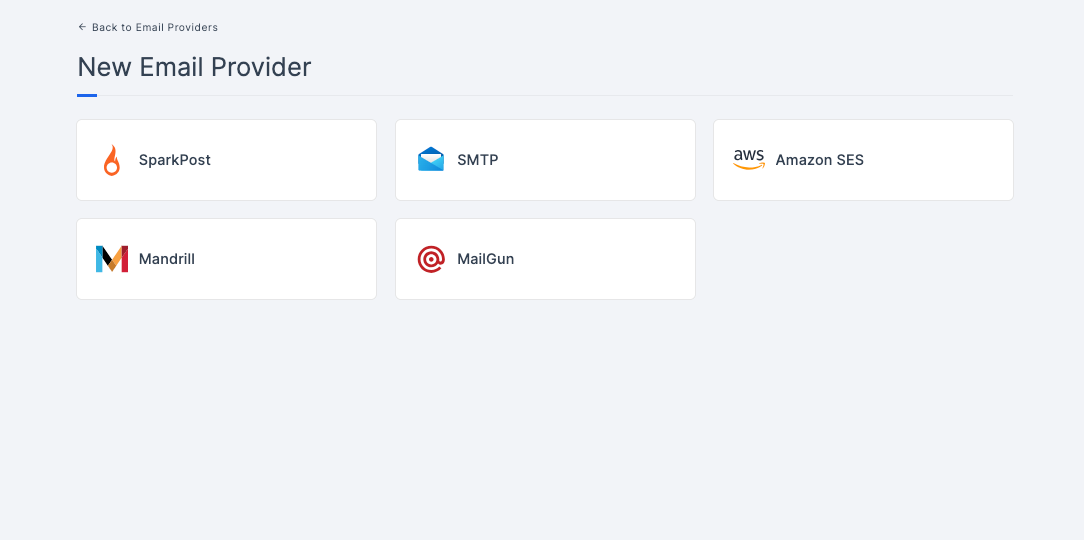
4 Choose the MailGun.
5 You will be taken to the MailGun provider configs page. To obtain the necessary configs, log into MailGun. Refer to the prerequisites on how to do it.
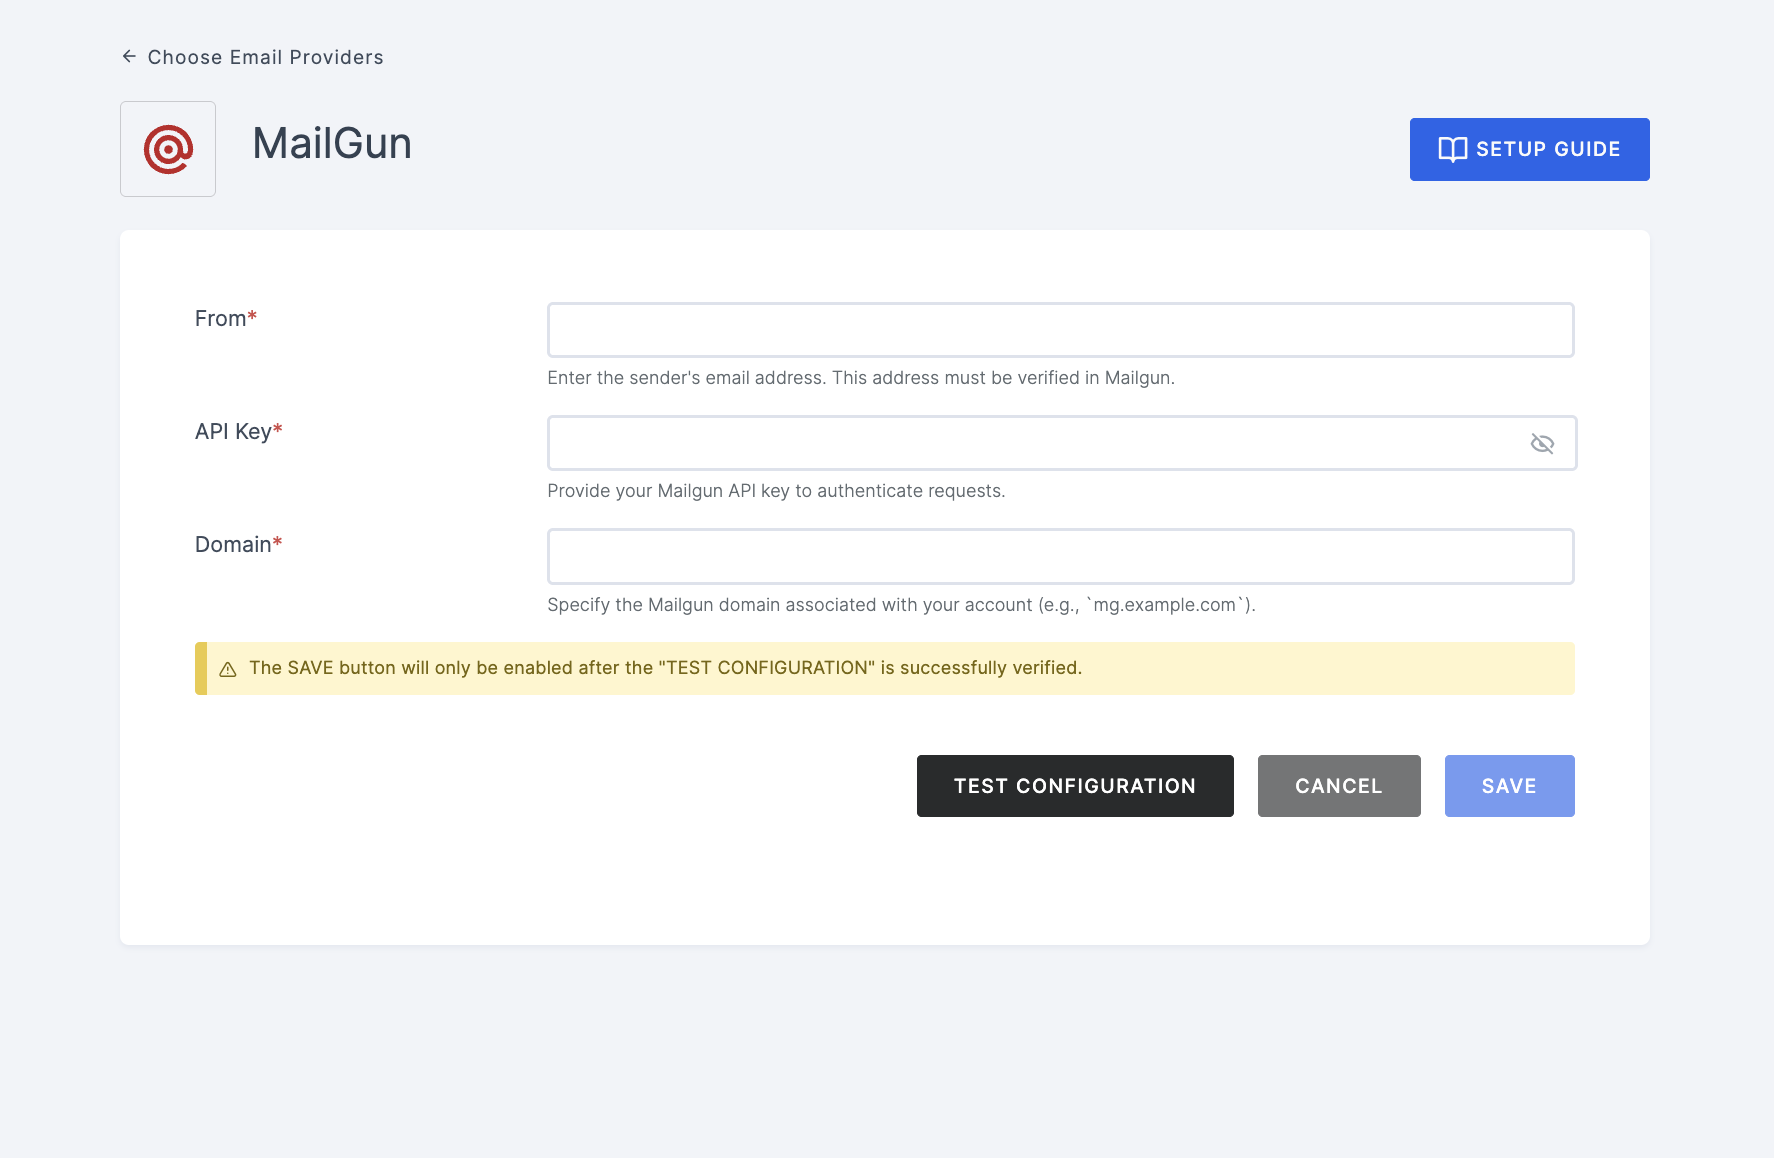
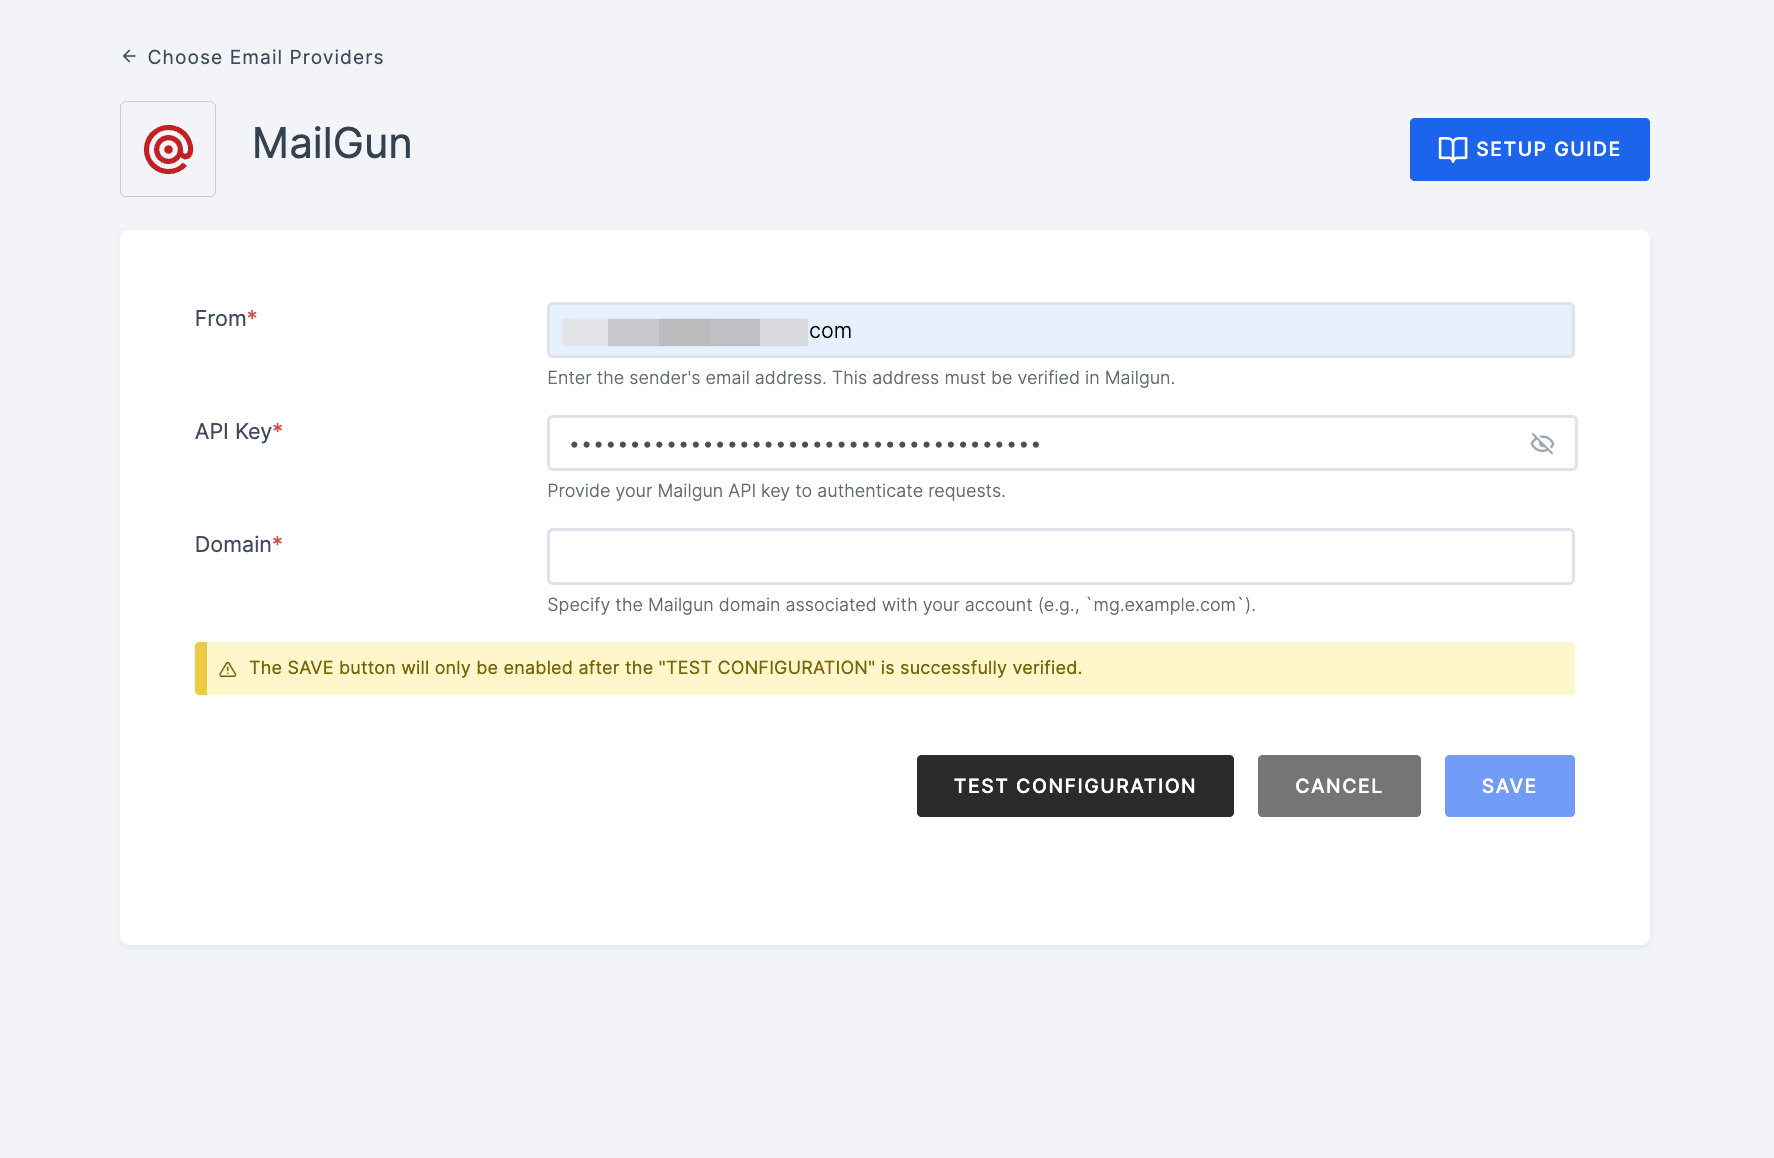
6 Navigate back to your Workspace and input the API, Sandbox url, and From email.
7 After providing the necessary configurations.
8 Click on TEST CONFIGURATION to ensure the configuration looks good.
9 Provide email address and click on SUBMIT.
10 If everything is set up correctly, a test success email will be sent to the email address you provided earlier. Click on the SAVE button.