Google Workspace
ezto auth's Google Workspace Synchronization will directly import users and groups from your existing Google Workspace admin directory to your dashboard. ezto auth will update the user information on every sync. No information from the dashboard is imported into your Google Workspace directory.
To set up Google Workspace Sync, make sure you have the following:
- You must have an admin account in Google Workspace.
- You must have an Owner or Administrator role to setup and manage the directory sync of users into the ezto auth's dashboard.
Set up a connection for user sync
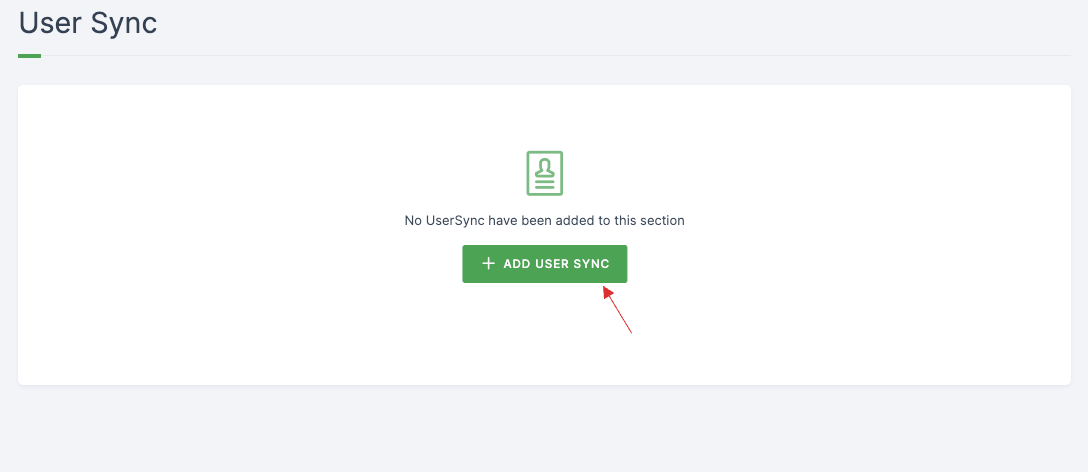
1 Go to Dashboard > User Management > User Sync.
2 Click on +ADD USER SYNC.
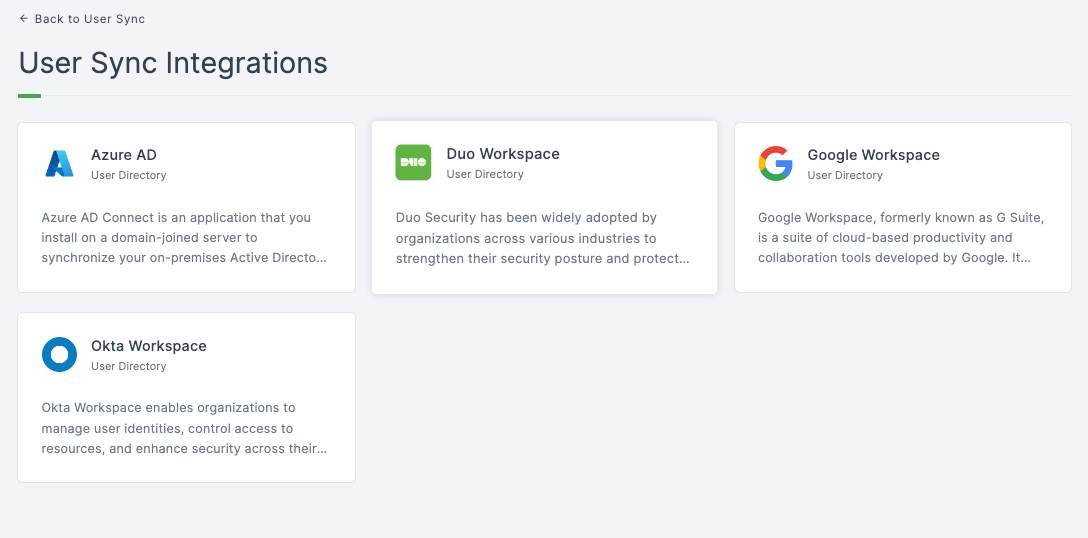
3 The available User Sync Integrations will be displayed, choose Google Workspace.
4 All the configurations will be displayed, provide a descriptive name and the mandatory configurations.

The above configurations(Client ID, Client Secret) can be obtained from Google Cloud platform.
Here's how you obtain the configurations
Go to Google Cloud Platform and click on your project you wish to configure user sync.
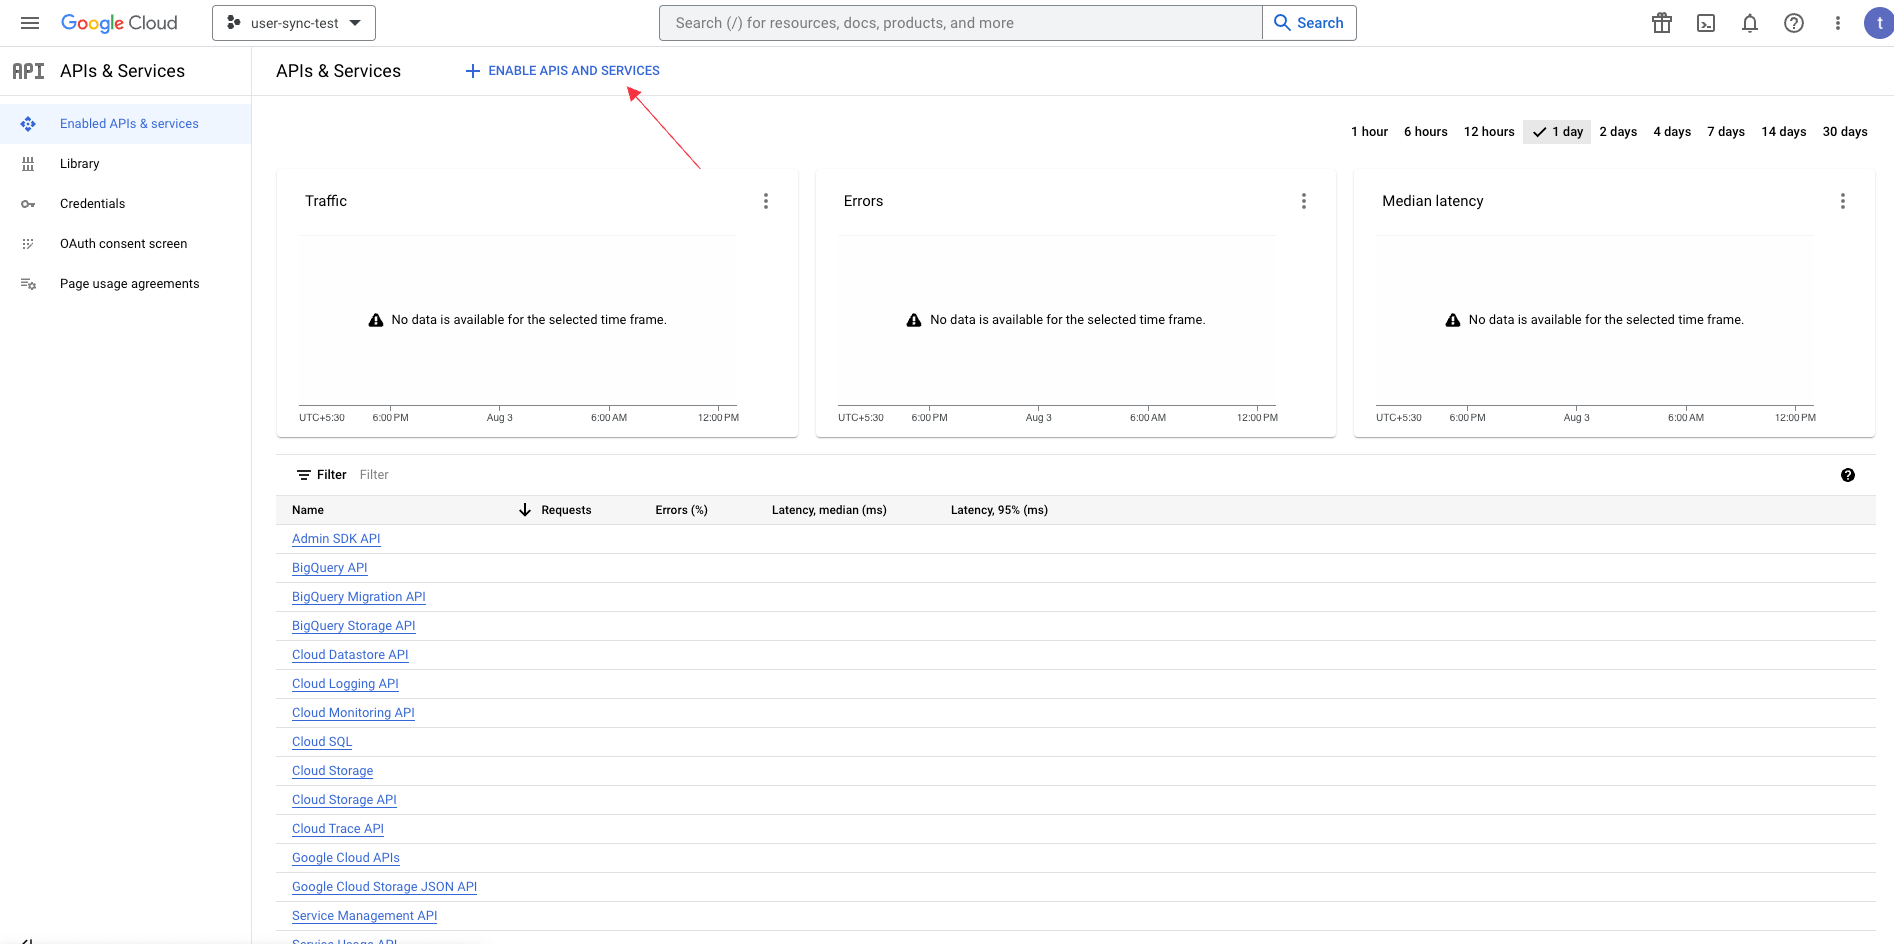
Click on API'S & Services from Quick access.
You will be directed to the API'S & Services page, click on + ENABLE APIS AND SERVICES and navigate back to the previous page.
- Go to Credentials and click CONFIGURE CONSENT SCREEN.

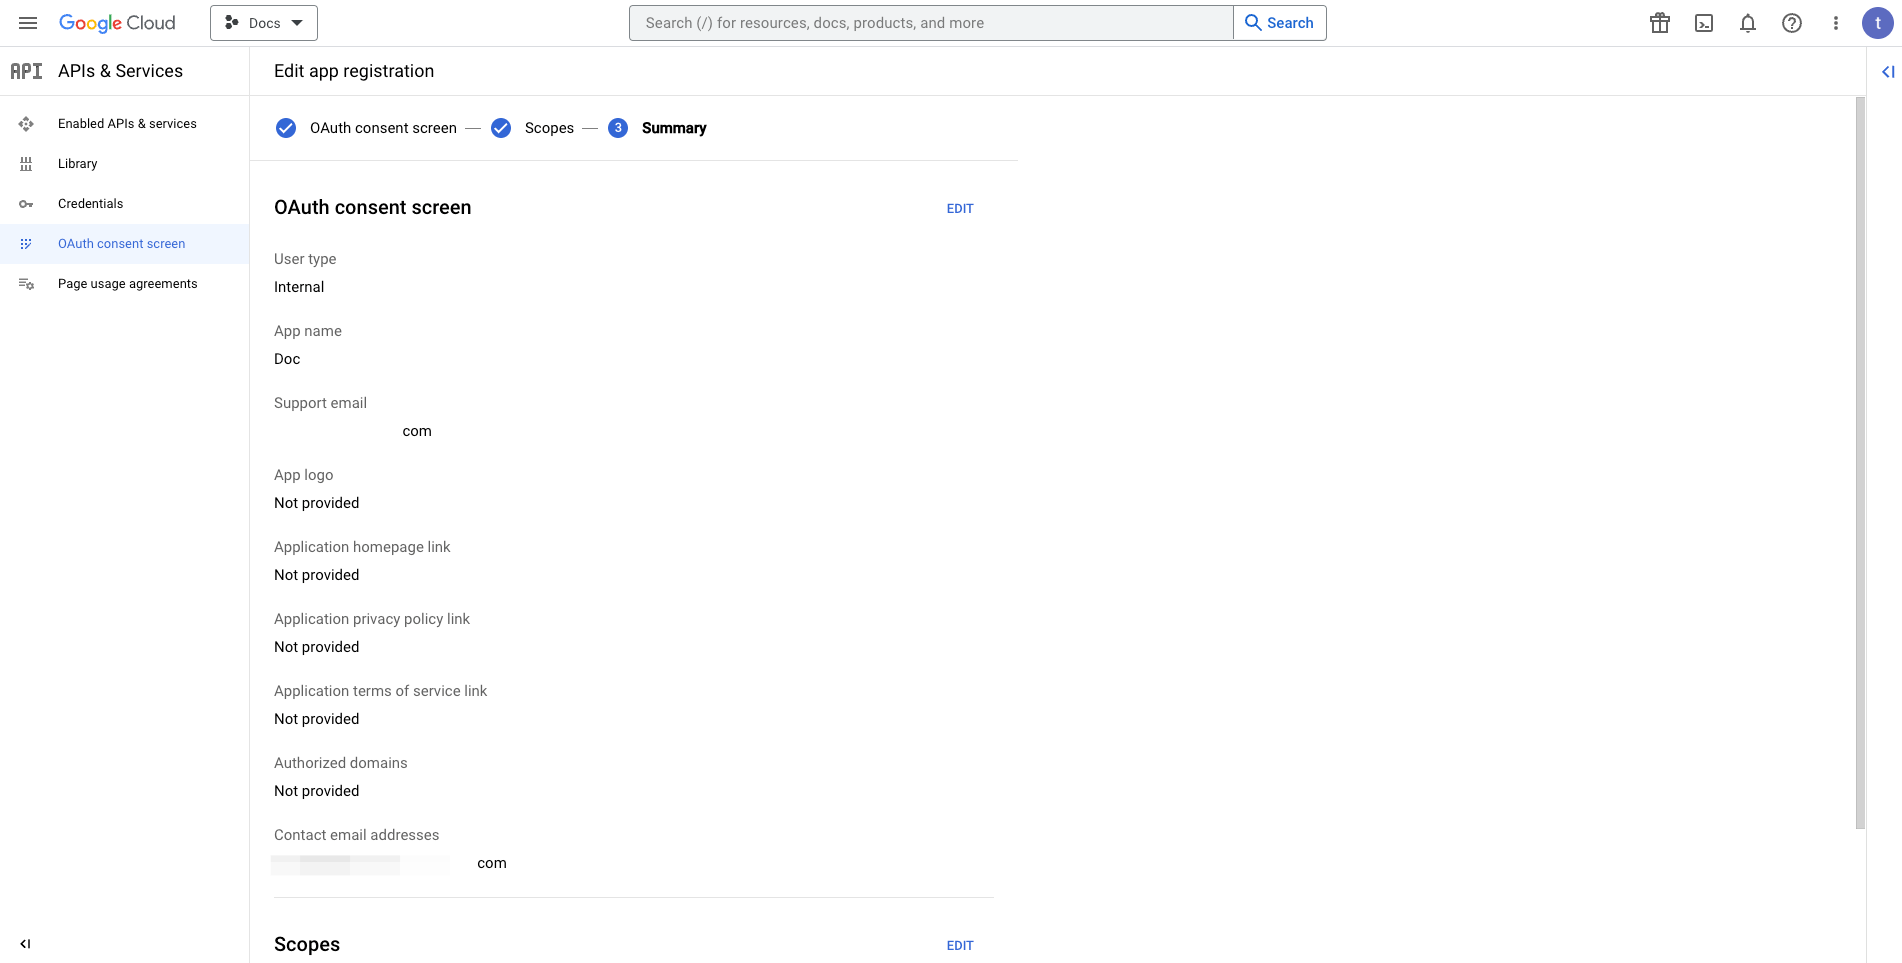
Upon clicking CONFIGURE CONSENT SCREEN, the OAuth consent screen User Type will be displayed.
Check on Internal and click on CREATE.
You will be moved to App information page, provide the necessary information.
Scroll down, provide the Developer contact information, click SAVE AND CONTINUE.
You will be moved to Scopes, click SAVE AND CONTINUE.
OAuth consent screen will be configured, you can edit information if needed by clicking on EDIT.
Navigate back to Credentials and click on CREATE CREDENTIALS, and choose OAuth client ID from the dropdown.
You will be asked to select Application type and choose Web application and provide a descriptive name.
For Authorized redirect URI, provide https://dashboard.qa.ezto auth.com/auth/realms/api/qv_realm/google_ws
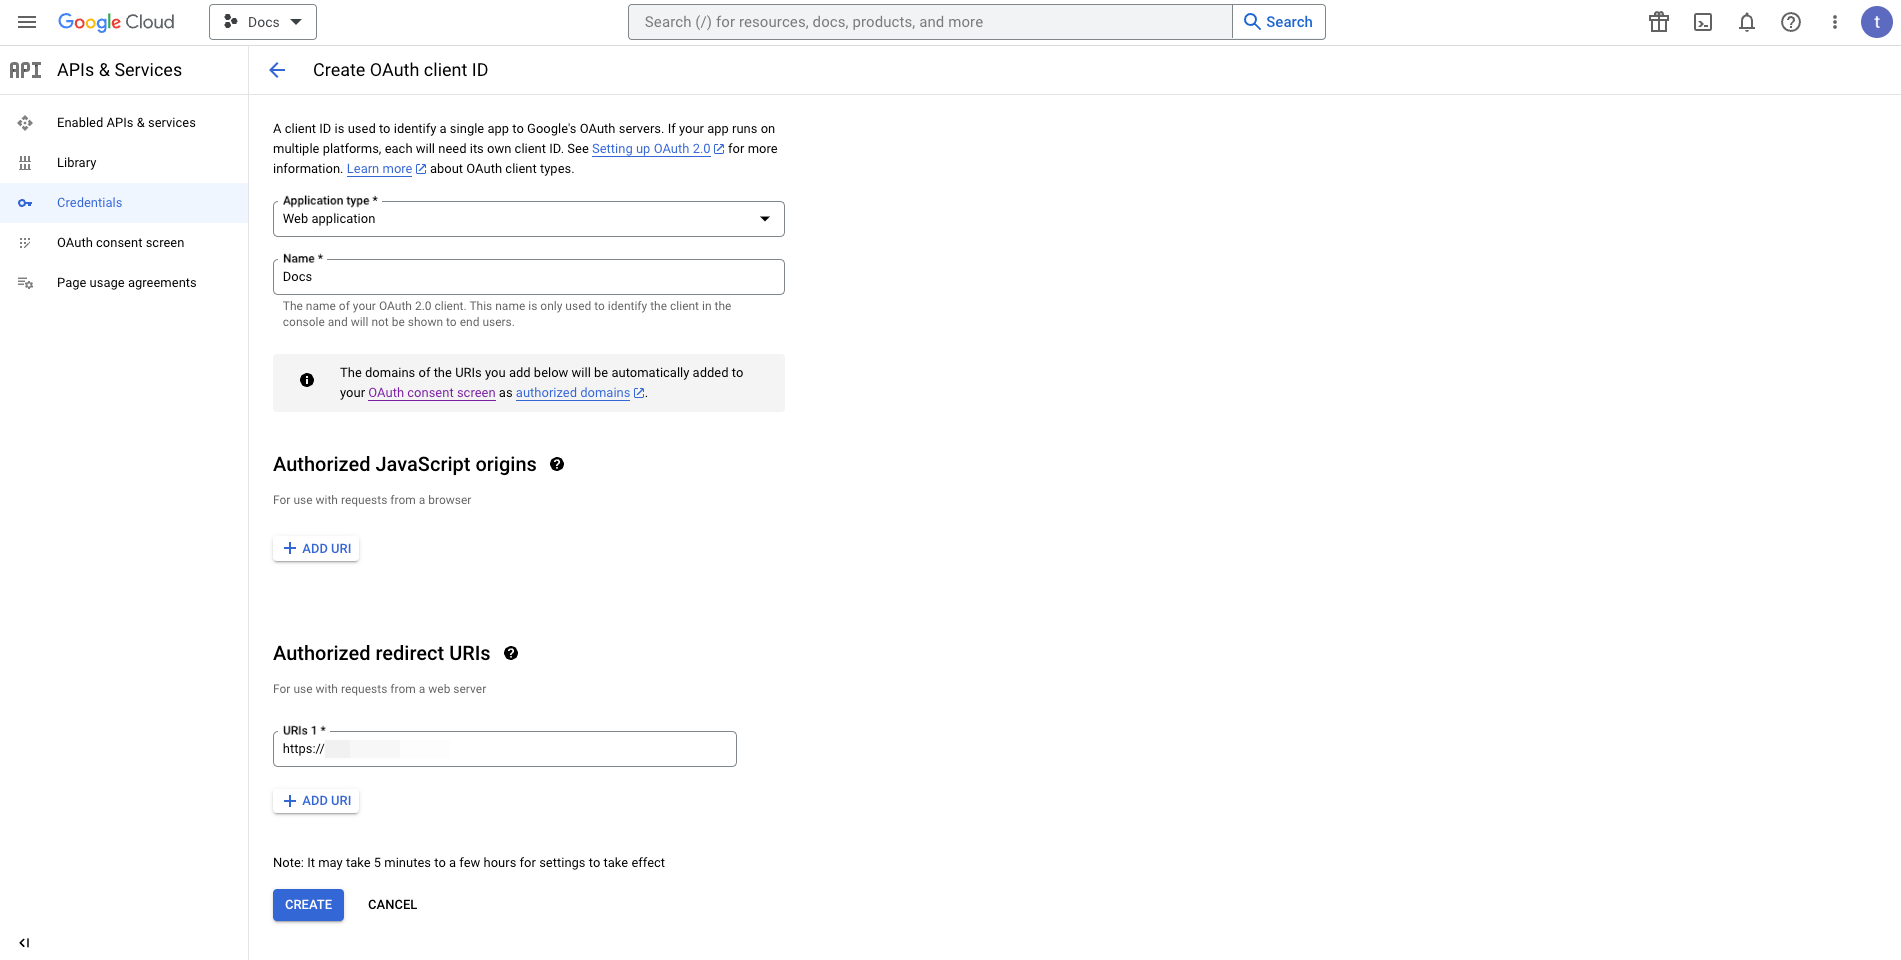
Click on CREATE.
OAuth Client ID and Client Secret will be created successfully, copy to your clipboard.
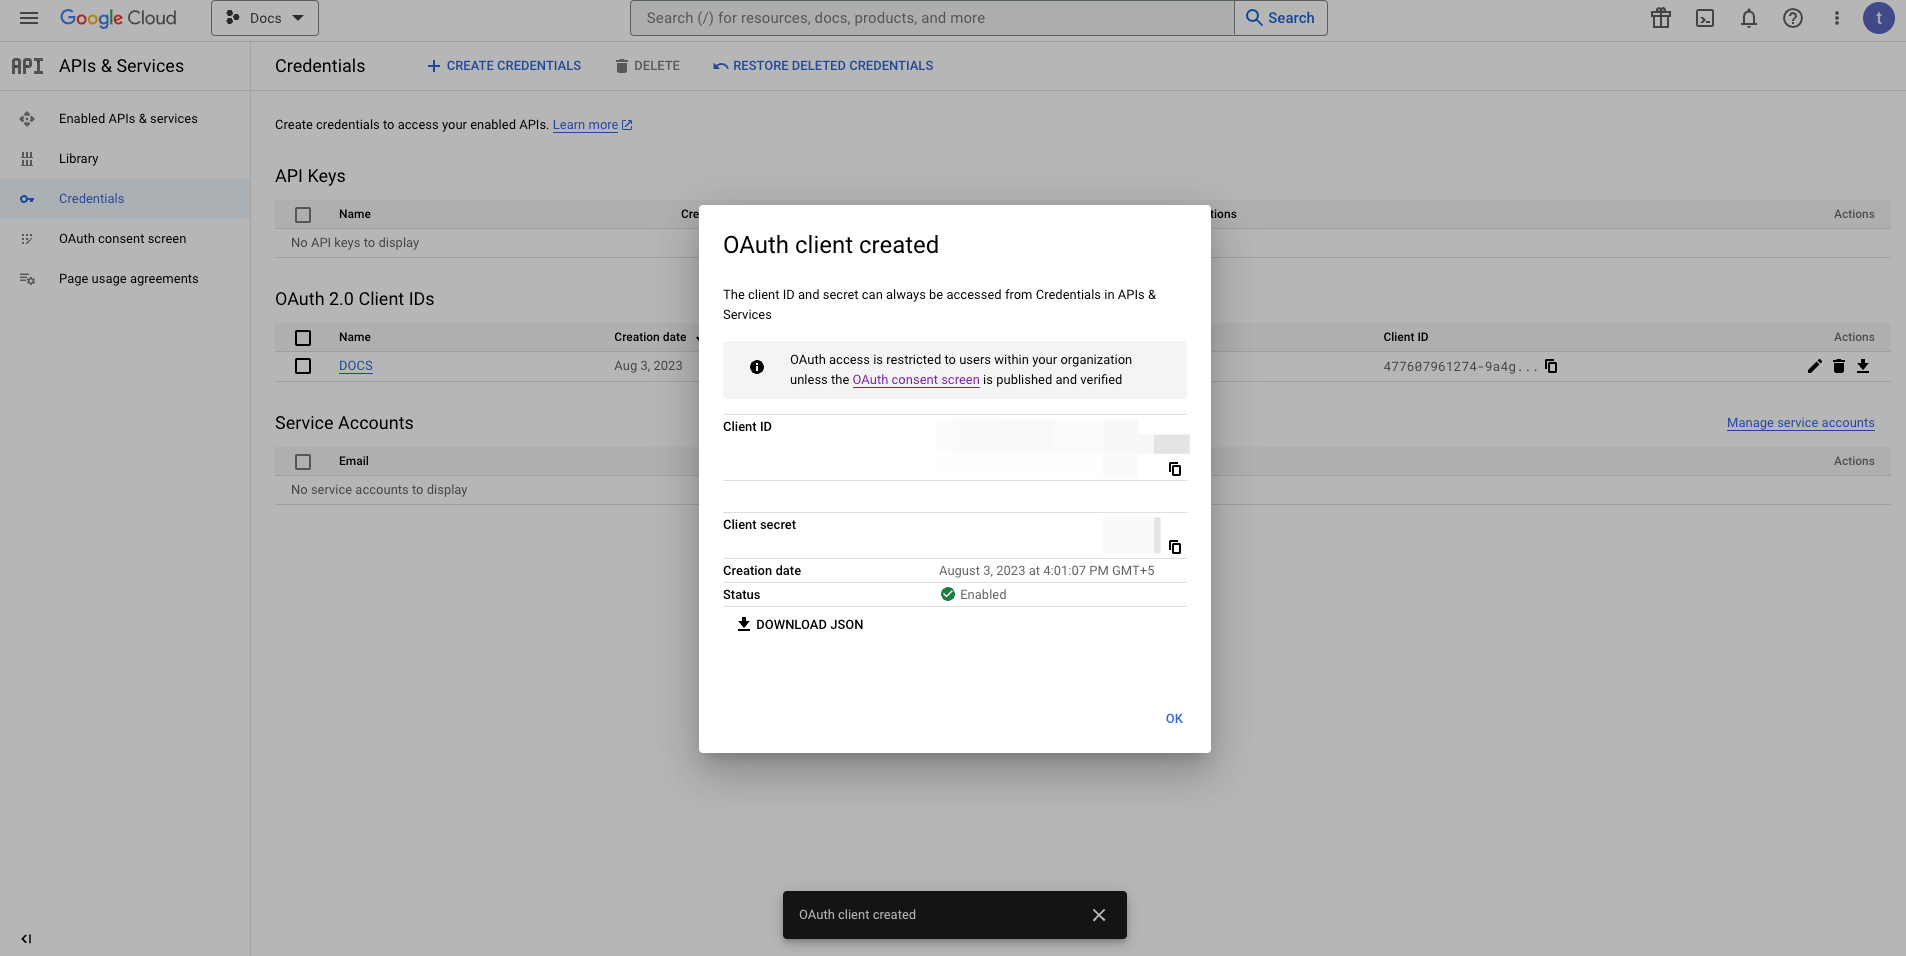
- Navigate back to your dashboard and paste the copied configurations.
5 Configure Enrollment Type, there are three types available.
| Type | Descriptions |
|---|---|
| Send Enrollment Email | A verification process takes place, where all the synced users will receive an invite email to the dashboard. |
| Trust Email | the email verification will be set true for all users, where all the synced users will be verified upon being synced. |
| Only Sync | The users from Azure will be synced without any additional email verification or configs. |
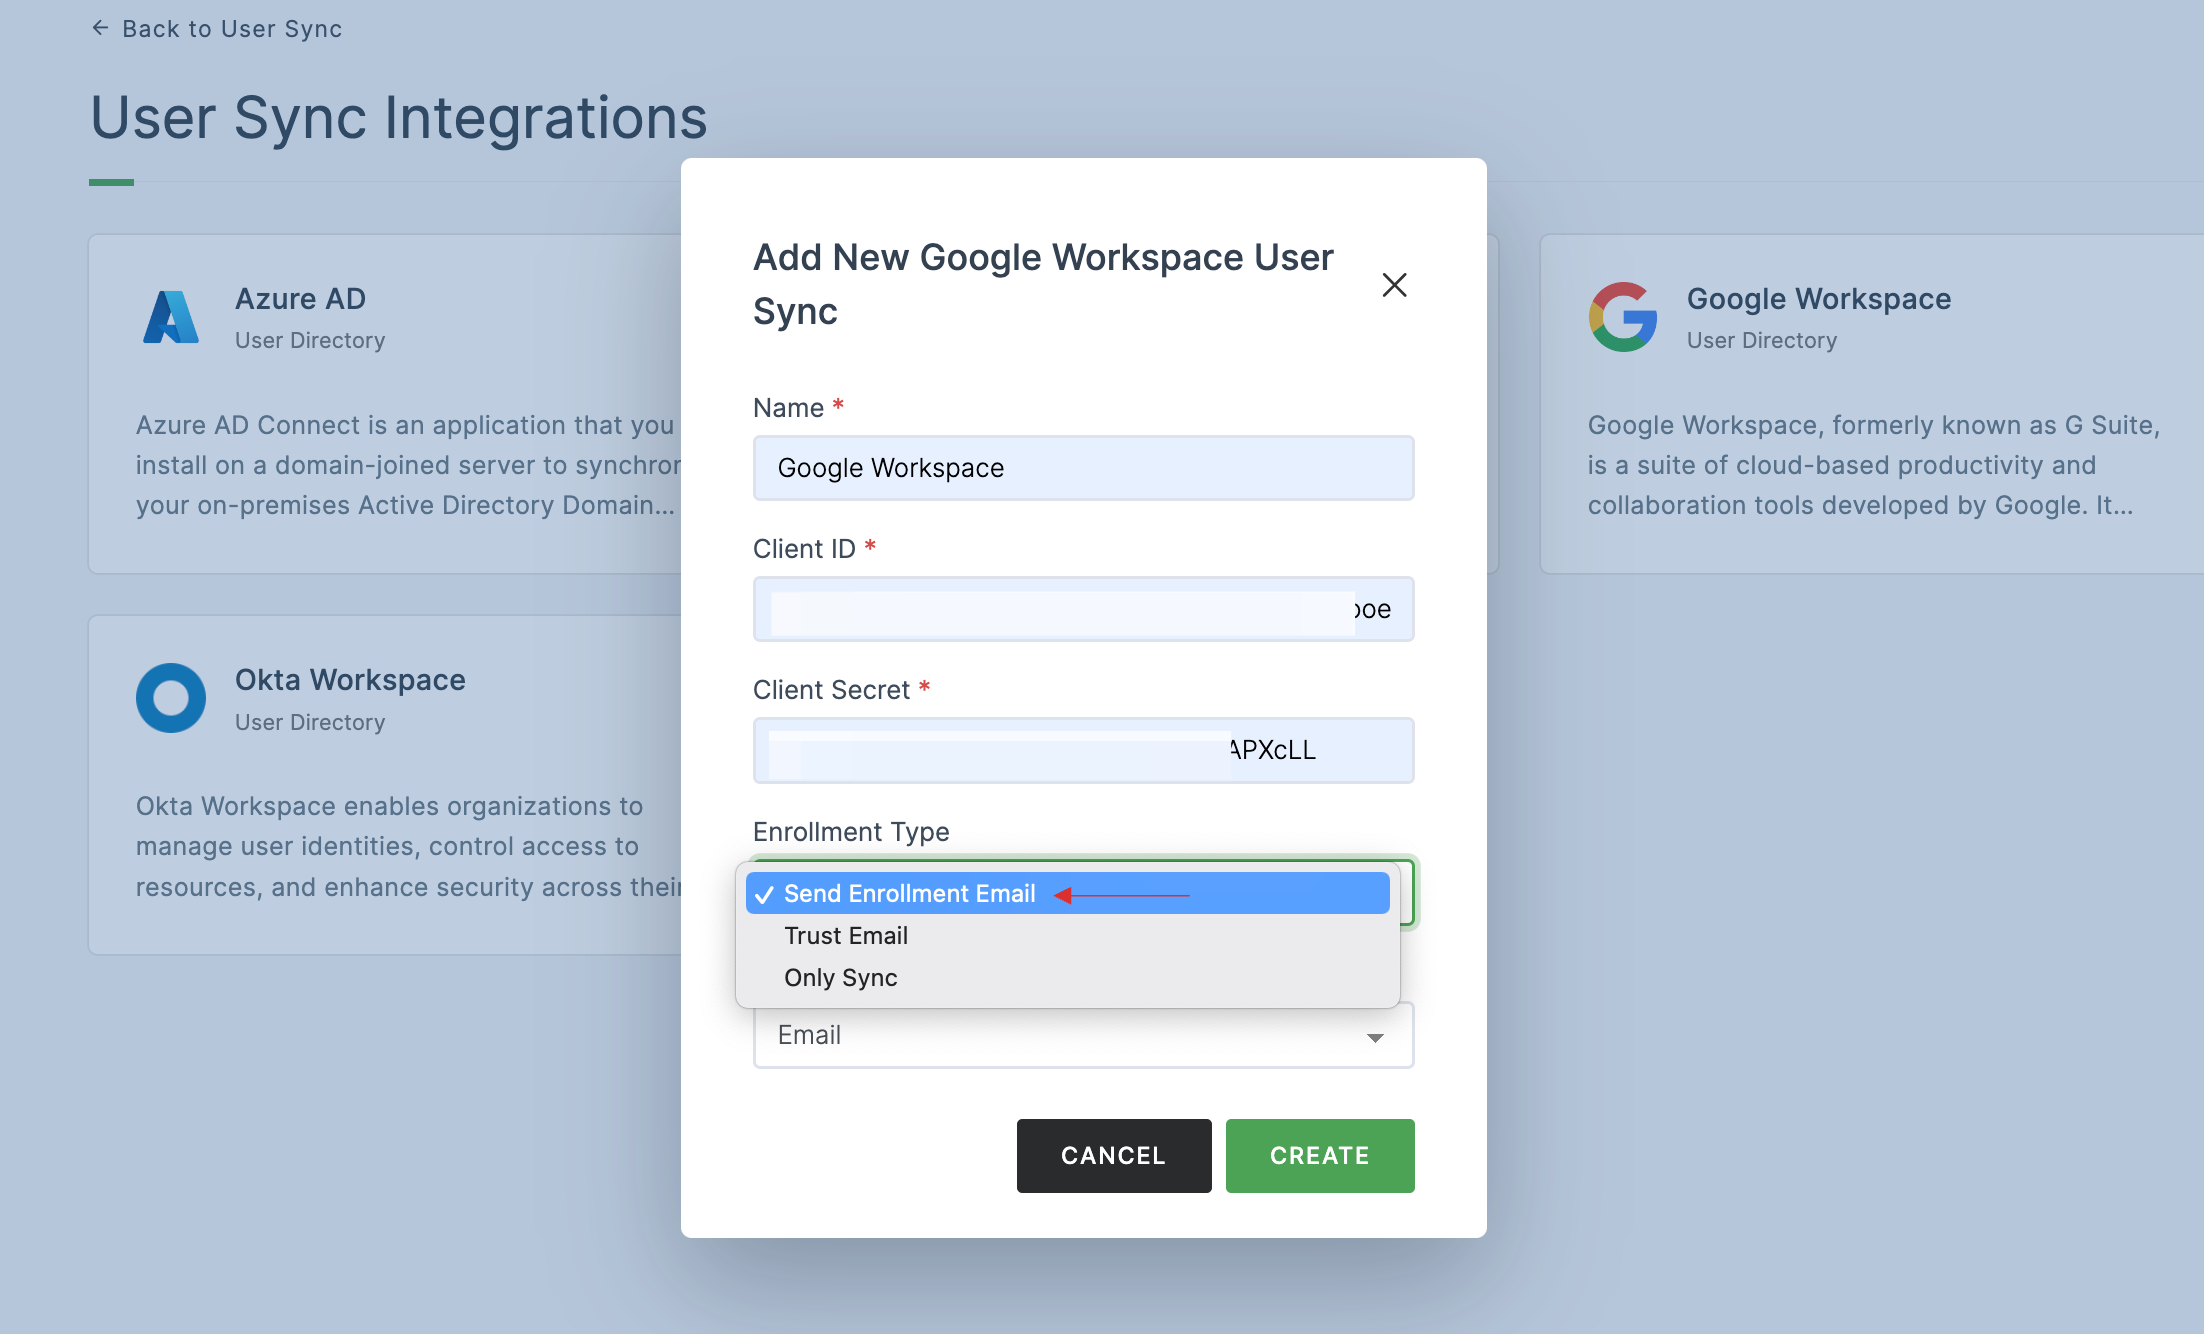
6 Choose the enrollment as per your need, for instance; Send Enrollment Email type is selected here.
7 Configure Unique field, there are two types available:
| Type | Descriptions |
|---|---|
| The users will be created based on the Email. | |
| Username | The users will be created based on the Username. |
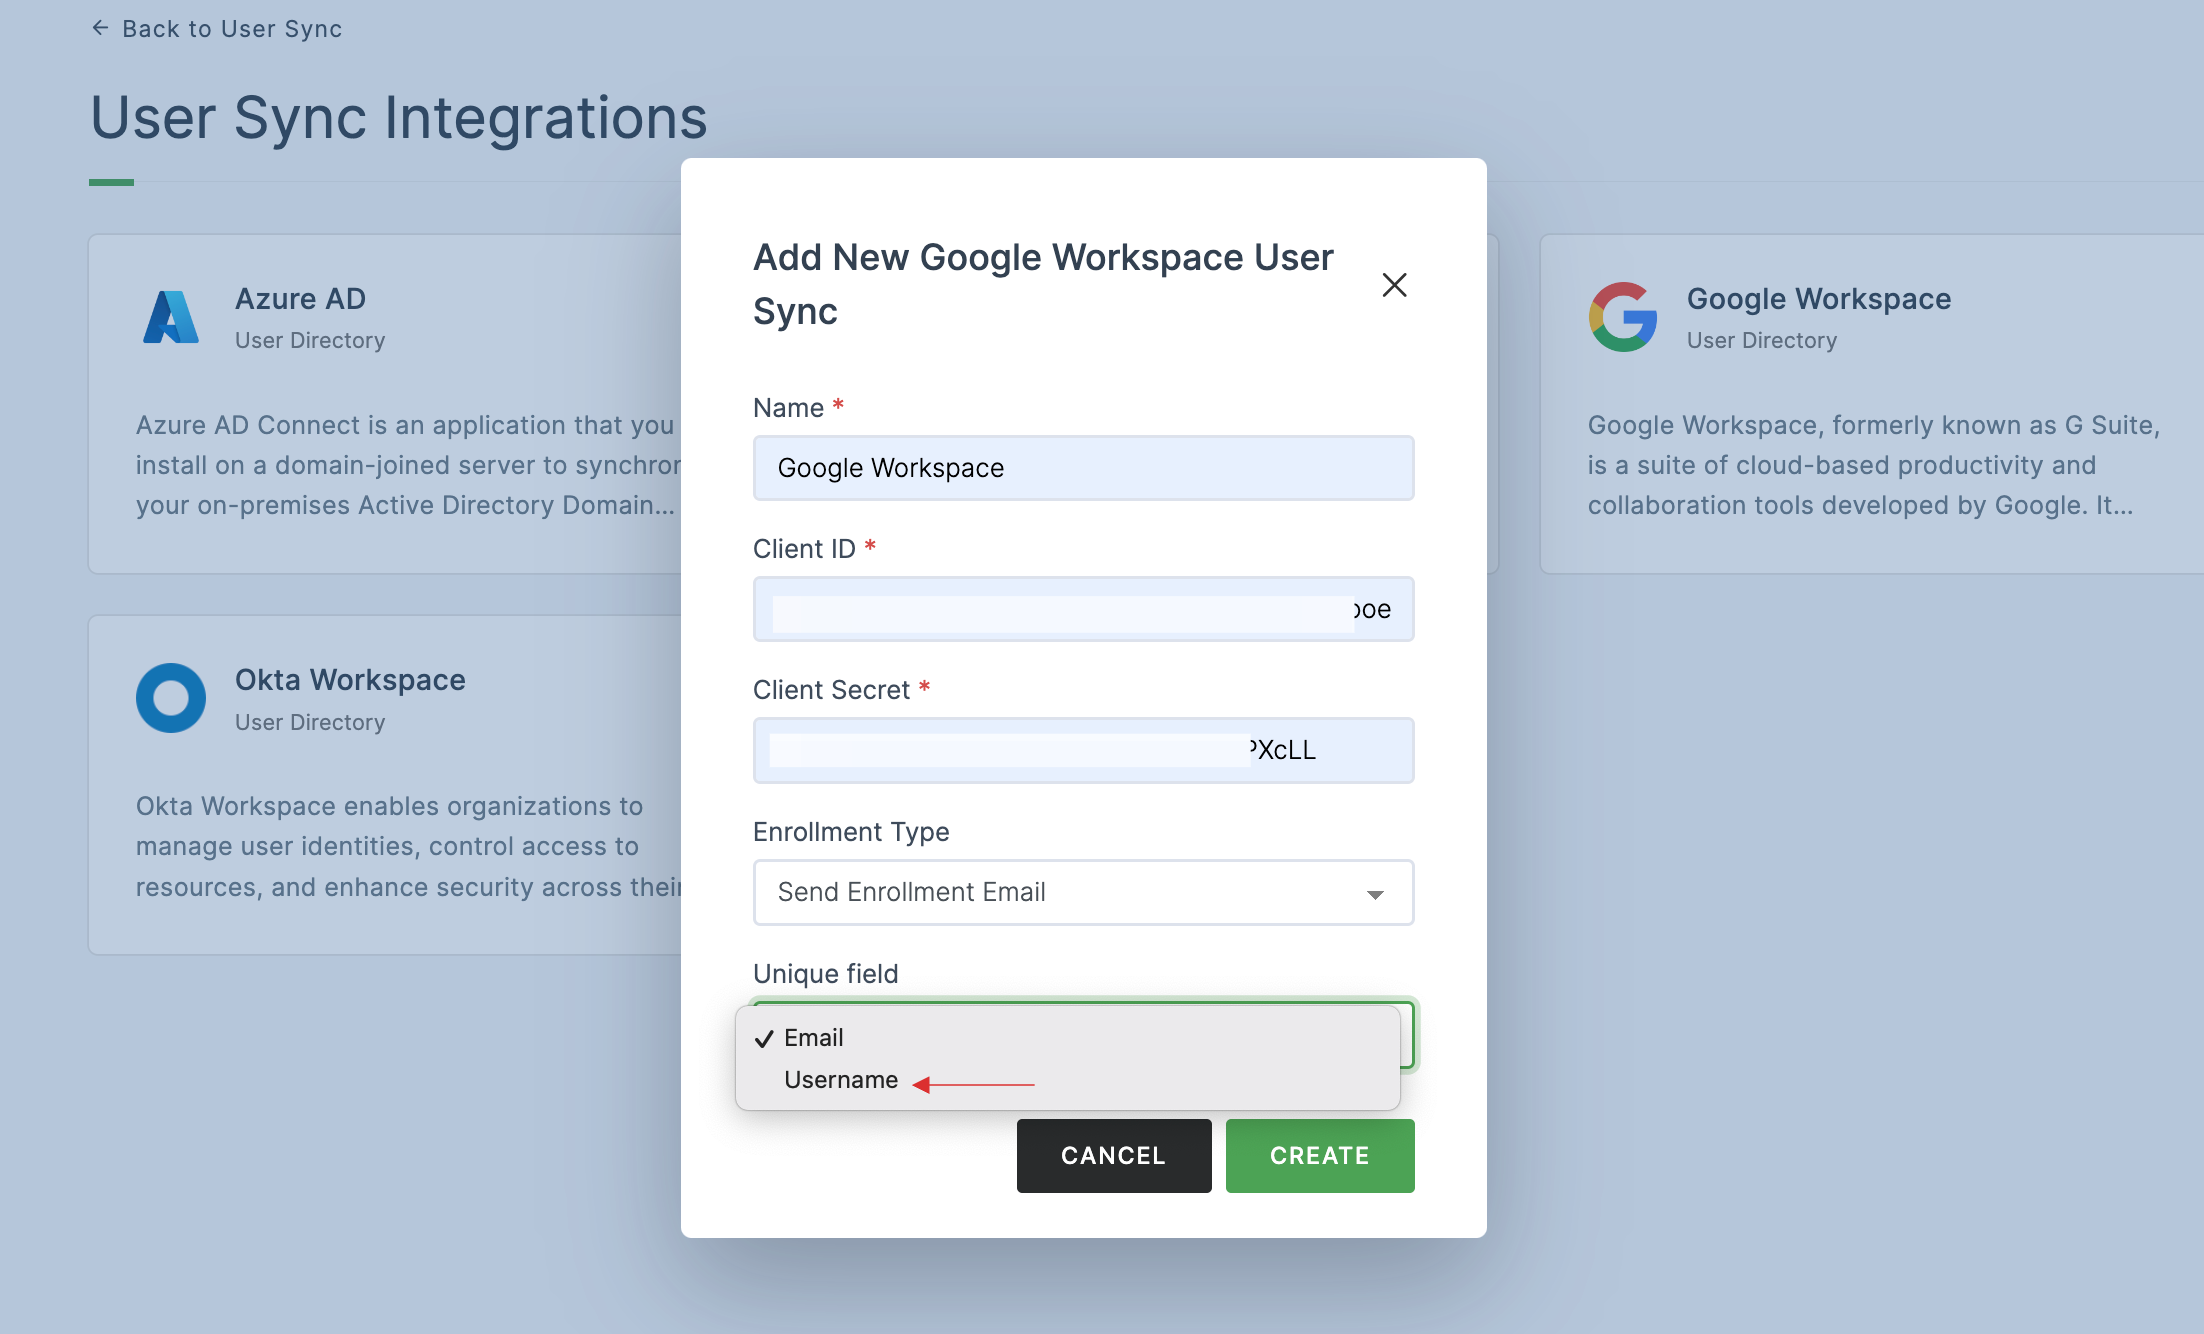
8 Choose the unique field as per your need, for instance; Username type is selected here, click on CREATE.
9 User Sync will be created successfully.
10 You will be asked to login with Google to start the directory sync.
11 Click on Login.
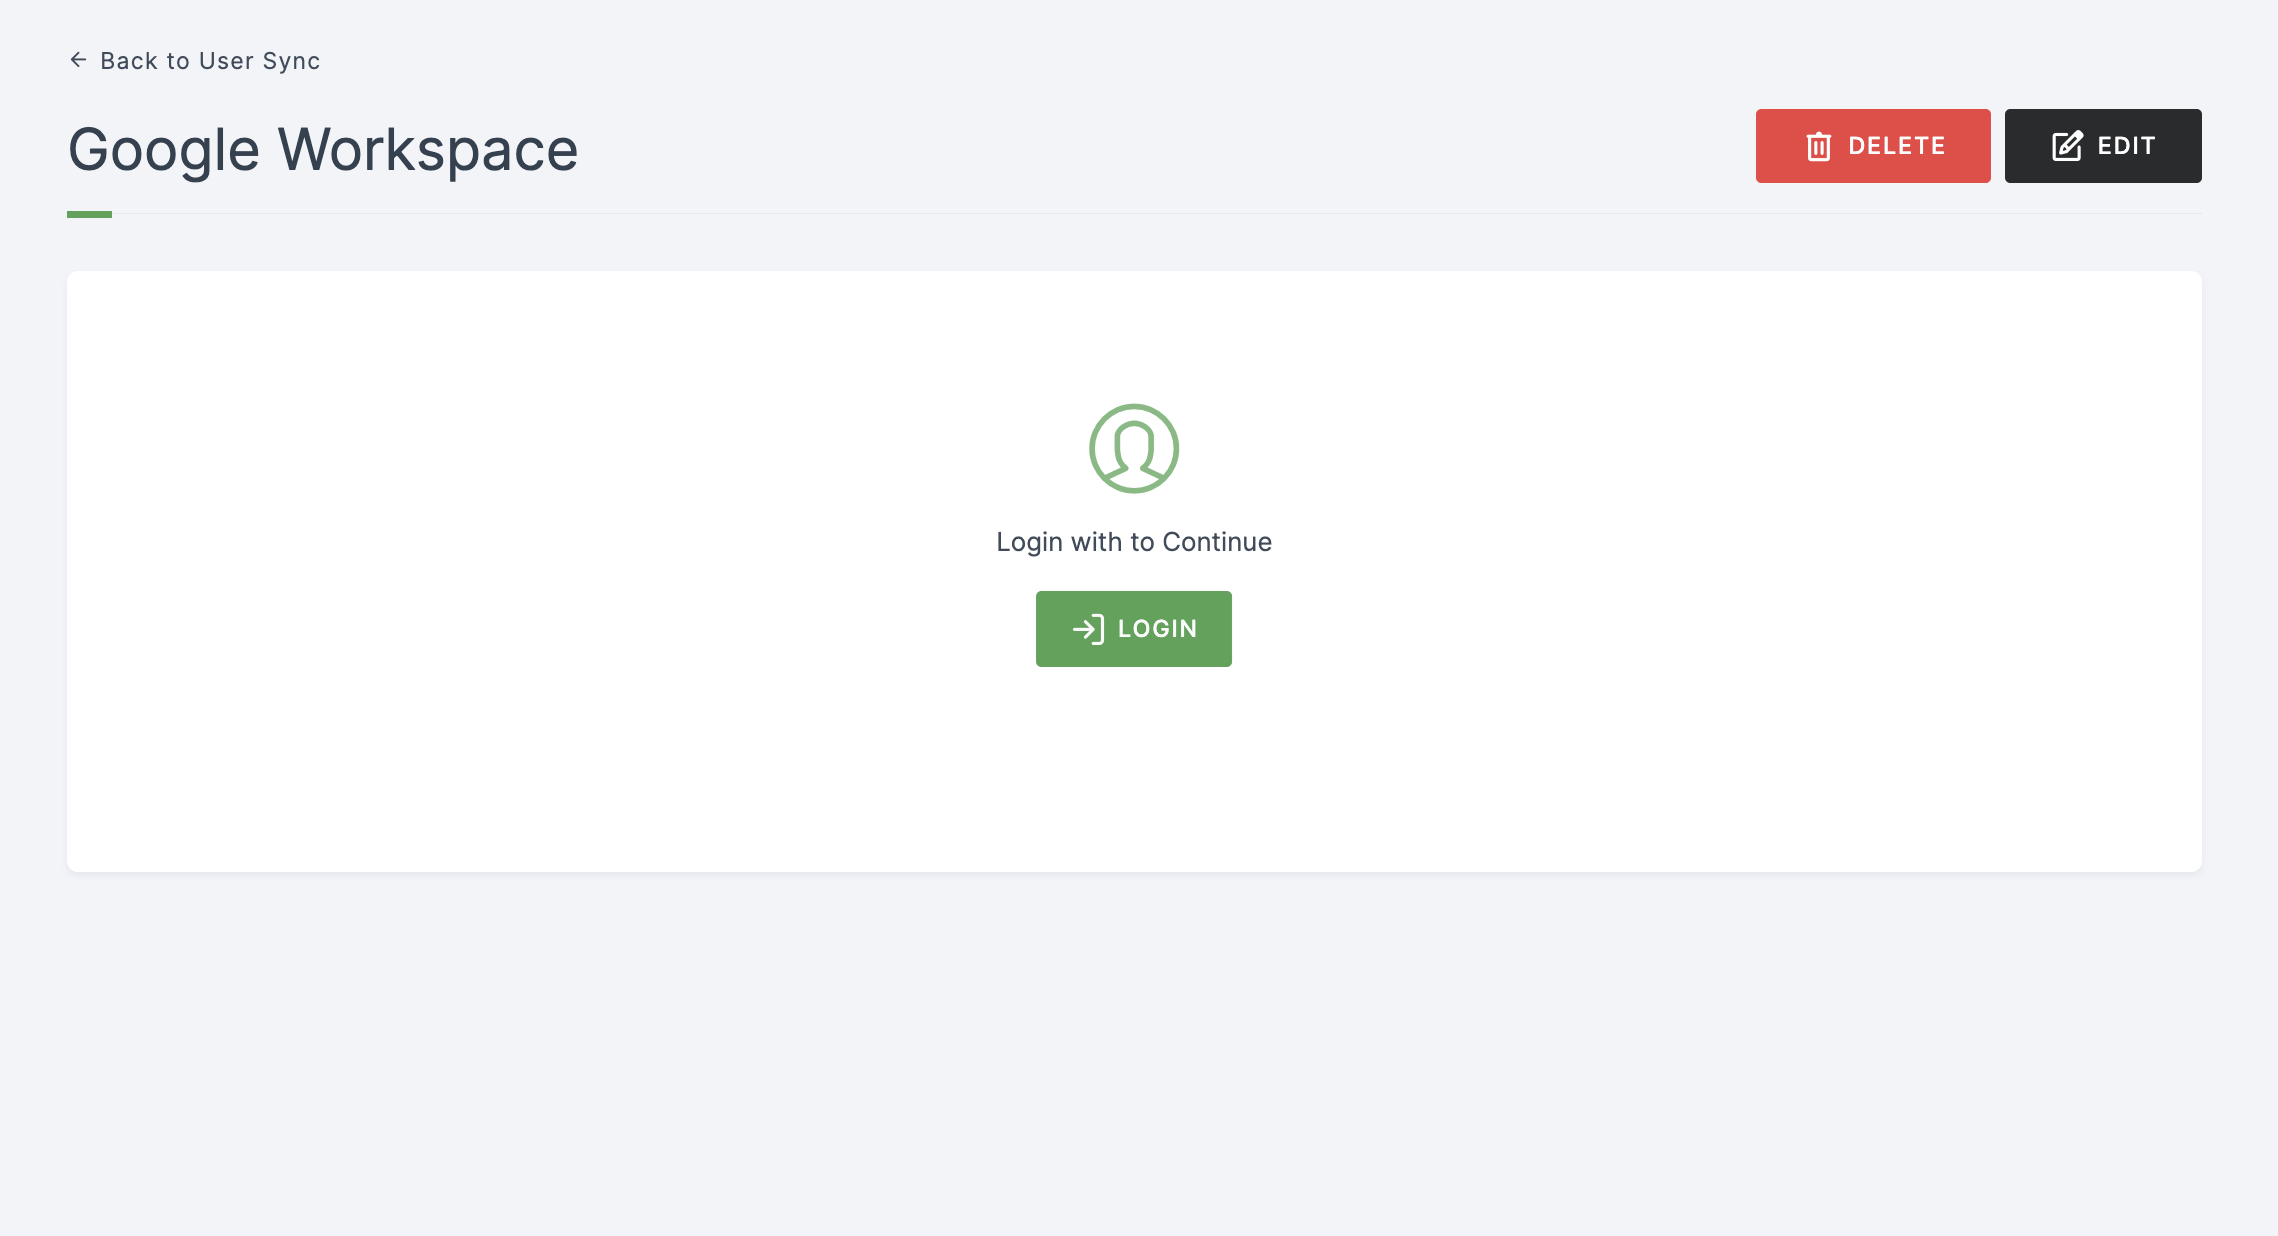
12 You will be directed to Google login page, provide your admin account credentials to continue with the sync. Upon completing the login, you will be redirected to the dashboard.
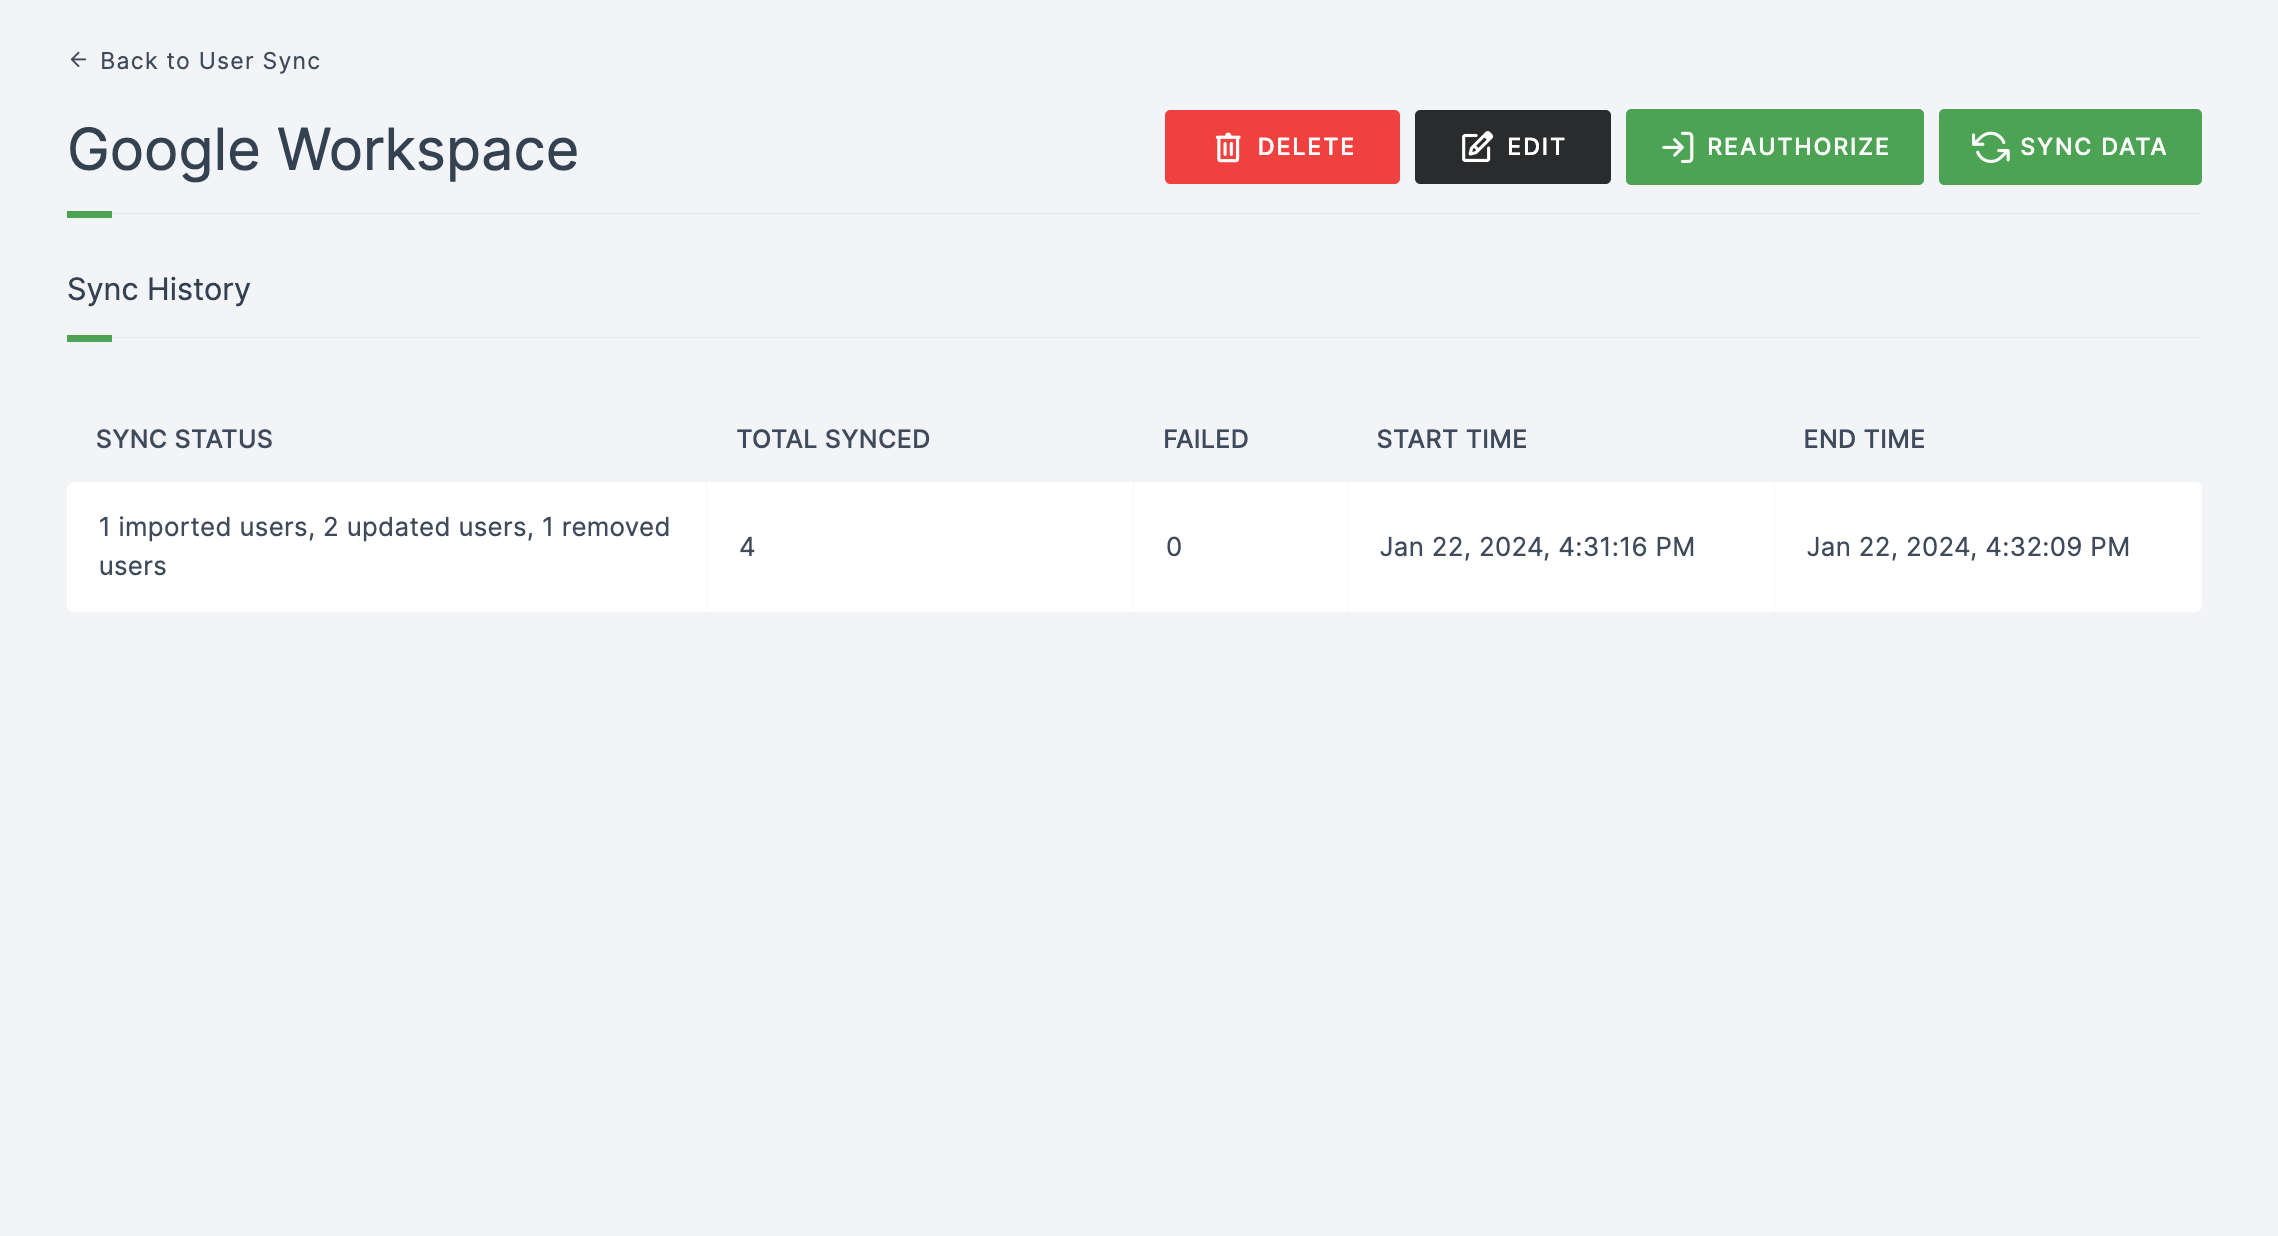
13 Click on SYNC DATA.
All Google users will be synced into the dashboard upon clicking SYNC DATA.
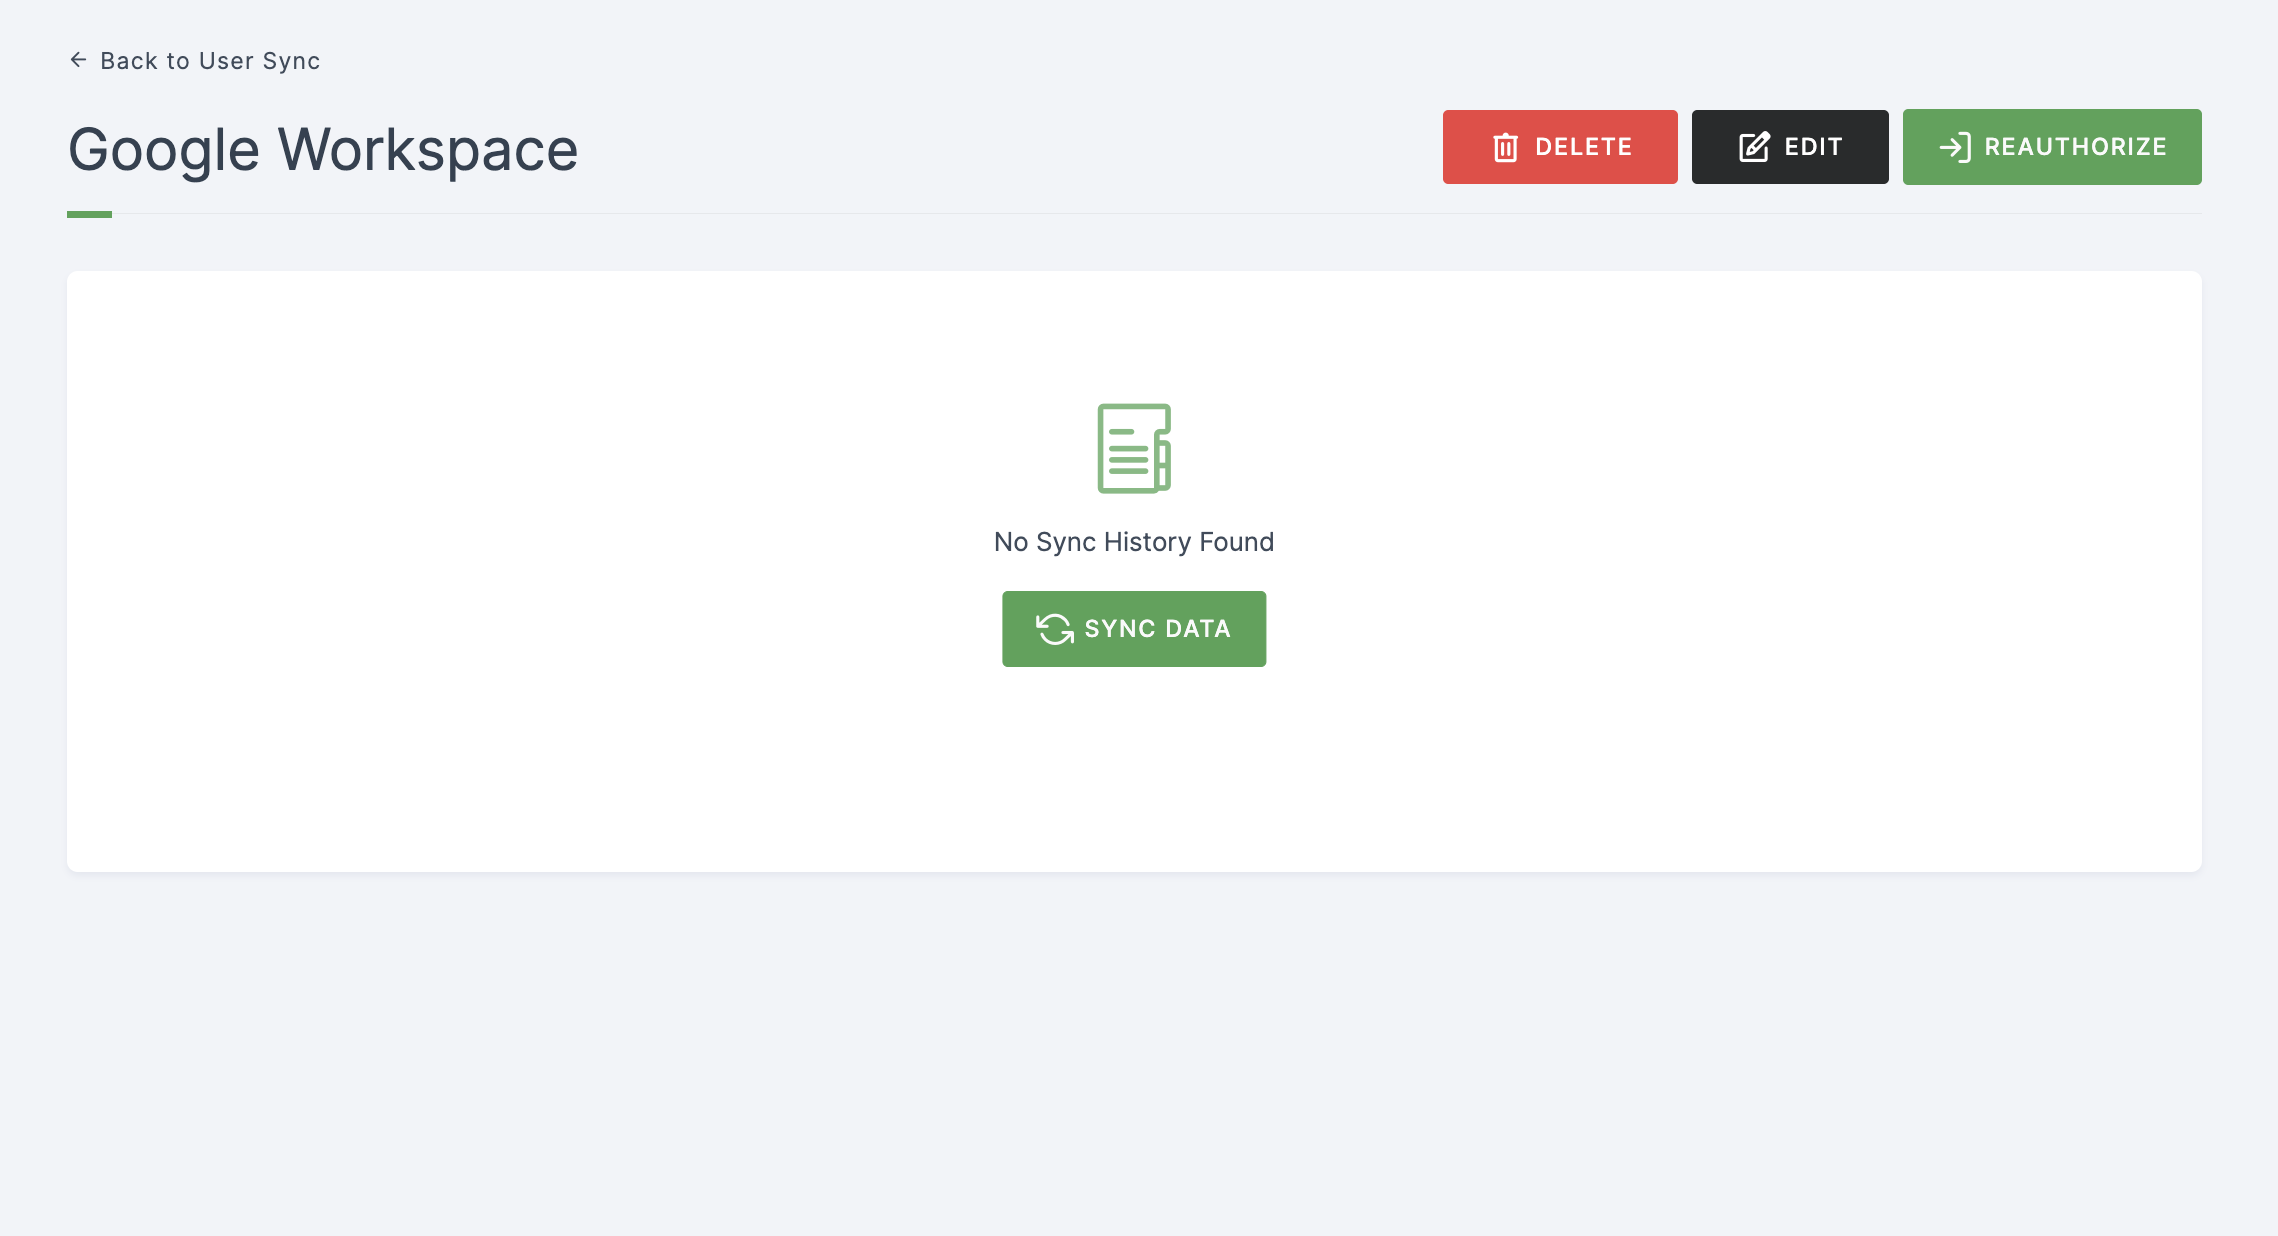
14 Click on REFRESH to see the user sync in progress. It may take a few seconds for the sync to be reflected.
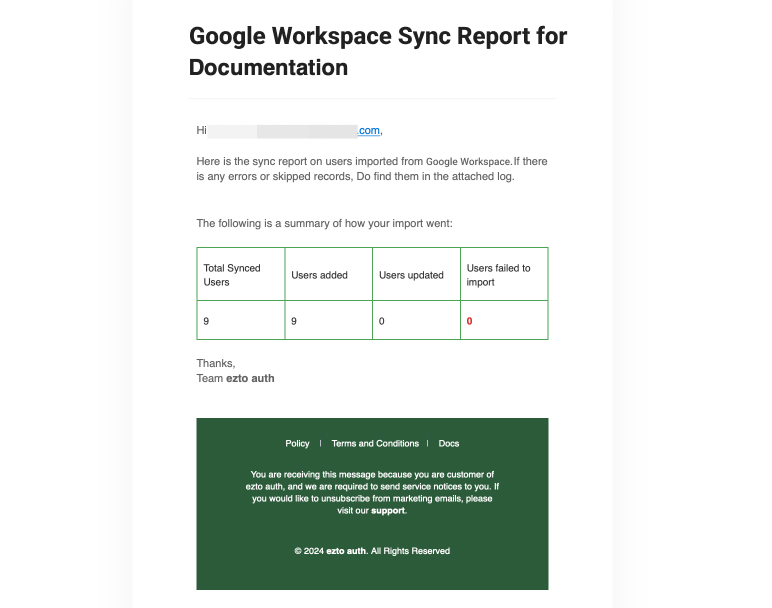
15 Once the user sync is completed, sync report mail will be sent to the admin mail provided.
Upon every sync, the SYNC HISTORY wll have the details and status on every sync furthermore.
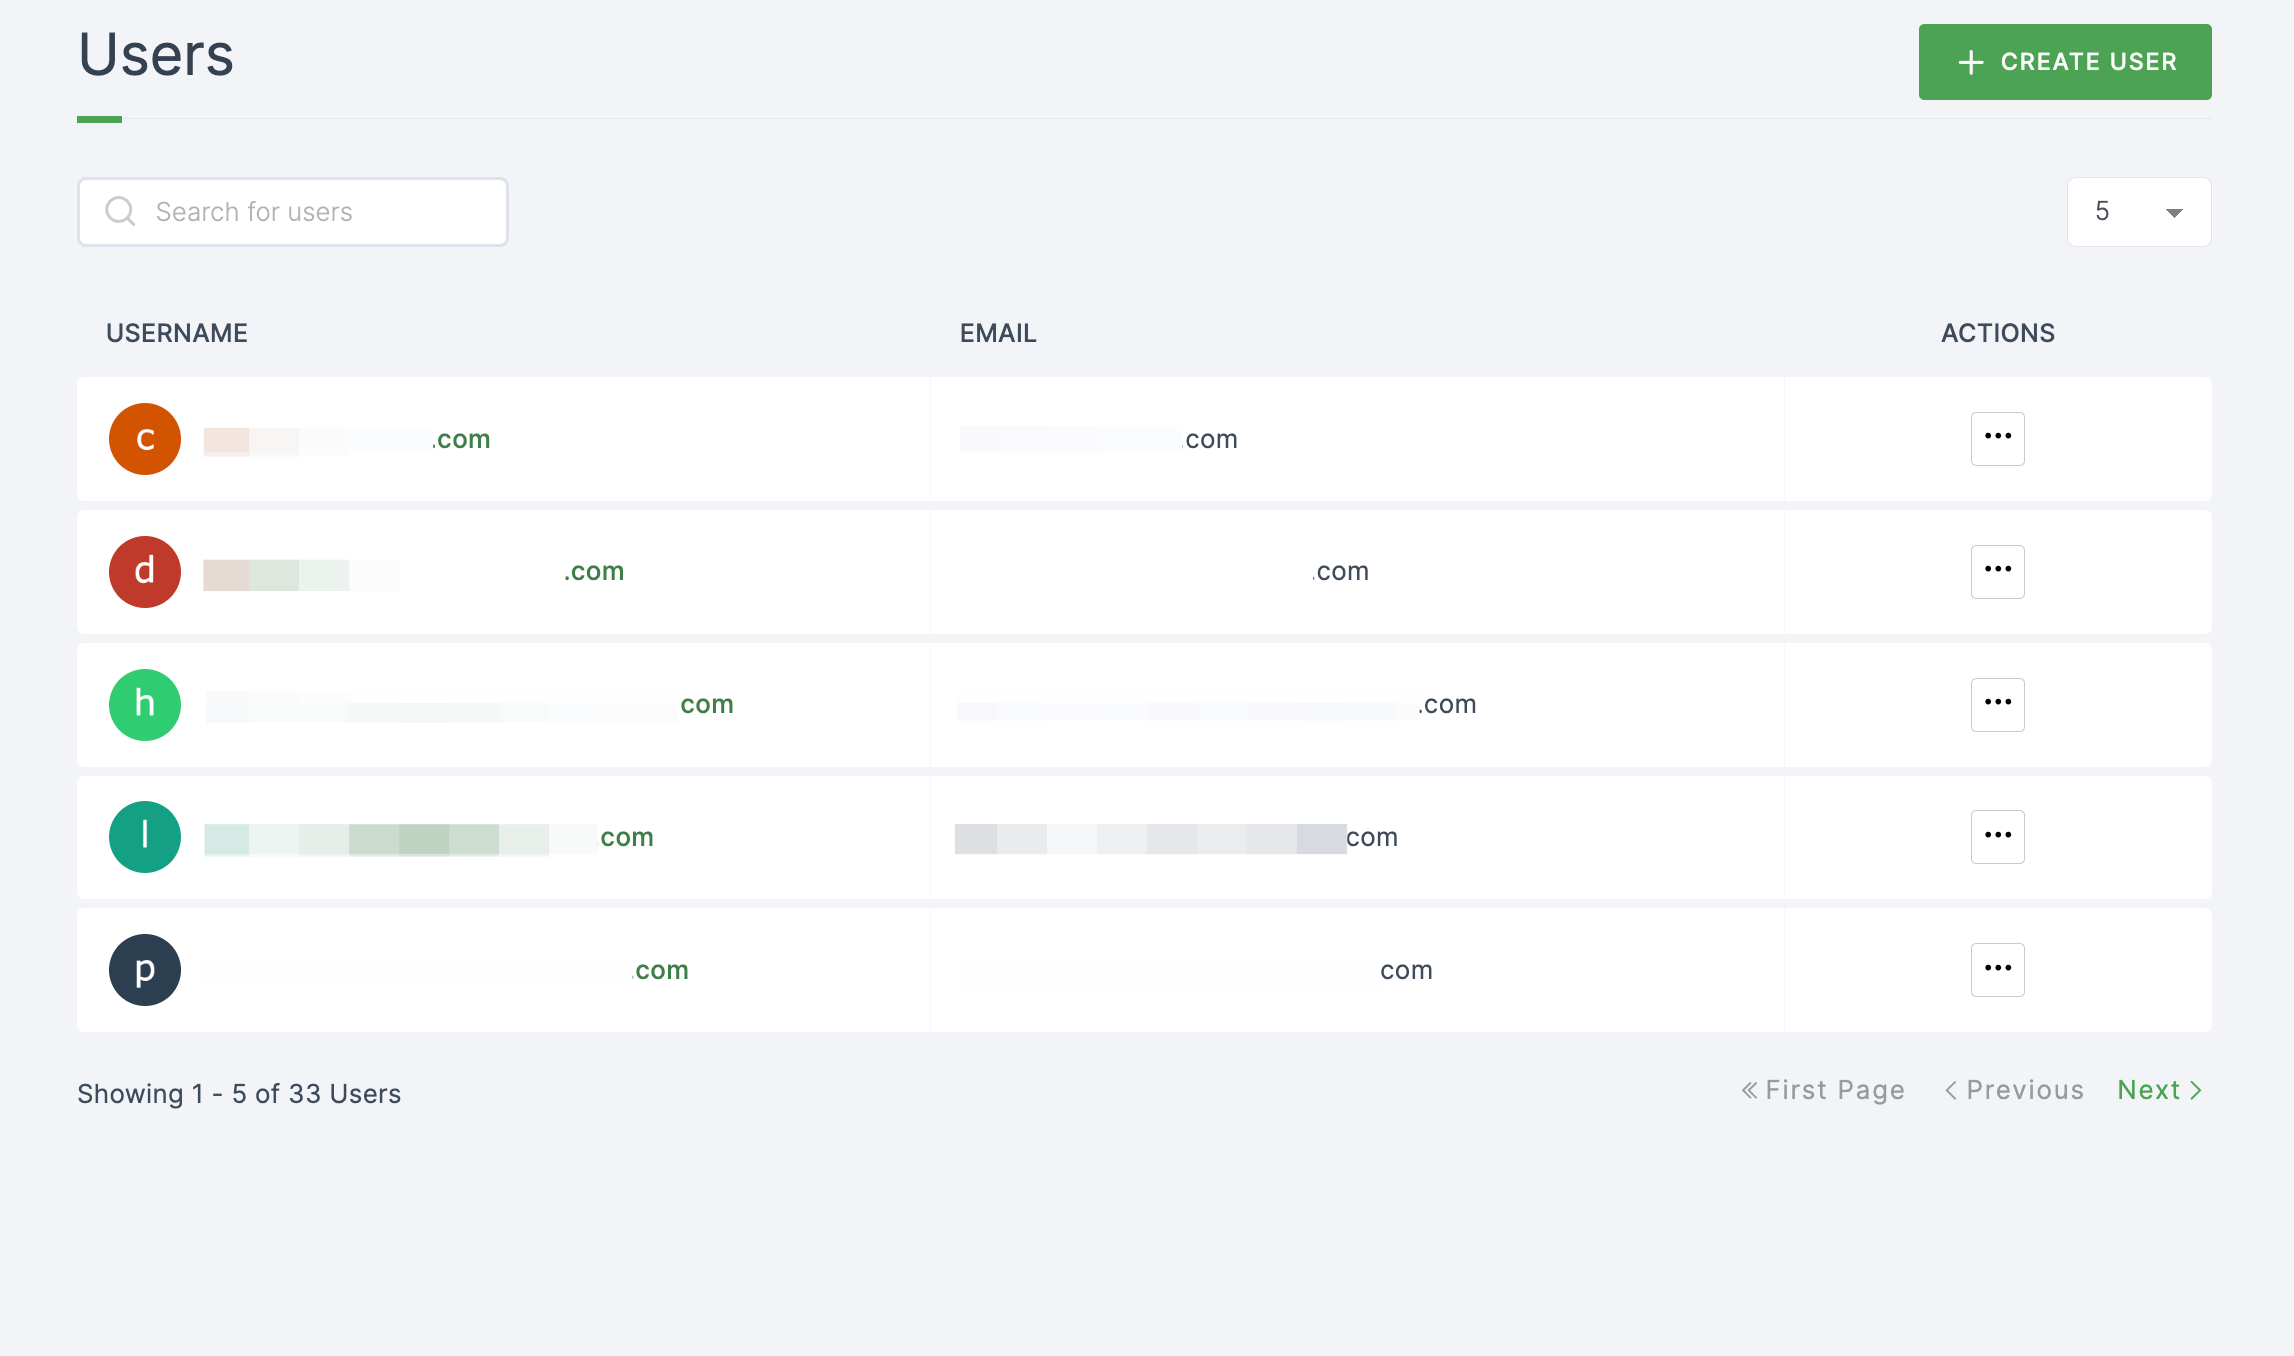
Users Synced
1 Go to Dashboard > User Management > Users.
2 All the synced users can be found in this section.
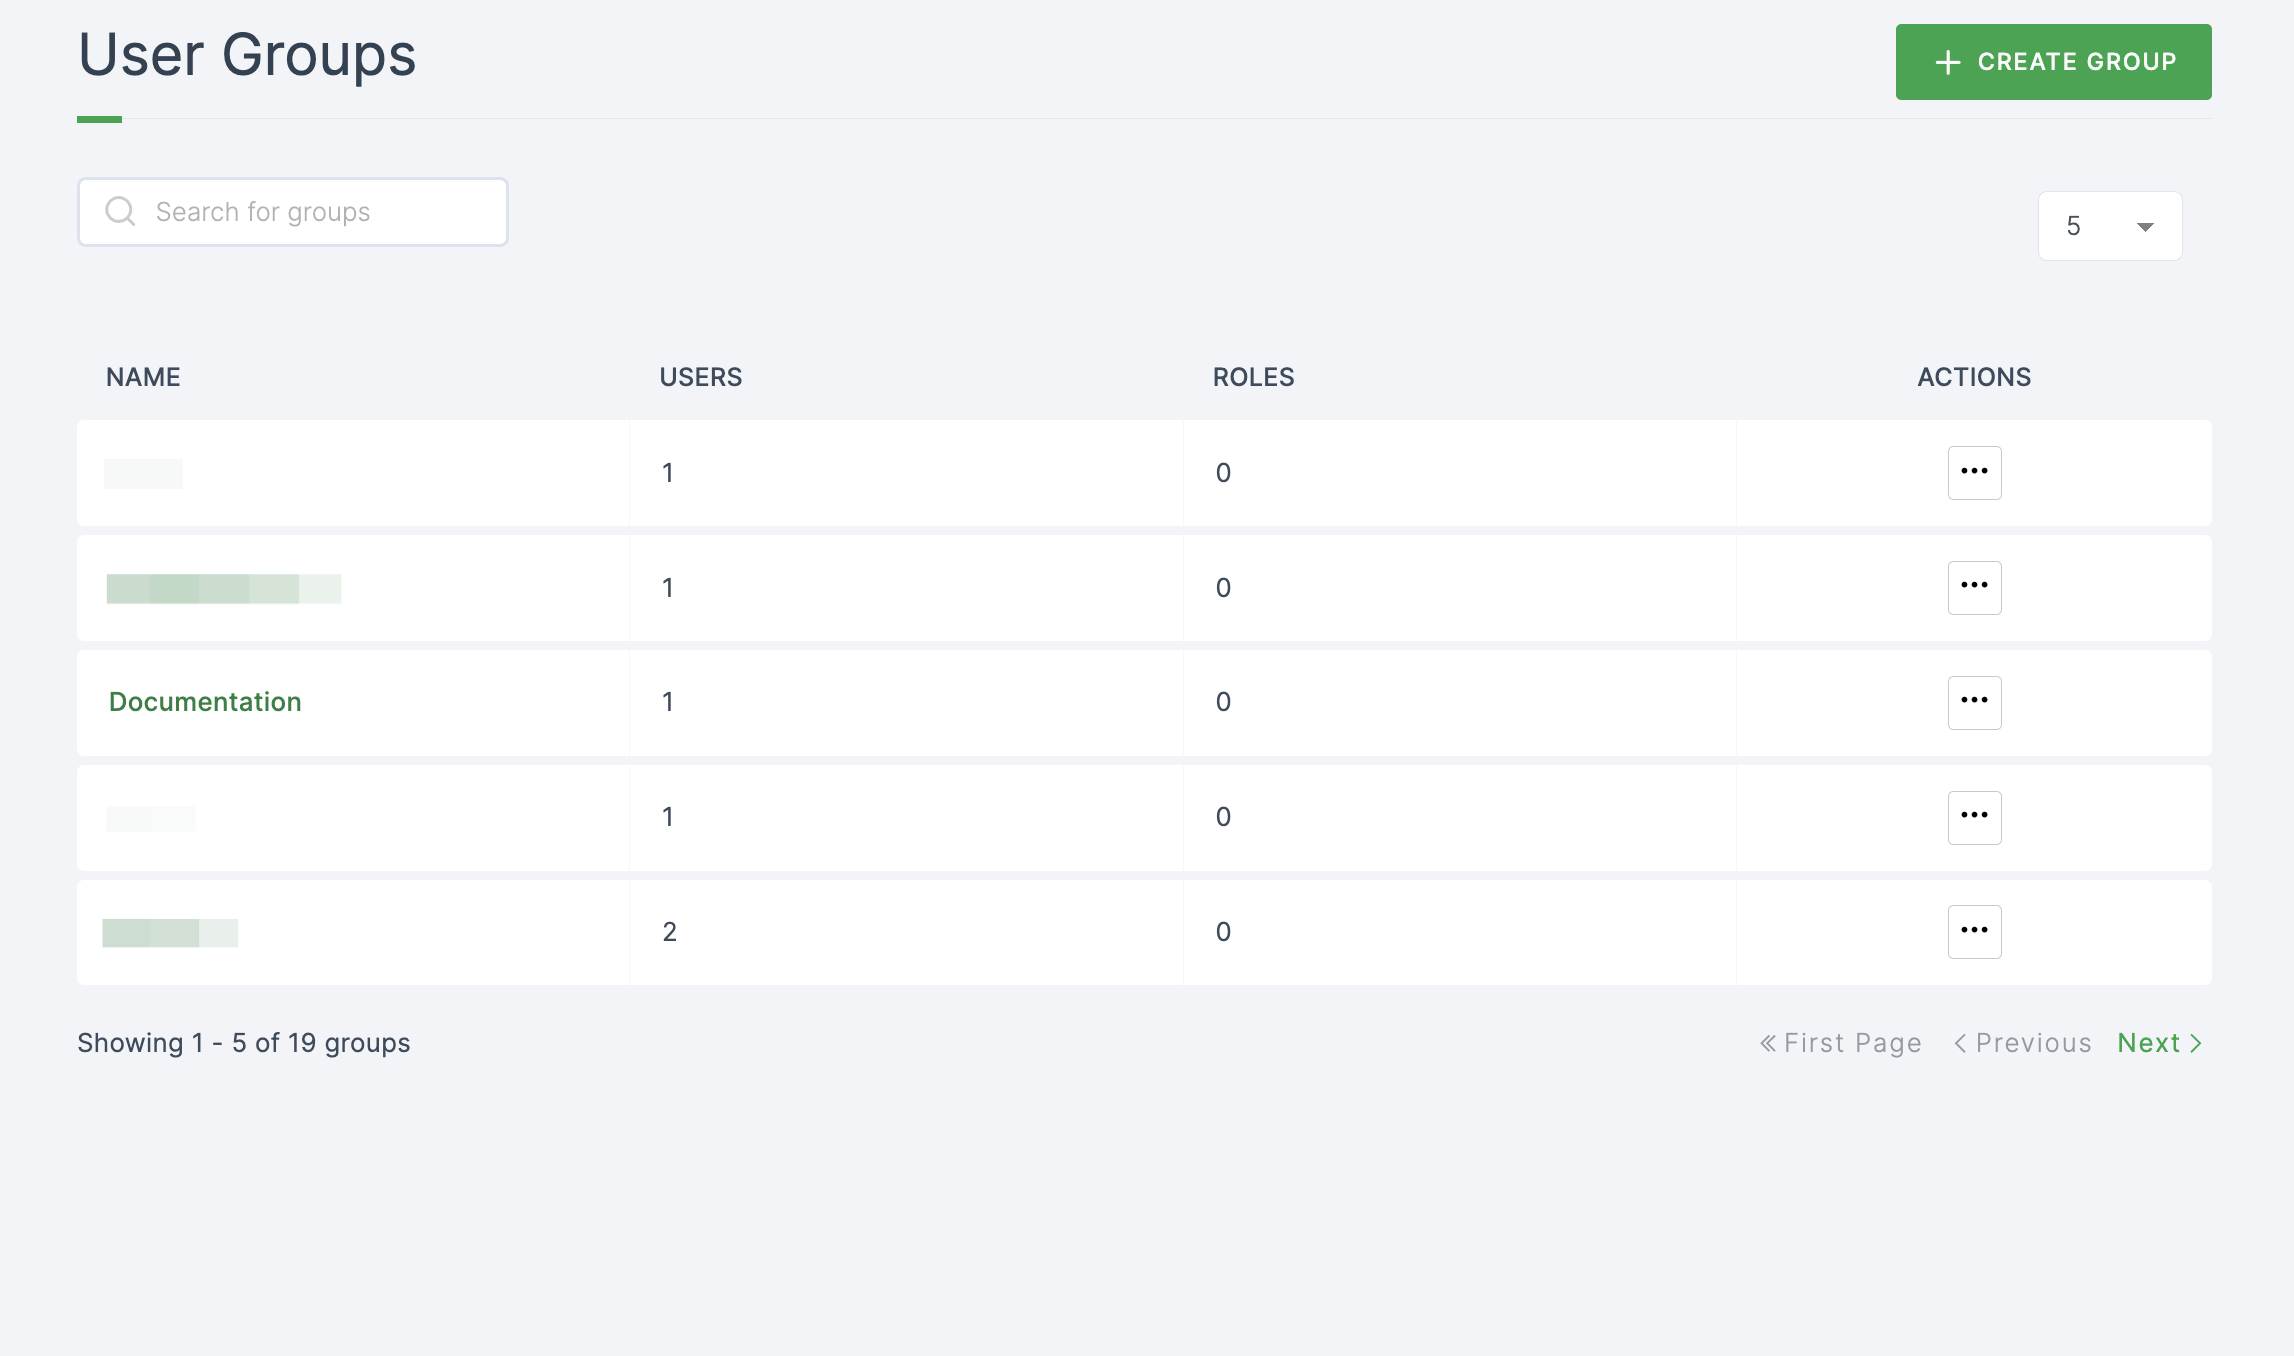
Groups Synced
1 Go to Dashboard > User Management > User Groups.
2 All the synced user groups can be found in this section.
Sync
ezto auth's User Sync is a one-way operation. No information from ezto auth will be imported into the Google Workspace. On syncing, your users can be easily managed with our dashboard.
Edit
The EDIT button will let you edit the configuration settings upon creating the connection.
Reauthorize
After syncing the users from Google Workspace into ezto auth, the admin user can reauthorize the login if the token session is expired.
Groups
- The Groups that are in Google Workspace will be imported to the ezto auth dashboard upon syncing.
- The users who already existed in a Group(s) will also be synced and automatically assigned to their designated group.
User Sync Completion
After syncing the users into ezto auth's dashboard, wait for a couple of seconds for it to be reflected. On successful sync, a sync report mail will be sent to you, containing the number of synced/updated users.
- The synced users can be checked in the dashboard (User Management > Users)
- The synced user groups can be checked in the dashboard (User Management > User Group)
Update
Once Google Workspace is synced to the dashboard successfully, if the user's information is changed/updated, the changes will be reflected in the ezto auth's dashboard upon giving SYNC.
Delete Synced Users
If the user is deleted, the changes will be reflected in the ezto auth's dashboard upon giving SYNC.
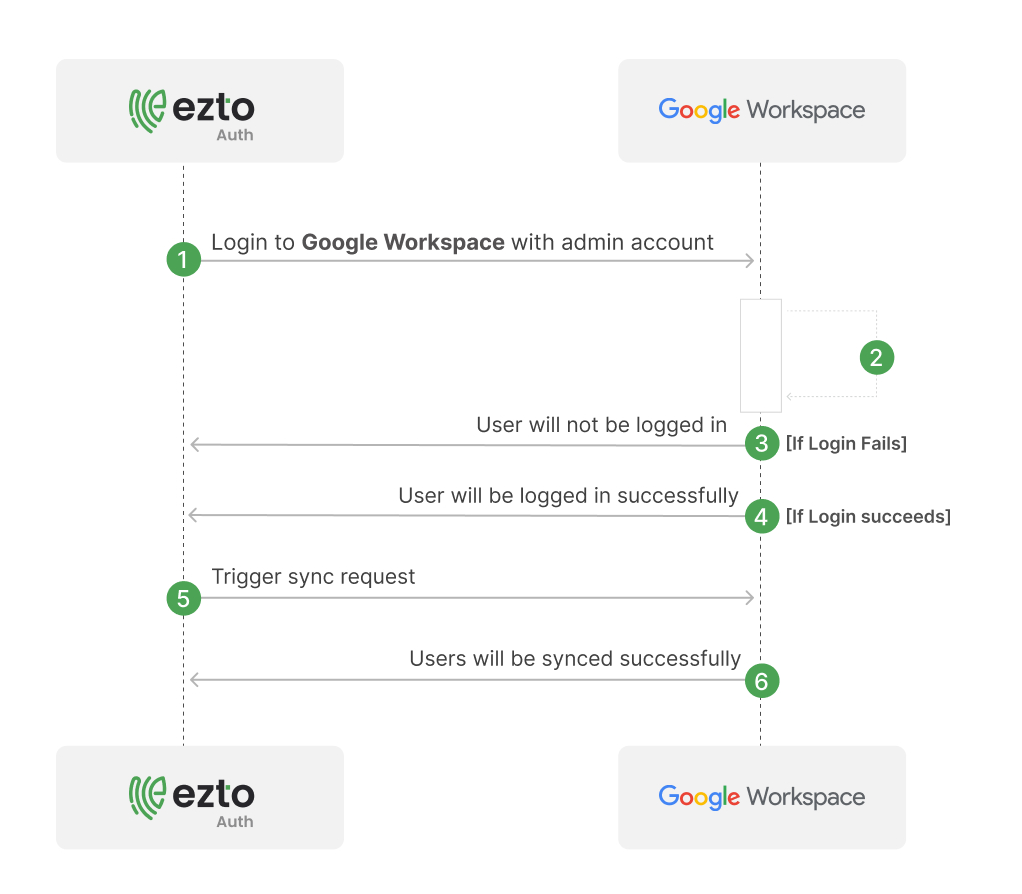
Sequence Diagram