MIRACL
MIRACL Trust provides a more secure and seamless authentication experience. It provides smoother and safer alternative. MIRACL's encryption technology ensures that user information remains private. There are no passwords required. You just need one PIN to gain access.
You must first get the Redirect URl from MIRACL's Social Connection.
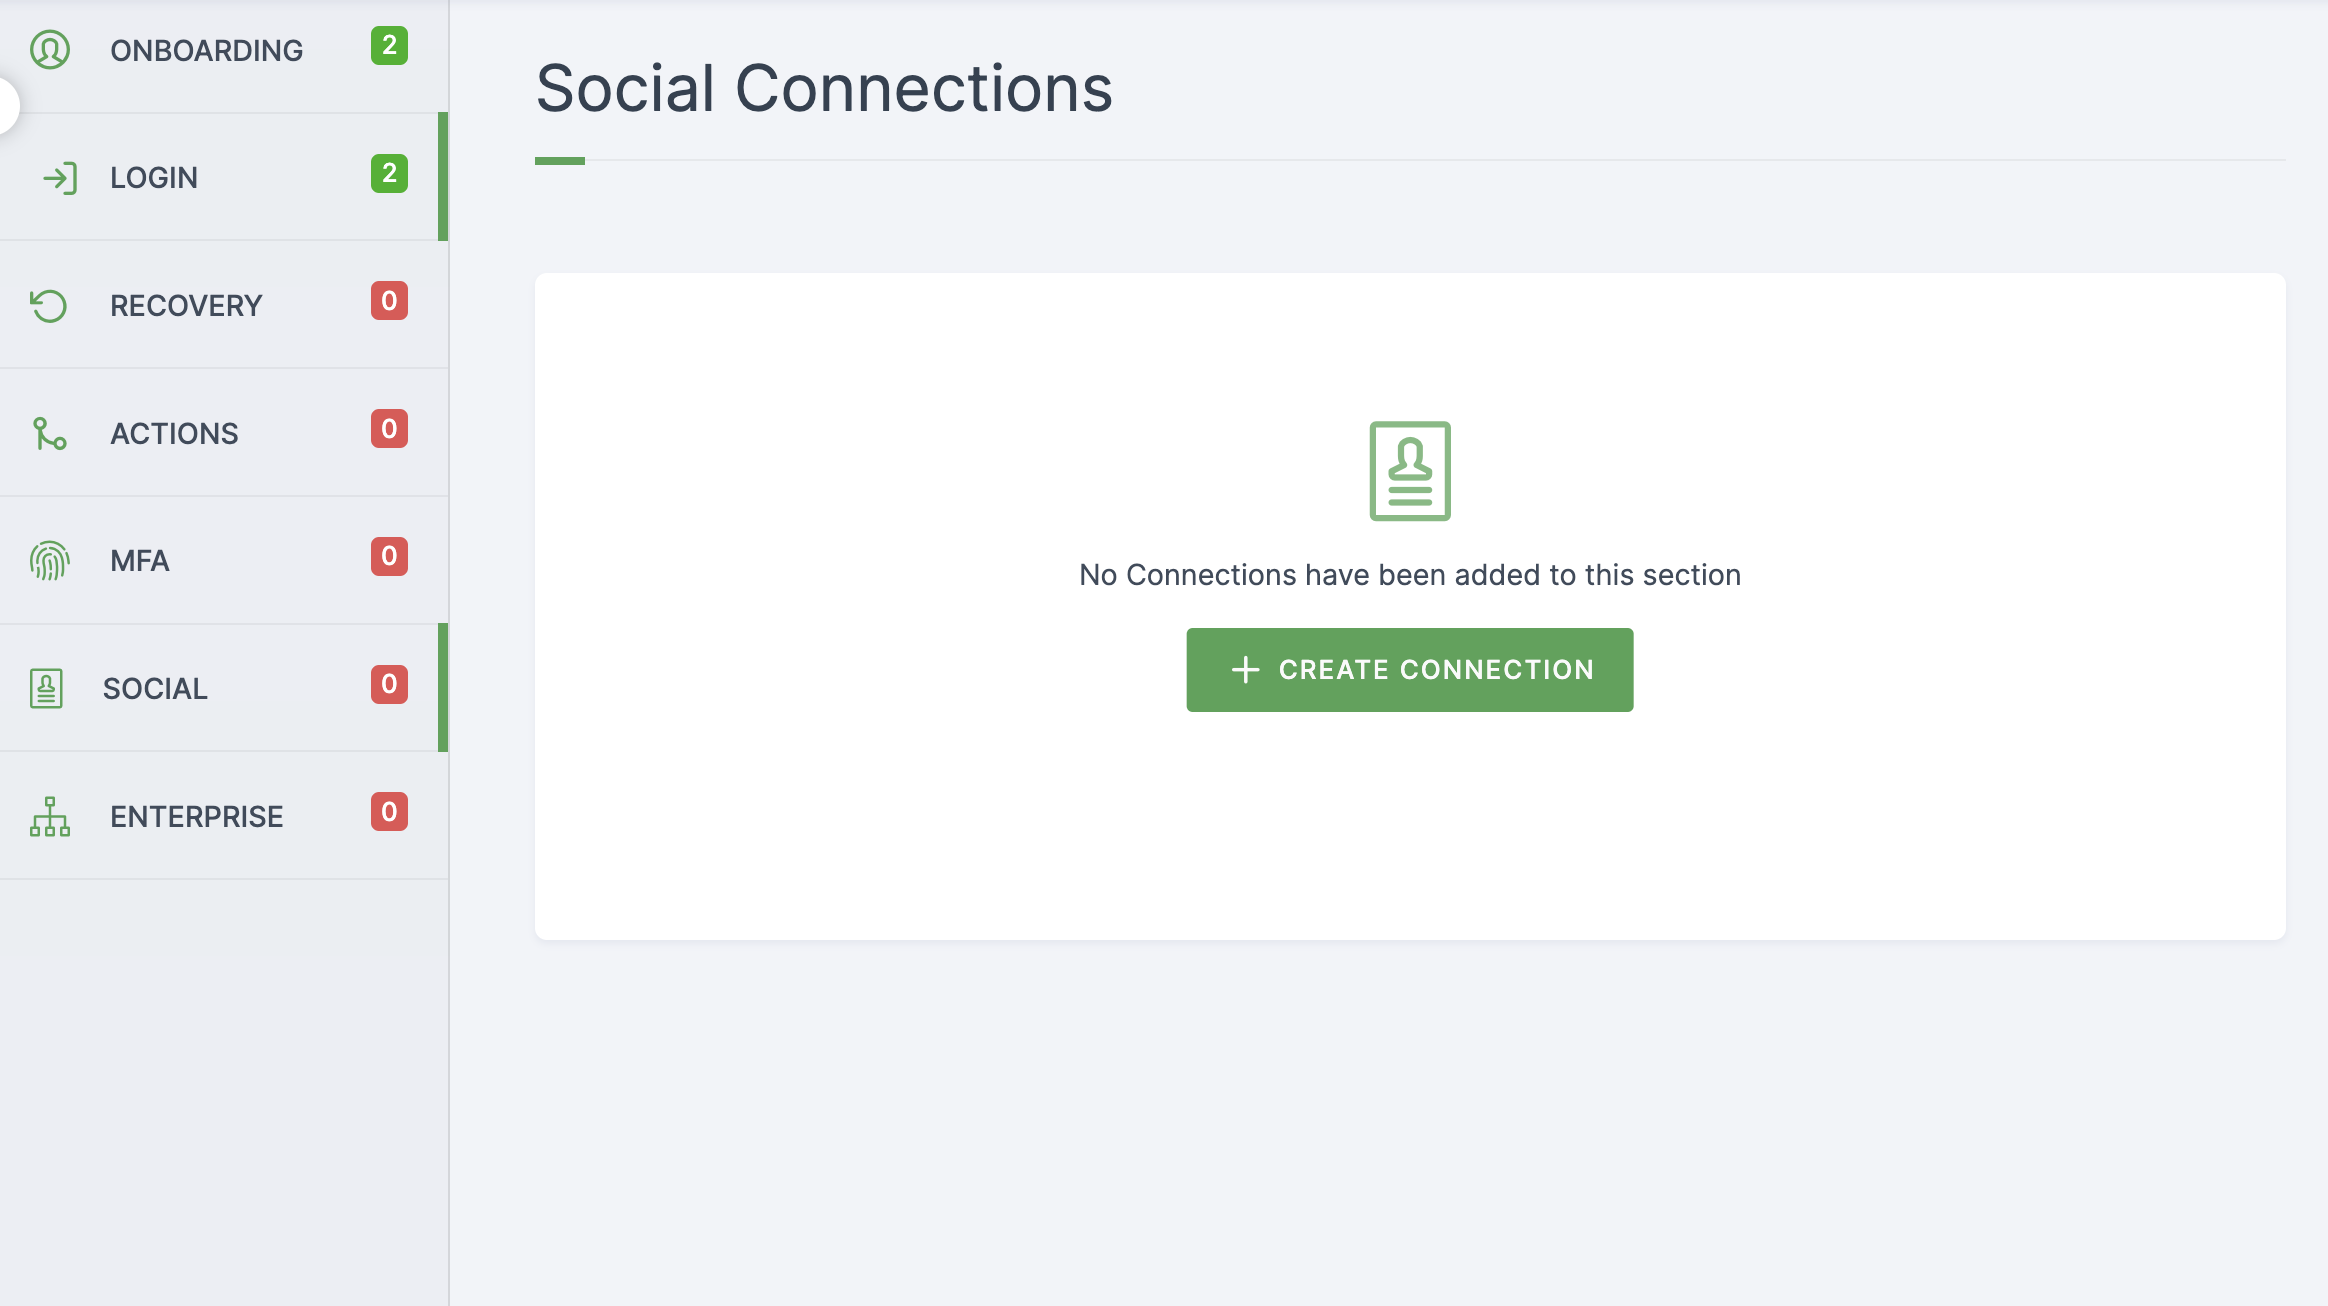
1 Go to Dashboard > Authentication > Social Connection.
2 Click on + CREATE CONNECTION.
3 You will be redirected to the Social Connection providers page, where you can view all the pre-installed connections options that are available.
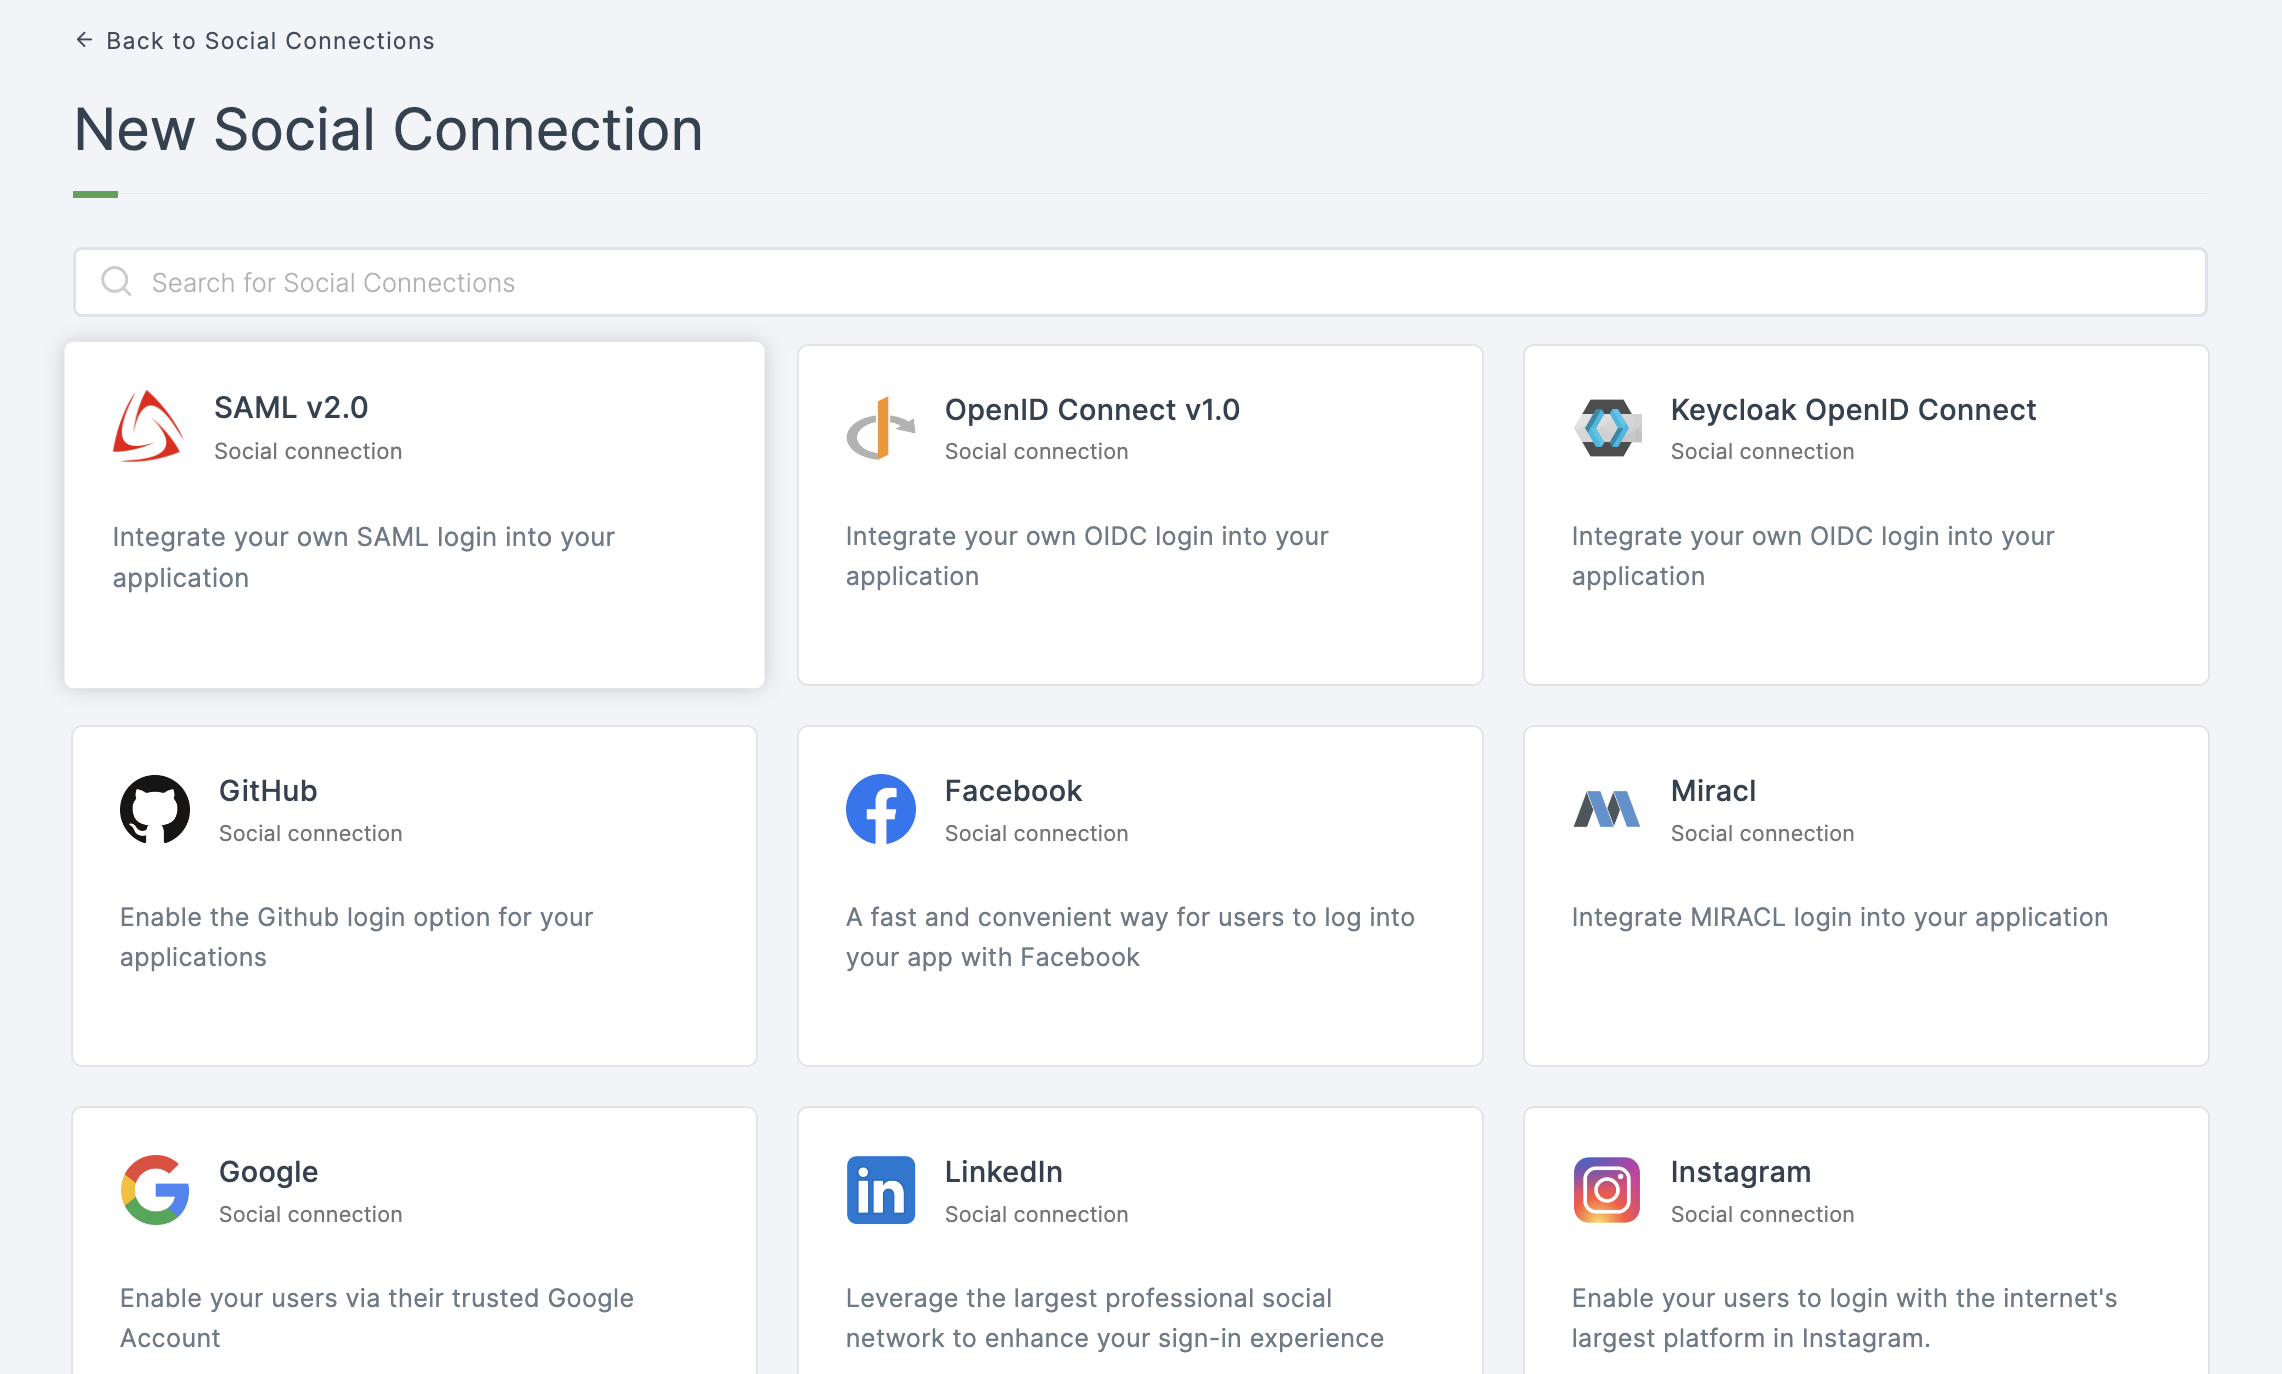
4 Click on the MIRACL.
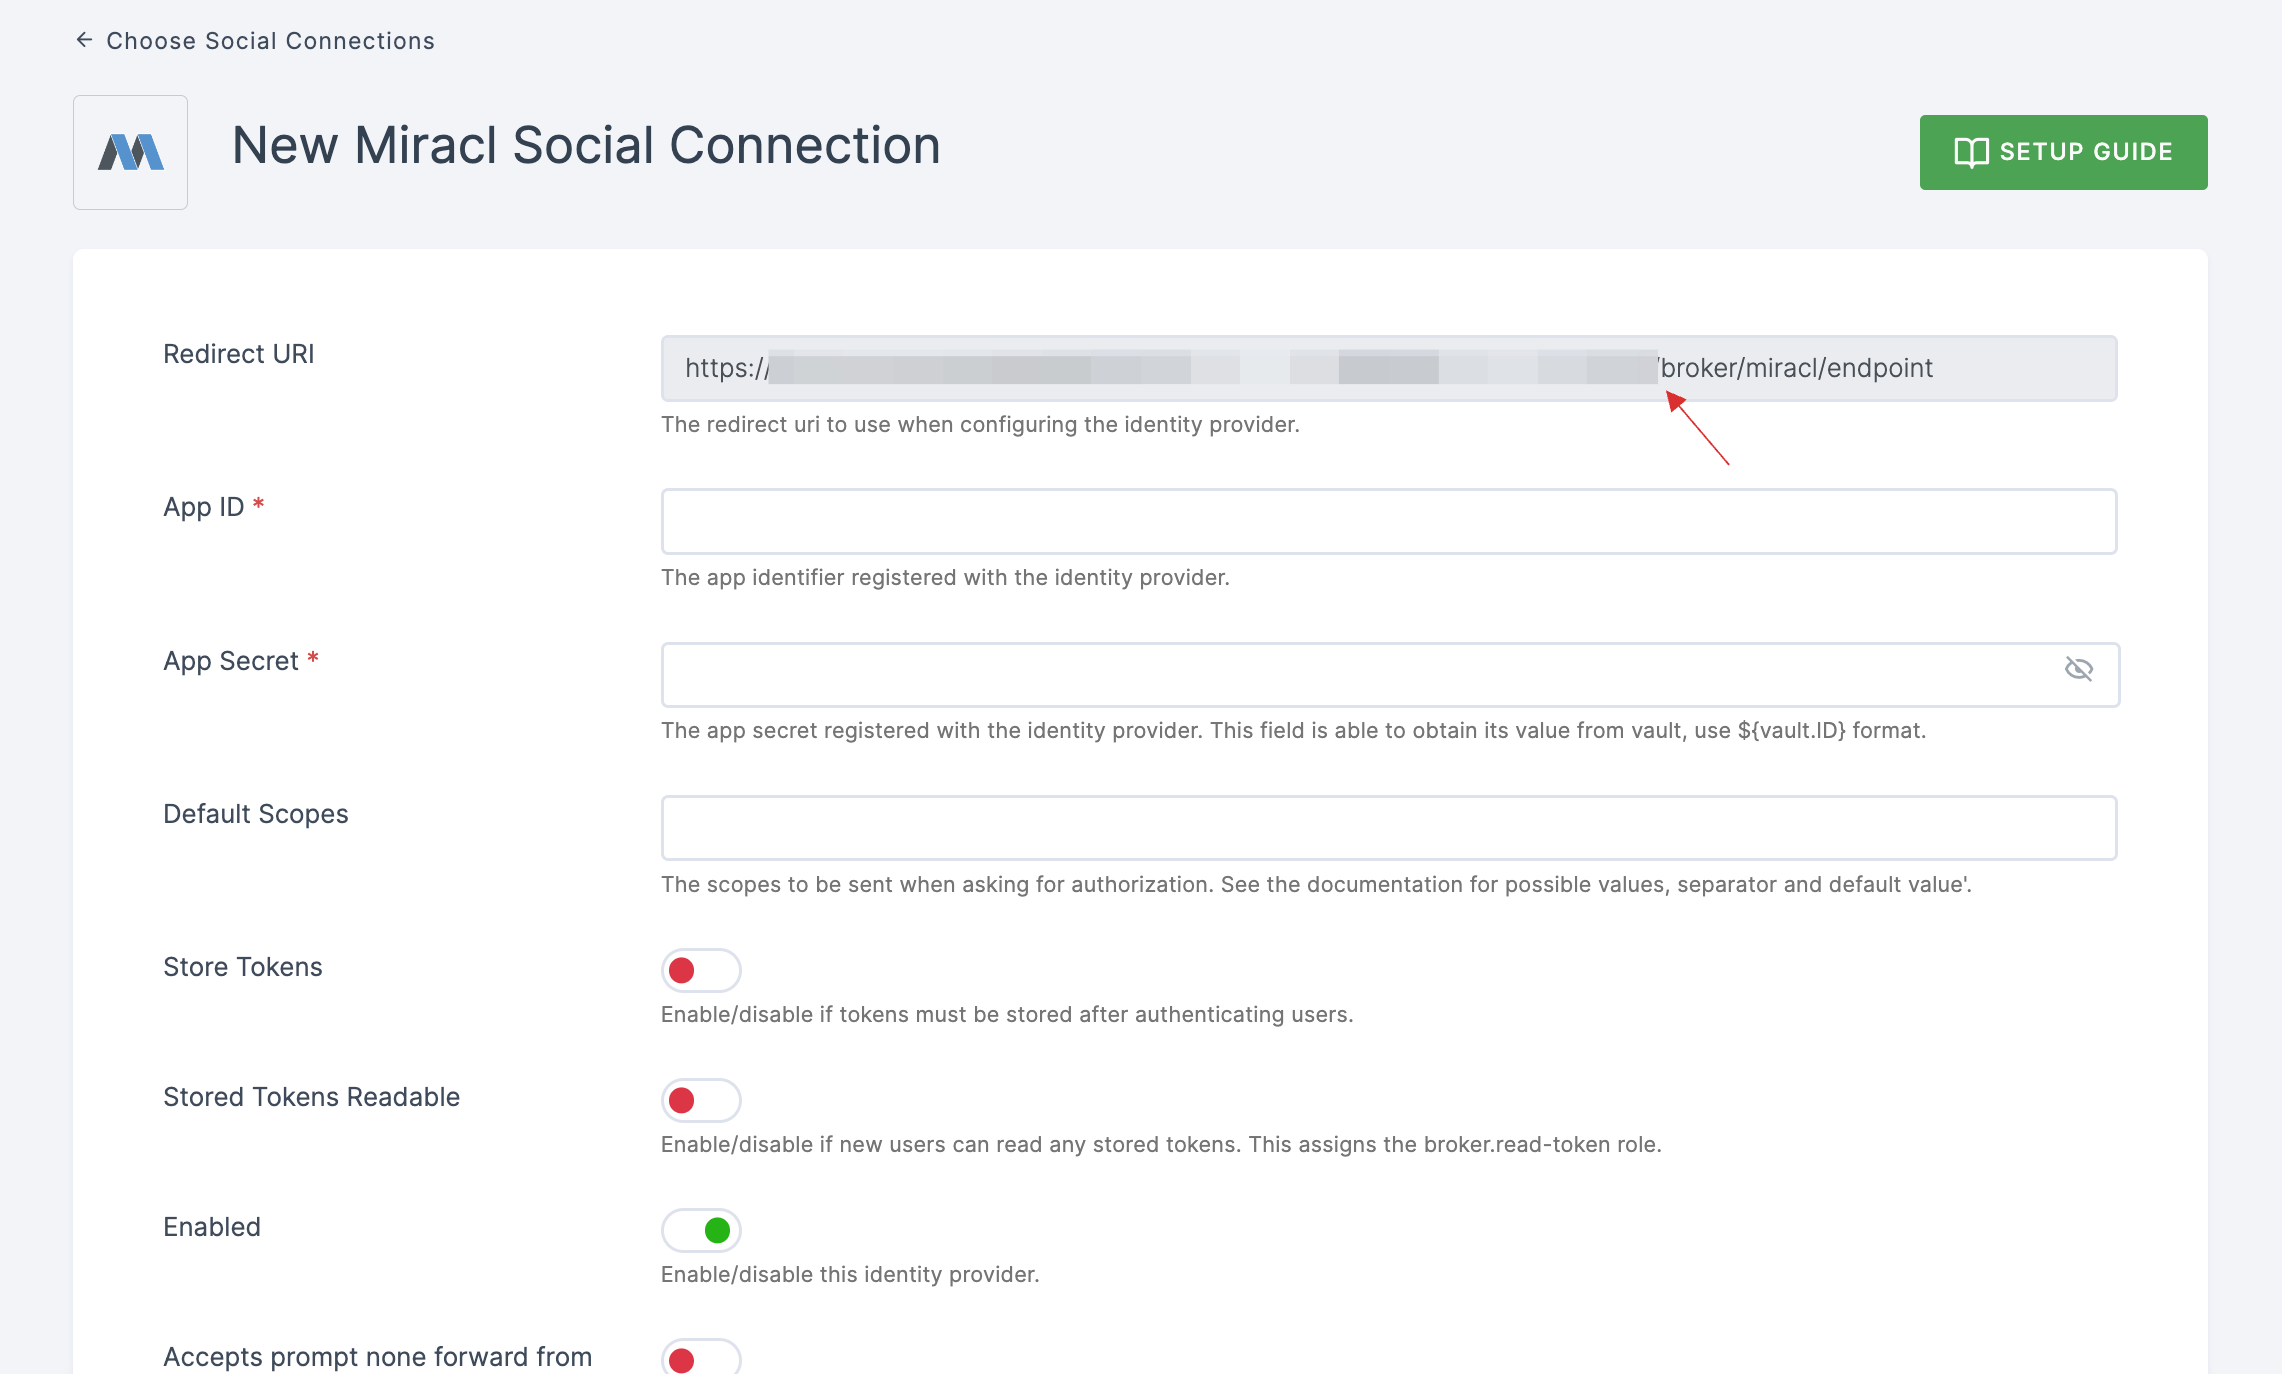
5 You will be directed to the configuration page for the chosen connection method. Copy the Redirect URI.
6 Login to your MIRACL portal.
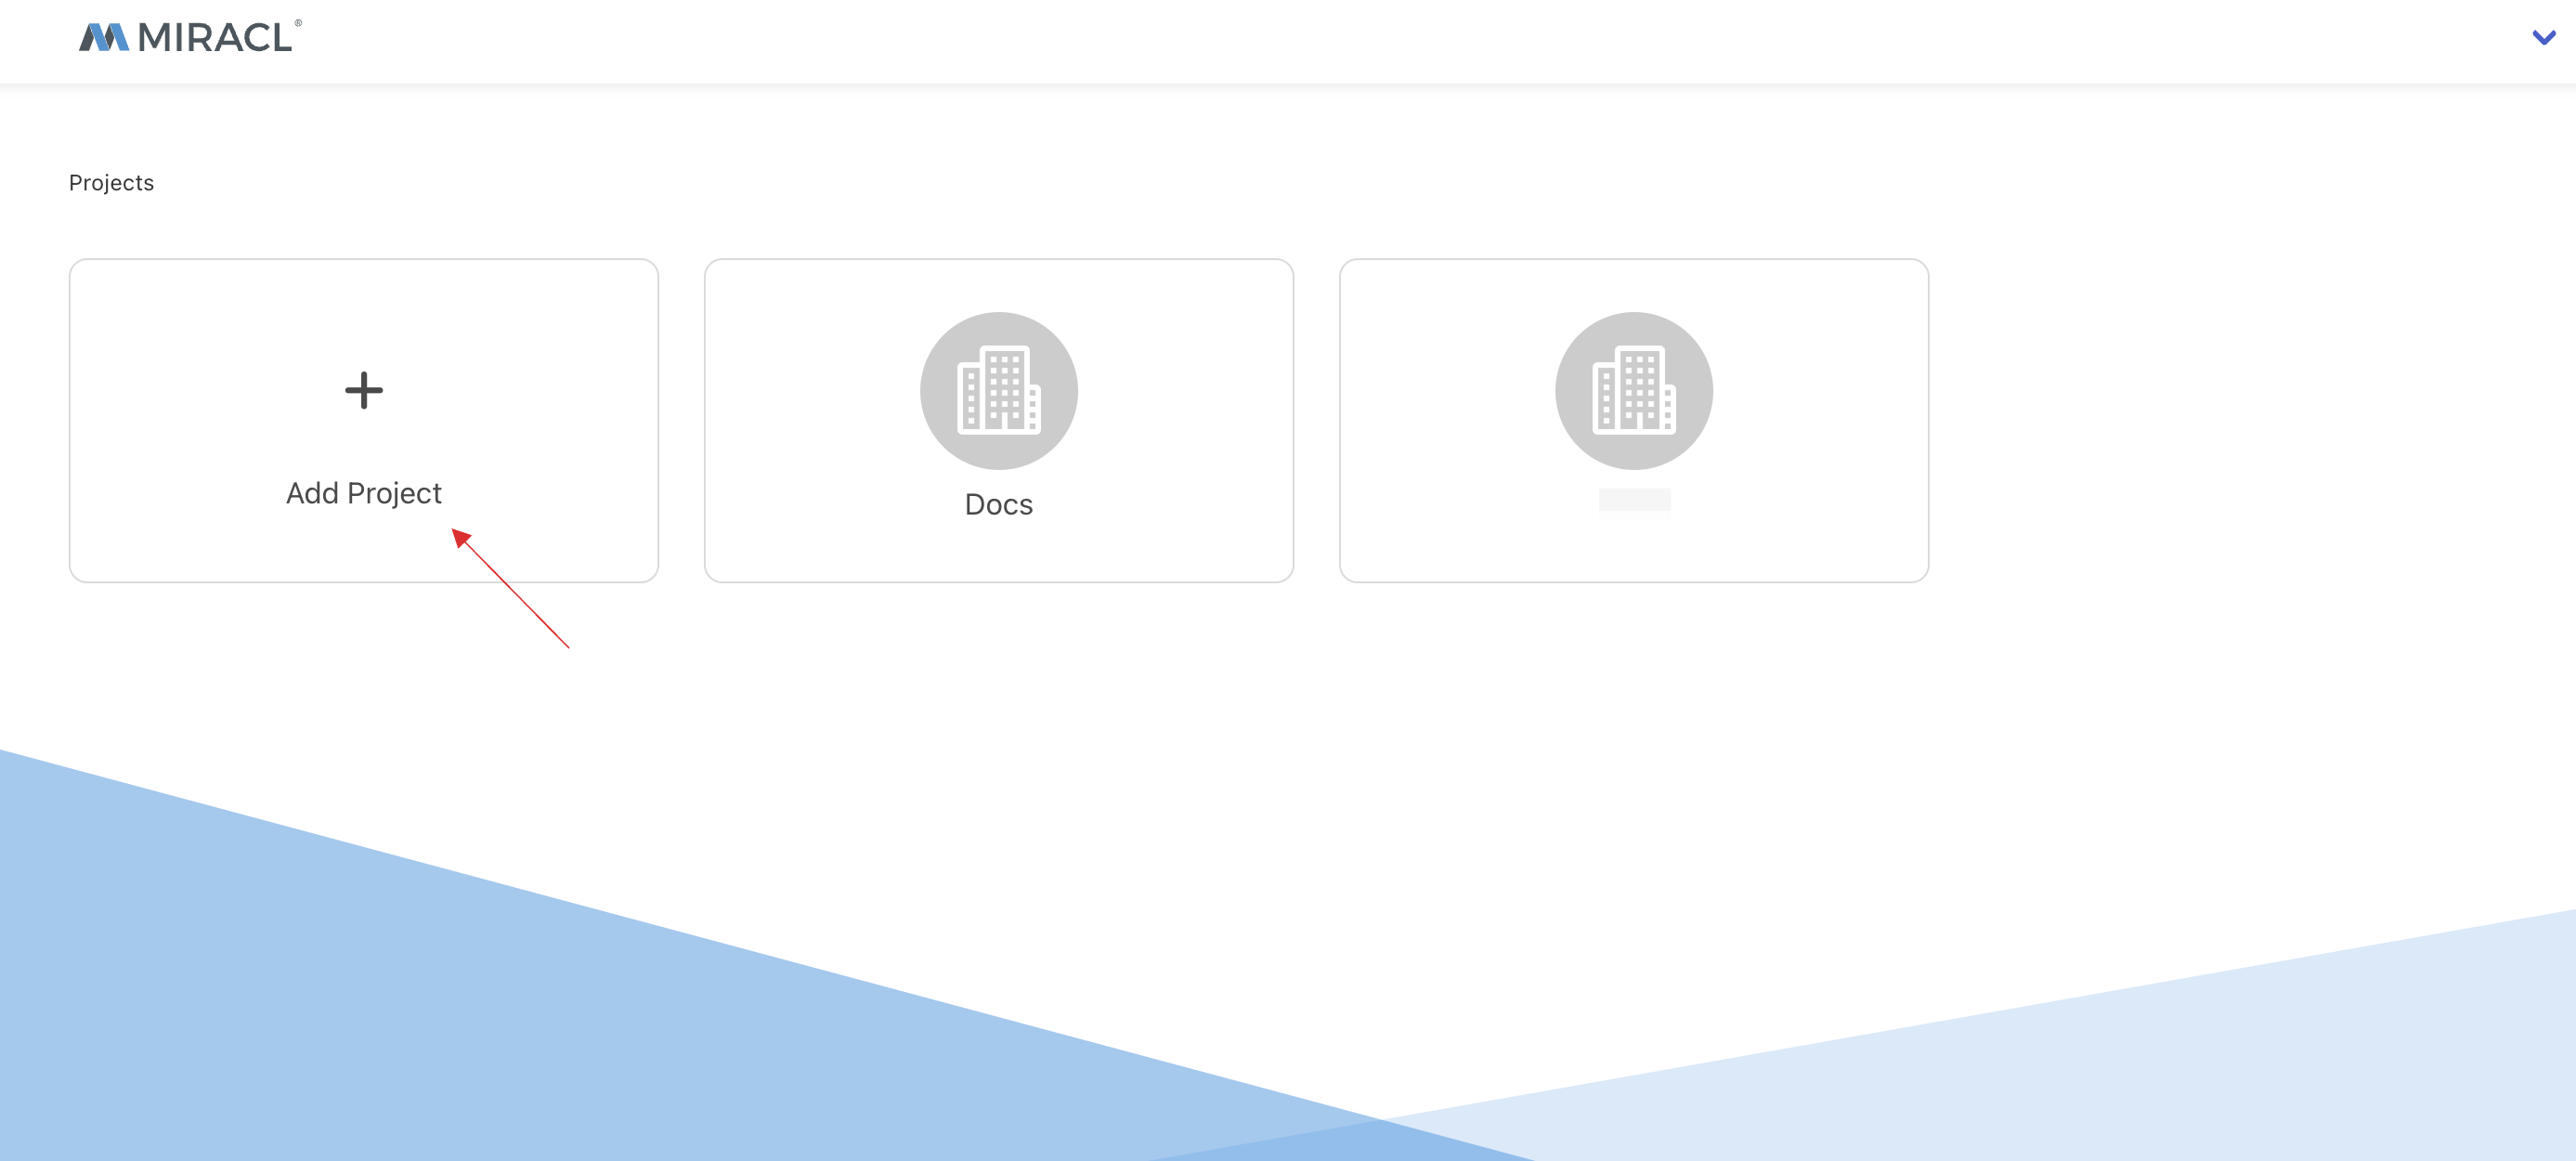
7 Click on Add Project.
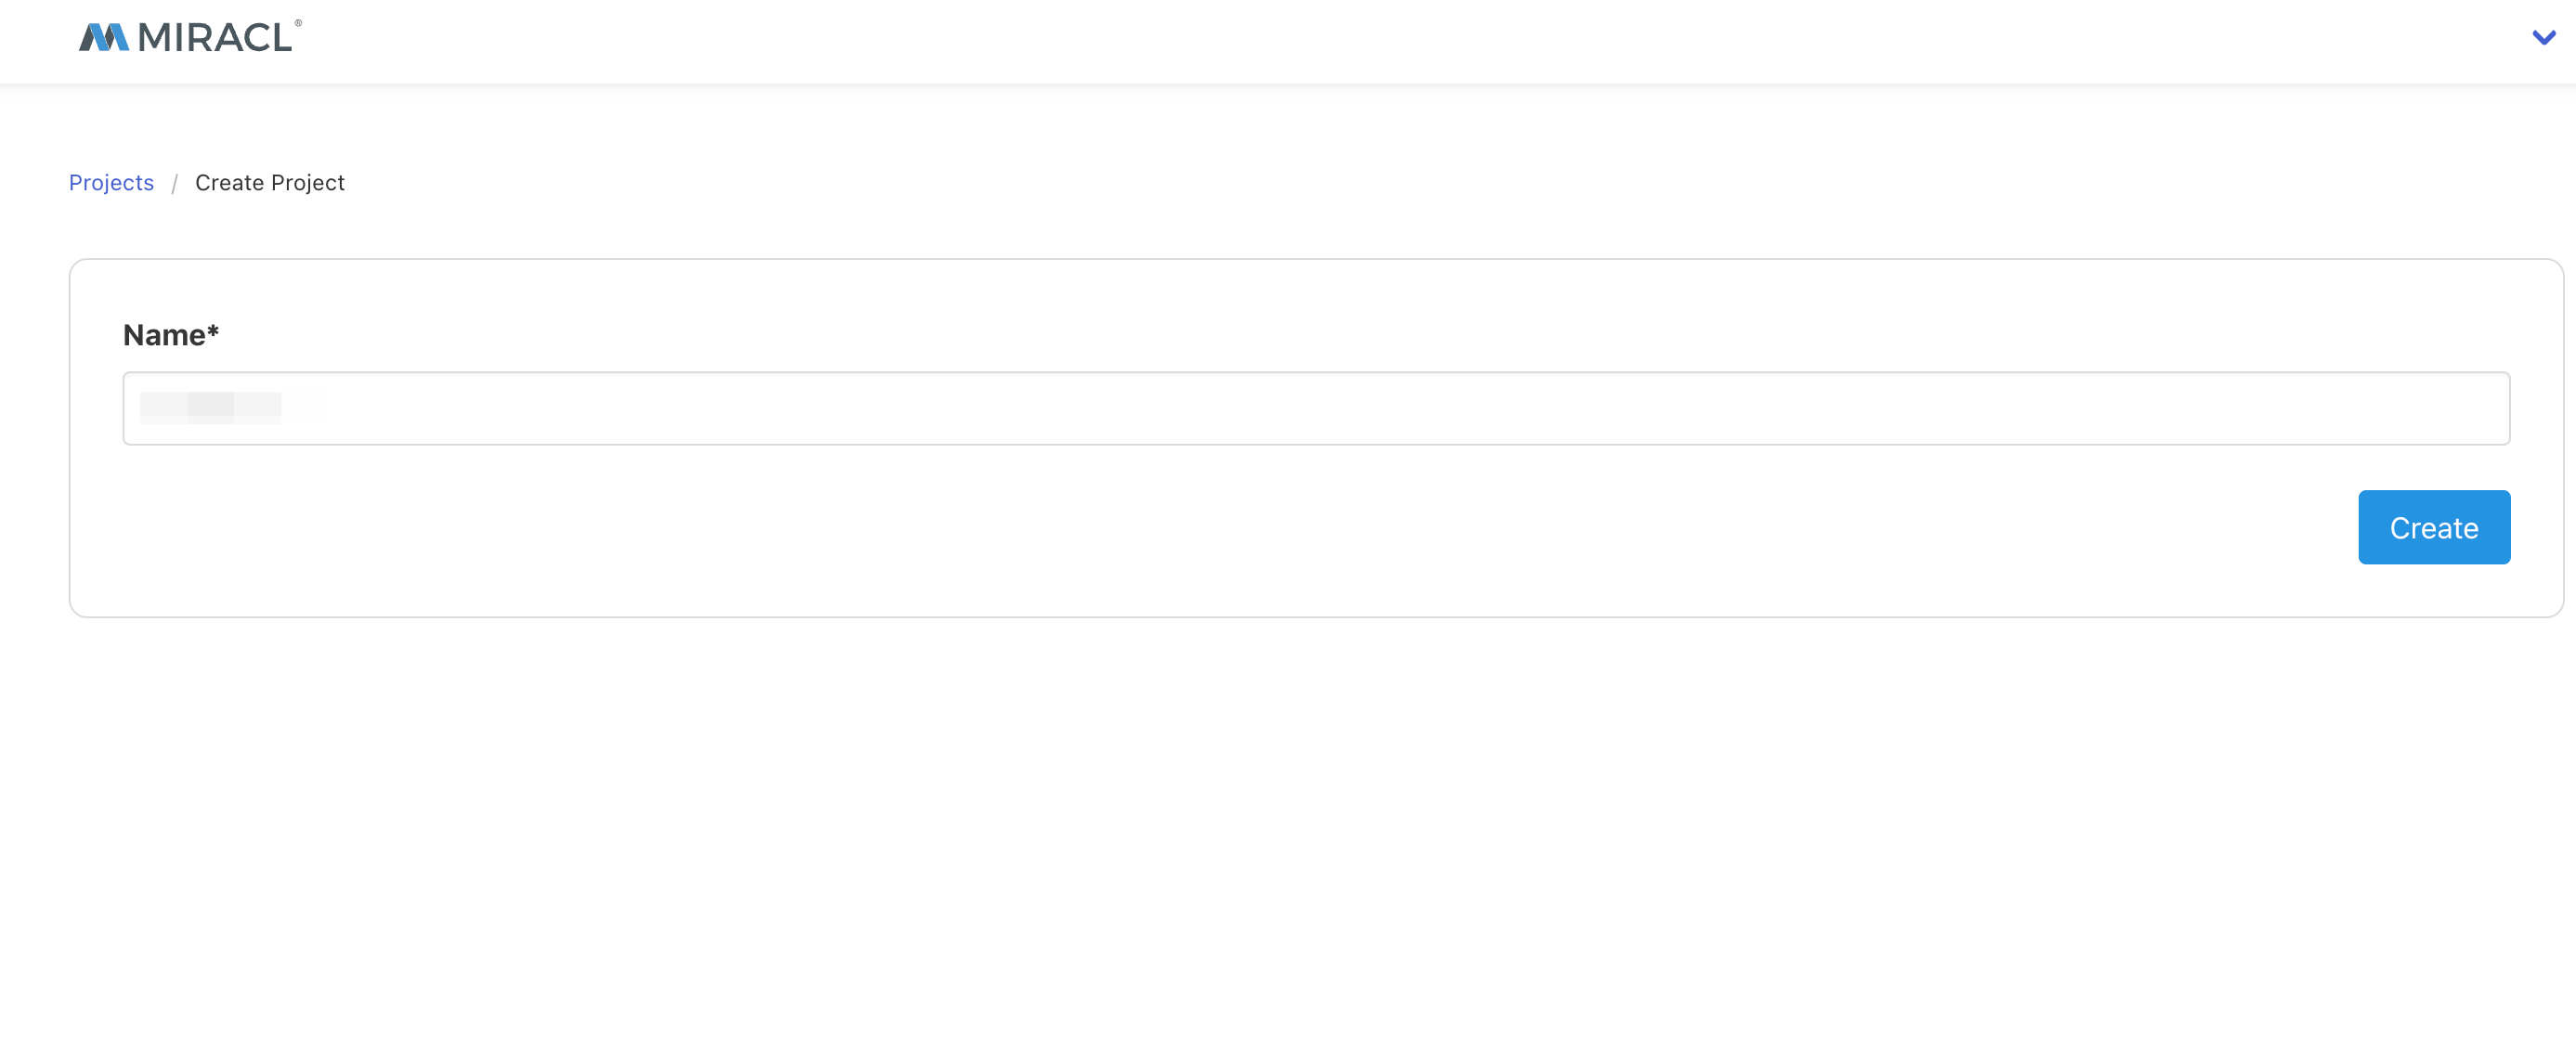
8 Provide Name and click on Create.
9 Click on Applications > Add App.

10 Provide the App Name, and paste the copied Redirect URL
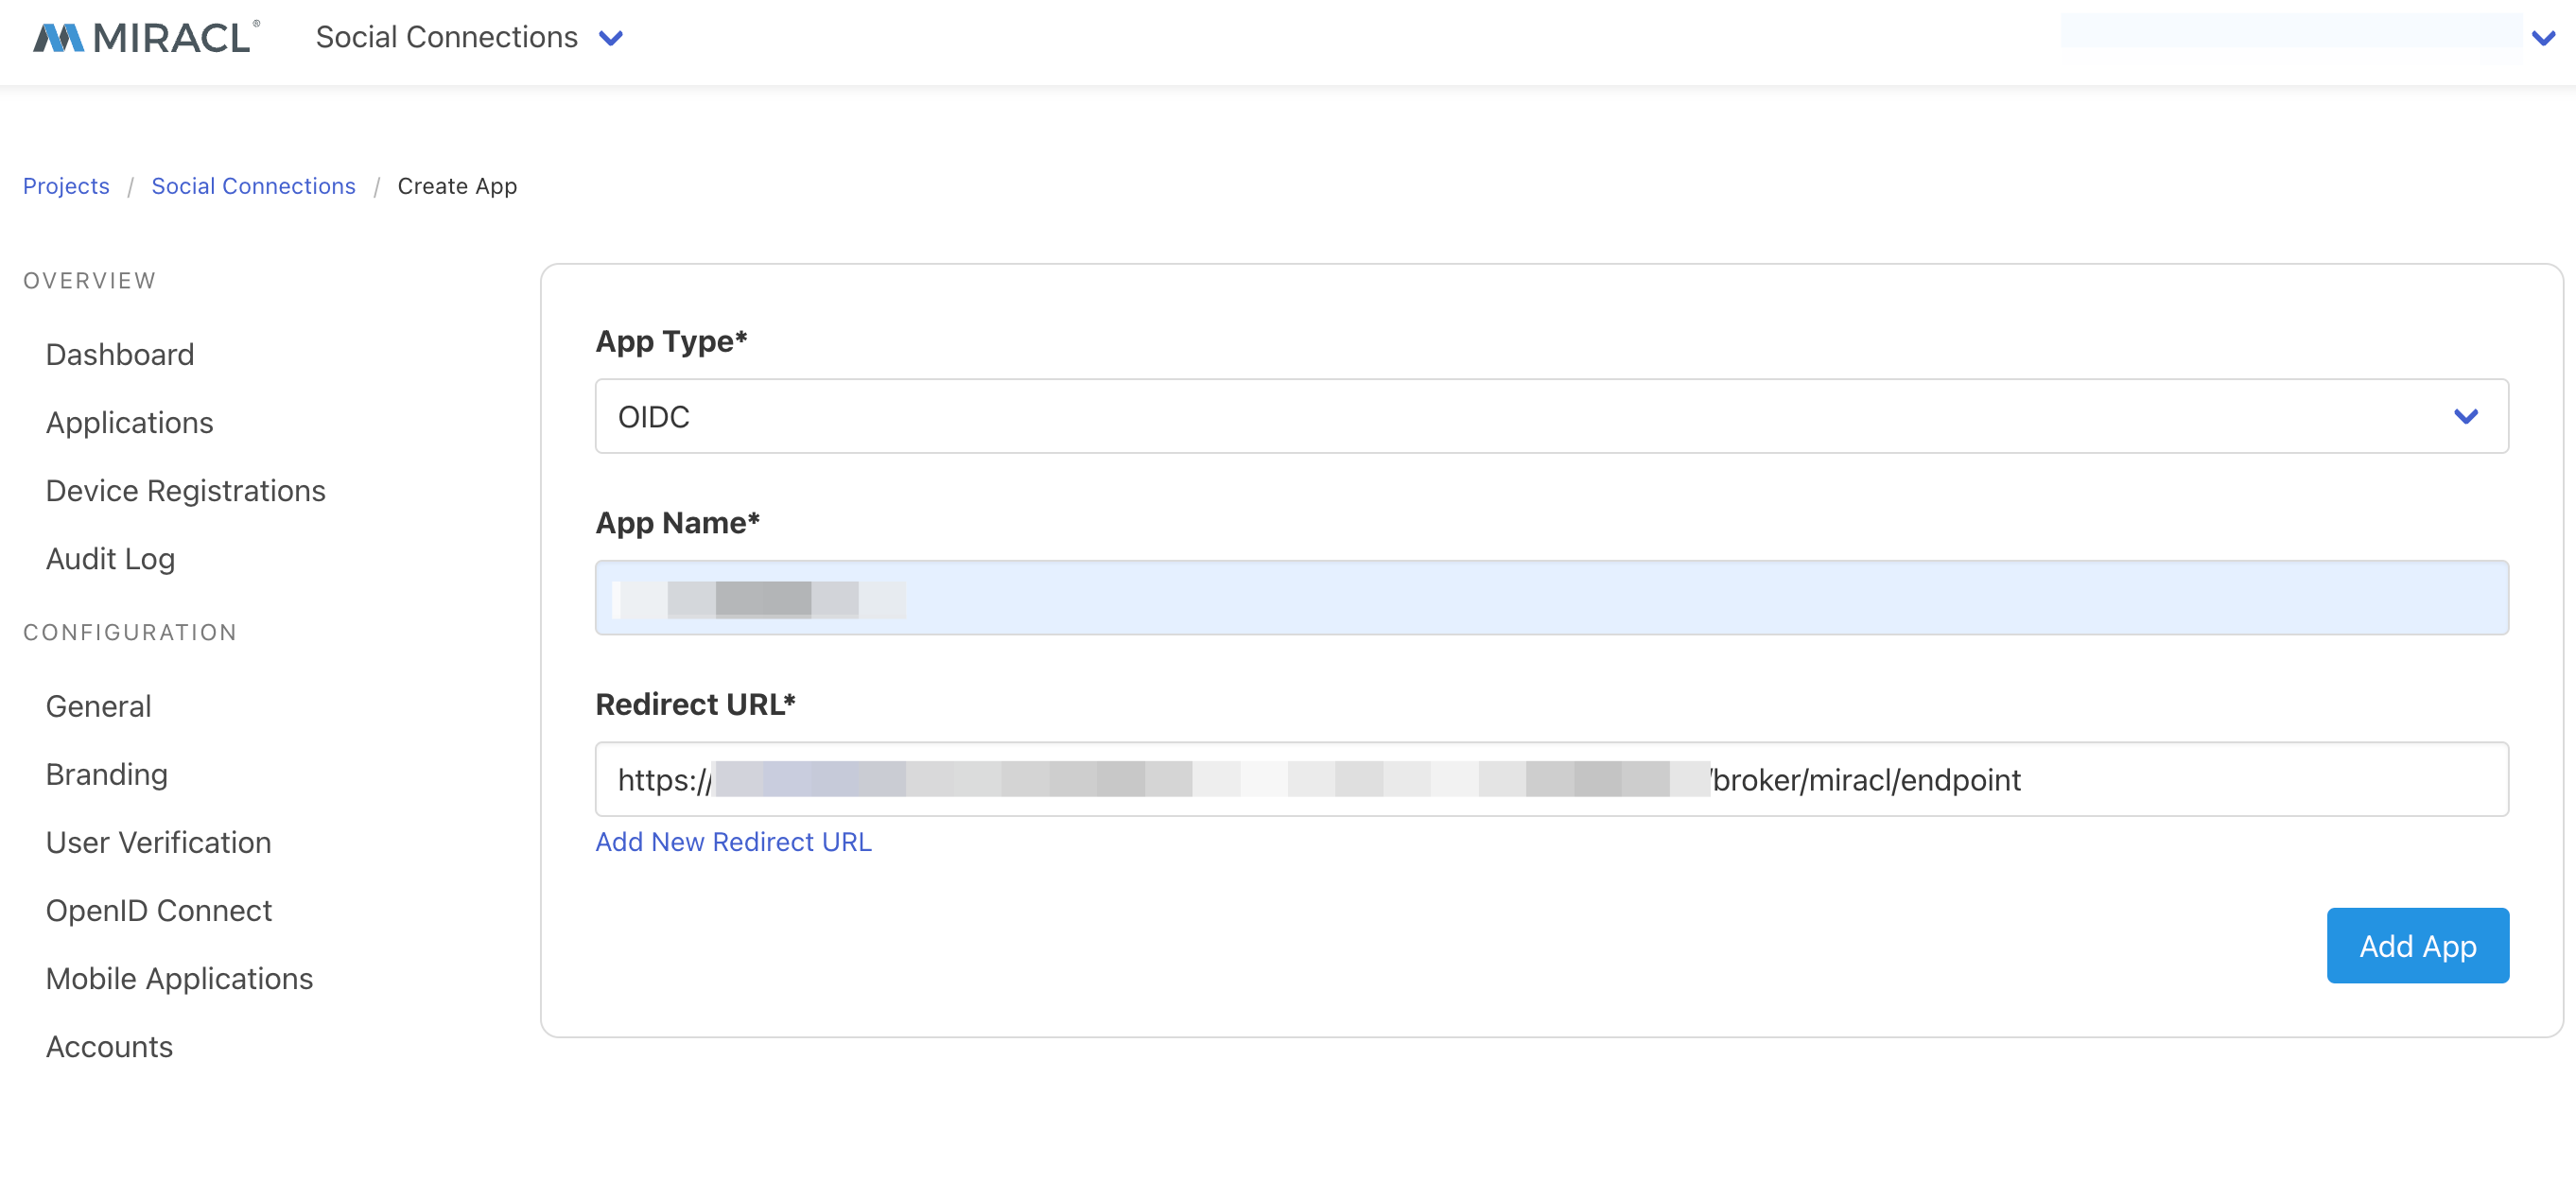
11 Click on Add App.
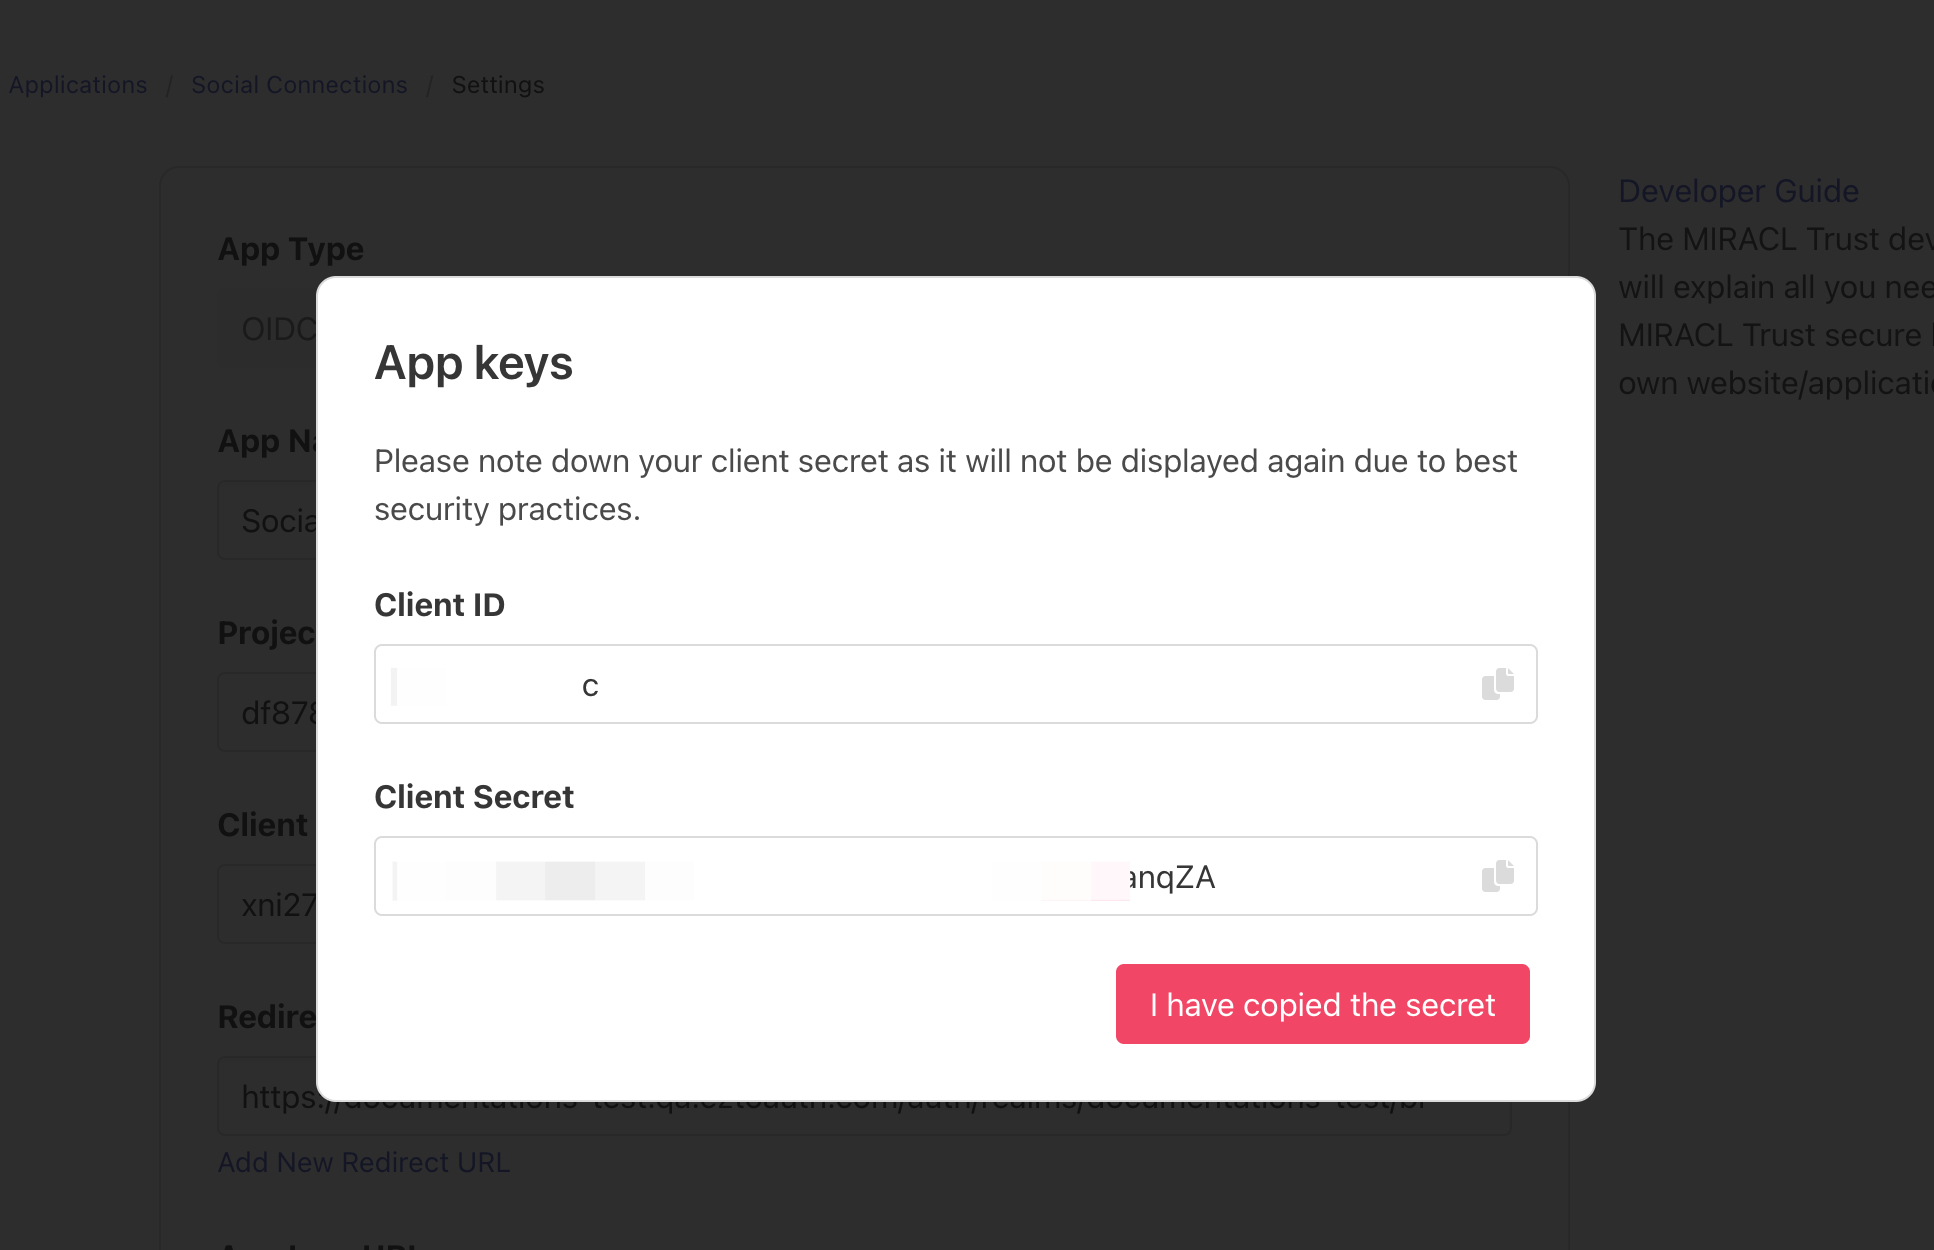
12 The App keys will be created. Copy the Client ID and Client Secret to your clipboard.
13 Return to your dashboard, navigate to Marketplace > Partners.
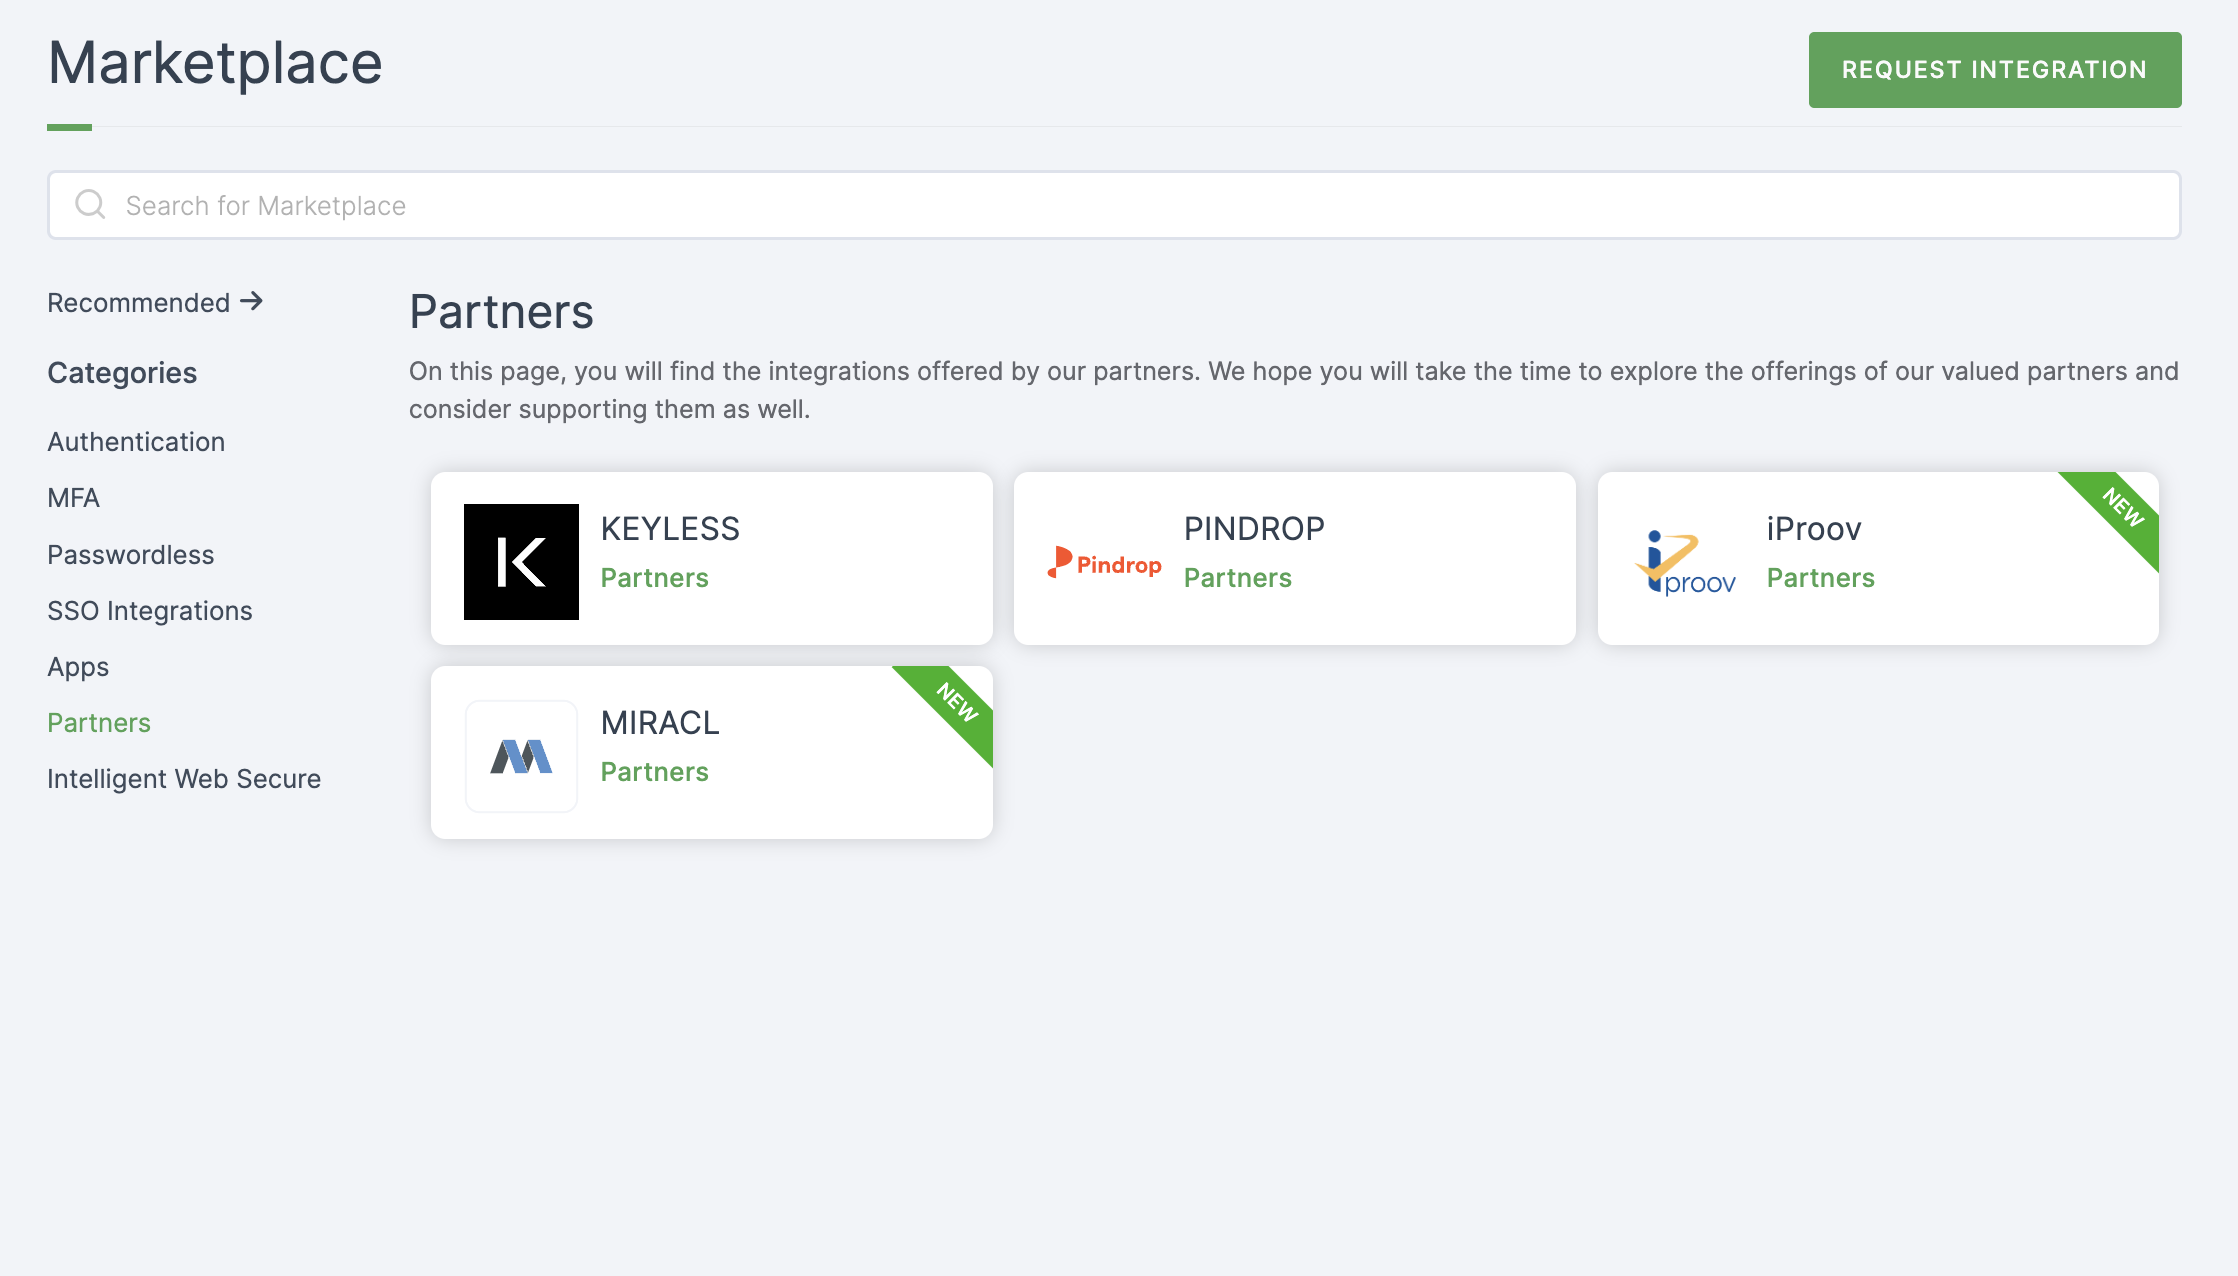
14 Select MIRACL.
15 You'll land on the overview page, with two additional tabs: Installation (providing a step-by-step installation guide) and Flows (displaying the flow details).
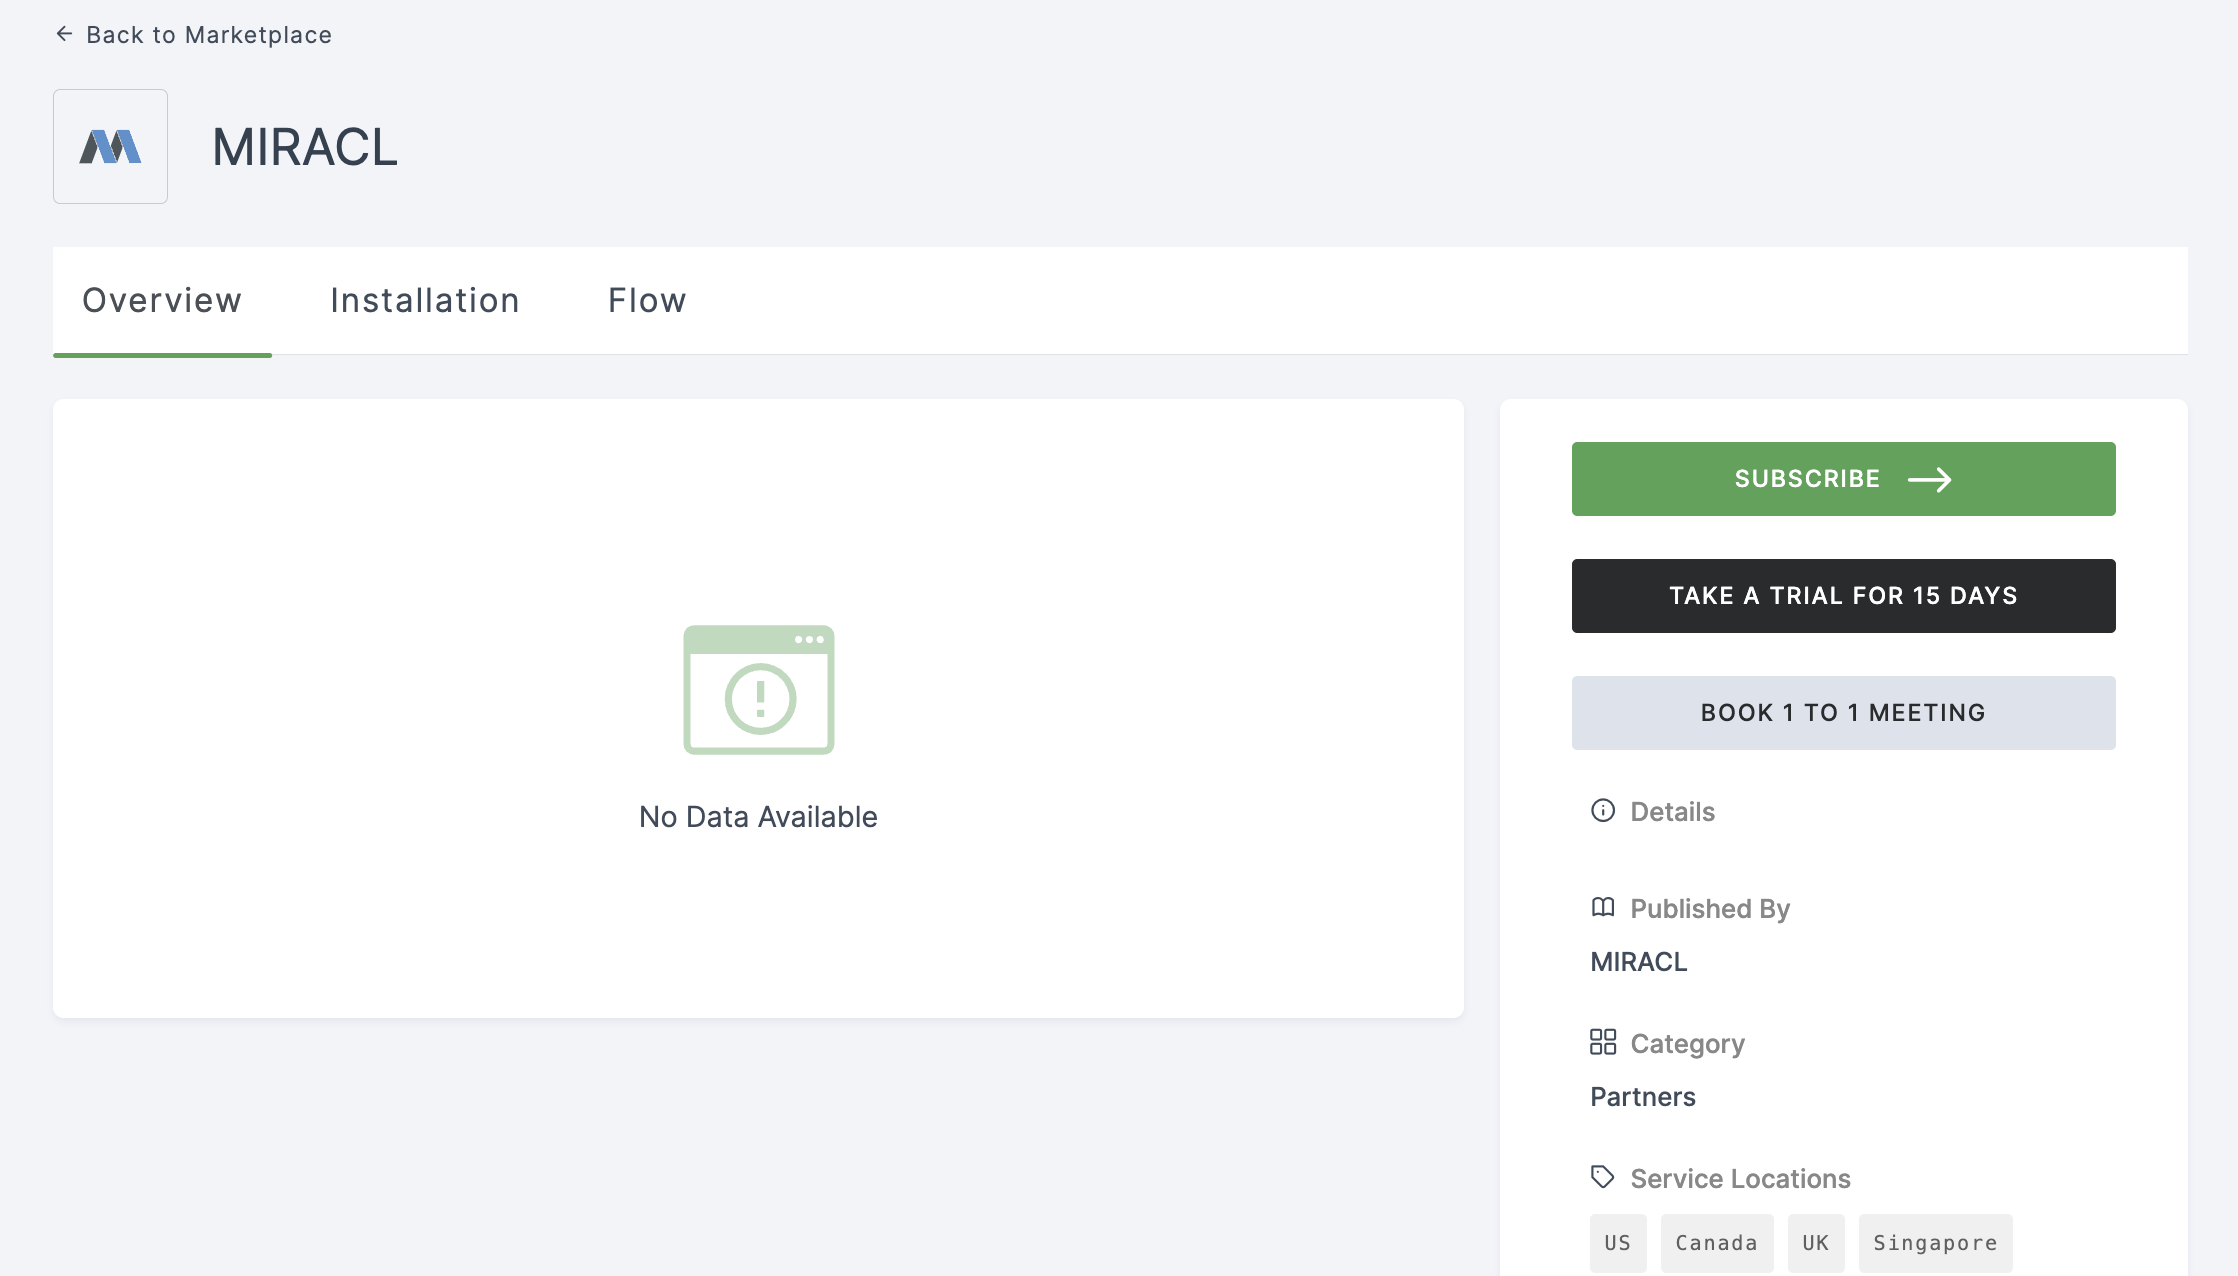
16 Click on SUBSCRIBE. (You must subscribe in order to install MIRACL.)
17 Provide a descriptive name and paste the copied App keys in Client ID and Client Secret.
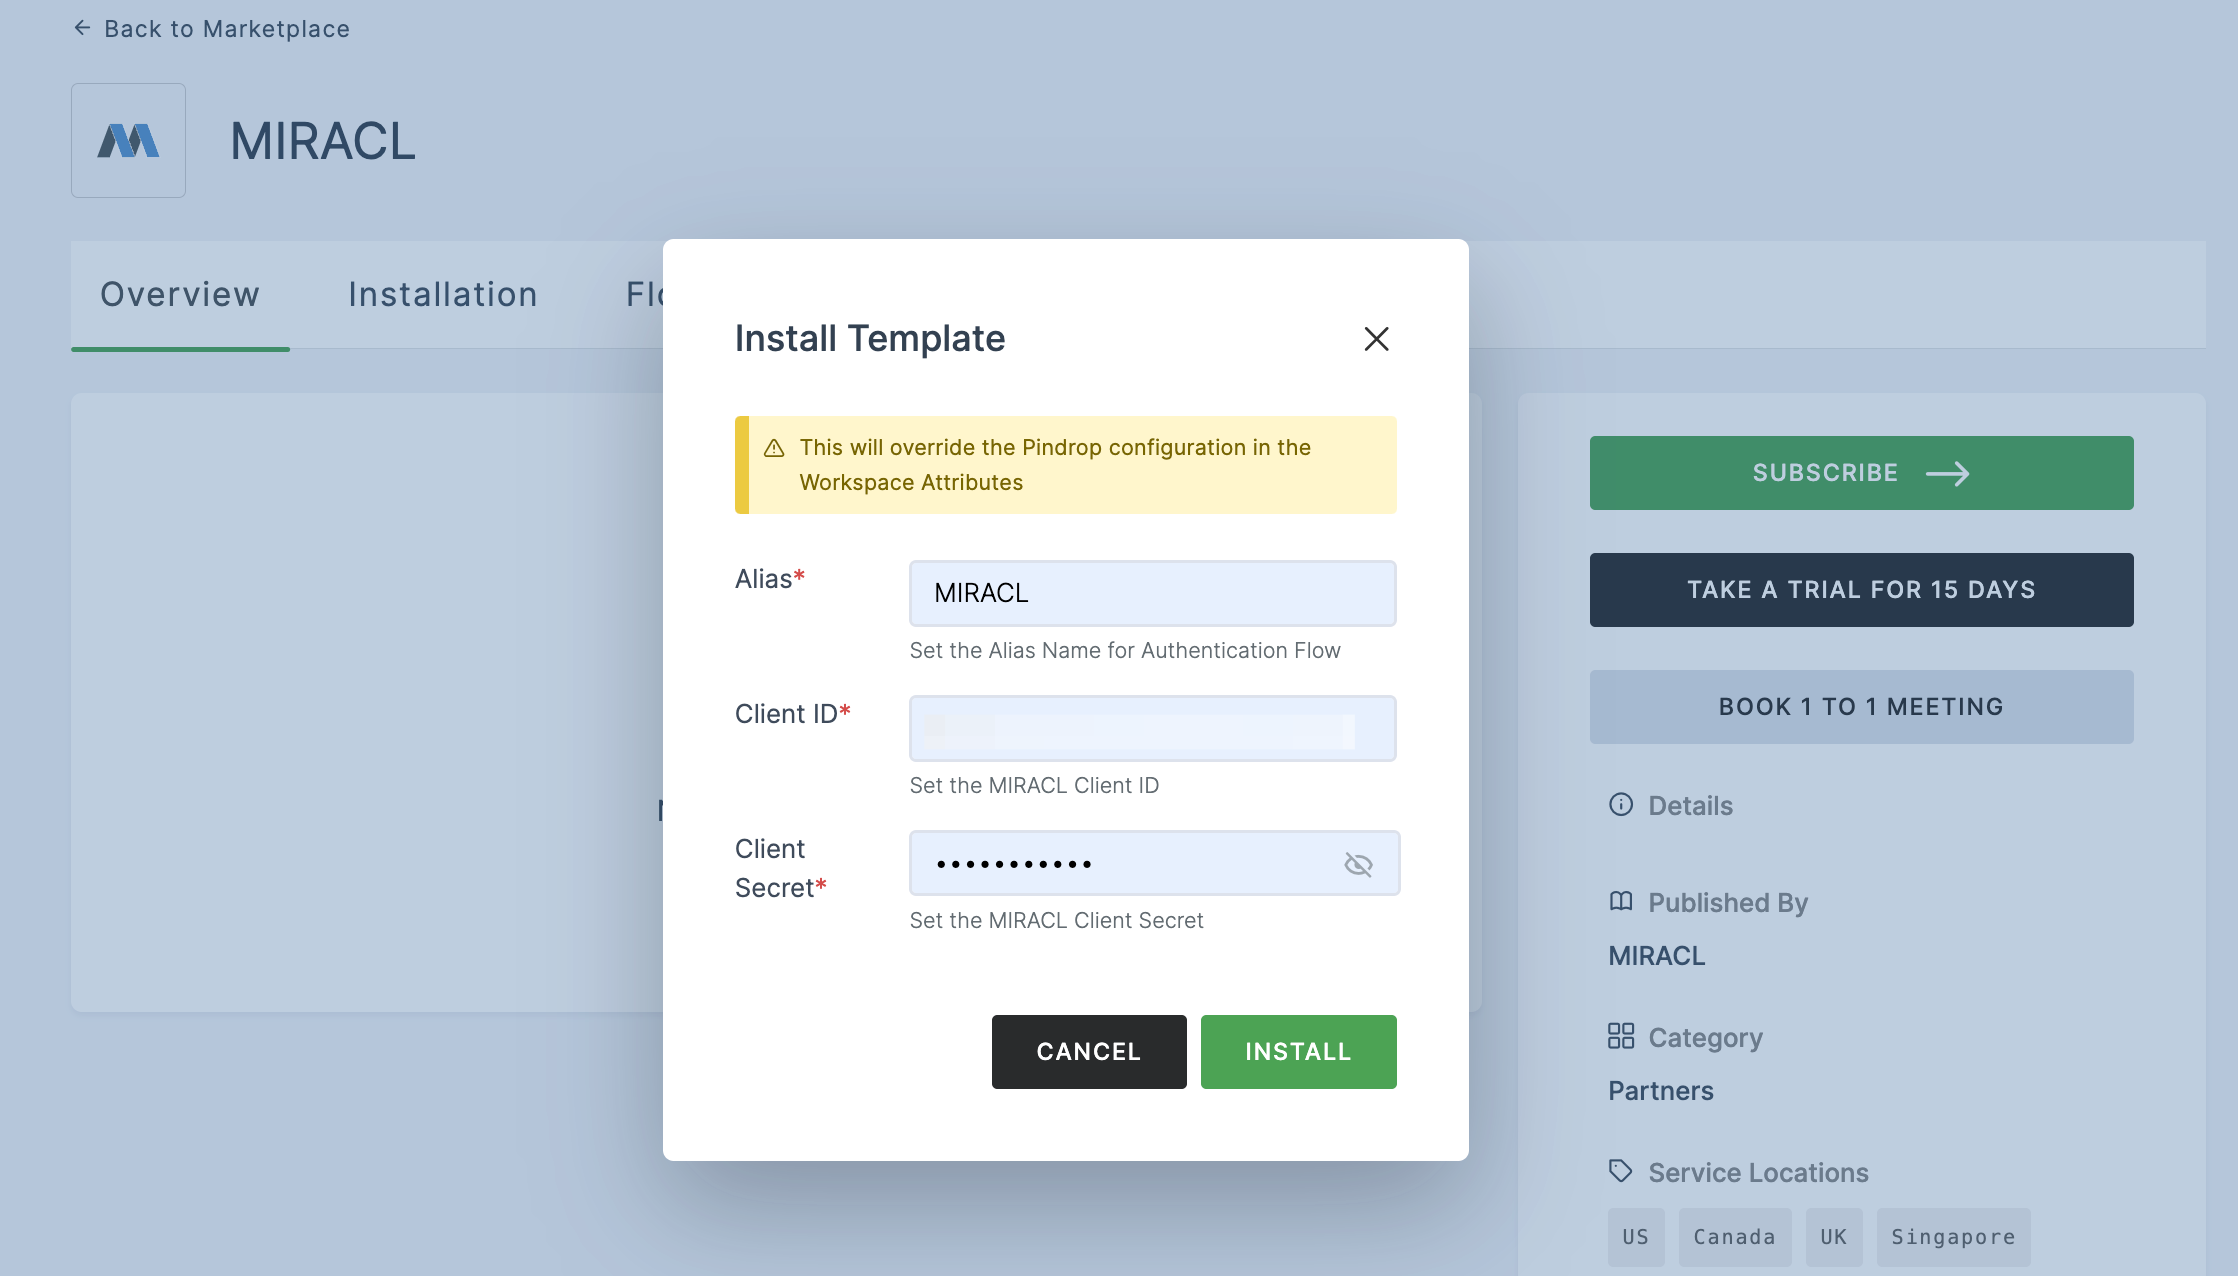
18 Click on INSTALL.
19 You'll be directed to the Onboarding page, where the installed MIRACL flows can be seen.
If you install MIRACL from the Partners section in Marketplace, the Onboarding flow, Login flow will be created by default.

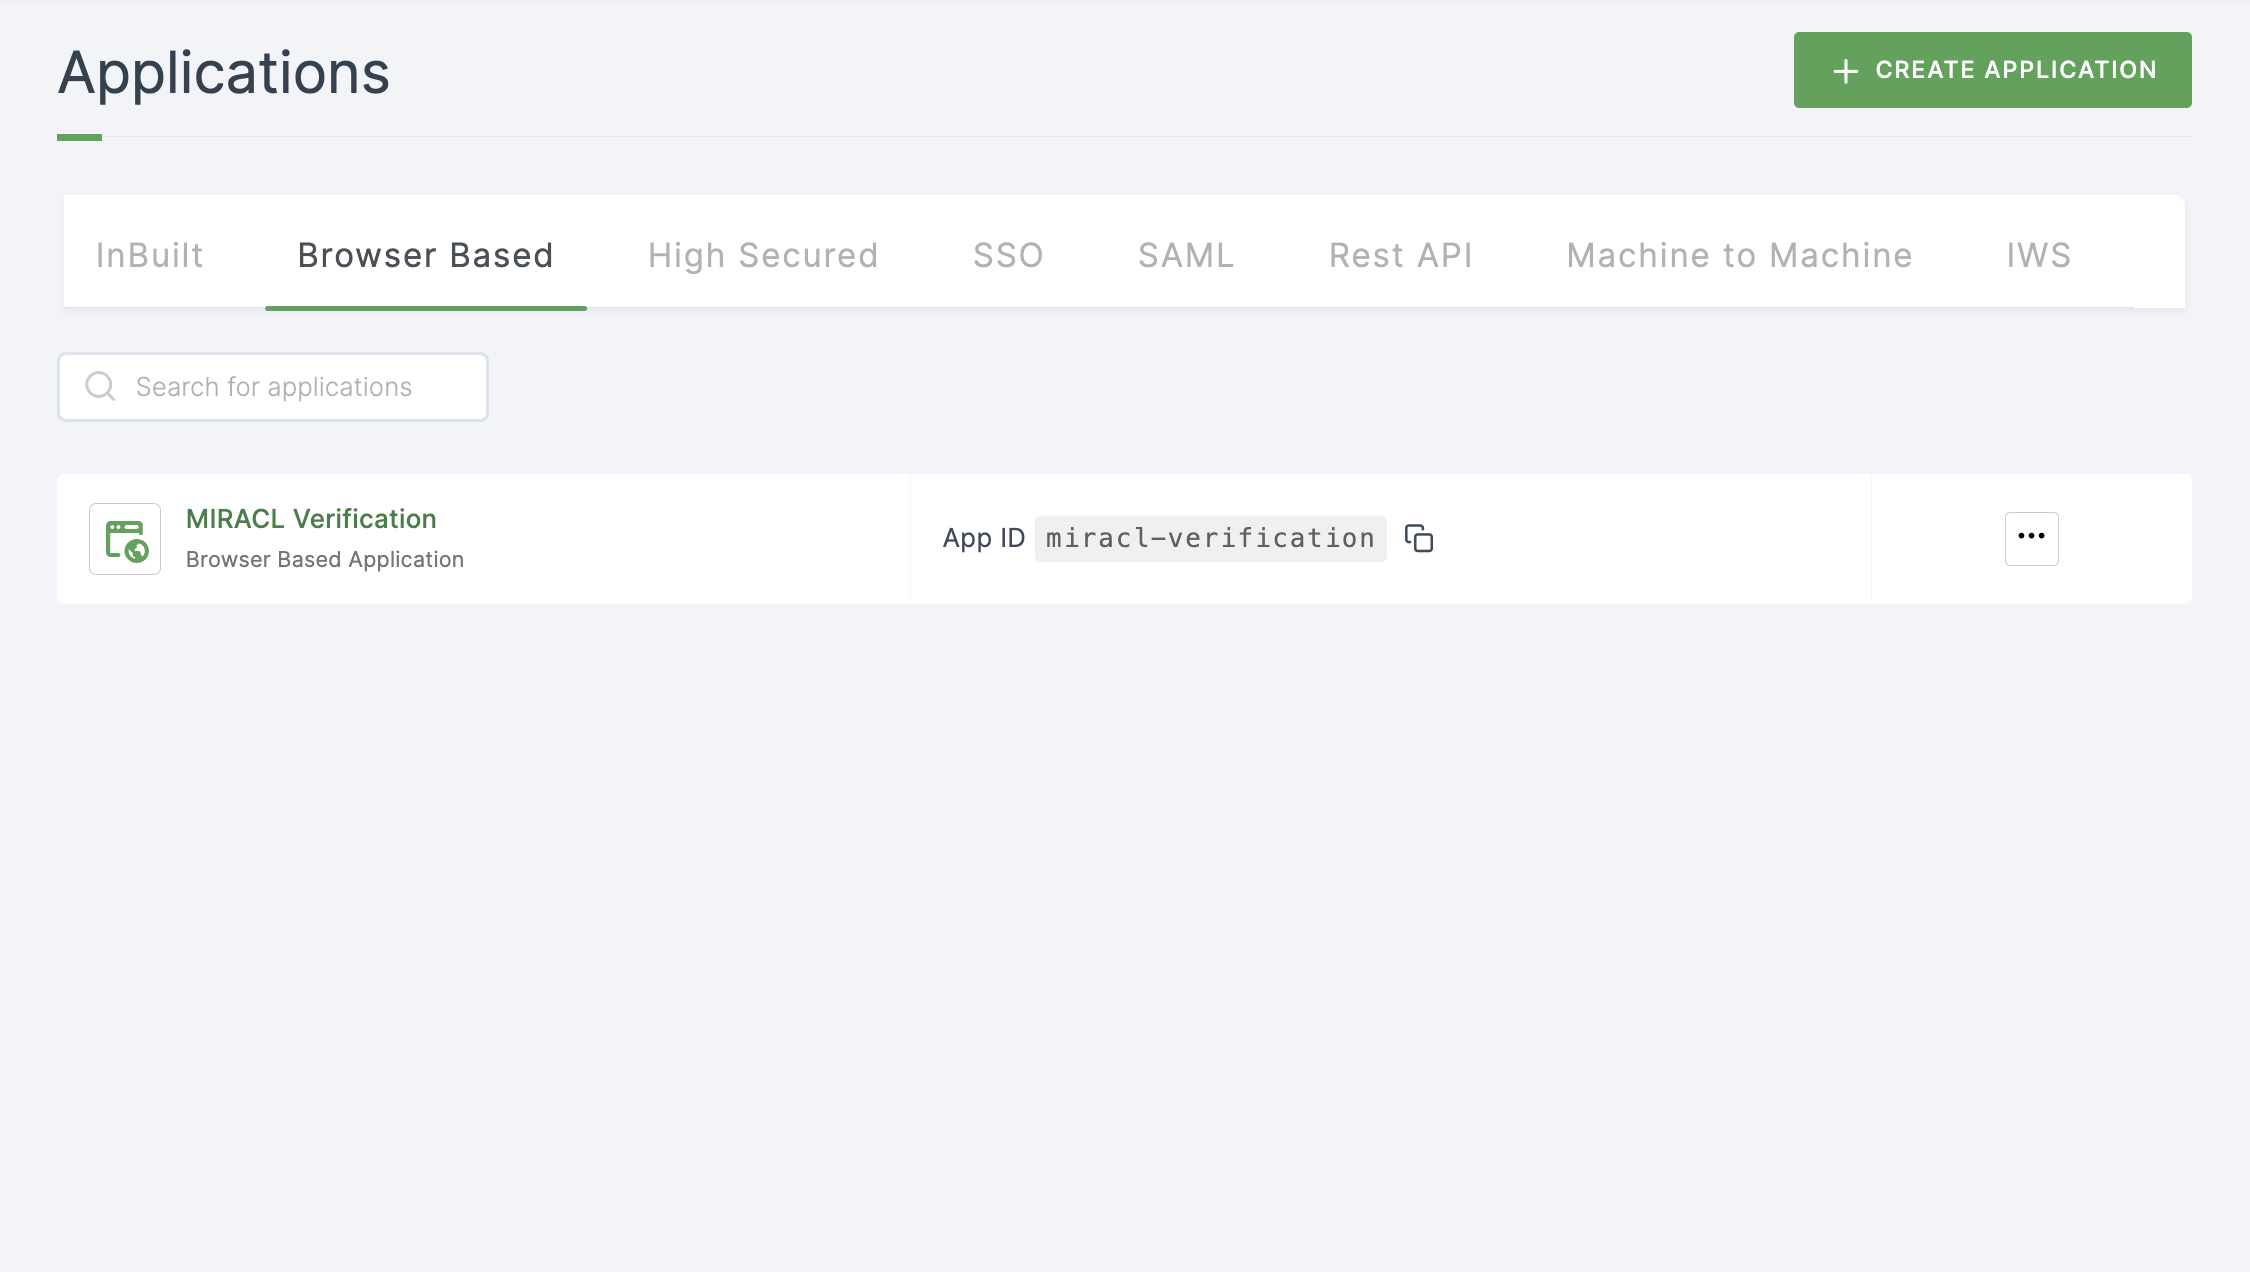
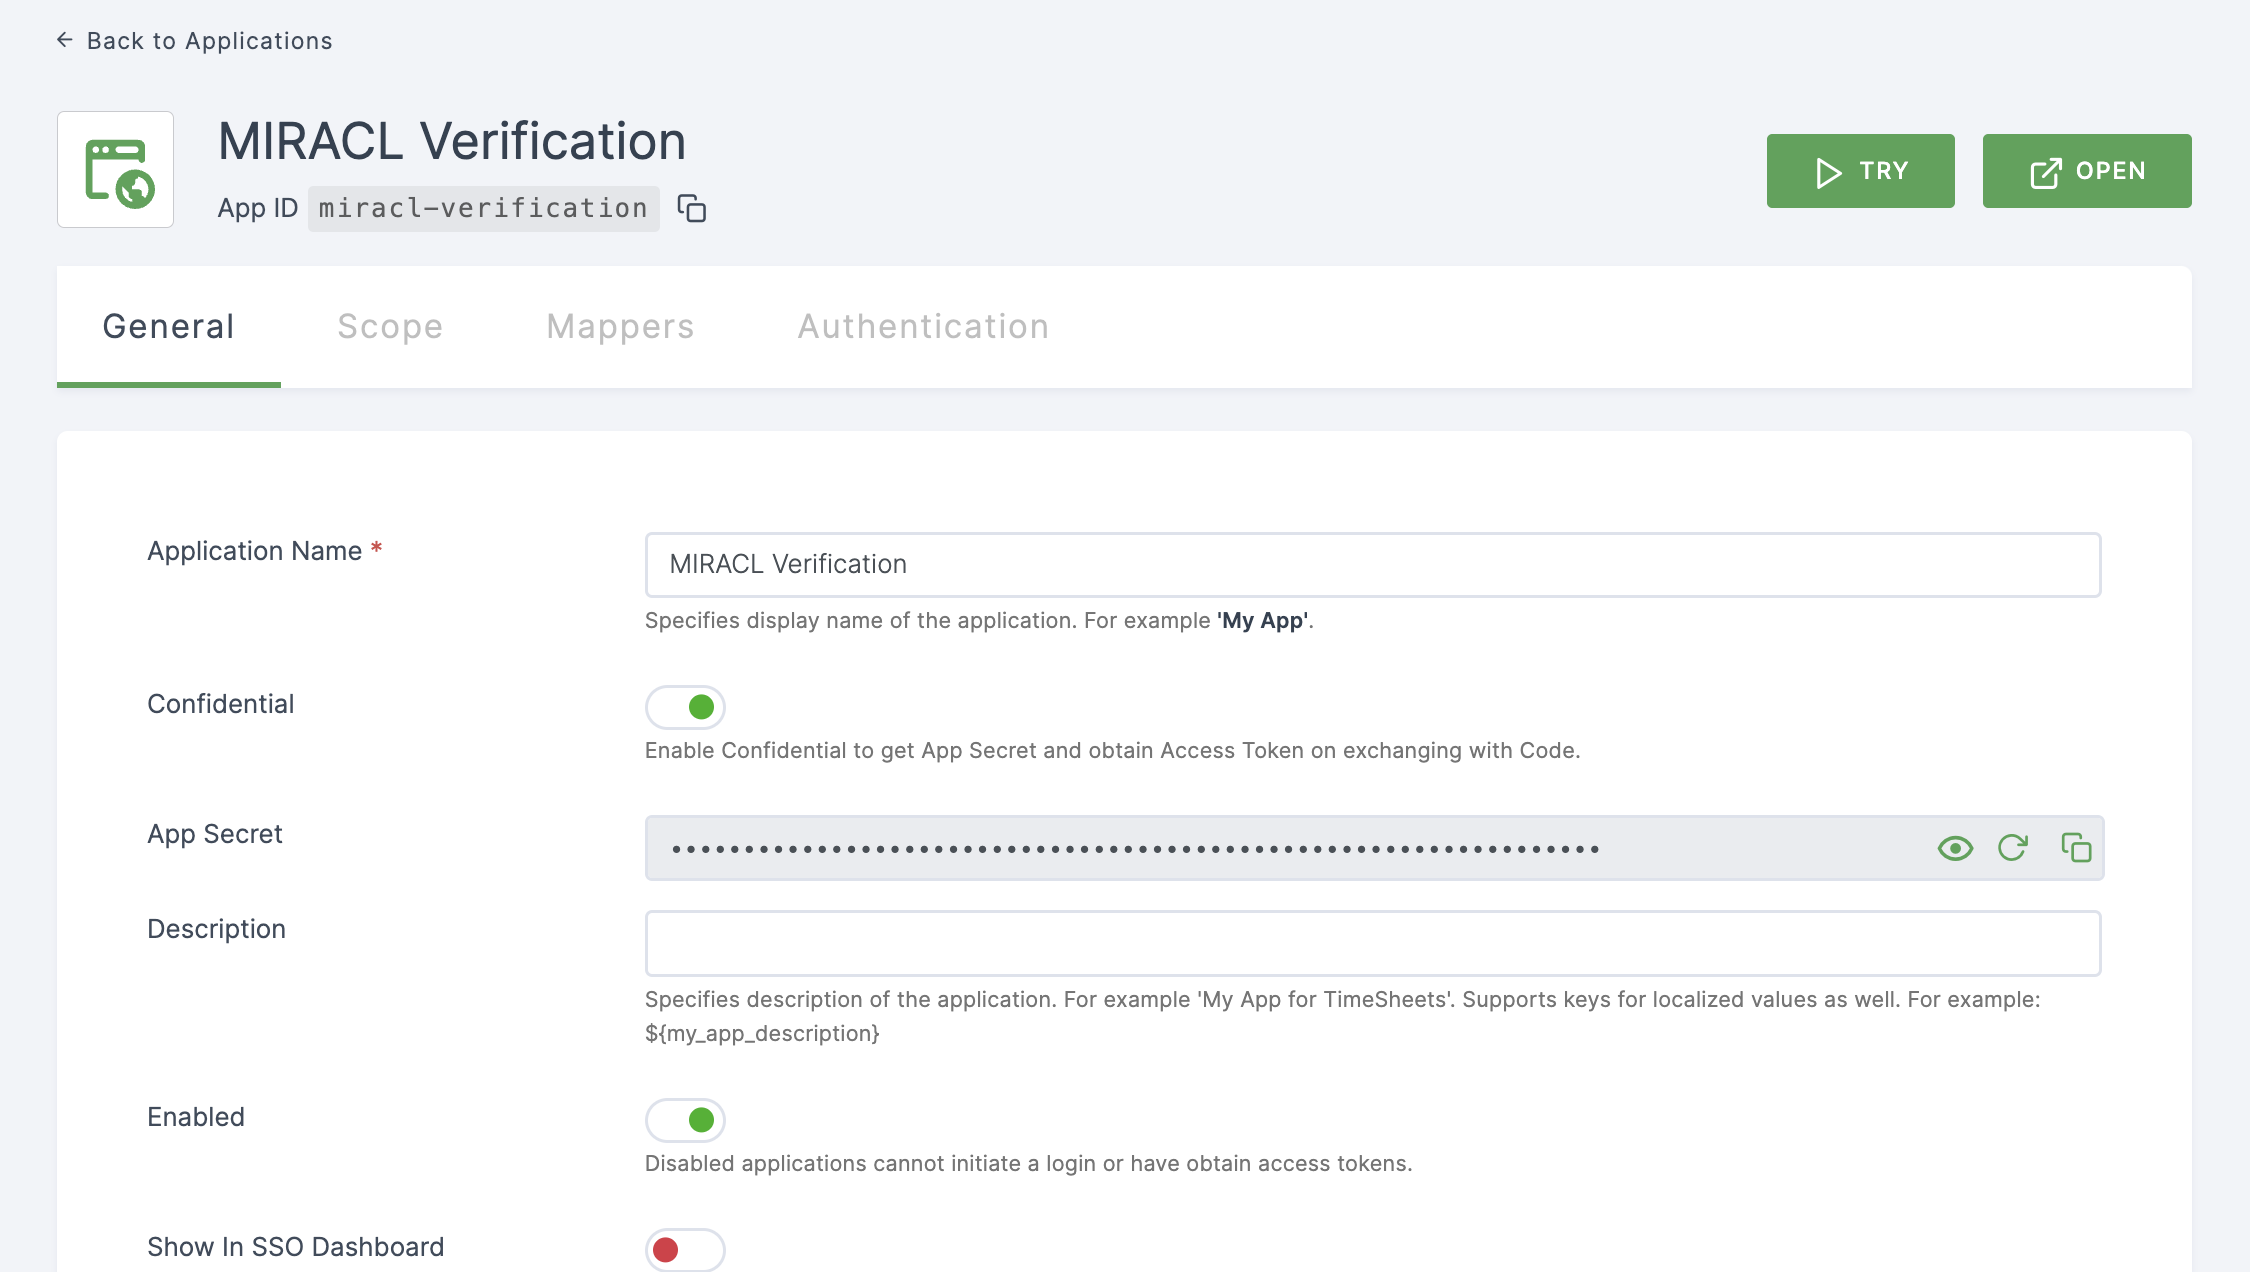
20 The next step involves associating the flow with the application for execution. Navigate to Applications, click on the created MIRACL Verification.
This application will be created on installing MIRACL from Marketplace.
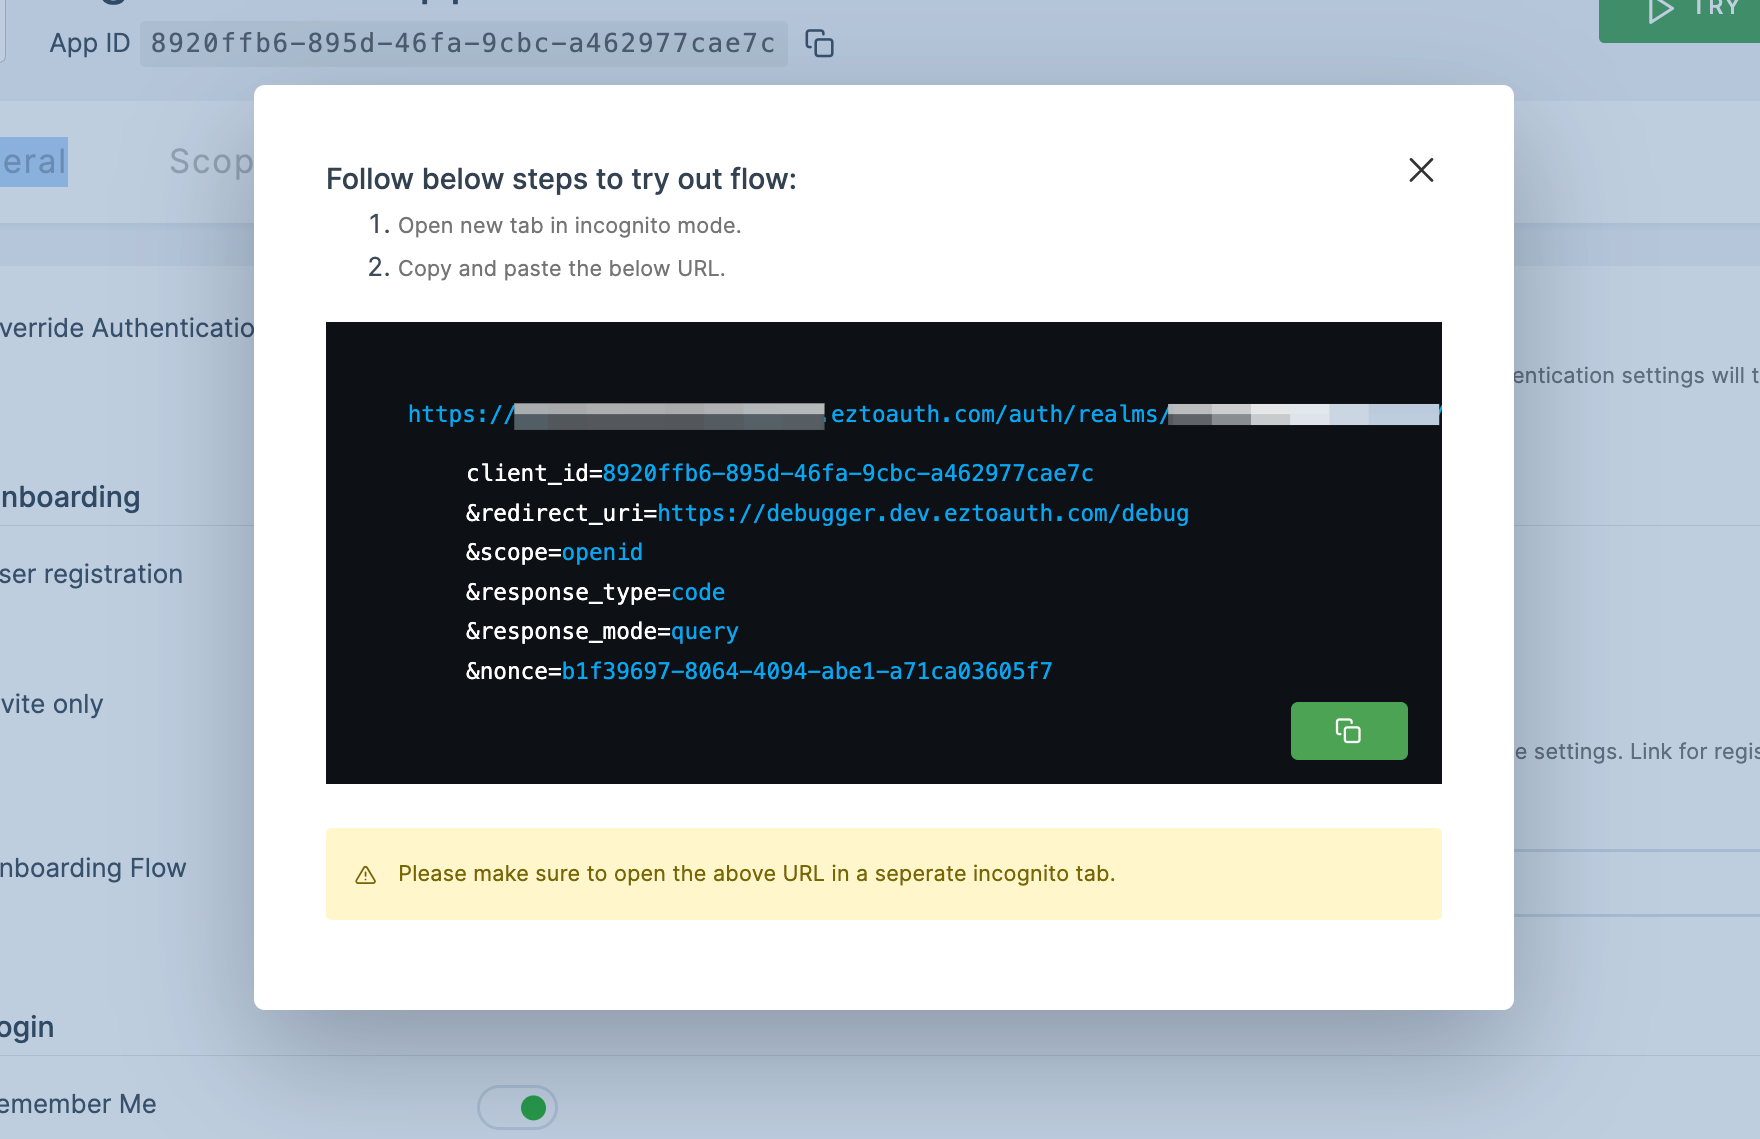
21 On the same page, at the top right, click on TRY, and a URL will be displayed.
22 Copy the URL and open an incognito browser.
23 Switch to MIRACL, click on User Verification.
24 For Verification Method, choose Custom from the drop-down.
25 Paste the copied URL in Custom Verification URL.

26 Scroll down, click on Save Changes.
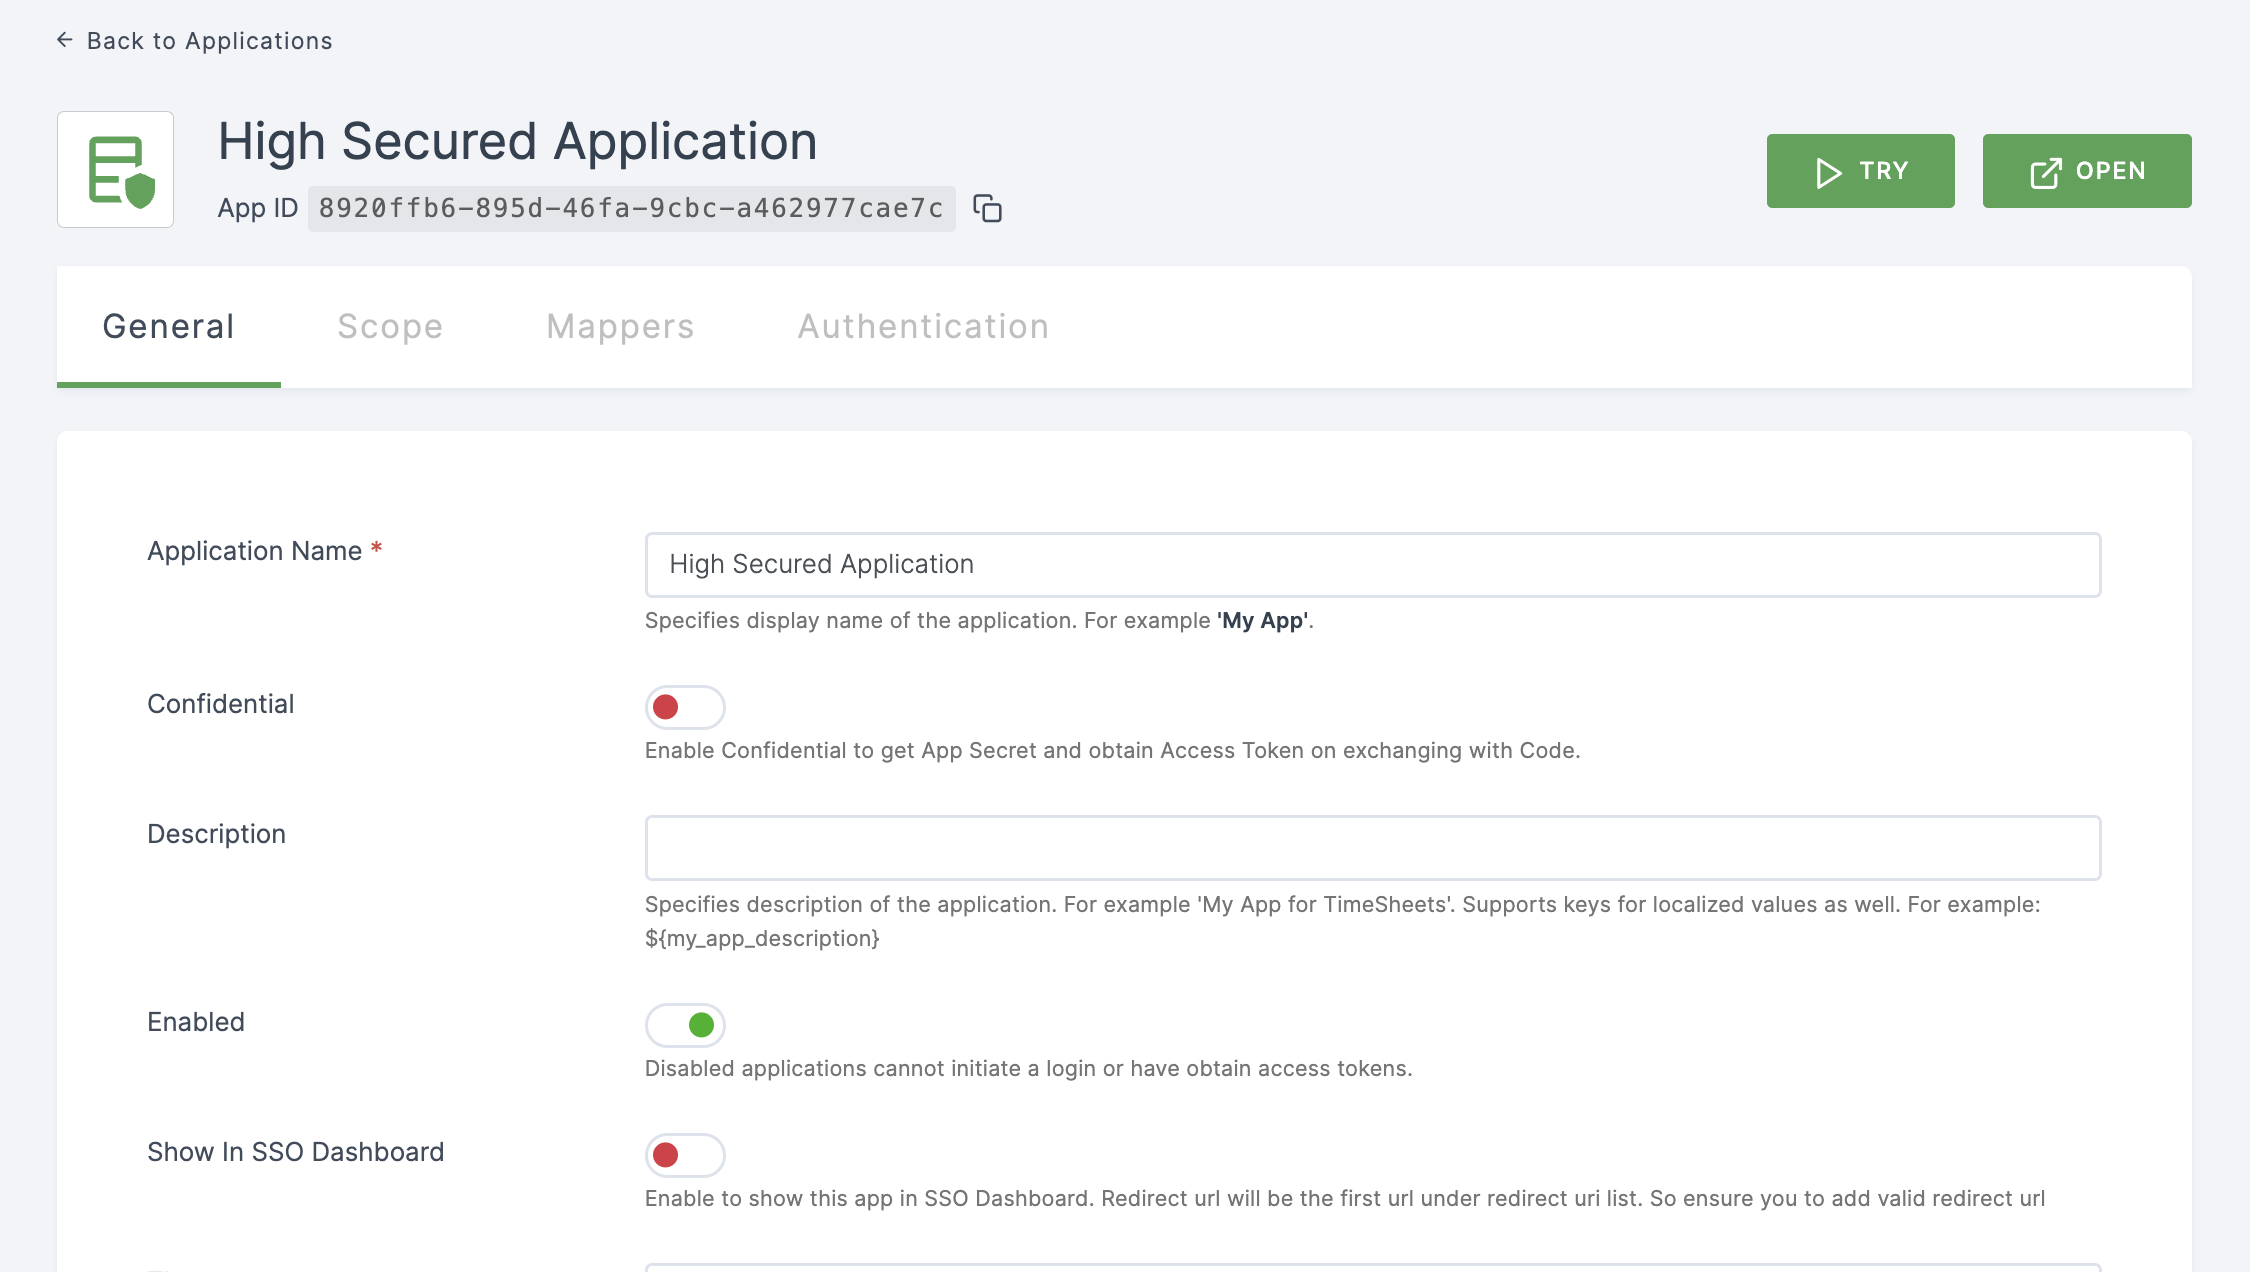
27 Return to your dashboard, navigate to Applications.
28 Click on the application you wish to execute.
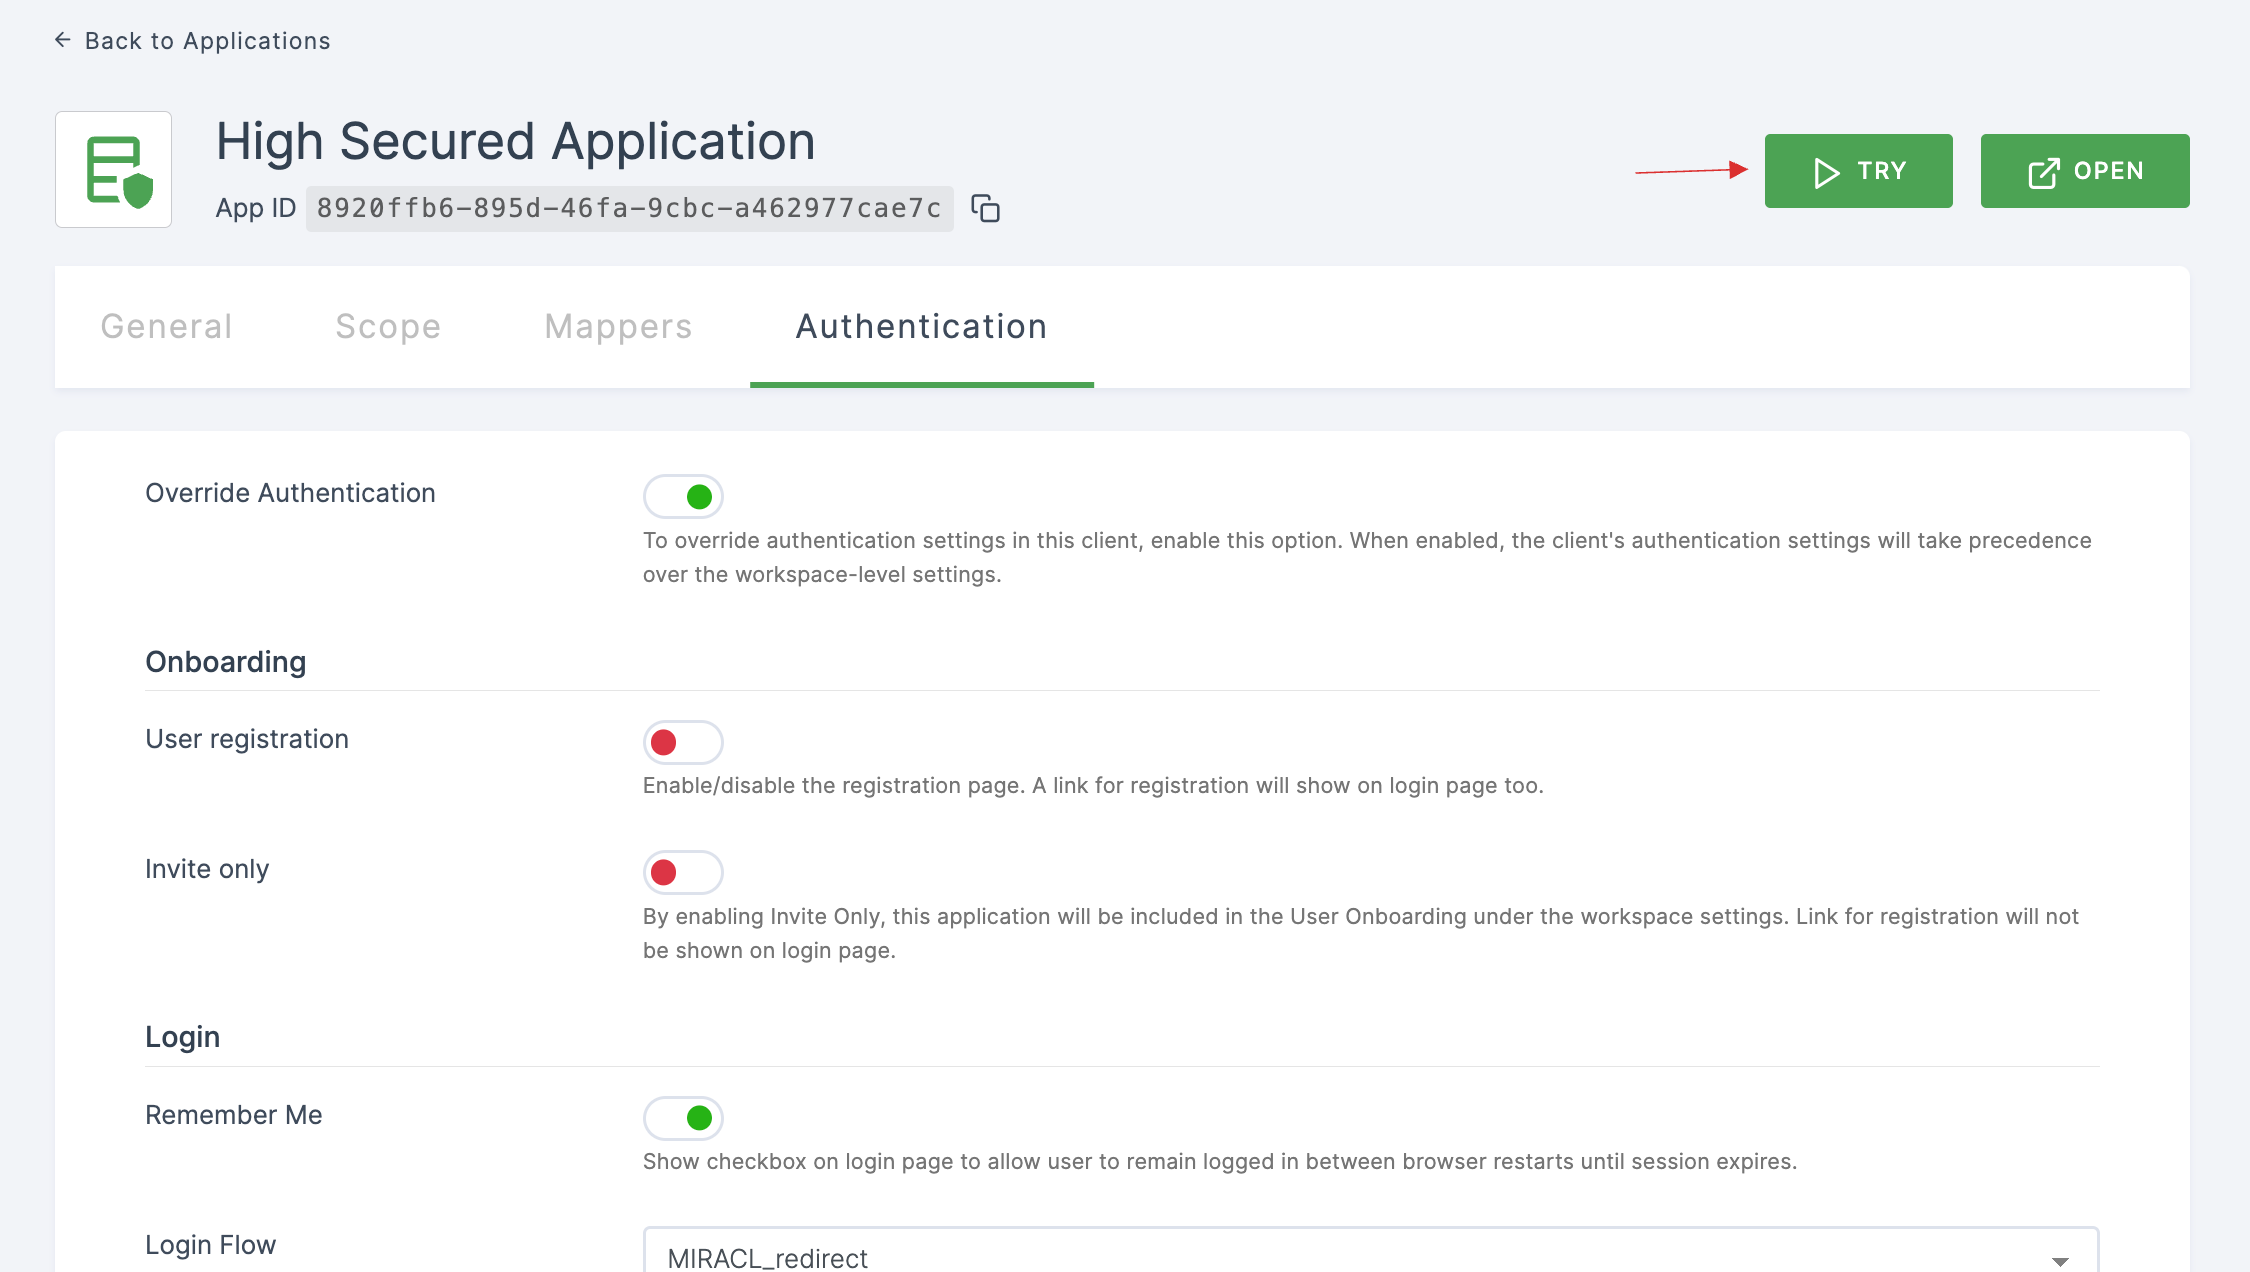
29 You will be moved to the General tab of the application, and click on Authentication.
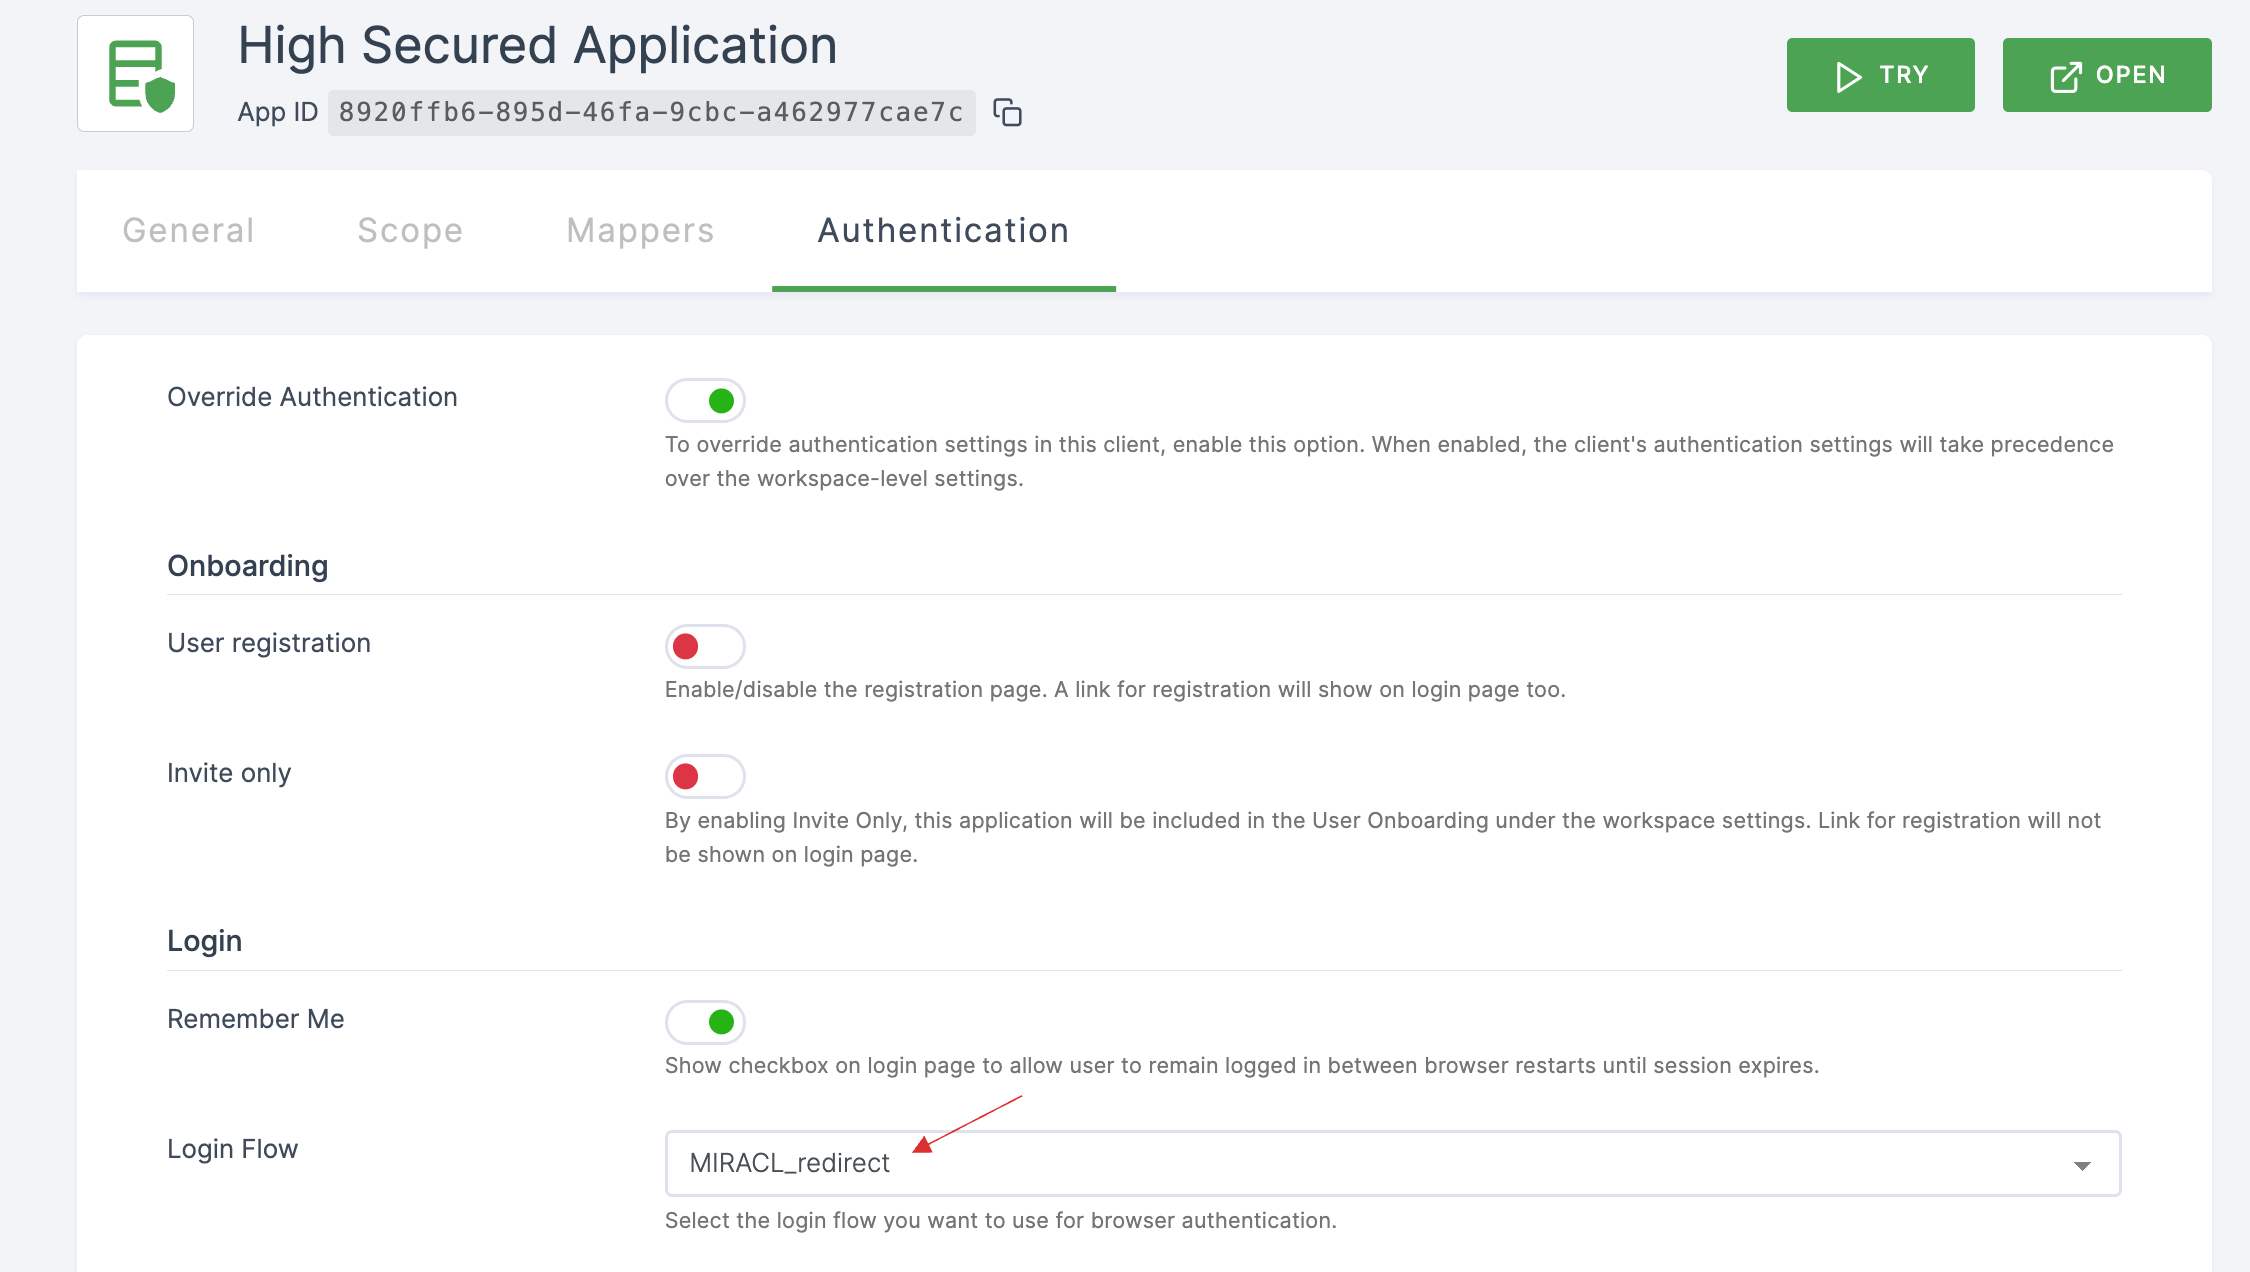
If there are any authentication flows, ensure that Override Authentication is enabled and properly configured. Otherwise, the default authentication (i.e., workspace-level settings) will be executed.
30 Locate the Login section, toggle the enable for Login and select MIRACL_redirect from the available login Flow.
31 Click on SAVE.
32 On the same page, at the top right, click on TRY, and a URL will be displayed.
33 Copy the URL and open an incognito browser.

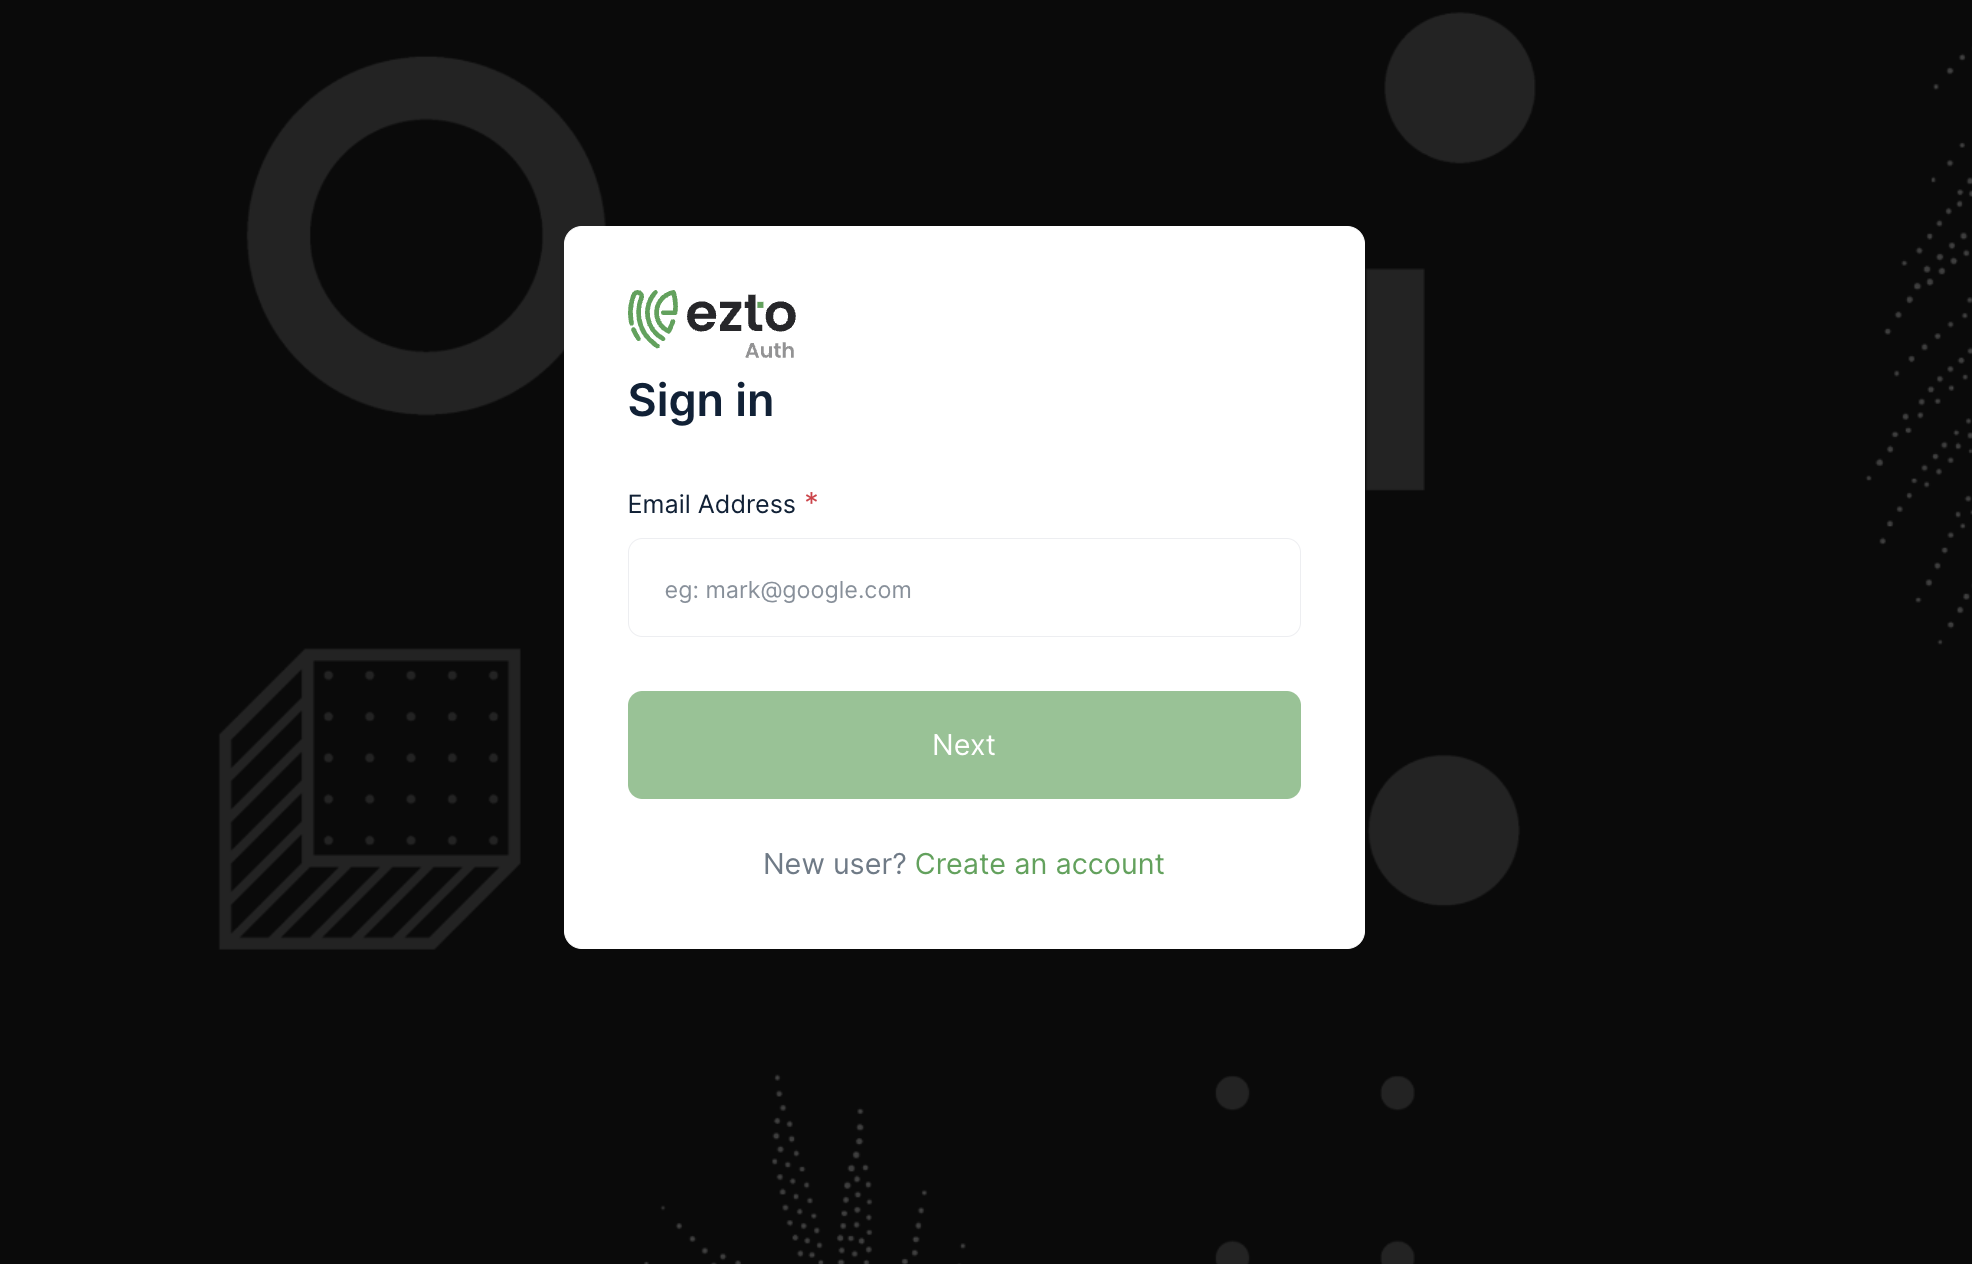
34 Paste the URL and execute it by clicking on Create an account.
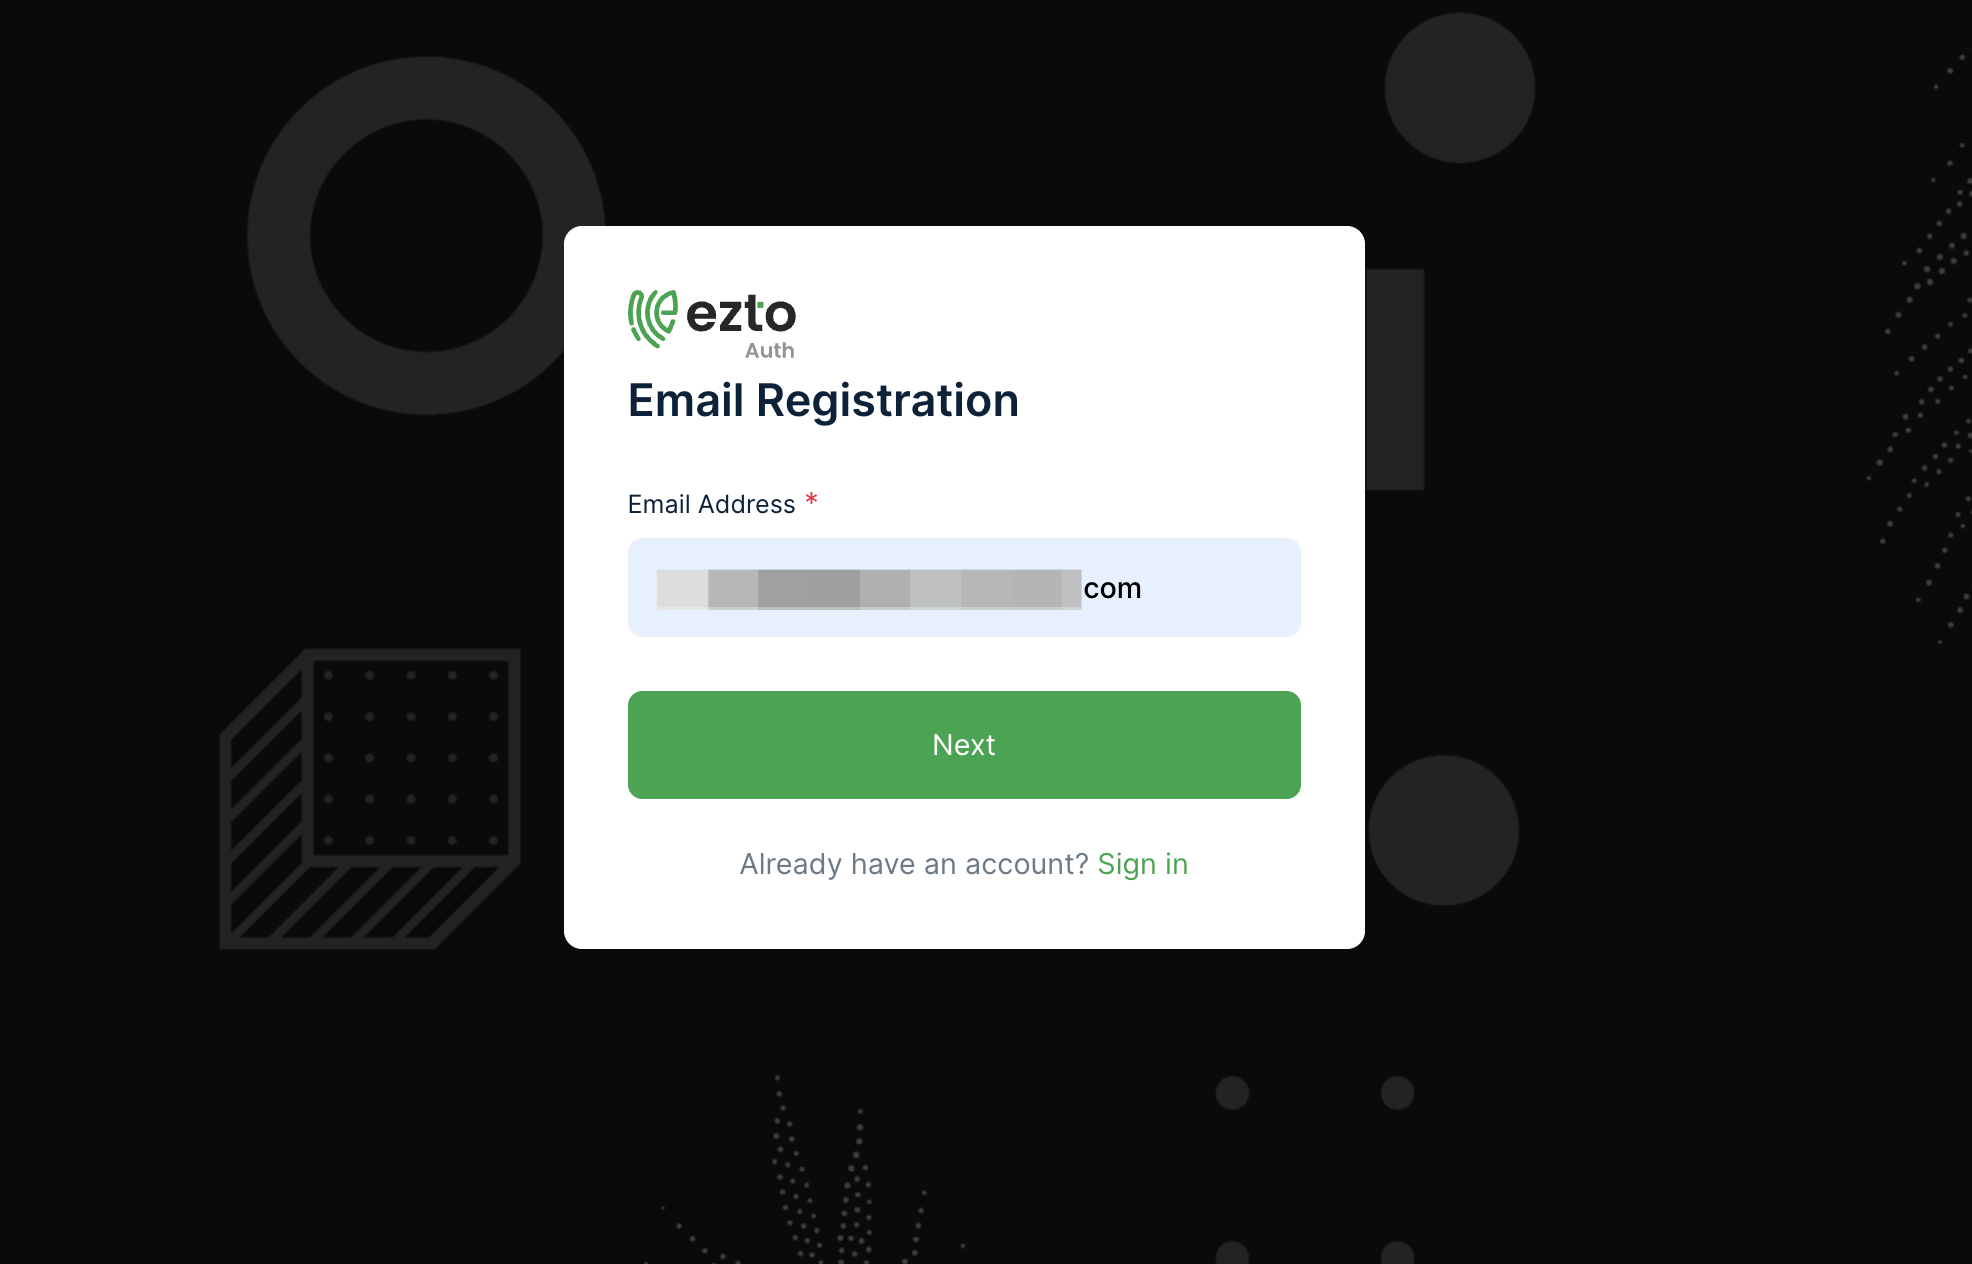
35 For email registration, provide your Email Address and click on Next.
36 Input the OTP sent to the provided email.
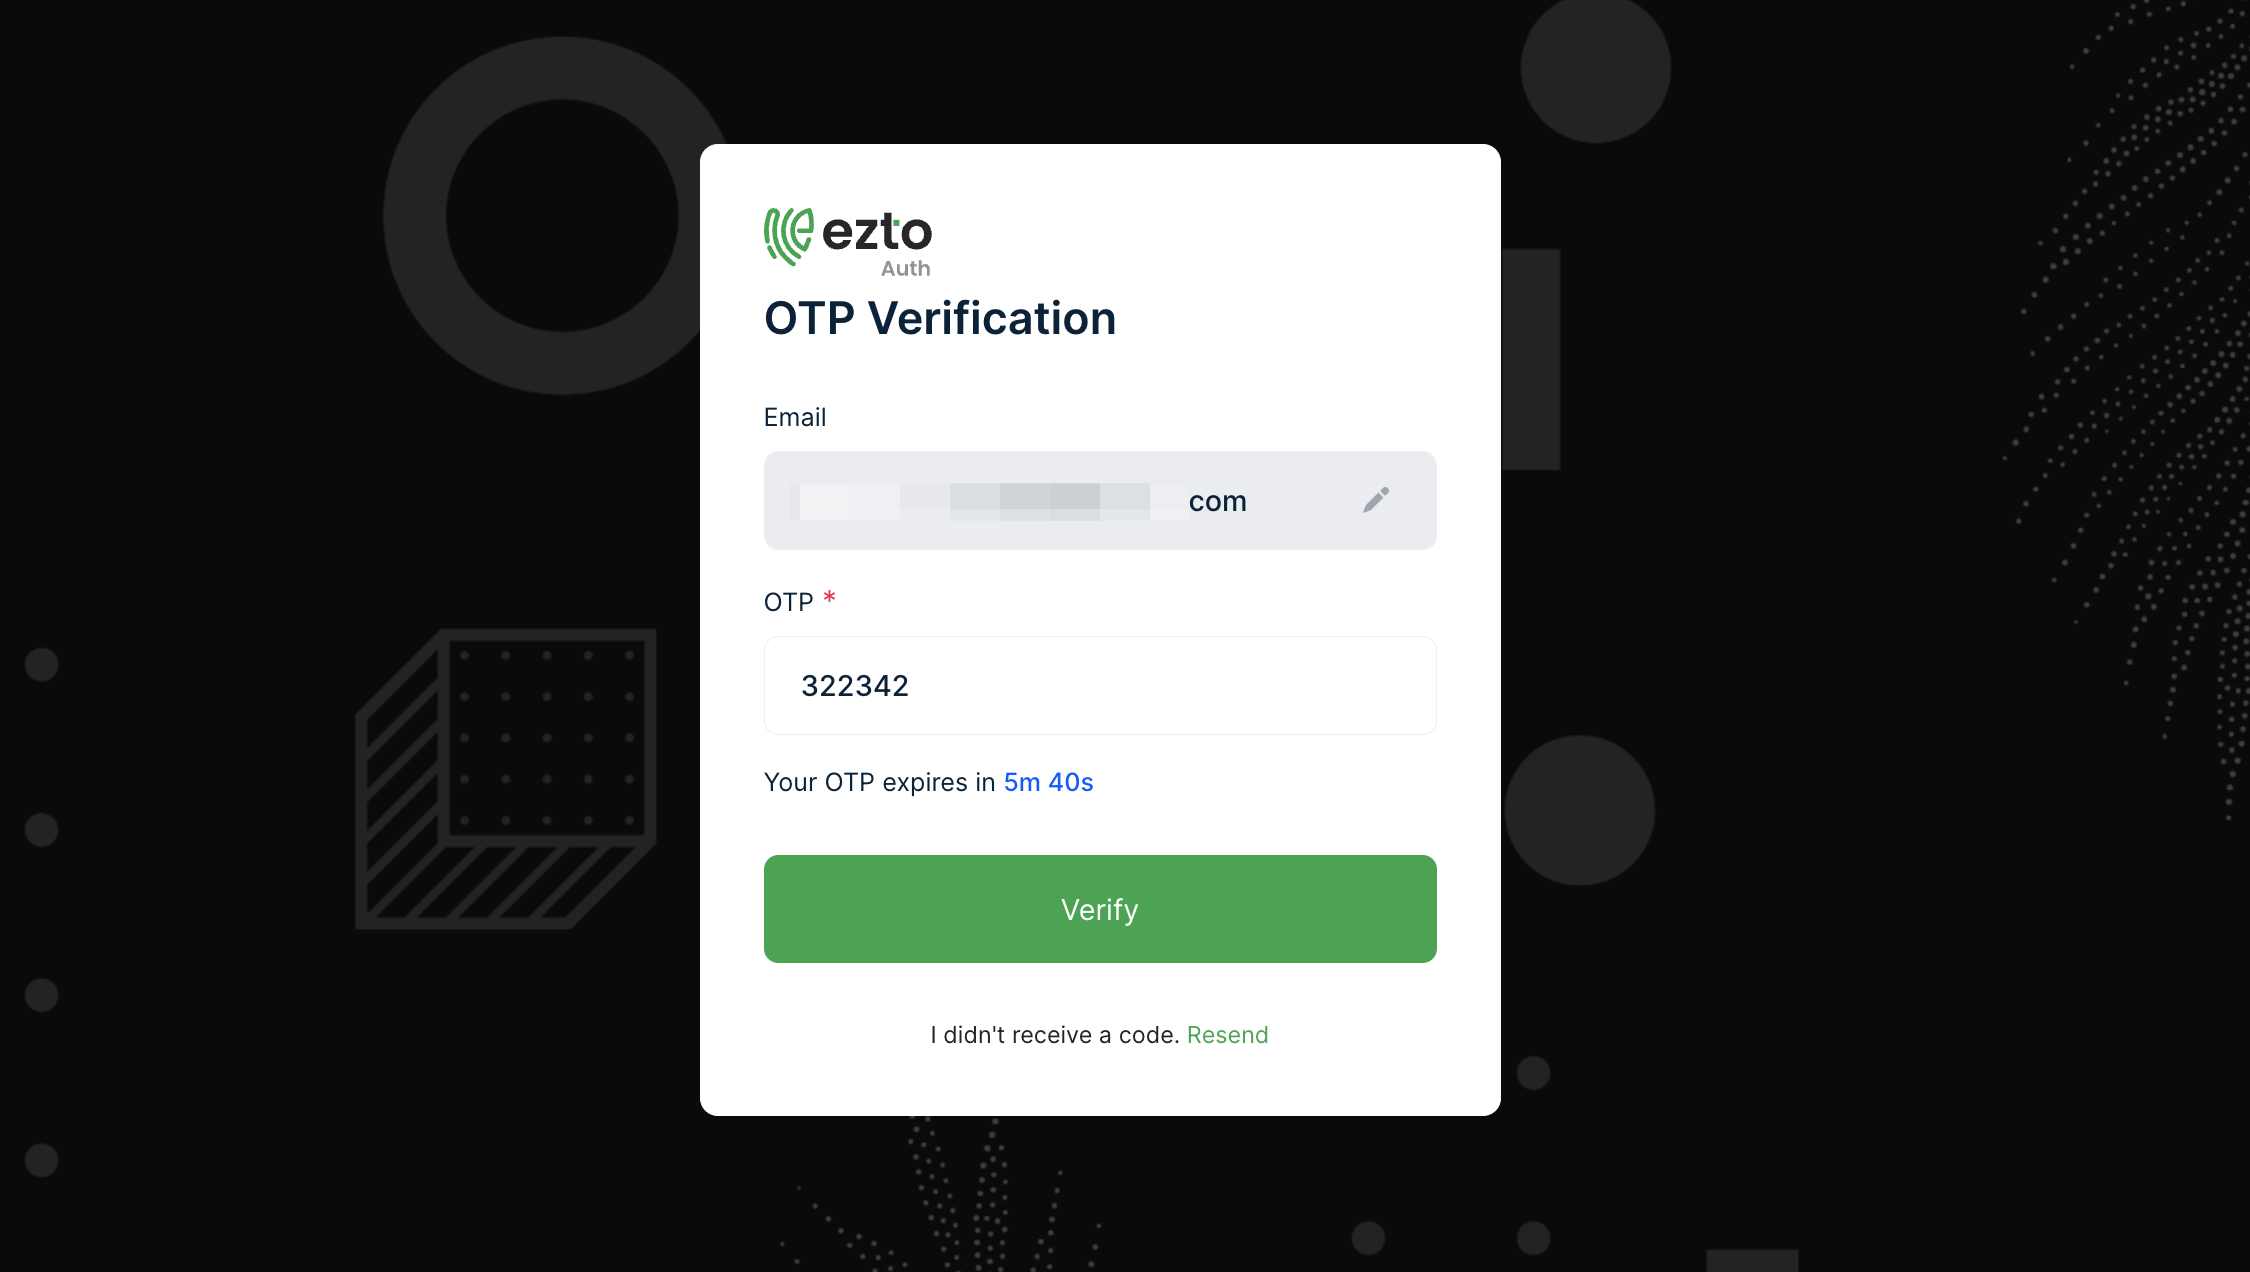
37 Click on Verify.
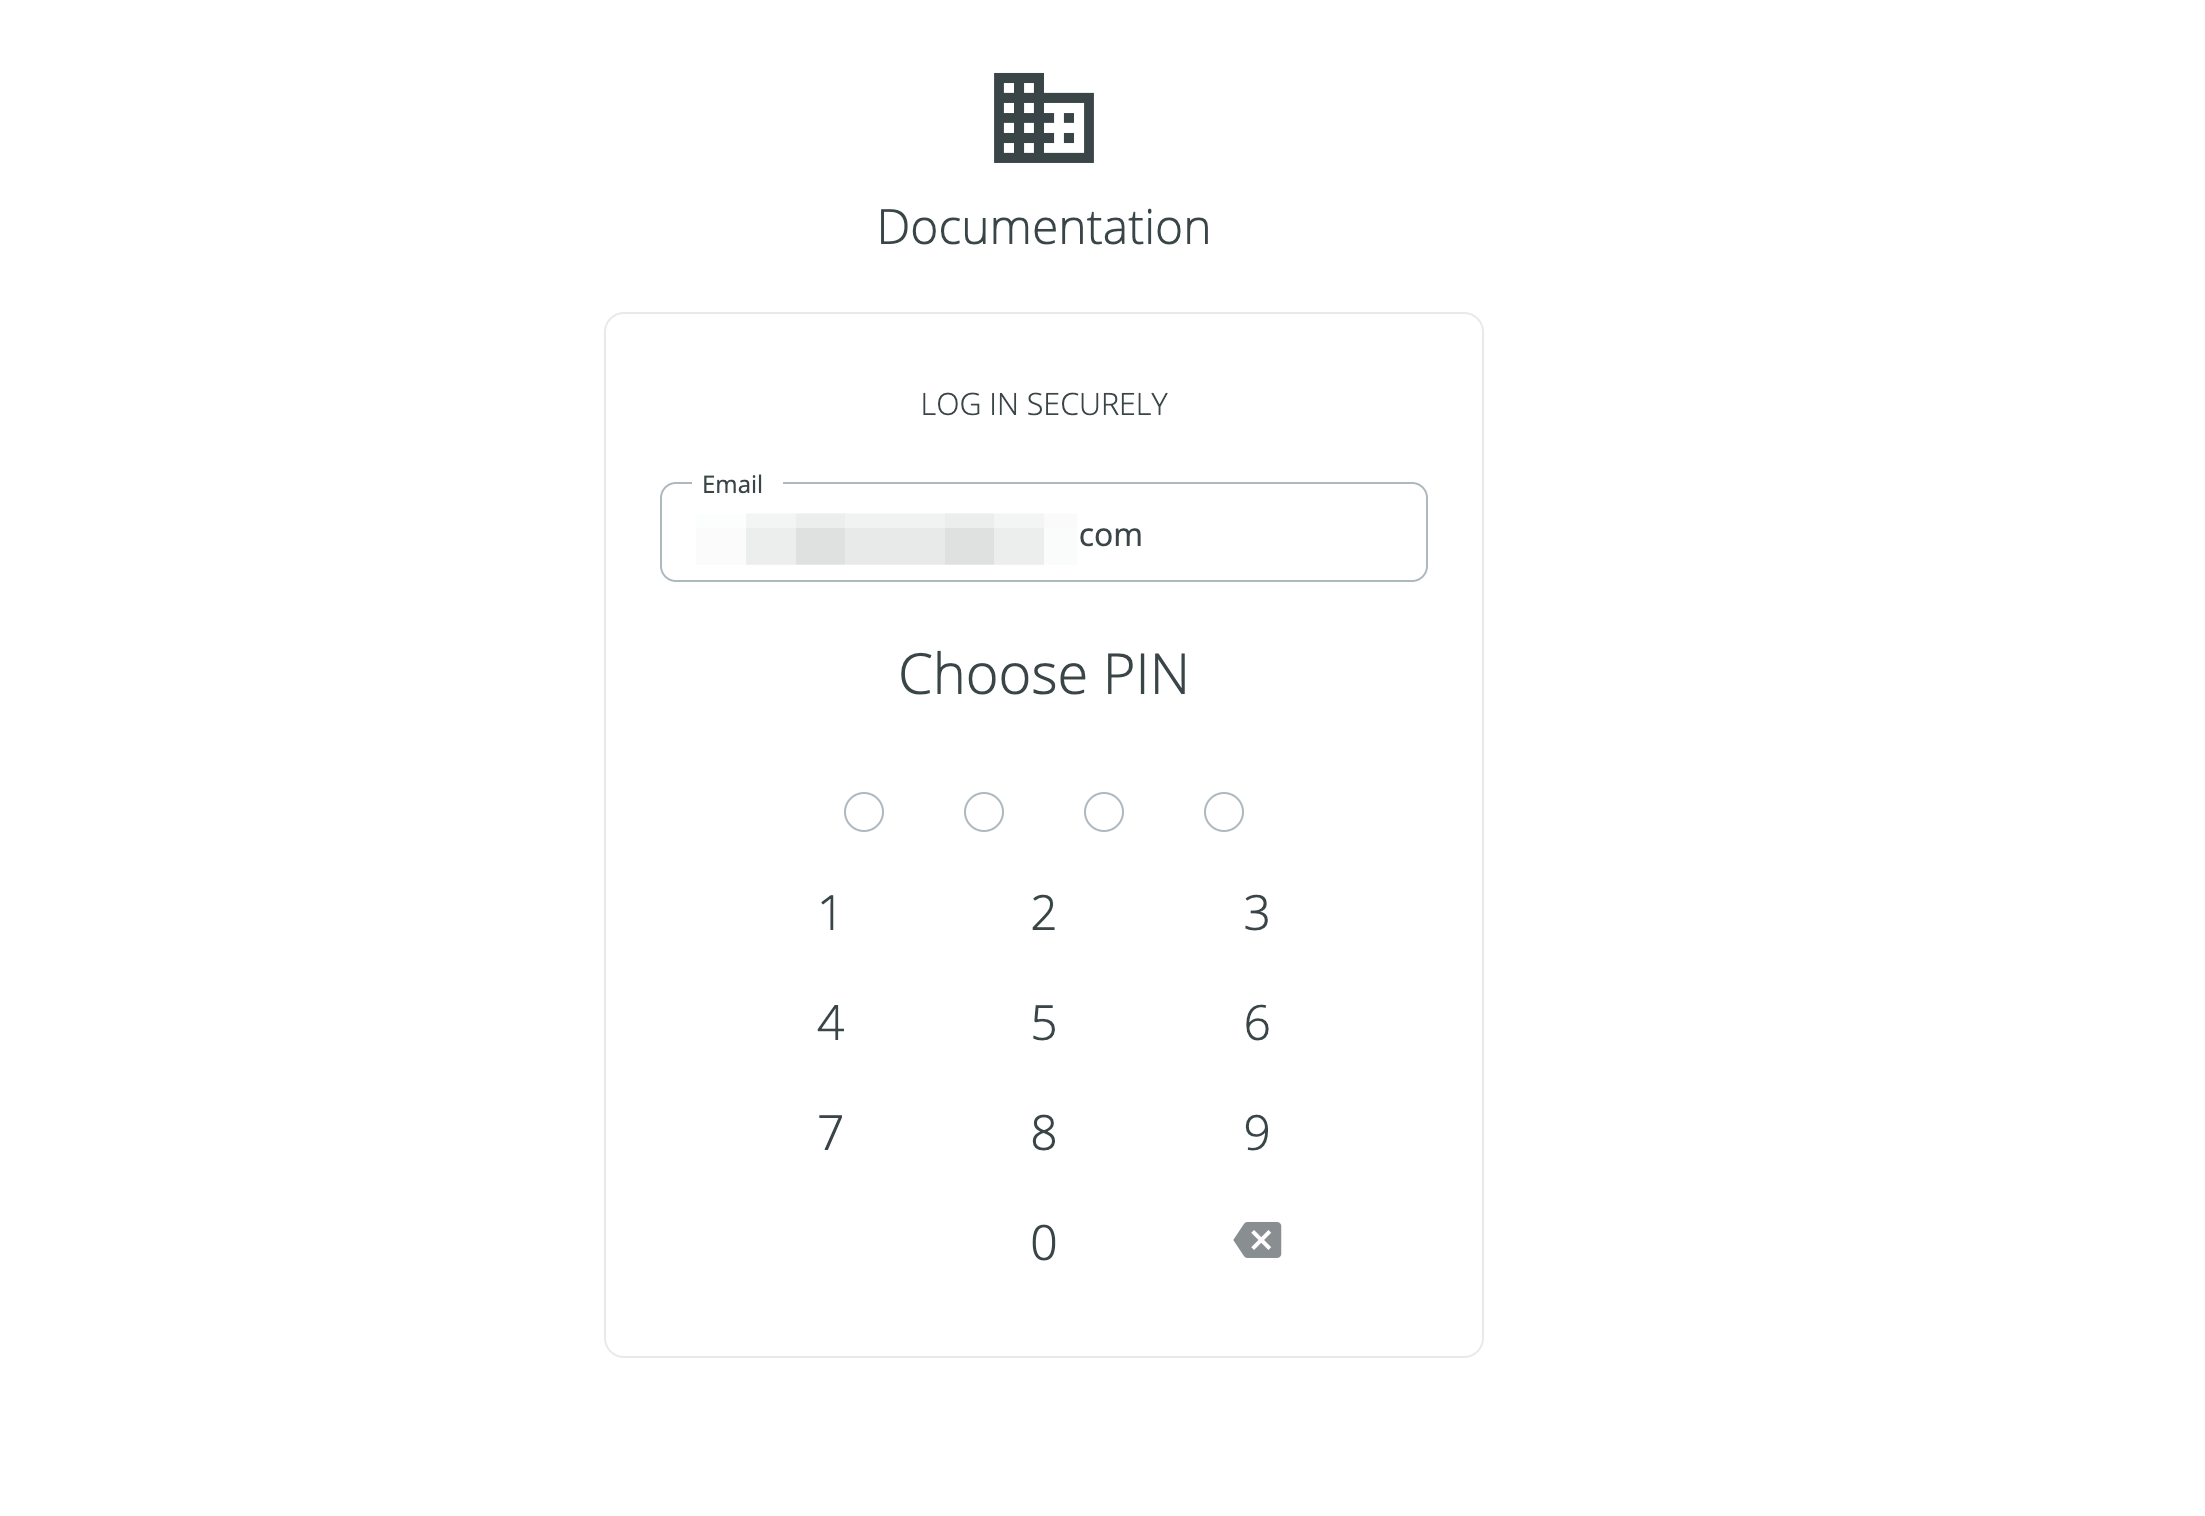
38 Choose your PIN.
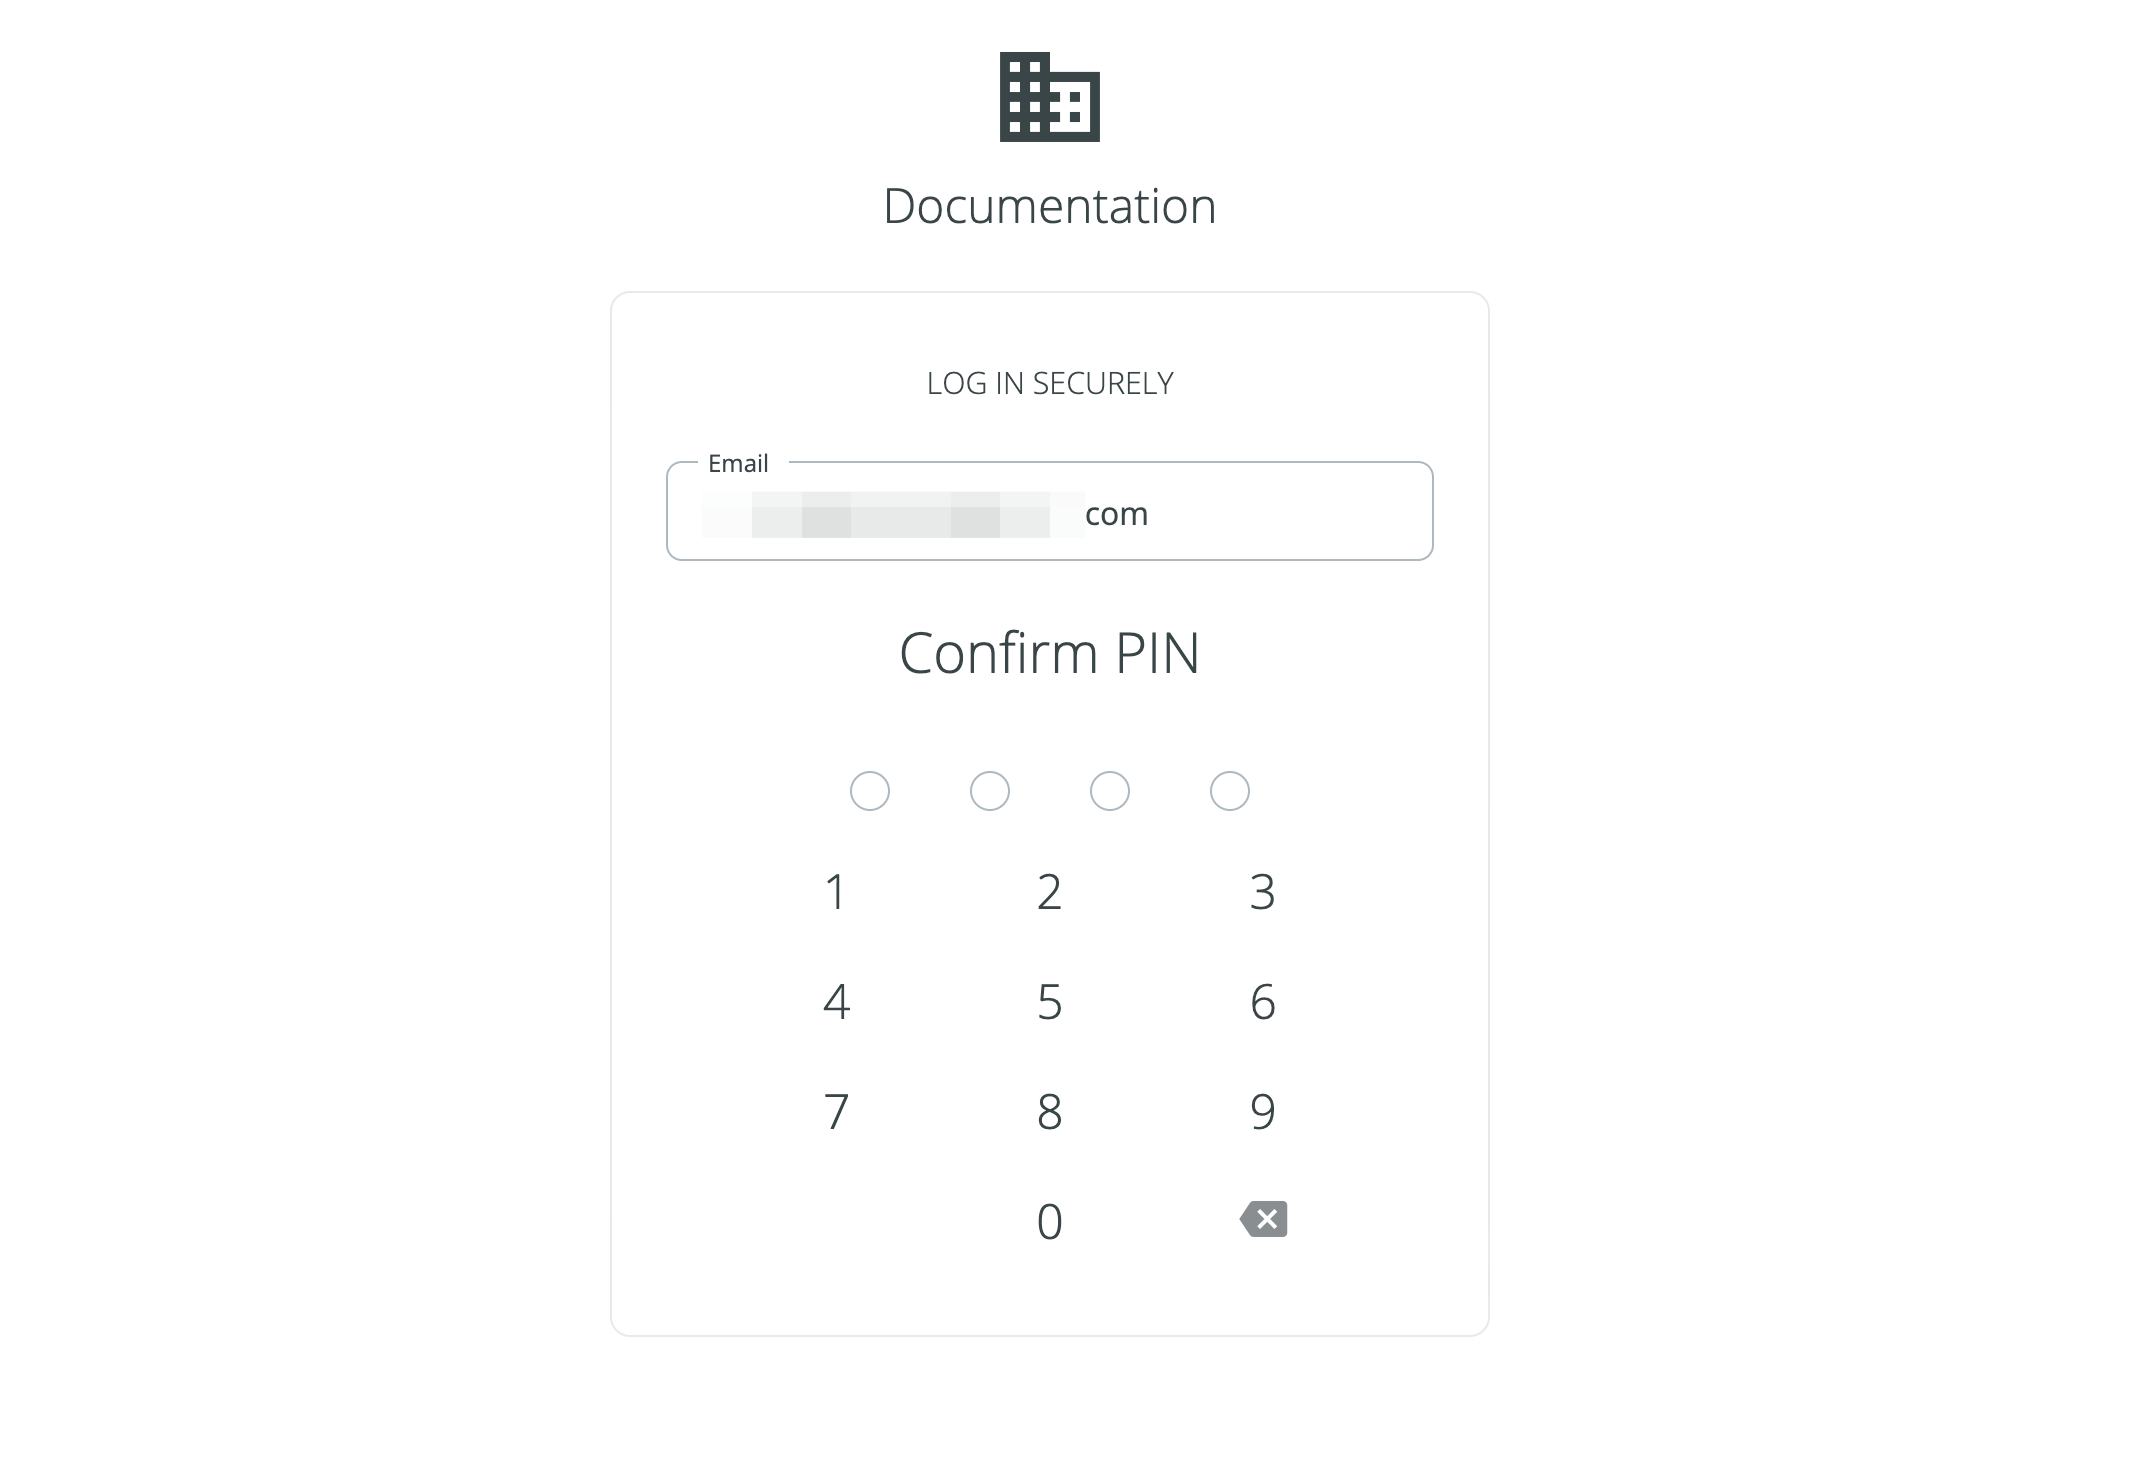
39 Confirm the same PIN.
40 The user will be successfully onboarded.