Windows LogOn with RDP
Windows LogOn with RDP is a specialized application that works in conjunction with the Windows LogOn installer. The admin user will have to install the installer on a Windows machine where Windows LogOn should be configured. After successful login, they will see the list of users from IAM. This efficient procedure enables you to connect to your PC using Remote Desktop Protocol (RDP).
Ensure you have installed the Windows LogOn Installer Application from the DONWLOADS menu in the navigation bar inside your dashboard before proceeding with the following steps.
Ensure that remote access is activated in your Windows settings.
Confirm that you've included the user in the Remote Desktop Users group.
1 Go to Dashboard > Marketplace > Partners.
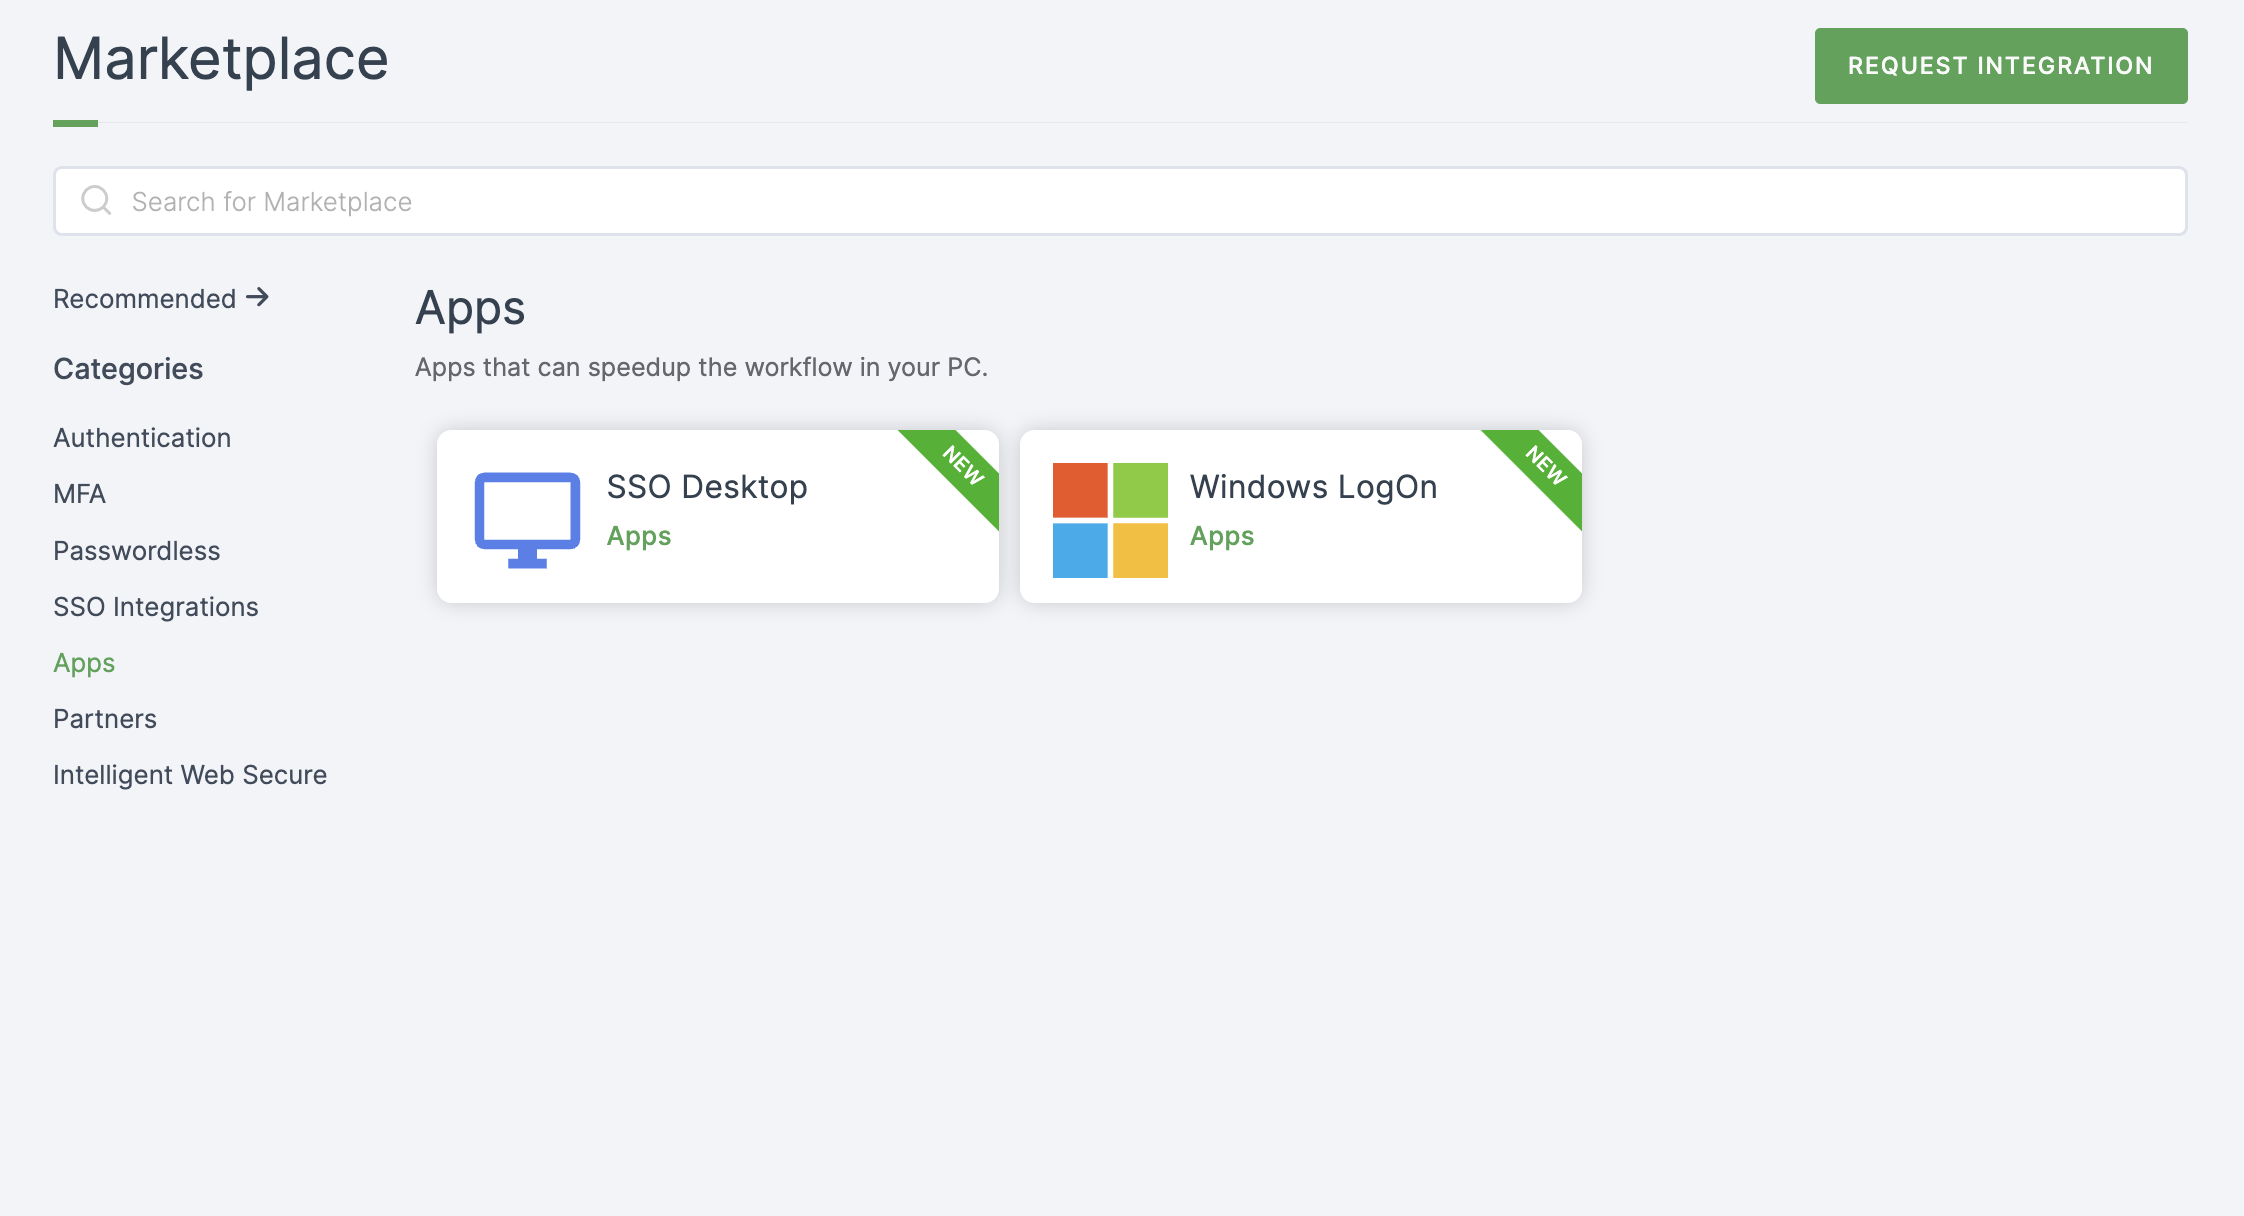
2 Select Windows LogOn.
3 You'll land on the overview page, with two additional tabs: Installation (providing a step-by-step installation guide.)
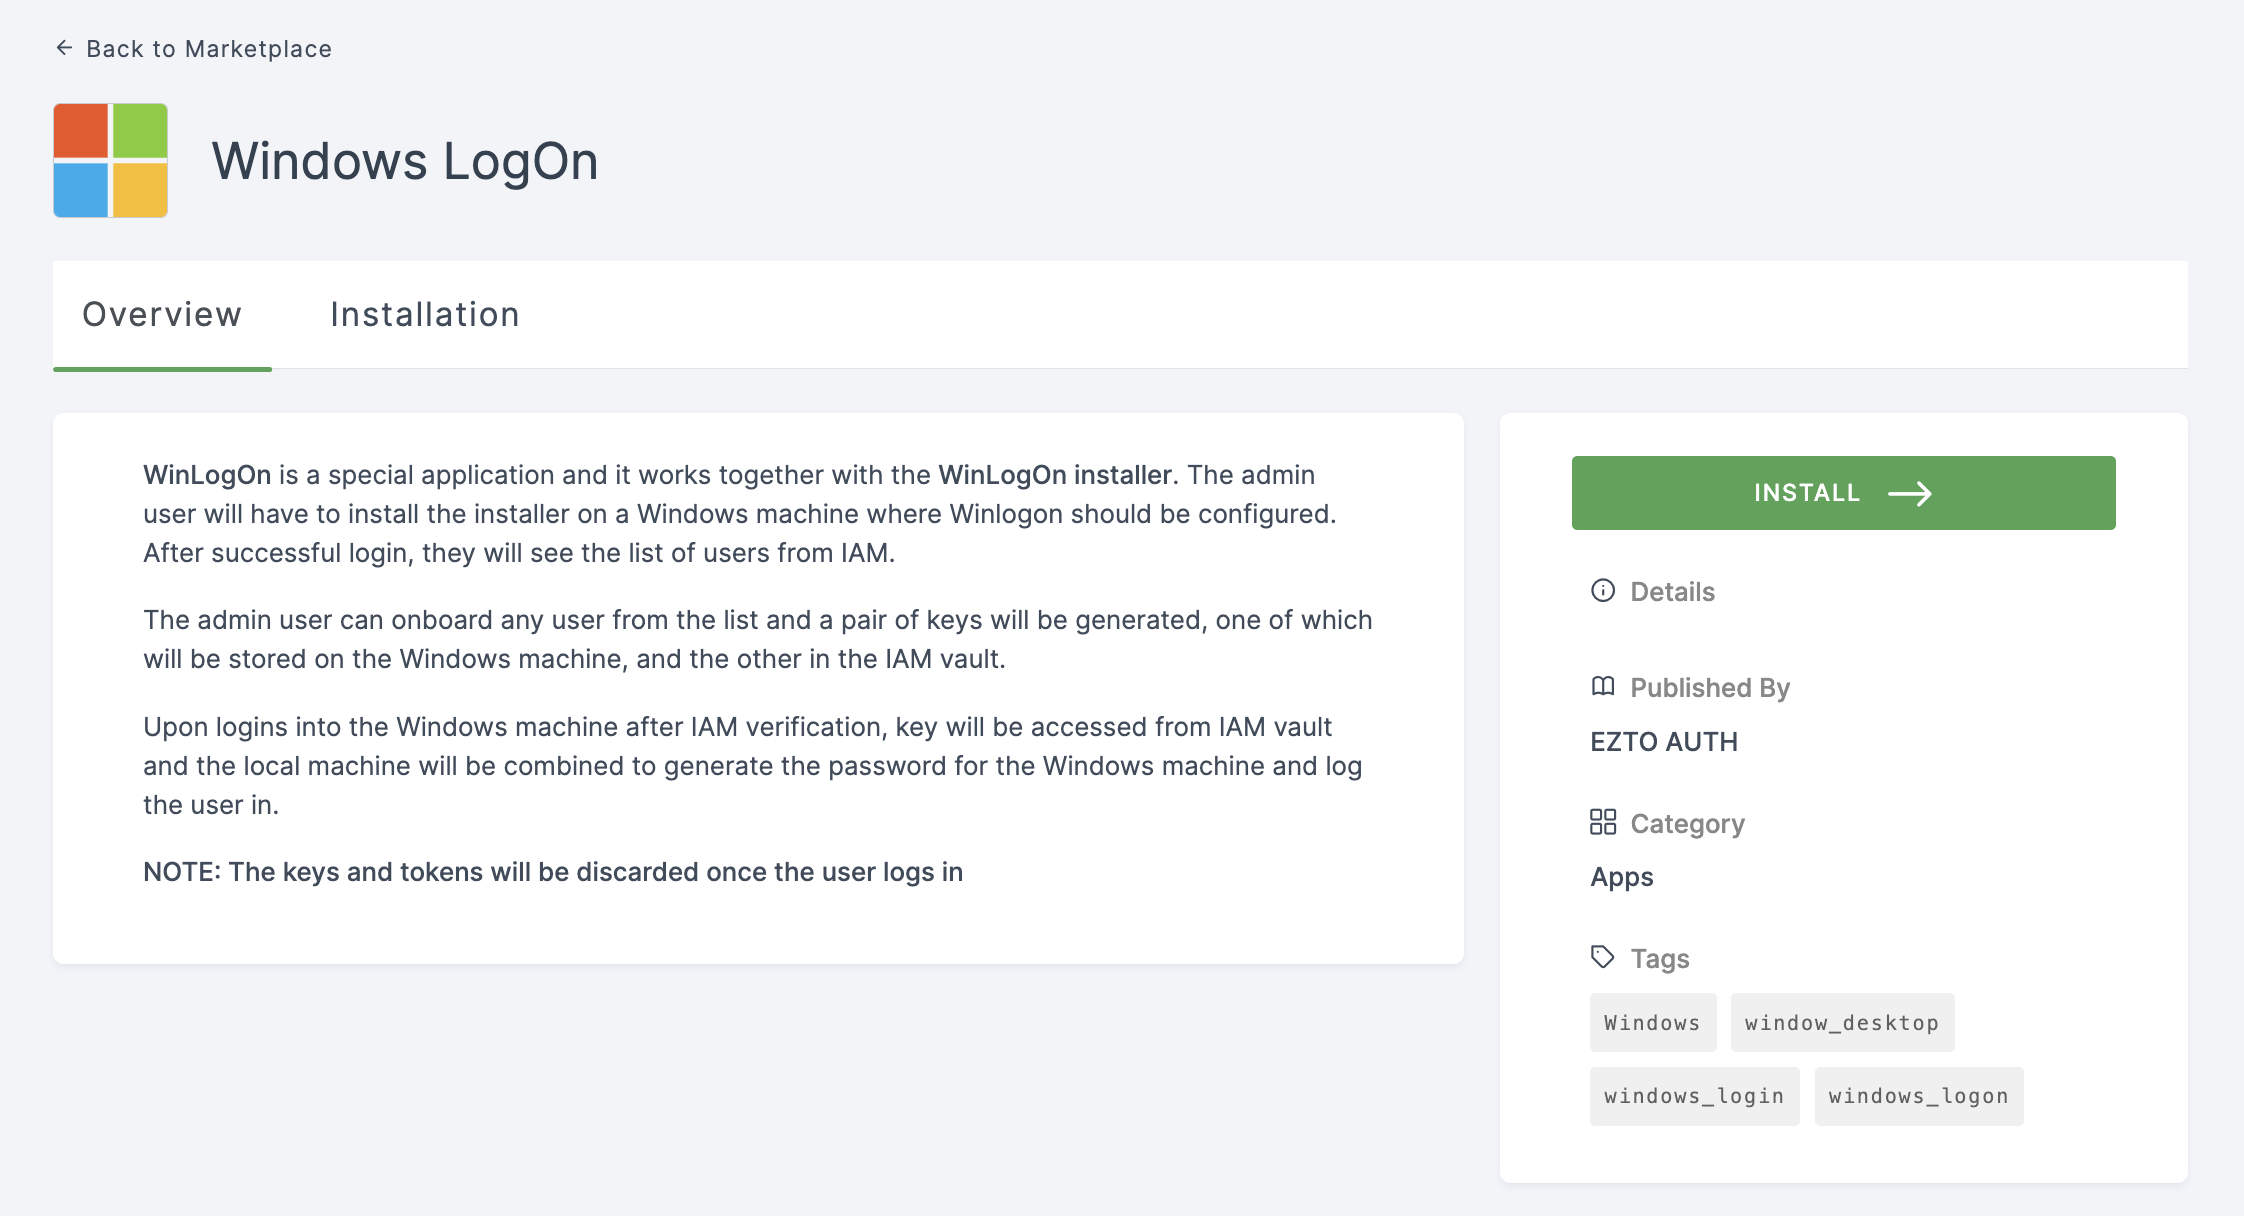
4 Click on INSTALL.
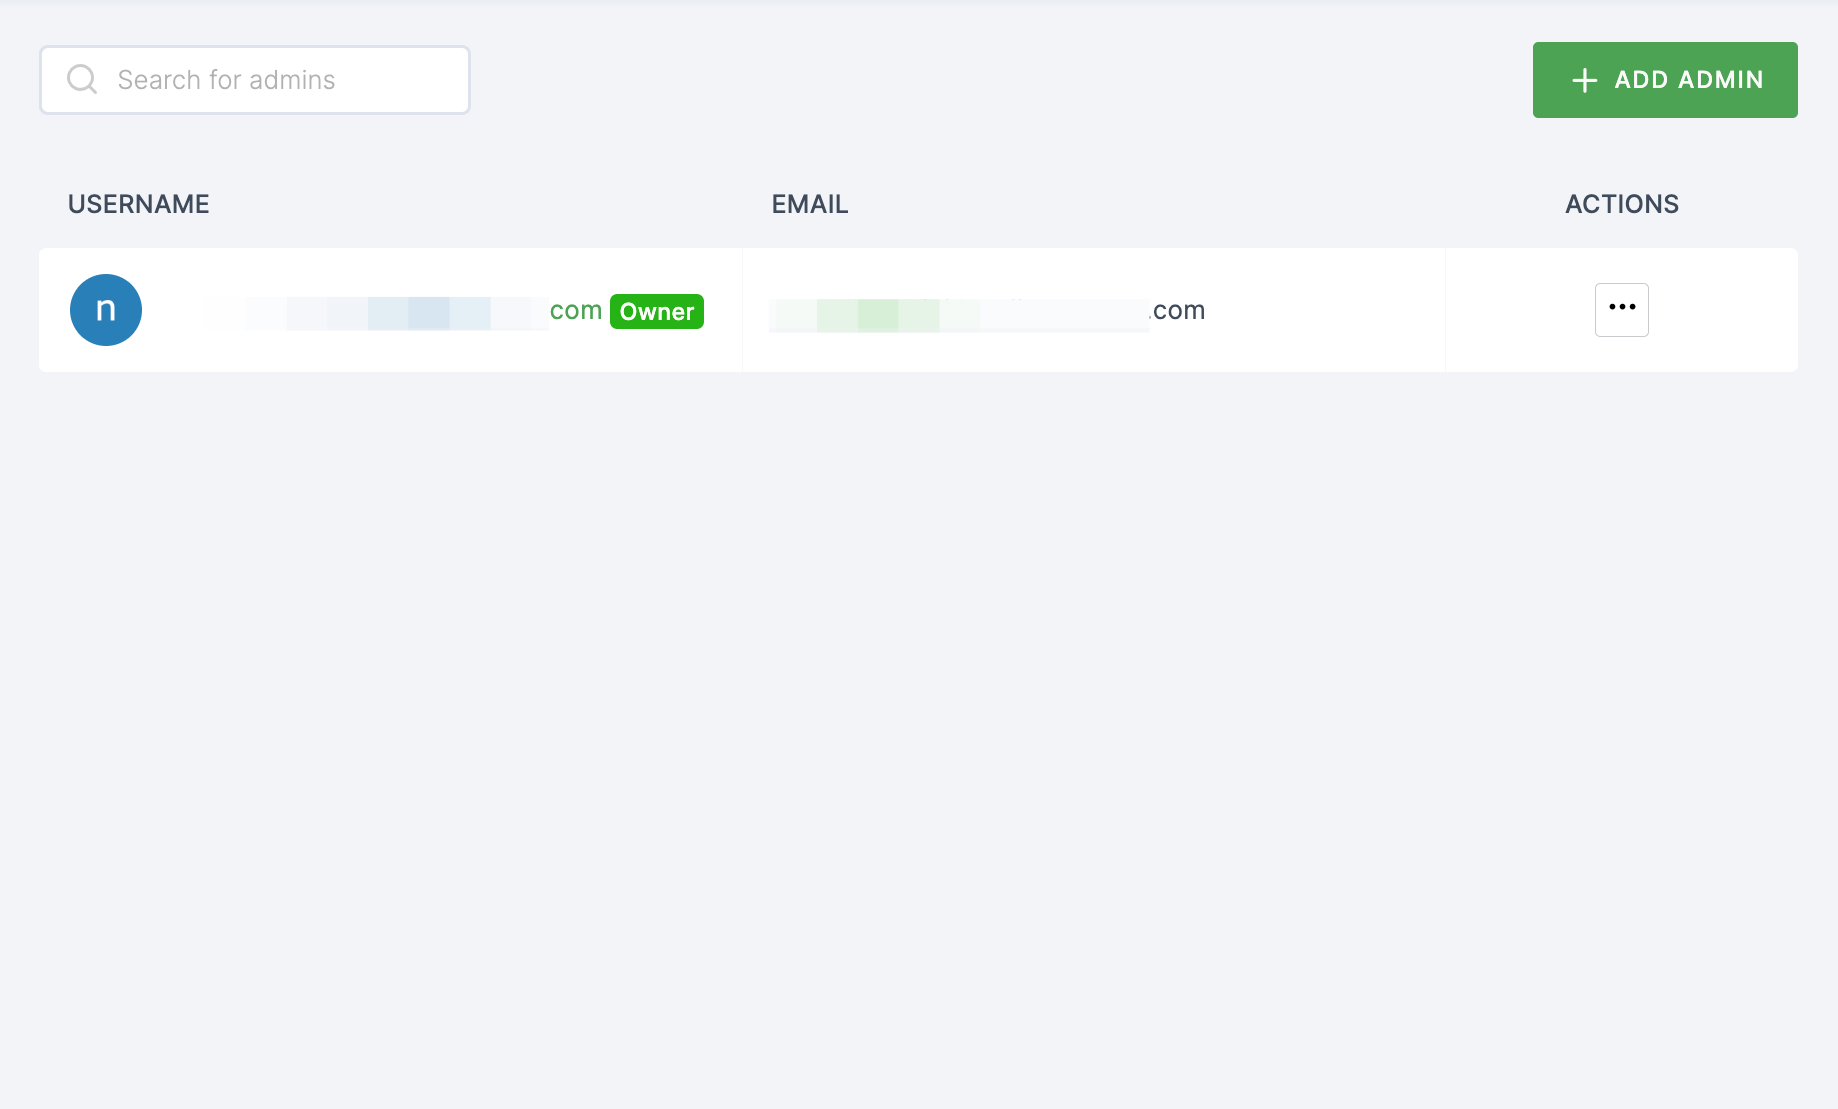
5 Navigate to Settings > Workspace Admins, and choose the admin user to assign the role.
6 You will be taken to the user's Details tab, click on Roles.
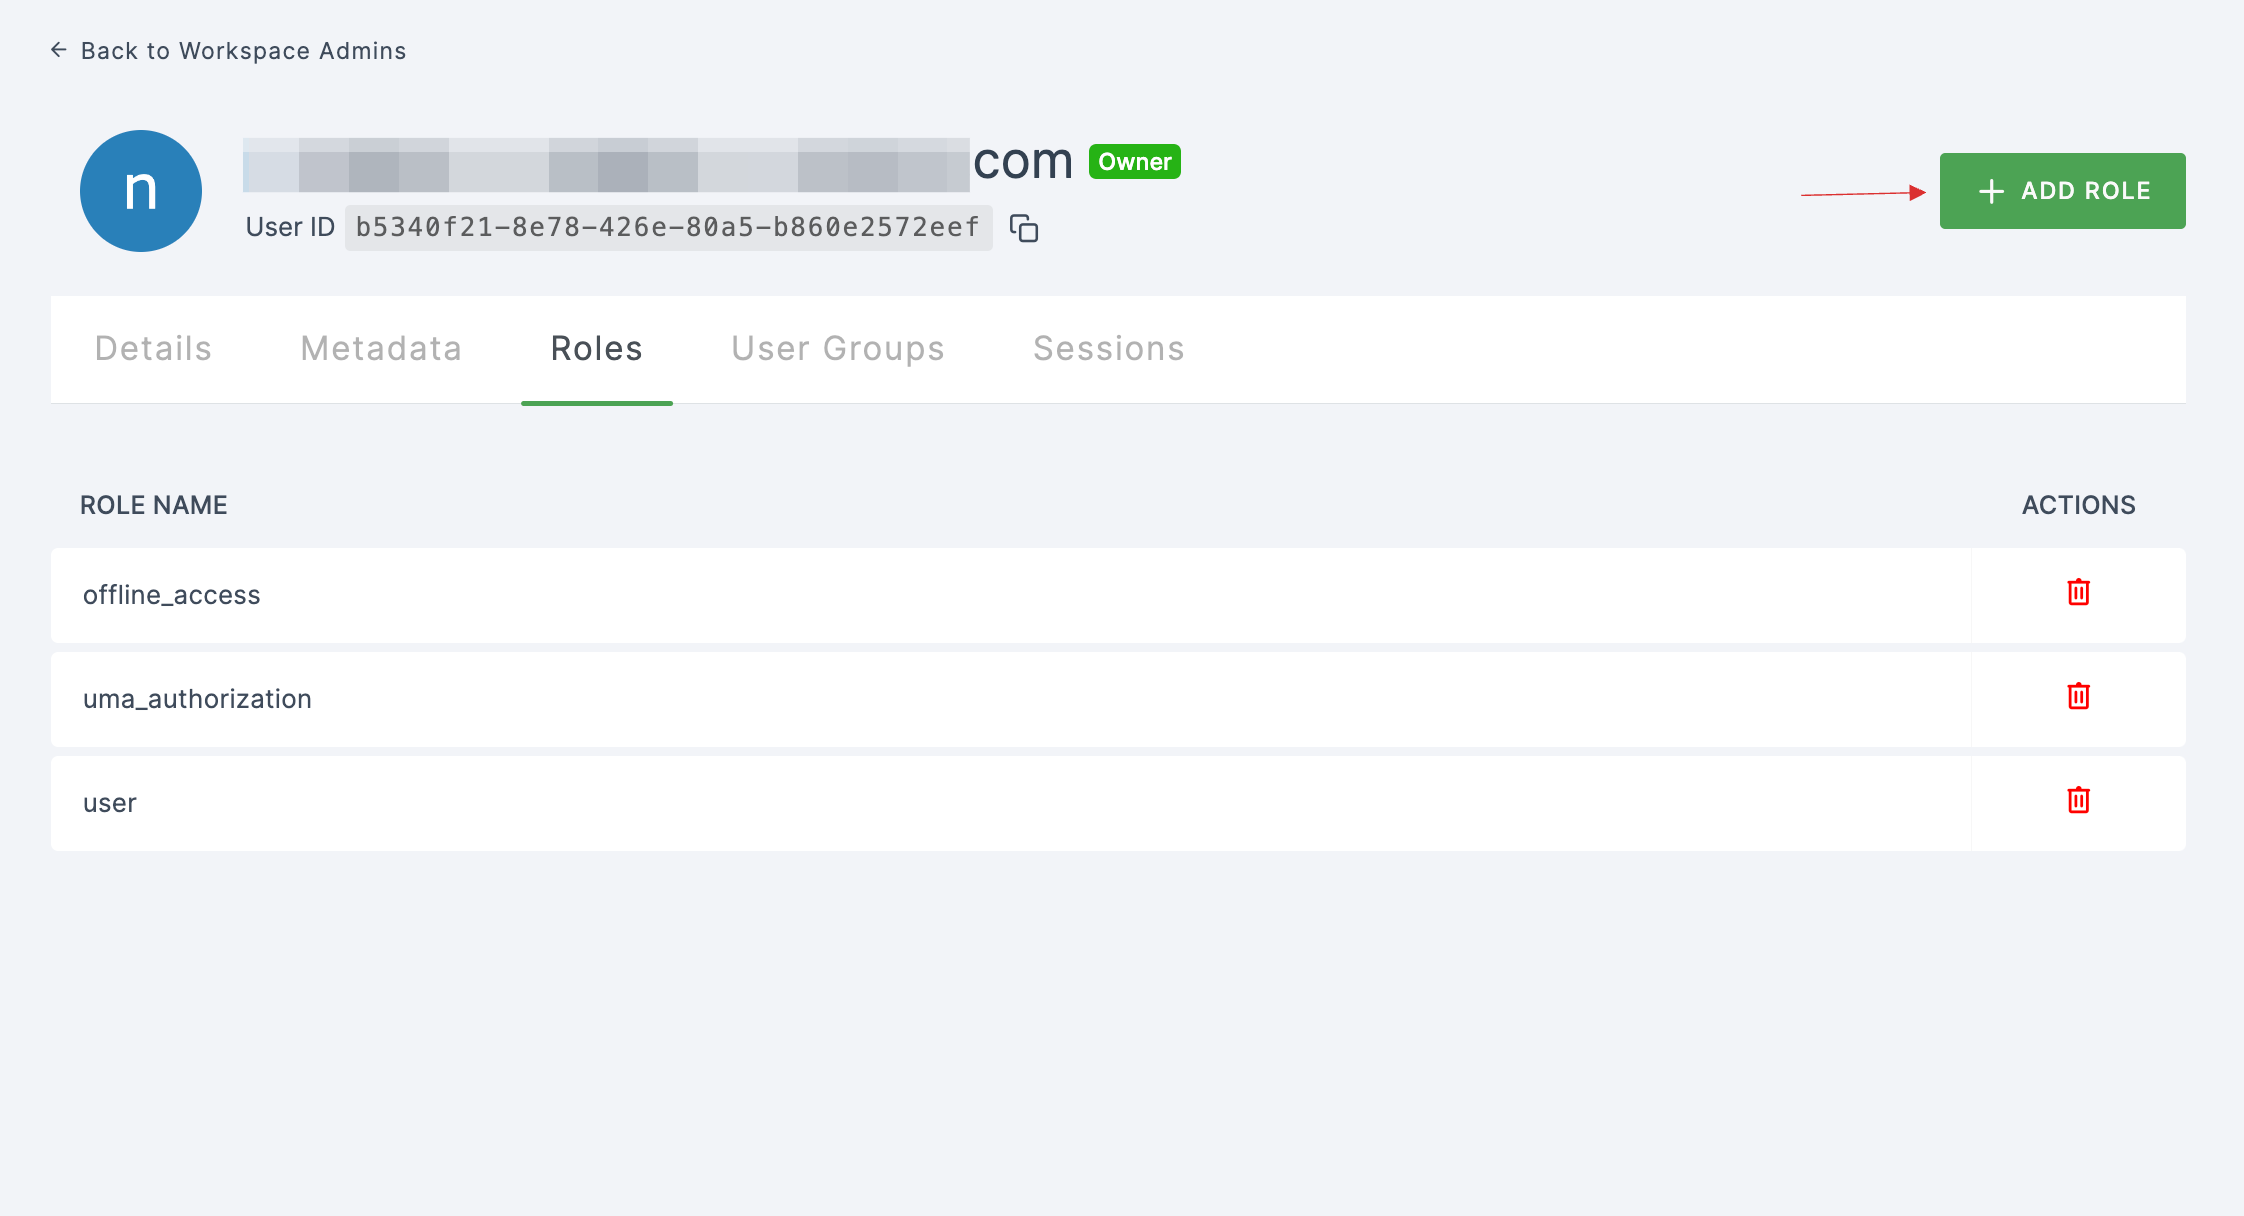
7 Click on + ADD ROLE.
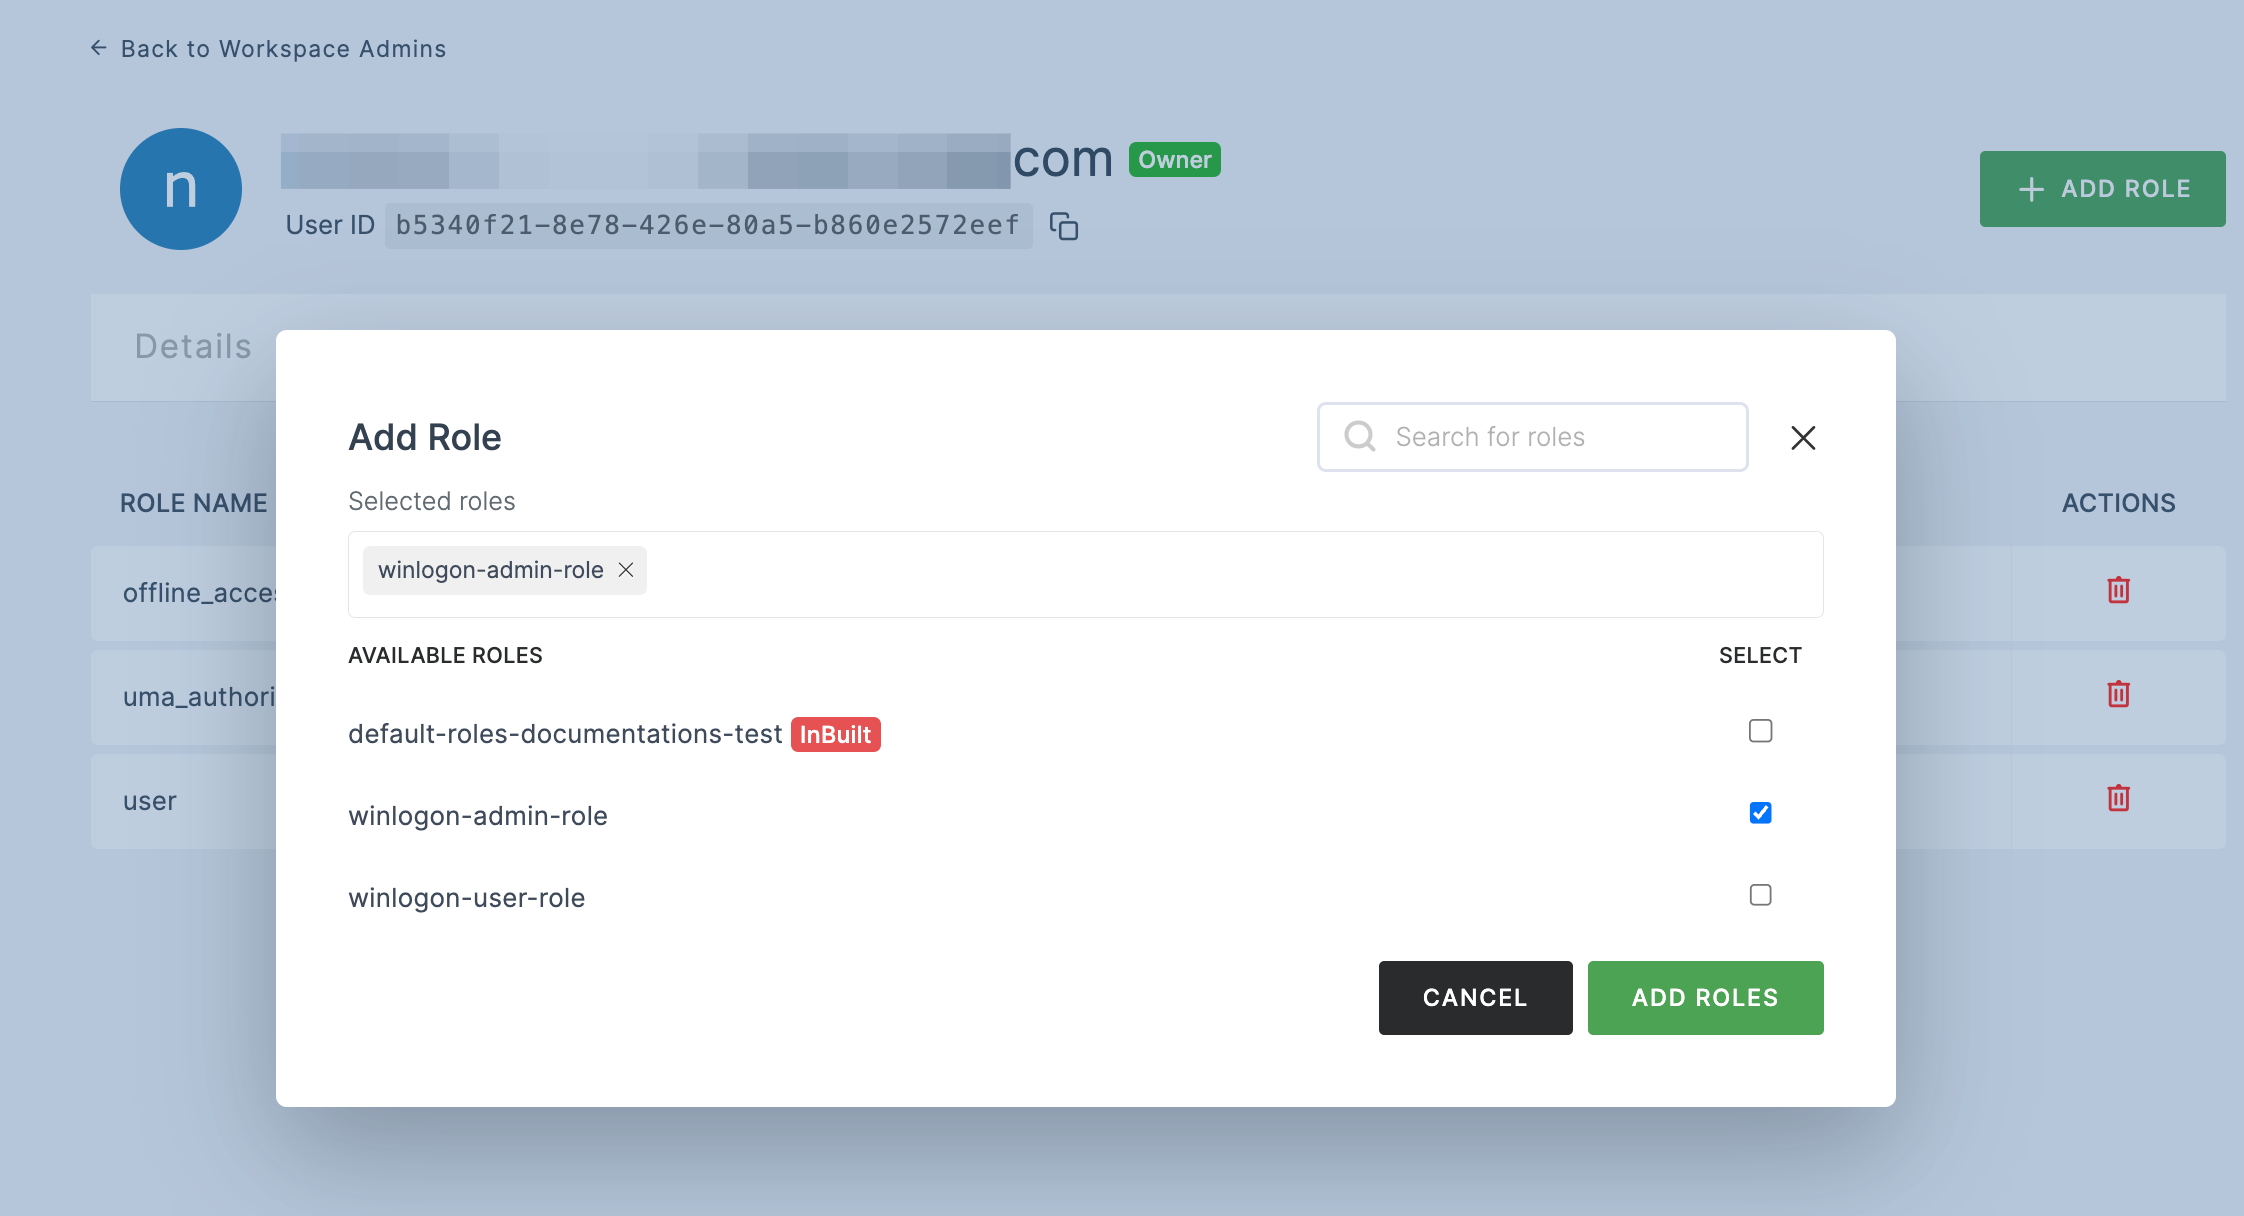
8 The available roles will appear; select winlogon-admin-role and click on ADD ROLES.
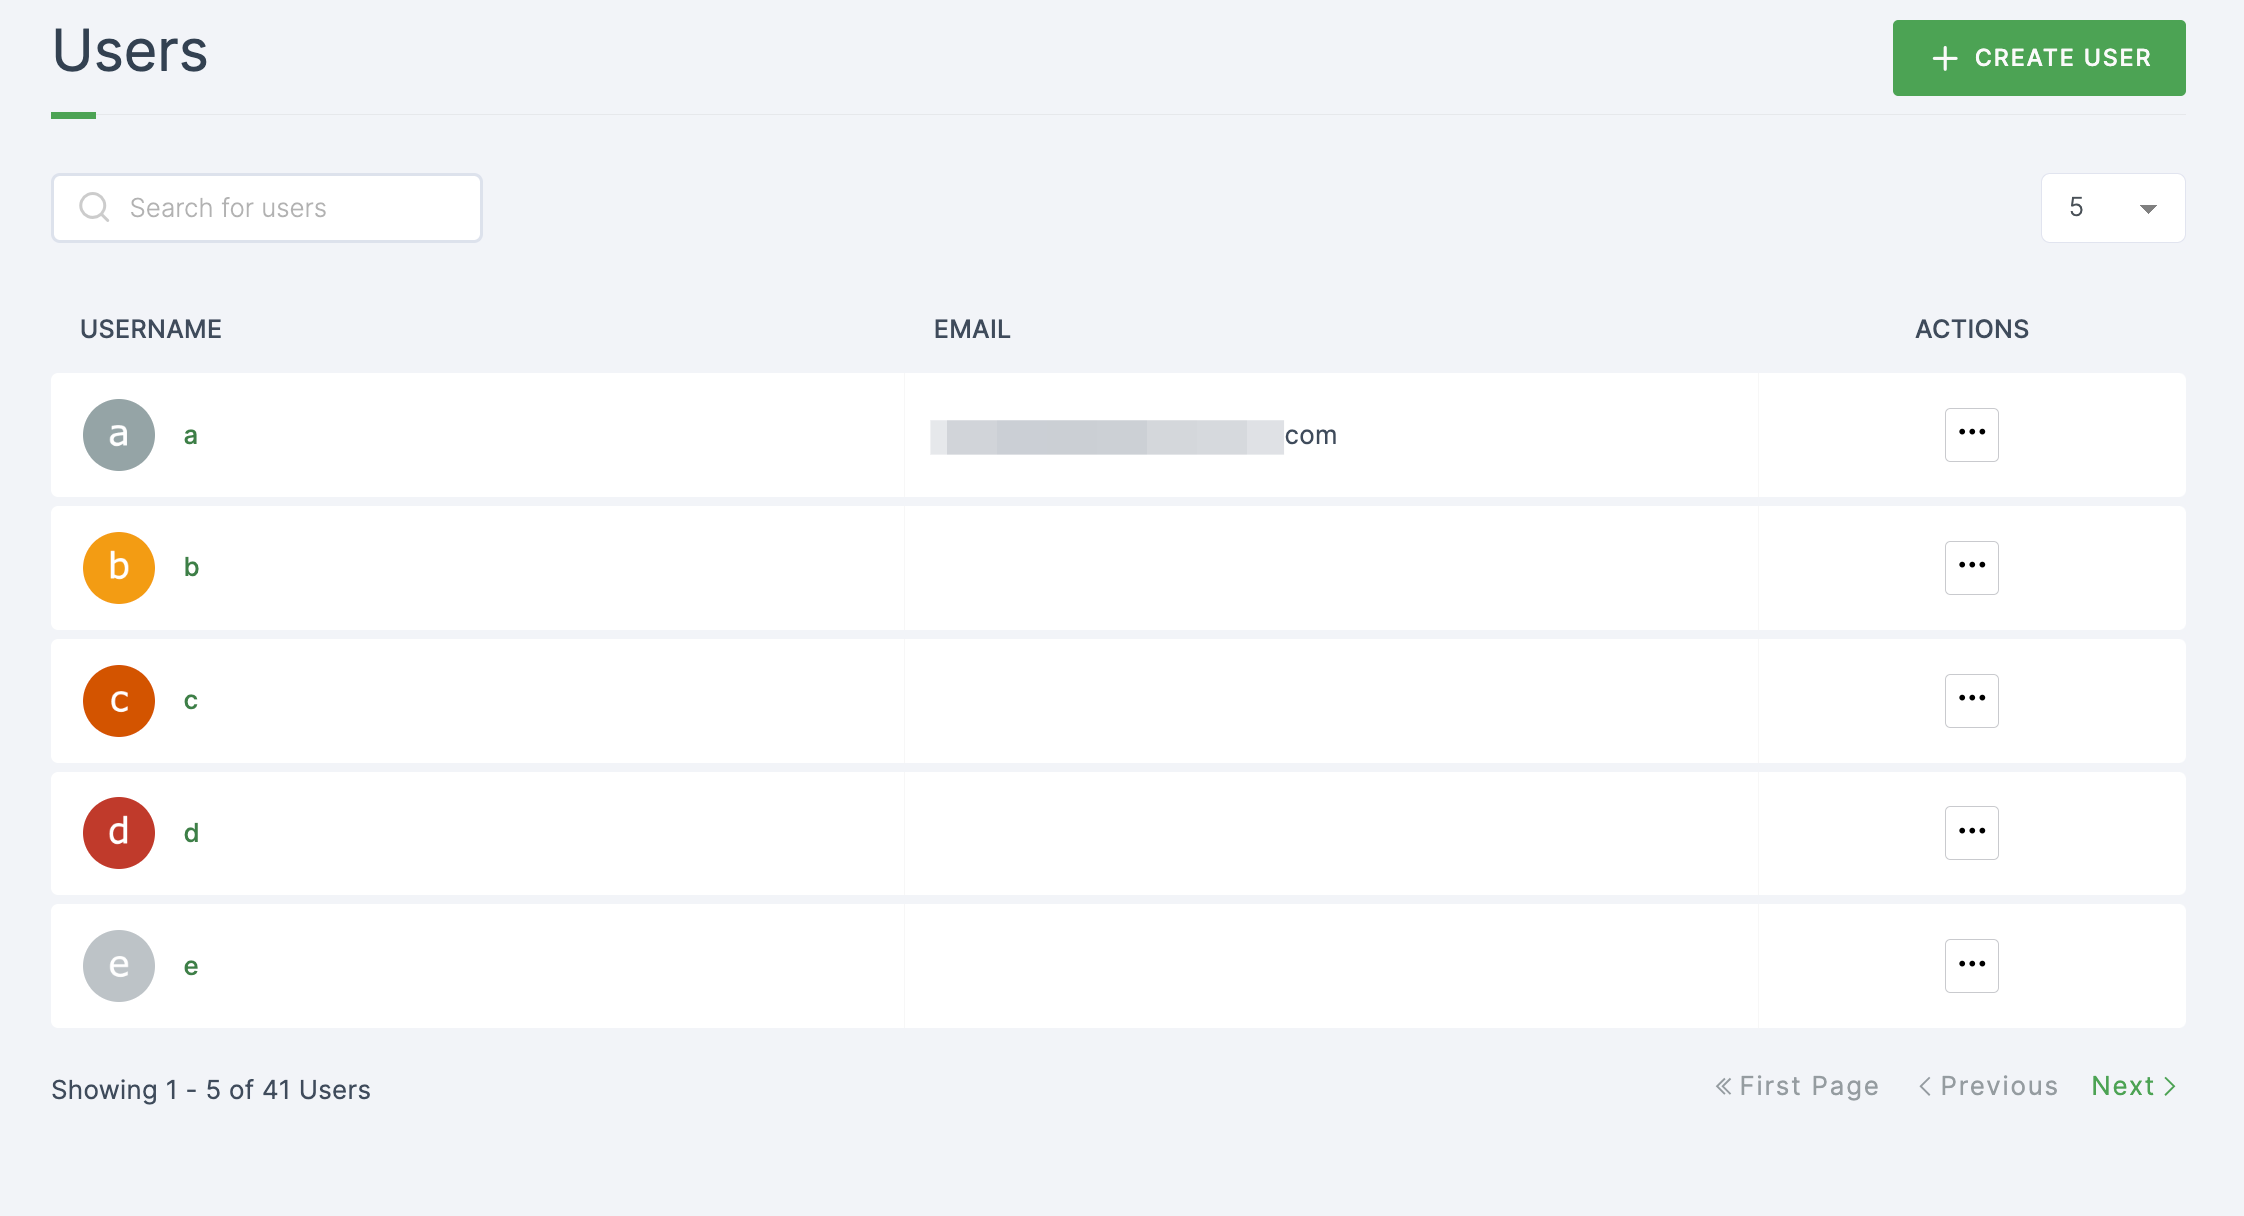
9 Continue by assigning a user with the Winlogon role. Navigate to User Management > User, and click on the specific user to whom you want to assign the role.
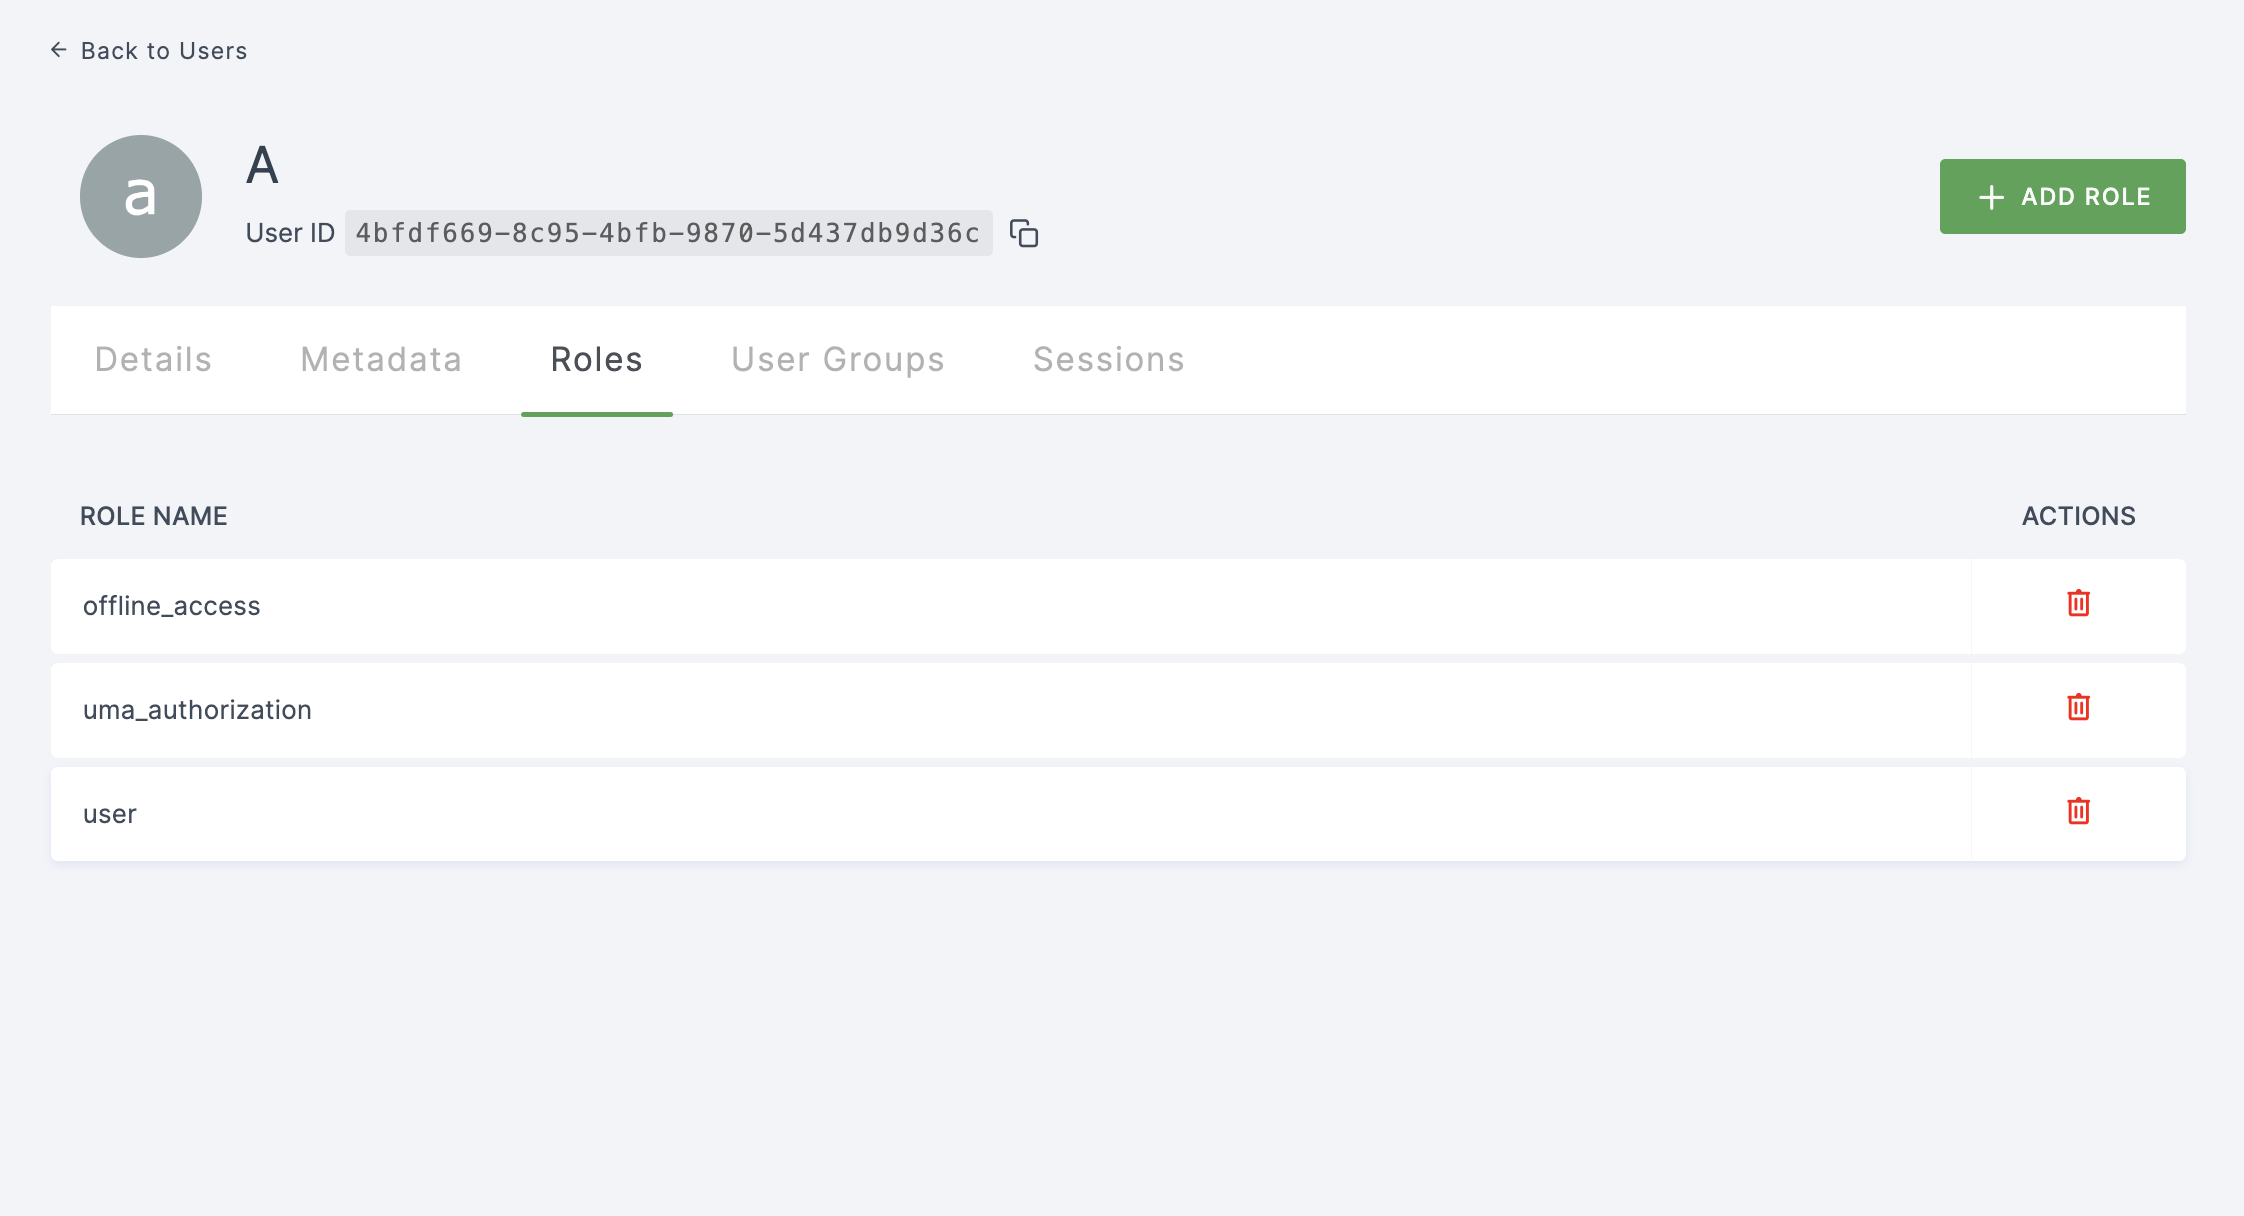
10 You will be taken to the user's Details tab, click on Roles.
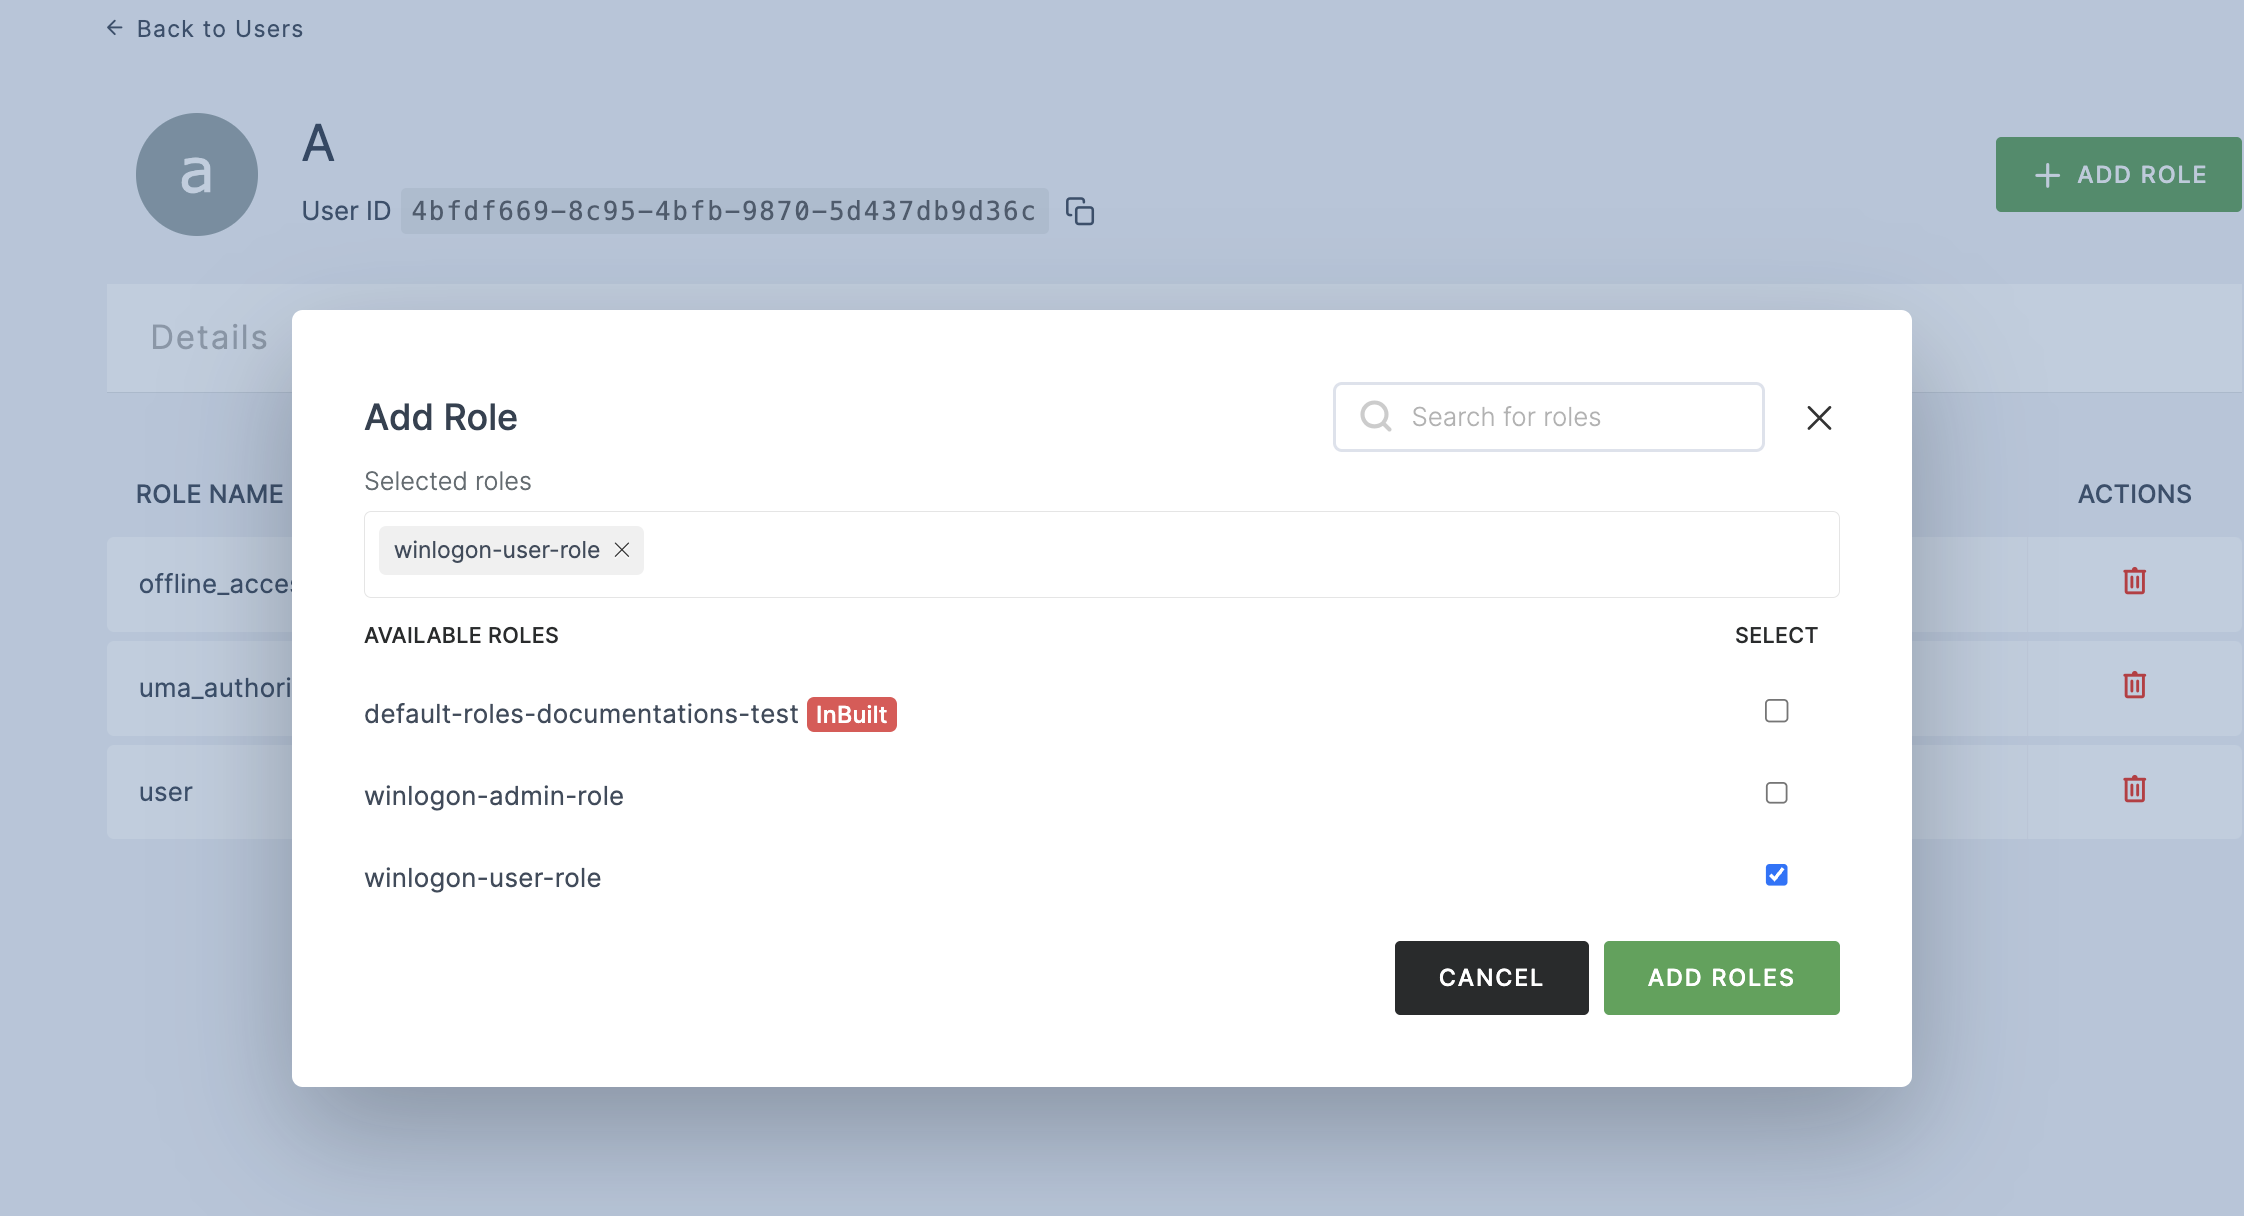
11 Click on + ADD ROLE.
12 The available roles will appear; select winlogon-user-role and click on ADD ROLES.
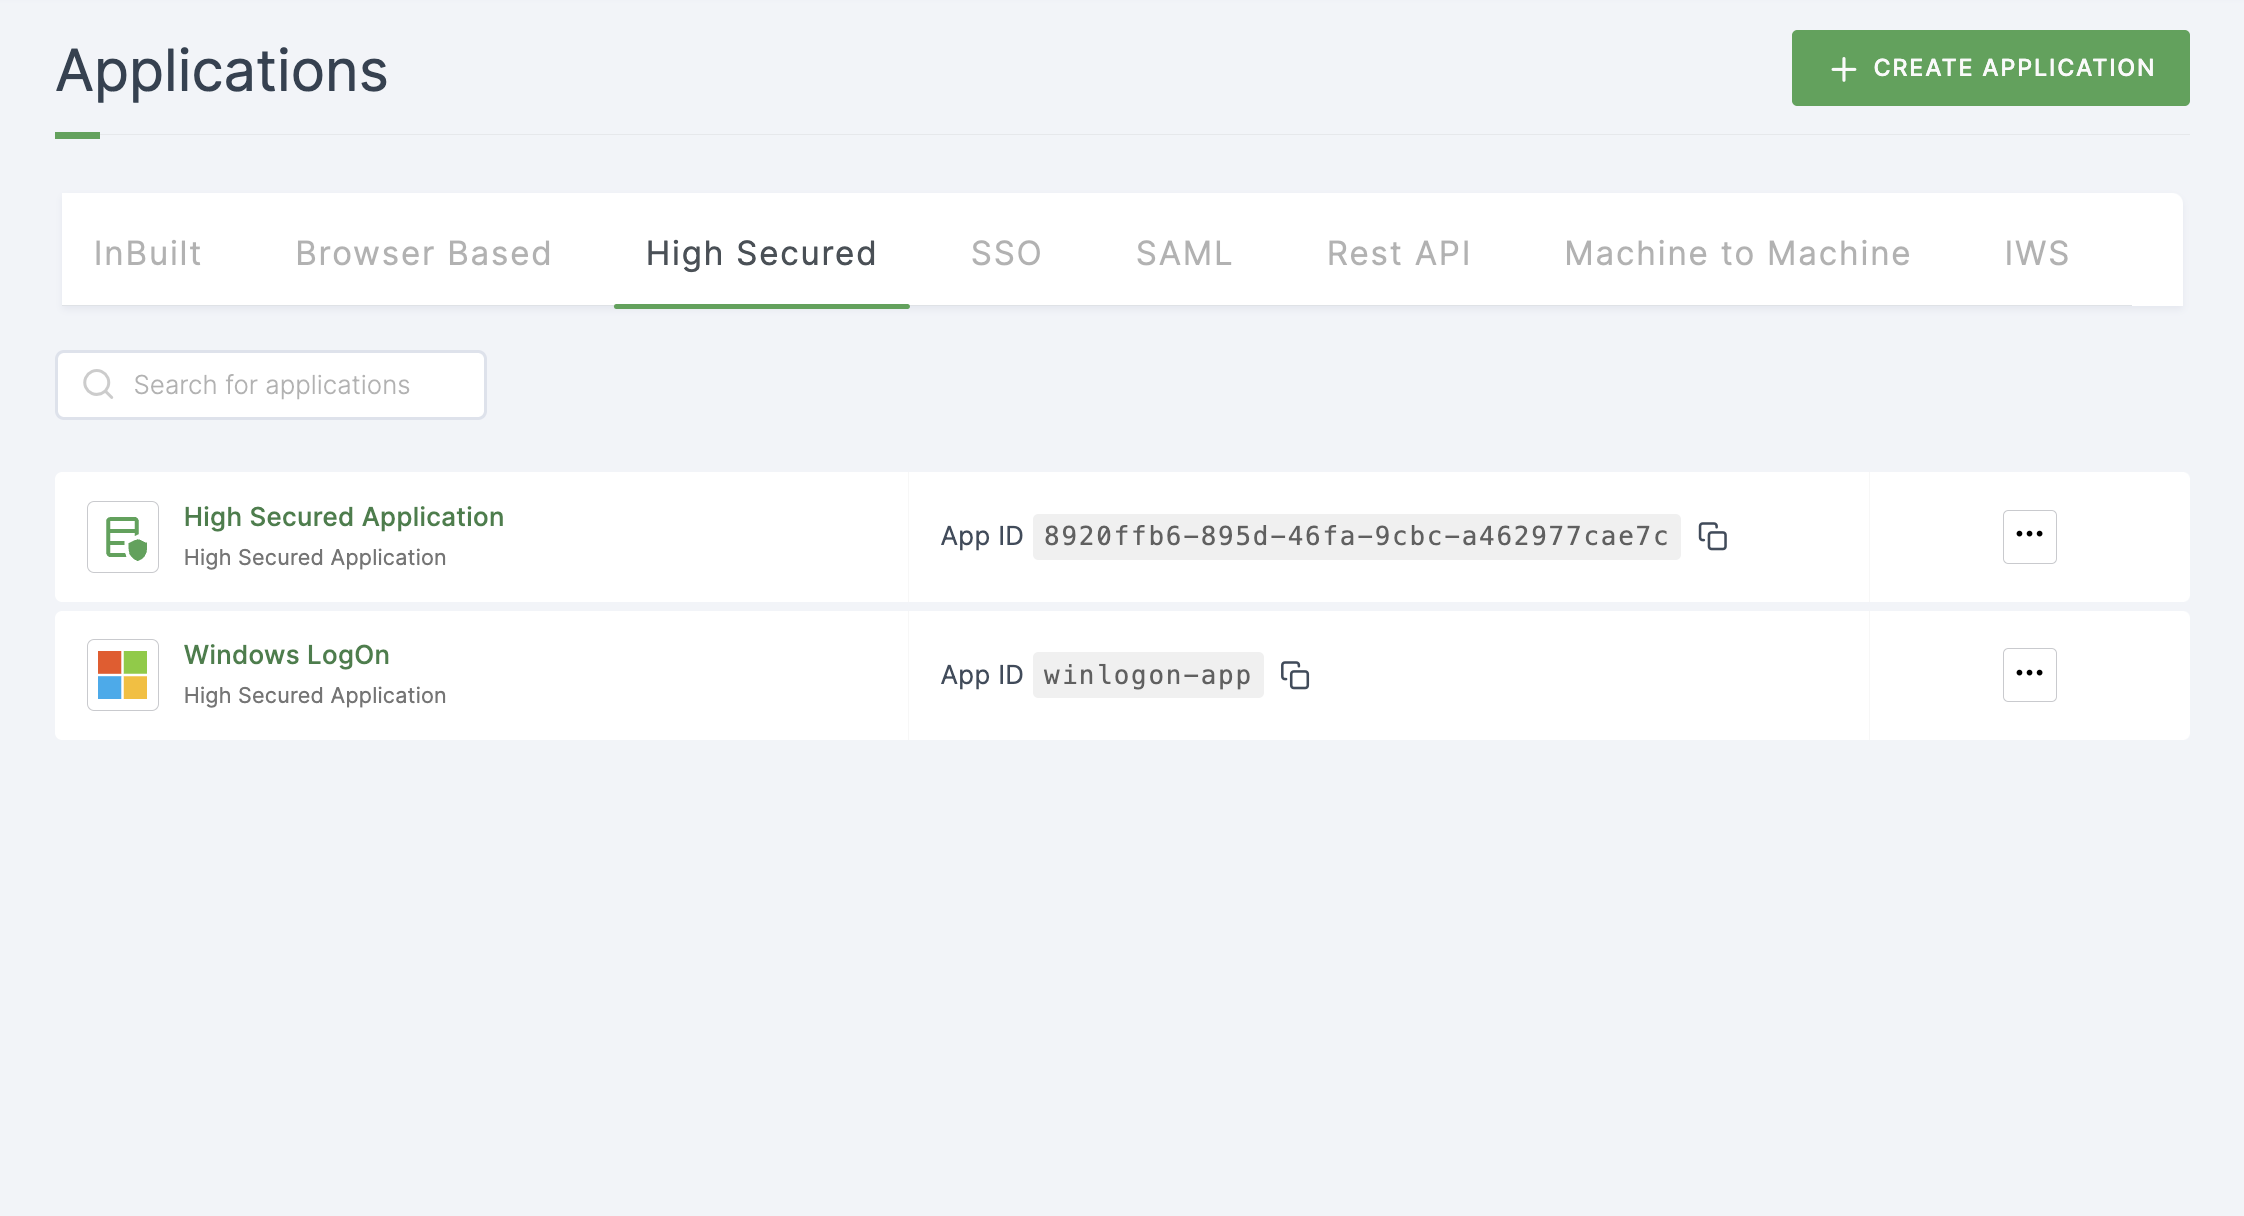
13 Navigate to Applications > High Secured.
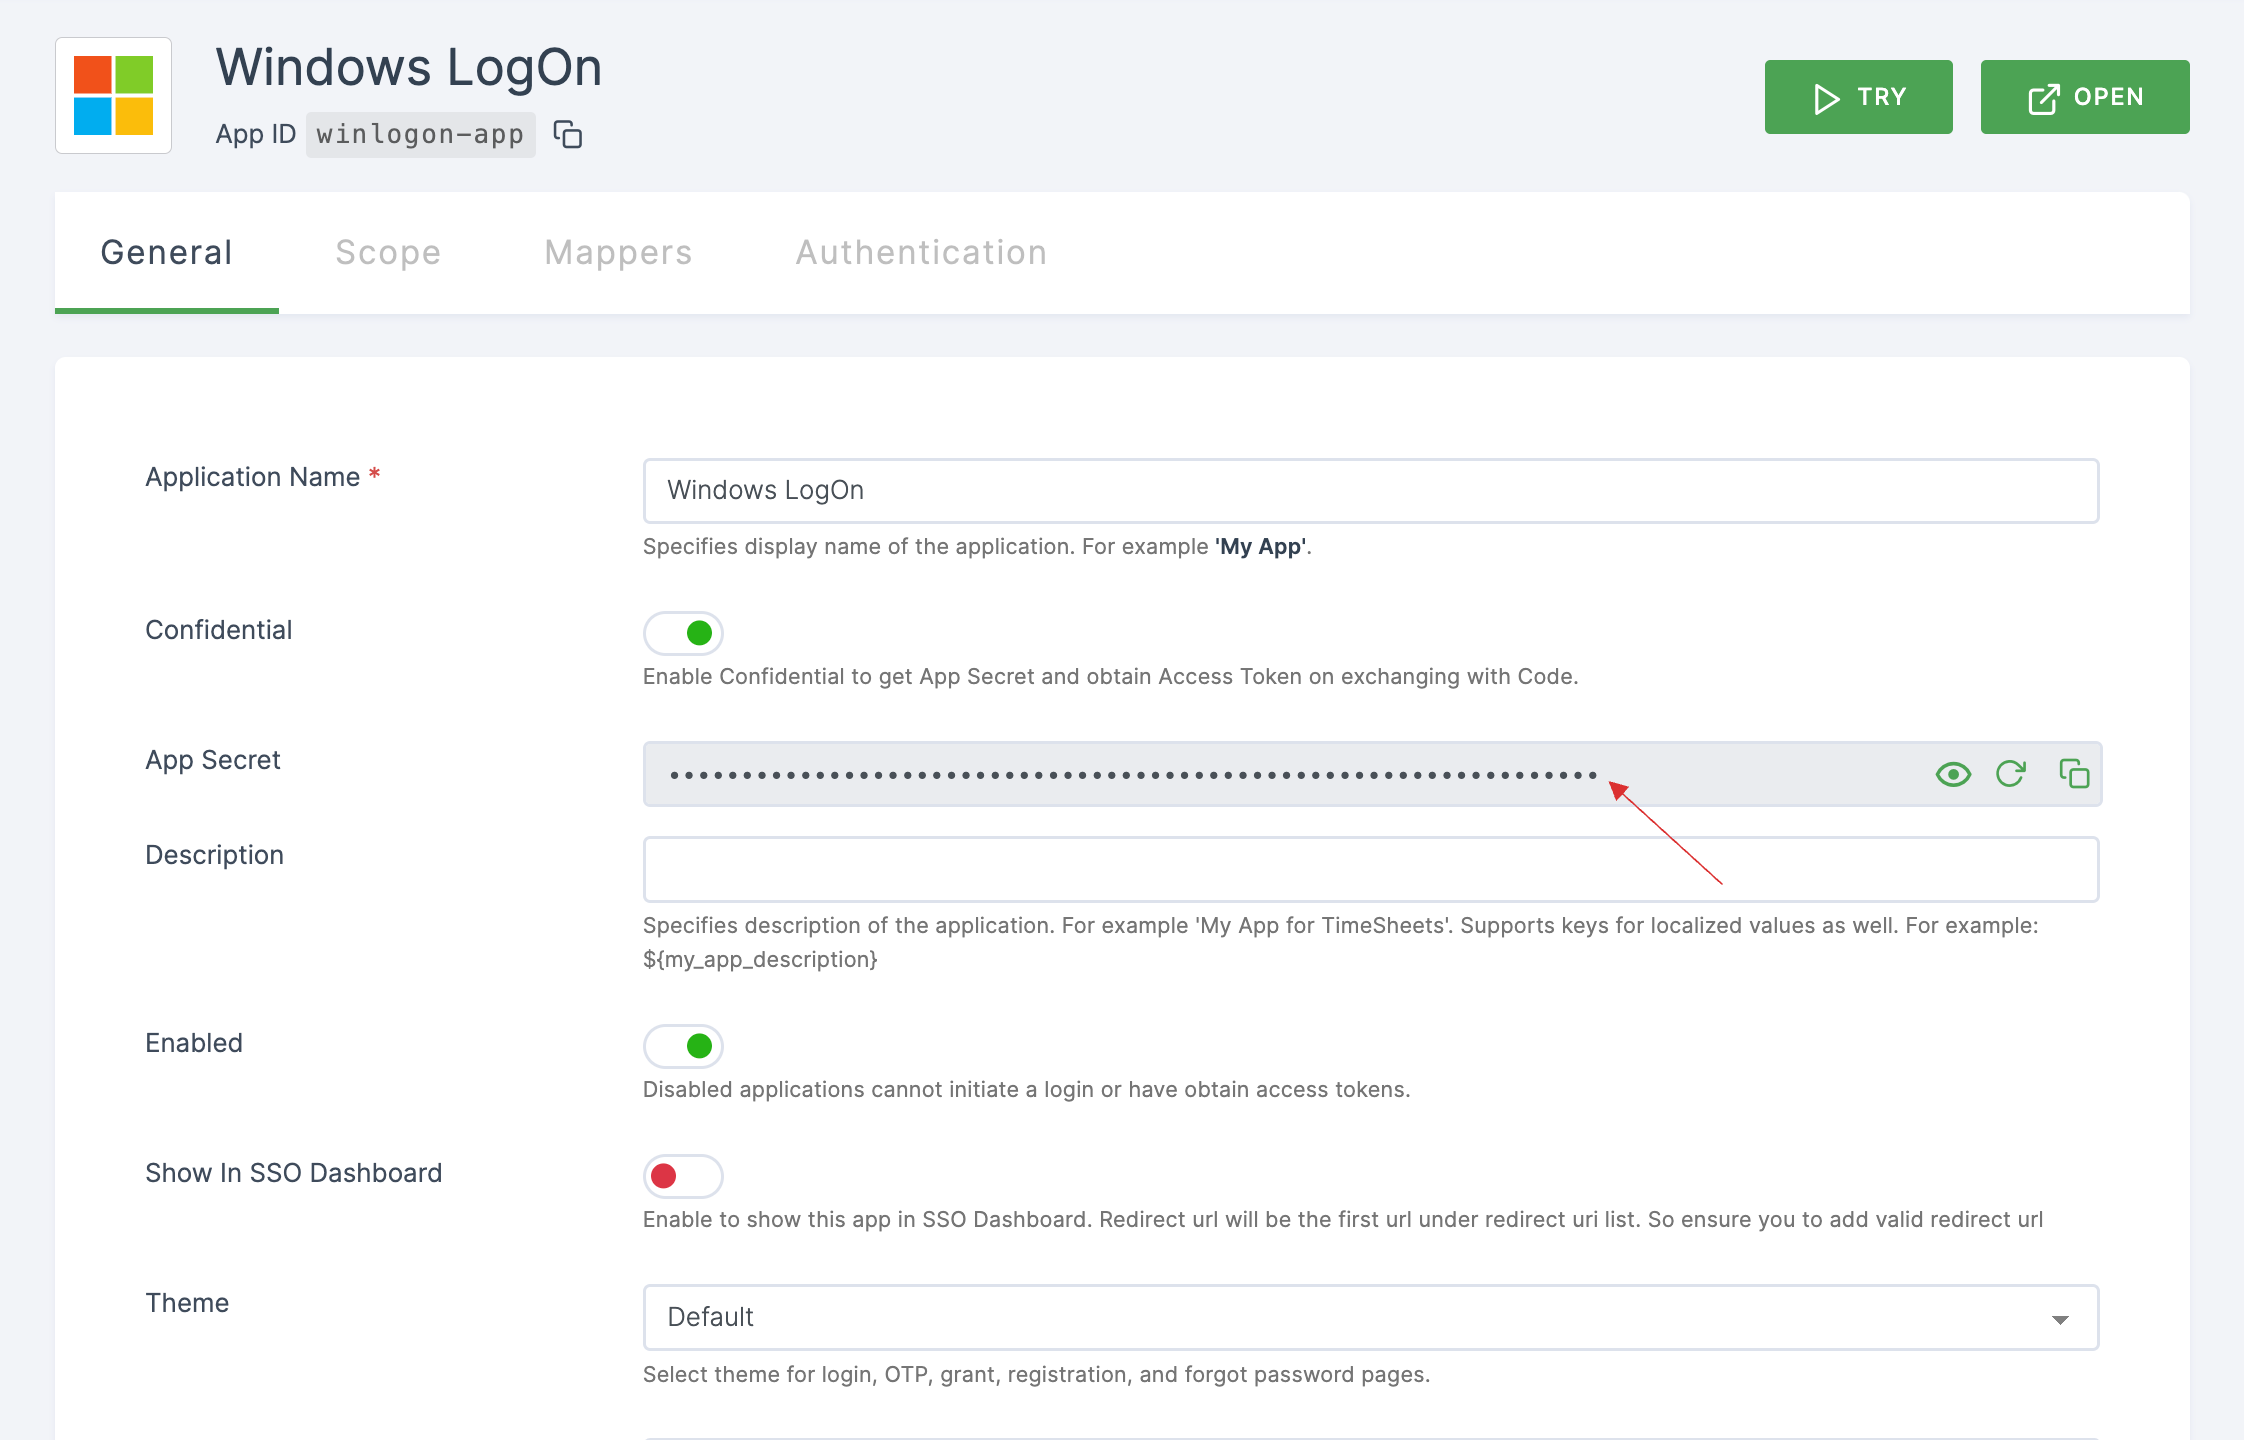
14 Copy the App Secret to your clipboard.
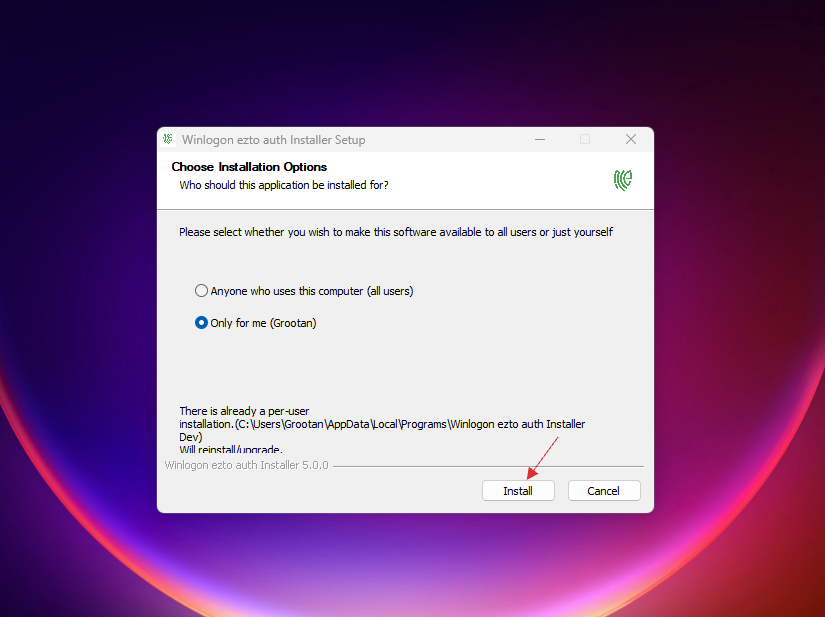
15 Install the downloaded WinLogOn Installer Application and click on Install.
16 Click on Finish.
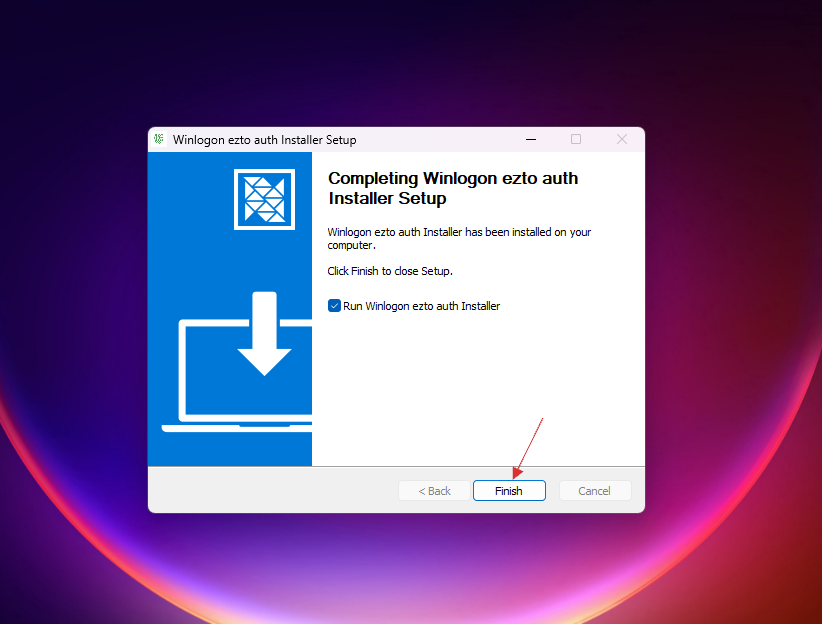
17 You will be redirected to the Winlogon setup page.
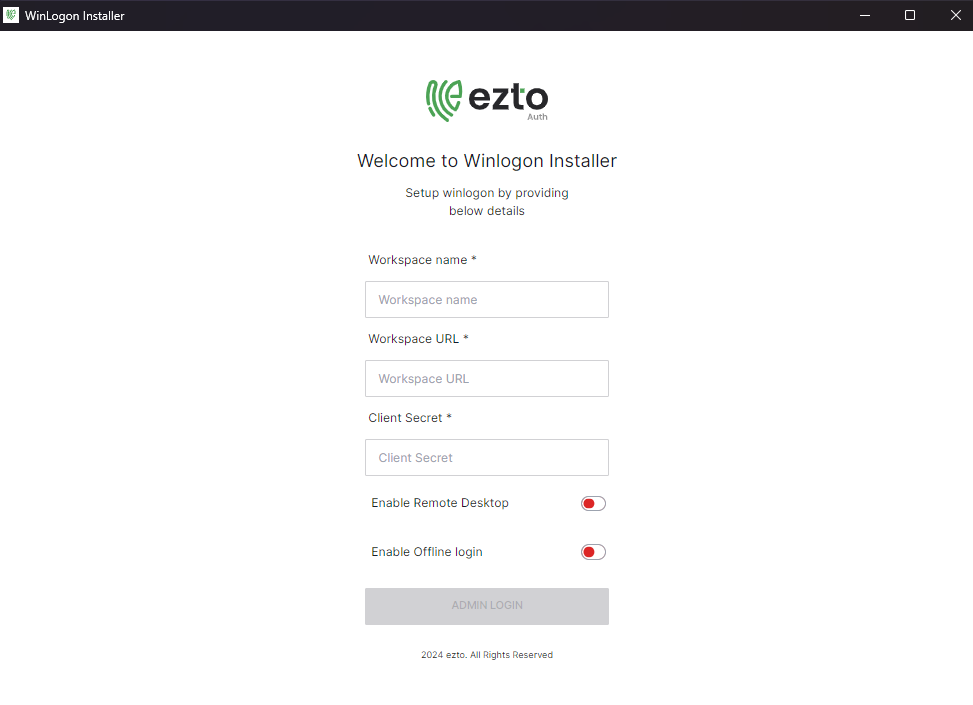
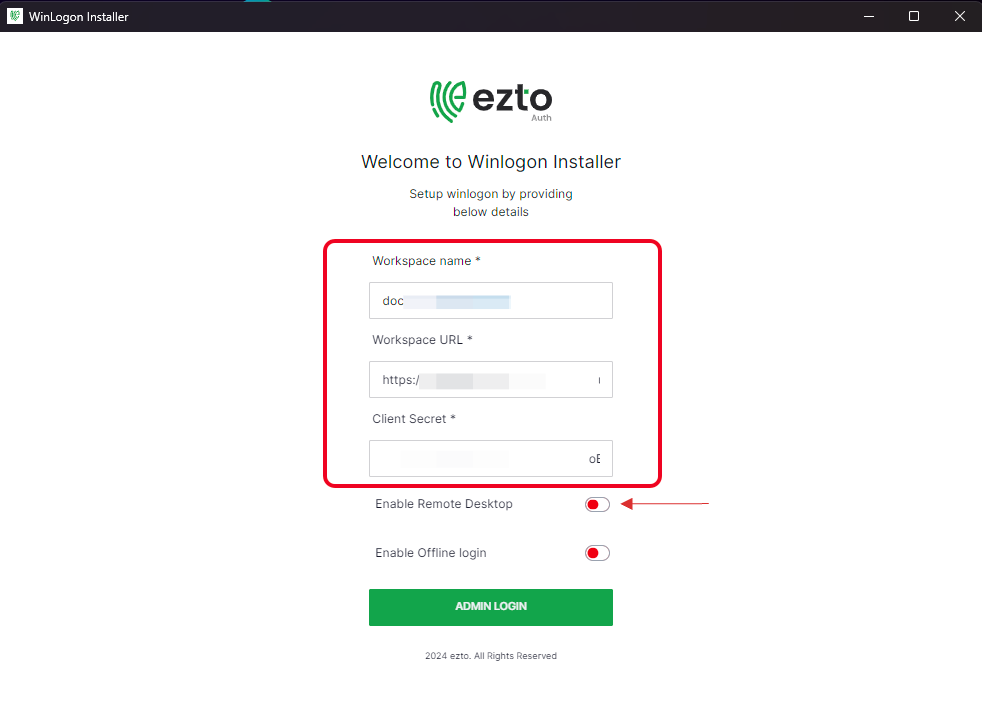
18 Provide Workspace name, URL, App Secret and Enable Remote Desktop. Click on ADMIN LOGIN.
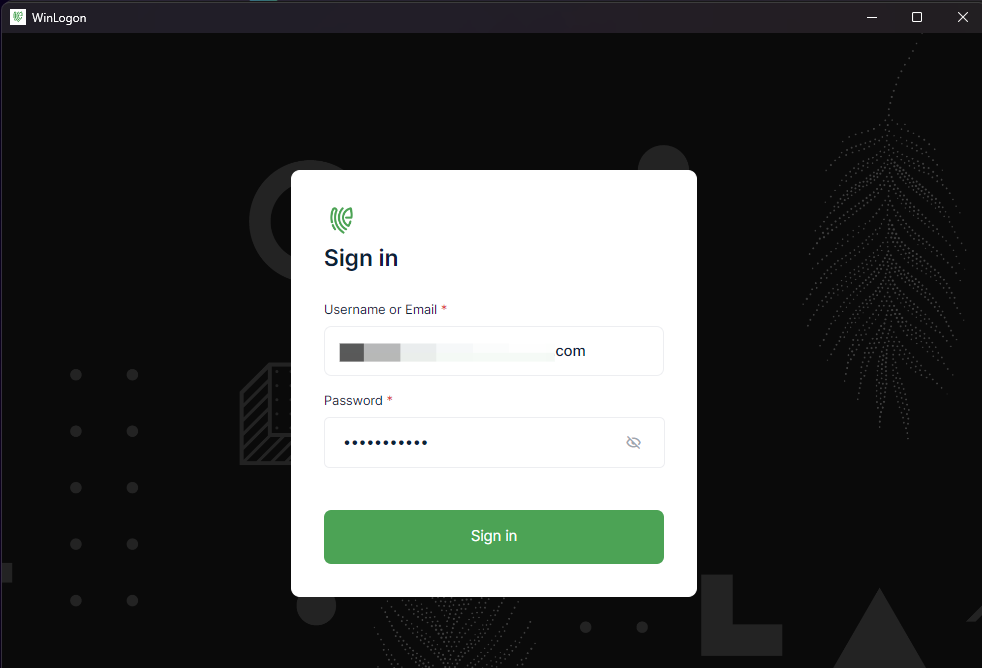
19 Provide your dashboard login credentials and click on Sign in.
20 You will be prompted to log in; click on LOGIN TO CONTINUE.
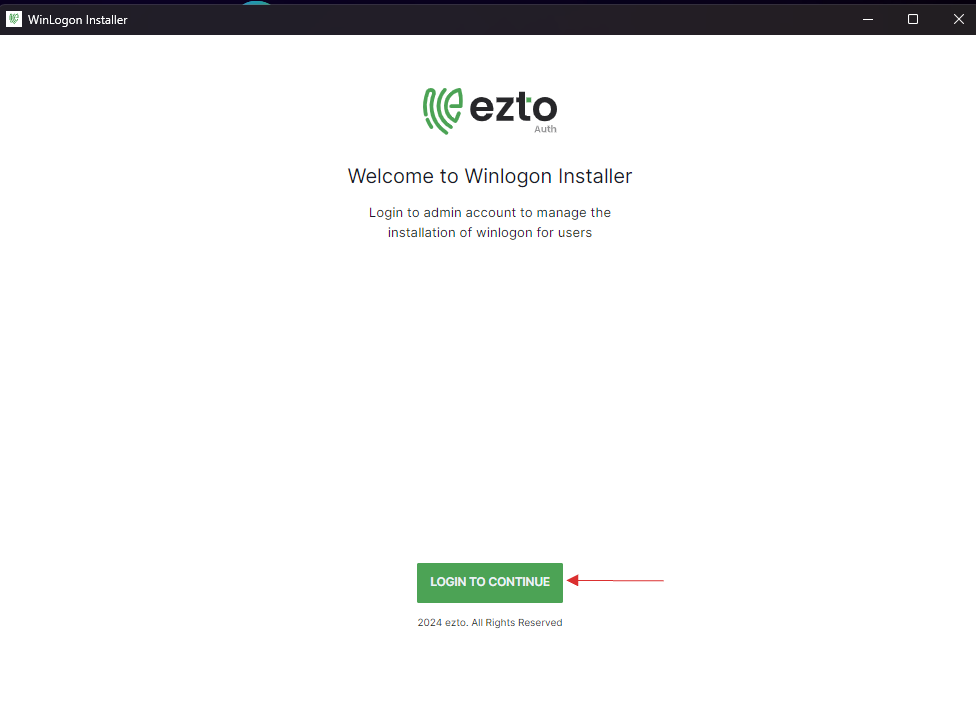
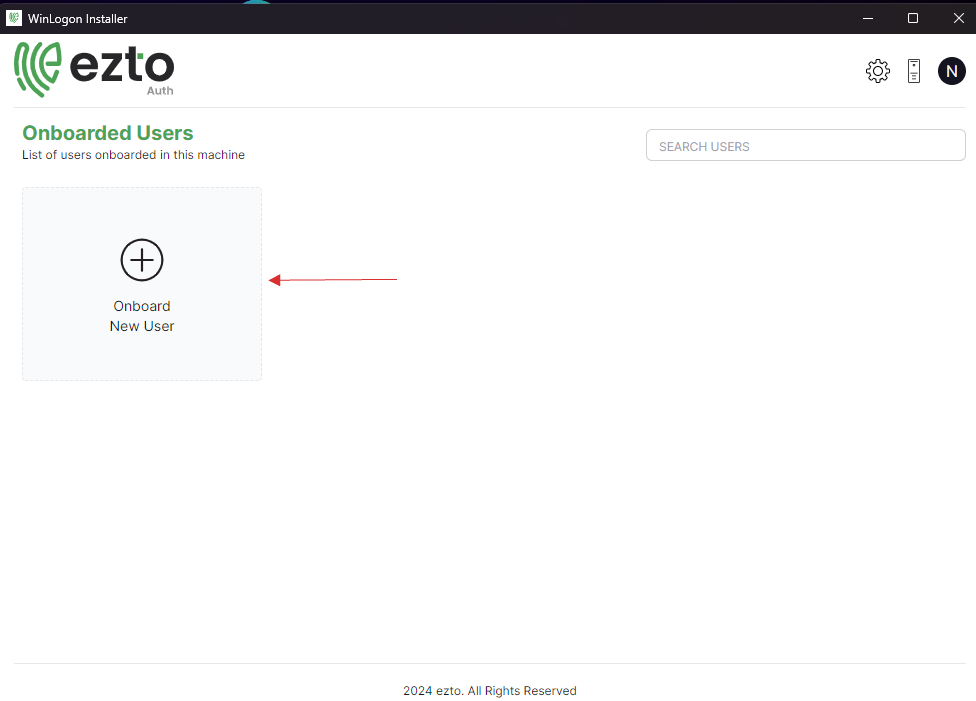
21 Click on Onboard New User and choose the user you wish to onboard.
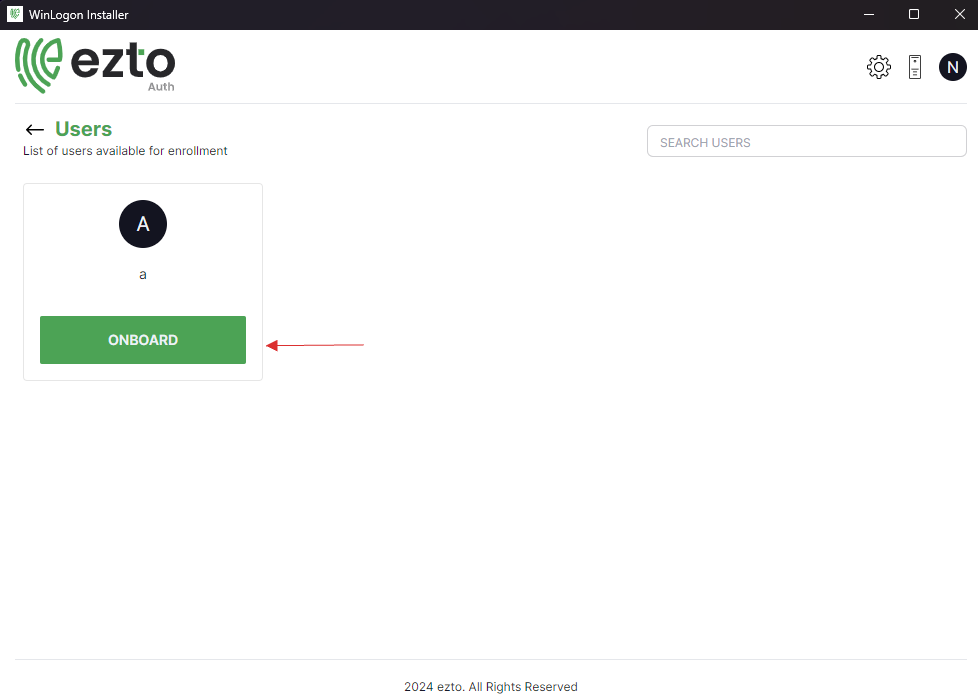
22 Click on ONBOARD USER.
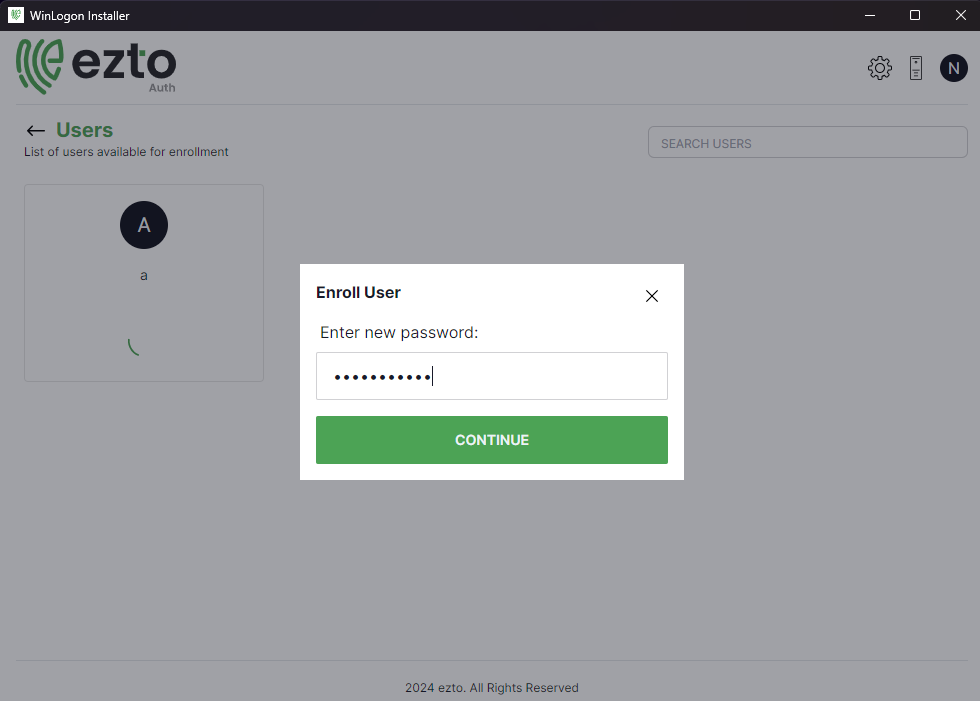
23 Enter the password to enroll the User, click on CONTINUE.
24 The user will be successfully onboarded.
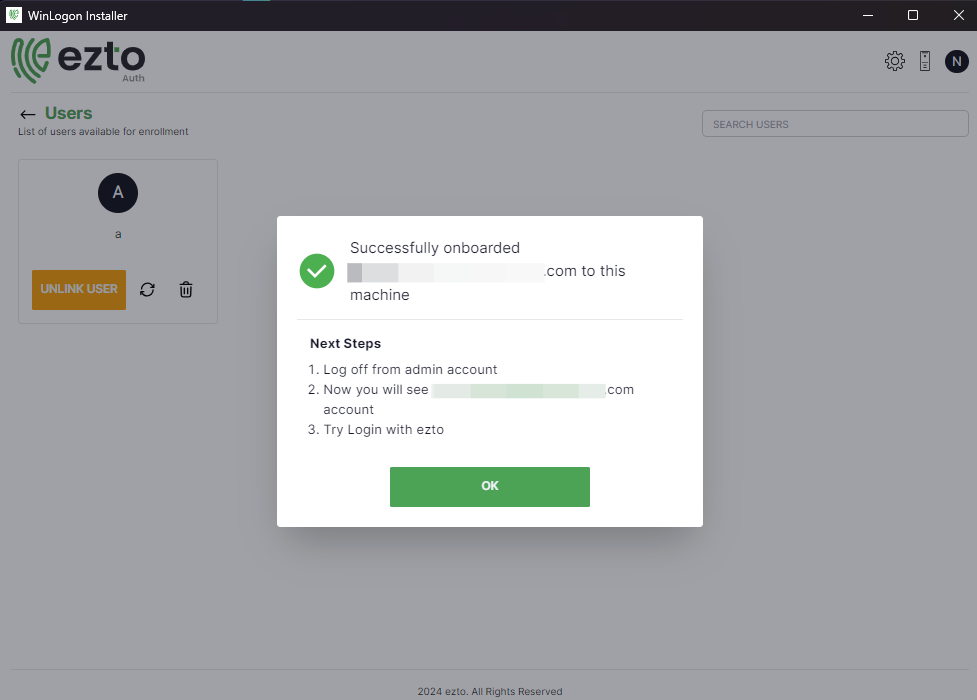
25 Attempt remote connection by entering the PC credentials for the target system.. Utilize Microsoft Remote Desktop for remote access.
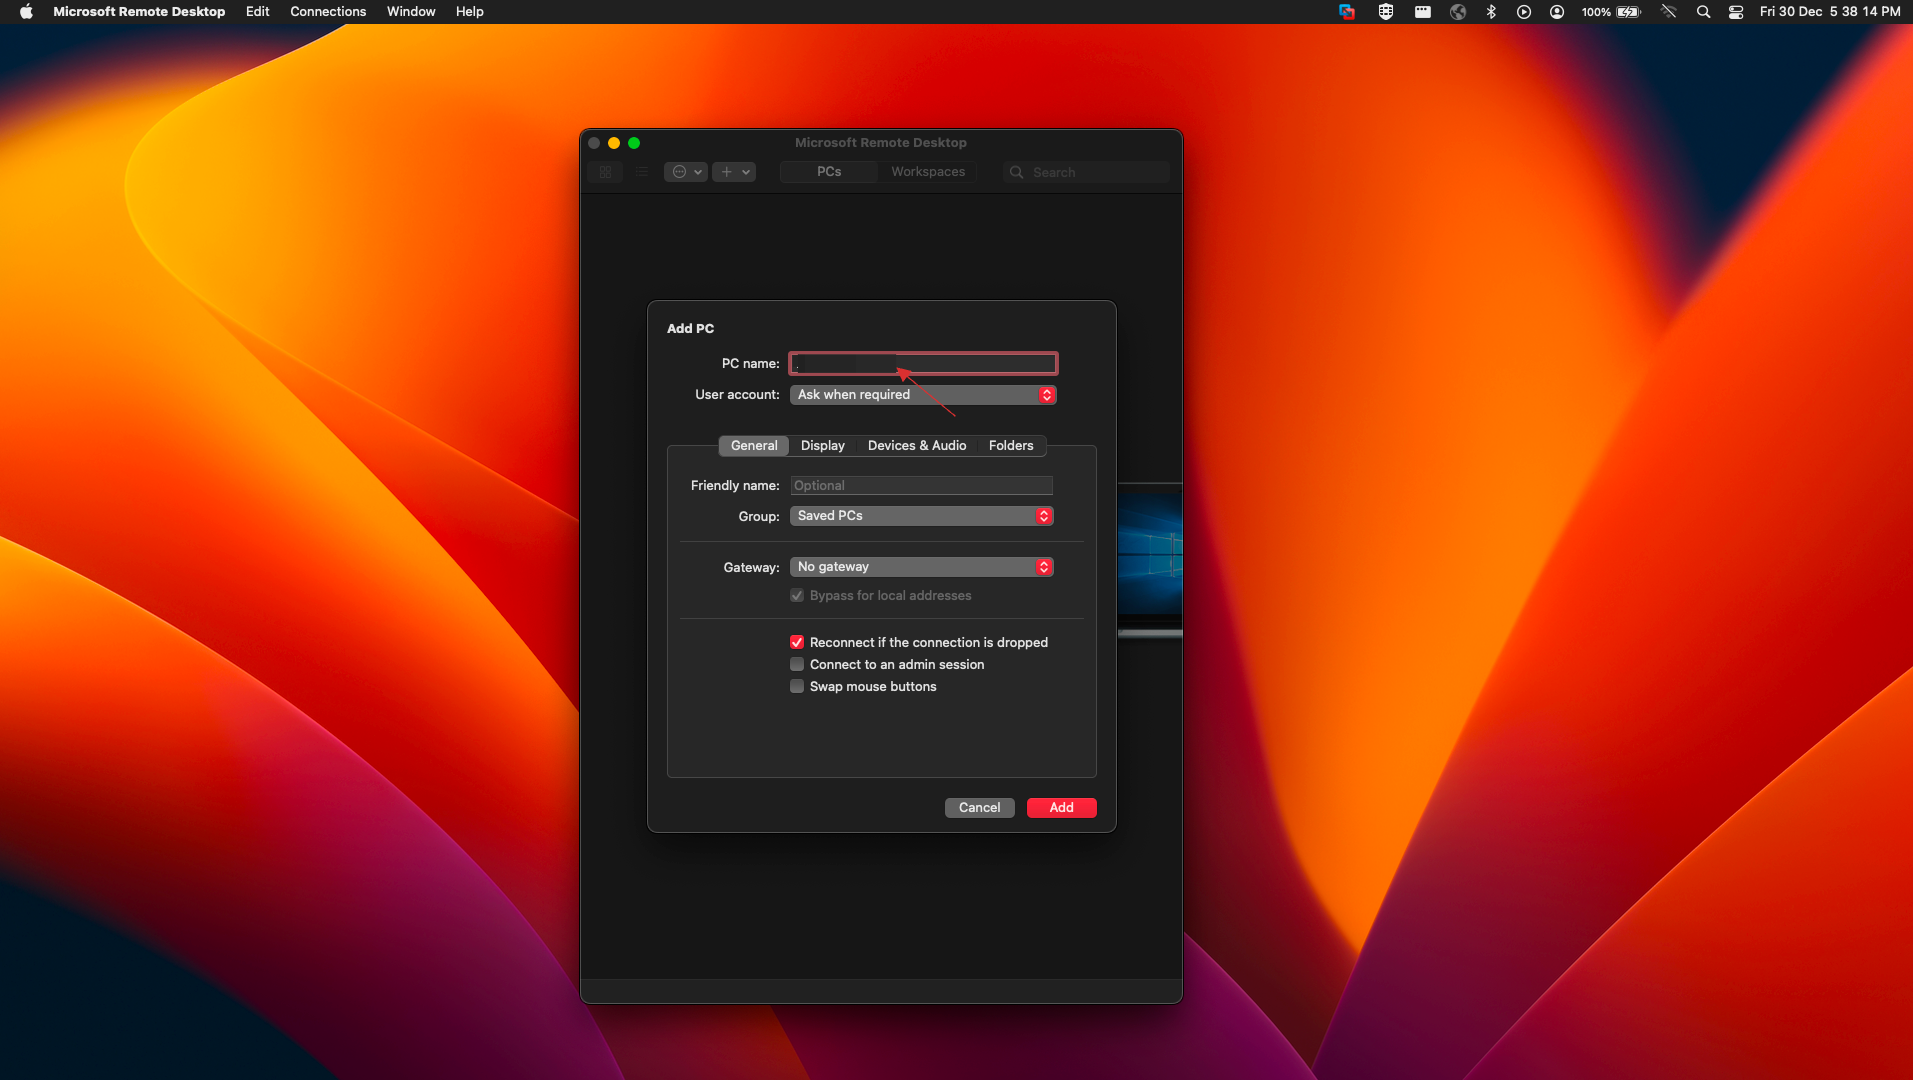
26 The PC to be accessed remotely will be added.
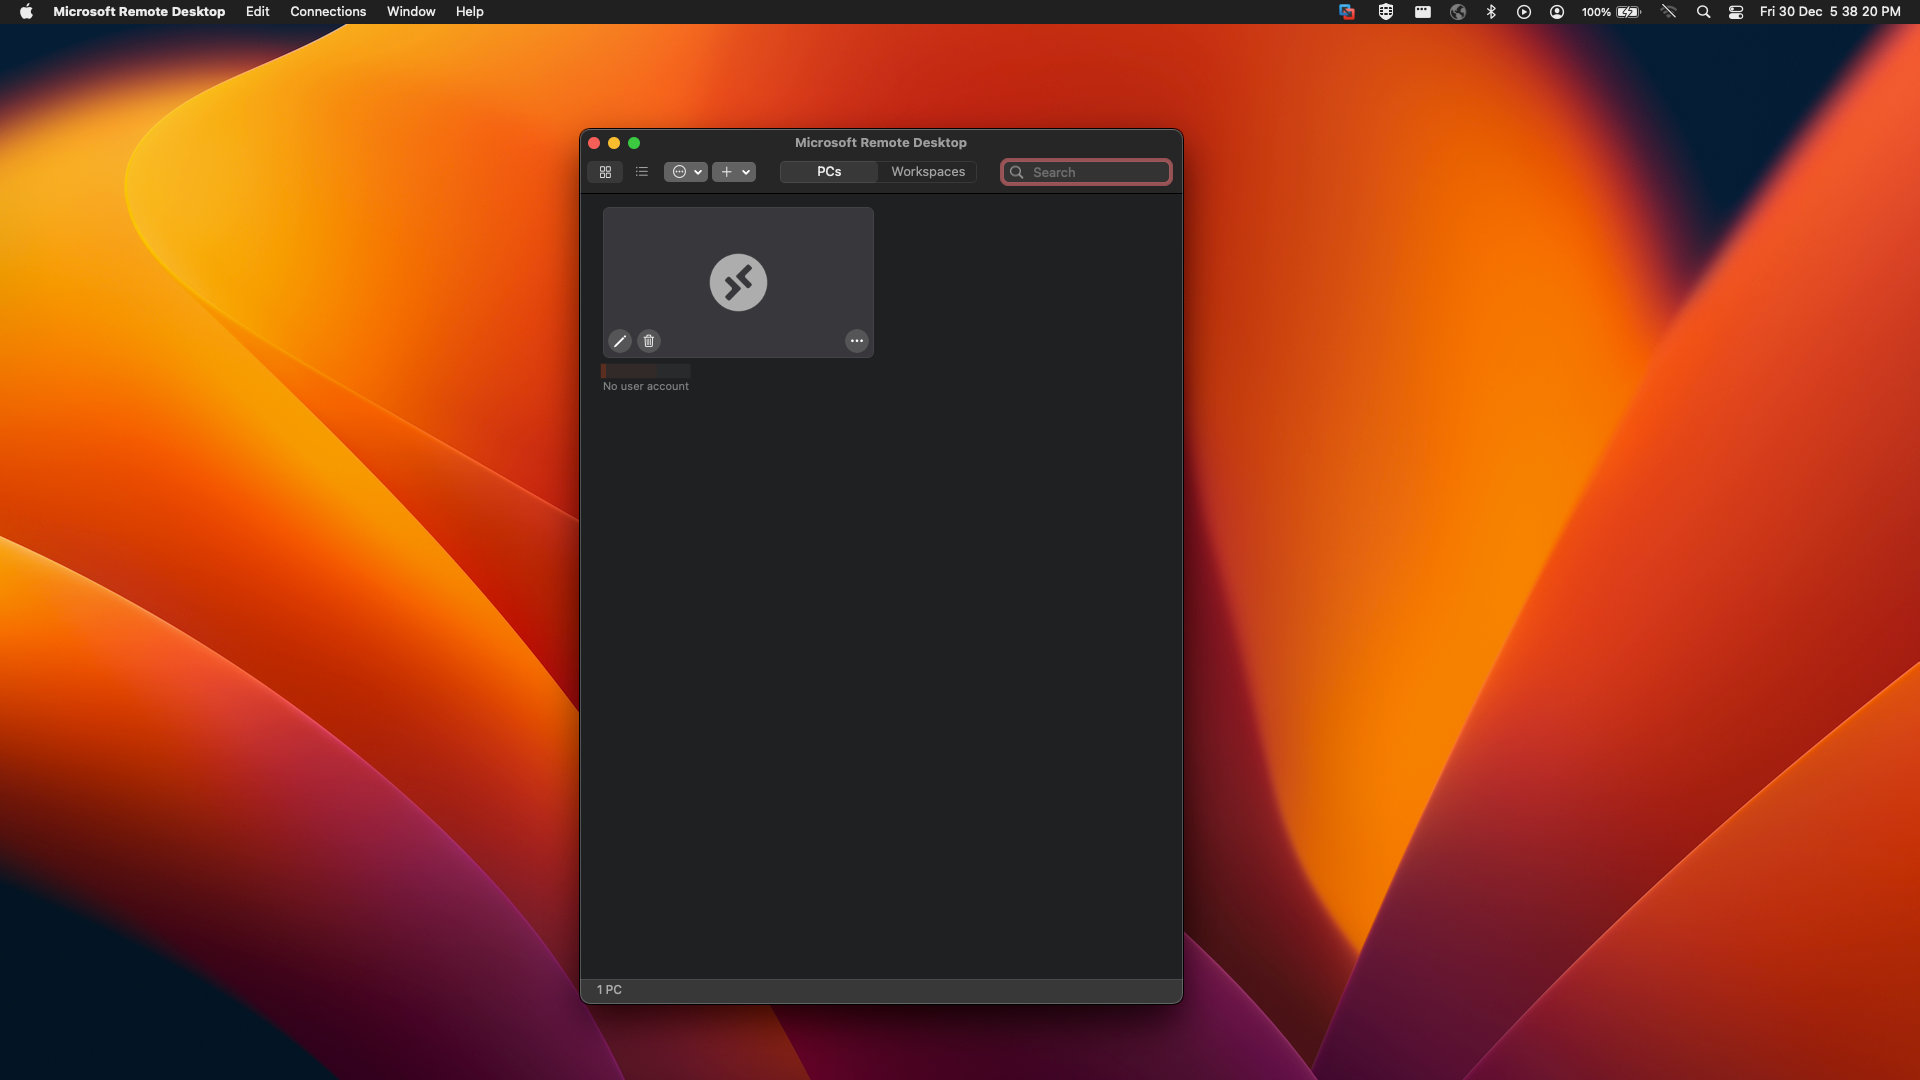
27 Provide the remote PC's username and password and click on Continue.
Make sure to use the password you used while onboarding the user.

28 You will be connected to the Remote PC.
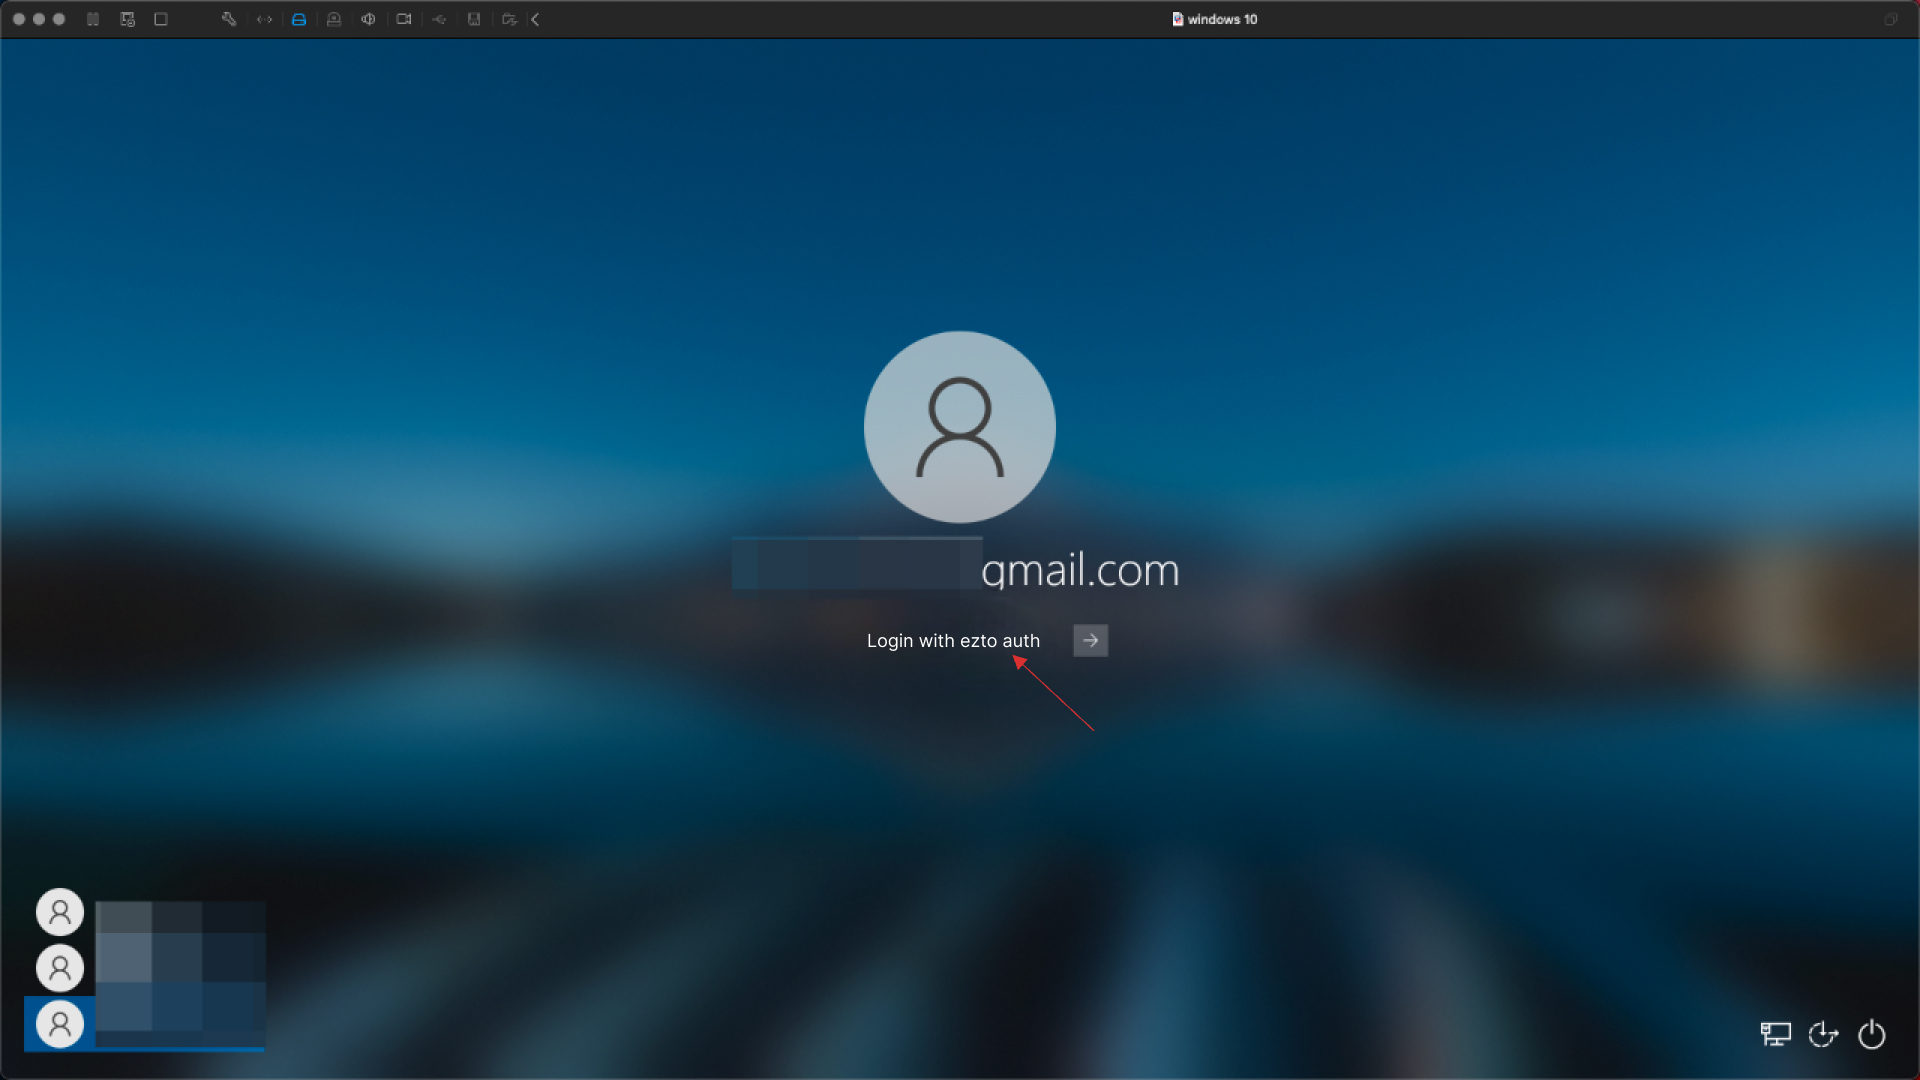
29 You will be presented with Login with ezto auth. Click on it.
30 Provide dashboard login credentials for initial setup.
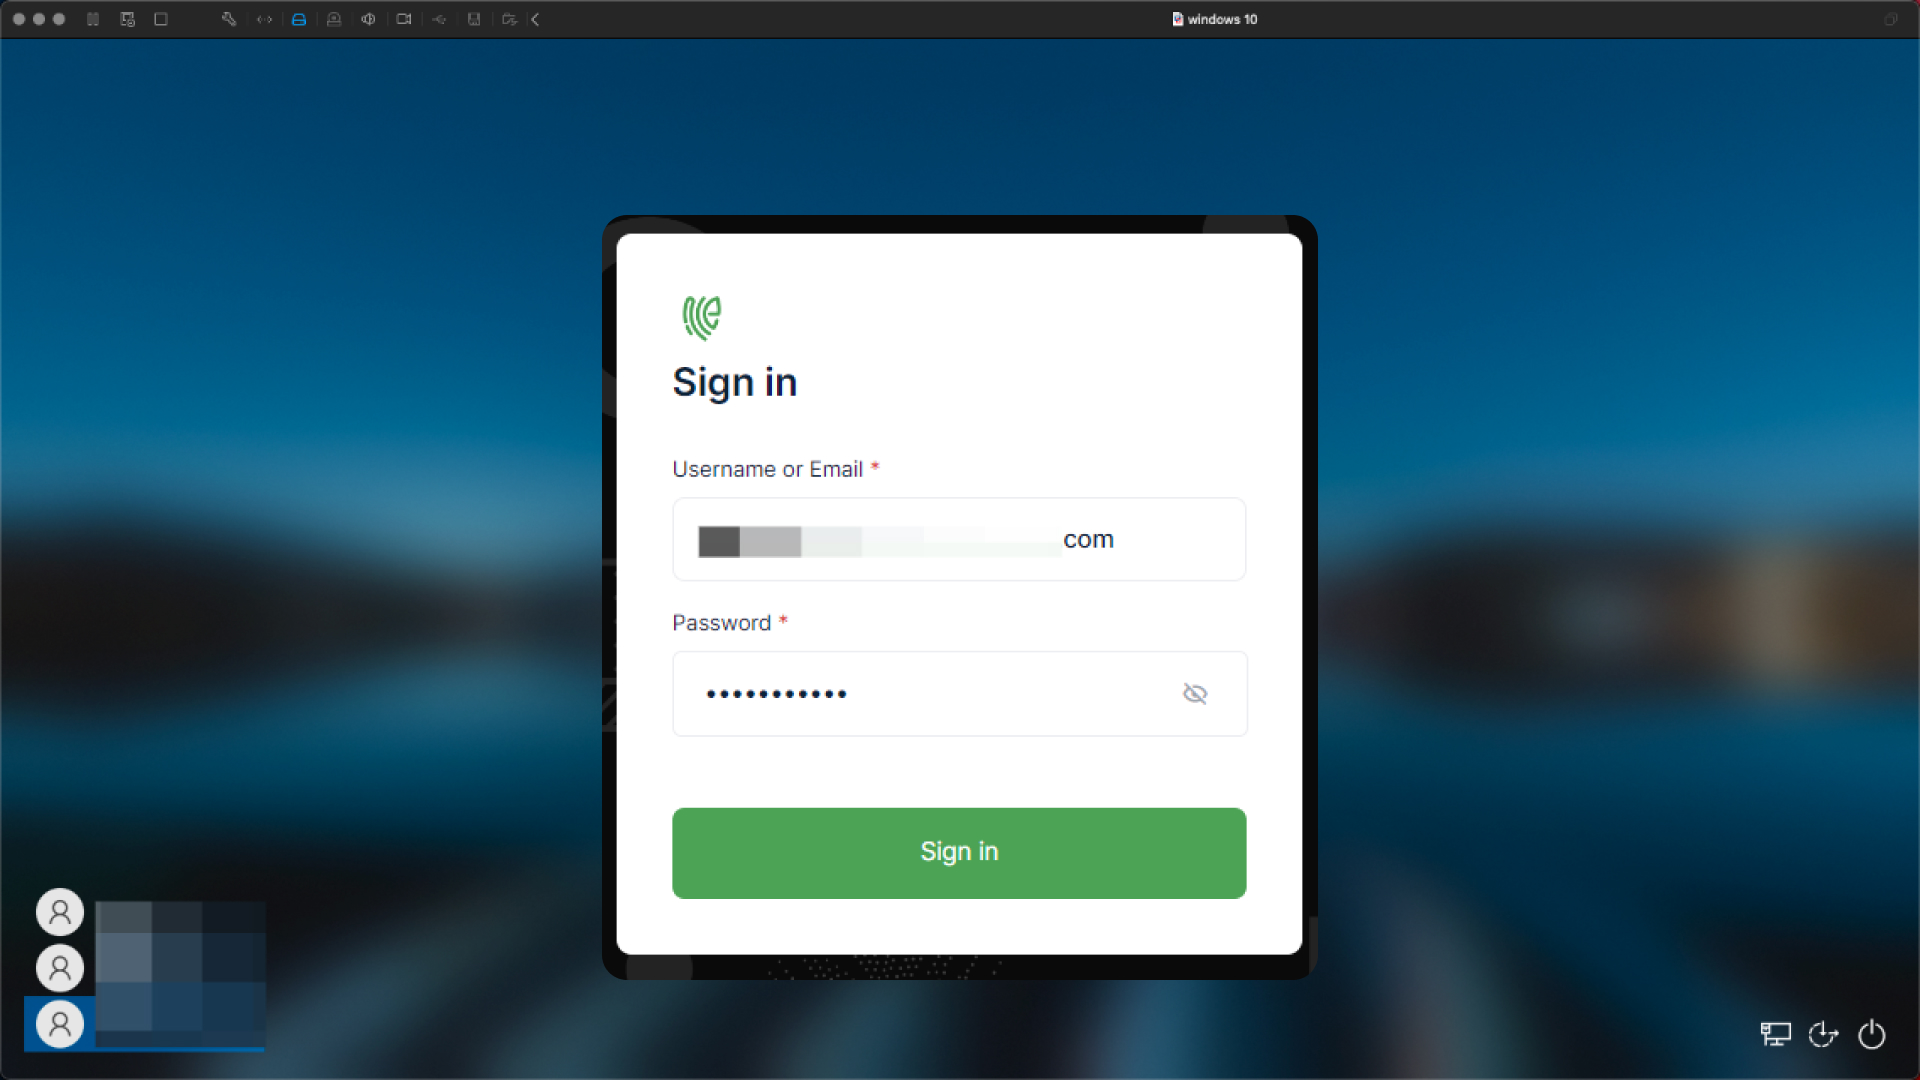
31 The user will be signed in successfully.
