It is a widely used security measure that requires users to enter a code sent via email address.
Here's how you do it
1 Go to Dashboard > Authentication > MFA.
2 Click on + ADD FACTOR.
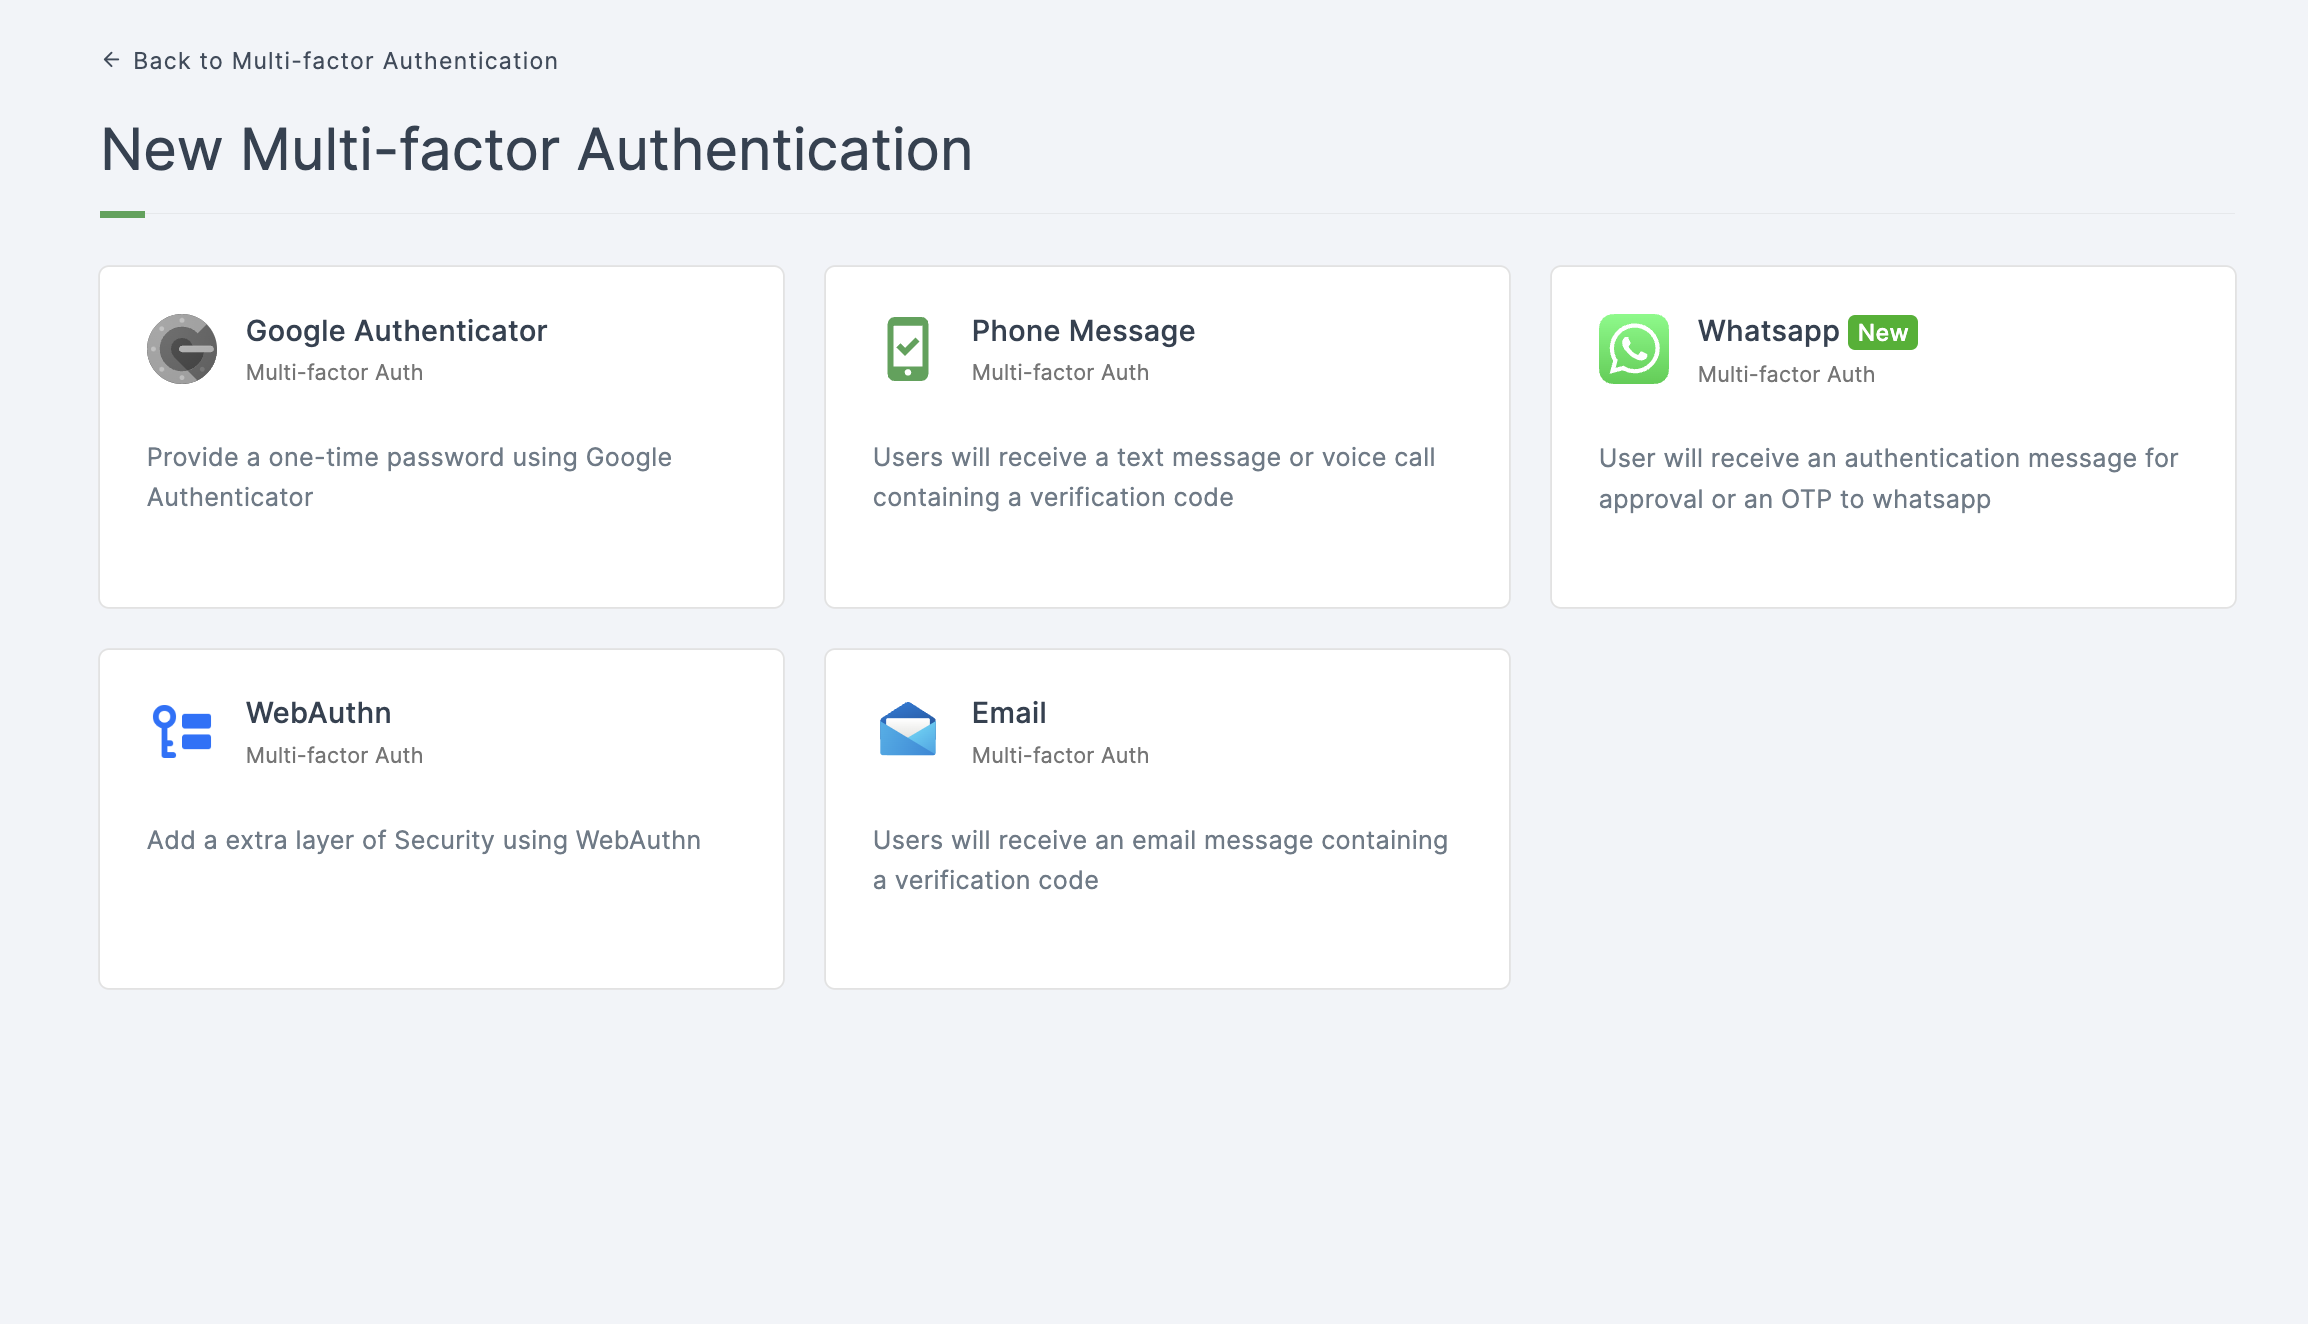
3 You will be redirected to the multi-factor authentication (MFA) providers page, where you can view all the pre-installed MFA options that are available.

4 Click on Email.
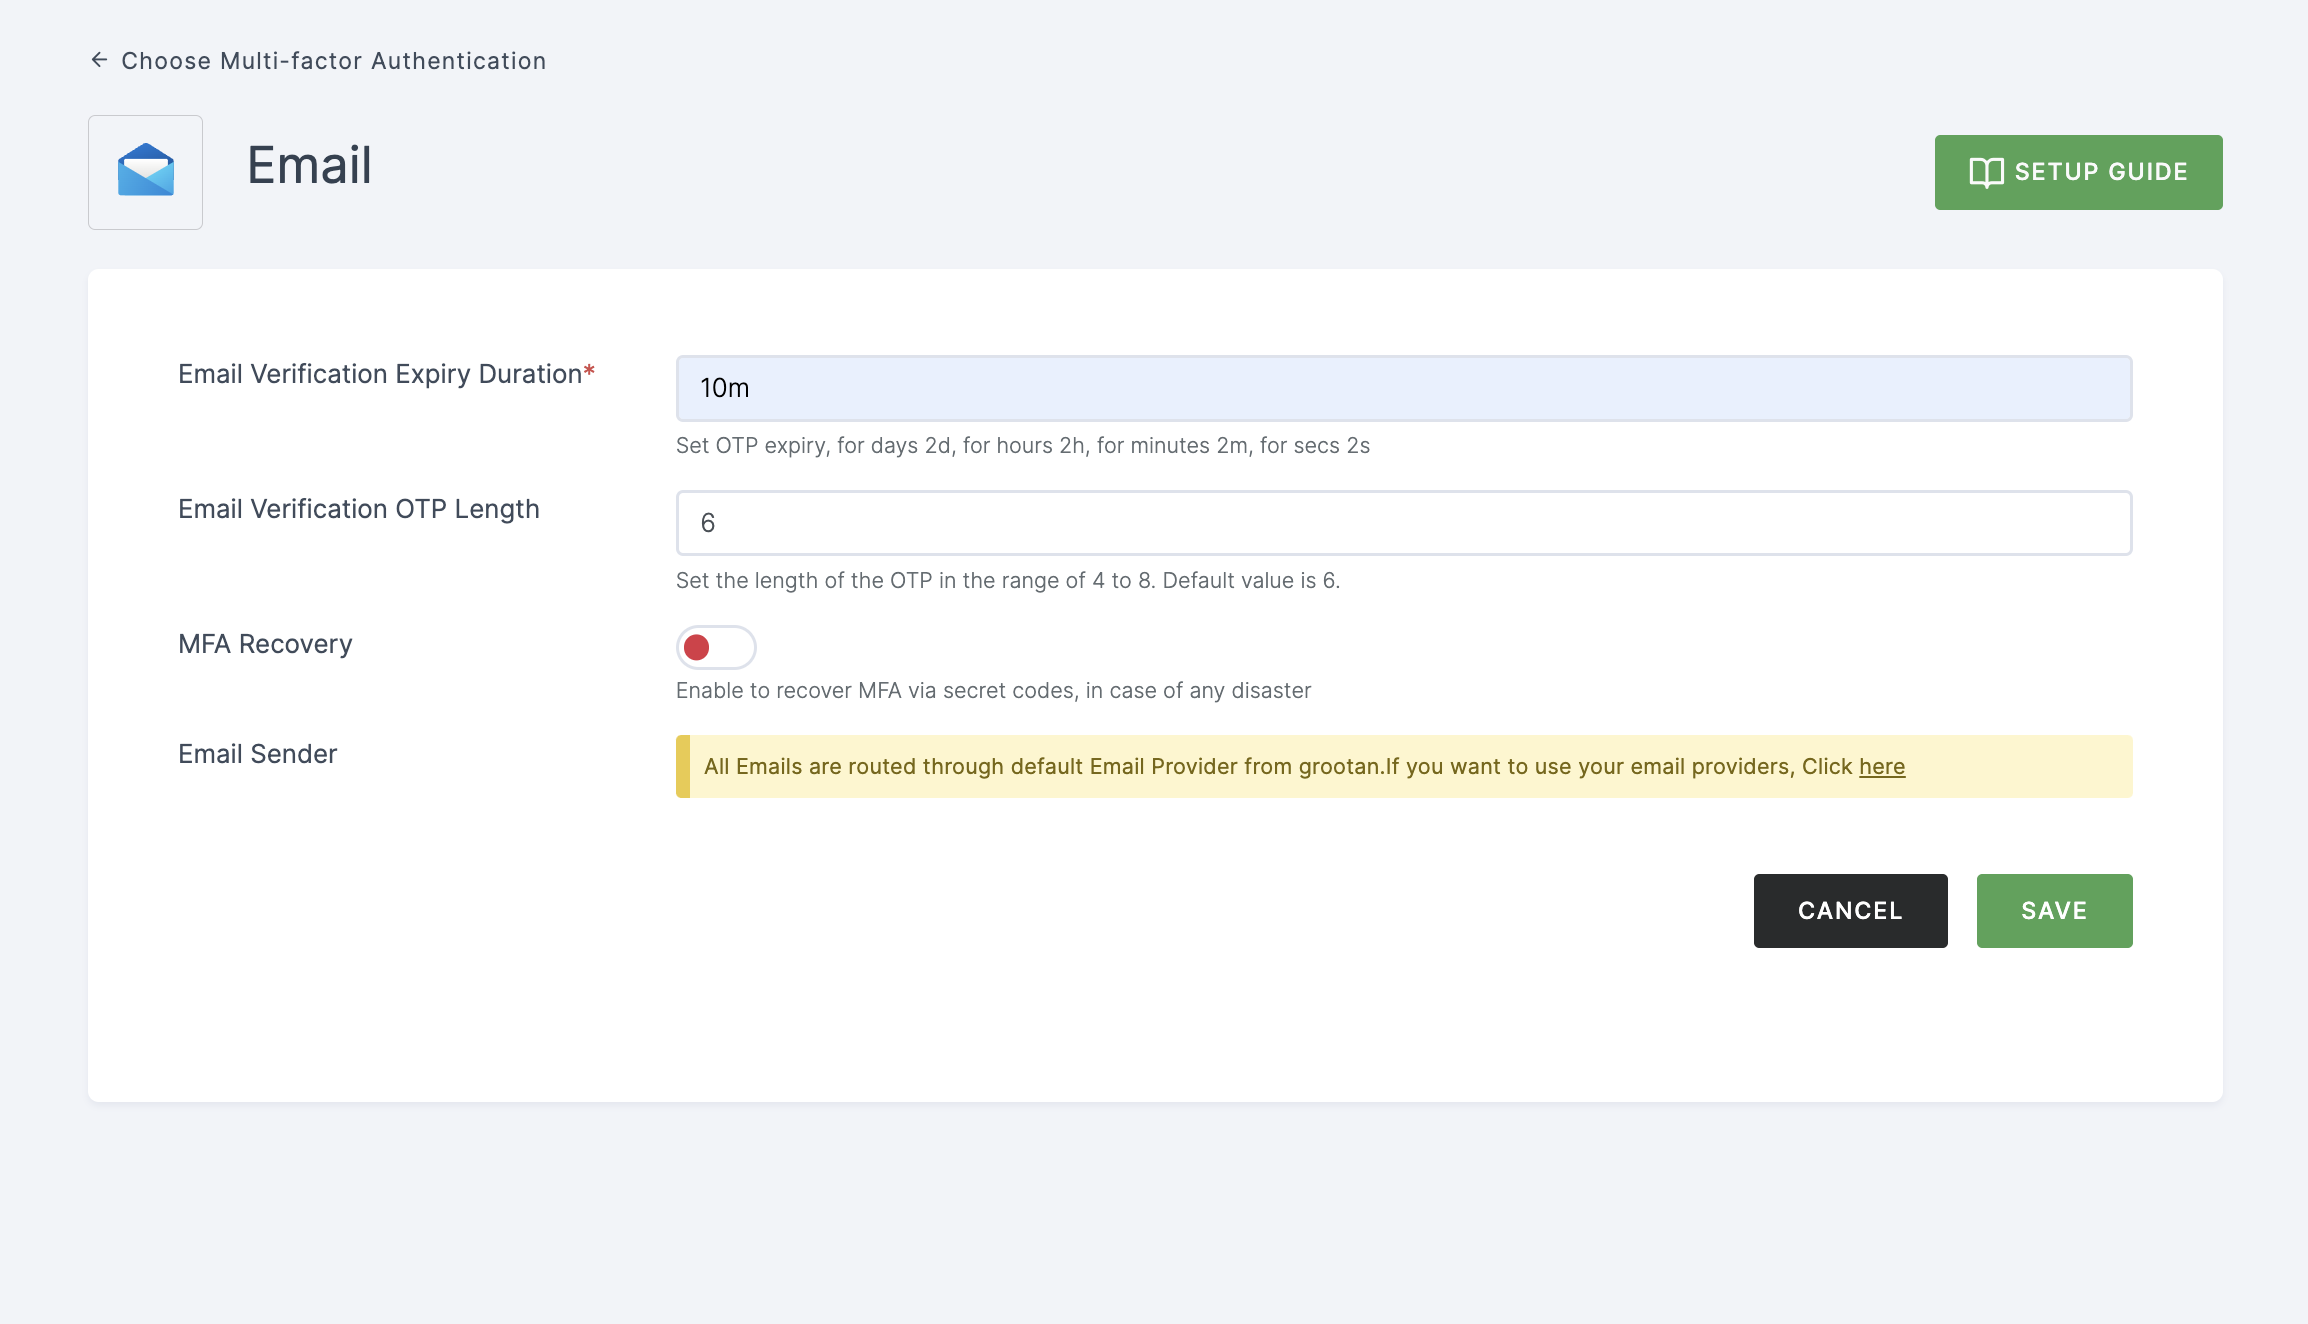
5 You will be directed to the configuration page for the chosen MFA method.

Configuration
(*) Indicates that the action is mandatory.
| Attribute | Description |
|---|---|
| *Email Verification Expiry Duration | Configure the expiration time for OTP verification, with options for days (2d), hours (2h), minutes (2m), or seconds (2s). |
| Email Verification OTP Length | Set the length of the OTP, ranging from 4 to 8 characters. The default value is 6. |
| MFA Recovery | Enabling this option allows you to recover multi-factor authentication (MFA) using secret codes, which can help you regain access to your account in the event of a disaster or account lockout. |
| Email Sender | The default email provider will be pre-configured. If you wish to use a custom provider, please refer here. |
6 Provide the necessary configurations and click on SAVE.
7 Moving forward, the subsequent step involves associating the email MFA flow with the application for execution. If you're looking to understand how to attach an authenticator to an application, see here.
8 To know how to execute an authentication flow, see here.