Set up Workspace
The best place to begin is by simply visiting ezto auth website and taking a look at all the service we have to offer. Get to know all of the services we offer to make the authentication process simple and safe for you.
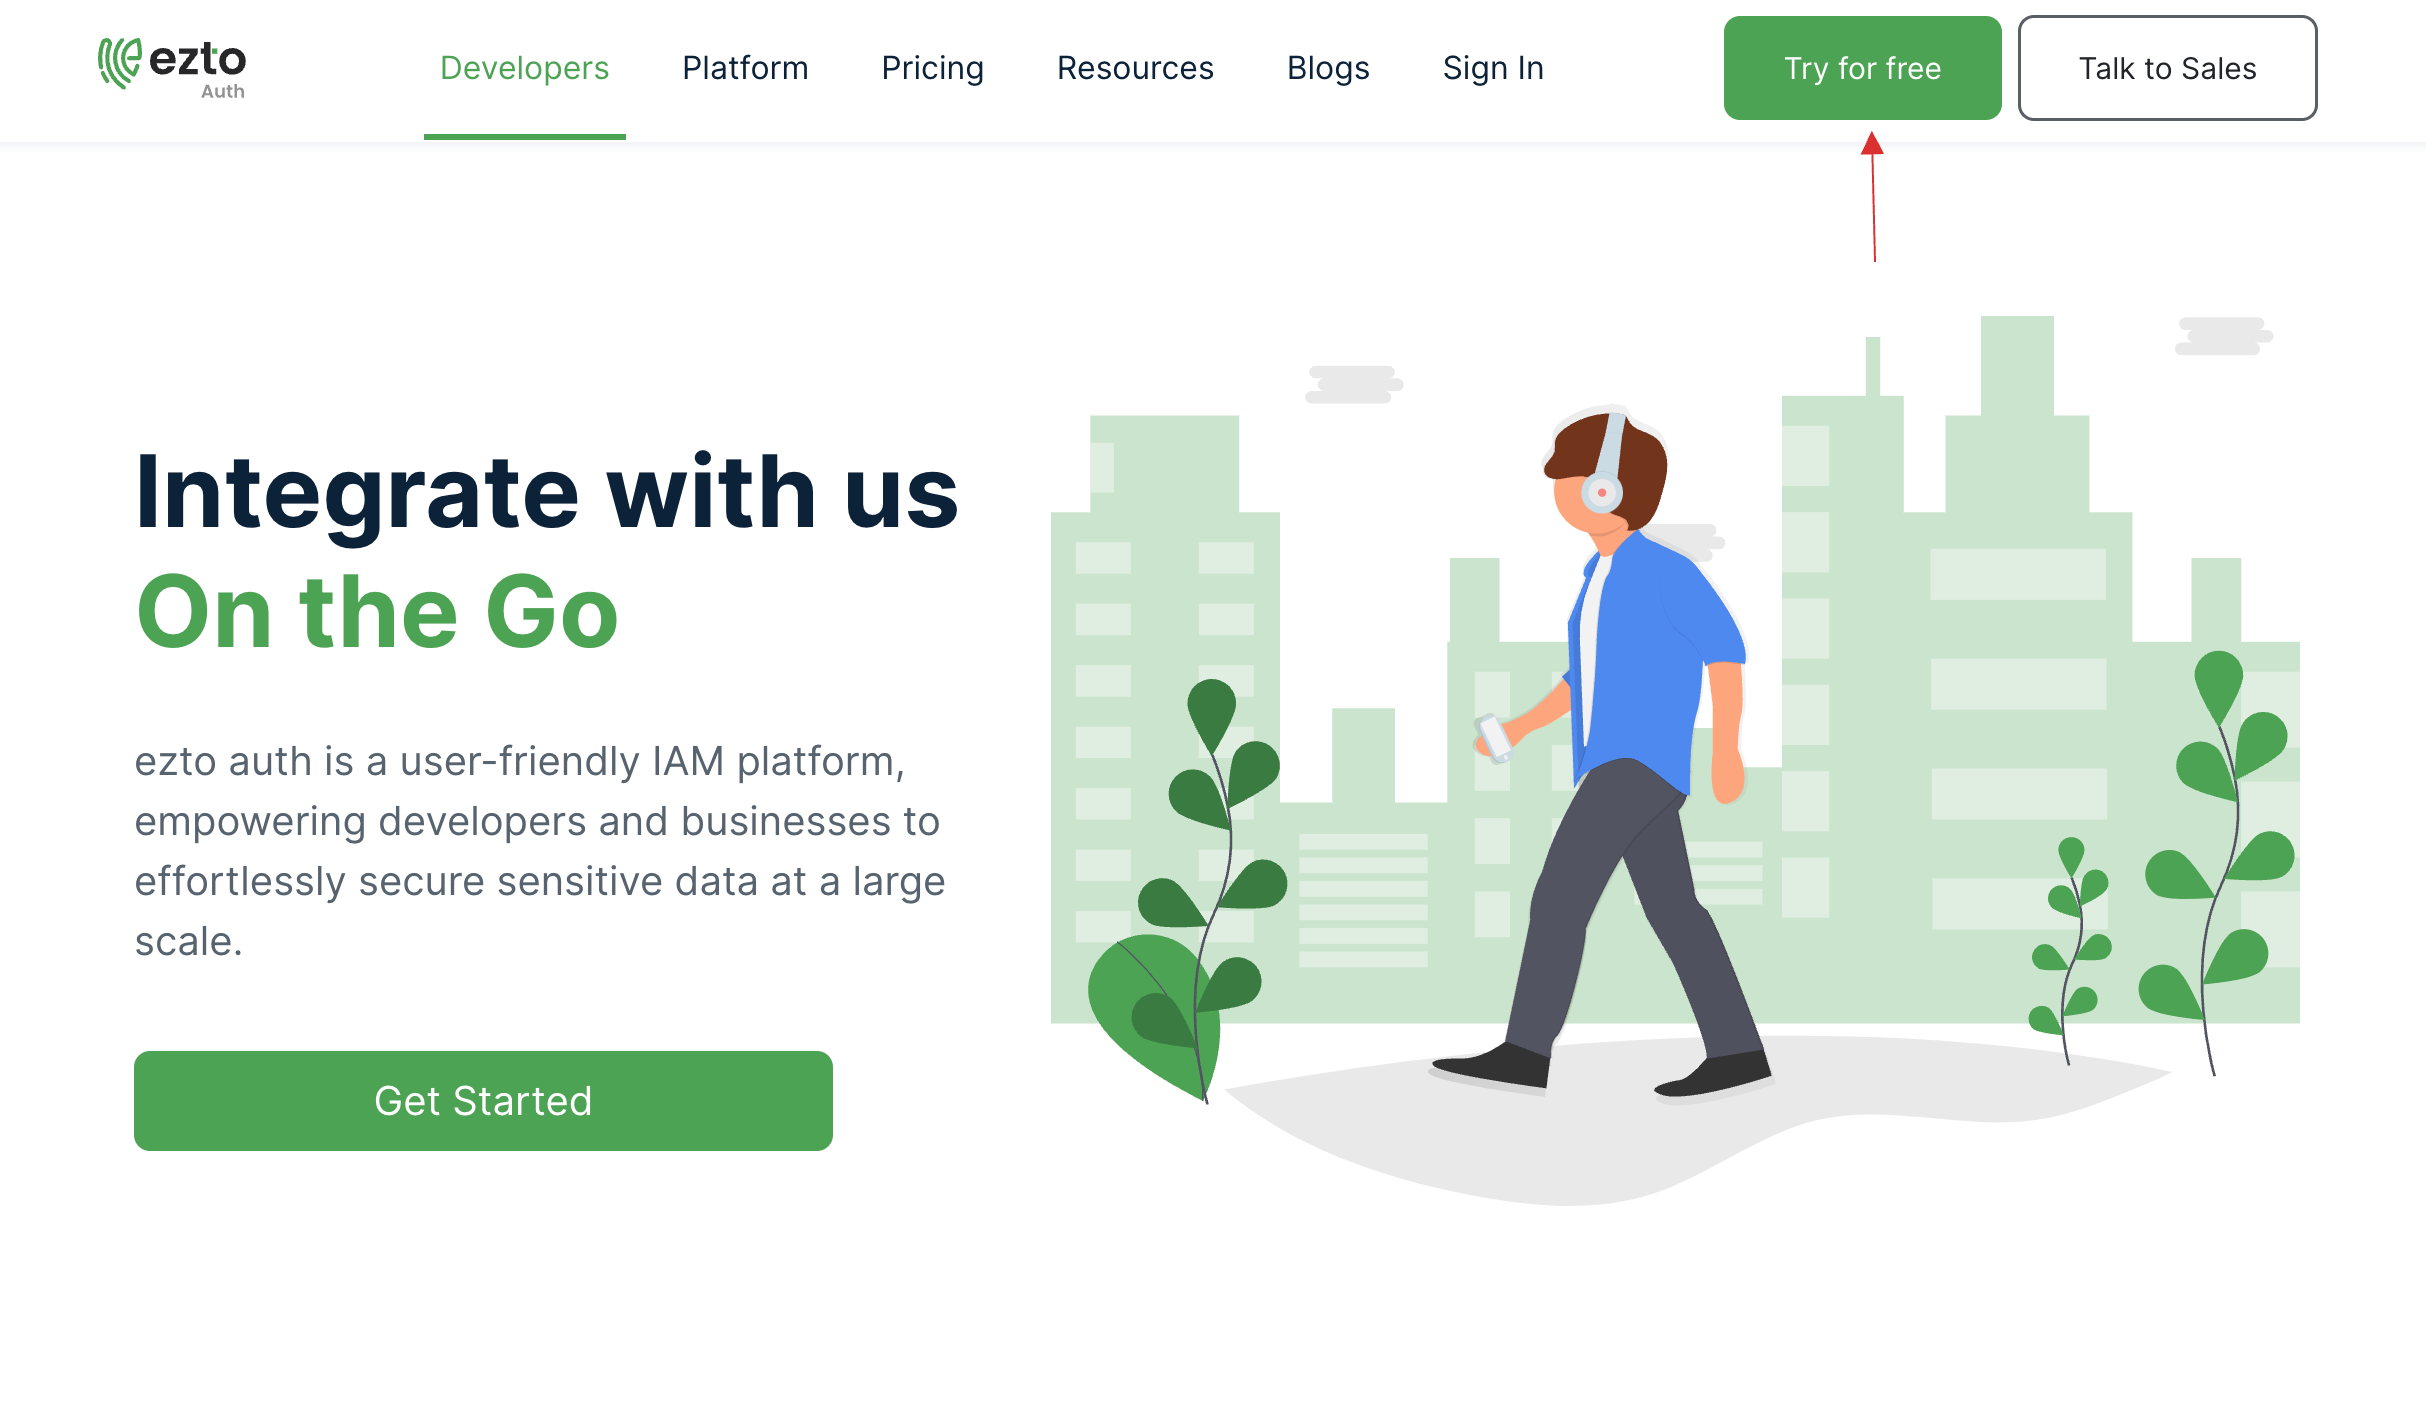
1 Navigate to the Try for Free button to begin your journey with our latest version.
2 Choose Own Provider for Email, SMS and Whatsapp.
If you don’t have any Own Providers then the Default Providers will be configured.

3 Click on Get Started.
4 Upon clicking, you'll be directed to the Sign-Up page.
5 Provide your Workspace Name and Work Email Address in the designated fields.
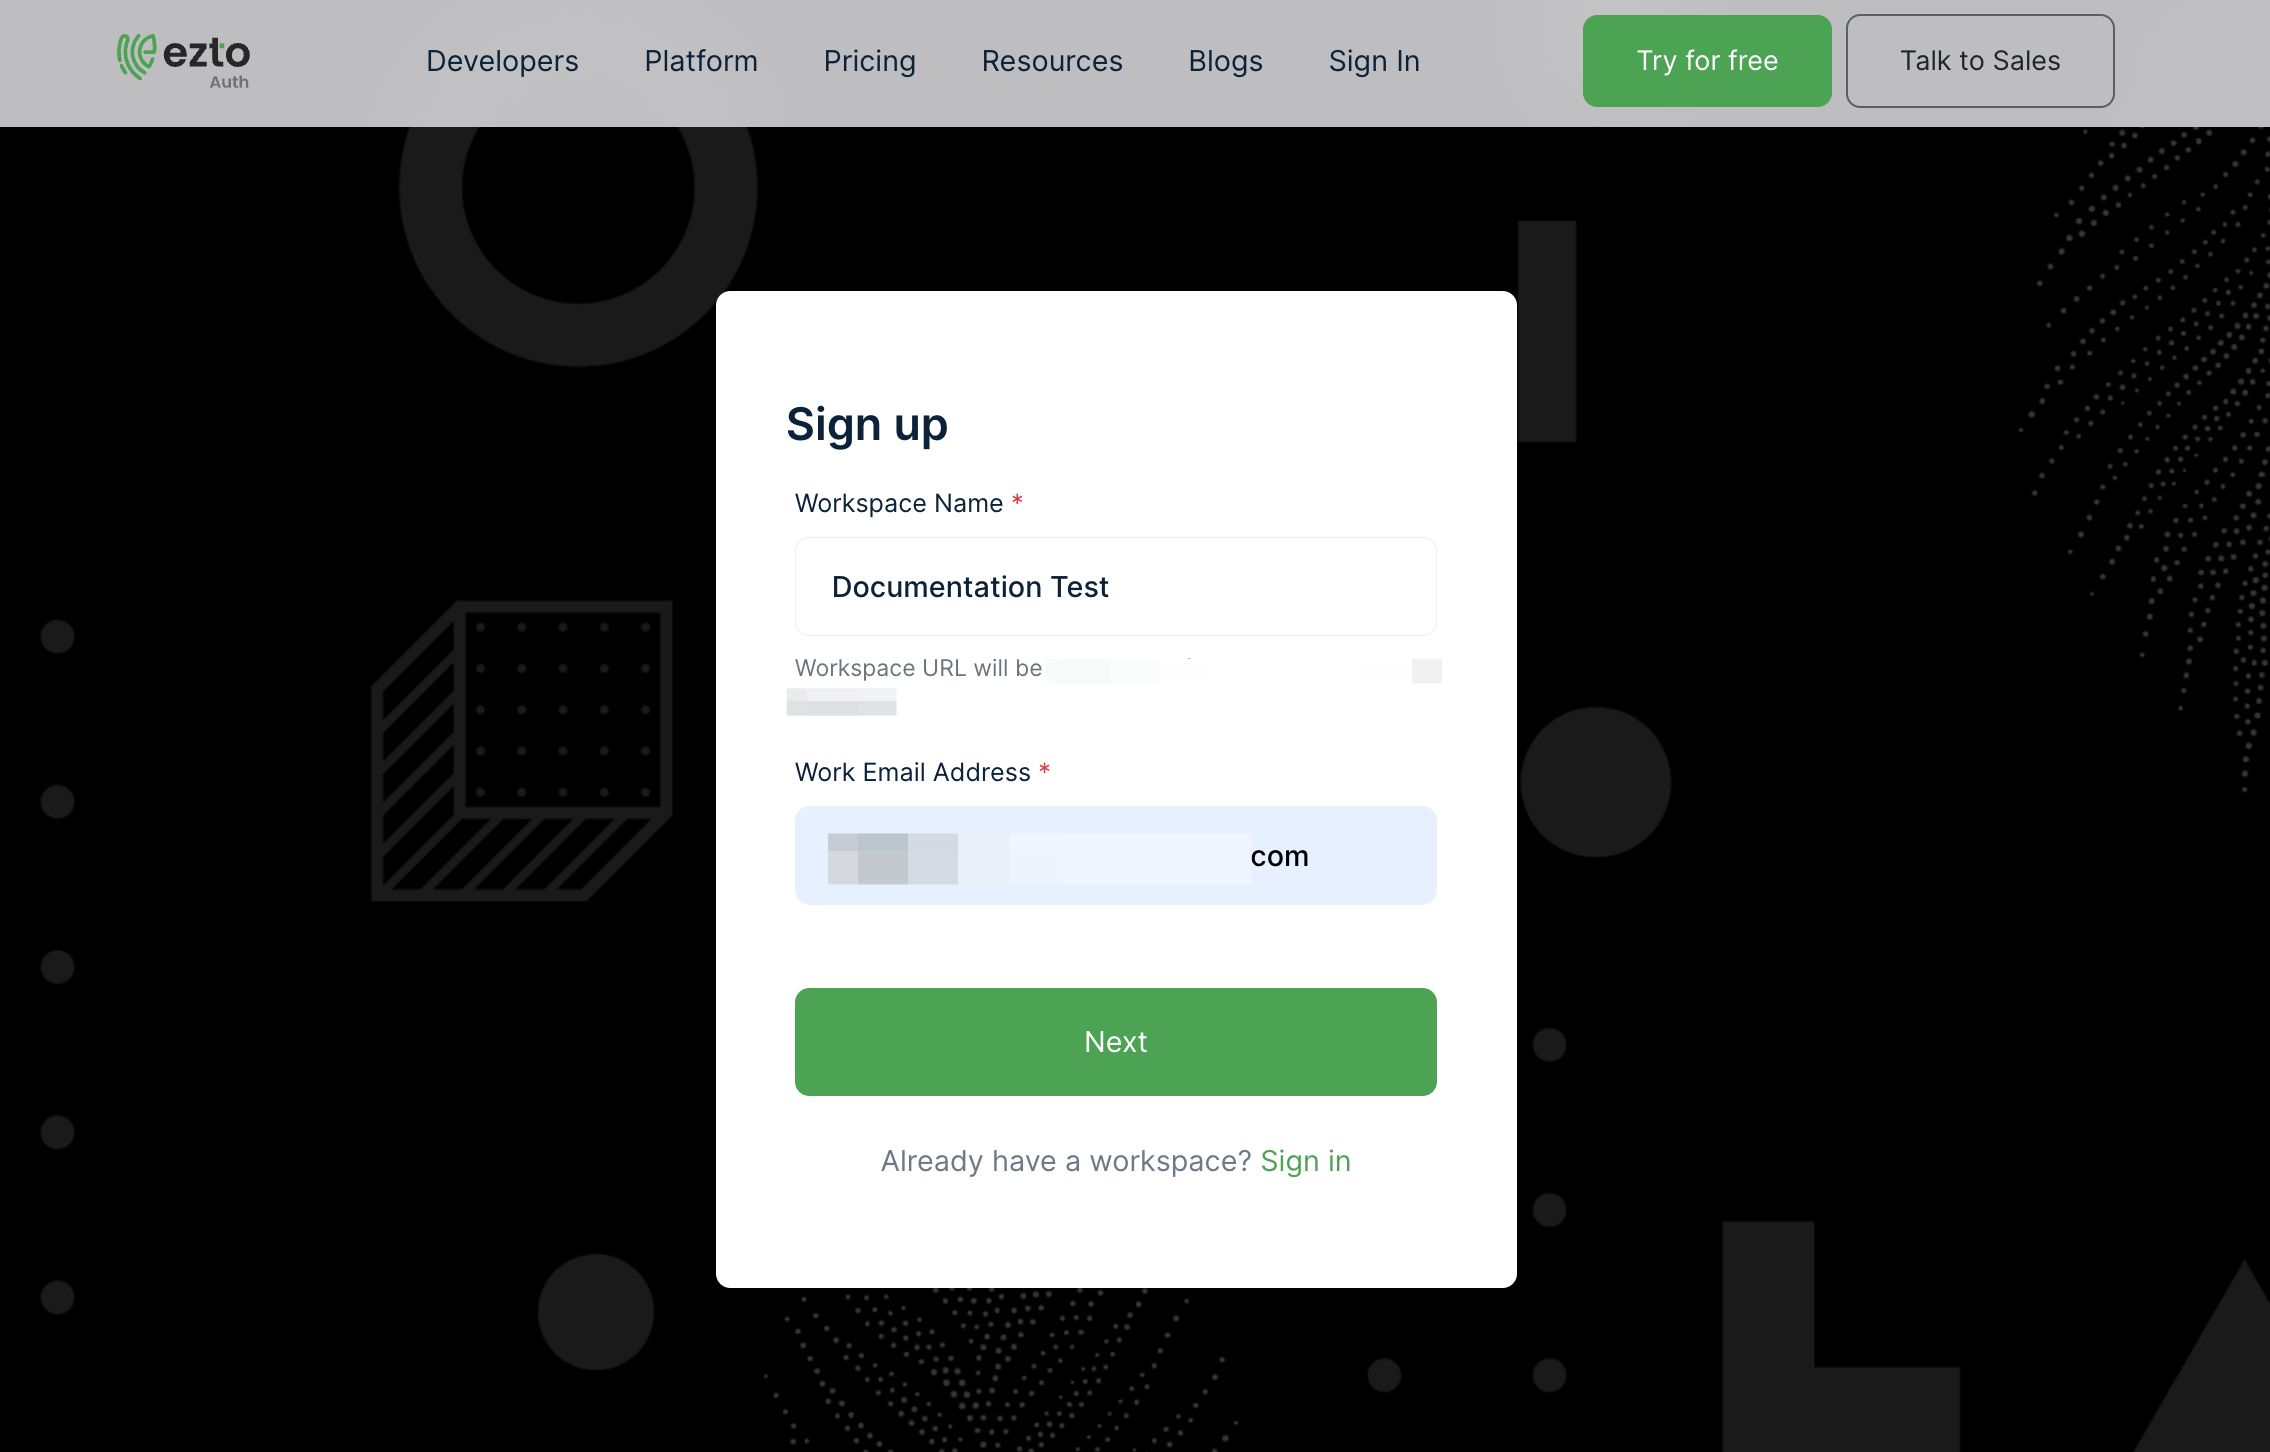
6 Click on Next.
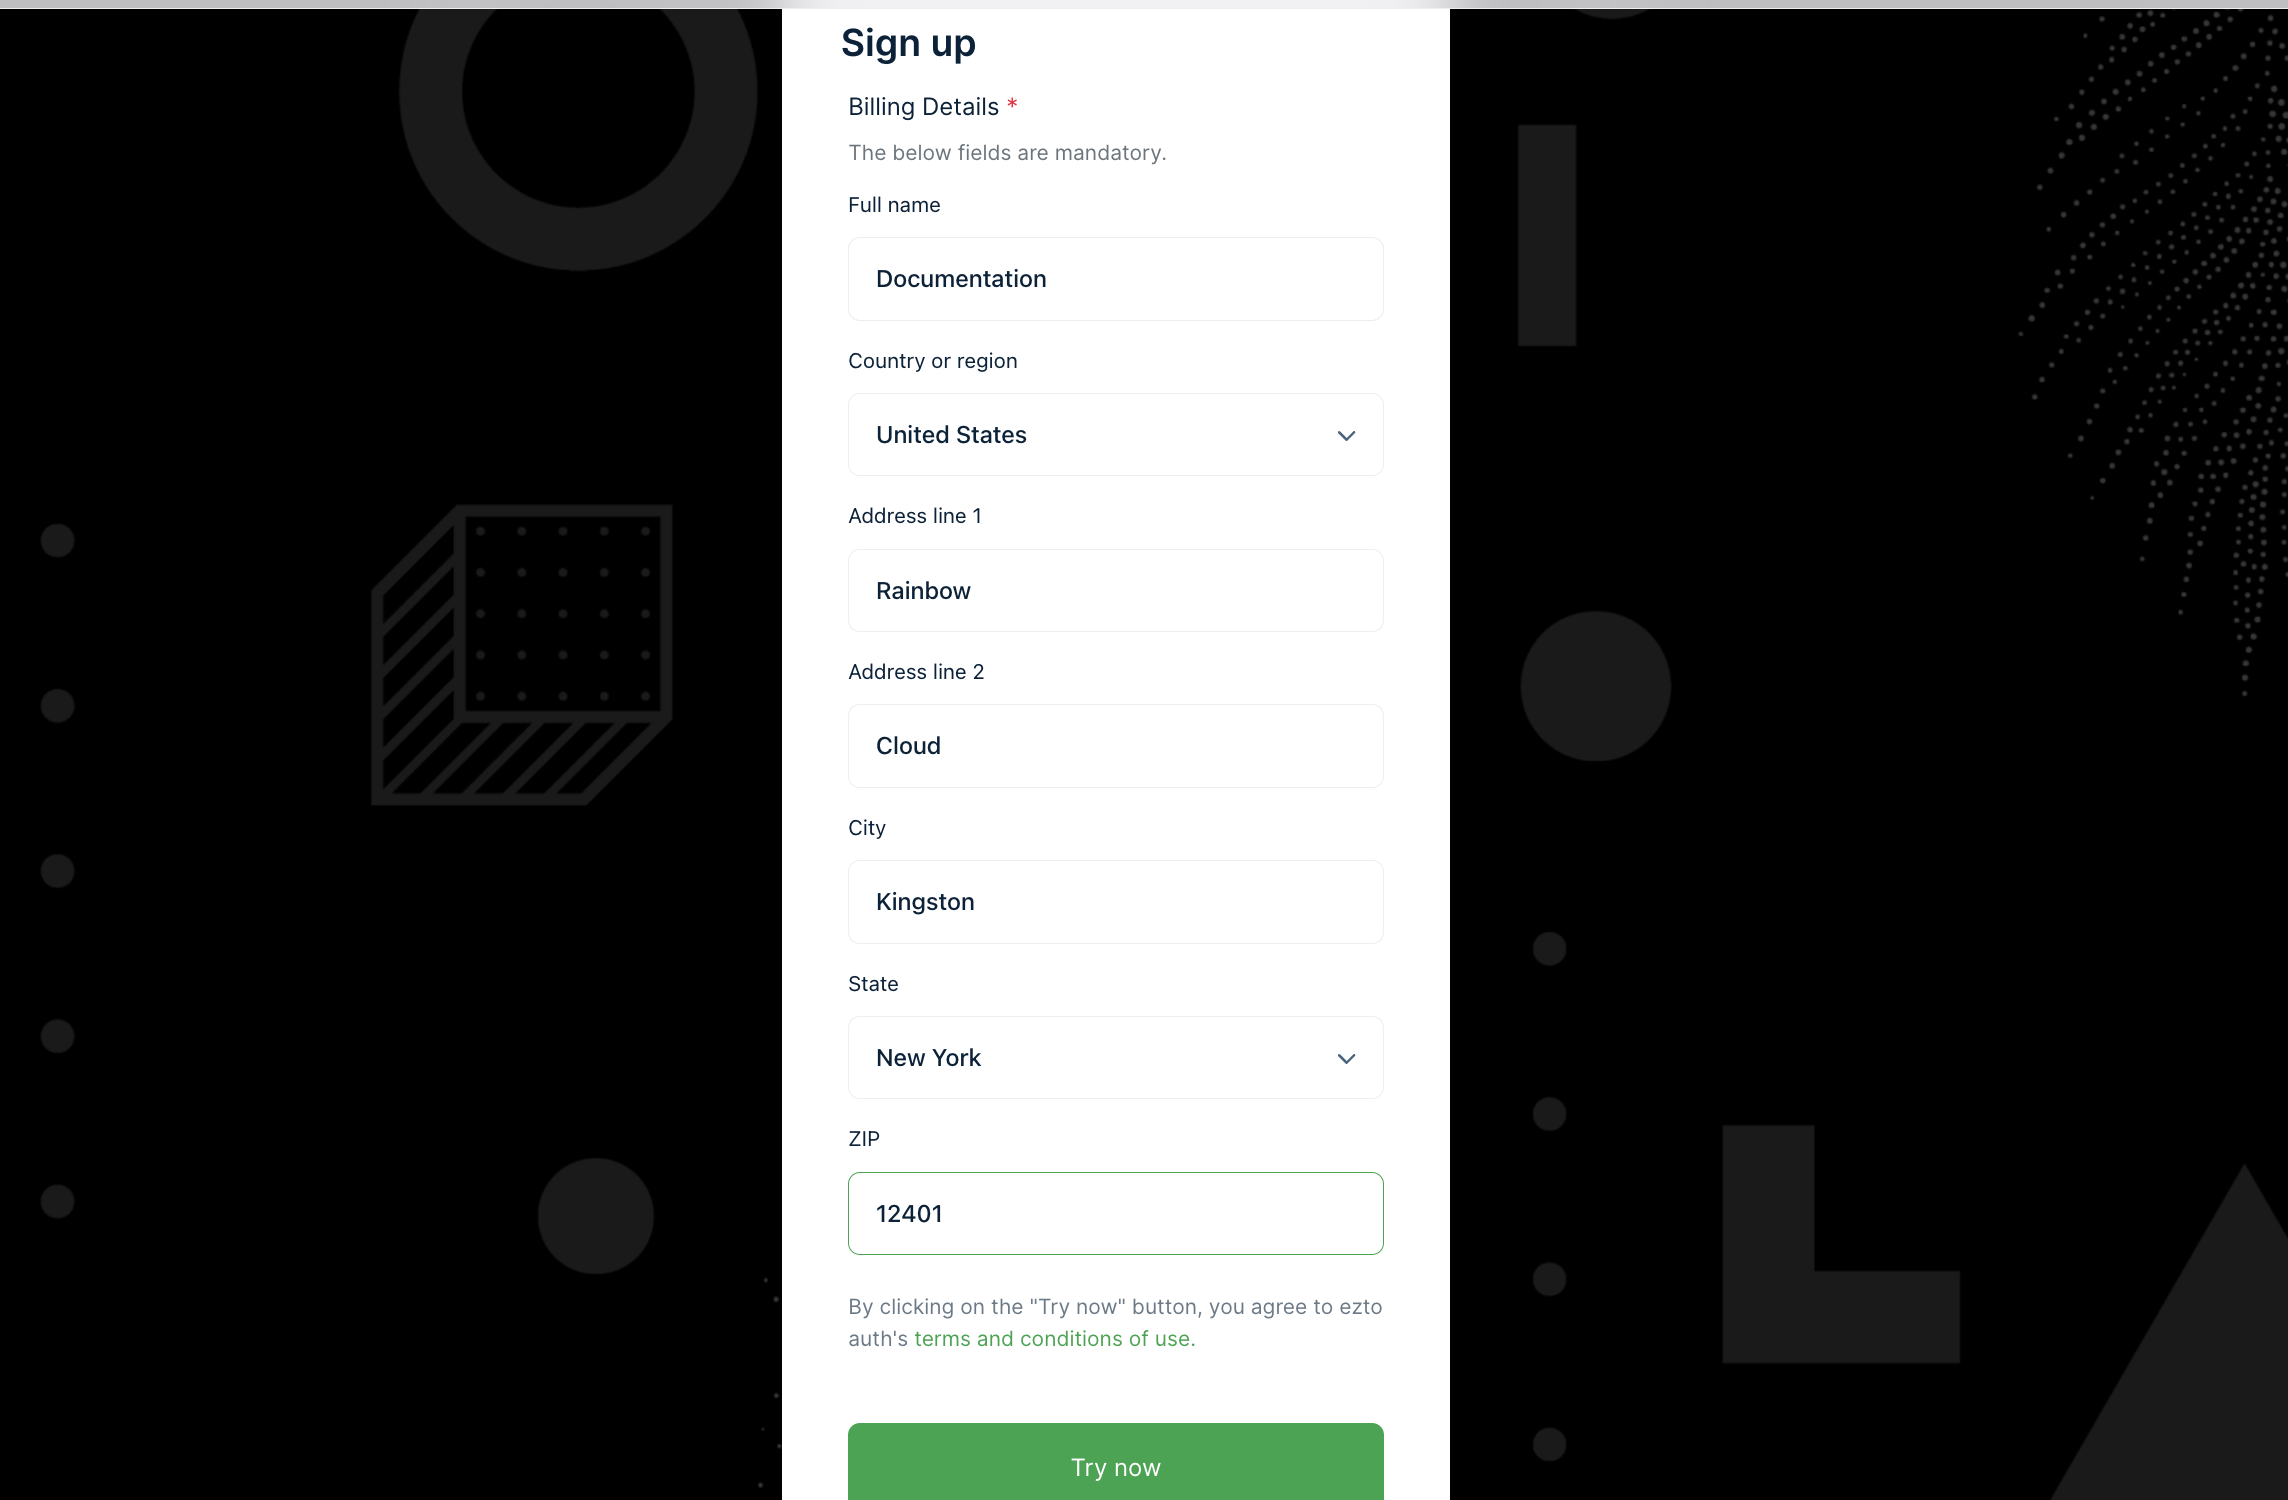
7 Provide the Billing Details and click on Try now.
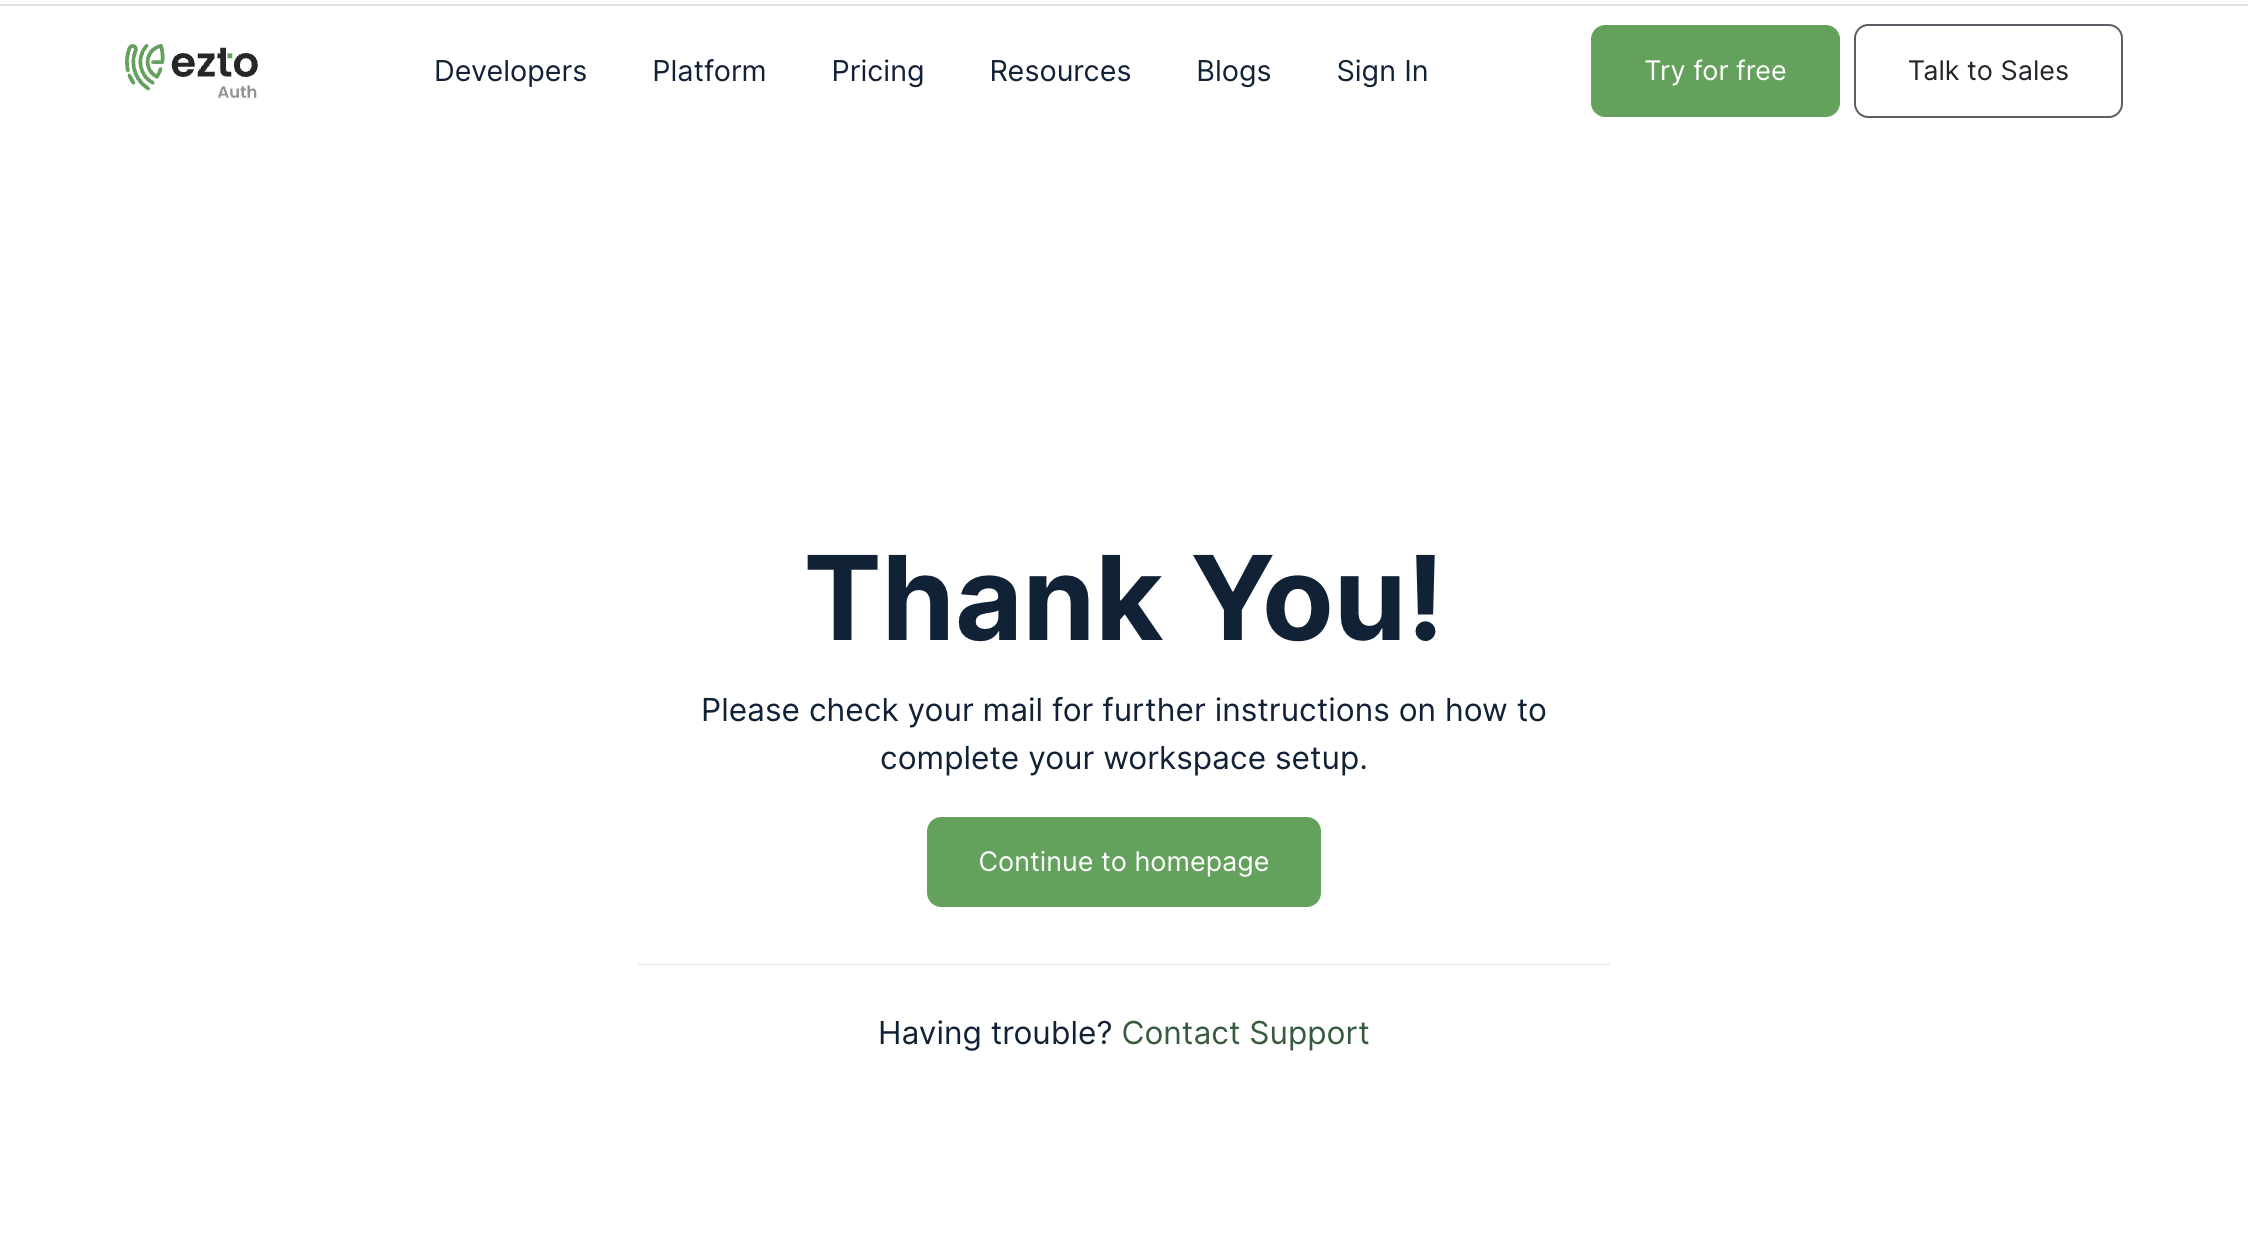
8 A verification mail will be sent to the provided email during sign-up.
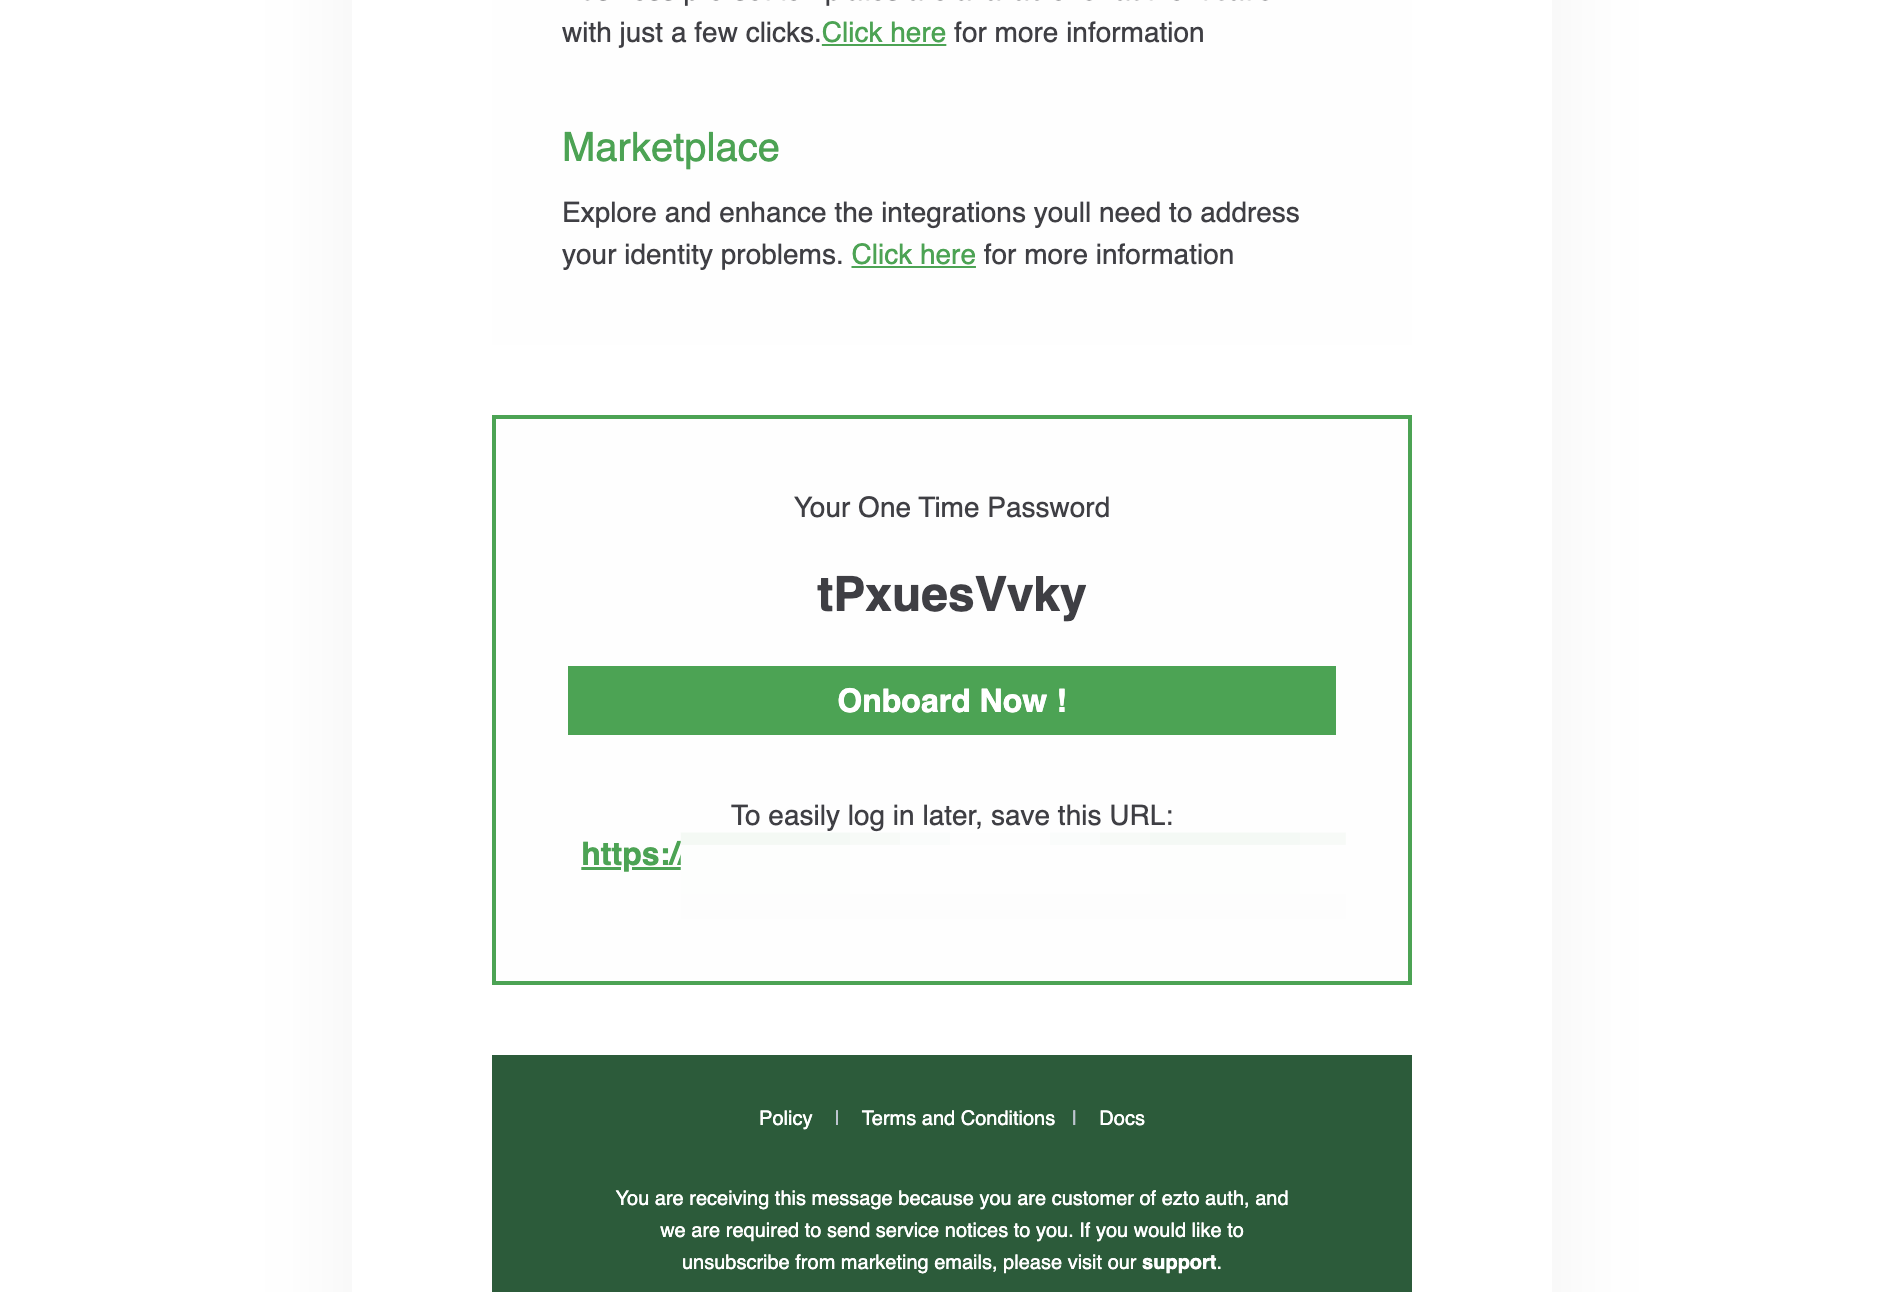
9 Click on Onboard Now or on the attached URL.
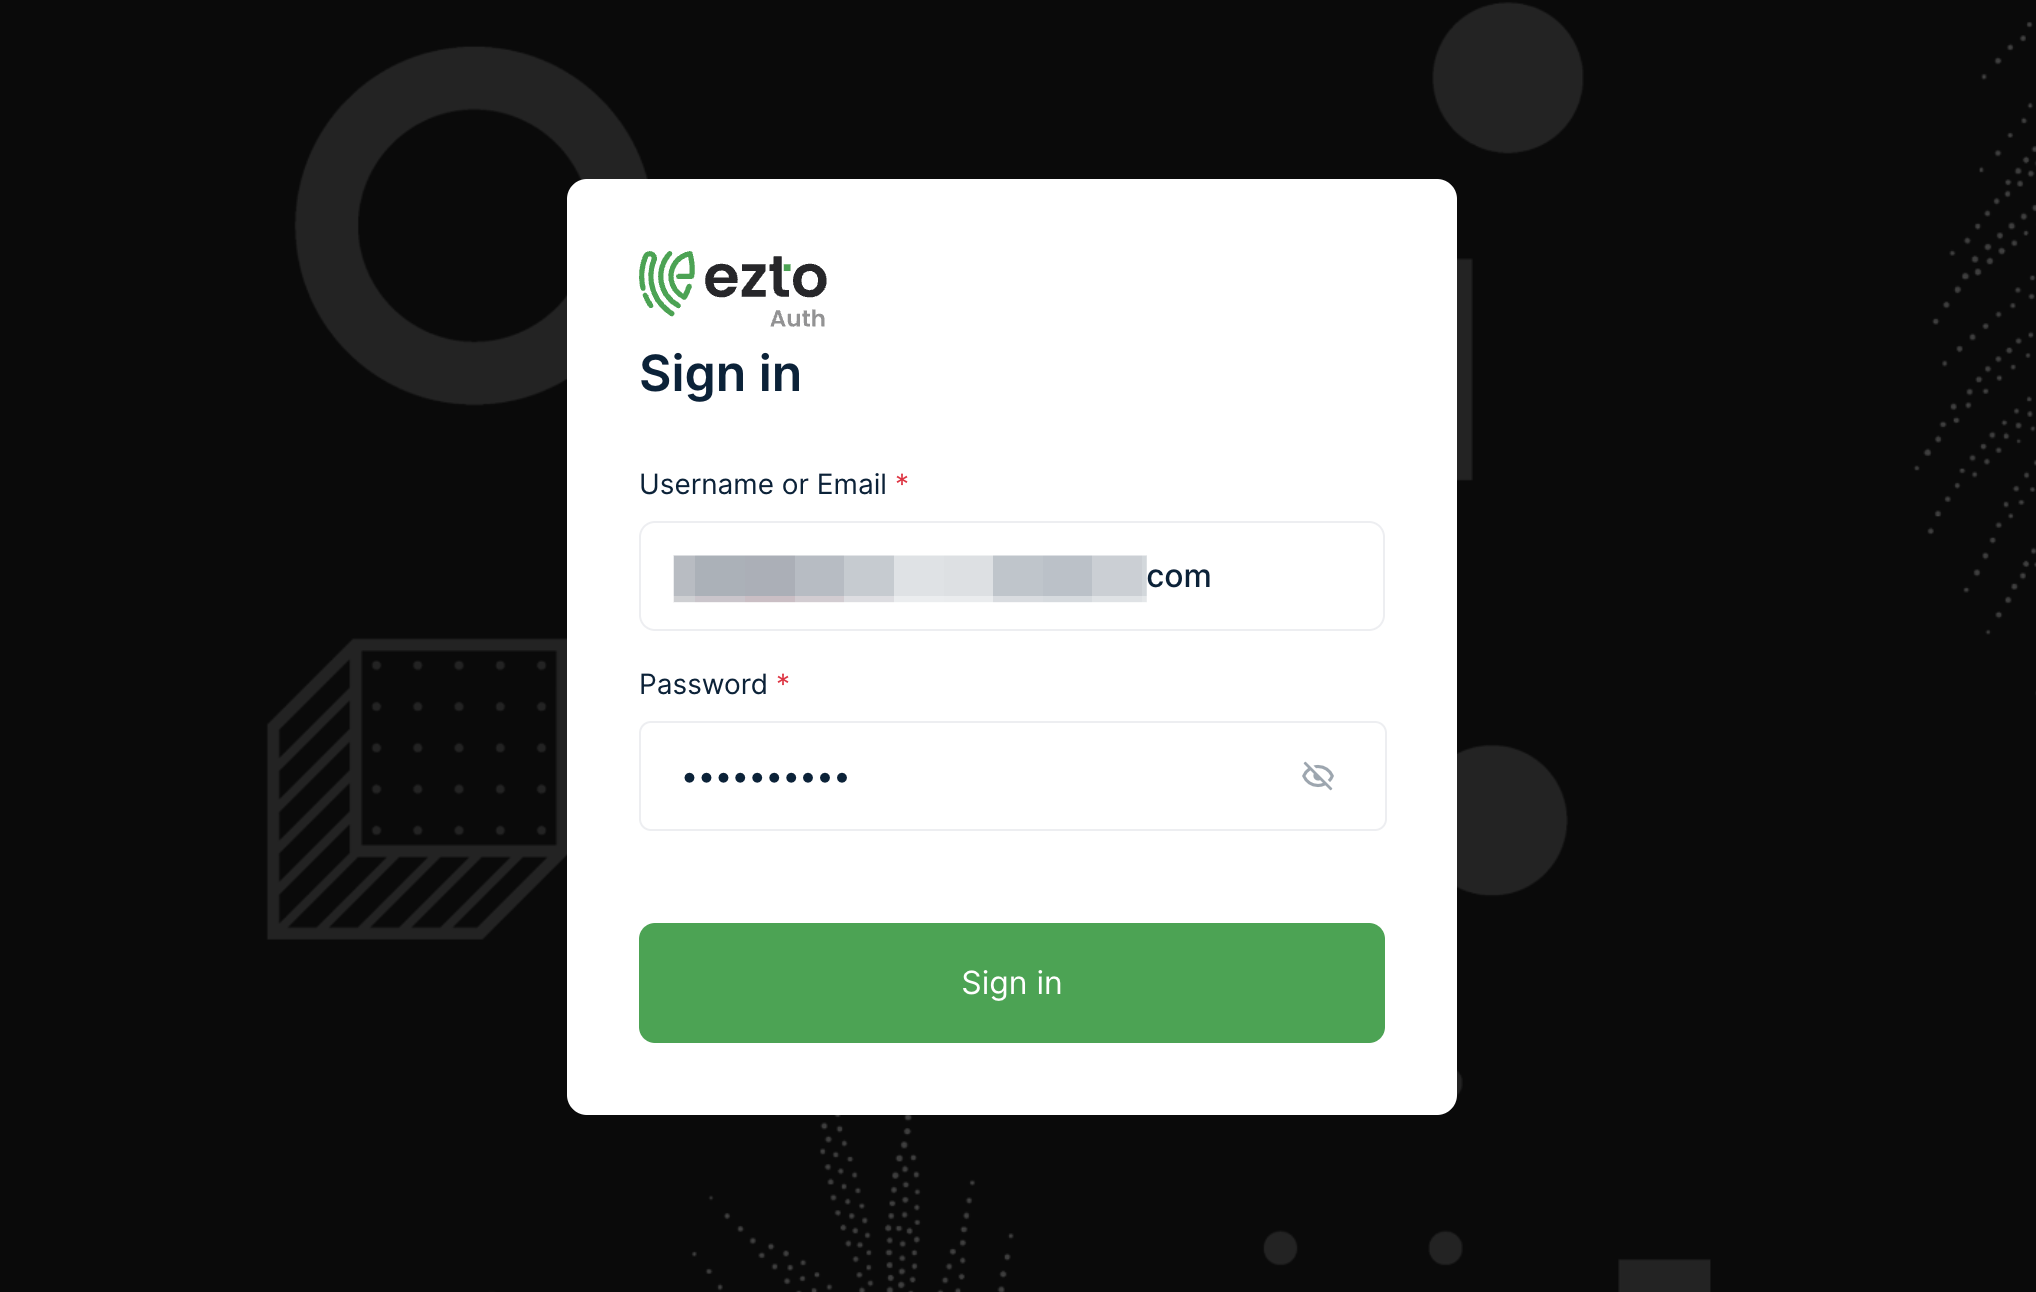
10 Provide Username or Email, and the OTP in the password field. Click on Sign in.
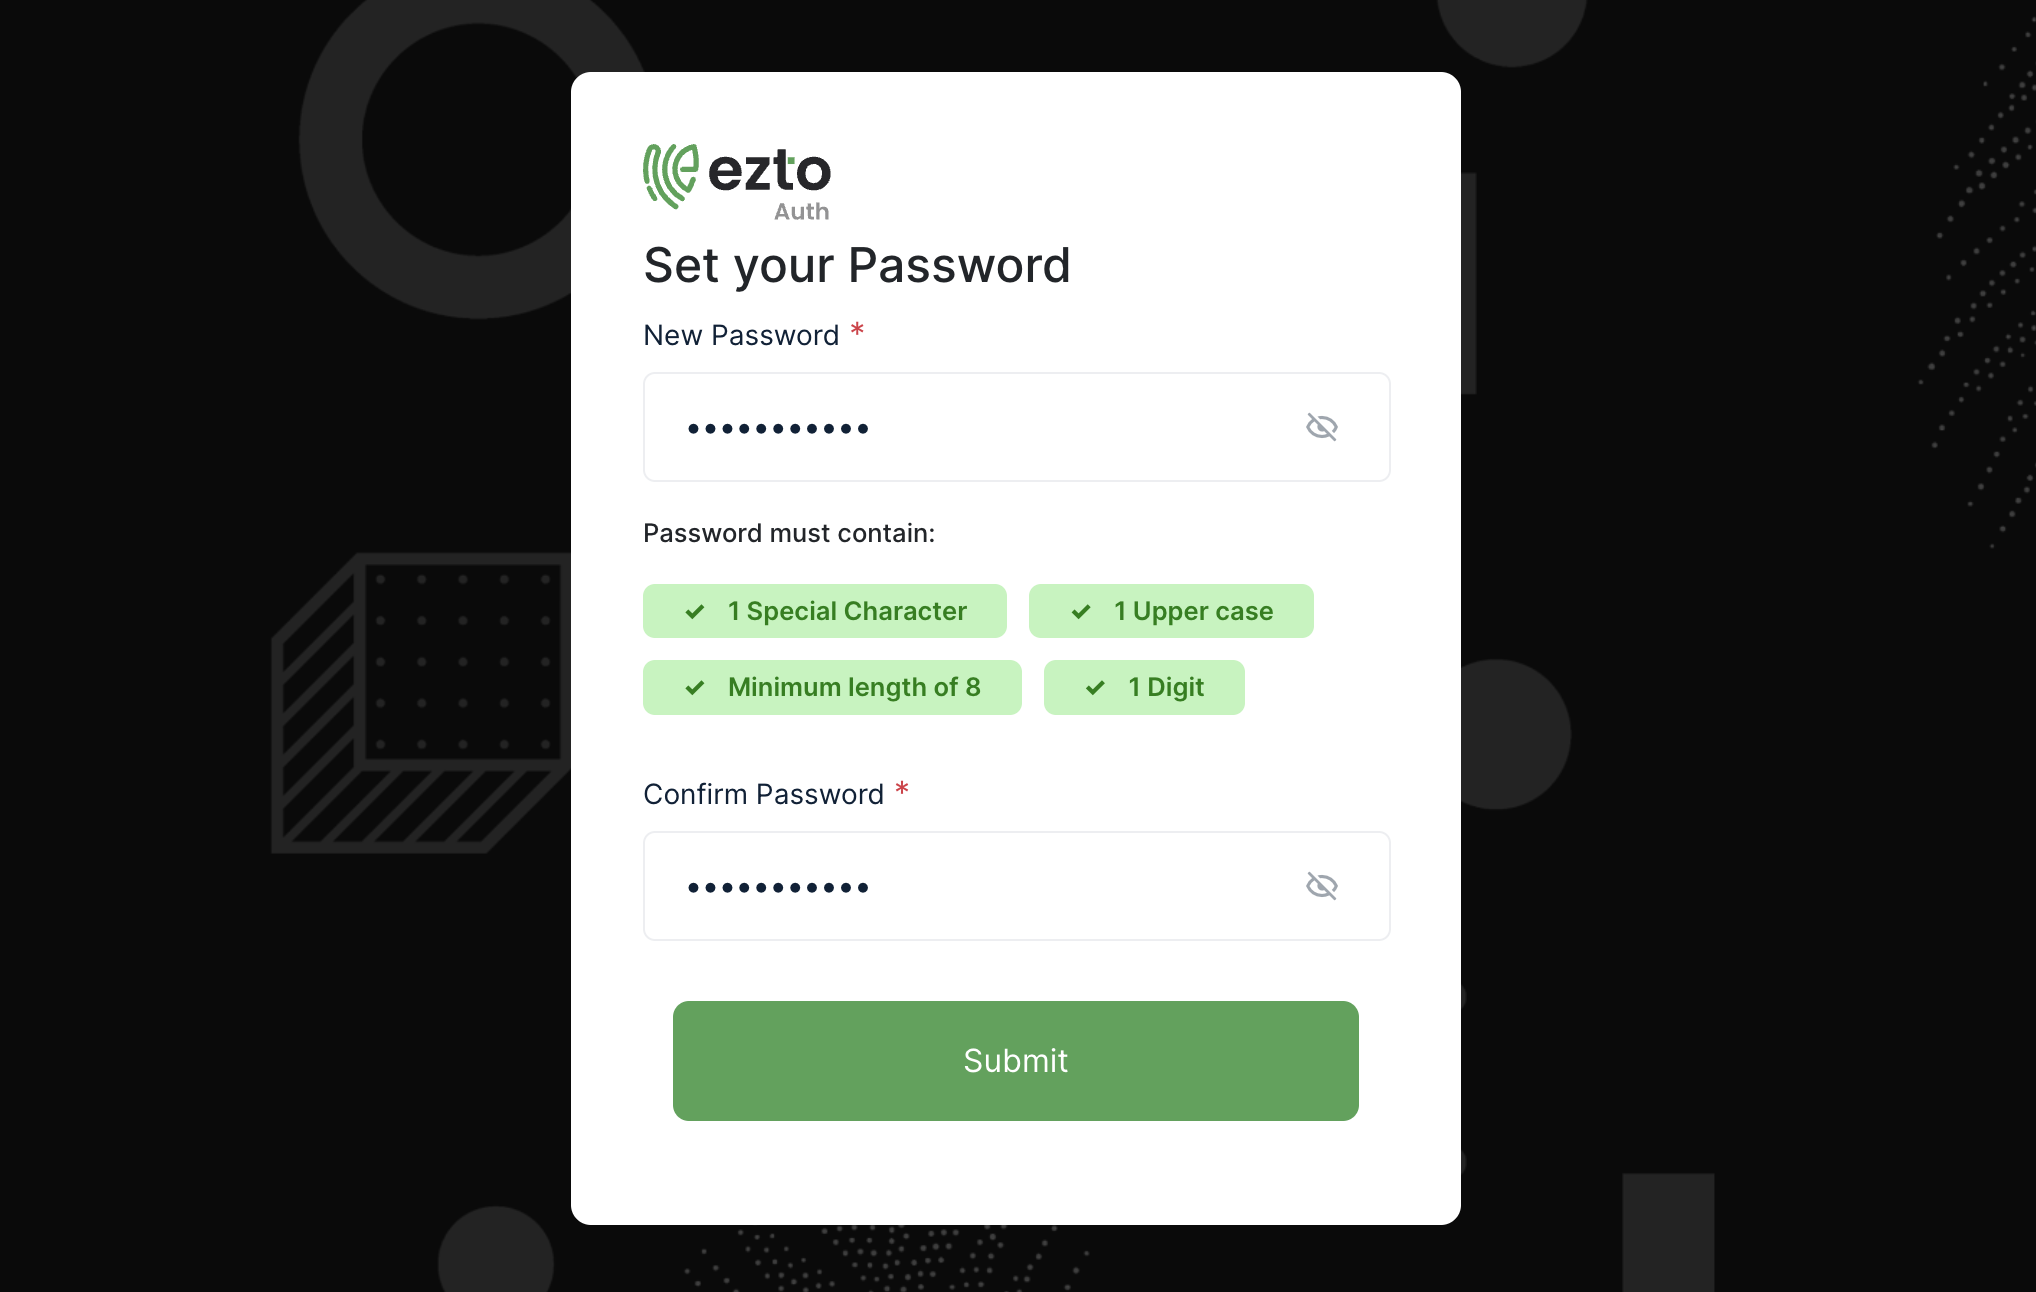
11 Create a password for your account, click on Submit, and upon successful activation, you will be redirected to a page where you can set the password for your account.
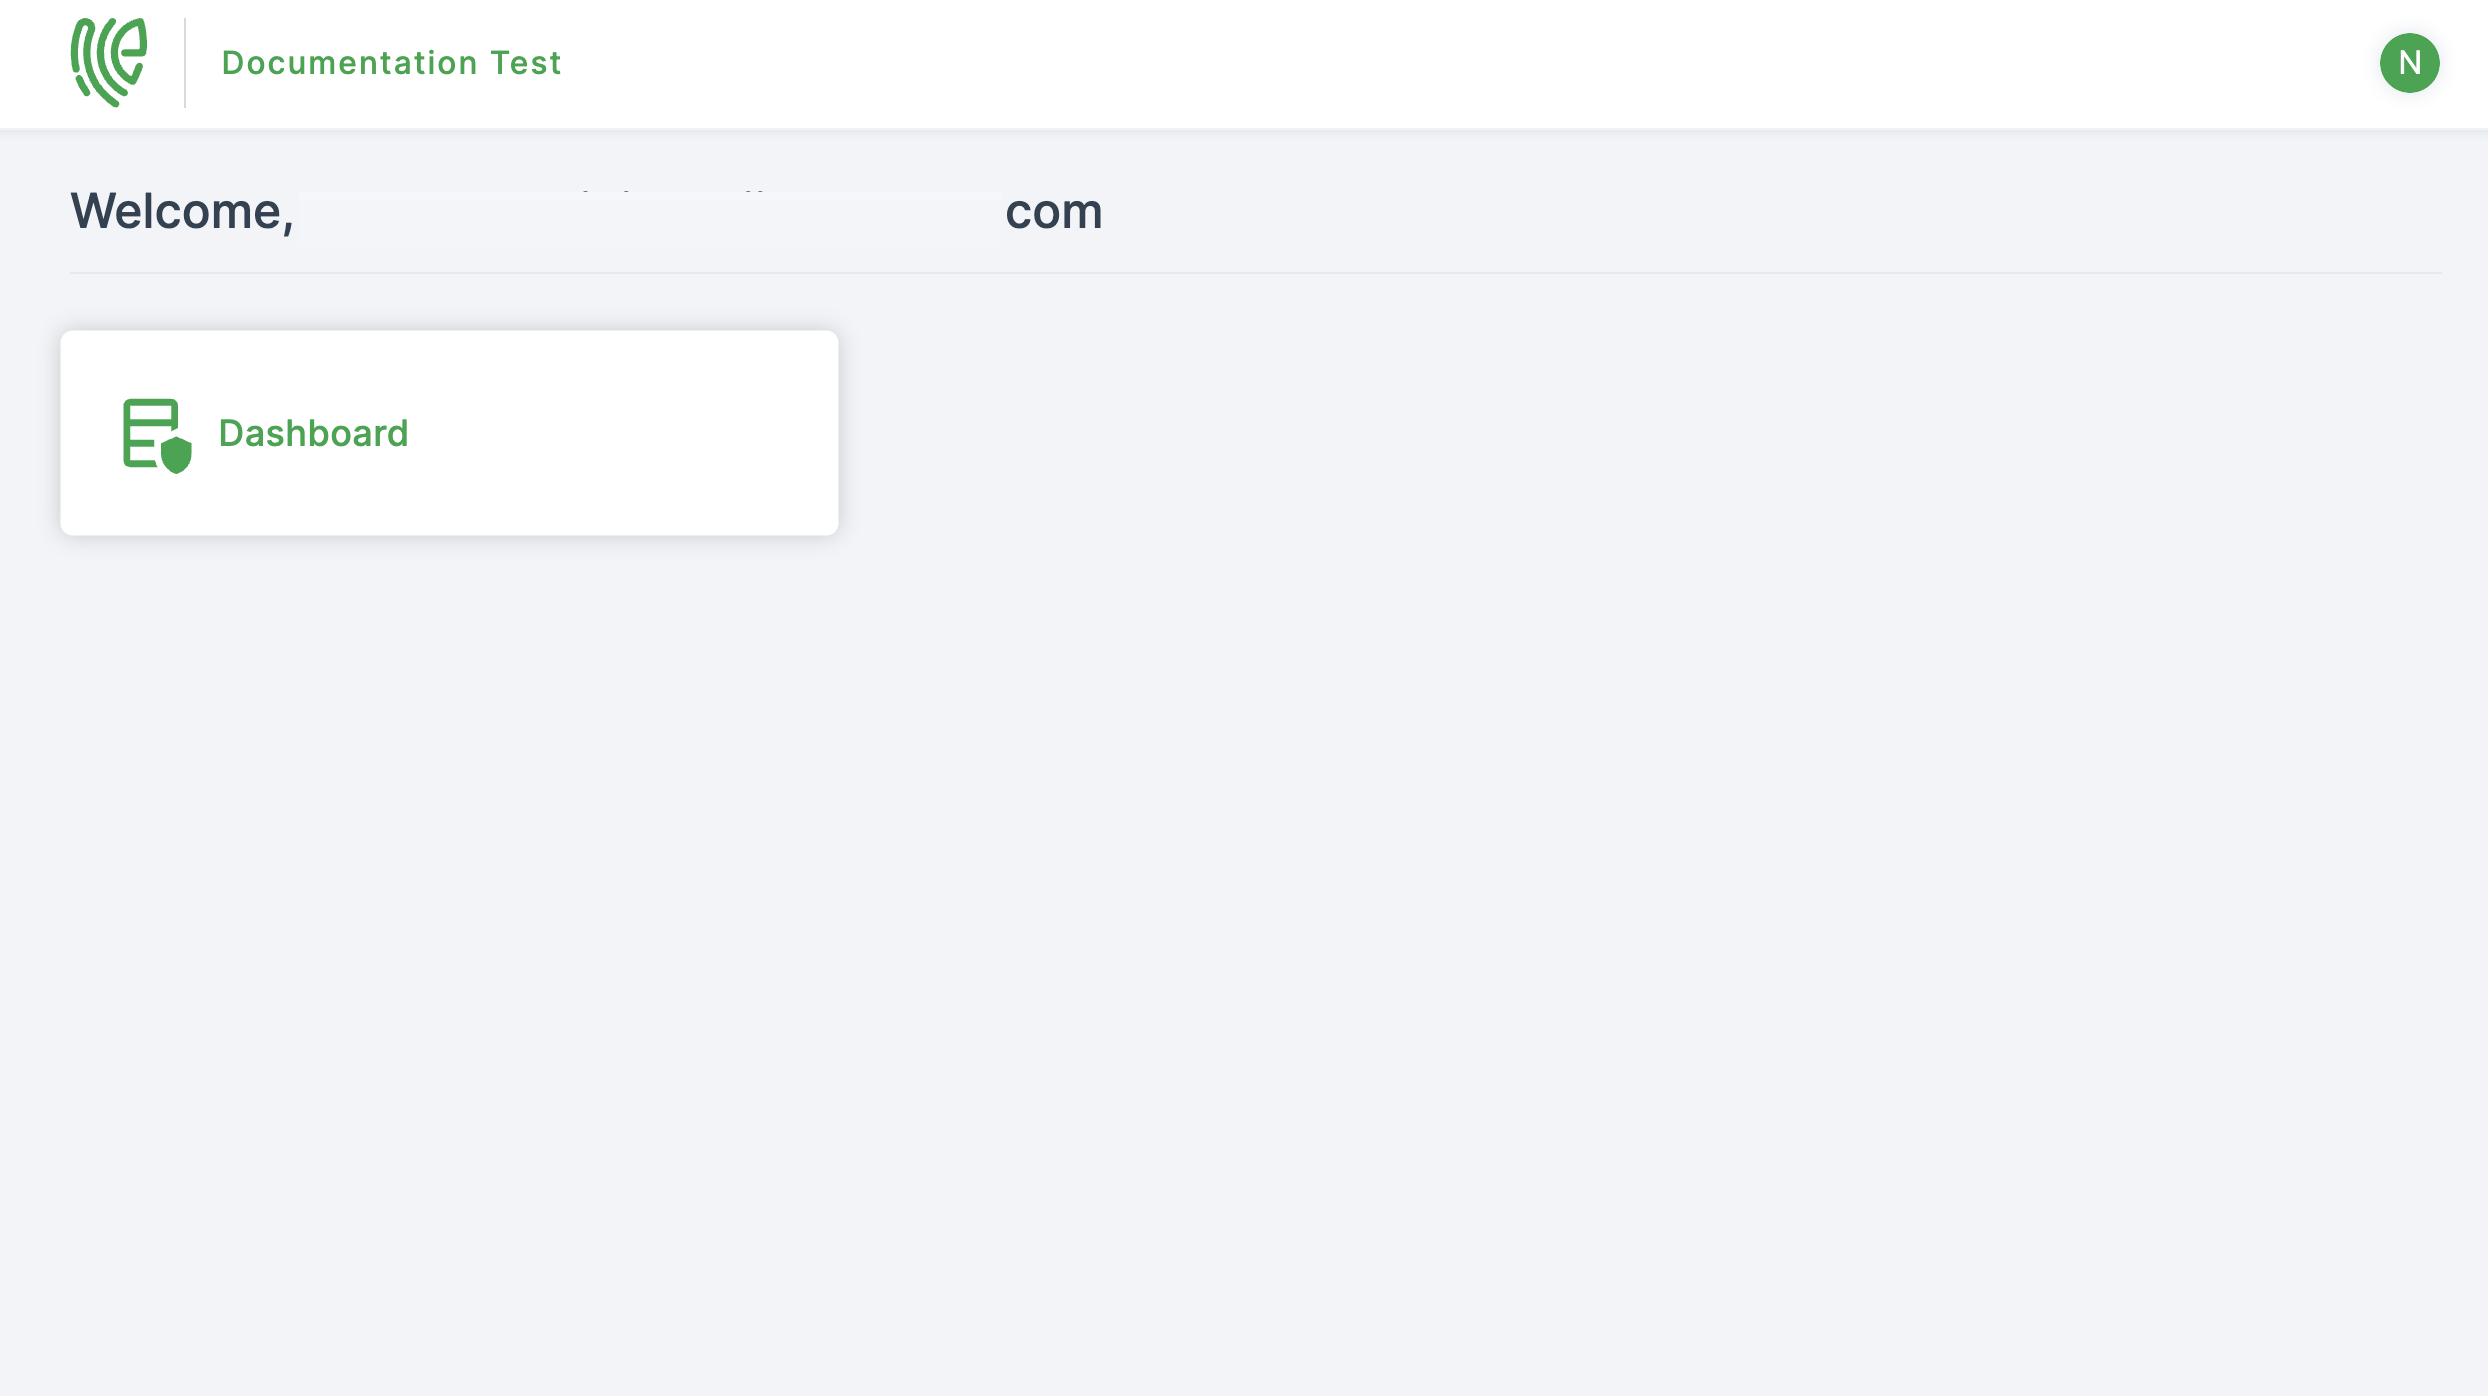
12 You will be moved to the Dashboard’s SSO page. Click on Dashboard.
13 You will be taken to the Workspace Settings.
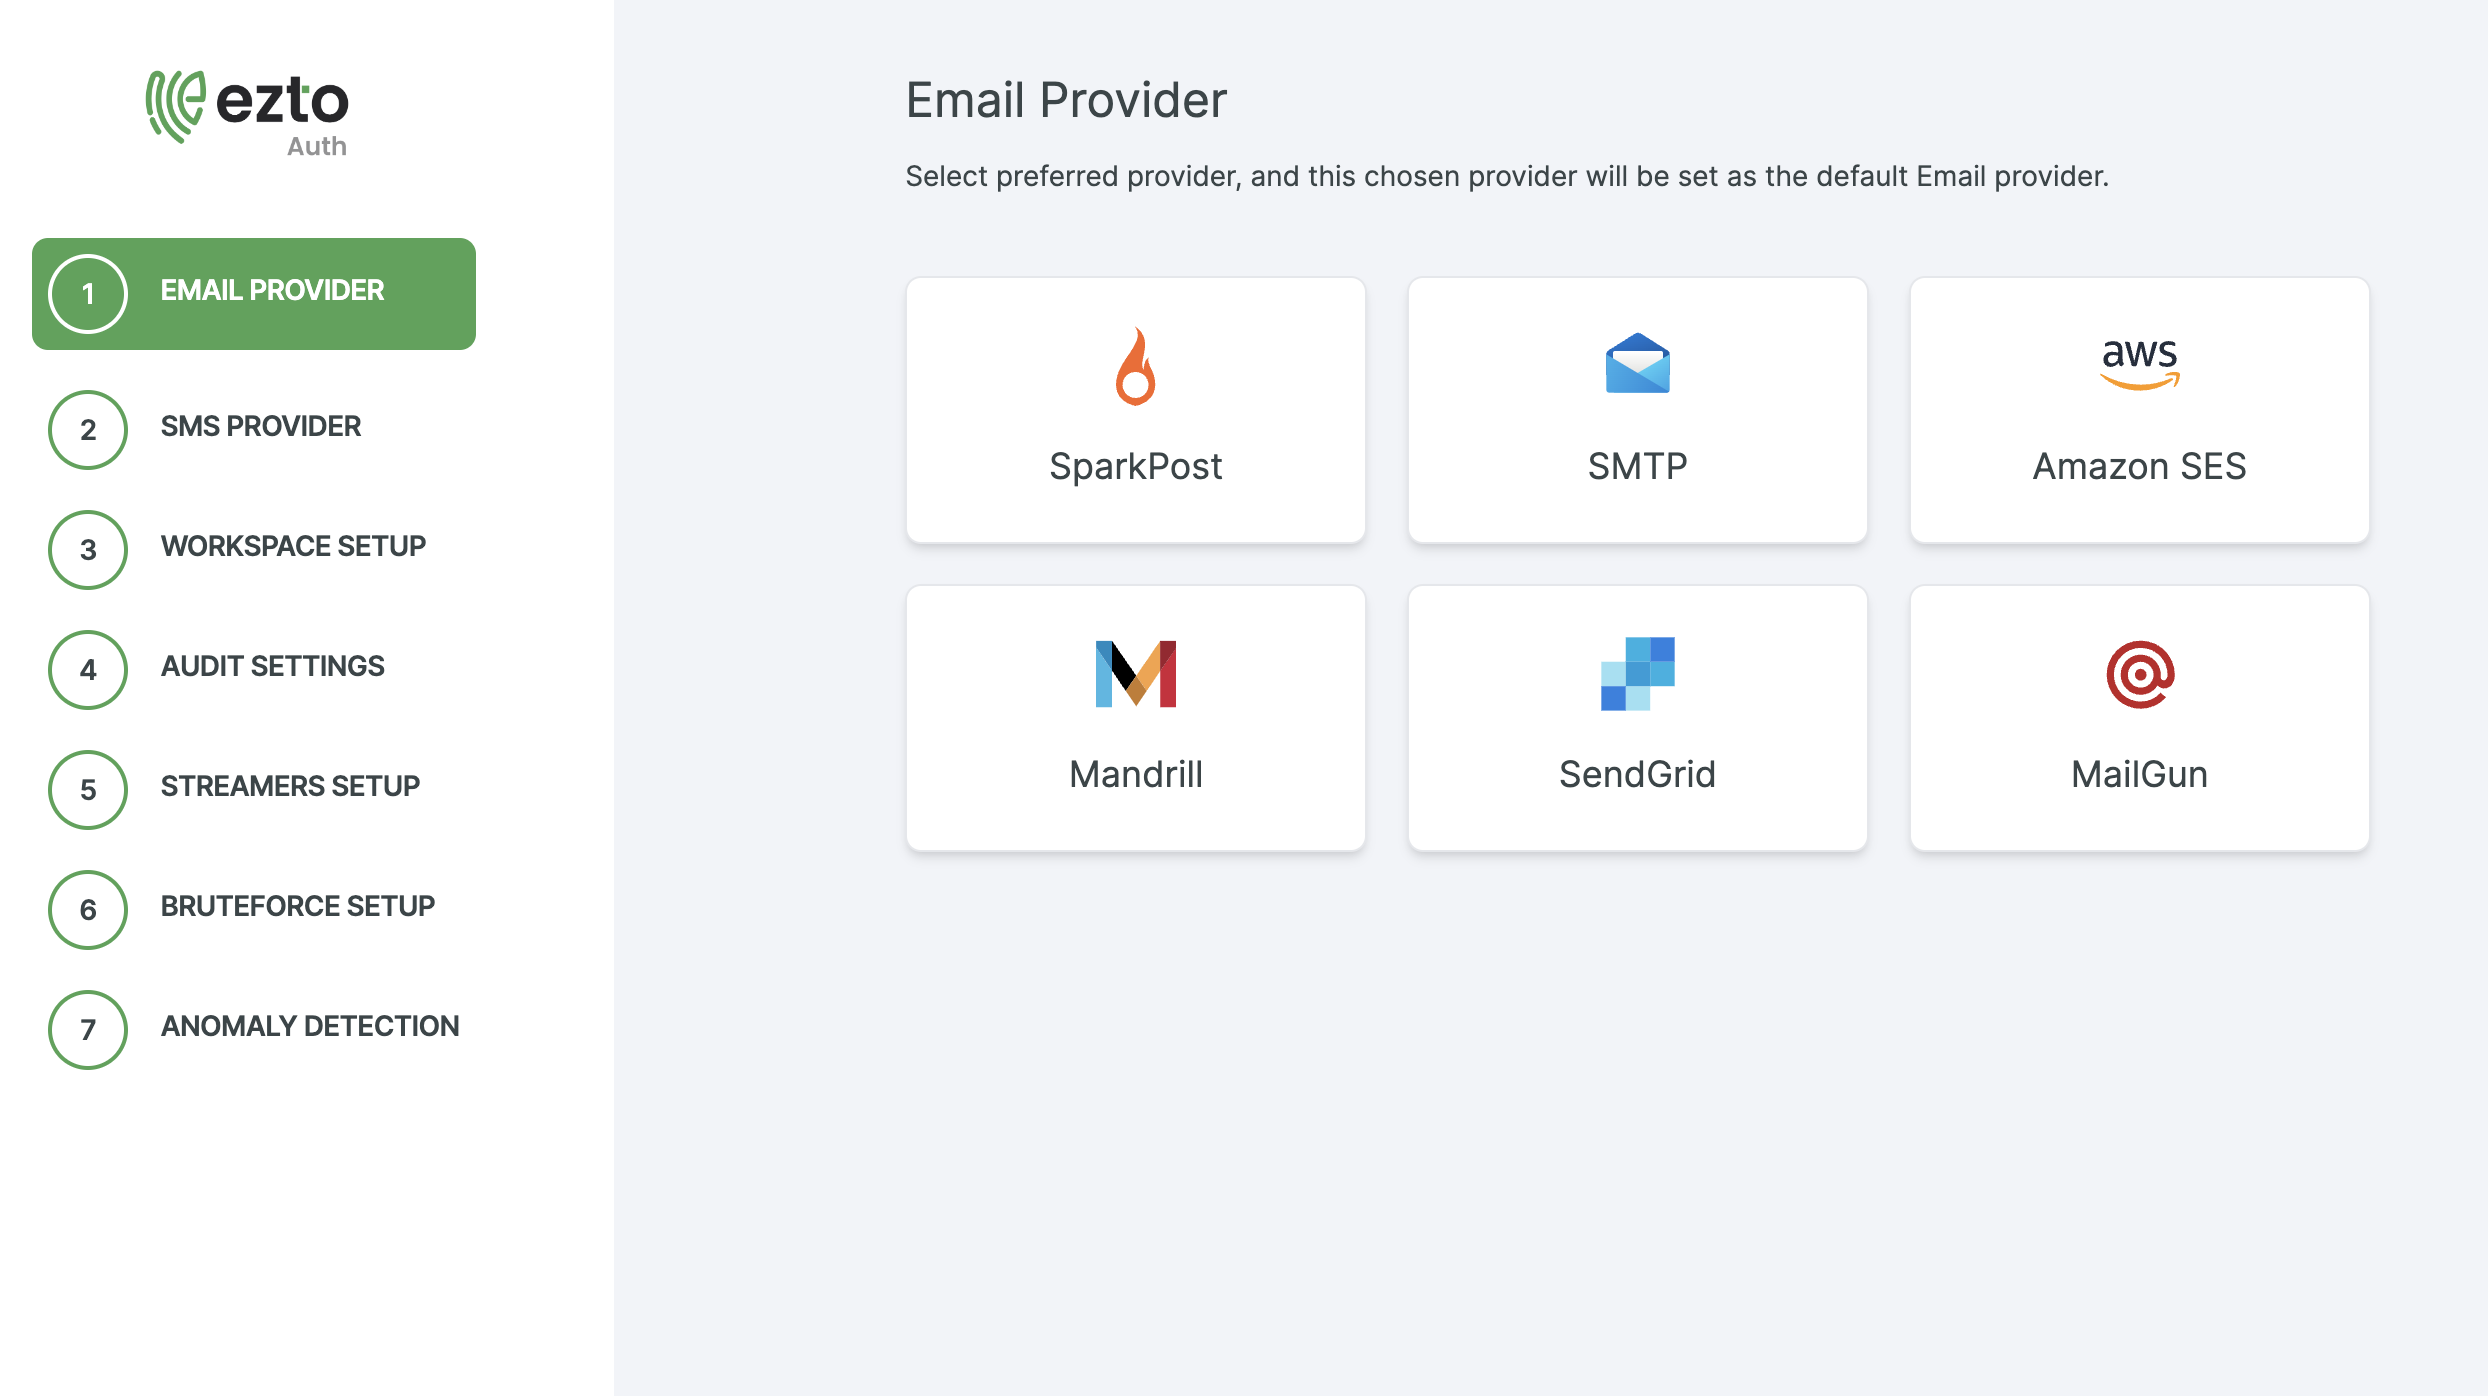
14 Choose the Email Provider you want to configure. For instance, SendGrid is chosen. Enter the configurations, and then click Save.
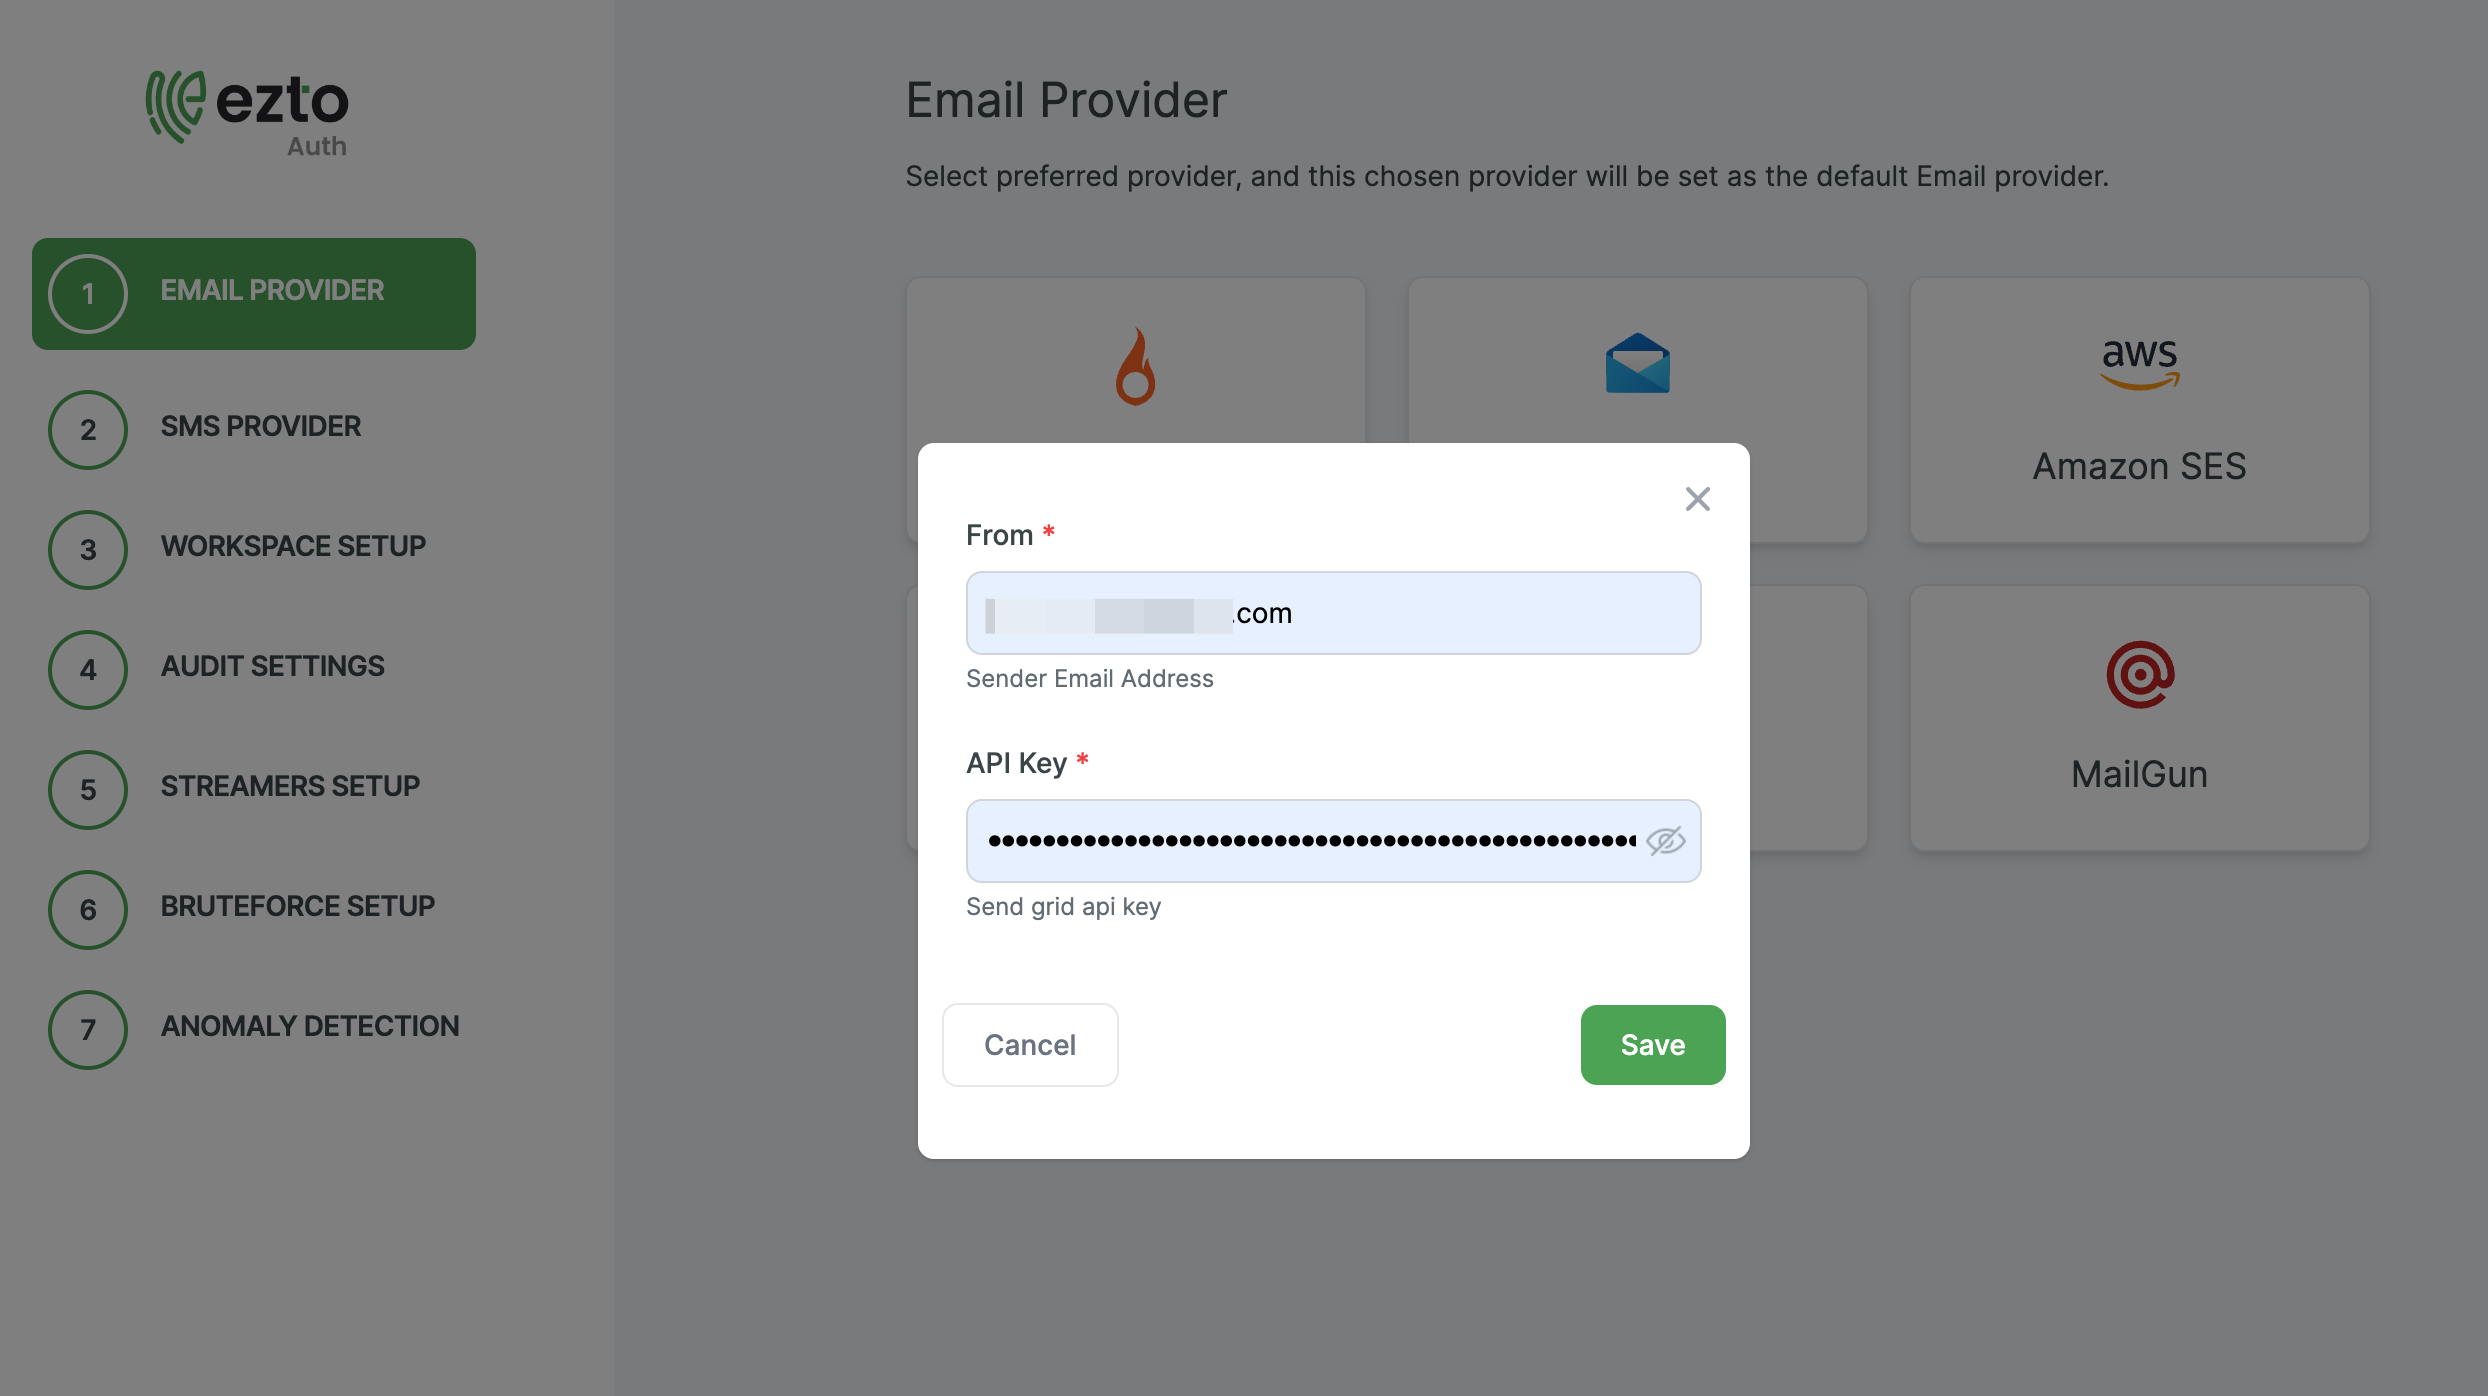
15 Click on the Next button.
16 Select the SMS Provider you want to configure. For instance, Twilio is chosen.
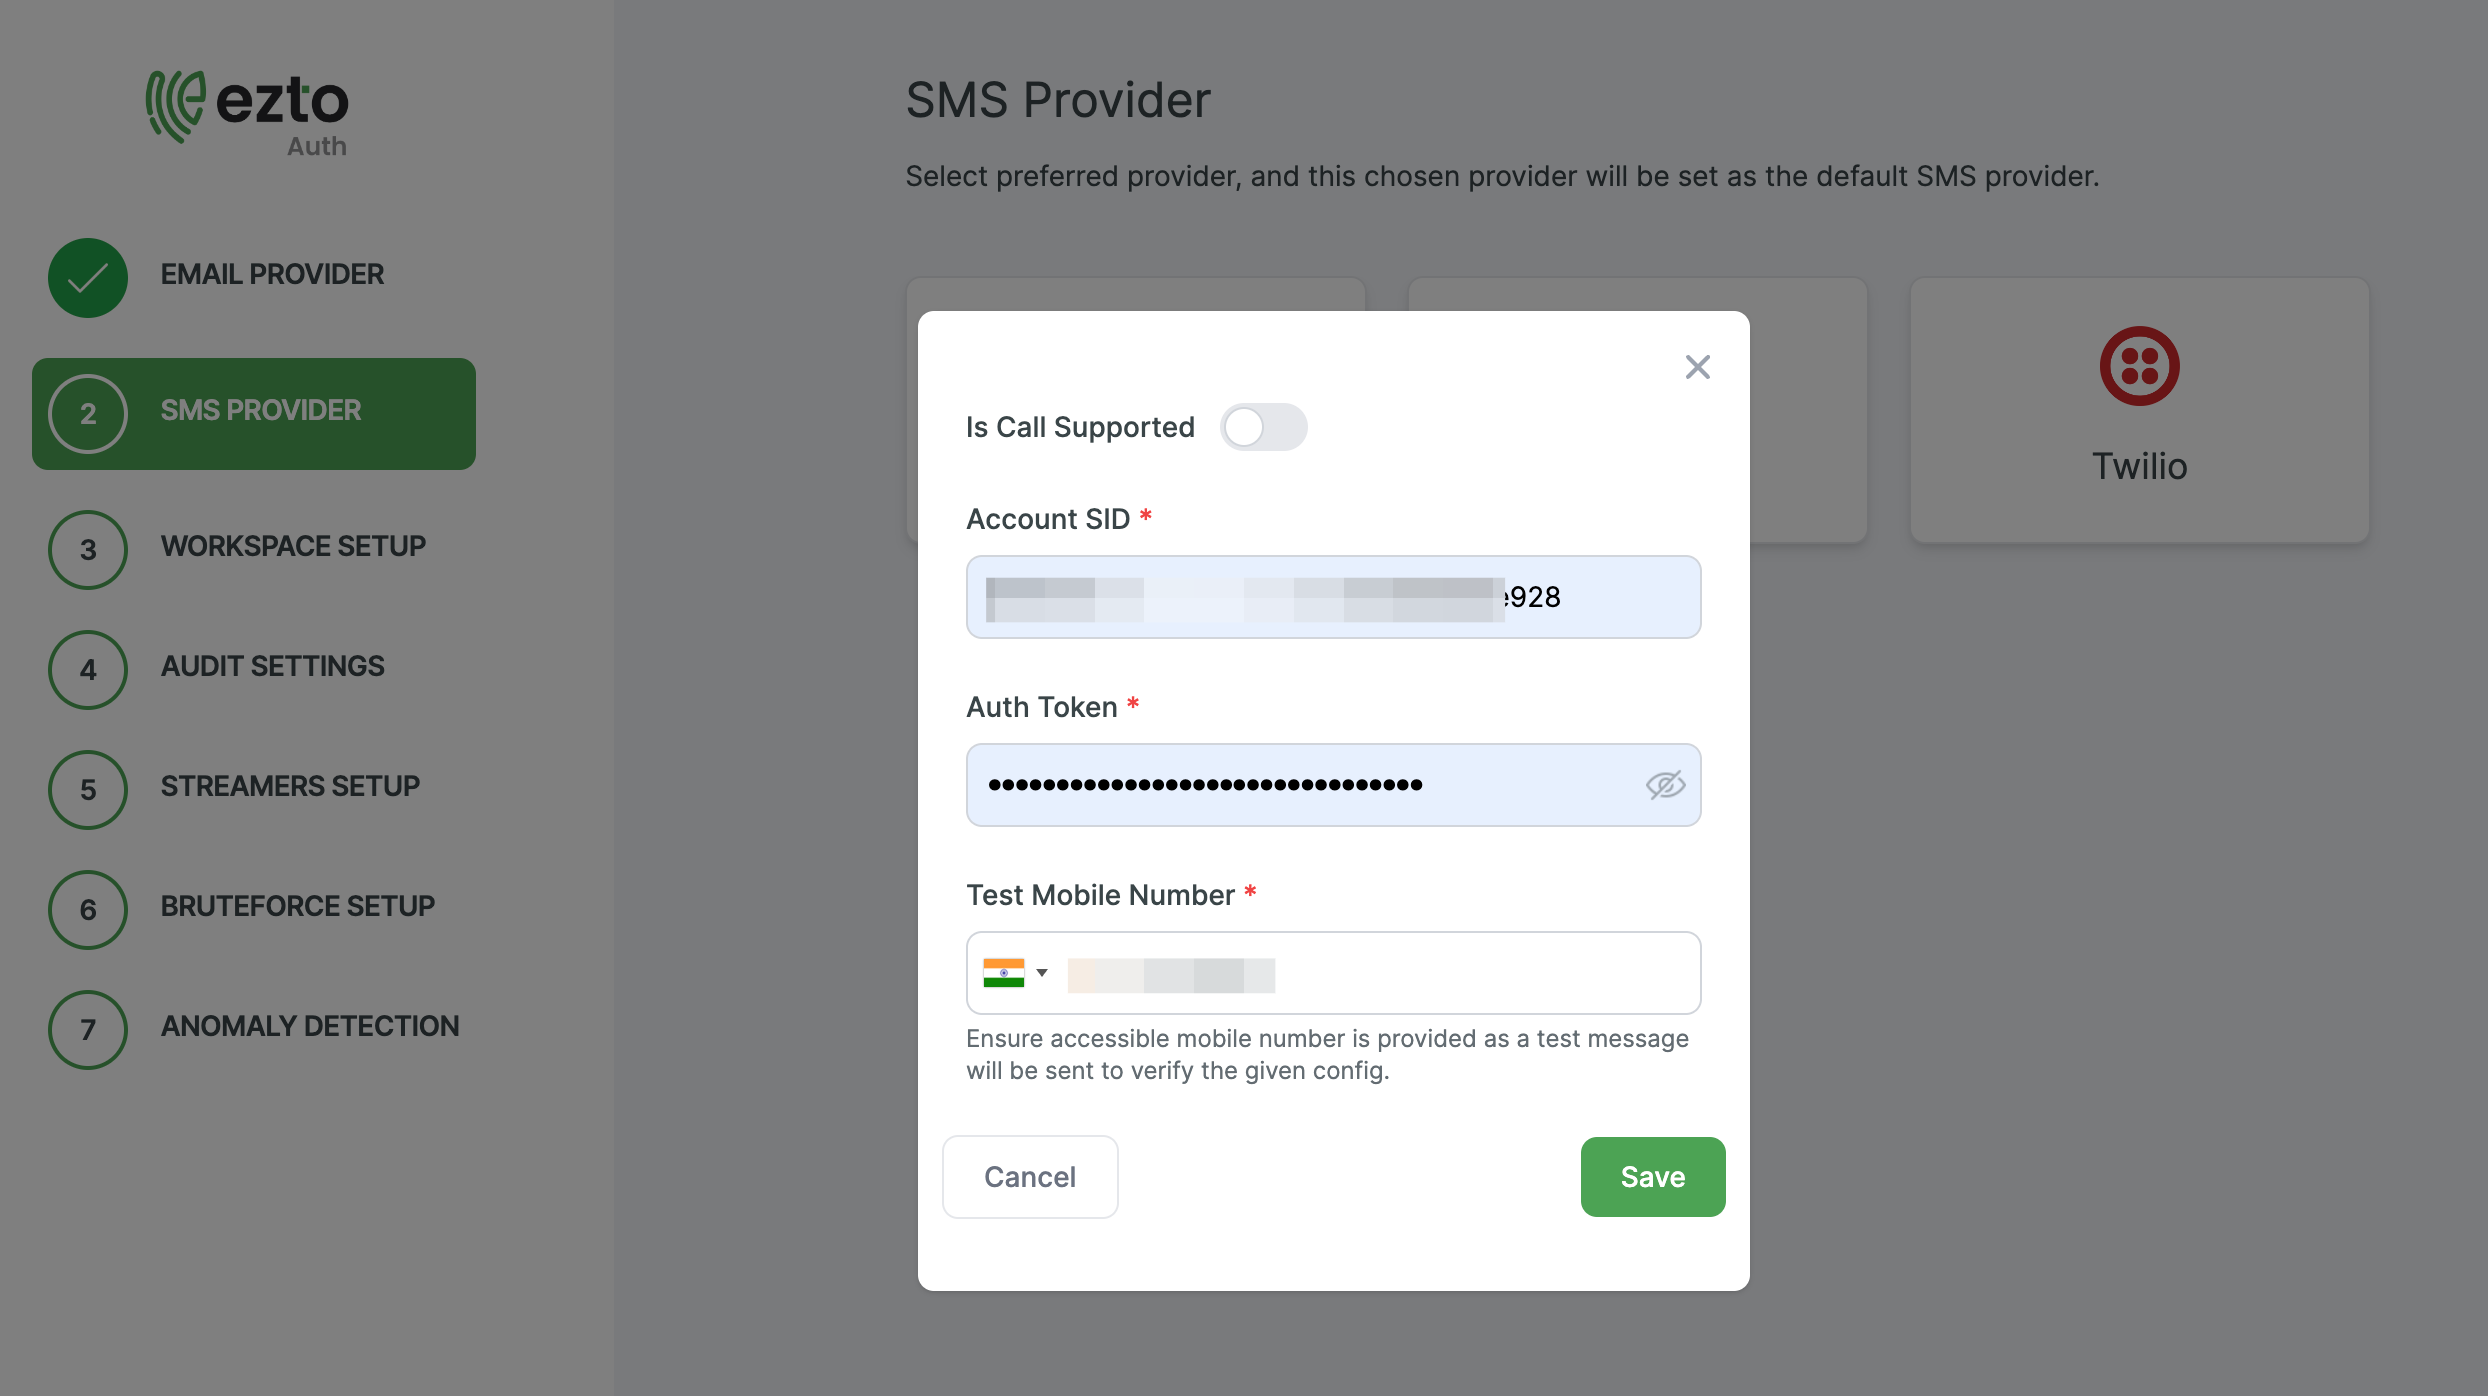
17 Provide the neccessary configs and click on Save.
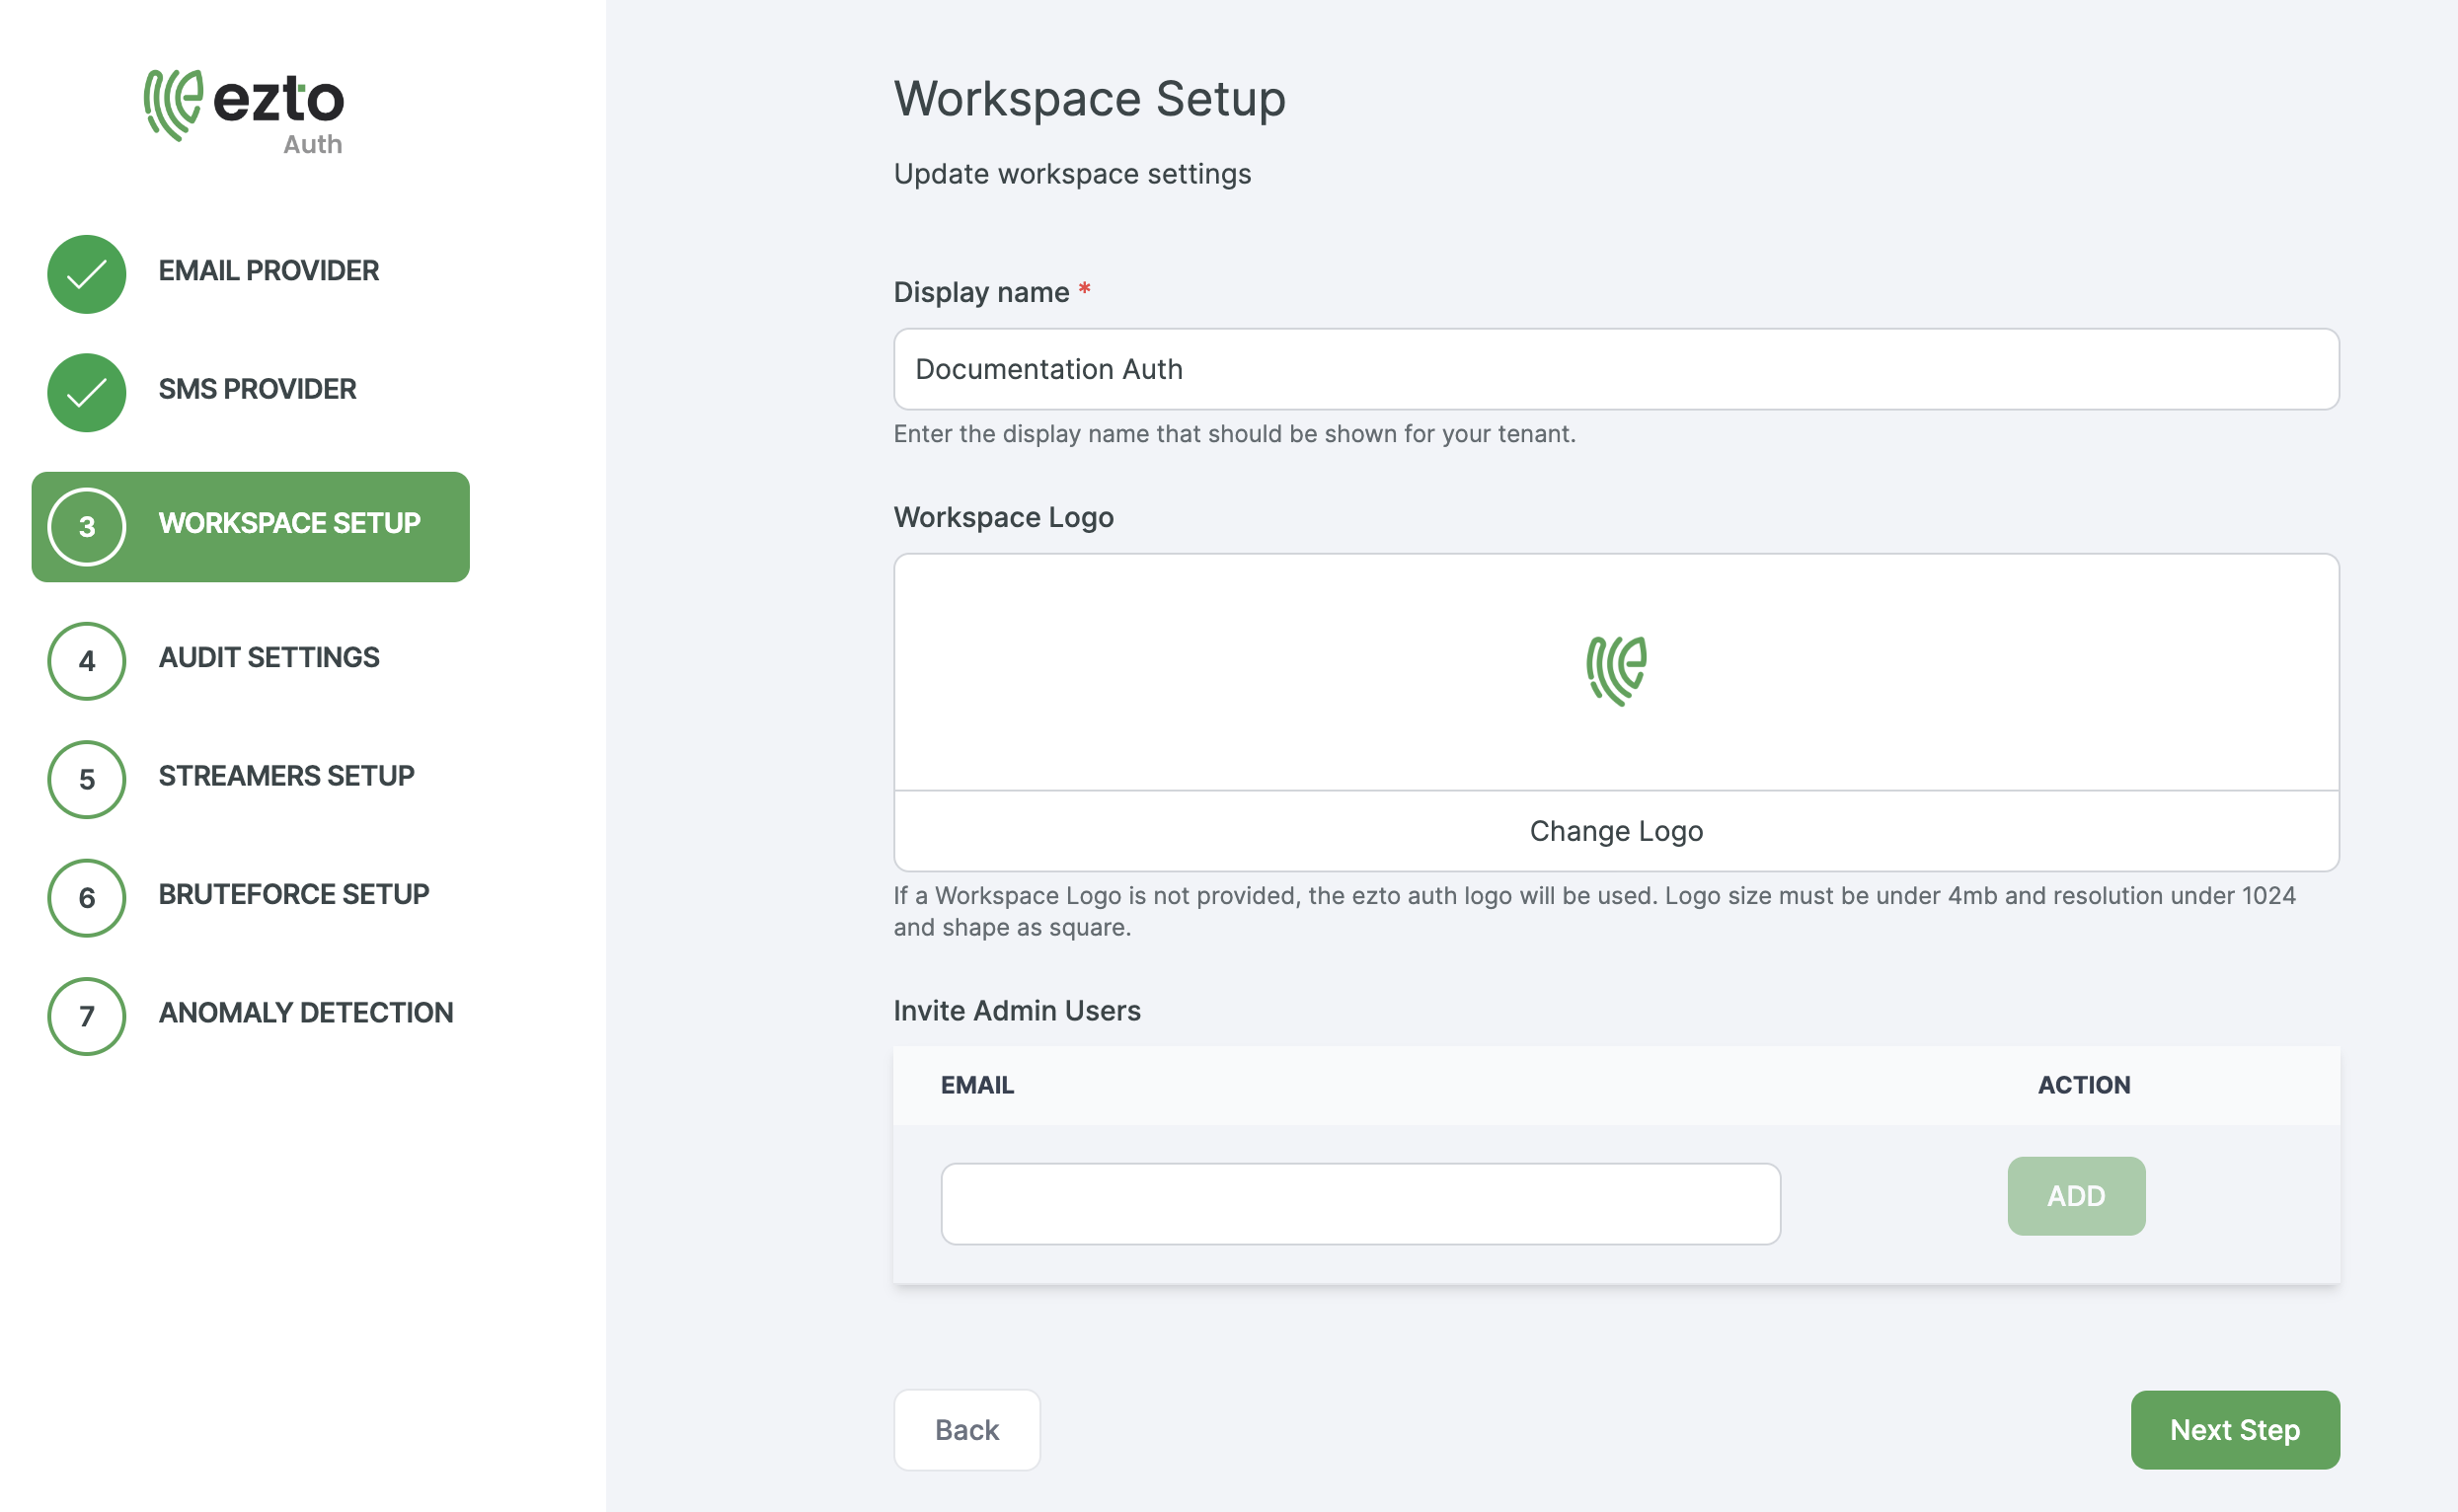
18 Configure the basic settings according to your preferences. Afterward, click on the Next Step button.
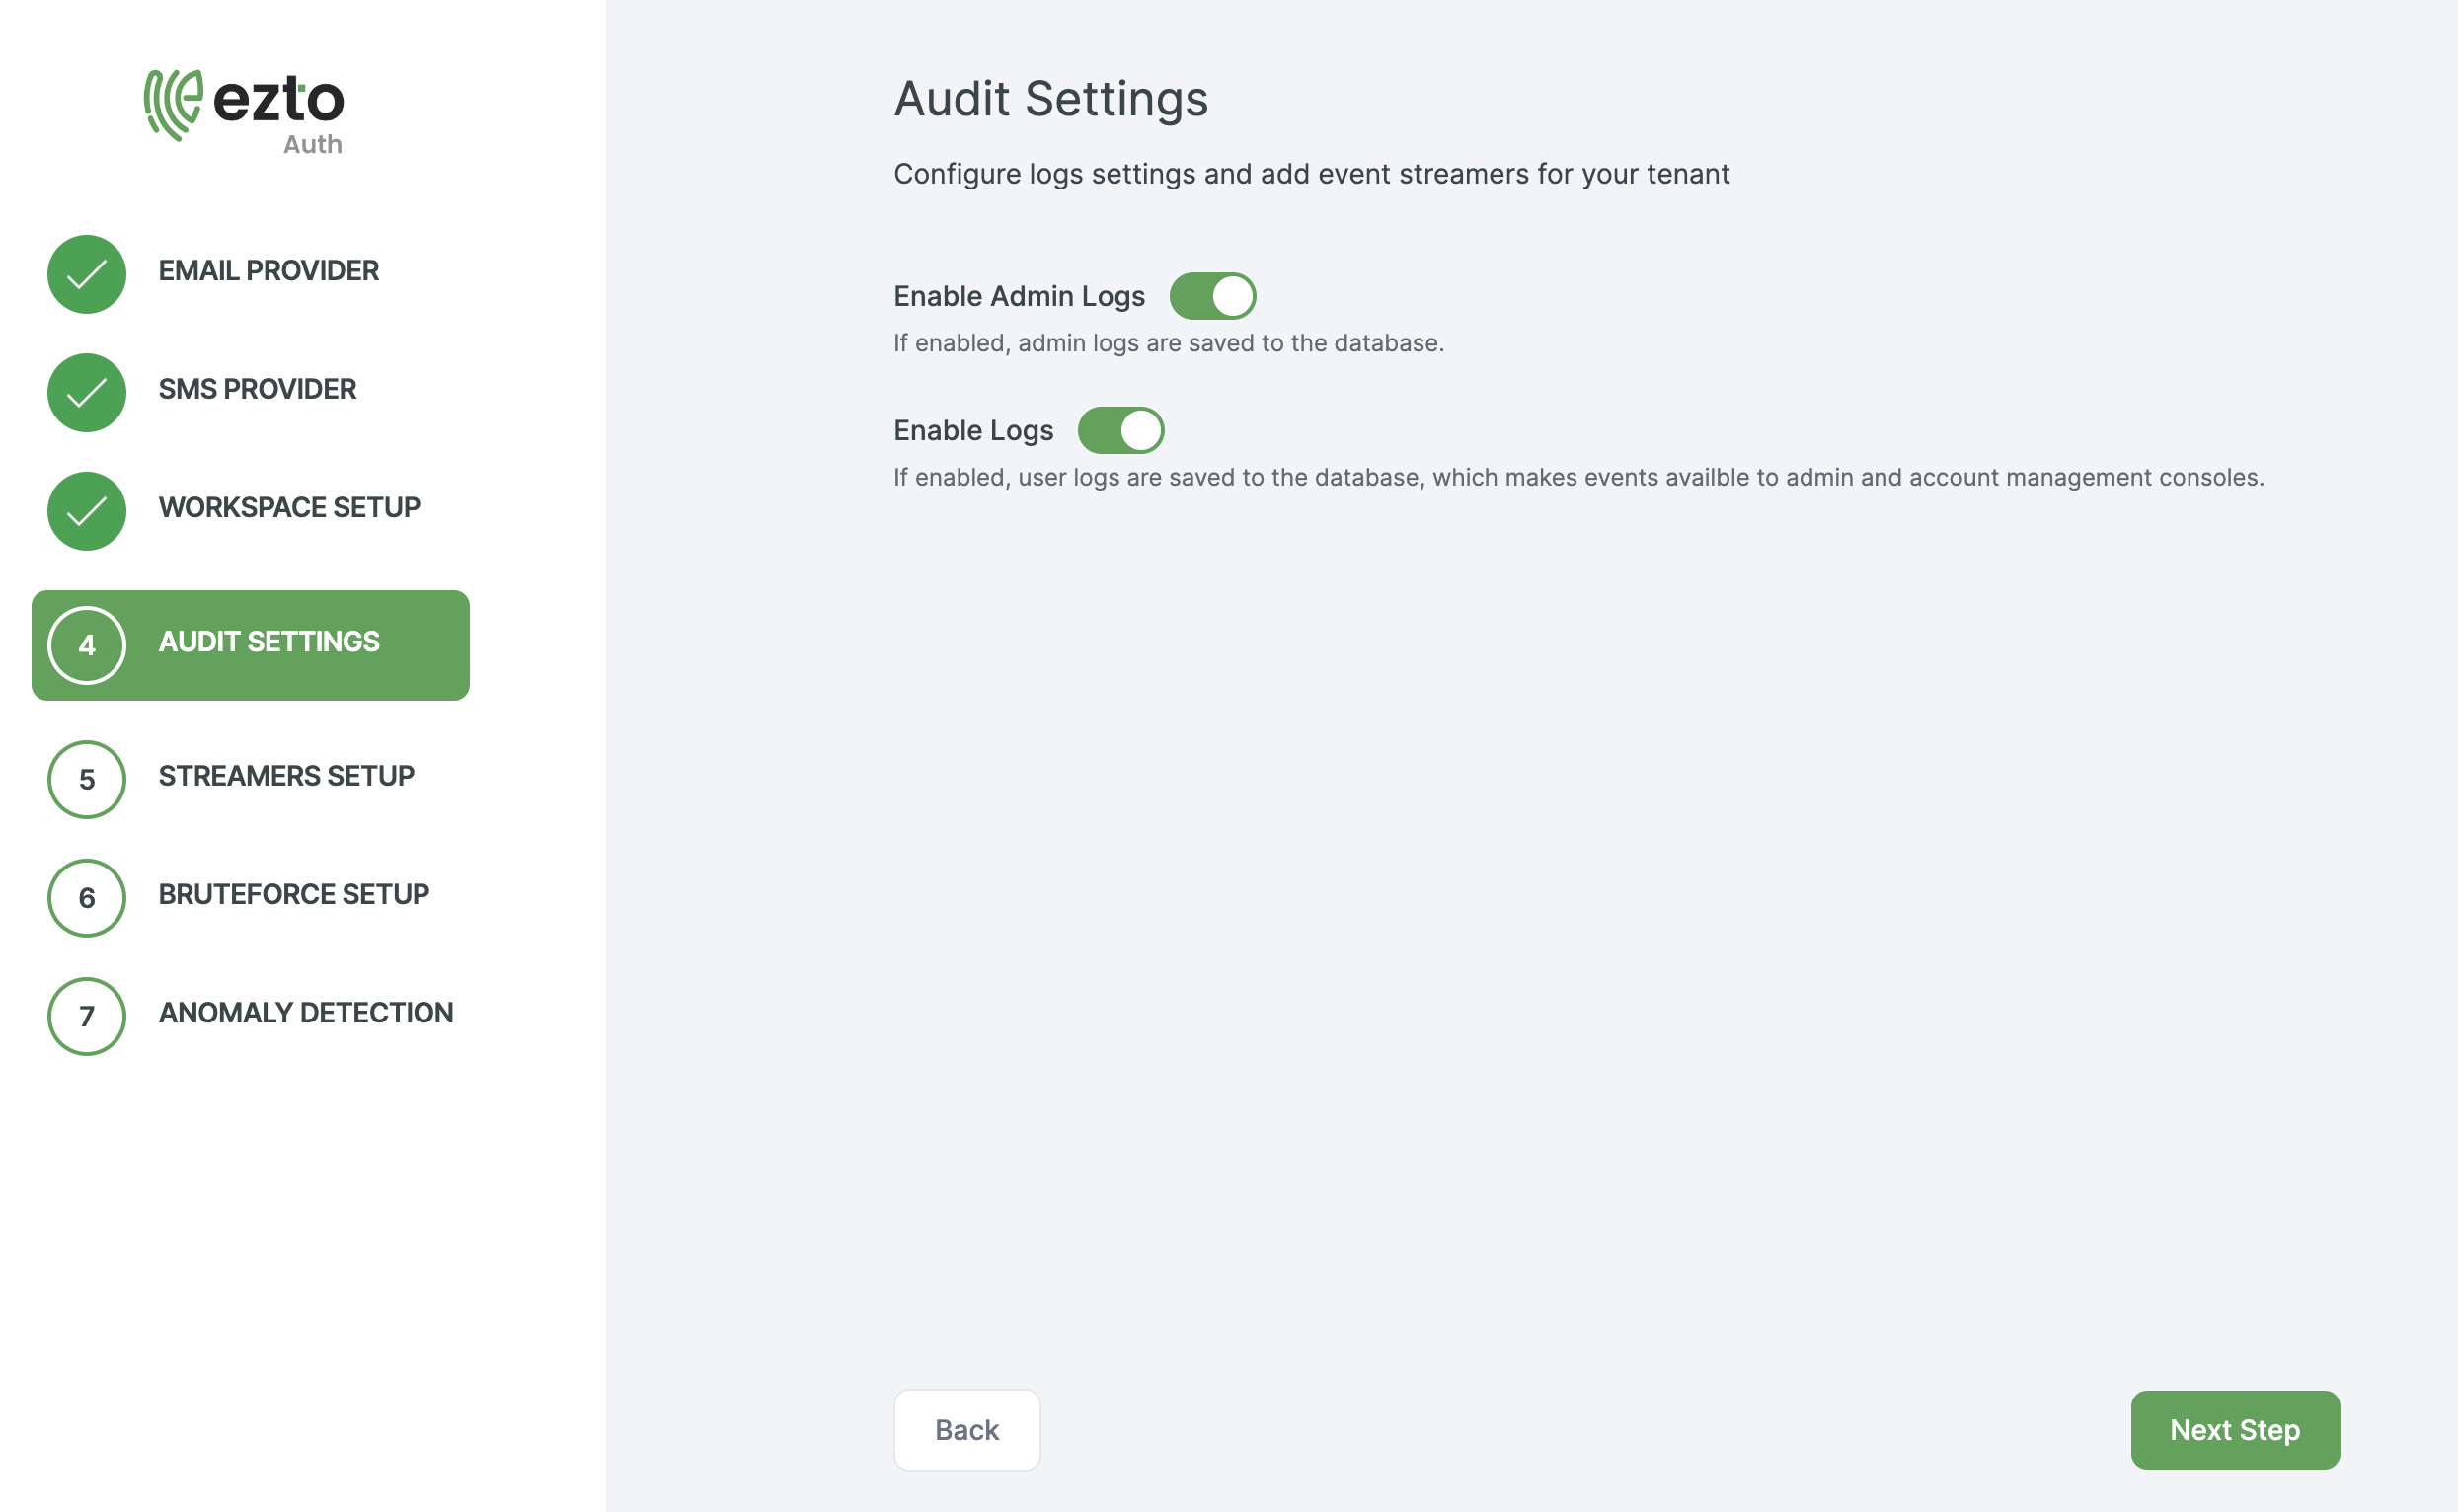
19 Enable the Audit Logs required. Click on Next Step.
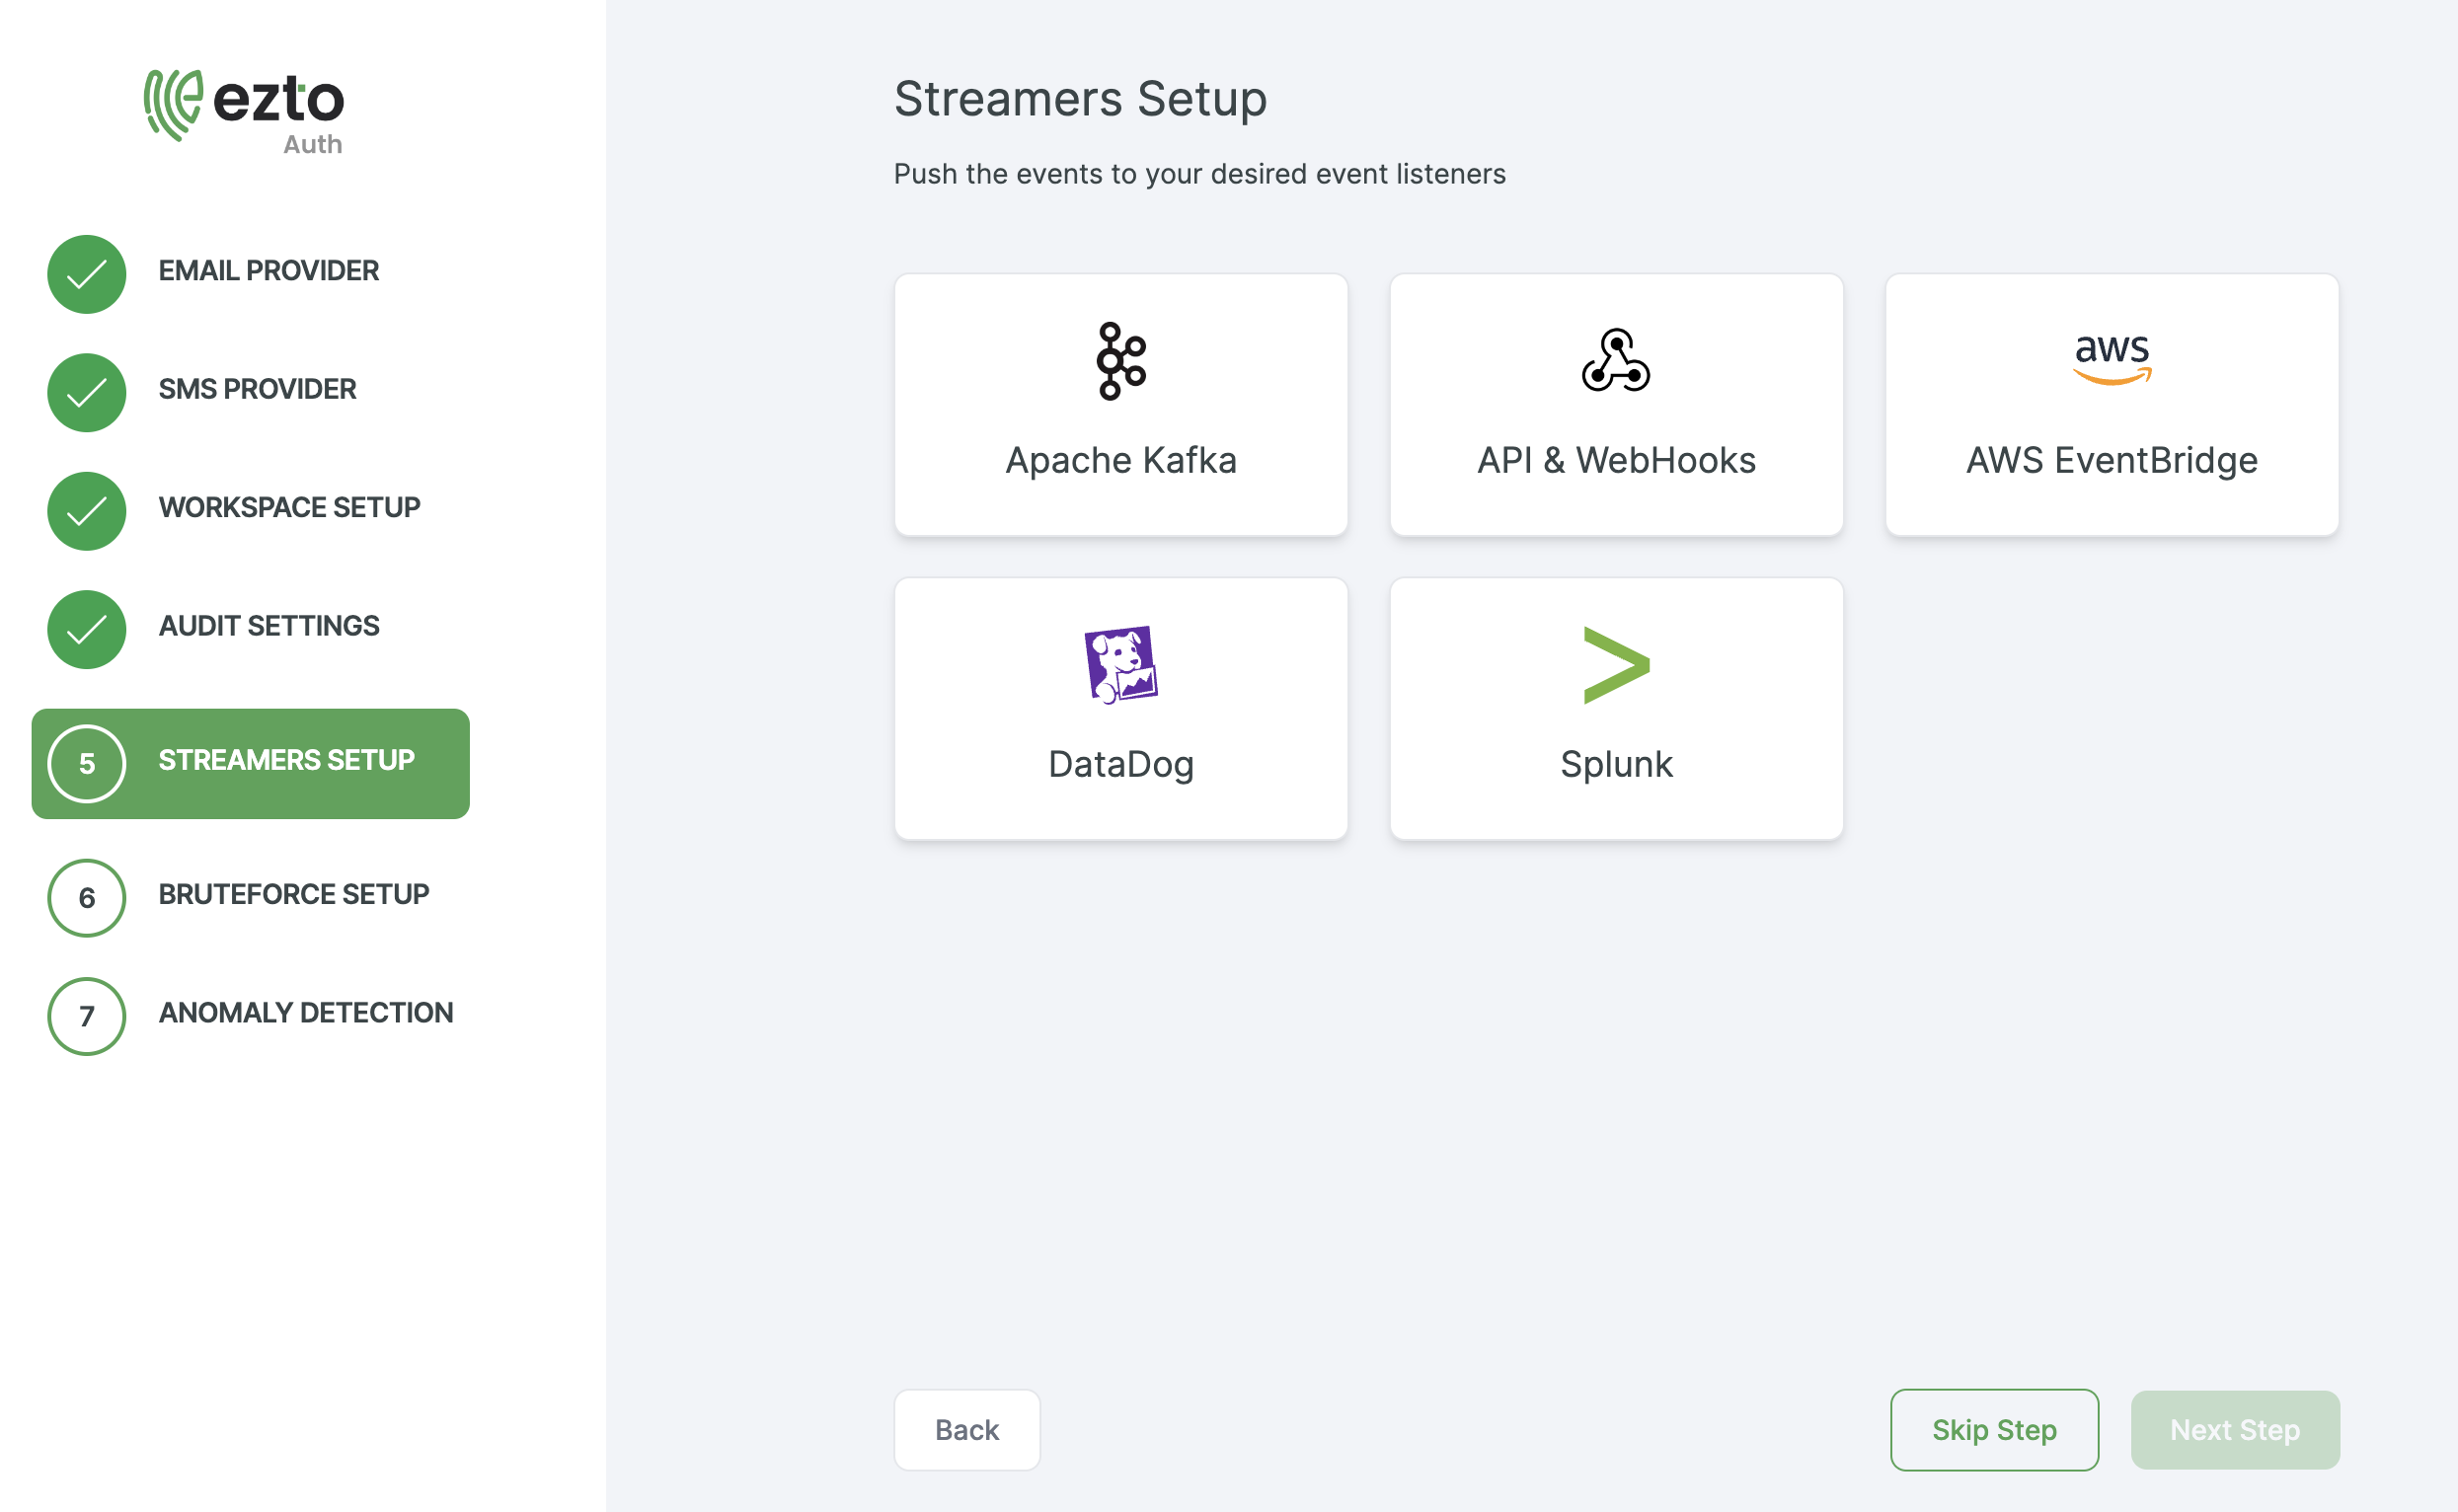
20 Select the Streamers if required or Skip Step.
21 Toggle the enable button to Enable Brute Force Detection, after enabling, provide the required configs. Click on Next Step.

22 Toggle the enable button to Enable Anomaly Detection. Enable the required Triggers.
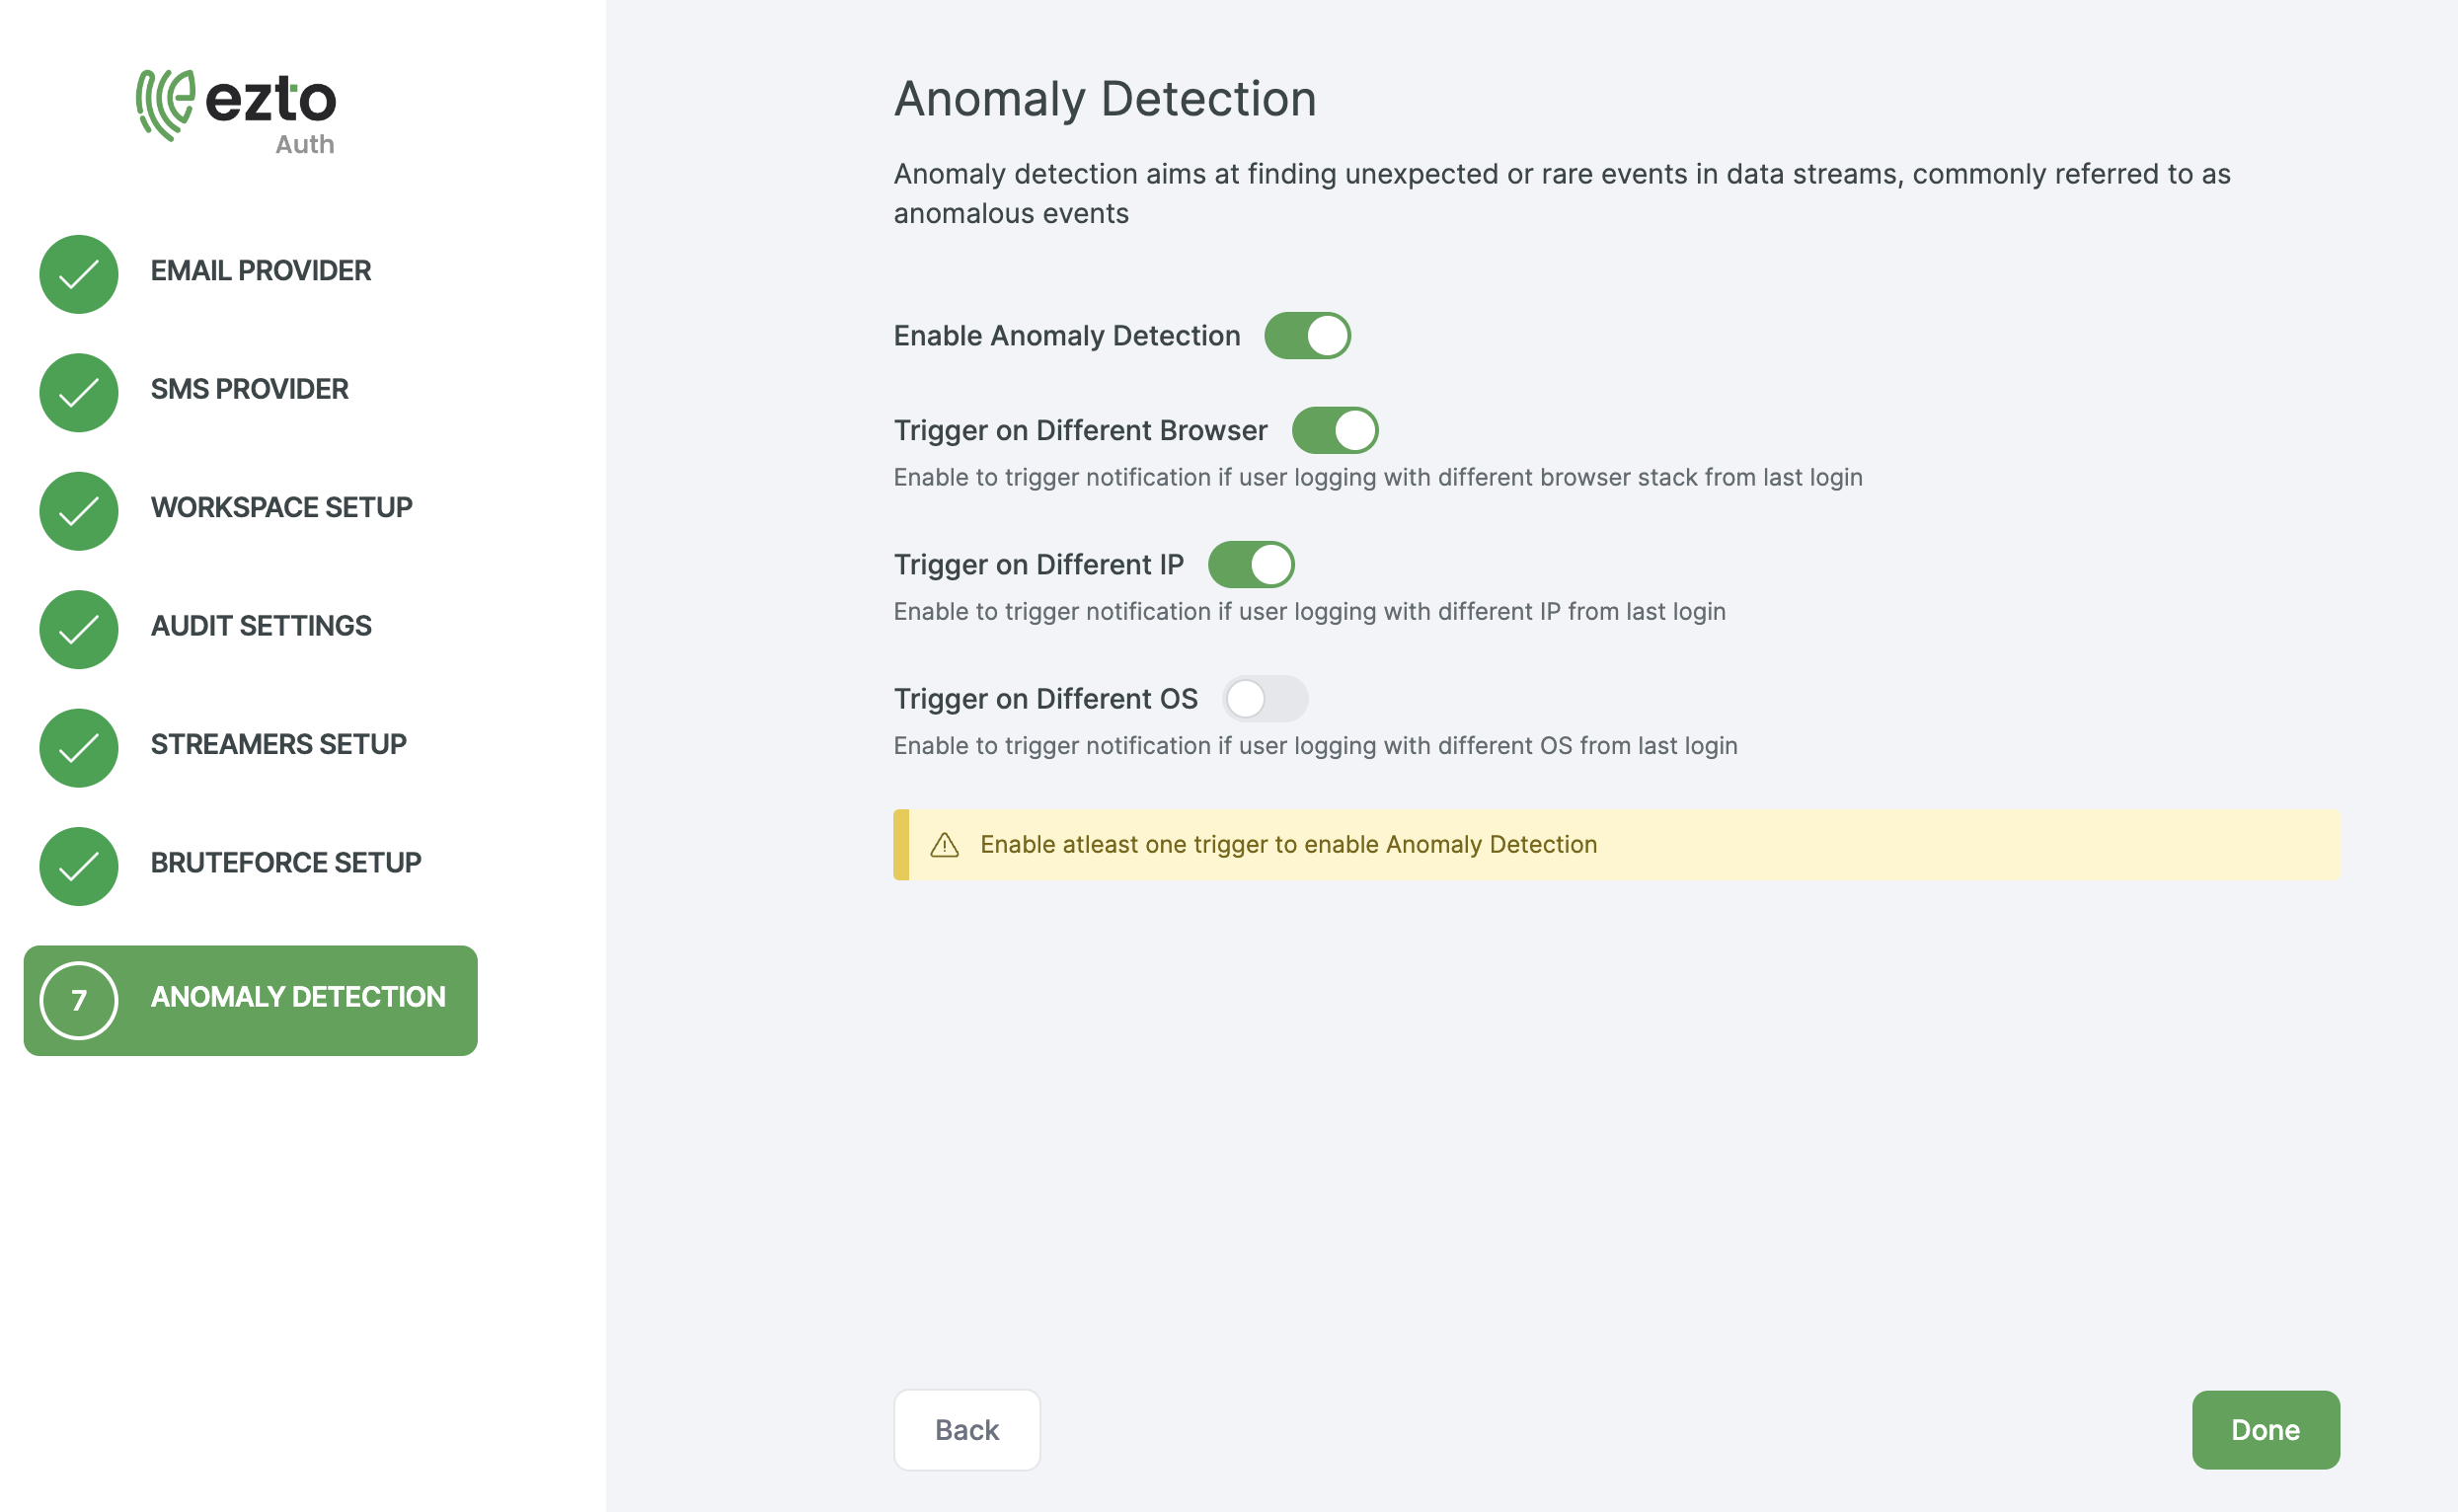
23 Click on DONE.
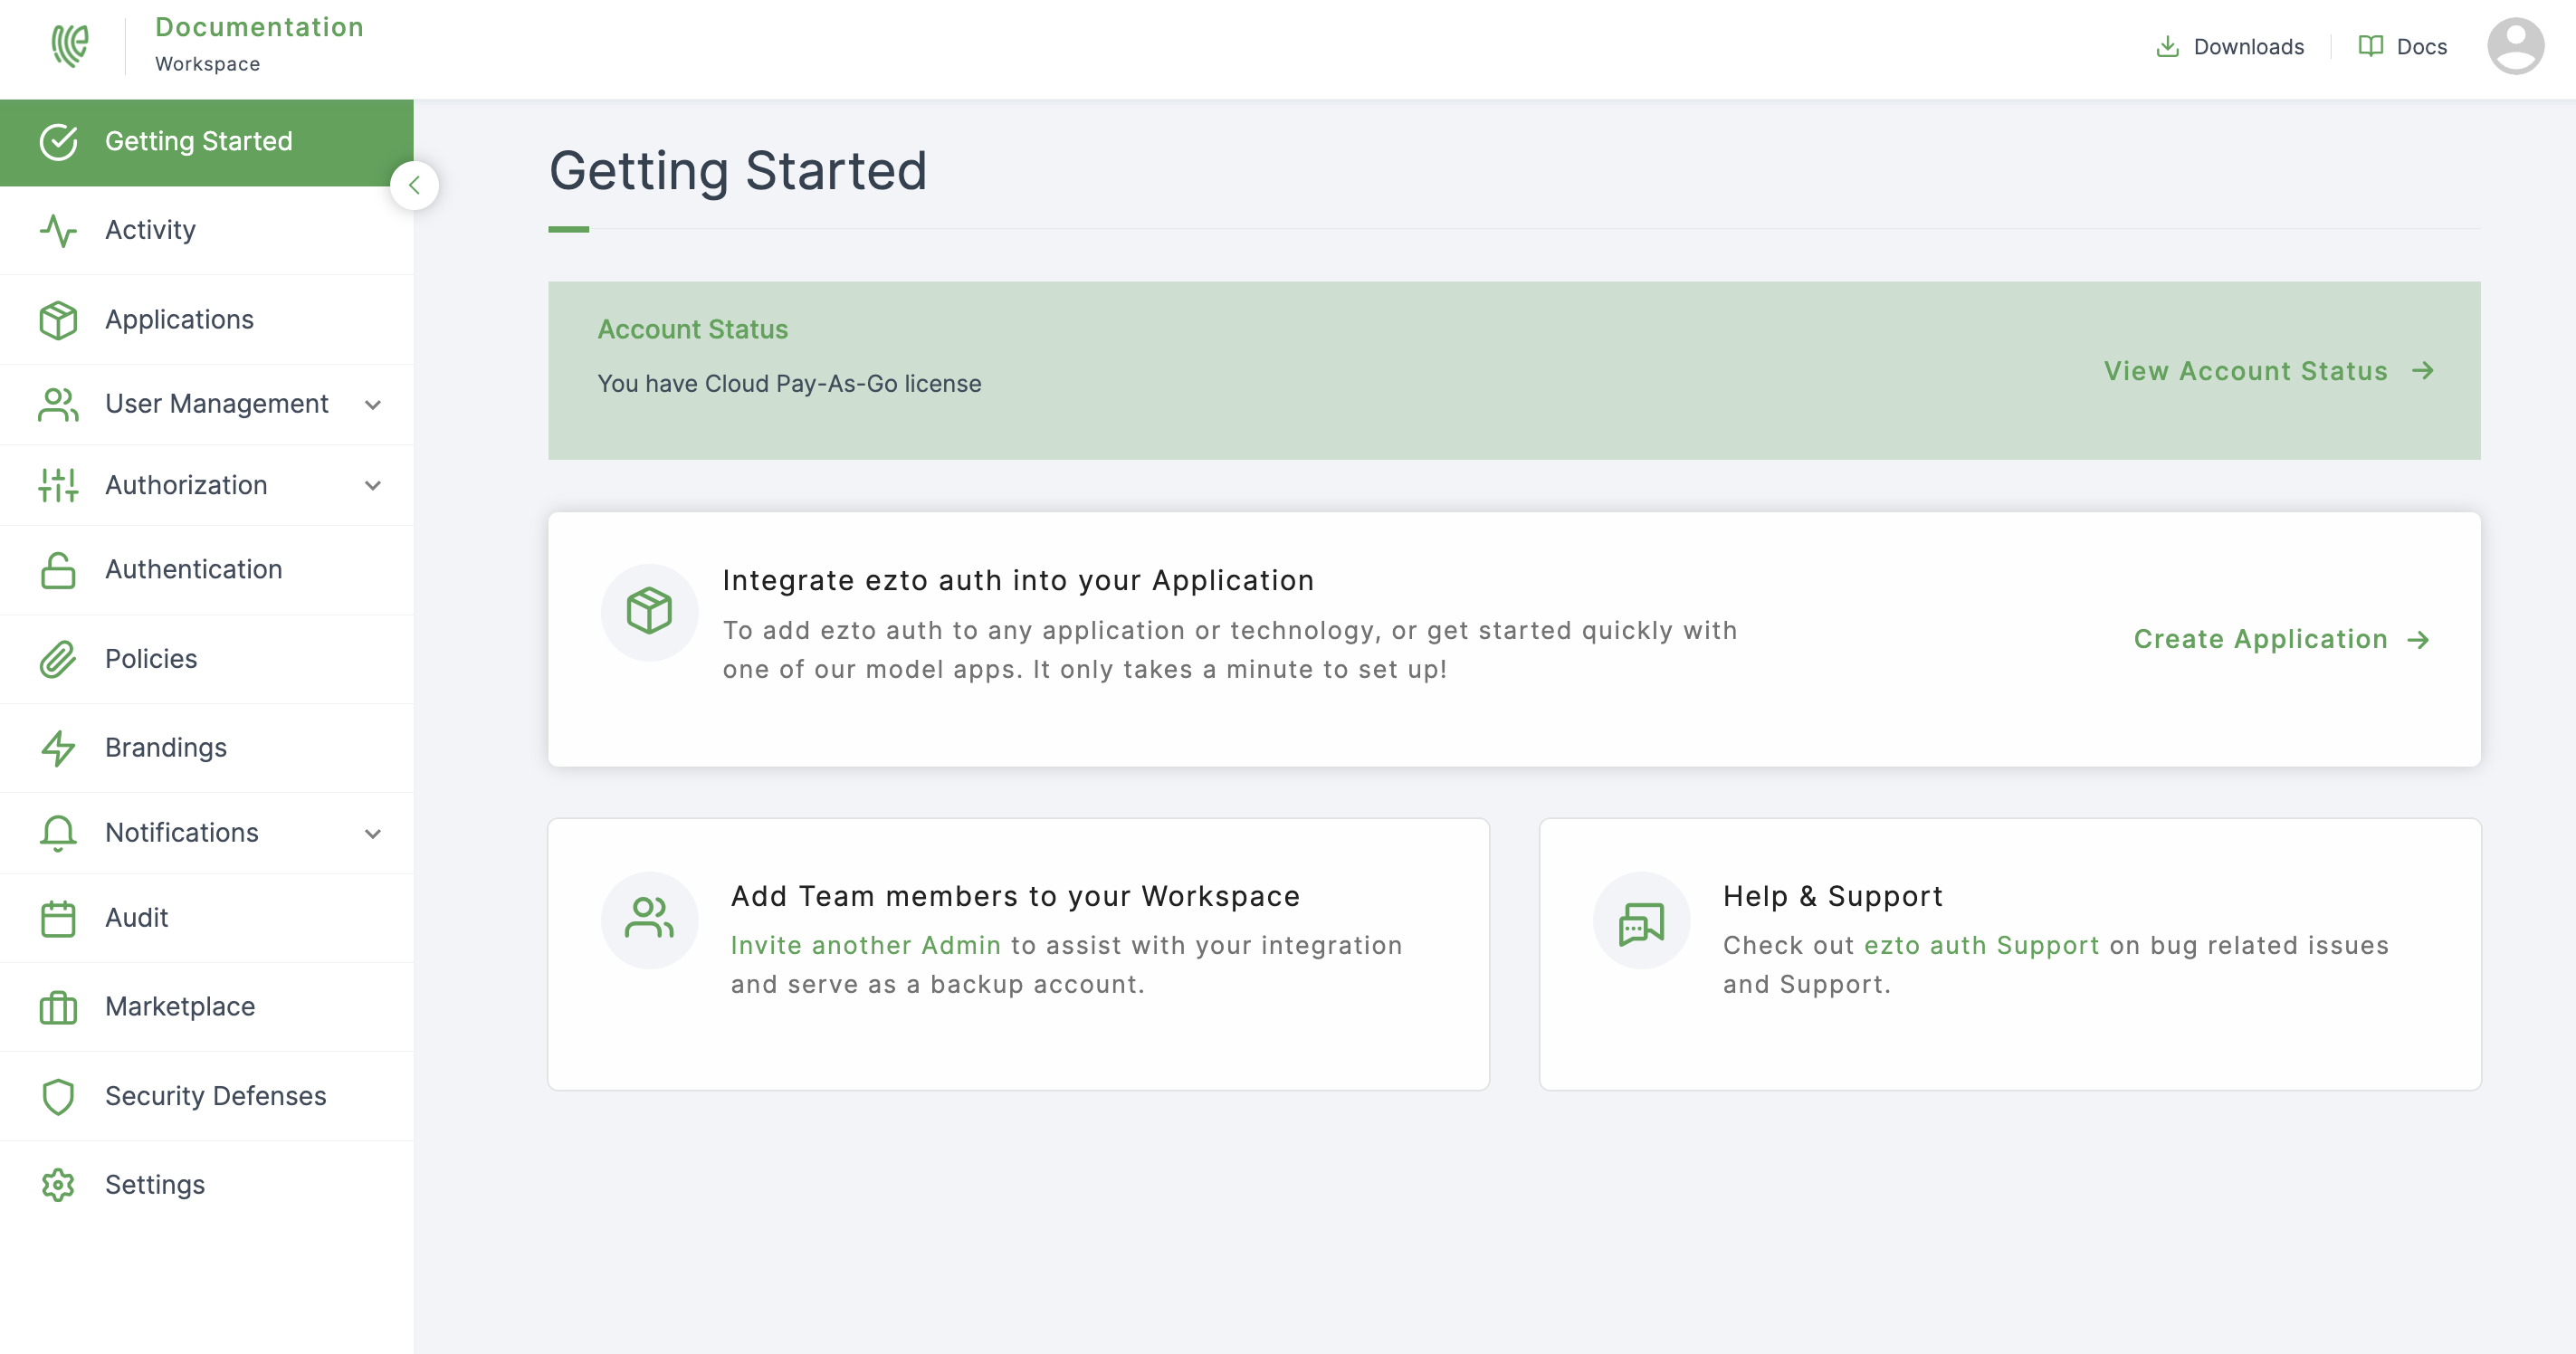
24 You will be successfully onboarded. Click on Take Me to Dashboard.
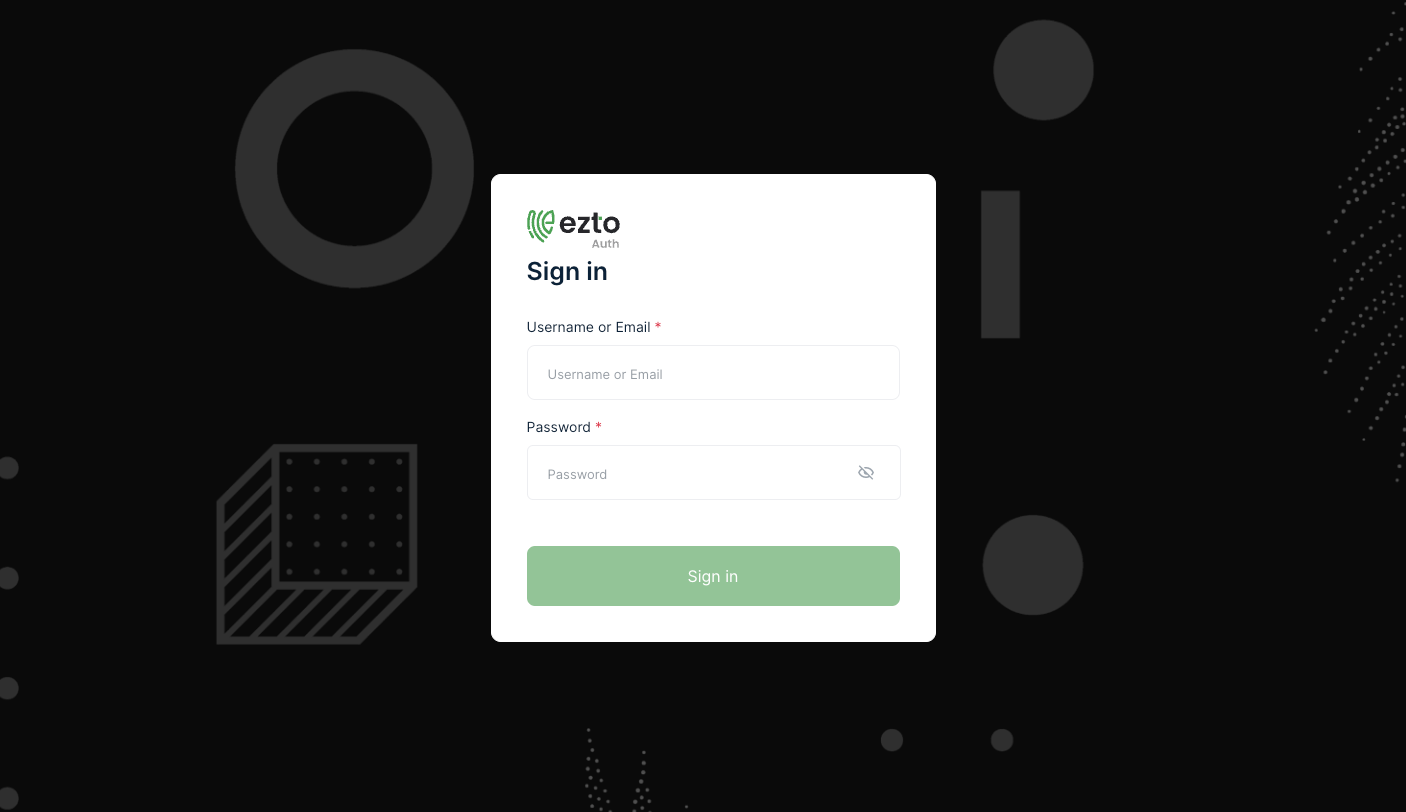
25 You will be taken to the Sign in page. Provide Username and Password. Click on Sign in.
26 Workspace will be created successfully.